
1. Introduction
In this lab, you will learn how to create Agent Skills to provide AI agents with access to bespoke knowledge and workflows. You will create it as a local skill that can be accessed from Antigravity CLI.
What you'll do
- Create your own Agent Skills for your favorite things.
- Use Antigravity CLI to query your skill.
- Install official Agent Skills for Firebase and use them to build and deploy an app.
What you'll learn
- How to structure a skill.
- How to write a
SKILL.mdfile. - How to use local skills with Antigravity CLI.
2. Project Setup
- If you don't already have a Google Account, you must create a Google Account.
- Use a personal account instead of a work or school account. Work and school accounts may have restrictions that prevent you from enabling the APIs needed for this lab.
- Sign-in to the Google Cloud Console.
- Enable billing in the Cloud Console.
- Completing this lab should cost less than $1 USD in Cloud resources.
- You can follow the steps at the end of this lab to delete resources to avoid further charges.
- New users are eligible for the $300 USD Free Trial.
- Create a new project or choose to reuse an existing project.
- If you see an error about project quota, reuse an existing project or delete an existing project to create a new project.
3. Open Cloud Shell Editor
- Click this link to navigate directly to Cloud Shell Editor
- If prompted to authorize at any point today, click Authorize to continue.

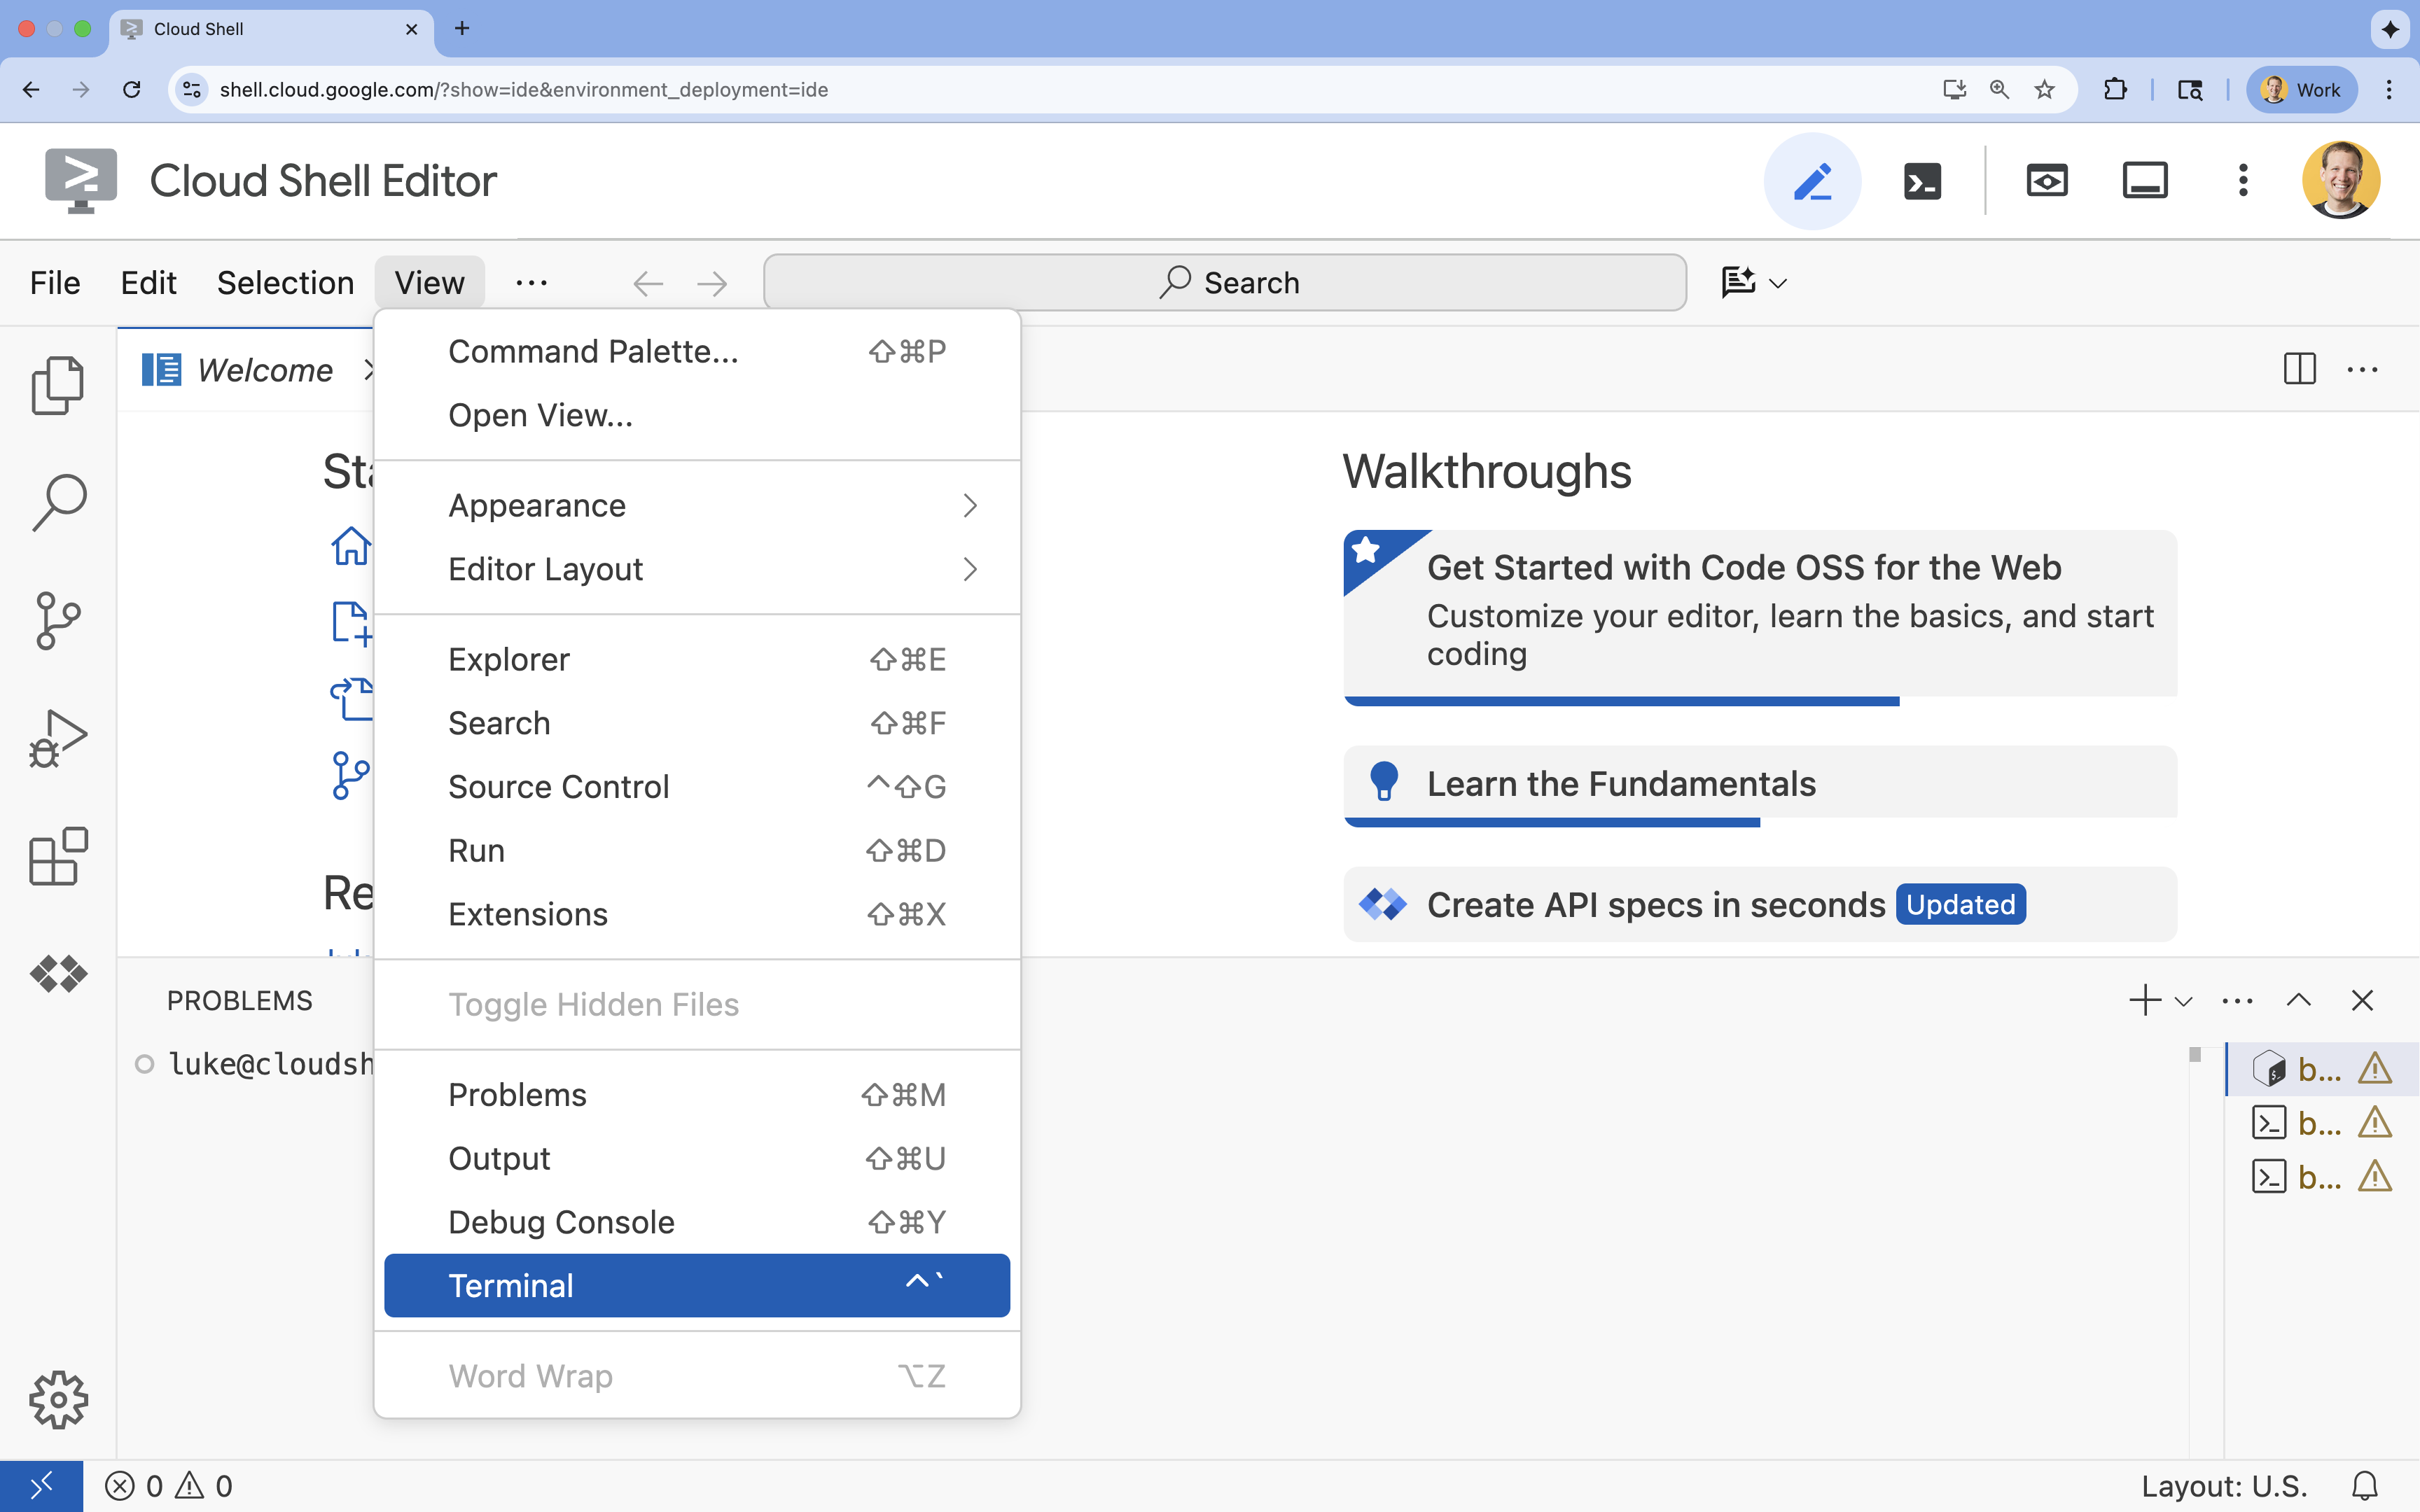
- If the terminal doesn't appear at the bottom of the screen, open it:
- Click View
- Click Terminal
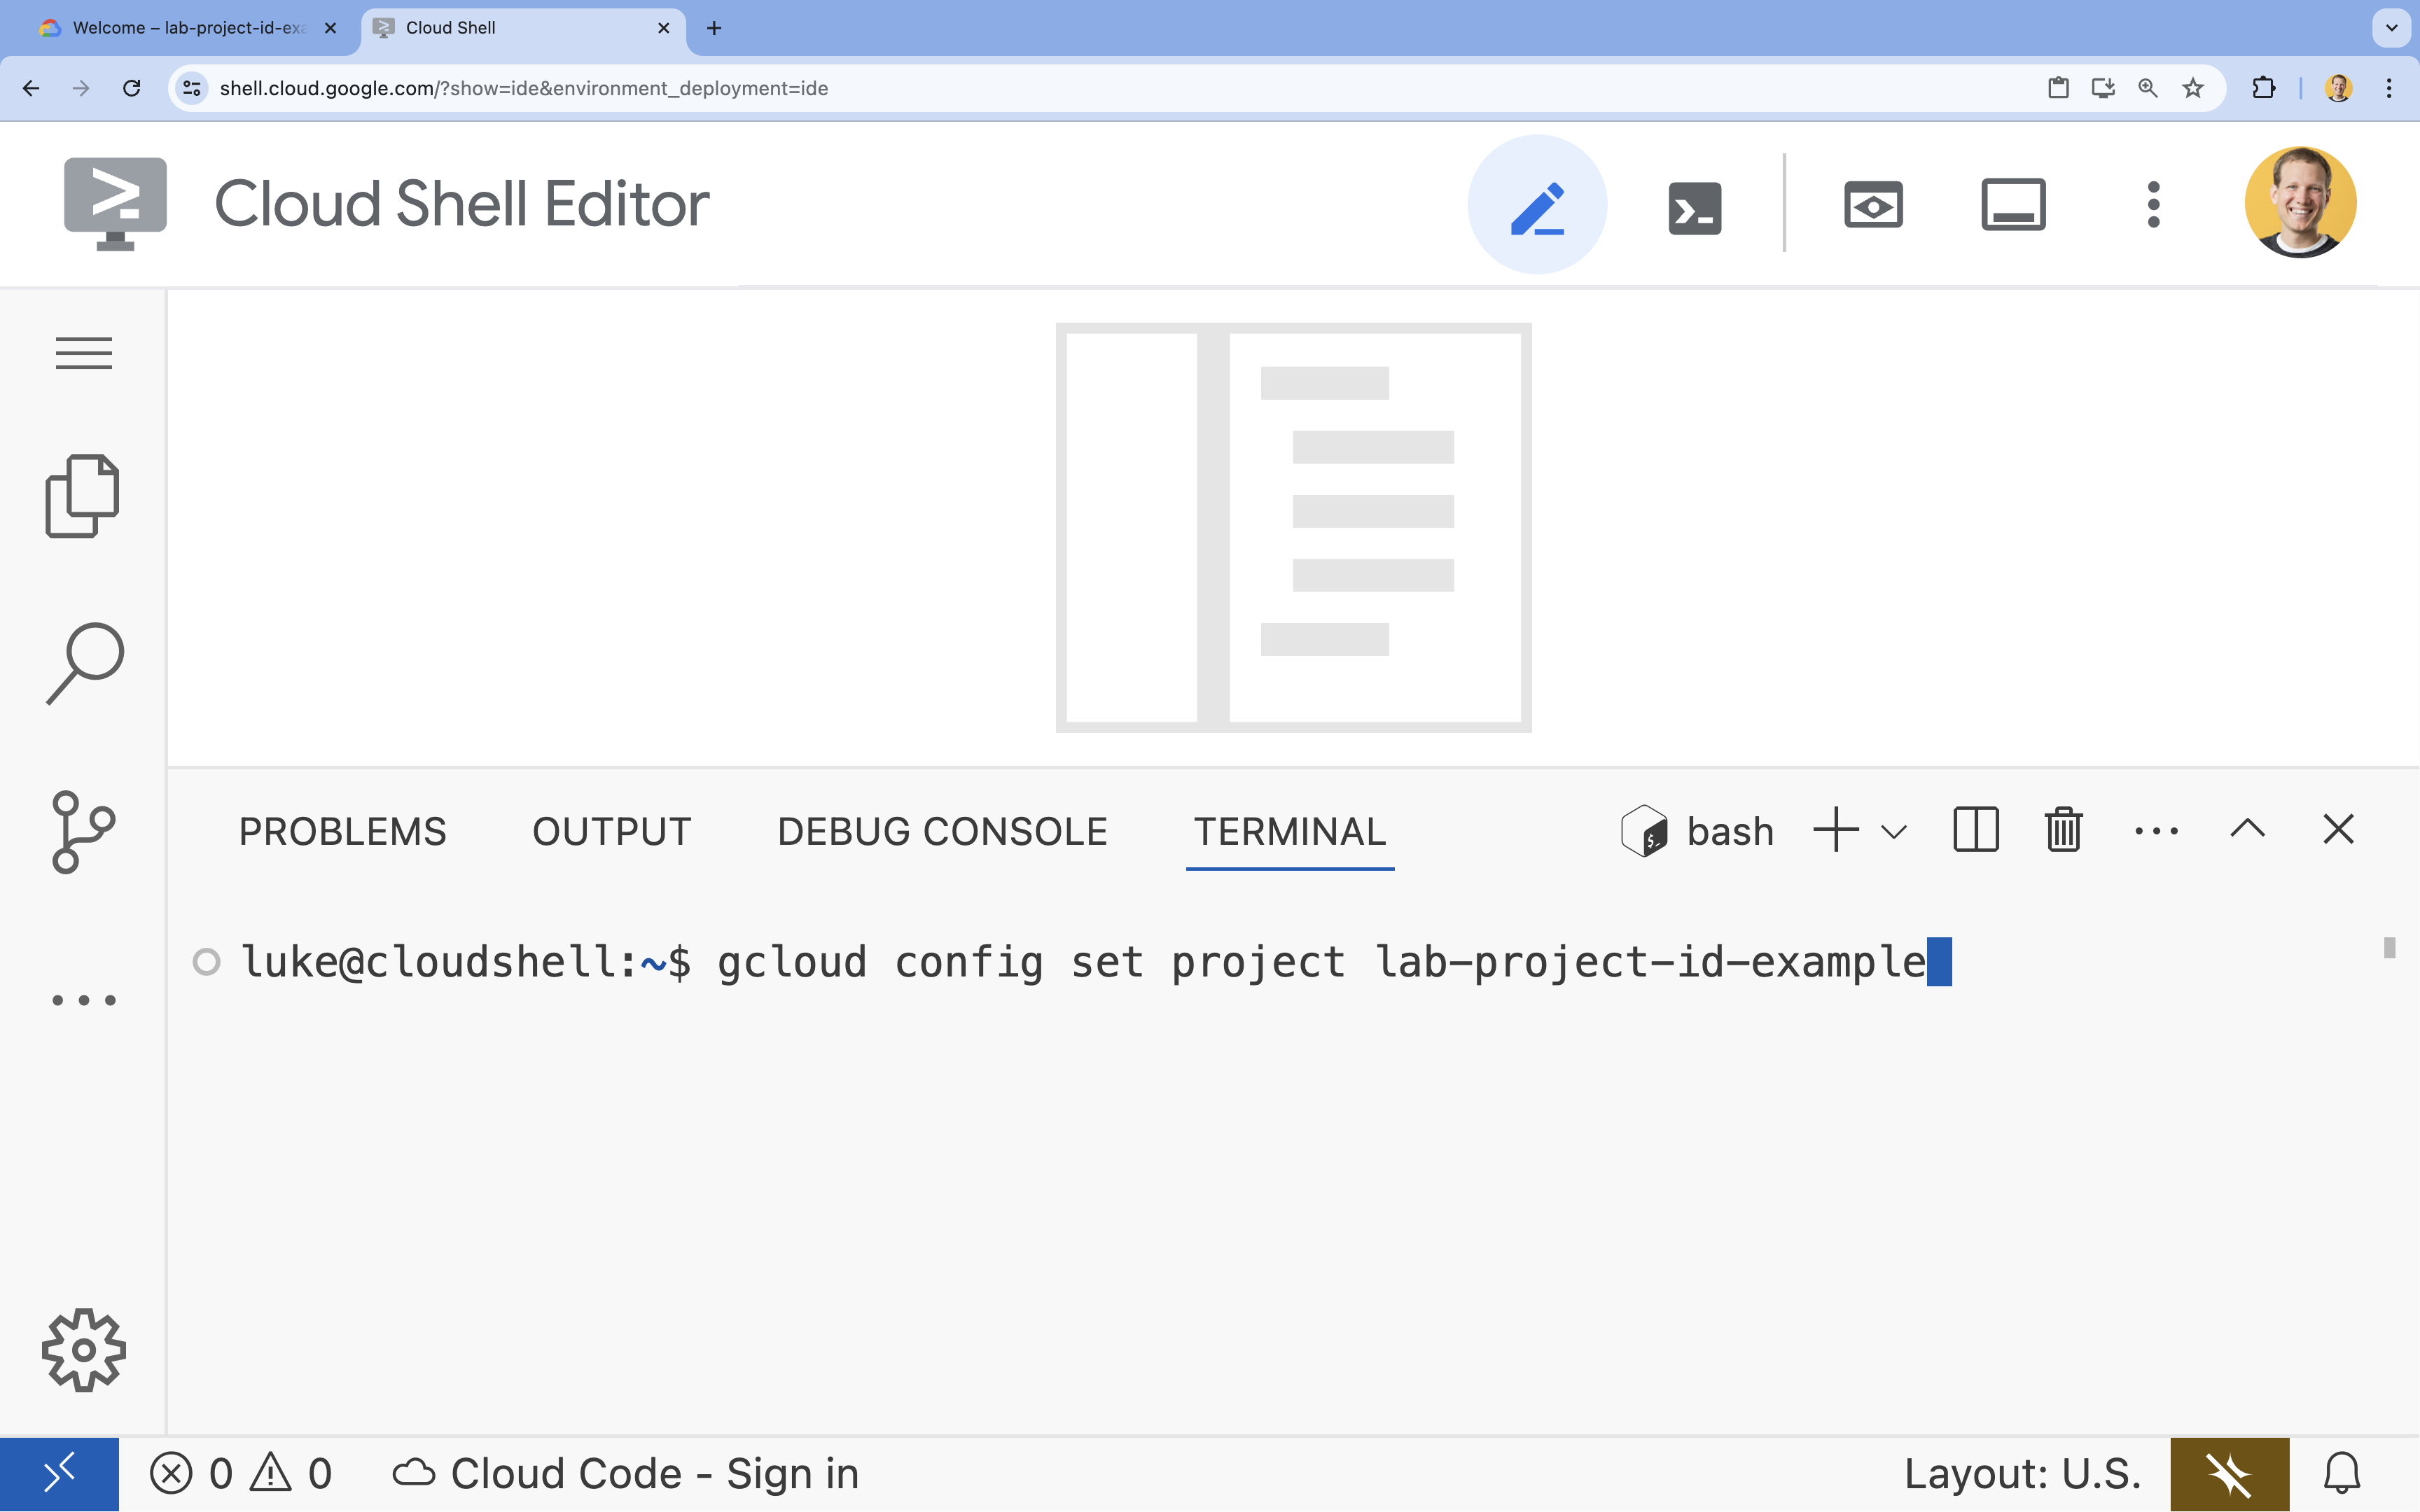
- In the terminal, set your project with this command:
- Format:
gcloud config set project [PROJECT_ID] - Example:
gcloud config set project lab-project-id-example - If you can't remember your project id:
- You can list all your project ids with:
gcloud projects list | awk '/PROJECT_ID/{print $2}'
- You can list all your project ids with:
- Format:
- You should see this message:
Updated property [core/project].
WARNINGand are askedDo you want to continue (Y/n)?, then you have likely entered the project ID incorrectly. Pressn, pressEnter, and try to run thegcloud config set projectcommand again.
4. Create your custom skill
Agent Skills are directories containing at minimum a SKILL.md file that provides instructions and knowledge to an AI agent. In this section, you will create a skill that teaches Antigravity CLI about your favorite things.
- Create a directory for this lab and navigate into it:
mkdir ~/agent-skills-lab && cd ~/agent-skills-lab - Create a directory for your project skill:
mkdir -p ~/agent-skills-lab/.agents/skills/my-favorite-things - Create and open a new
SKILL.mdfile for your skill:cloudshell edit ~/agent-skills-lab/.agents/skills/my-favorite-things/SKILL.mdcloudshell editcommand will open theSKILL.mdfile in the editor above the terminal. - Add the following content to the
SKILL.mdfile:--- name: my-favorite-things description: Provides personal information about my favorite color, food, and programming language. Use this skill when the user asks questions about my personal preferences or favorite things. --- # Knowledge - **Favorite Color:** Blue - **Favorite Food:** Pizza - **Favorite Programming Language:** Python If asked about one of my favorite things, please respond with the information provided above.
With only a SKILL.md file, you have created your first skill! It is time to use this skill in Antigravity CLI.
5. Use your skill from Antigravity CLI
Now that you've successfully created a skill, it is already discoverable by Antigravity CLI because it is located in the .agents/skills directory.
- Start Antigravity CLI:
agy
- Authenticate with Antigravity CLI: During initial startup, authentication is required. Select OAuth (pressing
Enter).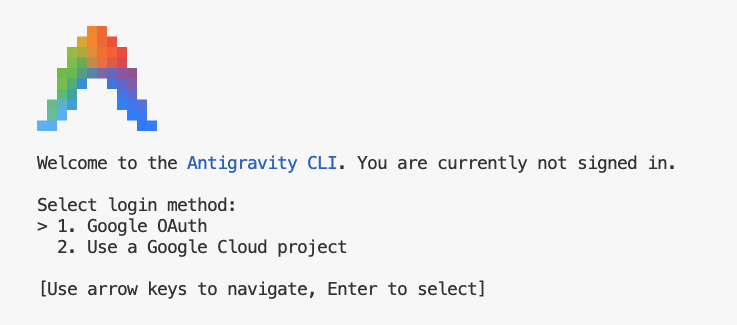
- Click the link (if not clickable, highlight the URL in Cloud Shell to copy it, then paste it into your browser)
- Sign in to your Google Account
- Copy the code
- Paste the code into the Cloud Shell Editor terminal
- Press
Enter.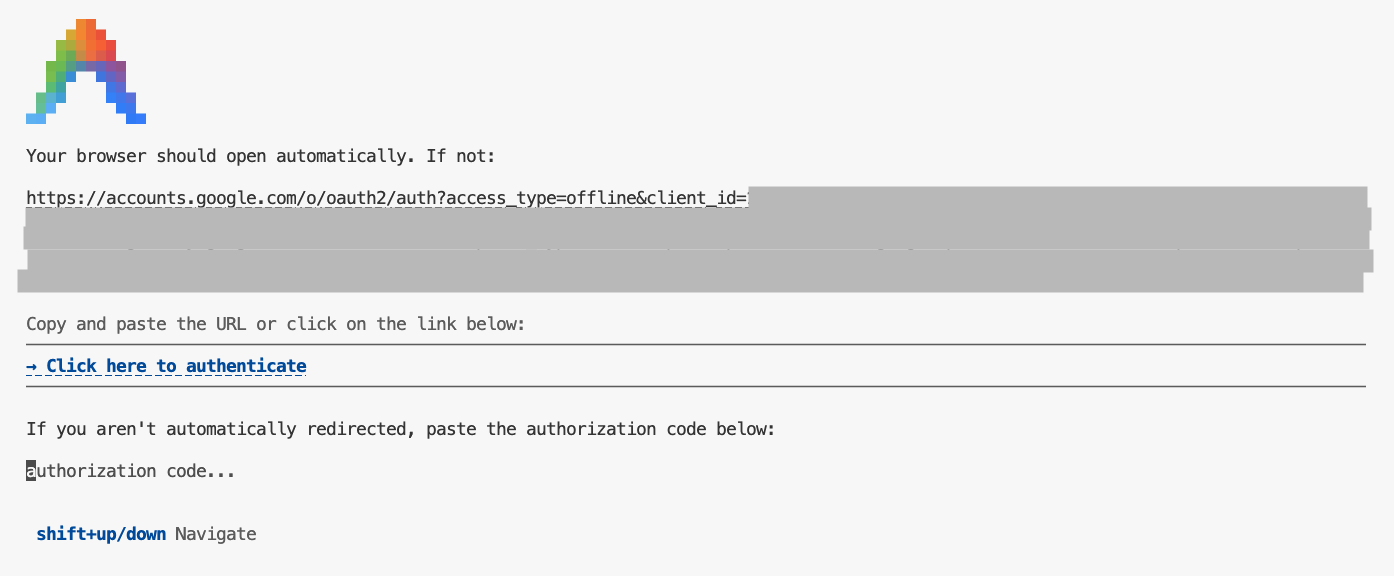
- Press
Enterto accept some default settings. - Have Antigravity CLI list the skills available to it within its context
/skillsmy-favorite-thingsin the list of available skills. - Press
ESCto exit the skills view - Ask Antigravity CLI about your favorite color:
What is my favorite color?my-favorite-thingsskill to answer your question. If prompted, allow Antigravity CLI to use the skill.
The output should show that Antigravity CLI used your skill and replied with something like "Blue" or "My favorite color is blue."
You have done it! You have successfully created a skill and tested it using Antigravity CLI.
When you are ready to end your session, type /exit and then press Enter to exit Antigravity CLI.
6. (Optional) Build and deploy an application to Firebase Hosting
In addition to creating your own skills, you can install skills created by others. This demonstrates the use of portable skills—self-contained modules of knowledge, instructions, and workflows that can be easily shared and reused.
Agent Skills for Firebase are a great example of these portable modules. They are designed to help AI assistants understand Firebase best practices and execute complex tasks with higher accuracy and lower token cost.
Now use Agent Skills for Firebase to create a "To Do" web application, with user authentication and a database, and deploy it to Firebase Hosting.
Set up your project
- If you are still in Antigravity CLI, type
/exitto exit. - Create a new directory for your project and navigate into it:
mkdir ~/todo-app && cd ~/todo-app - Log in to Firebase using your Google account. Use the
--no-localhostflag since you are in Cloud Shell:firebase login --no-localhost- Interact with the CLI prompts:
- When asked
Enable Gemini in Firebase features?, typeY(for Yes) and pressEnter. - When asked
Allow Firebase to collect CLI and Emulator Suite usage and error reporting information?, typeY(for Yes) and pressEnter.
- When asked
- Authorize in the browser:
- You'll see a URL in the terminal. Click the link (if not clickable, highlight the URL in Cloud Shell to copy it, then paste it into your browser) to open the login page in a new browser tab.
- Step 1 of 3 (Confirm command): Click Yes, I just ran this command.
- Step 2 of 3 (Confirm session ID): Ensure the Session ID matches what is shown in your terminal, then click Yes, this is my session ID.
- Step 3 of 3 (Copy code): Click Copy to copy the authorization code to your clipboard.
- Complete the login:
- Go back to the Cloud Shell terminal and paste the authorization code at the
? Enter authorization code:prompt. - Press
Enter.
- Go back to the Cloud Shell terminal and paste the authorization code at the
✔ Success! Logged in as. - Interact with the CLI prompts:
Install Agent Skills for Firebase
Now that you've created your project directory, you should install the Agent Skills for Firebase within it.
You can install the Agent Skills for Firebase with the skills CLI in your terminal:
npx skills add firebase/agent-skills
During installation, you will be prompted to select which skills to install. Use your arrow keys to navigate the list and the spacebar to select these skills.
firebase-auth-basicsfirebase-basicsfirebase-firestorefirebase-hosting-basicsfirebase-security-rules-auditor
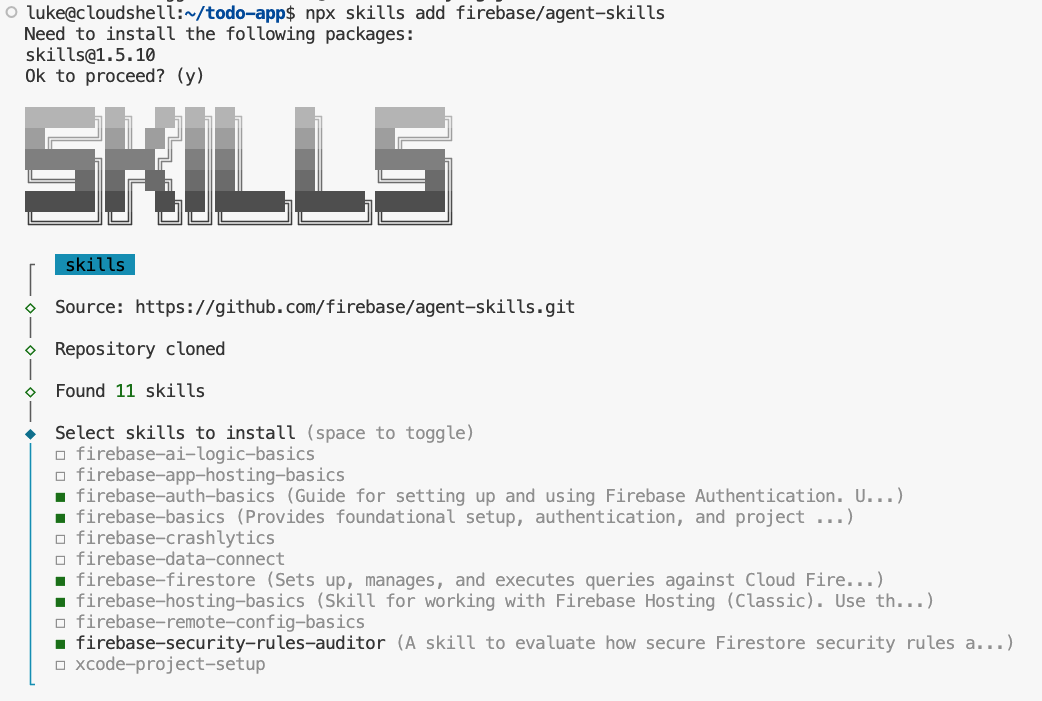
For subsequent prompts, you can safely accept the defaults by pressing Enter.
This command will download and install skills including firebase-basics and firebase-hosting-basics, making them available for use in Antigravity CLI alongside your my-favorite-things skill.
To learn more about Agent Skills for Firebase, see available skills.
Create and deploy a basic web app
- Enable the required APIs for your project:
gcloud services enable \ cloudresourcemanager.googleapis.com \ firebase.googleapis.com - Enable Firebase on your current Google Cloud project:
firebase projects:addfirebase ${GOOGLE_CLOUD_PROJECT} - Start Antigravity CLI:
agy - Ask Antigravity CLI to generate a basic
index.html:Generate an index.html file with the content "Hello Firebase Hosting" and deploy the application to Firebase Hosting using the current Google Cloud Project.Enterto allow it to do so. You may need to type "approve" and pressEnter.Antigravity CLI should use the Agent Skills for Firebase to create and deploy your website. Guide the agent along with approvals as needed.
When it is done deploying, it should provide a URL for your web app. Use ctrl+click (Windows/Linux) or cmd+click (Mac) to open links in Cloud Shell Editor terminal. Visit the URL for your deployed app!
Add Firebase Authentication
- Start Antigravity CLI if not already started:
agyEnterto accept the defaults. - Now, ask Antigravity CLI to add Google Sign-in:
Generate HTML, CSS, and Javascript for a single page application. It should use Google Sign-in with Firebase Authentication. A user should be able to sign in with their Google Account. Deploy when you are done and give the URL to me.index.html,style.css, andscript.js. Allow it to do so. Antigravity CLI may ask you to take some actions in the Firebase console. The CLI is capable of doing most of these if you ask it to try, but completing the steps manually (like enabling Google OAuth) may be required if your Cloud Shell instance has an older version of Firebase CLI installed.
When it is done deploying, it should provide a URL for your web app. Use ctrl+click (Windows/Linux) or cmd+click (Mac) to open links in Cloud Shell Editor terminal. Visit the URL for your deployed app!
To see your latest changes appear, you may need to perform a "Hard Refresh" with ctrl+shift+R (Windows/Linux) or cmd+shift+R (Mac).
Add Cloud Firestore
- Start Antigravity CLI if not already started:
agyEnterto accept the defaults. - Ask Antigravity CLI to add Firestore to save tasks:
Update the application to save tasks in Cloud Firestore for the signed-in user.
A user should be able to add new tasks and see a list of their tasks.
Deploy when you are done and give the URL to to me.
When it is done deploying, it should provide a URL for your web app. Use ctrl+click (Windows/Linux) or cmd+click (Mac) to open links in Cloud Shell Editor terminal. Visit the URL for your deployed app!
To see your latest changes appear, you may need to perform a "Hard Refresh" with ctrl+shift+R (Windows/Linux) or cmd+shift+R (Mac).
If your application doesn't function as expected, continue working with Antigravity CLI to get the functionality you expect. Example: shell Hide the task form when the user is logged out. Update the security rules so the user can see their TODOs.
Keep experimenting with the lab to add features you would like to see in your new Firebase application.
7. Conclusion
Congratulations! You have successfully created a skill and learned how to install additional skills for Antigravity CLI.
(Optional) Clean up
If you would like to clean up, you can delete your Cloud project to avoid incurring additional charges.
If you would like, delete the project:
gcloud projects delete $GOOGLE_CLOUD_PROJECT
You can also delete unnecessary resources from your Cloud Shell disk to free up space.
- Delete the lab directory (this removes both the skill and the app):
rm -rf ~/agent-skills-lab - Delete the "To Do" application directory (if you created it outside):
rm -rf ~/todo-app
If you ever need to reset your Cloud Shell to its default state, you can follow the official documentation for instructions on how to do so safely.