

1. 简介
在本实验中,您将通过向 AI 智能体描述集成来构建 Application Integration 集成。您将从 google/skills 代码库中安装三个公开的 Application Integration 智能体技能,然后提示 Gemini CLI 编写、上传、发布和运行一个小型示例集成。
示例 sample-claims-adjudication 接受保险理赔并返回 APPROVE、REVIEW 或 DENY。
您将执行的操作
- 在 Google Cloud 项目中设置 Application Integration。
- 安装 Application Integration 代理技能。
- 提示 Gemini CLI 构建、上传、发布和运行集成。
- 自行检查执行情况,并让智能体排查问题。
- 清理示例集成。
学习内容
application-integration-basics、-authoring和-troubleshooting技能为智能体提供的功能。- 如何在批准集成版本 JSON 和智能体运行的命令之前对其进行审核。
- 如何解读执行记录。
2. 项目设置
- 如果您还没有 Google 账号,则必须创建一个 Google 账号。
- 使用个人账号,而非工作或学校账号。工作账号和学校账号可能存在限制,导致您无法启用本实验所需的 API。
- 登录 Google Cloud 控制台。
- 在 Cloud 控制台中启用结算功能。
- 完成本实验所需的 Cloud 资源费用应低于 1 美元。
- 您可以按照本实验末尾的步骤删除资源,以免产生更多费用。
- 新用户符合参与 $300 USD 免费试用计划的条件。
- 创建新项目或选择重复使用现有项目。
- 如果您看到有关项目配额的错误,请重复使用现有项目或删除现有项目以创建新项目。
请使用新项目或可安全进行实验的现有项目,而不要使用生产项目。智能体会使用您的凭据在其中上传、发布和运行集成。
3. 打开 Cloud Shell Editor
- 点击此链接可直接前往 Cloud Shell Editor
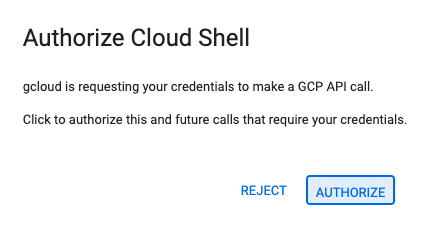
- 如果今天在任何时候系统提示您授权,请点击授权继续。
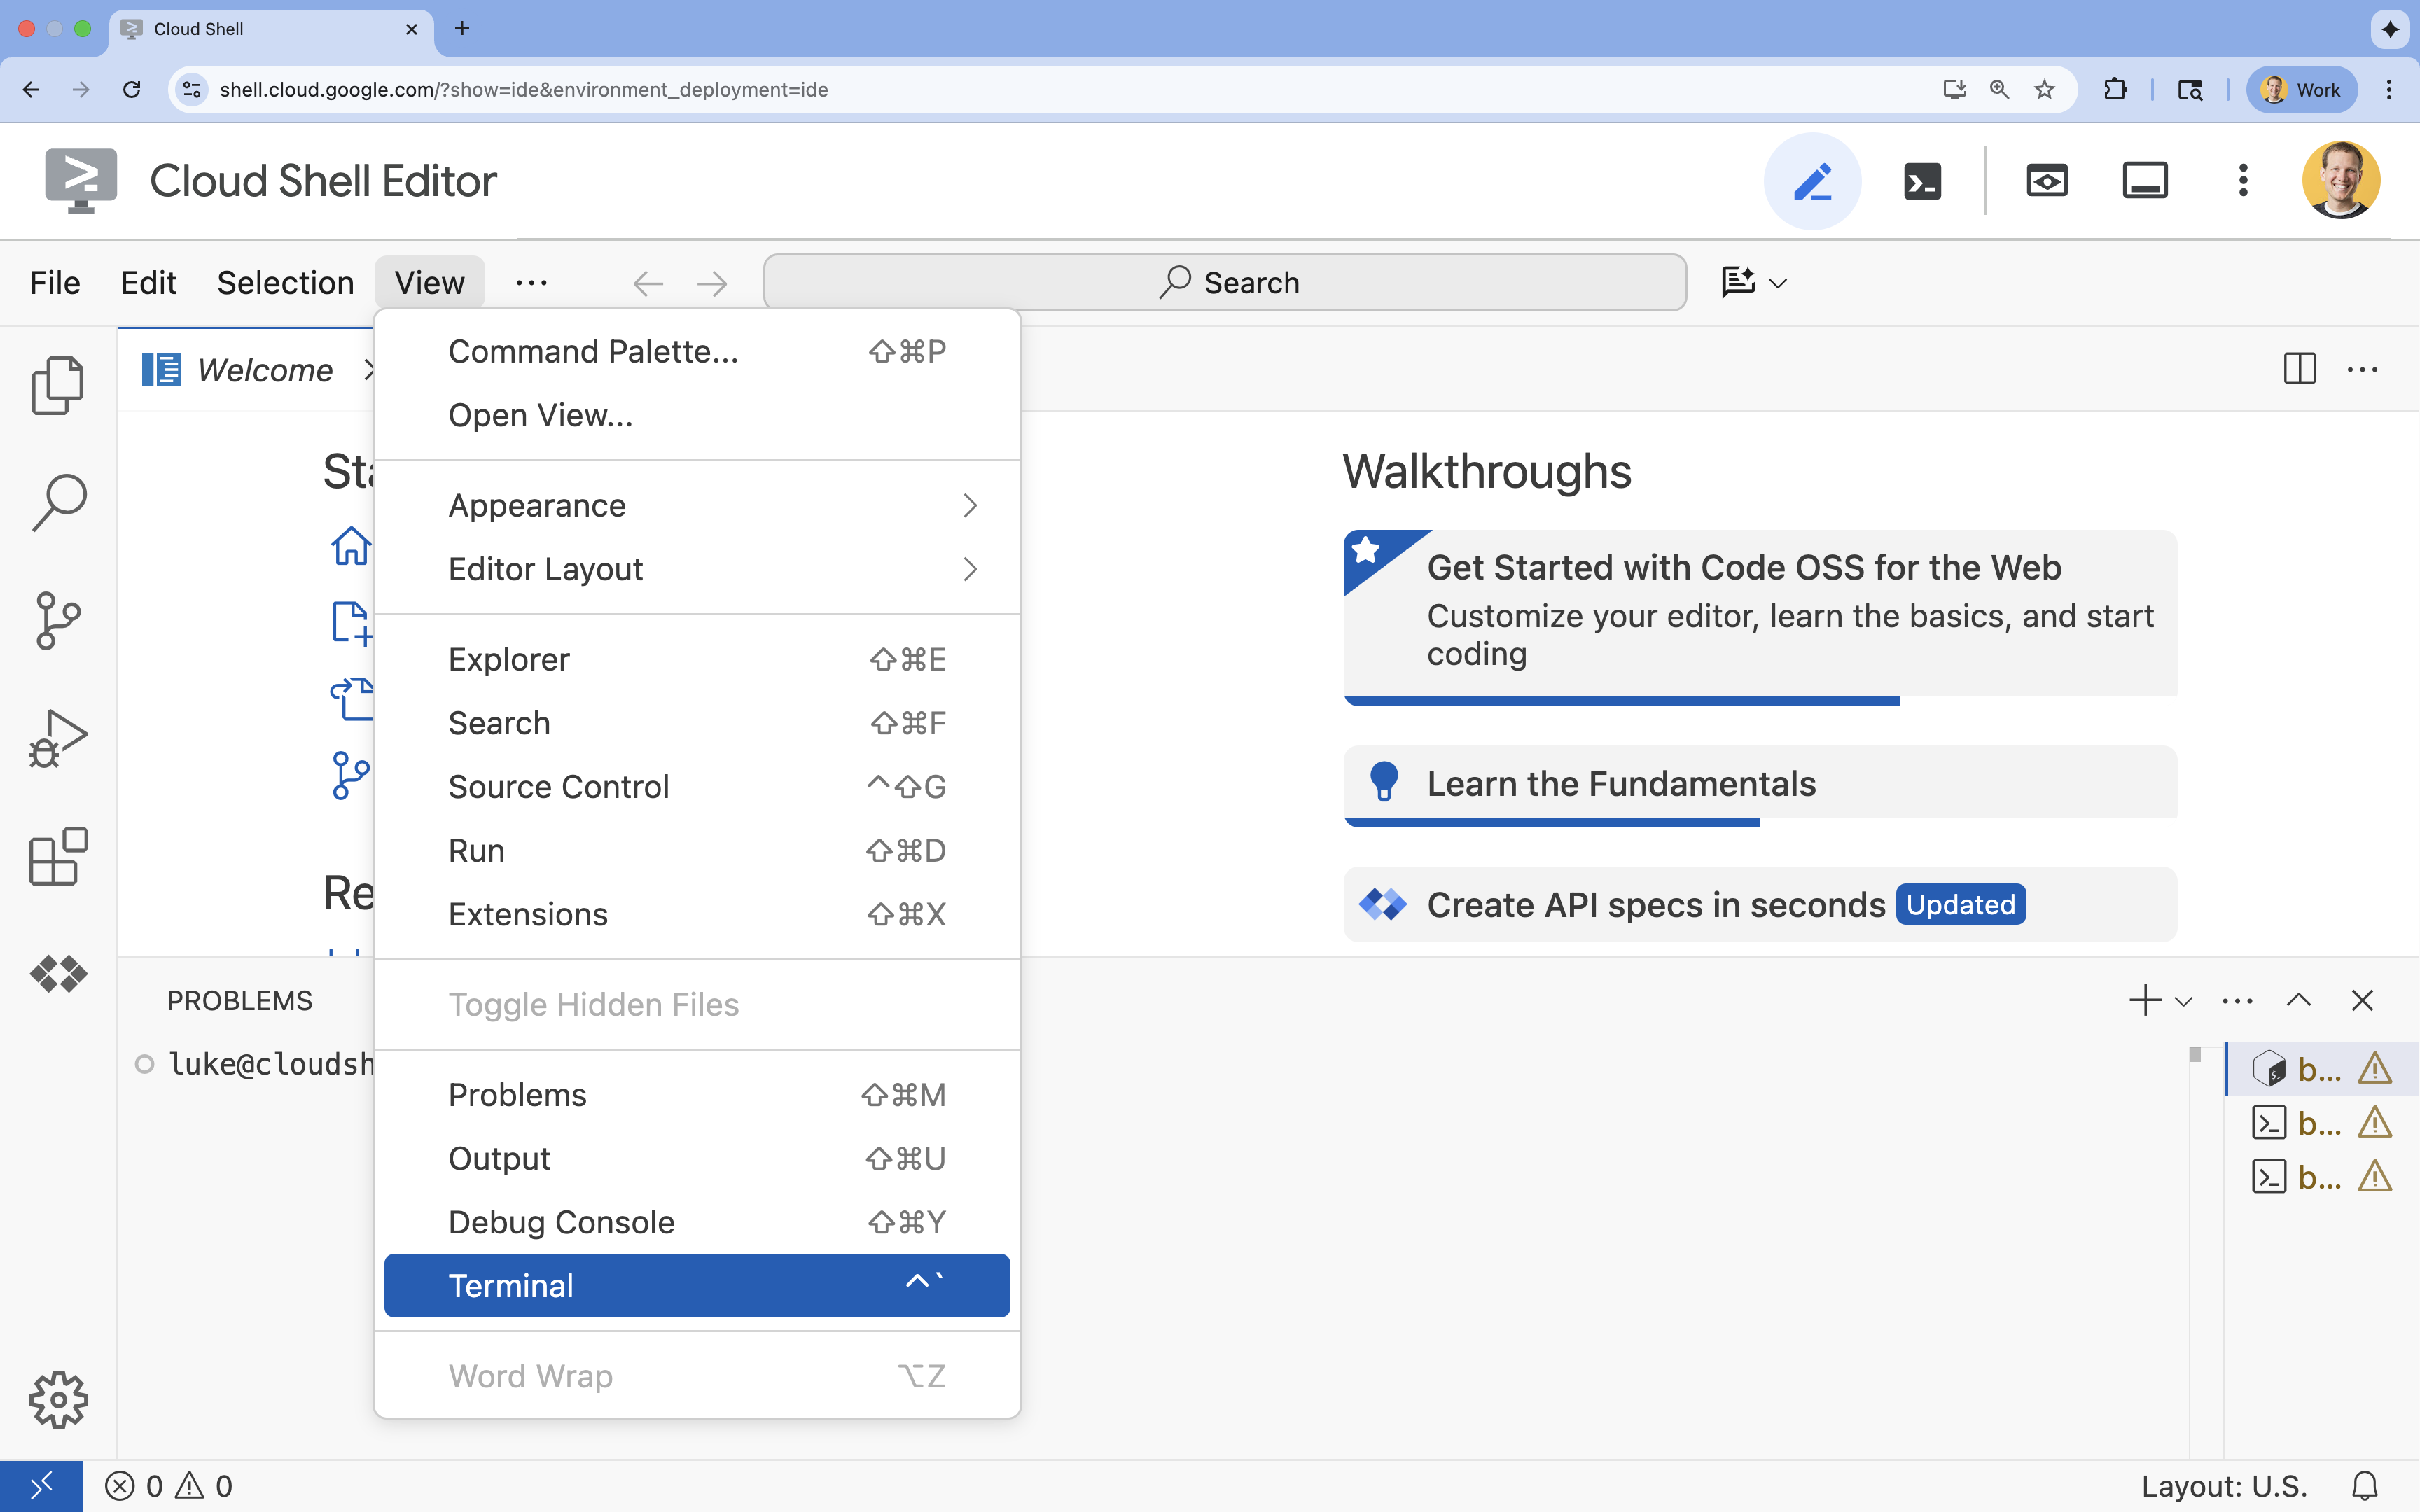
- 如果终端未显示在屏幕底部,请打开它:
- 点击查看
- 点击终端
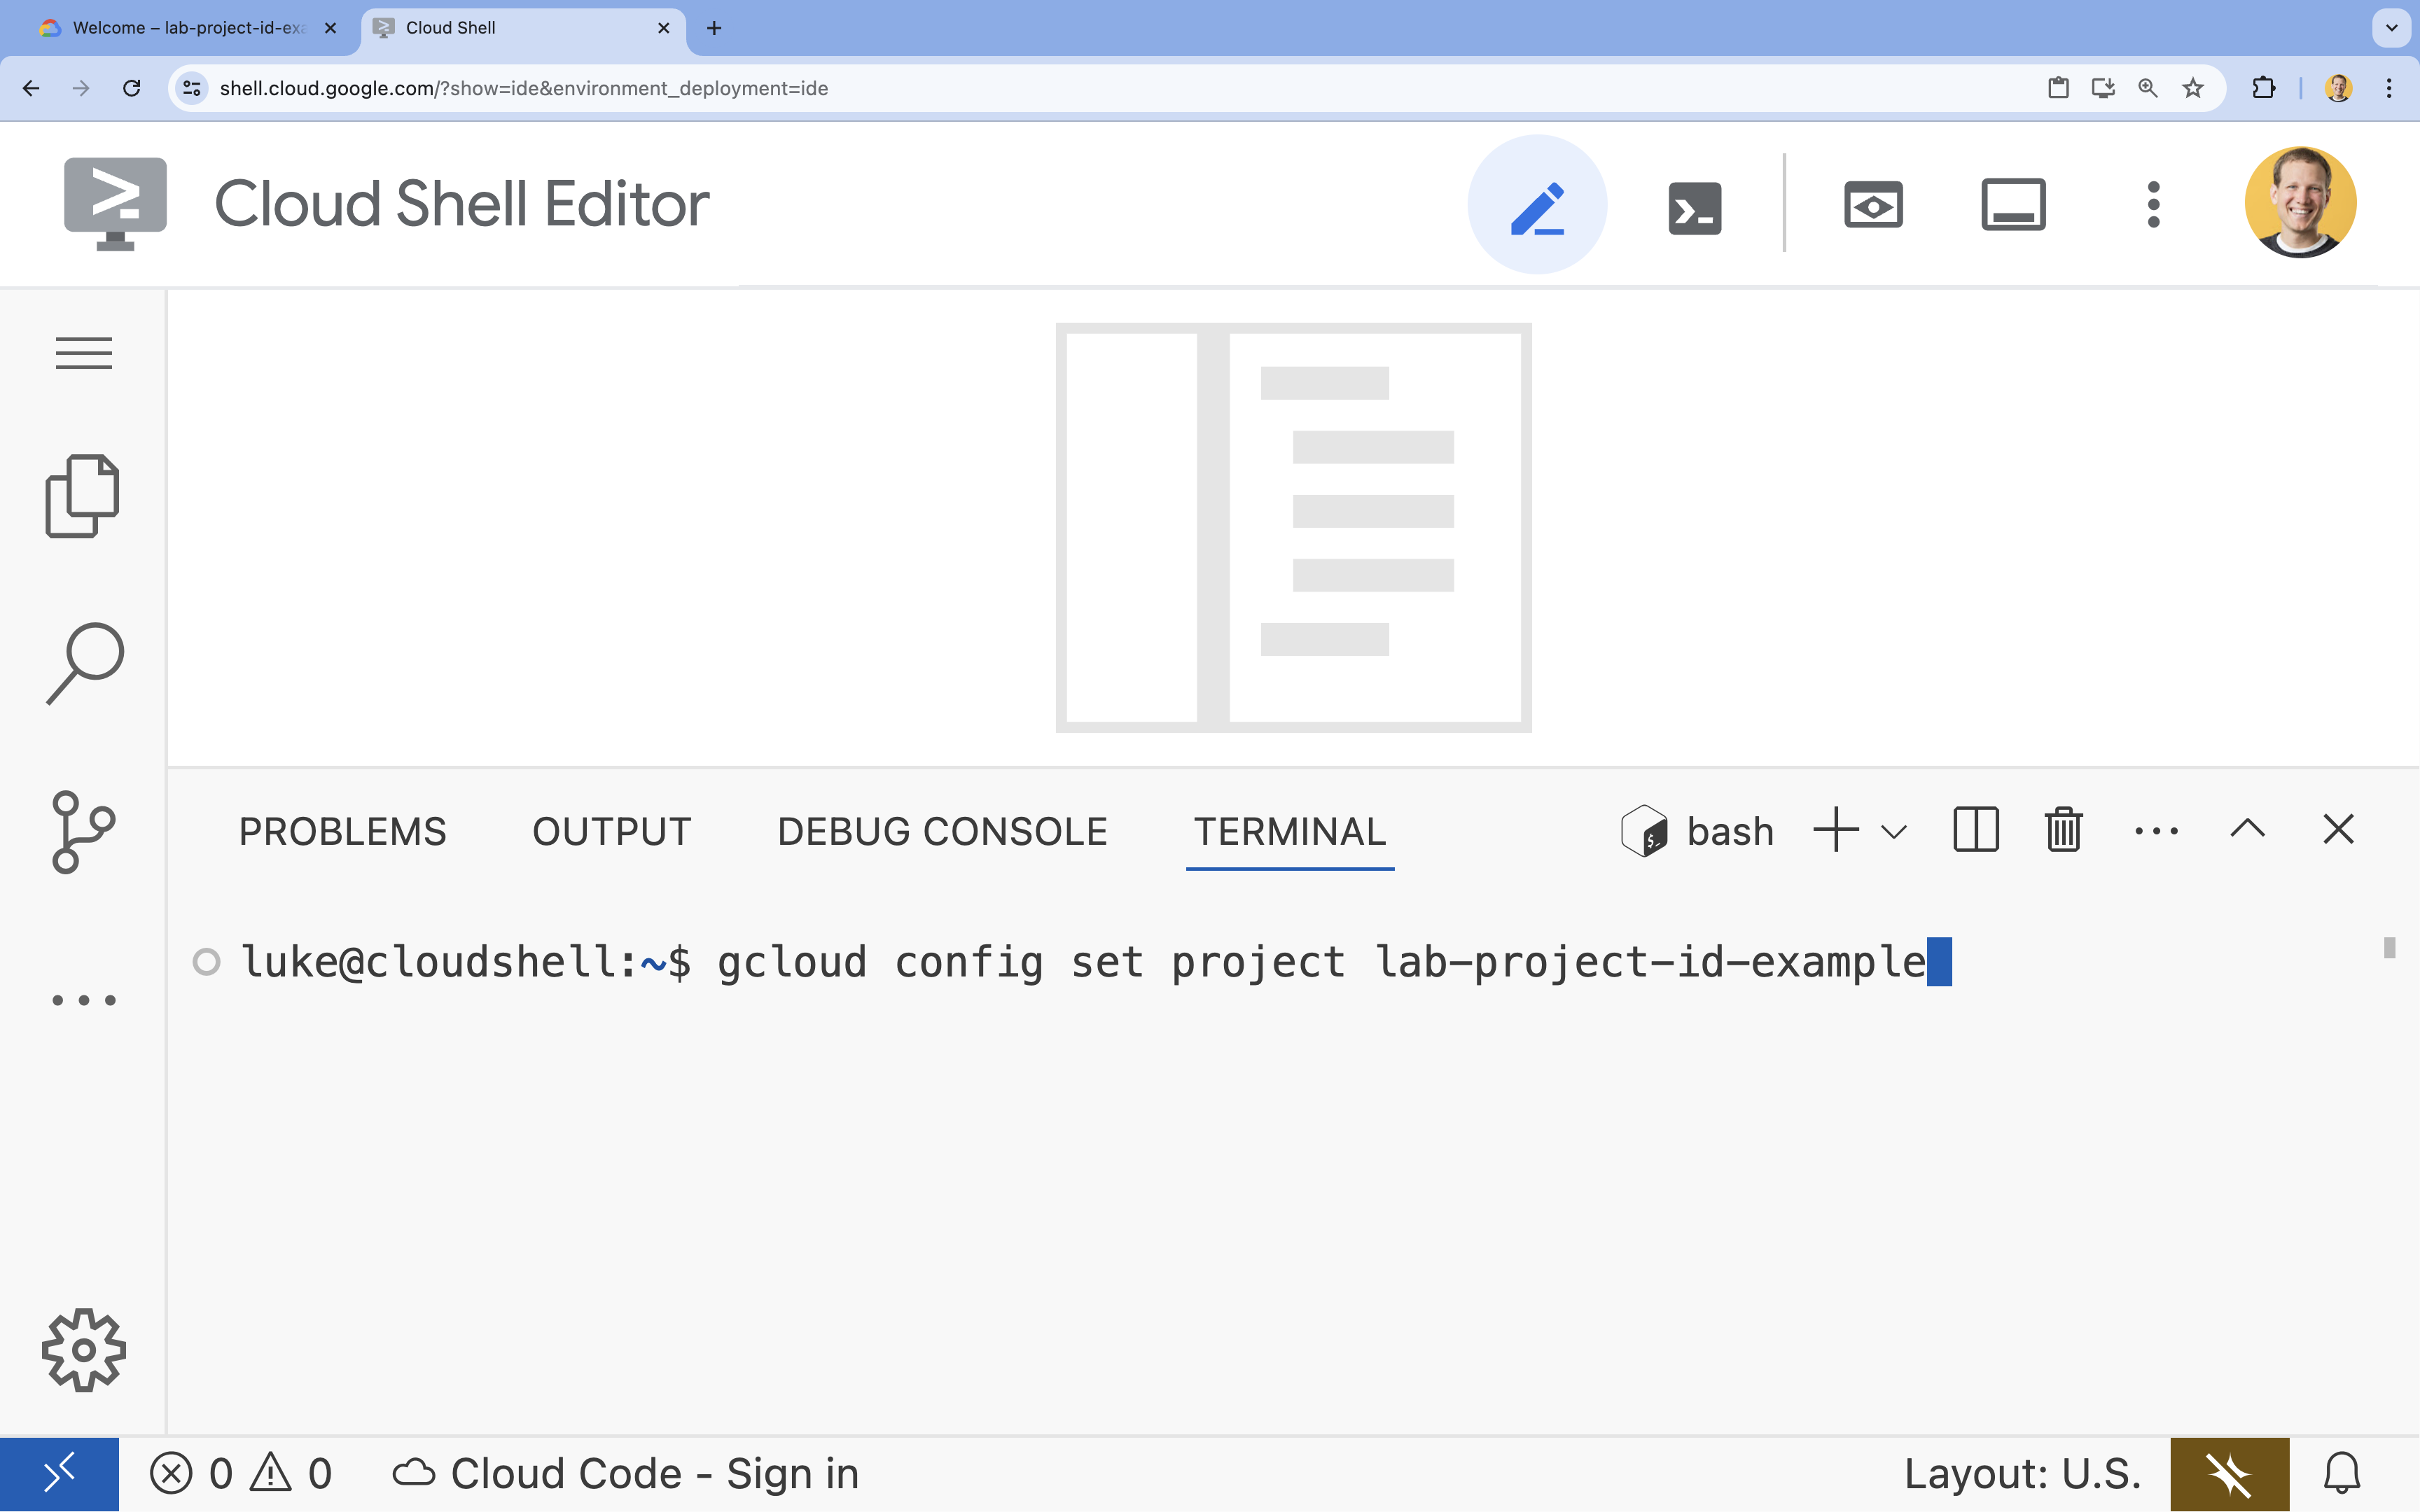
- 在终端中,使用以下命令设置项目:
- 格式:
gcloud config set project [PROJECT_ID] - 示例:
gcloud config set project lab-project-id-example - 如果您不记得项目 ID,请执行以下操作:
- 您可以使用以下命令列出所有项目 ID:
gcloud projects list | awk '/PROJECT_ID/{print $2}'
- 您可以使用以下命令列出所有项目 ID:
- 格式:
- 您应会看到以下消息:
Updated property [core/project].
WARNING并且系统询问Do you want to continue (Y/n)?,则您可能输入了错误的项目 ID。按n,按Enter,然后尝试再次运行gcloud config set project命令。
4. 设置 Application Integration
Application Integration 是区域级服务,因此您可以在一个区域中进行设置。本实验使用 us-central1。
- 请记下您的项目 ID,稍后需要将其粘贴到提示中:
gcloud config get-value project - 启用 Application Integration API:
gcloud services enable integrations.googleapis.com - 前往 Google Cloud 控制台中的 Application Integration 页面,然后选择您的项目。
- 在概览页面上,选择
us-central1区域,然后点击快速设置。设置完成后,控制台会显示集成列表。如果您重复使用项目,请先检查您是否拥有设置 Application Integration 中列出的角色,然后再点击快速设置。
如需了解详情,请参阅设置 Application Integration。
5. 安装代理技能
这些技能可为智能体提供 Application Integration 知识:
application-integration-basics:概念、启用 API、预配区域、IAM 角色和限制。application-integration-authoring:以 JSON 格式编写集成版本,并上传、发布和运行这些版本。application-integration-troubleshooting:诊断失败、卡住或静默运行。
- 为此实验创建一个目录并进入该目录:
mkdir ~/appint-agent-lab && cd ~/appint-agent-lab - 安装以下三项技能:
npx skills add google/skills --skill application-integration-basics npx skills add google/skills --skill application-integration-authoring npx skills add google/skills --skill application-integration-troubleshootingEnter保留该选项,选择 Project 作为安装范围,然后确认安装。
这些技能现在位于~/appint-agent-lab/.agents/skills中。
6. 启动 Gemini CLI
- 从实验目录启动 Gemini CLI:
gemini~/appint-agent-lab,然后再次运行gemini。您可能需要按Enter接受一些默认设置。 - 列出 Gemini CLI 可以使用的技能:
/skillsapplication-integration-*技能。
7. 构建、发布和运行集成
- 将此提示粘贴到 Gemini CLI 中。将
PROJECT_ID替换为您在设置 Application Integration 中记下的项目 ID。Using the Application Integration skills, build an integration named sample-claims-adjudication in project PROJECT_ID, region us-central1. - Start it with an API trigger named adjudicate_claim. - Inputs: claimId (string), claimAmount (double), policyActive (boolean). - Outputs: decision (string) and reason (string). - Rules: if policyActive is false, return DENY. If claimAmount is 1000 or less, return APPROVE. Otherwise, return REVIEW. Set reason to a short explanation. - Save the integration version JSON in this directory so I can review it. - Show me every command before you run it, then upload, publish, and run it once with a sample claim. - 当智能体首次使用某项技能时,Gemini CLI 会要求您激活该技能。允许。
- 智能体会写入集成版本文件,例如
sample-claims-adjudication.json。其中包含触发器 (triggerConfigs)、任务 (taskConfigs) 和变量 (integrationParameters)。请仔细阅读,并让代理说明任何不符合预期的情况。例如,检查代理是否开启了 Cloud Logging (cloudLoggingDetails.enableCloudLogging),这可能会增加费用。如需关闭此功能,请将enableCloudLogging设置为false并移除cloudLoggingSeverity。 - 批准命令。Gemini CLI 在运行每个命令(包括只读命令)之前都会询问。这些技能还会指示智能体在更改任何内容(例如上传、发布或运行集成)之前,先向您显示确切的命令或请求。如果智能体在未显示命令的情况下请求批准,请让其显示命令。在批准之前,请检查项目、区域和集成名称,并拒绝读取或更改不属于您的集成的命令。
您批准后,代理会将 JSON 文件作为新版本 (versions.upload) 上传、发布 (versions.publish),并通过 API 触发器 (integrations.execute) 运行。然后,它会向您显示决策、原因和执行 ID。
8. 验证执行
自行运行已发布的集成并读取其执行记录。
- 打开一个新的 Cloud Shell 终端标签页,前往实验目录,然后将项目 ID 和区域保存到变量中:
cd ~/appint-agent-lab export PROJECT_ID=$(gcloud config get-value project) export LOCATION=us-central1 - 运行集成,并使用大于 1000 的理赔金额:
curl -X POST \ -H "Authorization: Bearer $(gcloud auth print-access-token)" \ -H "Content-Type: application/json" \ -d '{ "triggerId": "api_trigger/adjudicate_claim", "inputParameters": { "claimId": {"stringValue": "CLM-1001"}, "claimAmount": {"doubleValue": 2500}, "policyActive": {"booleanValue": true} } }' \ "https://integrations.googleapis.com/v1/projects/${PROJECT_ID}/locations/${LOCATION}/integrations/sample-claims-adjudication:execute"executionId和outputParameters,其中decision设置为REVIEW。 - 读取执行记录。将
EXECUTION_ID替换为响应中的executionId:curl -G \ -H "Authorization: Bearer $(gcloud auth print-access-token)" \ --data-urlencode 'filter=execution_id="EXECUTION_ID"' \ "https://integrations.googleapis.com/v1/projects/${PROJECT_ID}/locations/${LOCATION}/integrations/sample-claims-adjudication/executions"executionDetails.state为SUCCEEDED,executionDetails.executionSnapshots显示每个任务的状态。
您还可以在 Google Cloud 控制台的执行日志中查看运行情况。
9. 问题排查
成功的响应并不总是意味着每个任务都按预期执行。让智能体检查执行情况。在 Gemini CLI 中,输入以下提示,并替换 EXECUTION_ID:
Check execution EXECUTION_ID of sample-claims-adjudication. Did every task
succeed? If anything failed, tell me why and propose a fix.
代理读取执行记录 executions.list(按执行 ID 过滤),并总结运行和每个任务的状态。
如果此实验出现问题,请检查以下常见原因:
/skills不会列出 Application Integration 技能。从~/appint-agent-lab启动 Gemini CLI 并信任该文件夹。- 调用失败,并显示
PERMISSION_DENIED。检查您是否使用了正确的项目,以及您是否拥有该项目的 Application Integration Editor 角色 (roles/integrations.integrationEditor)。 - 运行集成失败,并显示
No integrations found for the requested trigger_id。请检查请求中的项目和区域是否与集成发布的位置一致,triggerId是否为api_trigger/adjudicate_claim,以及是否已发布集成版本。如果您上传了某个版本但未发布,也会收到相同的错误。
10. 清理
- 在 Gemini CLI 中,让智能体移除示例集成:
Unpublish sample-claims-adjudication, then delete every version of it.versions.unpublish),并删除每个版本 (versions.delete)。当没有剩余版本时,集成将不再显示在集成列表中。如果您仅为此实验创建了项目,则可以删除该项目,而不是移除集成。在您在验证执行情况中打开的终端标签页中运行以下命令:gcloud projects delete $(gcloud config get-value project) - 输入
/quit并按Enter键,即可退出 Gemini CLI。 - 删除实验目录:
cd ~ && rm -rf ~/appint-agent-lab
11. 恭喜
您通过提示 AI 智能体使用 Application Integration 智能体技能,构建、发布、运行和检查了集成。
后续步骤
- 构建与 AI 智能体的集成
- Application Integration 智能体技能
- 在 GitHub 上阅读相关 skill:基础知识、编写和问题排查。