

1. 簡介
在本實驗室中,您將向 AI 代理描述 Application Integration 整合項目,並建構該項目。您將從 google/skills 存放區安裝三個公開的 Application Integration 代理技能,然後提示 Gemini CLI 編寫、上傳、發布及執行小型範例整合。
範例 sample-claims-adjudication 會接收保險理賠,並傳回 APPROVE、REVIEW 或 DENY。
學習內容
- 在 Google Cloud 專案中設定 Application Integration。
- 安裝 Application Integration 代理技能。
- 提示 Gemini CLI 建構、上傳、發布及執行整合。
- 請自行檢查執行結果,並要求代理排解問題。
- 清除整合範例。
課程內容
application-integration-basics、-authoring和-troubleshooting技能可為代理提供的功能。- 如何在核准前,查看整合版本 JSON 和代理執行的指令。
- 如何解讀執行記錄。
2. 專案設定
- 如果沒有 Google 帳戶,請建立帳戶。
- 請改用個人帳戶,而非公司或學校帳戶。公司和學校帳戶可能設有限制,導致您無法啟用本實驗室所需的 API。
- 登入 Google Cloud 控制台。
- 在 Cloud 控制台中啟用計費功能。
- 完成本實驗室所需的 Cloud 資源費用應低於 $1 美元。
- 您可以按照本實驗室結尾的步驟刪除資源,以免產生額外費用。
- 新使用者可享有價值 $300 美元的免費試用期。
- 建立新專案或選擇重複使用現有專案。
- 如果看到專案配額錯誤,請重複使用現有專案,或刪除現有專案來建立新專案。
請使用新專案或可安全實驗的現有專案,而非正式環境專案。代理會使用您的憑證,上傳、發布及執行整合作業。
3. 開啟 Cloud Shell 編輯器
- 按一下這個連結,直接前往 Cloud Shell 編輯器
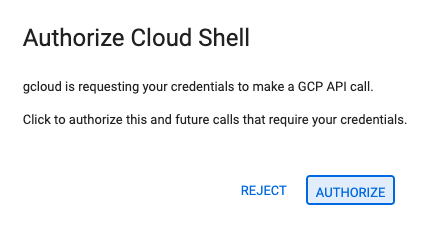
- 如果今天在任何時候看到授權提示,請點選「授權」繼續操作。
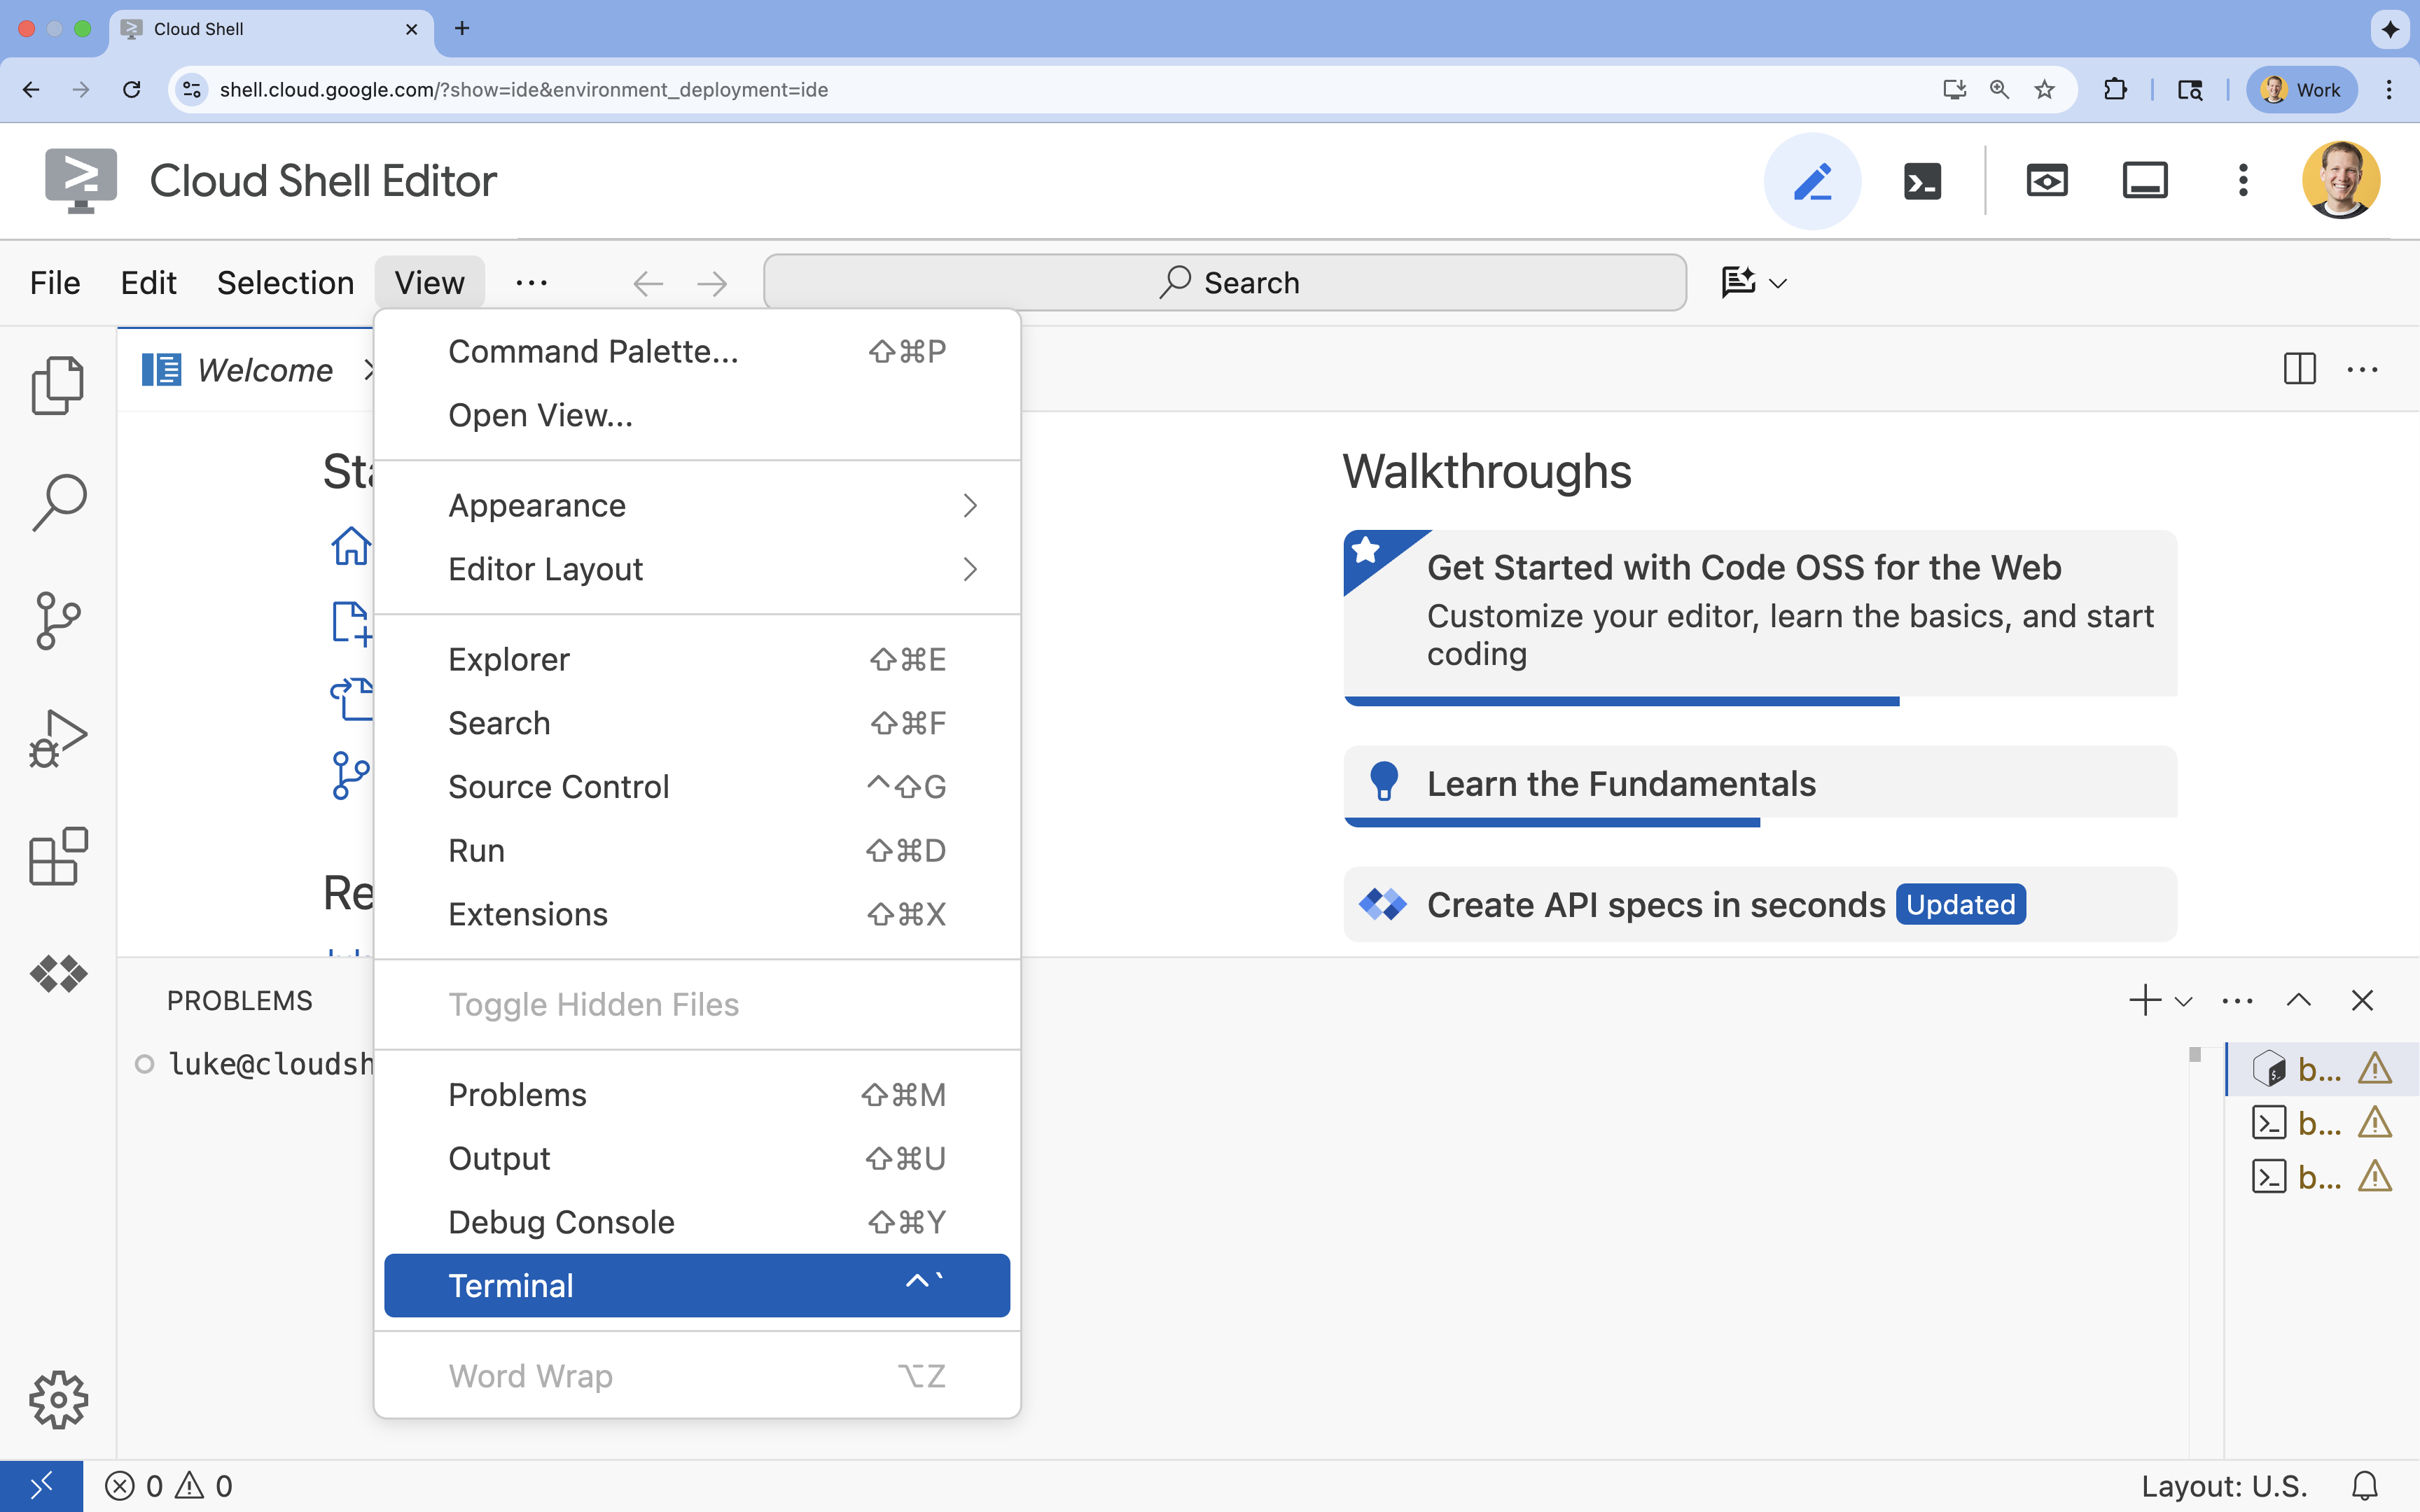
- 如果終端機未顯示在畫面底部,請開啟終端機:
- 點選「查看」。
- 按一下「終端機」
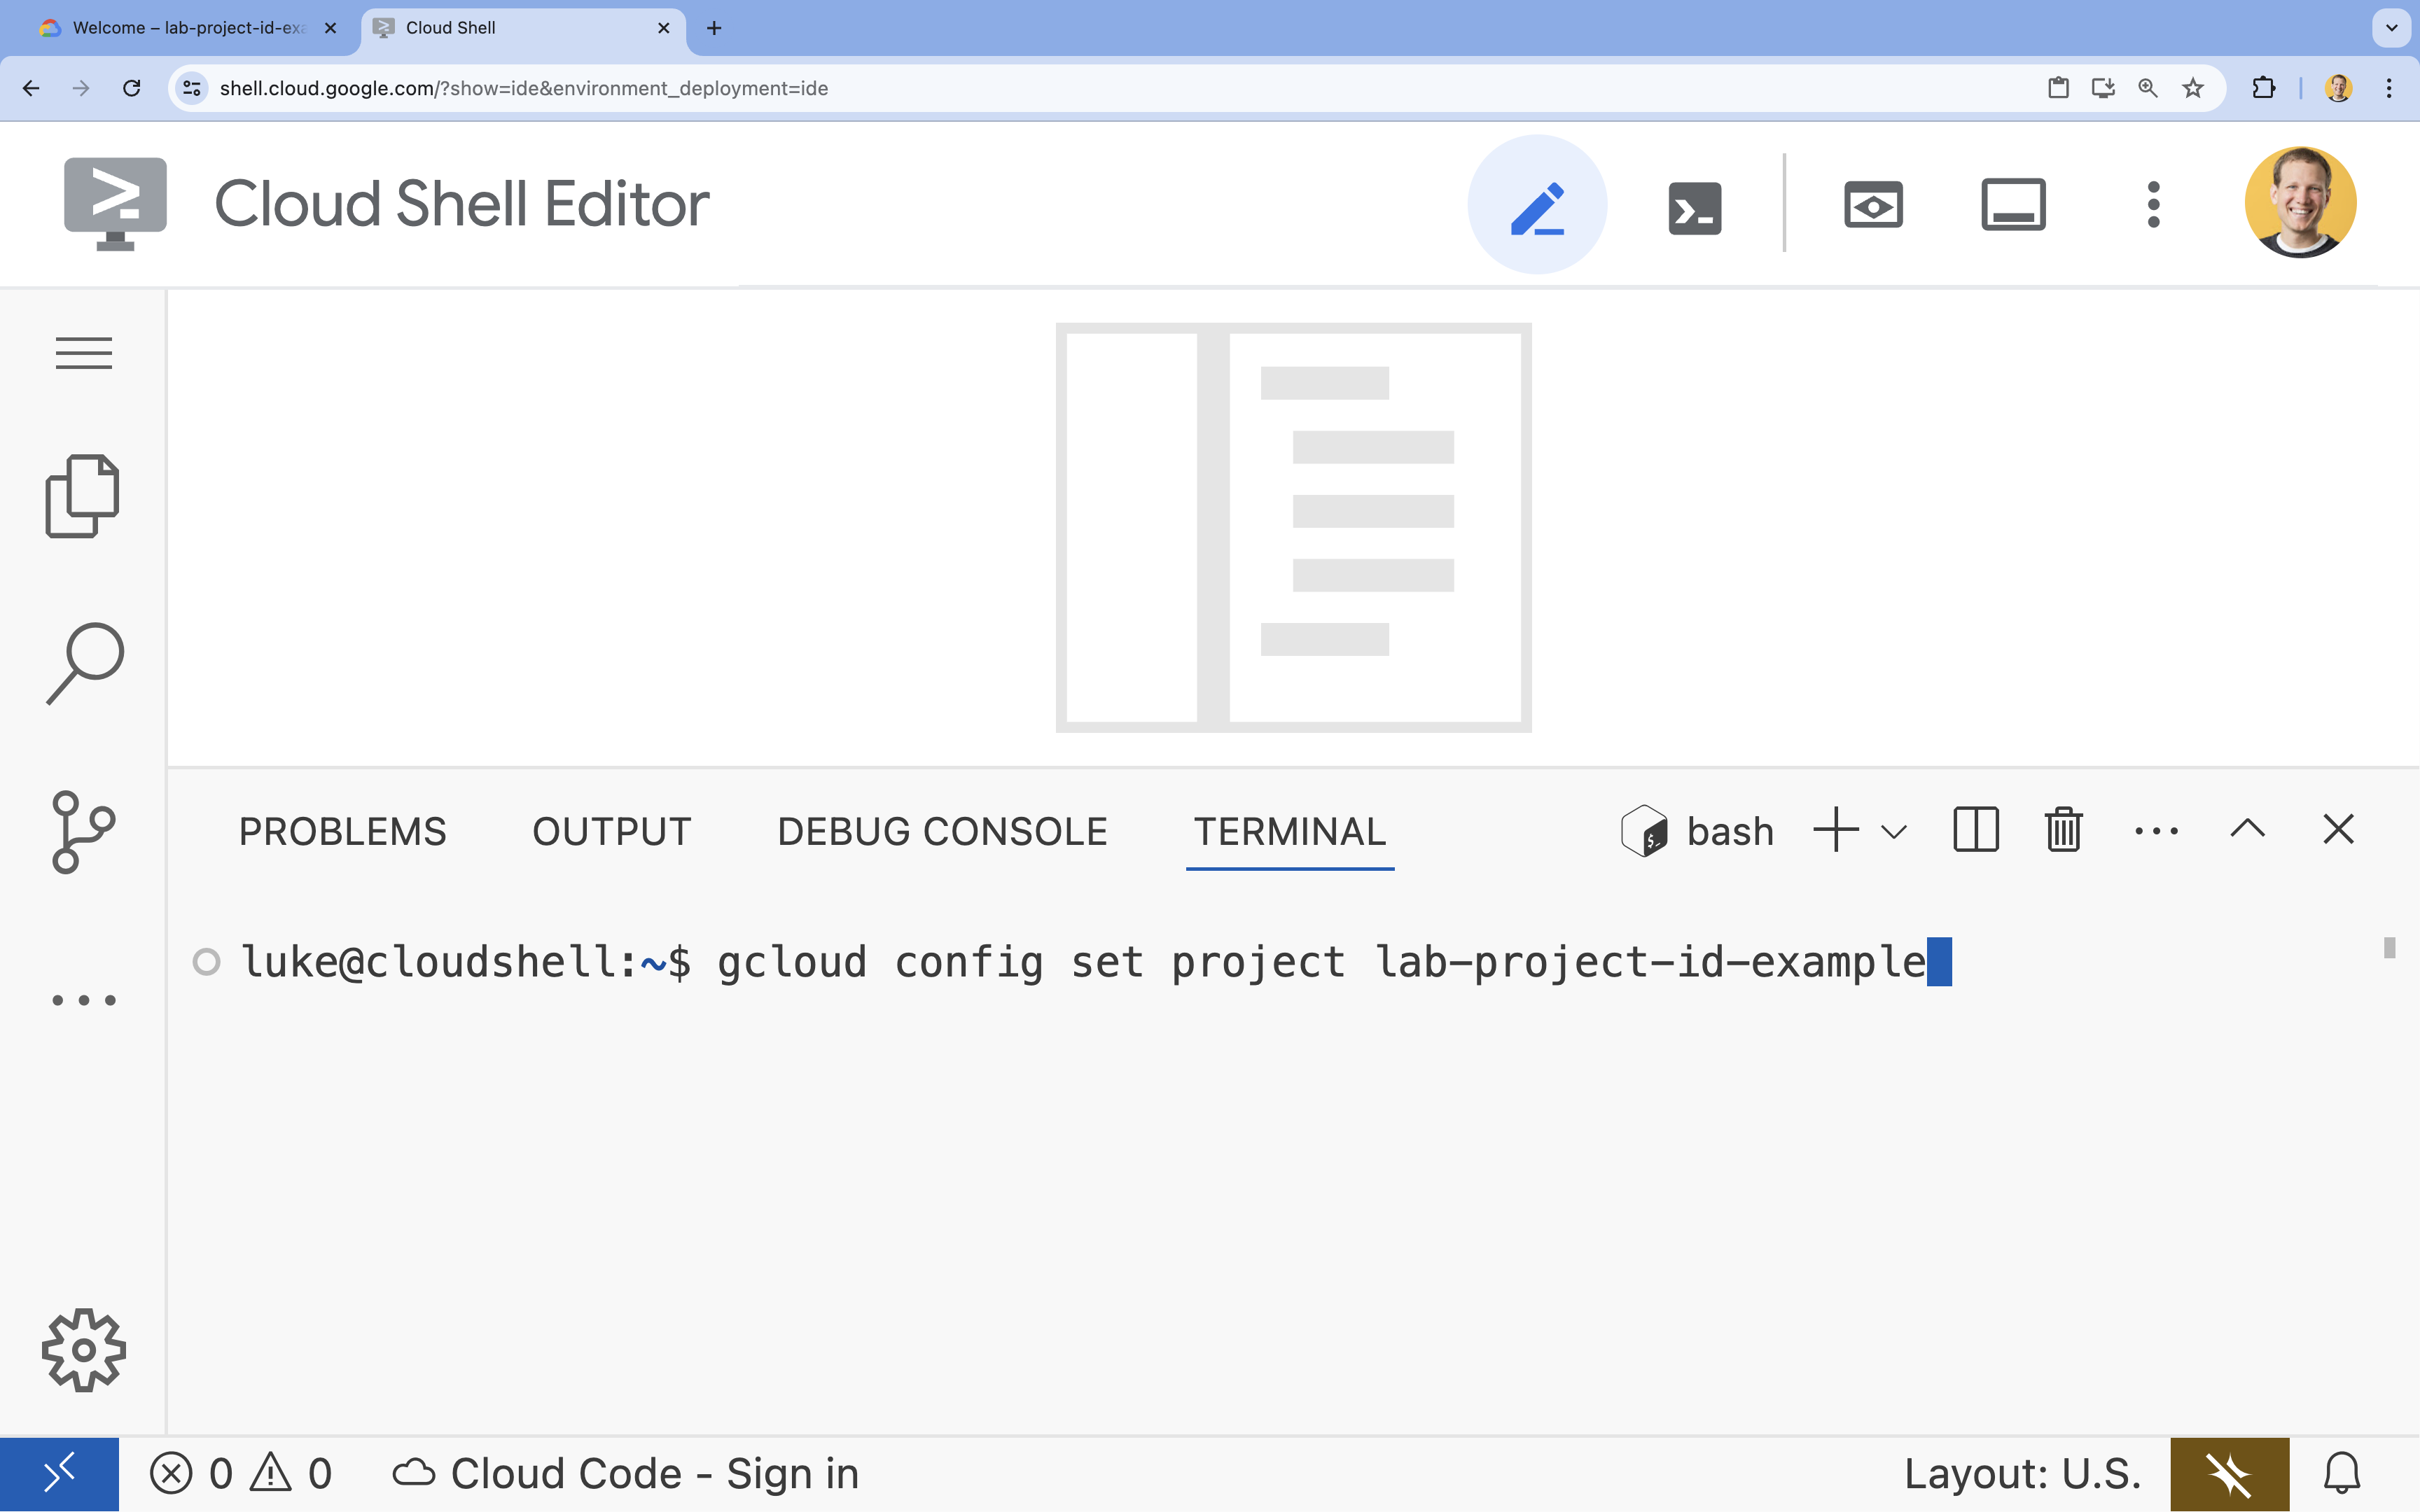
- 在終端機中,使用下列指令設定專案:
- 格式:
gcloud config set project [PROJECT_ID] - 範例:
gcloud config set project lab-project-id-example - 如果忘記專案 ID:
- 您可以使用下列指令列出所有專案 ID:
gcloud projects list | awk '/PROJECT_ID/{print $2}'
- 您可以使用下列指令列出所有專案 ID:
- 格式:
- 您應會看到下列訊息:
Updated property [core/project].
WARNING,且系統詢問Do you want to continue (Y/n)?,代表您可能輸入了錯誤的專案 ID。按下n,再按下Enter,然後嘗試再次執行gcloud config set project指令。
4. 設定 Application Integration
Application Integration 具有區域性,因此您必須在一個區域中設定。本實驗室會使用 us-central1。
- 記下專案 ID,稍後要貼到提示中:
gcloud config get-value project - 啟用 Application Integration API:
gcloud services enable integrations.googleapis.com - 前往 Google Cloud 控制台的「Application Integration」頁面,然後選取專案。
- 在「總覽」頁面中,選取「
us-central1」區域,然後按一下「快速設定」。設定完成後,控制台會顯示「Integrations」(整合) 清單。如果重複使用專案,請先確認您具備「設定 Application Integration」中列出的角色,再點選「快速設定」。
詳情請參閱「設定 Application Integration」。
5. 安裝代理技能
技能可讓代理具備 Application Integration 知識:
application-integration-basics:概念、啟用 API、佈建區域、IAM 角色和限制。application-integration-authoring:以 JSON 格式編寫整合版本,並上傳、發布及執行。application-integration-troubleshooting:診斷失敗、停滯或無訊息的執行作業。
- 建立本實驗室的目錄,然後前往該目錄:
mkdir ~/appint-agent-lab && cd ~/appint-agent-lab - 安裝三項技能:
npx skills add google/skills --skill application-integration-basics npx skills add google/skills --skill application-integration-authoring npx skills add google/skills --skill application-integration-troubleshootingEnter鍵保留該選項,選擇「Project」做為安裝範圍,然後確認安裝。
技能現已移至「~/appint-agent-lab/.agents/skills」。
6. 啟動 Gemini CLI
- 從實驗室目錄啟動 Gemini CLI:
gemini~/appint-agent-lab,然後再次執行gemini。您可能需要按下Enter鍵來接受部分預設設定。 - 列出 Gemini CLI 可使用的技能:
/skillsapplication-integration-*技能。
7. 建構、發布及執行整合作業
- 將這段提示詞貼到 Gemini CLI。將
PROJECT_ID替換為您在「設定 Application Integration」中記下的專案 ID。Using the Application Integration skills, build an integration named sample-claims-adjudication in project PROJECT_ID, region us-central1. - Start it with an API trigger named adjudicate_claim. - Inputs: claimId (string), claimAmount (double), policyActive (boolean). - Outputs: decision (string) and reason (string). - Rules: if policyActive is false, return DENY. If claimAmount is 1000 or less, return APPROVE. Otherwise, return REVIEW. Set reason to a short explanation. - Save the integration version JSON in this directory so I can review it. - Show me every command before you run it, then upload, publish, and run it once with a sample claim. - 代理首次使用技能時,Gemini CLI 會要求您啟用。允許。
- 代理會寫入整合版本檔案,例如
sample-claims-adjudication.json。其中包含觸發條件 (triggerConfigs)、工作 (taskConfigs) 和變數 (integrationParameters)。請詳閱內容,並要求代理說明任何不符合預期的部分。舉例來說,請檢查代理是否已啟用 Cloud Logging (cloudLoggingDetails.enableCloudLogging),這可能會增加費用。如要關閉,請將enableCloudLogging設為false,並移除cloudLoggingSeverity。 - 核准指令。Gemini CLI 執行指令前會先詢問,包括唯讀指令。此外,這些技能也會指示代理在變更任何內容 (例如上傳、發布或執行整合) 之前,先向您顯示確切的指令或要求。如果代理要求核准,但未顯示指令,請要求代理顯示指令。核准前,請先檢查專案、區域和整合名稱,並拒絕讀取或變更非您整合項目的指令。
核准後,代理會將 JSON 檔案上傳為新版本 (versions.upload)、發布 (versions.publish),並透過 API 觸發條件 (integrations.execute) 執行。接著,代理會顯示決策、原因和執行 ID。
8. 驗證執行作業
自行執行已發布的整合項目,並查看執行記錄。
- 開啟新的 Cloud Shell 終端機分頁,前往實驗室目錄,然後將專案 ID 和區域儲存至變數:
cd ~/appint-agent-lab export PROJECT_ID=$(gcloud config get-value project) export LOCATION=us-central1 - 執行整合,並將索賠金額設為超過 1000:
curl -X POST \ -H "Authorization: Bearer $(gcloud auth print-access-token)" \ -H "Content-Type: application/json" \ -d '{ "triggerId": "api_trigger/adjudicate_claim", "inputParameters": { "claimId": {"stringValue": "CLM-1001"}, "claimAmount": {"doubleValue": 2500}, "policyActive": {"booleanValue": true} } }' \ "https://integrations.googleapis.com/v1/projects/${PROJECT_ID}/locations/${LOCATION}/integrations/sample-claims-adjudication:execute"executionId和outputParameters,其中decision設為REVIEW。 - 閱讀執行記錄。將
EXECUTION_ID替換為回應中的executionId:curl -G \ -H "Authorization: Bearer $(gcloud auth print-access-token)" \ --data-urlencode 'filter=execution_id="EXECUTION_ID"' \ "https://integrations.googleapis.com/v1/projects/${PROJECT_ID}/locations/${LOCATION}/integrations/sample-claims-adjudication/executions"executionDetails.state為SUCCEEDED,executionDetails.executionSnapshots則顯示每項工作的狀態。
您也可以在 Google Cloud 控制台的執行記錄中查看執行作業。
9. 疑難排解
成功的回應不一定代表每項工作都符合預期。請代理檢查執行情況。在 Gemini CLI 輸入下列提示詞,並替換 EXECUTION_ID:
Check execution EXECUTION_ID of sample-claims-adjudication. Did every task
succeed? If anything failed, tell me why and propose a fix.
代理會使用 executions.list 讀取執行記錄,並依執行 ID 篩選,然後總結執行作業和各項工作的狀態。
如果本實驗室發生問題,請檢查下列常見原因:
/skills不會列出 Application Integration 技能。從~/appint-agent-lab啟動 Gemini CLI,並信任資料夾。- 呼叫失敗,並顯示
PERMISSION_DENIED。確認您使用的是正確的專案,且具備 Application Integration 編輯者角色 (roles/integrations.integrationEditor)。 - 執行整合失敗,並顯示
No integrations found for the requested trigger_id。請確認要求中的專案和區域與整合項目發布位置相符、triggerId為api_trigger/adjudicate_claim,且整合項目版本已發布。如果您上傳了版本但未發布,也會收到相同的錯誤訊息。
10. 清除
- 在 Gemini CLI 中,要求代理移除範例整合:
Unpublish sample-claims-adjudication, then delete every version of it.versions.unpublish),並刪除每個版本 (versions.delete)。如果沒有任何版本,整合項目就不會再顯示在整合項目清單中。如果您是專為這個實驗室建立專案,可以刪除專案,不必移除整合項目。在「驗證執行作業」開啟的終端機分頁中,執行下列指令:gcloud projects delete $(gcloud config get-value project) - 輸入
/quit並按下Enter鍵,即可退出 Gemini CLI。 - 刪除實驗室目錄:
cd ~ && rm -rf ~/appint-agent-lab
11. 恭喜
您已透過提示 AI 代理,使用 Application Integration 代理技能建構、發布、執行及檢查整合項目。
後續步驟
- 建構與 AI 代理的整合
- Application Integration 代理技能
- 請前往 GitHub 瞭解相關技能:基本概念、編寫和疑難排解。