
1. Introduction
In this codelab, you will learn about Google Antigravity, an agentic development platform that is designed to help you develop in this era of agents. Antigravity serves as your AI agents' central command center, providing a unified platform to launch, monitor, and orchestrate their activities.
In this codelab, we will use Antigravity to build real applications. We will move from simple web research to generating full-stack applications and enterprise-grade unit tests.
Prerequisites:
- Antigravity and Antigravity IDE installed and configured.
- Basic understanding of Google Antigravity. It is recommended to complete the codelab: Getting Started with Google Antigravity.
2. About the Use Cases
Since you have a basic understanding of Antigravity, let's dive into a few use cases to see it in action. Note that Antigravity is an Agent first platform. This means that in most cases, we are simply giving an instruction to the Agent and the Agent then goes off on its own, does its task, asks permissions if needed, produces the artifacts and then notifies us if the task is done. As a result of that, we cannot produce every single output of the Agent conversation in each of the following use cases. We will share the instructions and a few necessary screenshots of the expected results but your results might differ a bit.
The use cases that we will cover range from automating a few tasks with external sites, to generating and verifying unit test cases for a project, to a full web site development. Let's go.
3. News Highlights
This is a simple use case but it can be the basis via which you can use the web browser to visit web sites, extract information, do some actions and then return data to the user.
In this case, we are going to visit the Google News site and extract some information from there. But you can easily experiment with a site of your choice and see how it goes.
We will assume that we have a root folder under which we will create the different projects that we shall see in this codelab. This root folder on our machine is named agy2-pprojects.
First, create a folder named news-highlights in the above folder to start fresh.
Launch Antigravity and create a new Project. Add the news-highlights folder to it.
Start a new conversation in the newly imported news-highlights workspace:
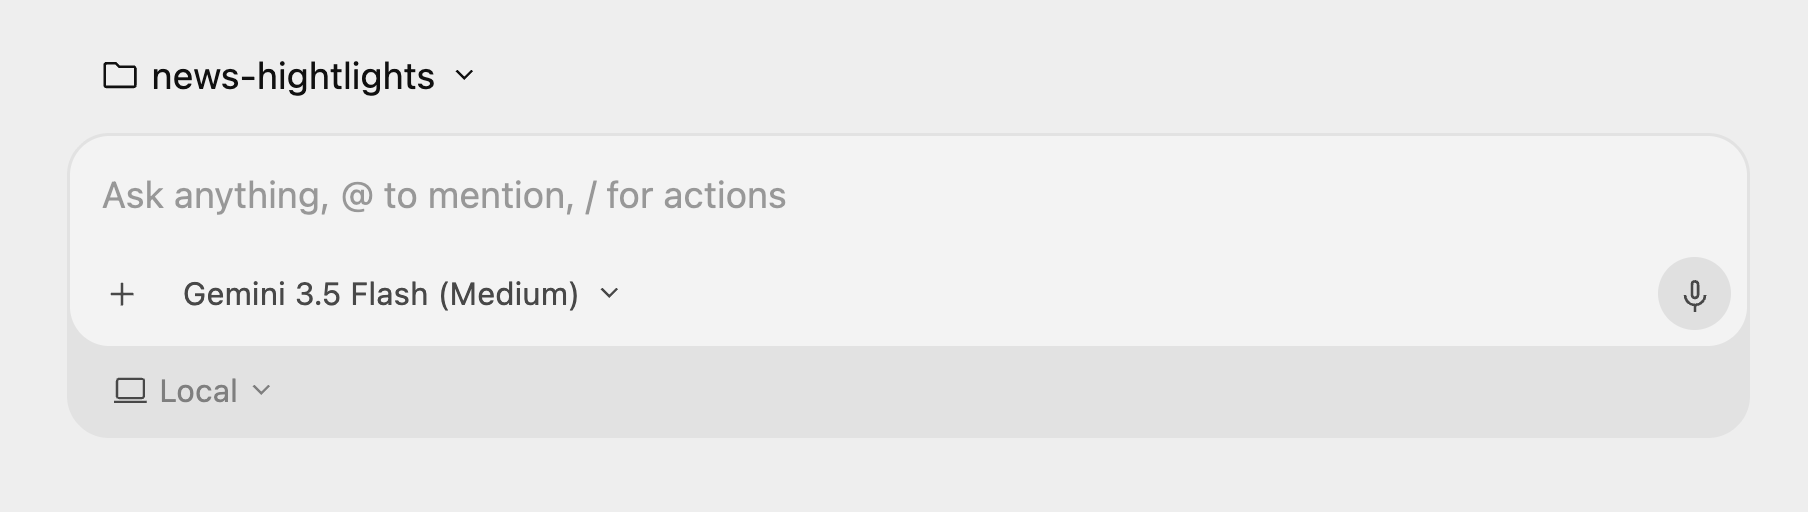
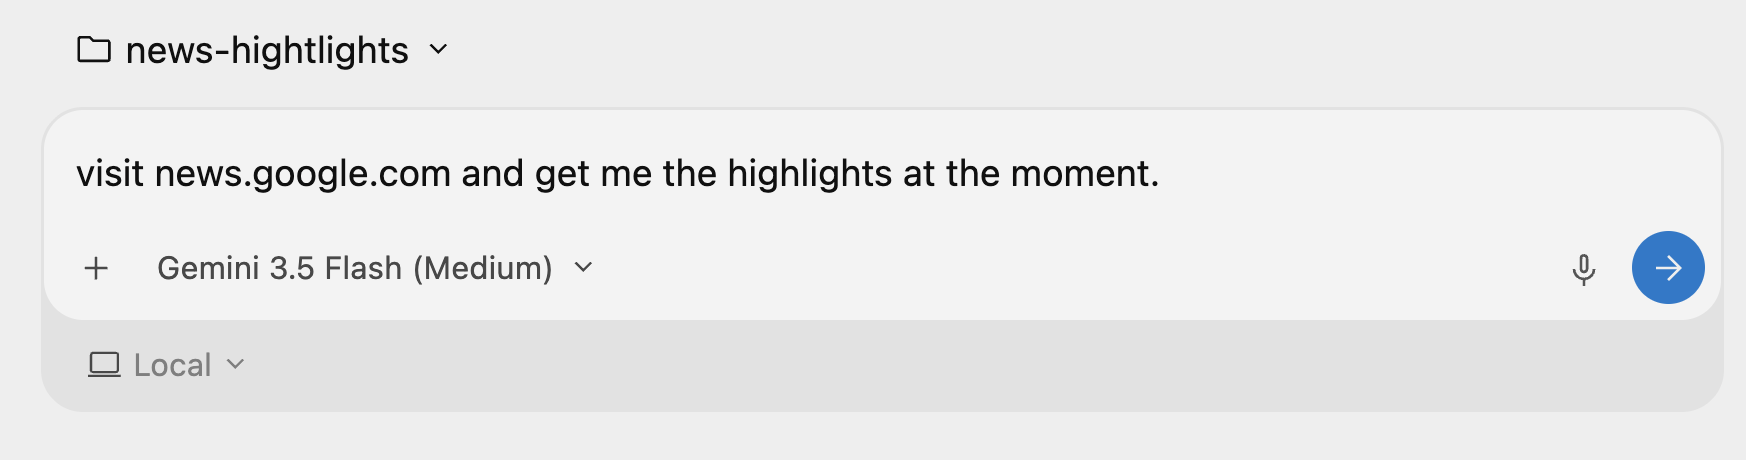
Then give the following instruction: "visit news.google.com and get me the highlights at the moment."
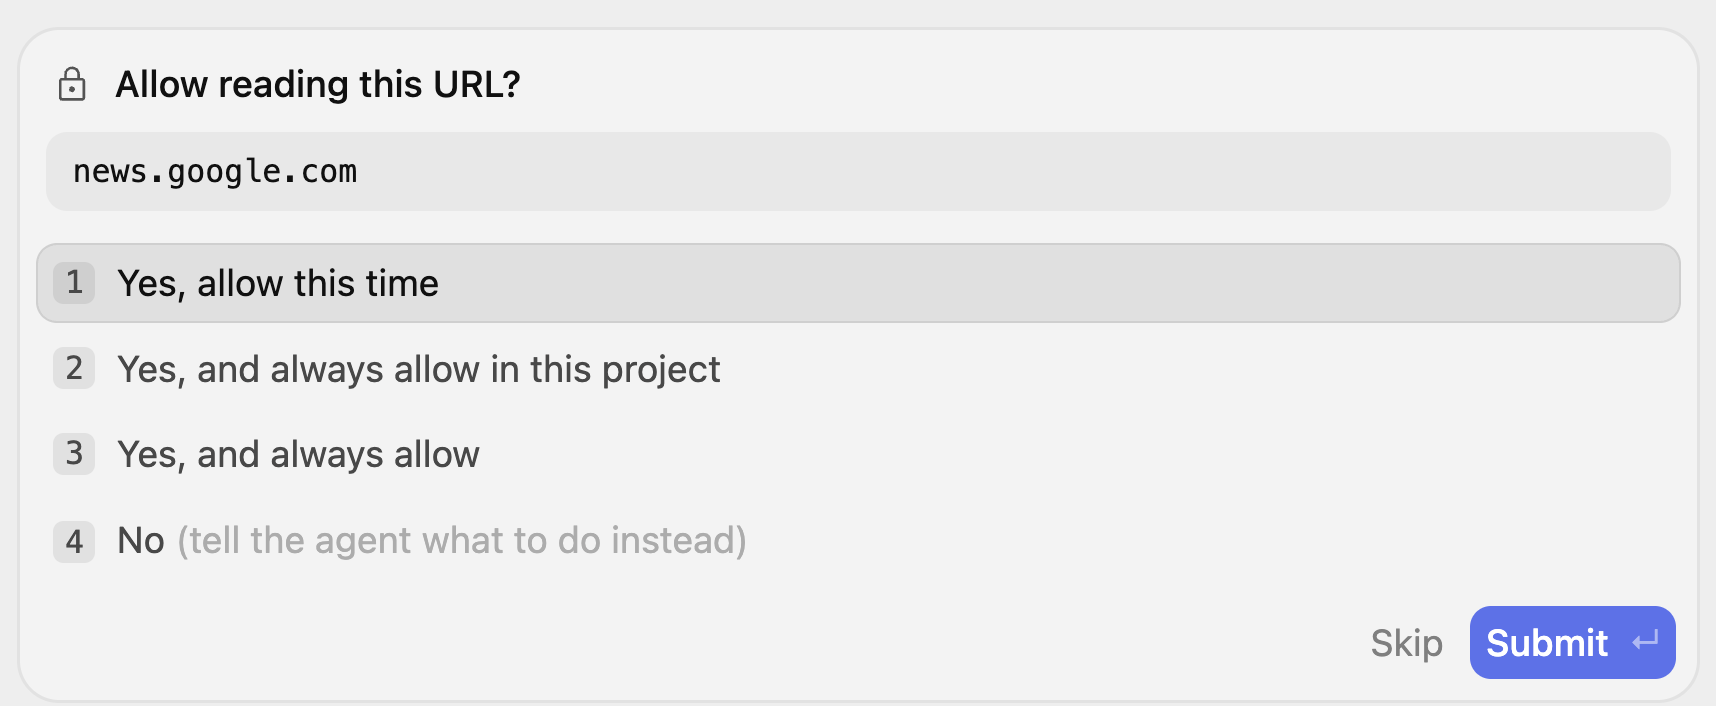
This will kick off the Agent process and it will determine that it needs to visit the news.google.com site and ask for your permission. It might prompt you several times for reading URLs and you can choose to give it permission for this project, etc.
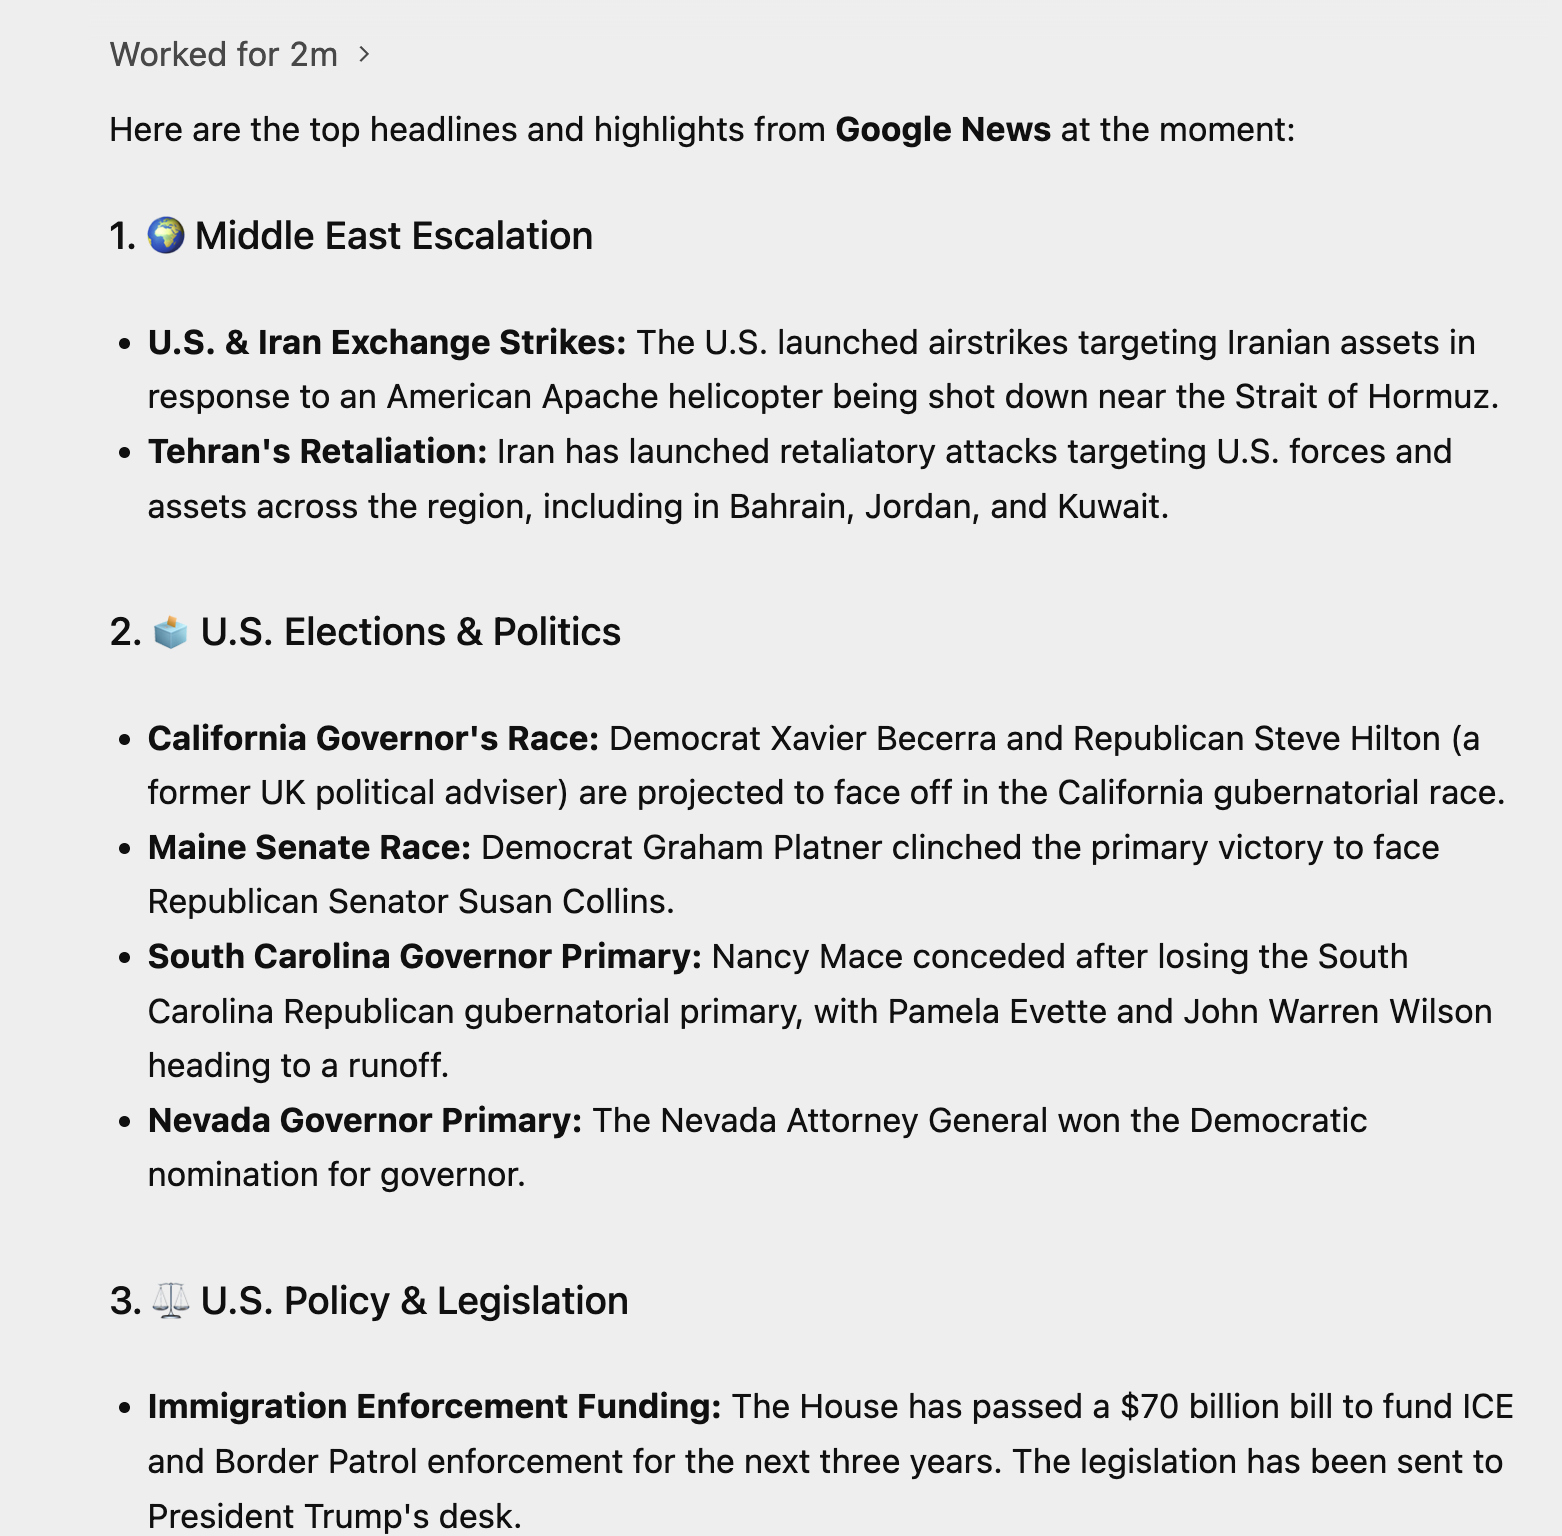
You should pay close attention to the Thinking process and see how the Agent goes about its work. A sample execution by the Agent is shown below:
Things to try out
- Once you understand this, pick a website that is available and which you would like the Agent to go and get/summarize some data from. Consider some website that you know has Dashboards and charts and ask it to pick a few values.
- Try the following prompt:
Visit https://docs.cloud.google.com/release-notes and get me a summary of the release notes, categorized by product.
4. Generate a Dynamic Website with Python + Flask
Let's move now to generate a complete web application. The web application that we are going to create is a site which provides information on a 1-day technical event, which has talks across the day by multiple speakers.
Once again, create a new folder called conference-website. Ensure that you have created a new project in the Antigravity Agent interface and added the conference-website folder to it.
You can begin the conversation by giving the prompt shown below:
I would like to generate a website that is a 1-day technical conference informational site.

The website should have the following functionality:
        1. A home page that shows the current date, location, schedule and time table.
        2. The 1-day event is a list of 8 talks in total.
        3. Each talk has 1 or 2 max. speakers.
        4. A talk has an ID, Title, Speakers, Category (1 or 2), Description and time of the talk.
        5. Each speaker has a First Name, Last Name and LinkedIn url.
        6. Allow for users to search by category, speaker, title.
        7. Give a lunch break of 60 minutes.
        8. Use dummy data for events and speakers, come up with a schedule, the event is about Google Cloud Technologies.
        9. Tech Stack: Python and Flask framework on server side. Front-end is basic HTML, CSS and JavaScript.
        10. Test out the site on your own for all functionality and provide a detailed README on how to setup, run and make any further changes.
11. Launch the web application for me to review.
Antigravity will analyze the request and come up first with an Implementation Plan. It will create a key artifact called implementation_plan.md for you to review in terms of how it plans to go about creating and meeting the requirements that you specified in the prompt. A sample output is shown below:

Before you click proceed, take a look at the implementation plan. You can either click on the link to the implementation_plan.md file above or by toggling the Auxiliary Pane in the top right. That will show you the Artifact view and you can see currently that the implementation plan is there for your review.
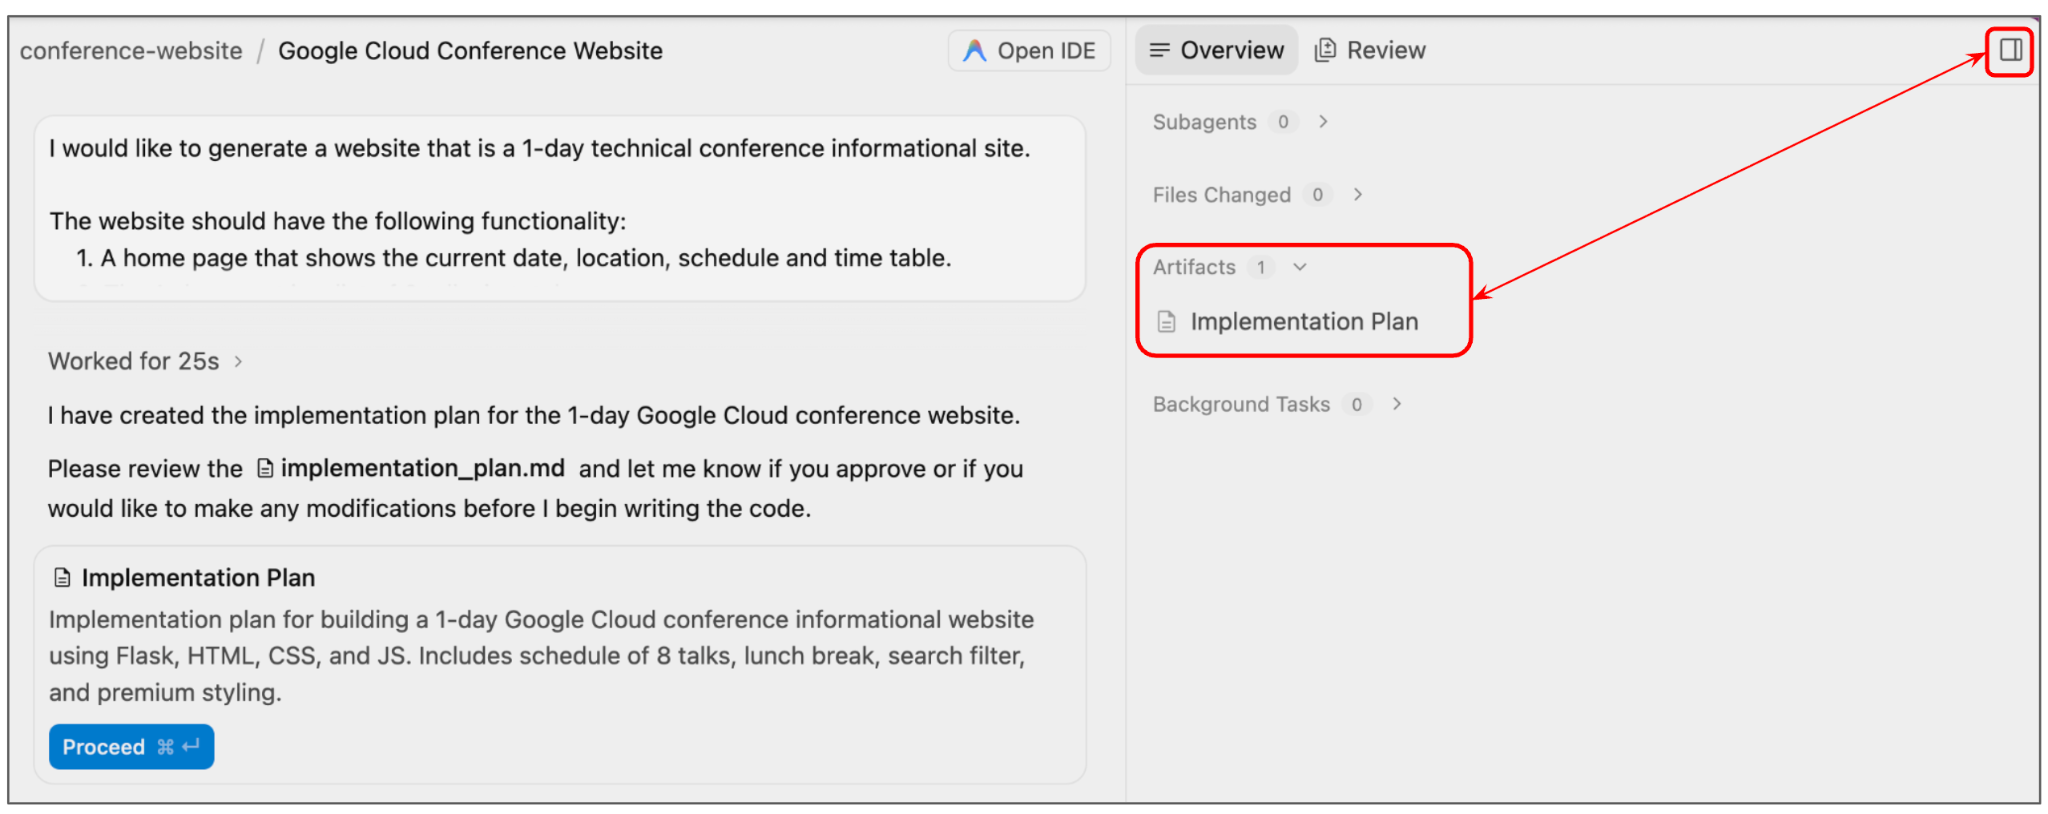
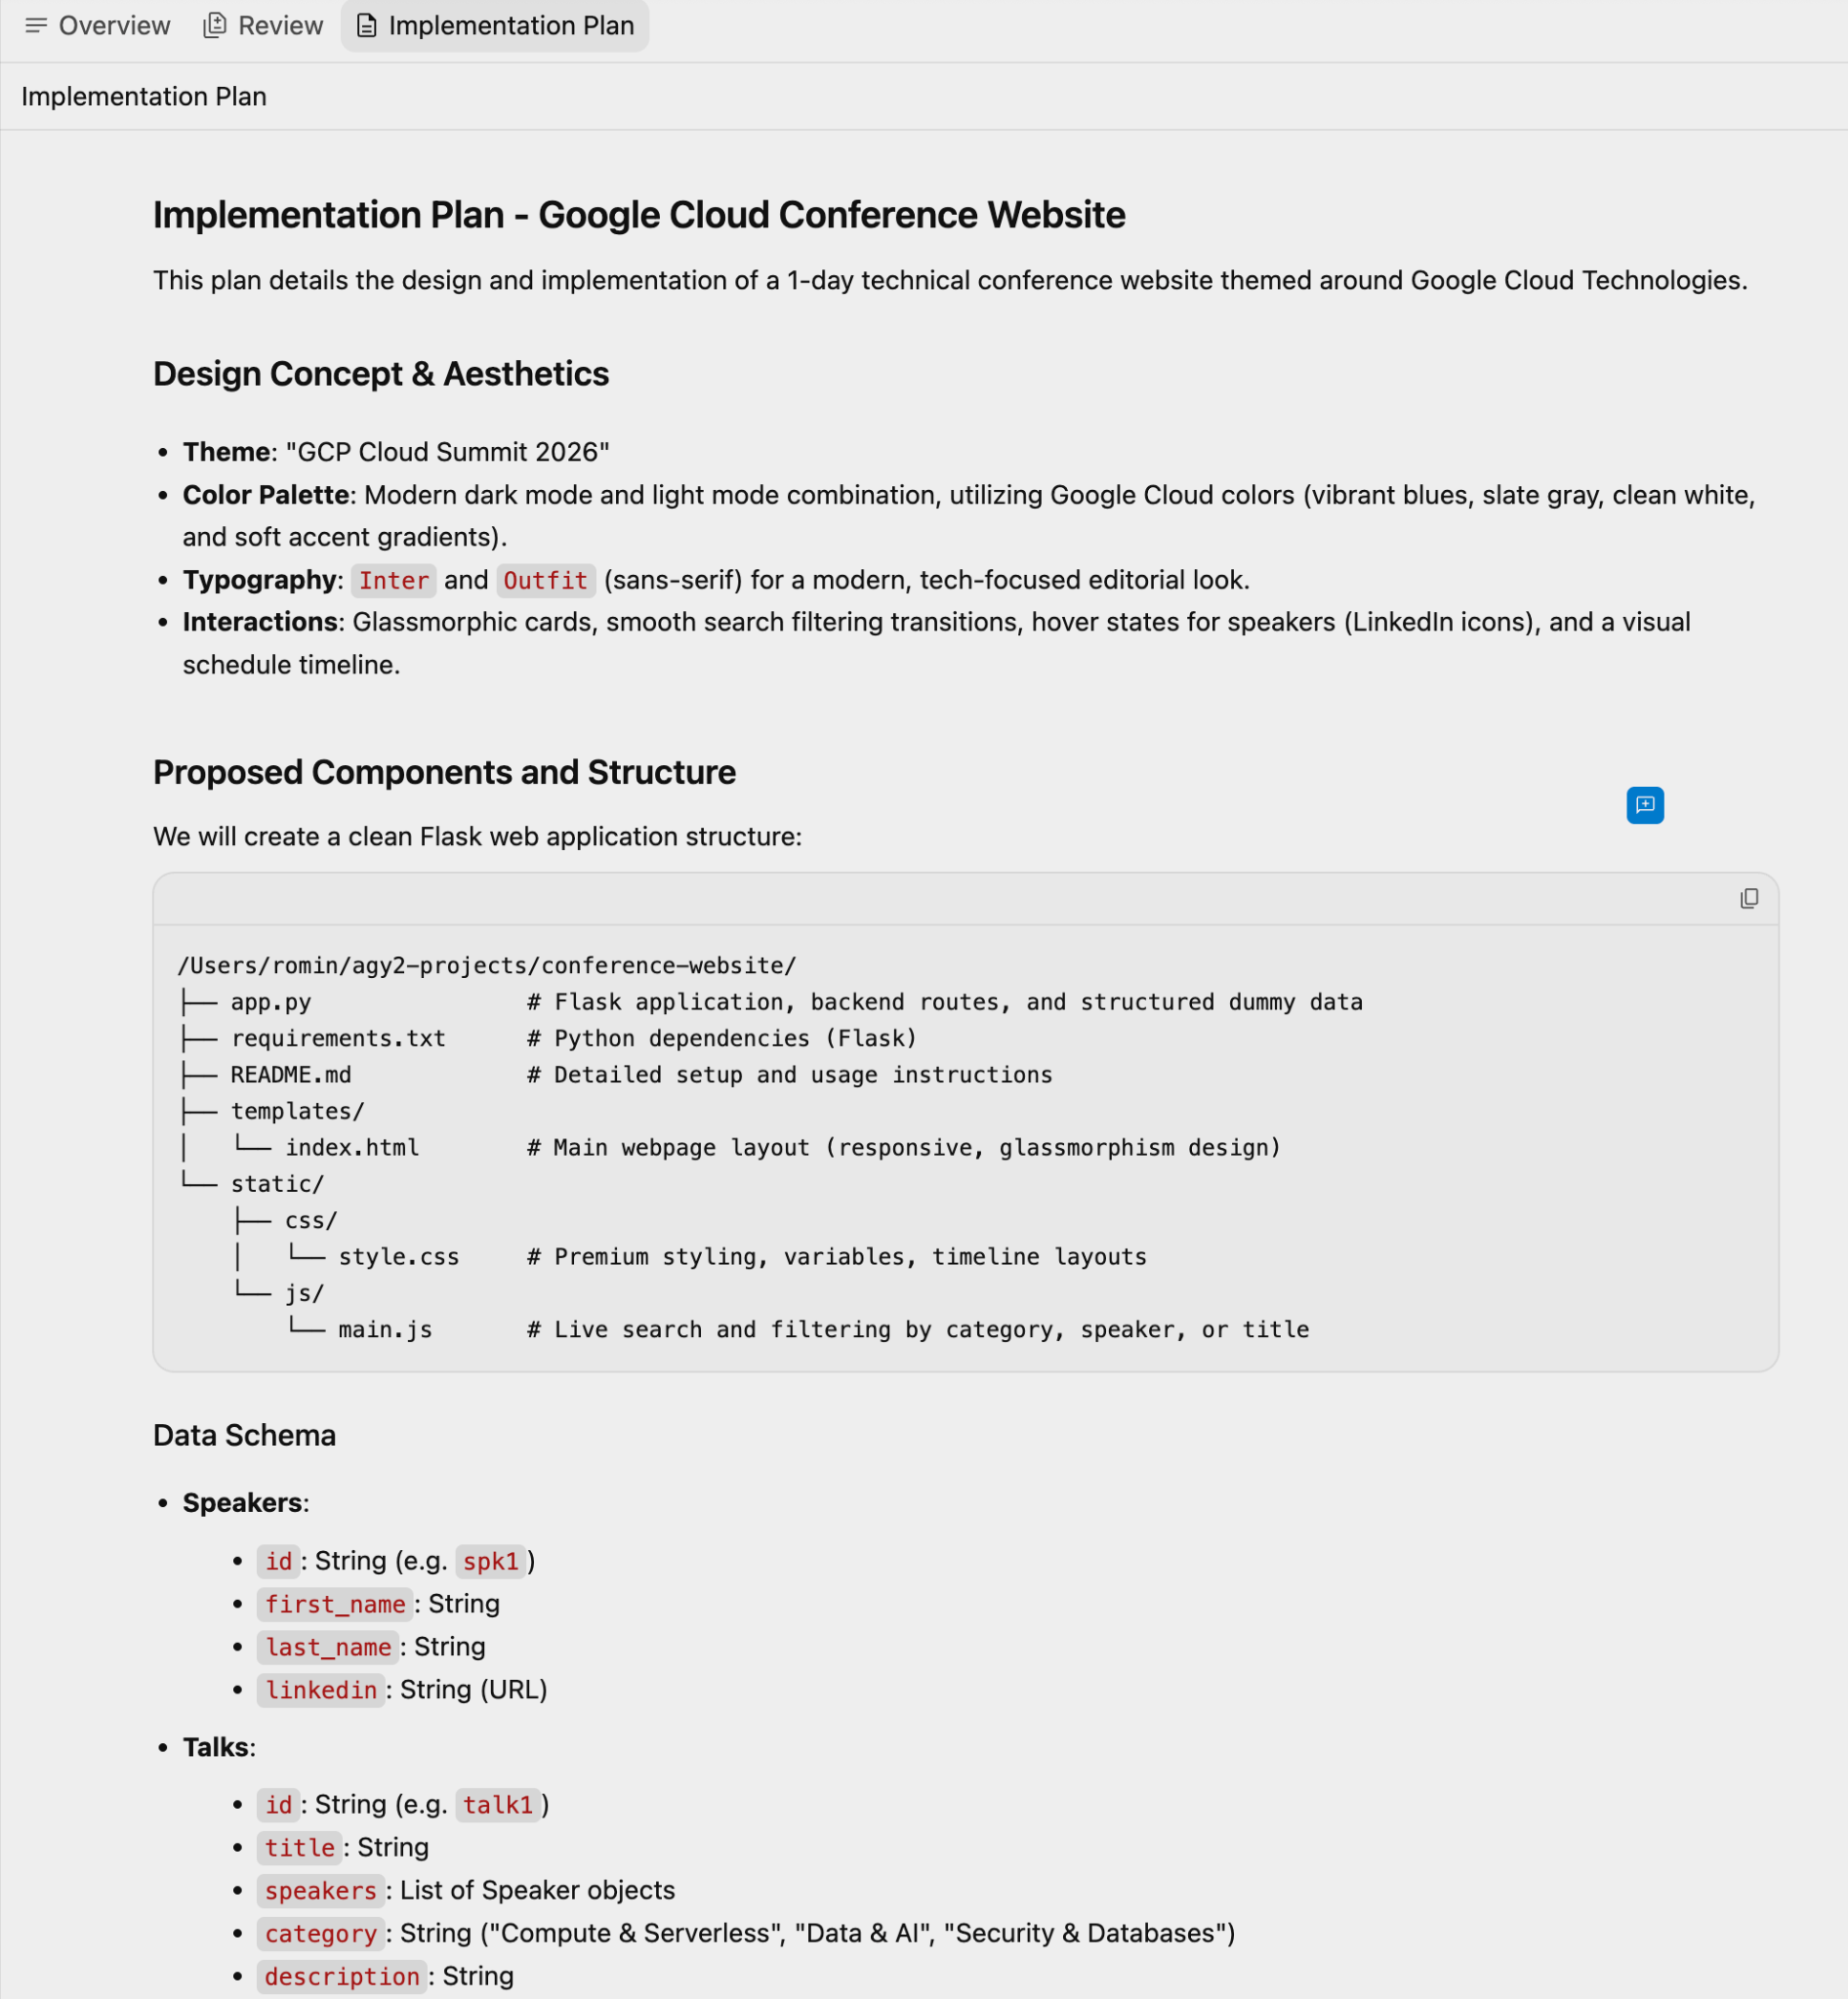
A sample implementation plan generated for our run is shown below:
You can provide your comments in the plan and prompt the Agent again or for now, we can accept the implementation plan as is, and move ahead by clicking on the Proceed button in the Conversation interface.
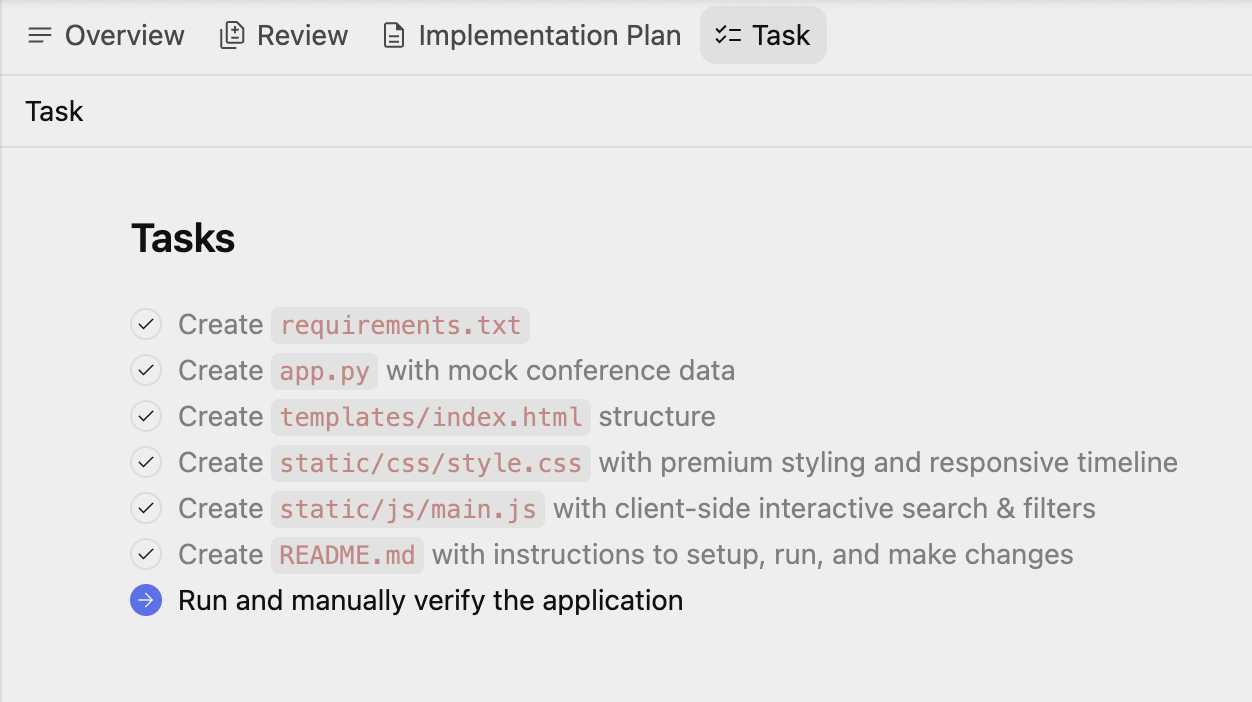
The Agent goes ahead with generating the source code files and you will also notice that it updates another artifact called the Task. This is a list of actions or tasks that it has identified to be done to achieve the final result.
You can click on the Task anytime or even visit the list of artifacts to view the Tasks. A sample listing is shown below:
At some point in the final task, where it tries to run and verify the application, Antigravity will set up a Python environment and will require your permission to set up the environment, install the dependencies and more. Do give the permissions as needed.
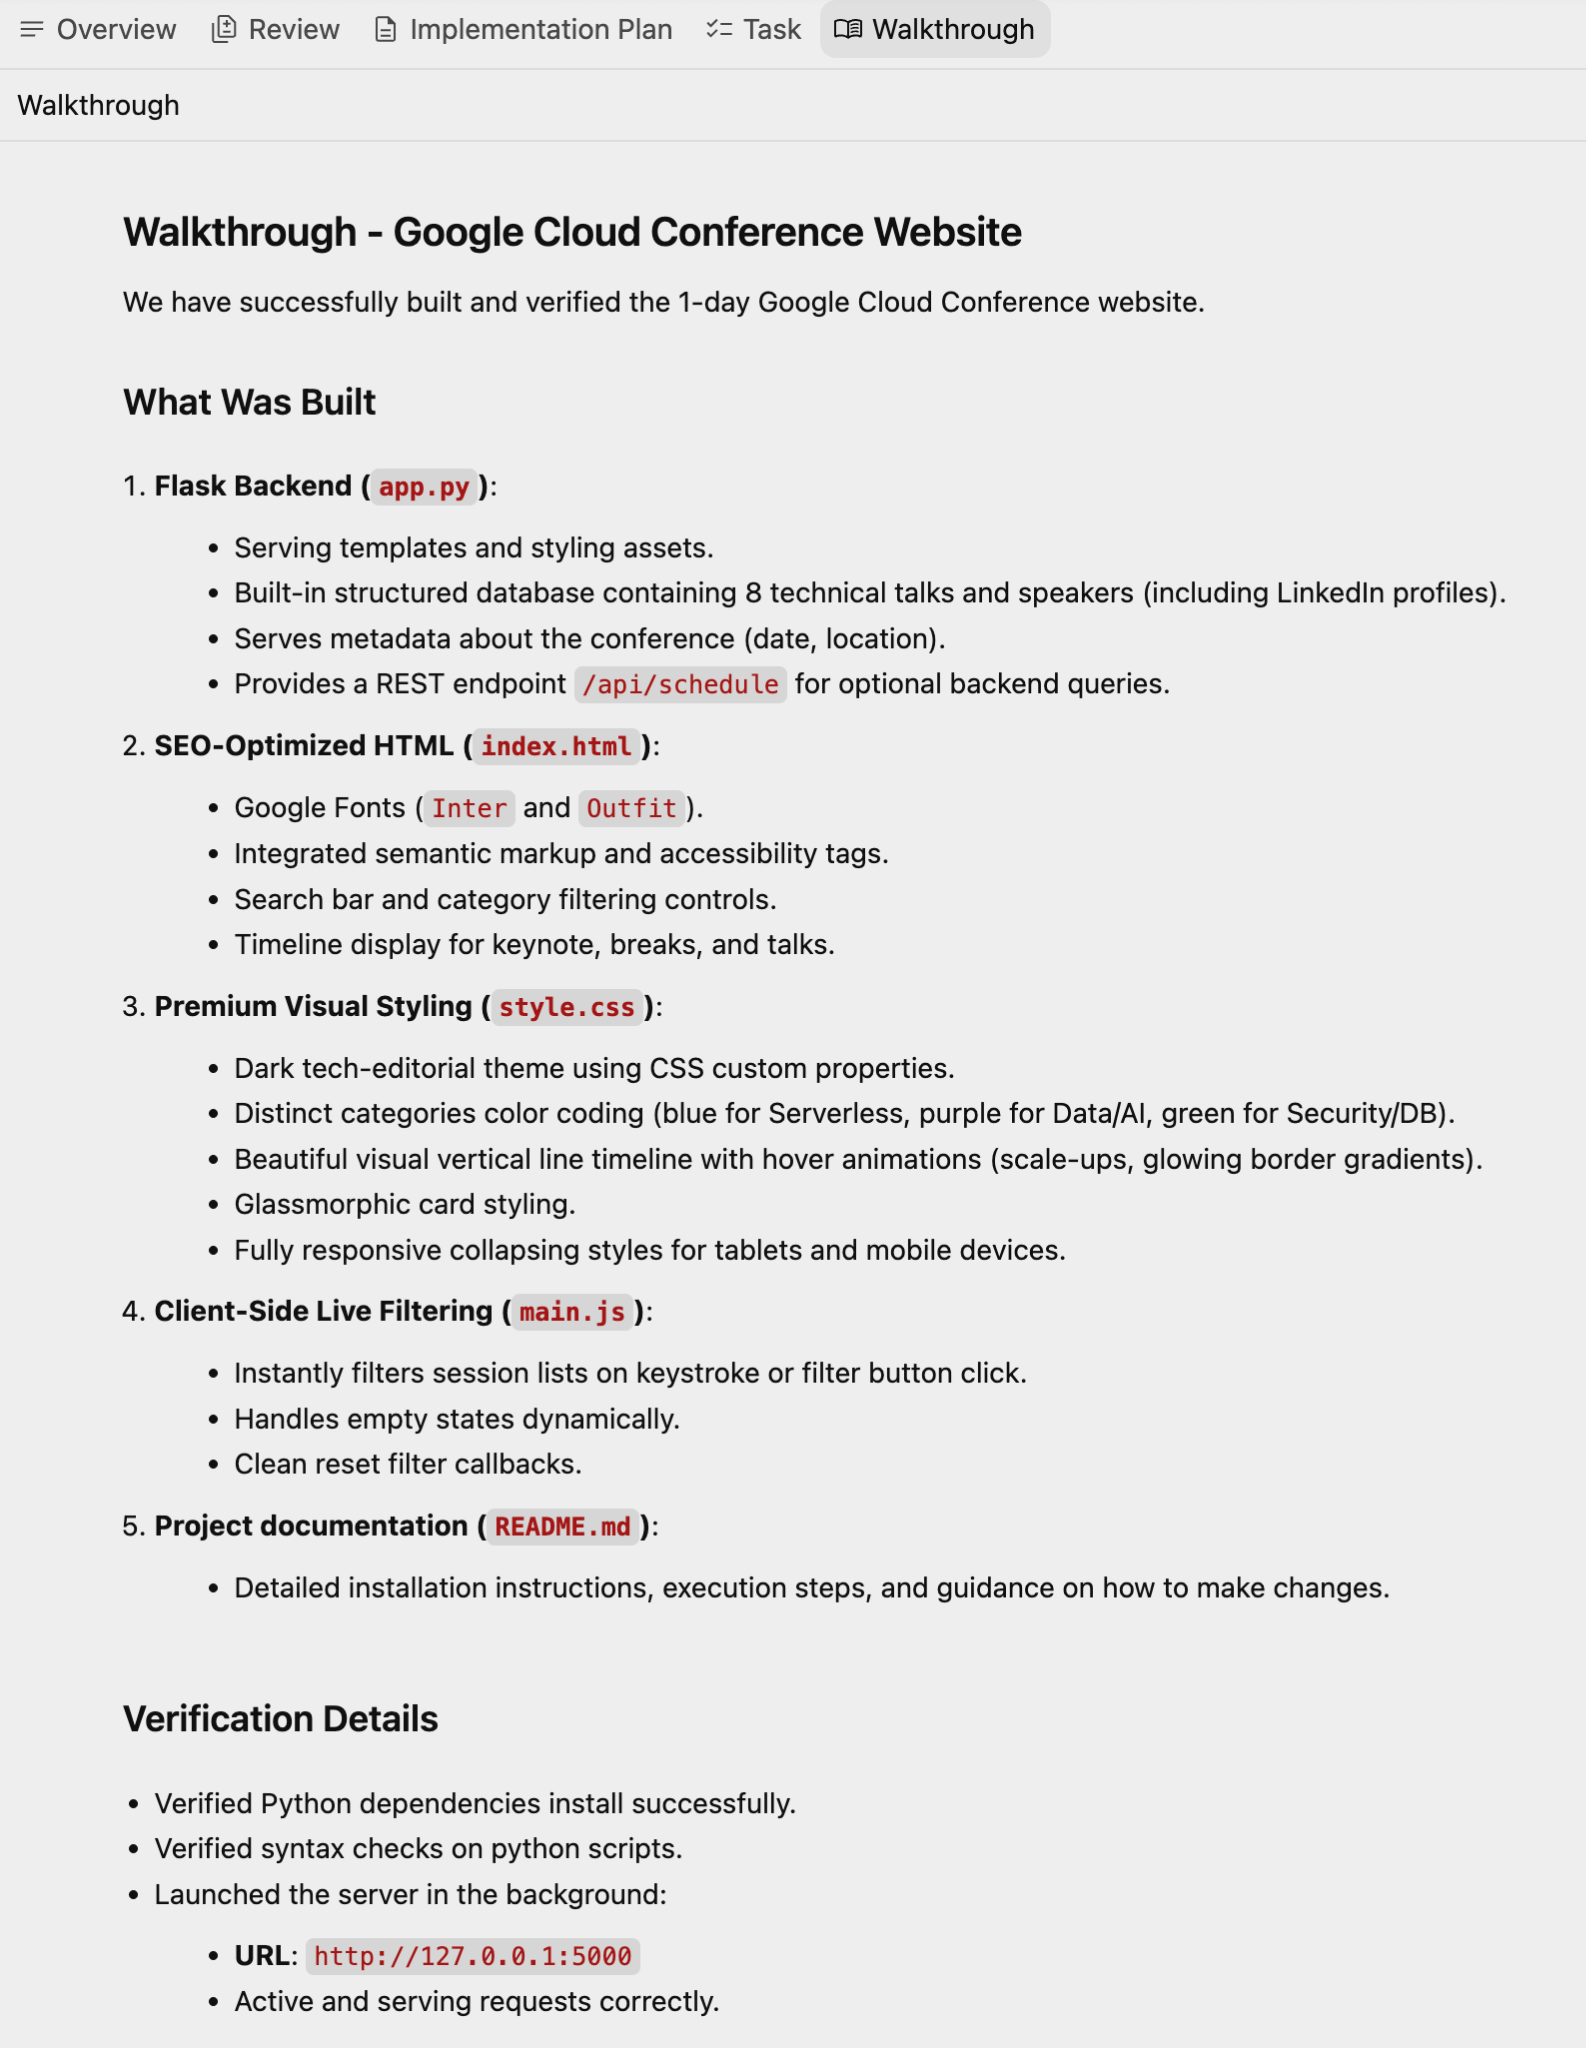
Once the verification is successful, it will highlight the details, along with another artifact, Walkthrough, that details the completed features, technology stack, validation results and instructions.
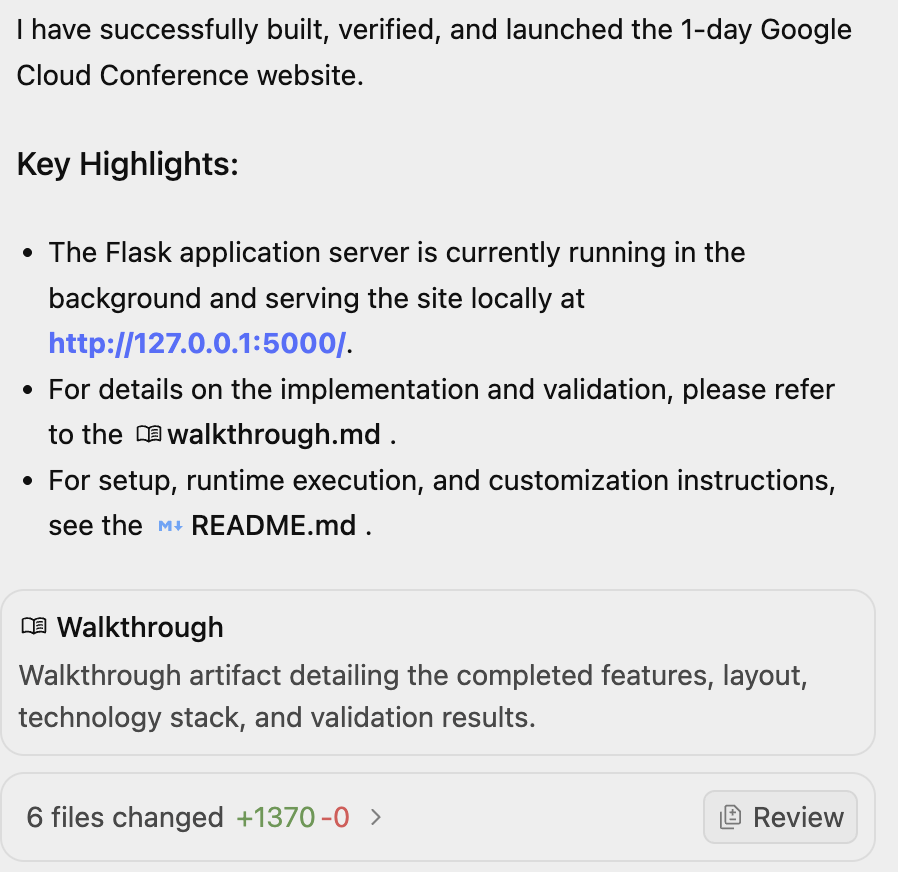
A sample Walkthrough is shown below:
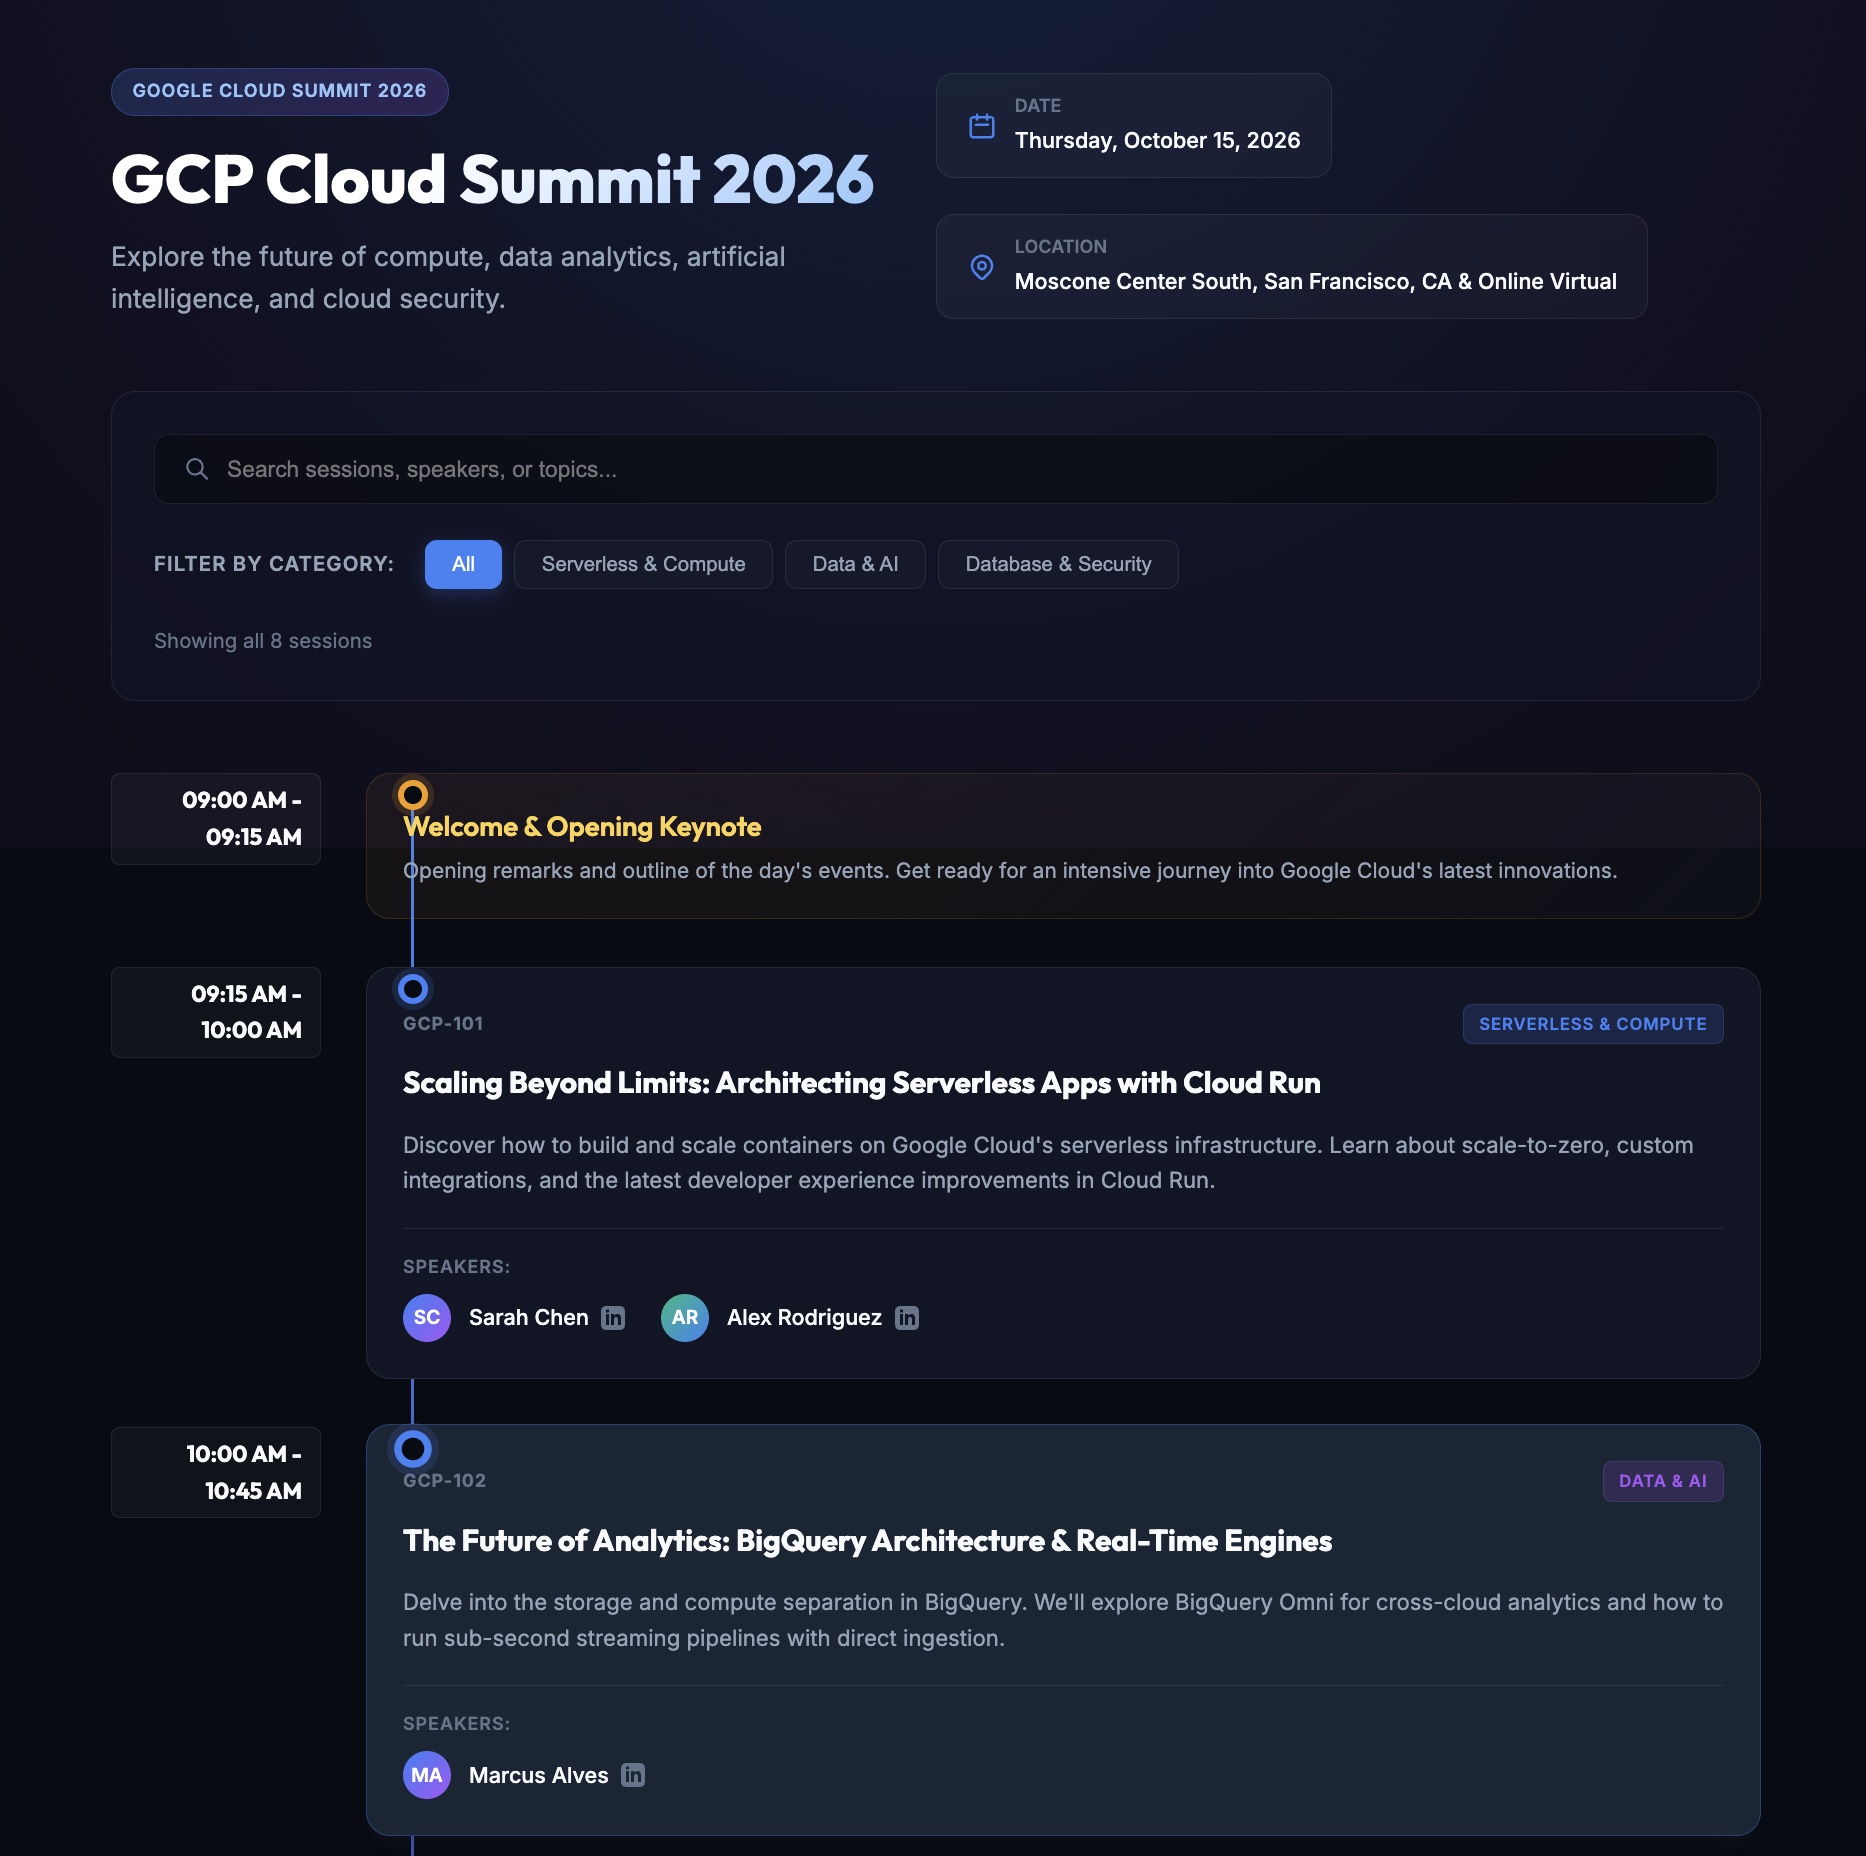
The final website when we visit the URL is shown below:
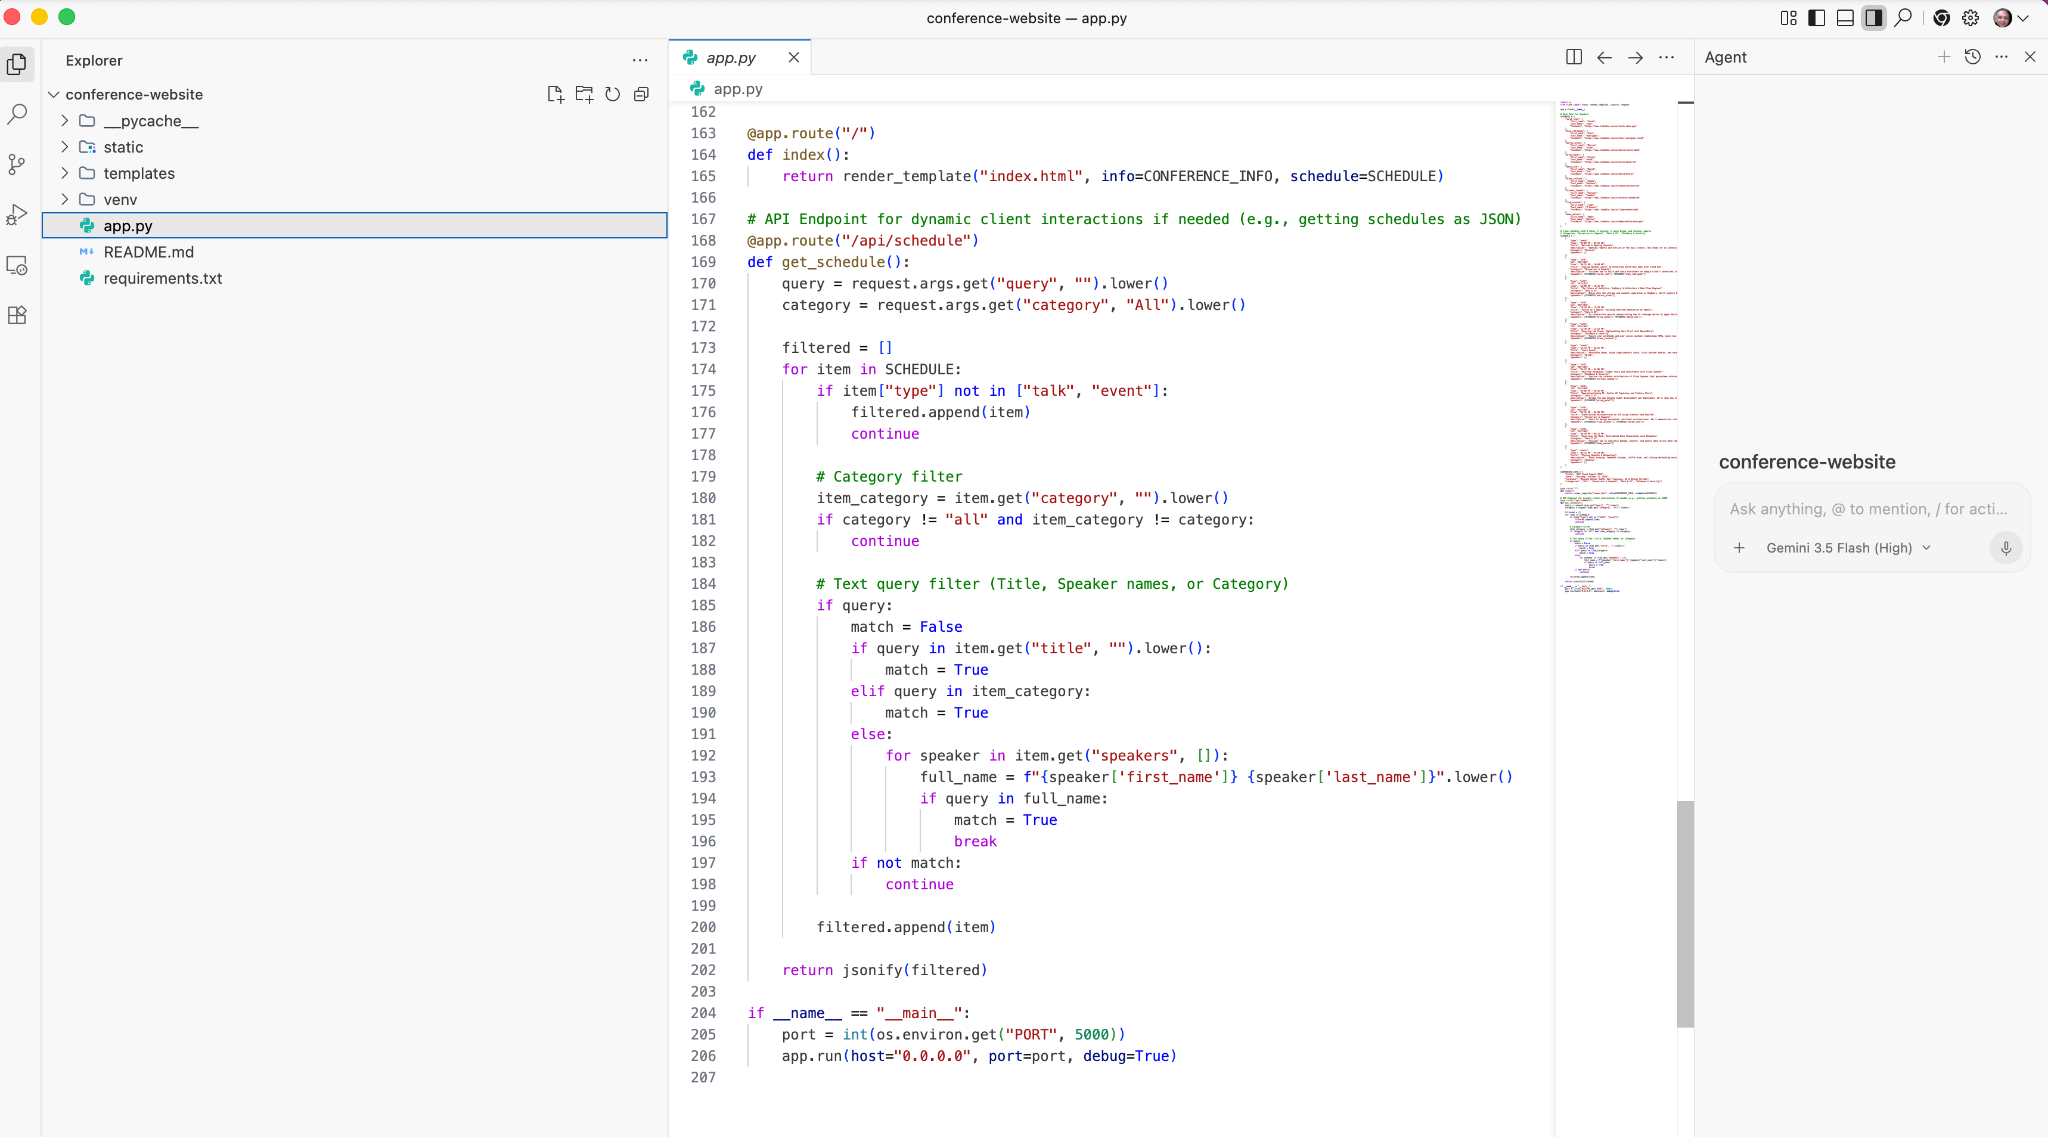
If you would like to see the code generated, you can click on the Open IDE in the top right corner. This will open up the Antigravity IDE, that you can use to view the code generated. A sample screenshot is shown below:
Things to try out
- Add additional functionality that you would like to the application. Provide the details to the Agent and notice how it goes about its task by first modifying the task list, then implementation plan and so on.
- Add additional data to the Event Schedule. For e.g.
Add two more talks to the schedule. - Ask the Agent to generate a README or more documentation for the application.
5. Generate a simple productivity app
We are going to now generate a simple Pomodoro timer web application.
Create a pomodoro-timer folder. Ensure that you are in the Agent Manager, have imported and selected the pomodoro-timer workspace. Start with this prompt:
Create a productivity app that features a Pomodoro timer. Give a calm and aesthetic look to the application.
Notice how it goes about creating the Implementation Plan, Task list and then goes about that. Keep paying attention to the flow, there might be situations in which it will prompt for your review.
A sample run with the Walkthrough message and Tasks is shown below:

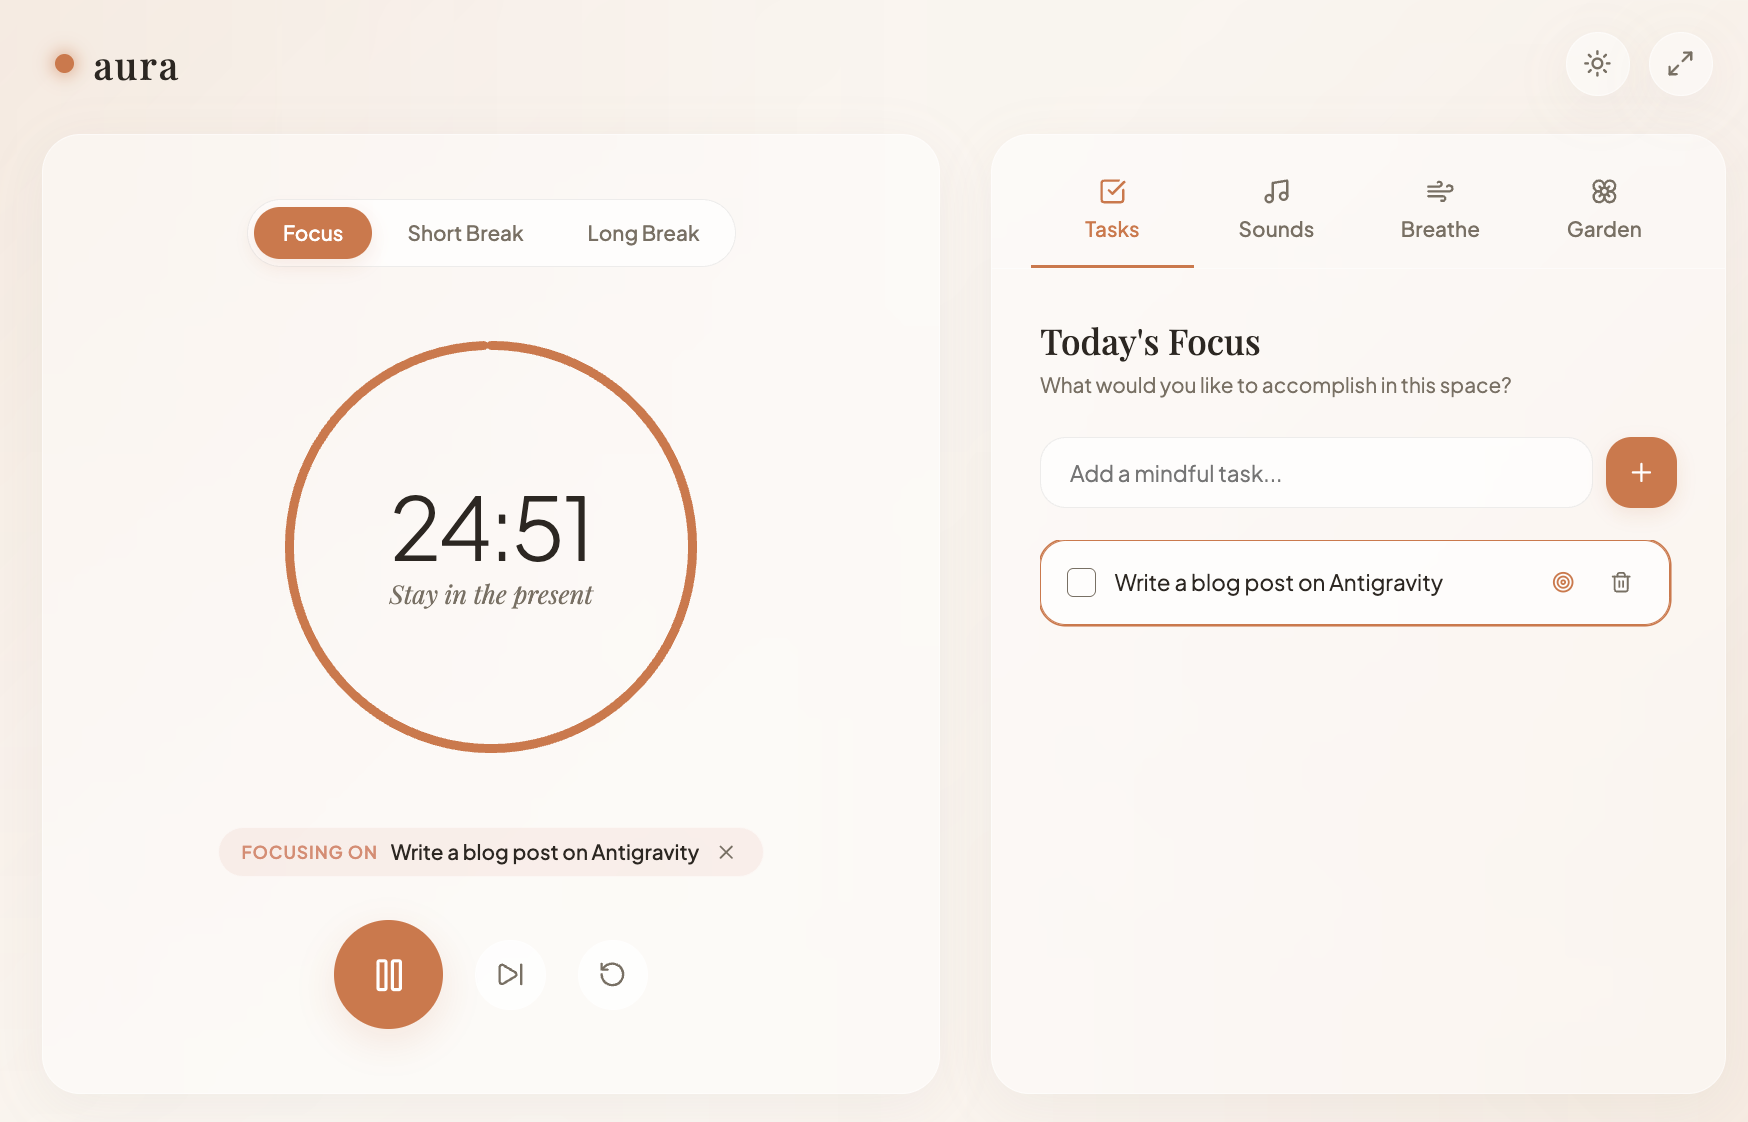
The final app looked like the one below and it looks quite good.
Things to try out
- Add some images to the application. For e.g. add a Timer image to the application.
- Try out a few variations of any application that you would like to generate. Play with the styles, images, ask for changes, etc.
6. Generate Unit Tests, Mock Stubs and Validate Tests
The final use case that we will try here is that of generating unit tests for a specific code file that we have and for the Agent to also execute the tests and validate them.
For this, we are going to have a workspace that has a single Python file as shown below:
from typing import Dict

# --- Custom Exceptions ---
class InventoryShortageError(Exception):
    """Raised when there is not enough item stock."""
    pass

class PaymentFailedError(Exception):
    """Raised when the payment gateway rejects the transaction."""
    pass

class InvalidOrderError(Exception):
    """Raised when the order violates business rules."""
    pass

# --- External Service Interfaces (To be Mocked) ---
class InventoryService:
    def get_stock(self, product_id: str) -> int:
        """Connects to DB to check stock."""
        raise NotImplementedError("Real connection required")

    def decrement_stock(self, product_id: str, quantity: int):
        """Connects to DB to reduce stock."""
        raise NotImplementedError("Real connection required")

class PaymentGateway:
    def charge(self, amount: float, currency: str) -> bool:
        """Connects to Stripe/PayPal."""
        raise NotImplementedError("Real connection required")

# --- Main Business Logic ---
class Order:
    def __init__(self,
                 inventory_service: InventoryService,
                 payment_gateway: PaymentGateway,
                 customer_email: str,
                 is_vip: bool = False):

        self.inventory = inventory_service
        self.payment = payment_gateway
        self.customer_email = customer_email
        self.is_vip = is_vip
        self.items: Dict[str, Dict] = {} # {product_id: {'price': float, 'qty': int}}
        self.is_paid = False
        self.status = "DRAFT"

    def add_item(self, product_id: str, price: float, quantity: int = 1):
        """Adds items to the cart. Rejects invalid prices or quantities."""
        if price < 0:
            raise ValueError("Price cannot be negative")
        if quantity <= 0:
            raise ValueError("Quantity must be greater than zero")

        if product_id in self.items:
            self.items[product_id]['qty'] += quantity
        else:
            self.items[product_id] = {'price': price, 'qty': quantity}

    def remove_item(self, product_id: str):
        """Removes an item entirely from the cart."""
        if product_id in self.items:
            del self.items[product_id]

    @property
    def total_price(self) -> float:
        """Calculates raw total before discounts."""
        return sum(item['price'] * item['qty'] for item in self.items.values())

    def apply_discount(self) -> float:
        """
        Applies business logic:
        1. VIPs get flat 20% off.
        2. Regulars get 10% off if total > 100.
        3. No discount otherwise.
        """
        total = self.total_price

        if self.is_vip:
            return round(total * 0.8, 2)
        elif total > 100:
            return round(total * 0.9, 2)

        return round(total, 2)

    def checkout(self):
        """
        Orchestrates the checkout process:
        1. Validates cart is not empty.
        2. Checks stock for all items.
        3. Calculates final price.
        4. Charges payment.
        5. Updates inventory.
        """
        if not self.items:
            raise InvalidOrderError("Cannot checkout an empty cart")

        # 1. Check Inventory Logic
        for product_id, data in self.items.items():
            available_stock = self.inventory.get_stock(product_id)
            if available_stock < data['qty']:
                raise InventoryShortageError(f"Not enough stock for {product_id}")

        # 2. Calculate Final Price
        final_amount = self.apply_discount()

        # 3. Process Payment
        try:
            success = self.payment.charge(final_amount, "USD")
            if not success:
                raise PaymentFailedError("Transaction declined by gateway")
        except Exception as e:
            # Catching generic network errors from the gateway
            raise PaymentFailedError(f"Payment gateway error: {str(e)}")

        # 4. Decrement Stock (Only occurs if payment succeeded)
        for product_id, data in self.items.items():
            self.inventory.decrement_stock(product_id, data['qty'])

        self.is_paid = True
        self.status = "COMPLETED"

        return {"status": "success", "charged_amount": final_amount}
Ensure that you have the above Python file (order_service.py) available locally in a new folder and you have that Project opened up for conversation in Antigravity.
This is a simple Order service that has the following key functionality in the checkout function:
- Validates cart is not empty.
- Check stock for all items.
- Calculates final price.
- Charges payment.
- Updates inventory.
We are going to assign the Agent the task of generating unit test cases, providing Mock implementations and executing the tests to make sure that they succeed.
We will open our specific workspace folder and you will notice that we can now use the @ symbol too to reference the file. For example, we could start typing @order and it should show the order_service.py file.
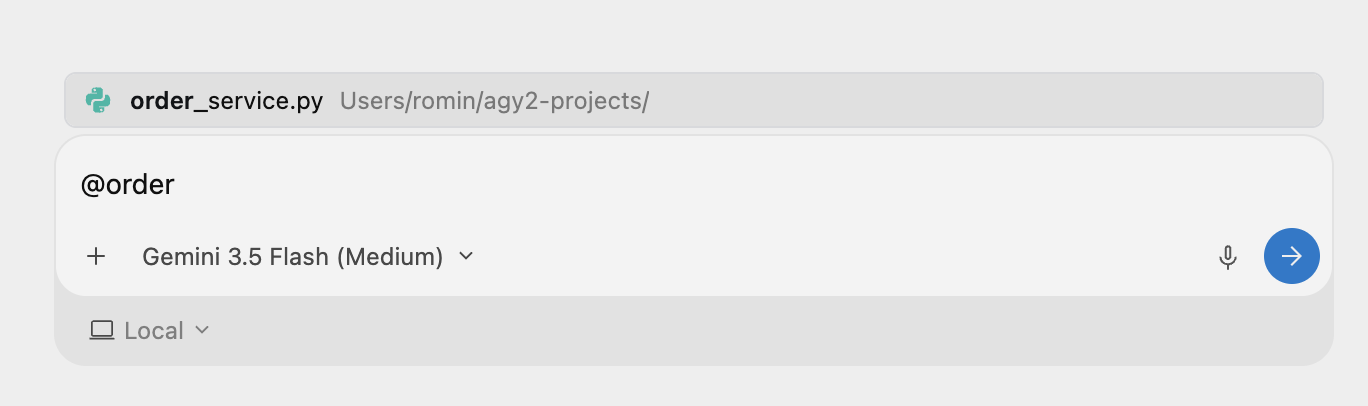
We can give a task that helps us understand this file. Give the following prompt:
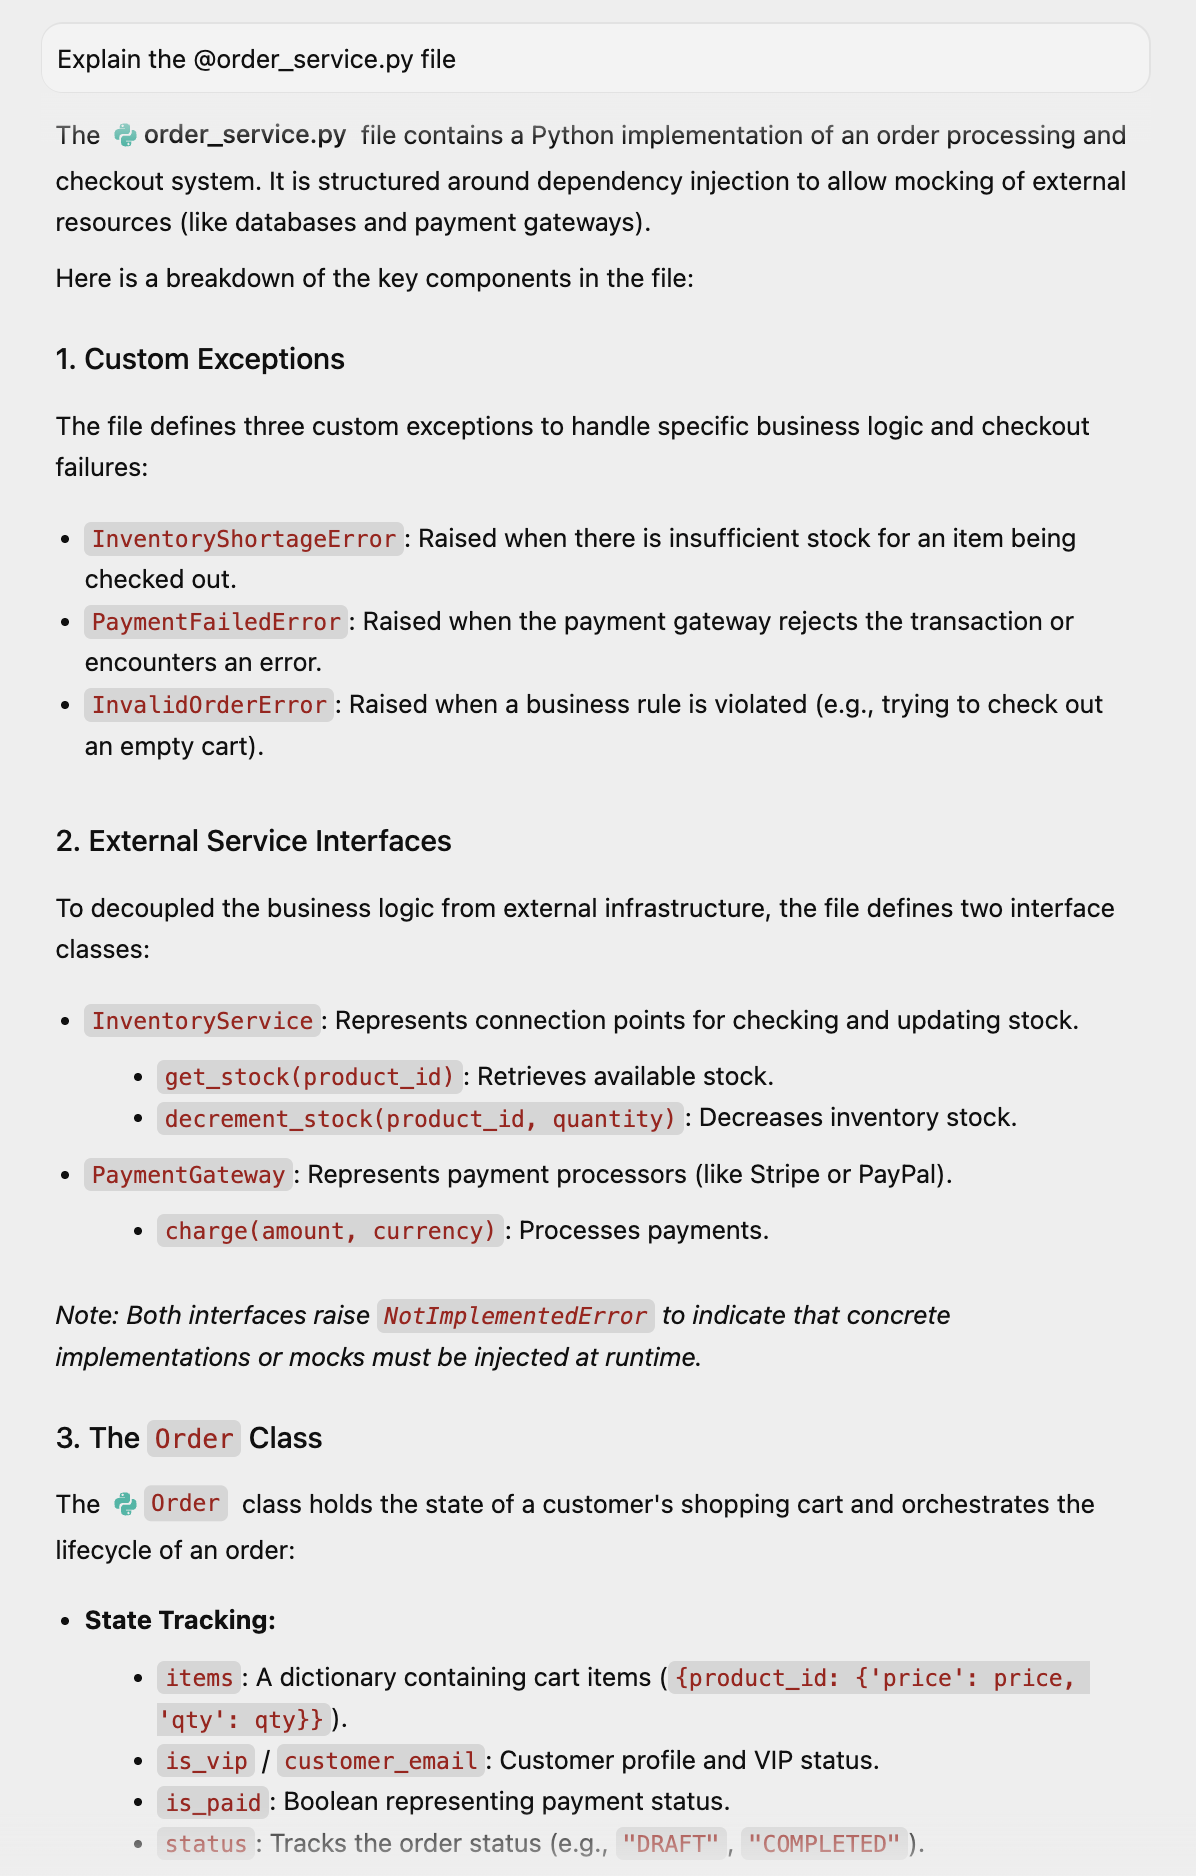
Explain the @order_service.py file
This comes up with some explanation of what this file is:
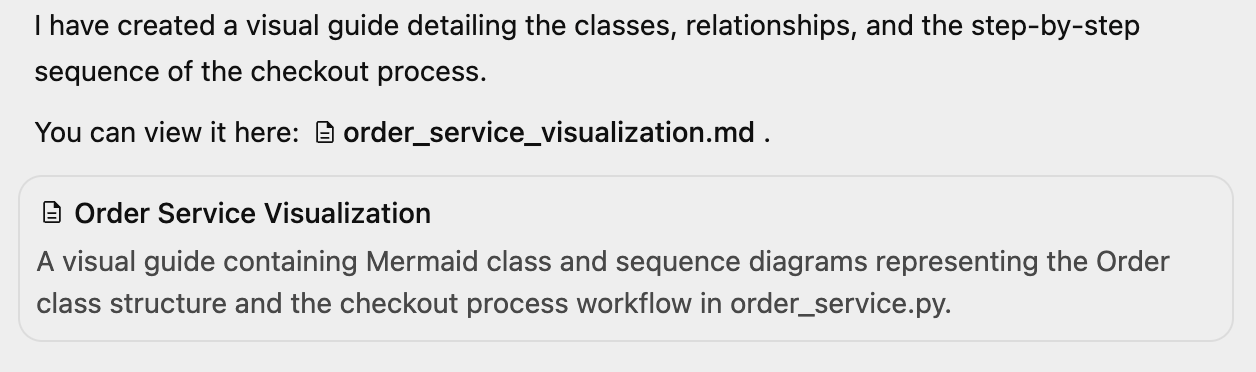
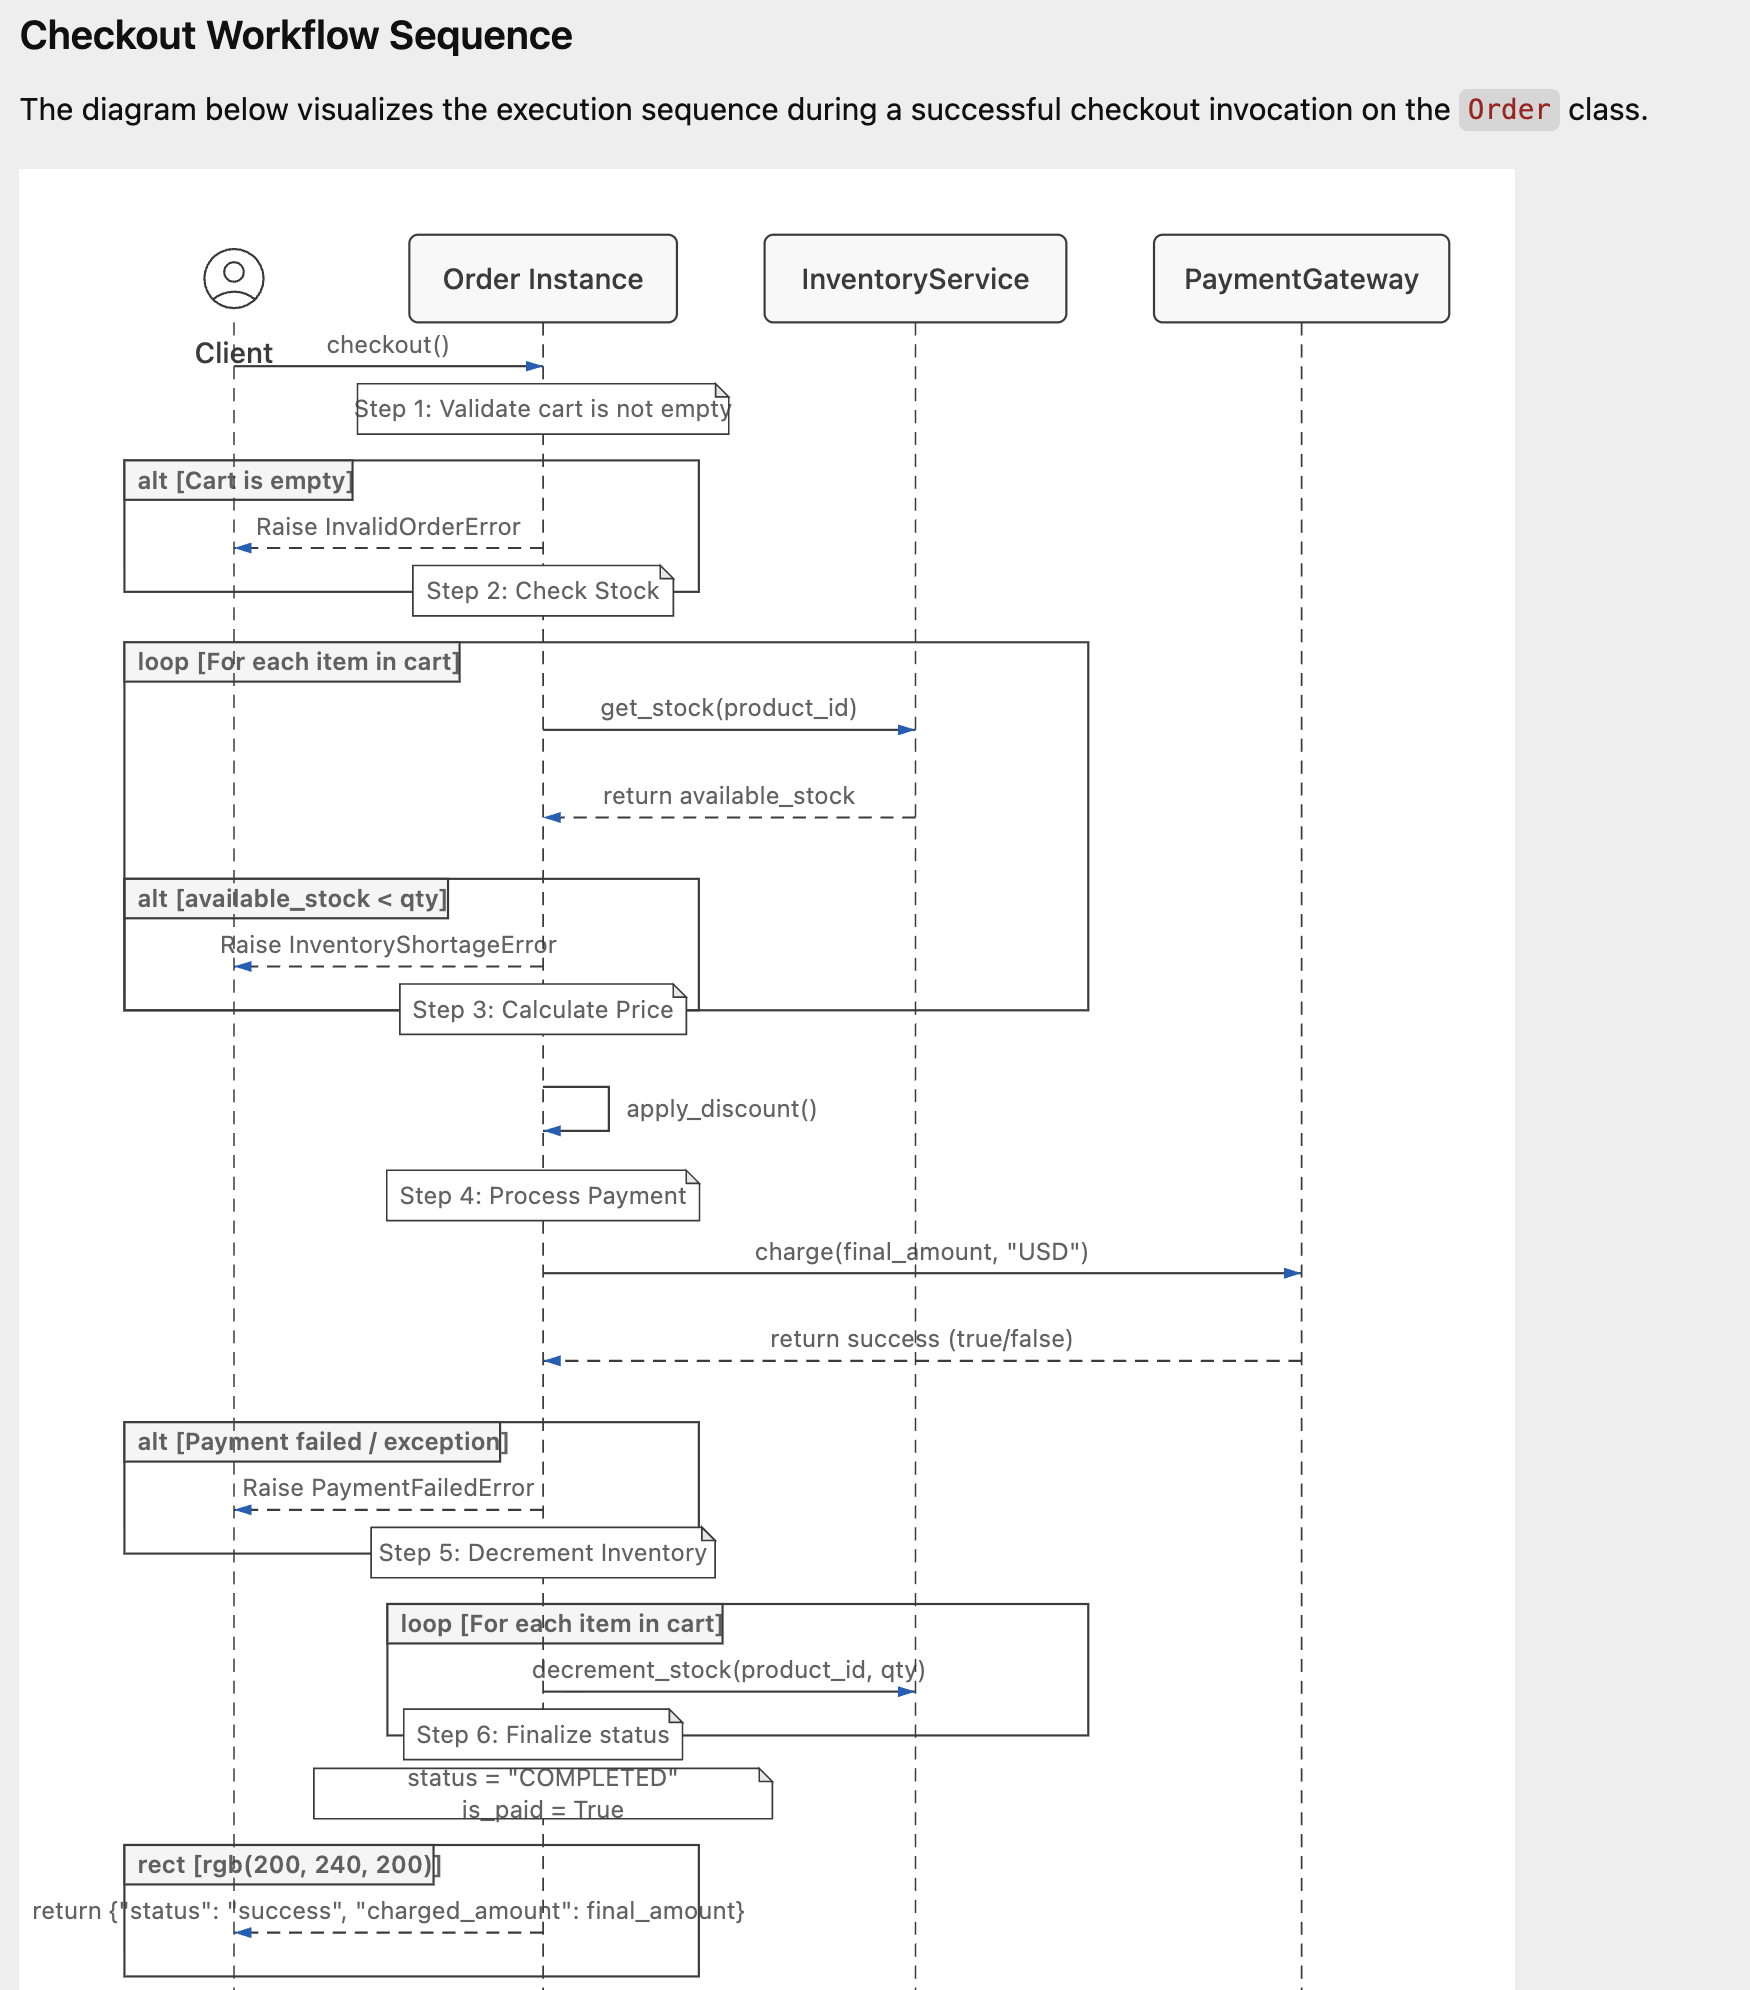
We can ask it to generate a better visualization via the prompt:
Can you visually show this class for better understanding
Antigravity mentions that the task is complete and that it has generated an artifact that contains the visualization:
We can check out the visualization as shown below:
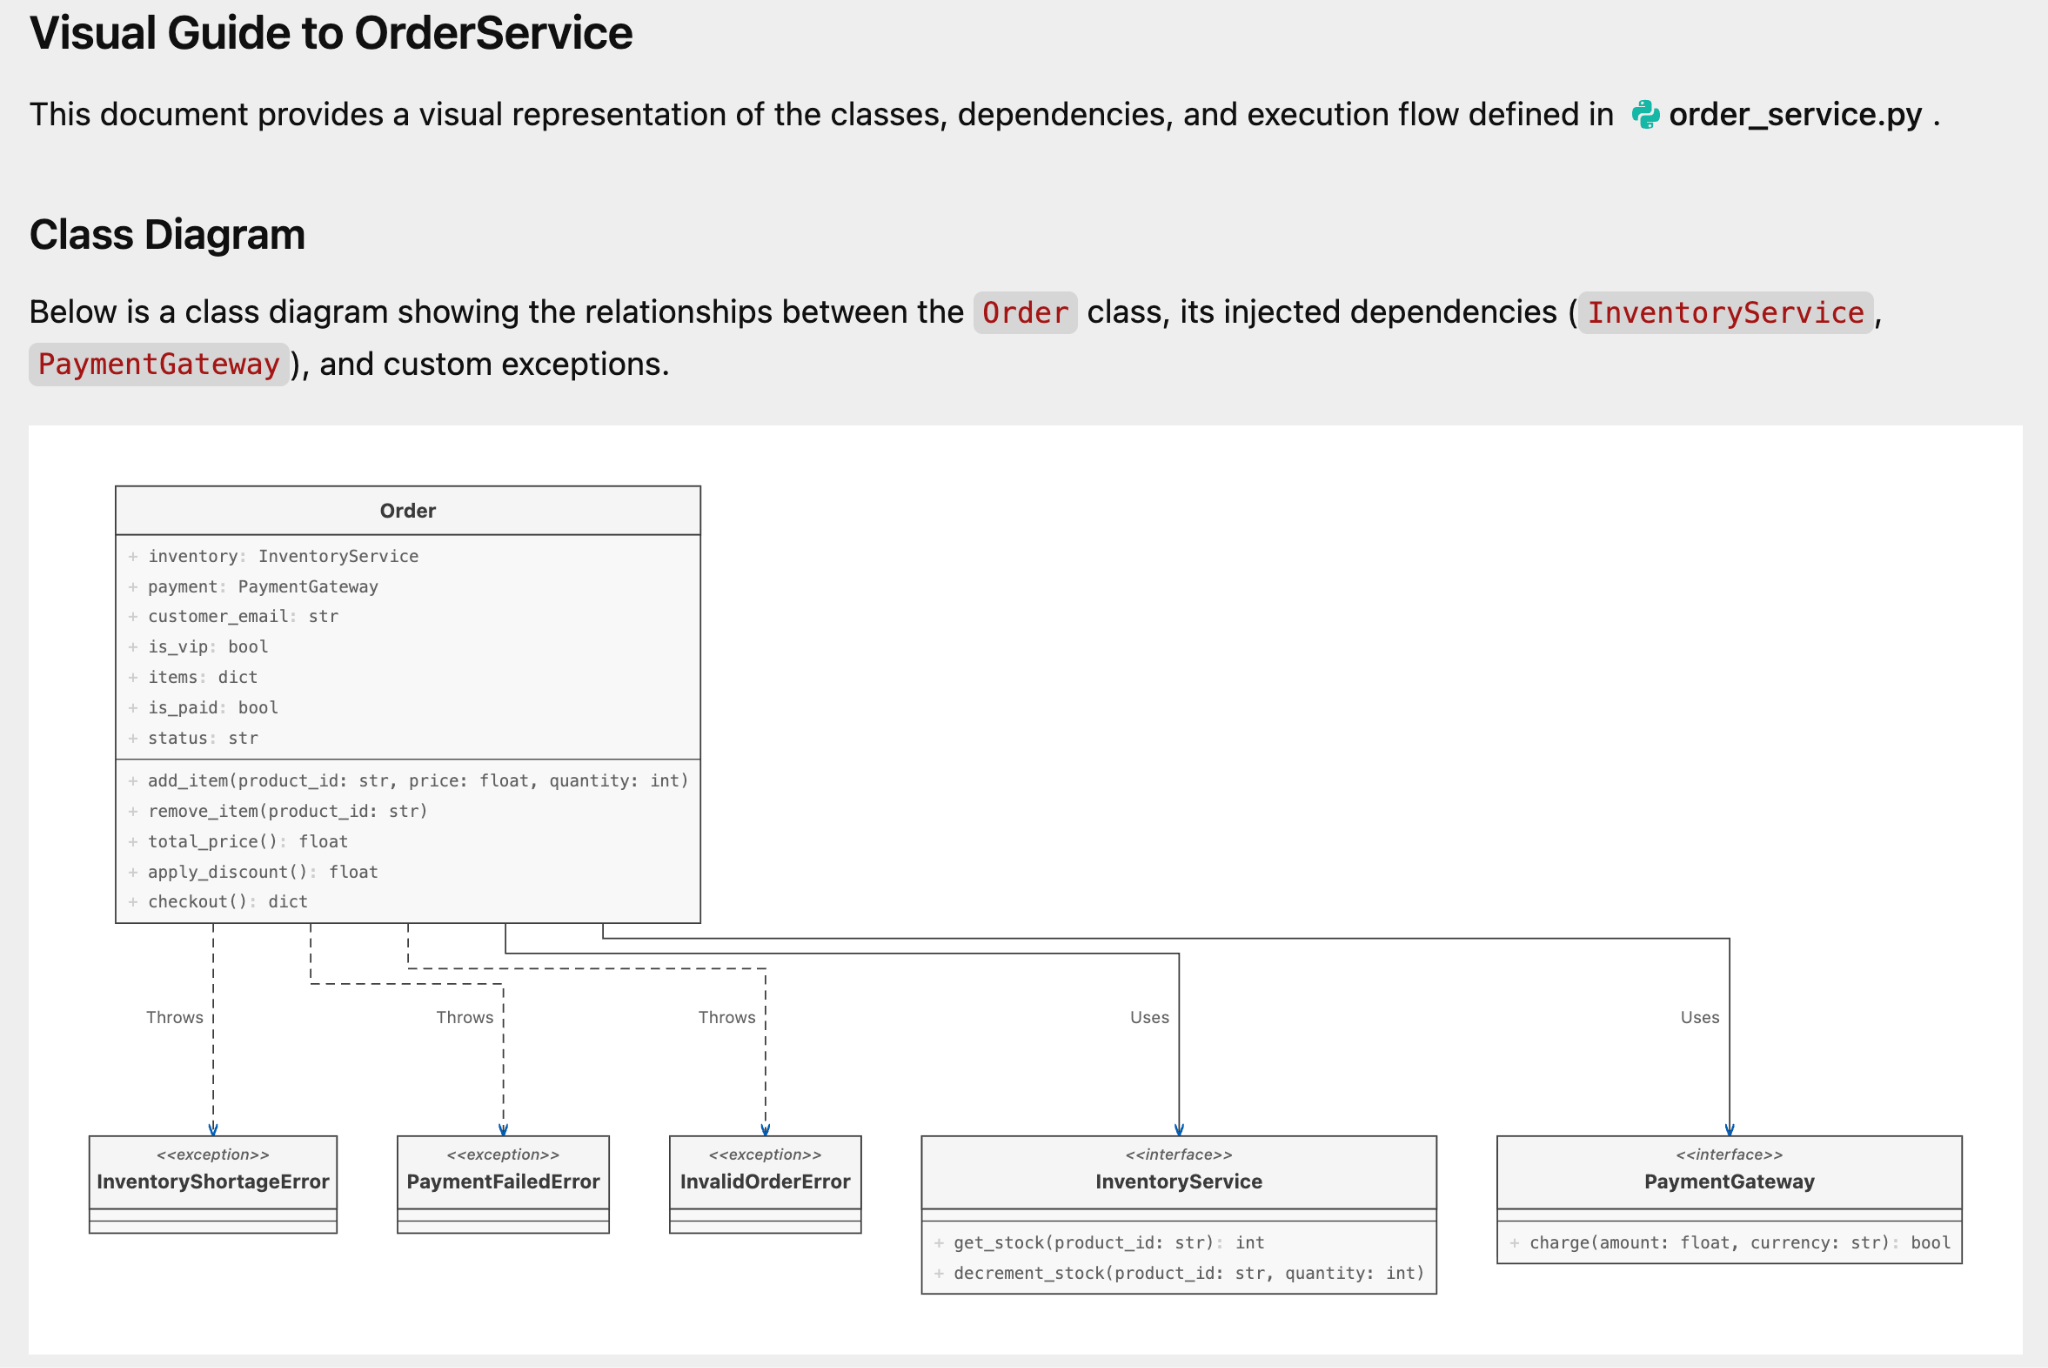
and the following:
Our next step is to generate the unit tests and ask the Agent to test it out. I give the following prompt:
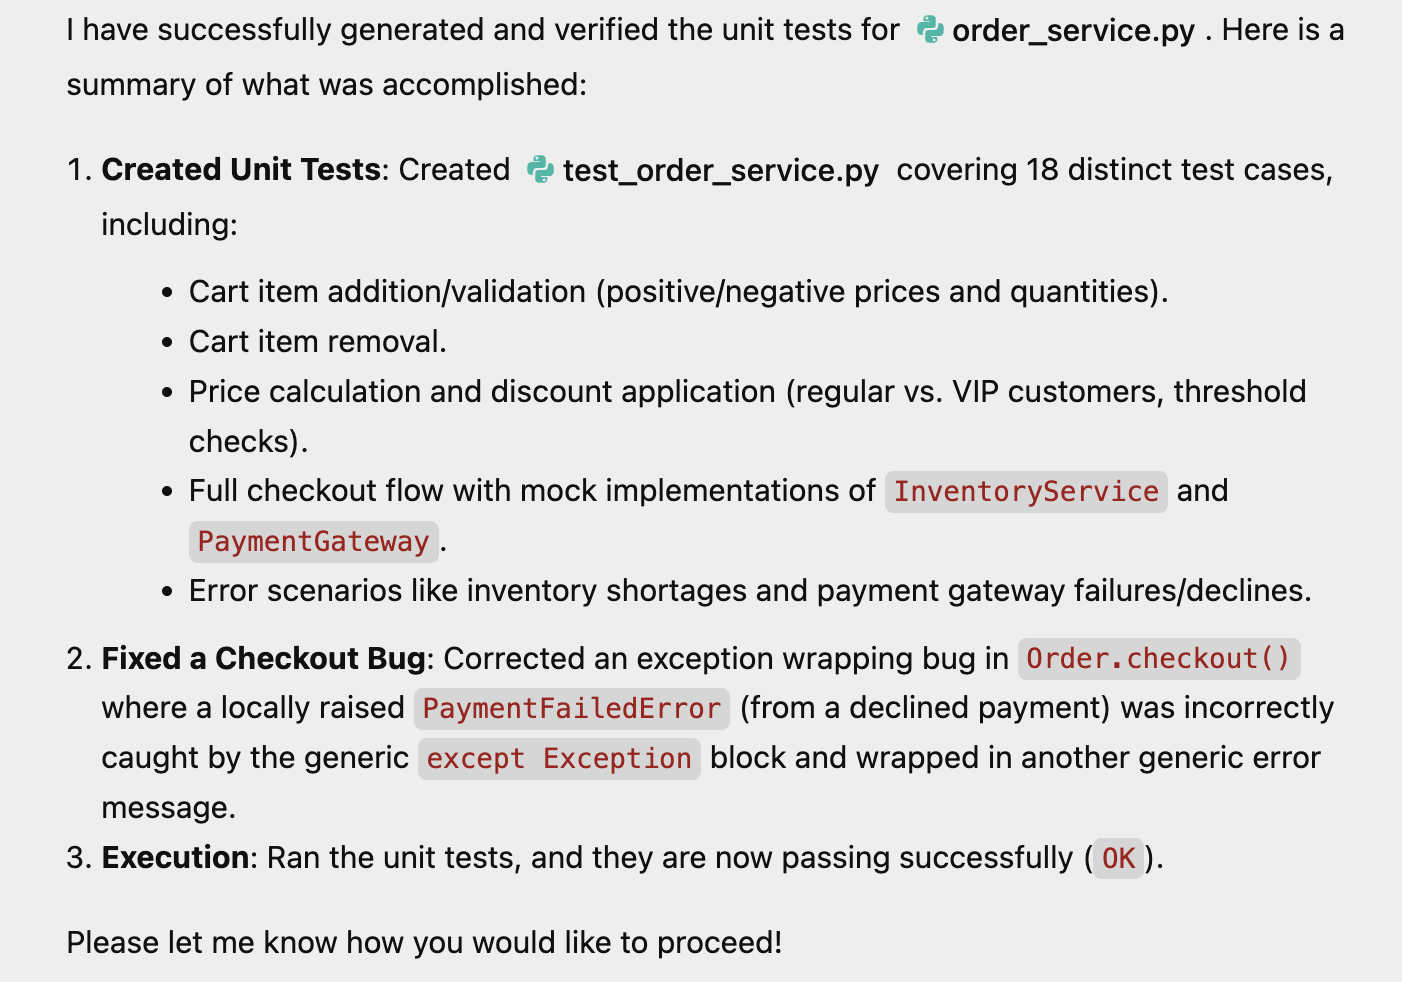
generate unit tests for this module and test it out with mock implementations.
It went about its task, generated the tests, ran them, fixed a bug too. Here is its output:
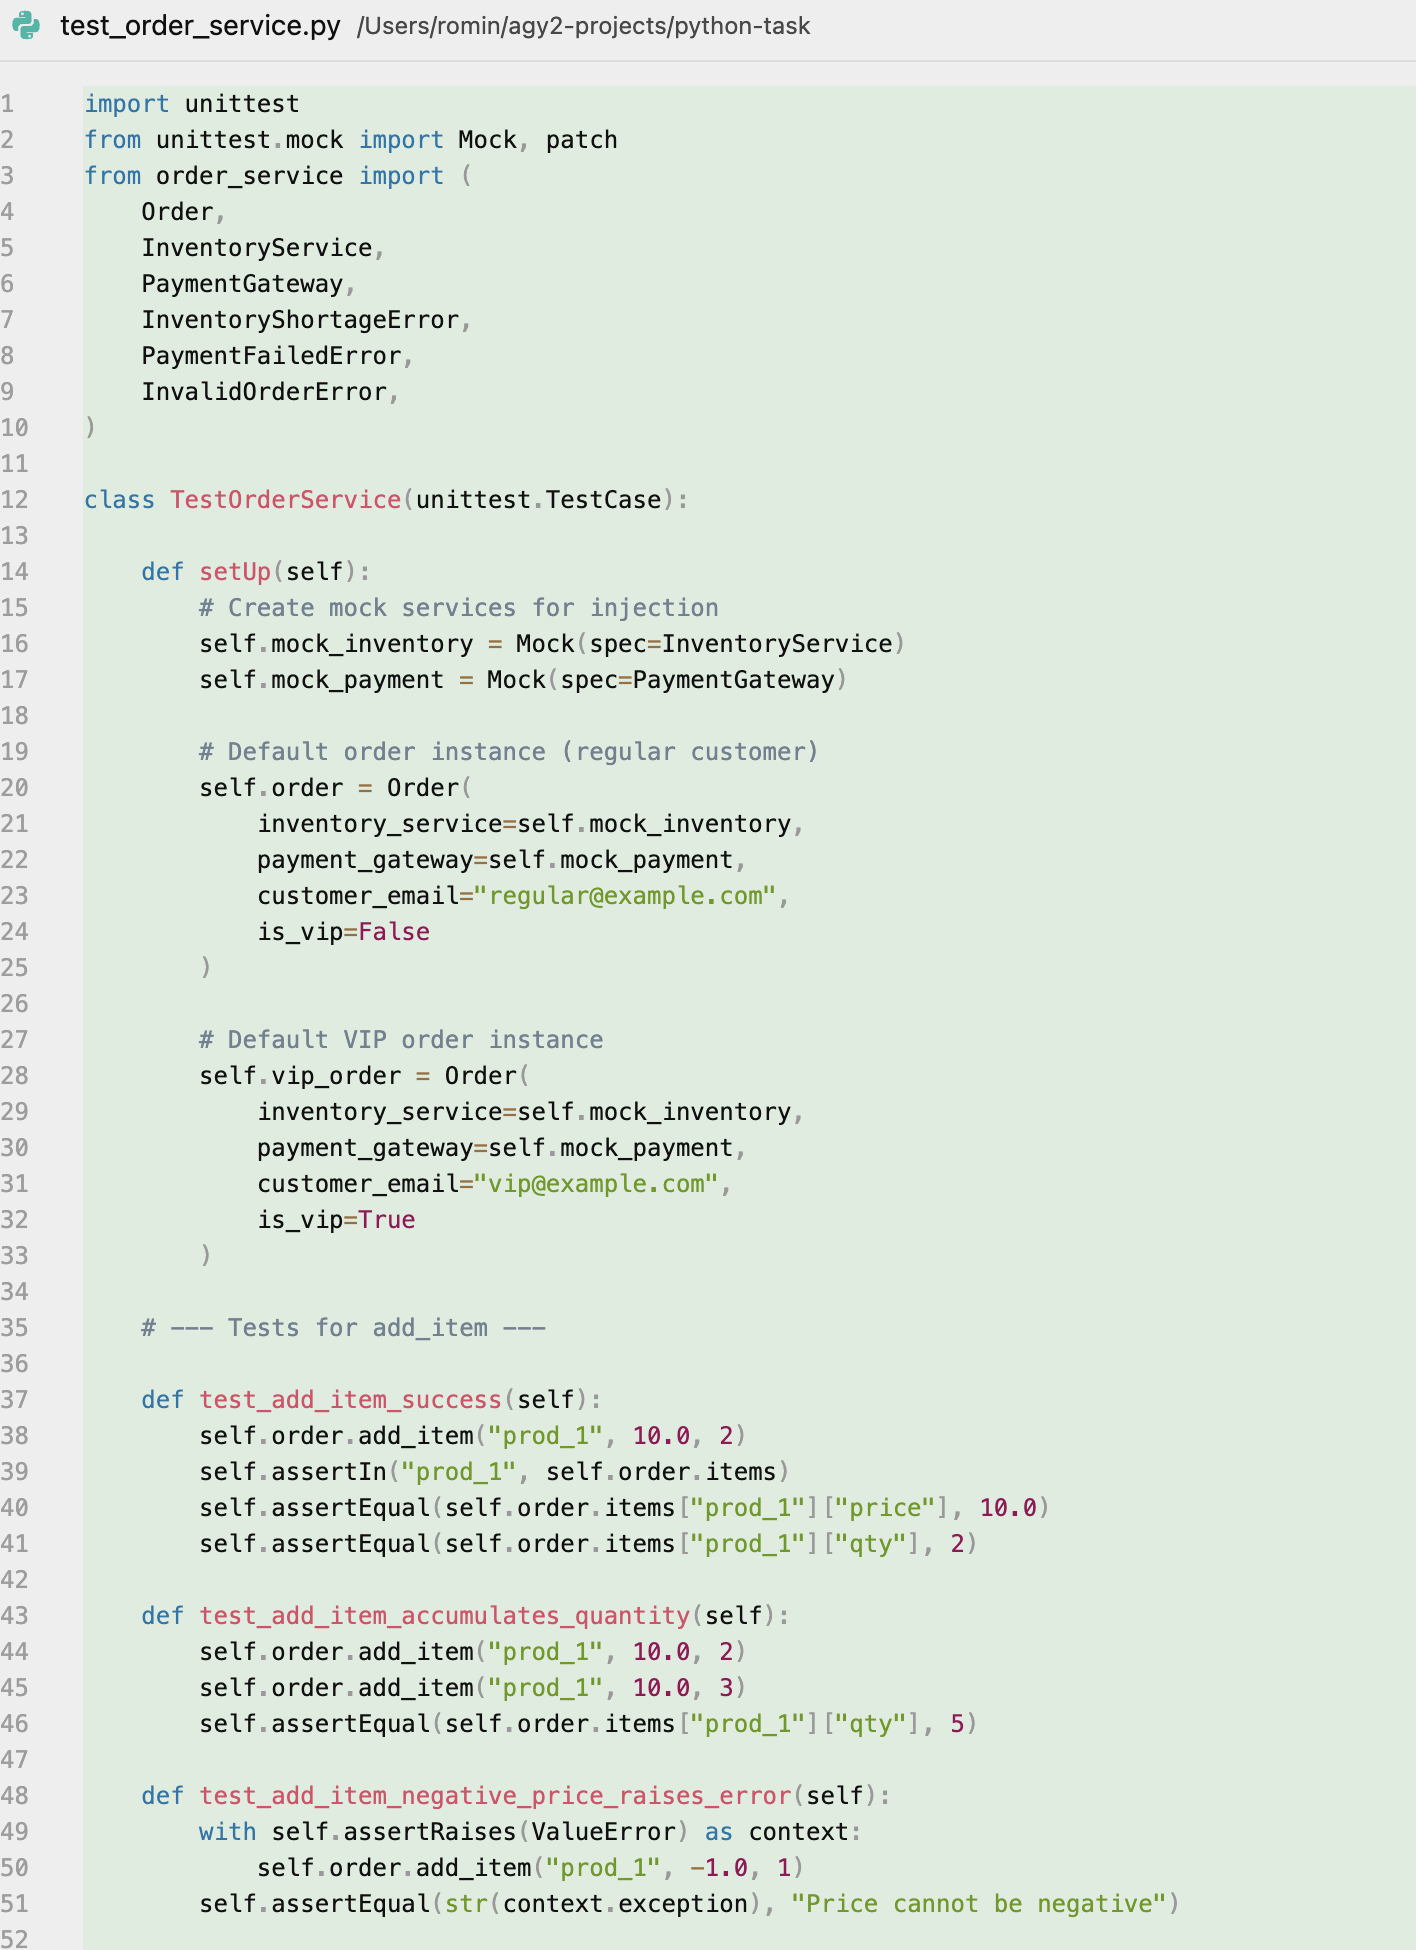
One of the files that it generated was the test file too. A screenshot of which is shown below:
Things to try out
Take your own code and see what you can ask the Agent to do, right from adding more functionality to refactoring parts of your code.
7. Congratulations
Congratulations! You have successfully used Google Antigravity to:
- Research the web autonomously.
- Build and iterate on full-stack web applications.
- Write and validate complex unit tests with mocks.
You are now ready to let Antigravity handle the heavy lifting on your own projects.
Reference docs
- Codelab : Getting Started with Google Antigravity
- Official Site : https://antigravity.google/
- Documentation: https://antigravity.google/docs
- Download : https://antigravity.google/download
- Youtube Channel for Google Antigravity : https://www.youtube.com/@googleantigravity