Test your app's UI to verify that behavior of your Compose code is correct. This lets you catch errors early and improve the quality of your app.
Compose provides a set of testing APIs to find elements, verify their attributes, and perform user actions. The APIs also include advanced features such as time manipulation. Use these APIs to create robust tests that verify your app's behavior.
Views
If you are working with views instead of Compose, see the general Test apps on Android section.
In particular, a good place to start is the Automate UI tests guide. It lays out how you can automate tests that run on-device, including when using views.
Key Concepts
The following are some key concepts for testing your Compose code:
- Semantics: Semantics give meaning to your UI, allowing tests to interact with specific elements.
- Testing APIs: Testing APIs let you find elements, verify their attributes, and perform user actions.
- Synchronization: Synchronization verifies that tests wait for the UI to be idle before performing actions or making assertions.
- Interoperability: Interoperability enables tests to work with both Compose and View-based elements in the same app.
Testing cheatsheet
See the testing cheatsheet for an overview of all the key topics you should learn about testing in Compose.
Setup
Set up your app to let you test compose code.
First, add the following dependencies to the build.gradle file of the module
containing your UI tests:
// Test rules and transitive dependencies:
androidTestImplementation("androidx.compose.ui:ui-test-junit4:$compose_version")
// Needed for createComposeRule(), but not for createAndroidComposeRule<YourActivity>():
debugImplementation("androidx.compose.ui:ui-test-manifest:$compose_version")
This module includes a ComposeTestRule and an implementation for Android
called AndroidComposeTestRule. Through this rule you can set Compose
content or access the activity. You construct the rules using factory functions,
either createComposeRule or, if you need access to an activity,
createAndroidComposeRule. A typical UI test for Compose looks like this:
// file: app/src/androidTest/java/com/package/MyComposeTest.kt

class MyComposeTest {

    @get:Rule val composeTestRule = createComposeRule()
    // use createAndroidComposeRule<YourActivity>() if you need access to
    // an activity

    @Test
    fun myTest() {
        // Start the app
        composeTestRule.setContent {
            MyAppTheme {
                MainScreen(uiState = fakeUiState, /*...*/)
            }
        }

        composeTestRule.onNodeWithText("Continue").performClick()

        composeTestRule.onNodeWithText("Welcome").assertIsDisplayed()
    }
}
Additional Resources
- Test apps on Android: The main Android testing landing page provides a broader view of testing fundamentals and techniques.
- Fundamentals of testing: Learn more about the core concepts behind testing an Android app.
- Local tests: You can run some tests locally, on your own workstation.
- Instrumented tests: It is good practice to also run instrumented tests. That is, tests that run directly on-device.
- Continuous integration: Continuous integration lets you integrate your tests into your deployment pipeline.
- Test different screen sizes: With some many devices available to users, you should test for different screen sizes.
- Espresso: While intended for View-based UIs, Espresso knowledge can still be helpful for some aspects of Compose testing.
Codelab
To learn more, try the Jetpack Compose Testing codelab.
Samples
Jetchat is a sample chat app built with Jetpack Compose.
To try out this sample app, use the latest stable version of Android Studio. You can clone this repository or import the project from Android Studio following the steps here.
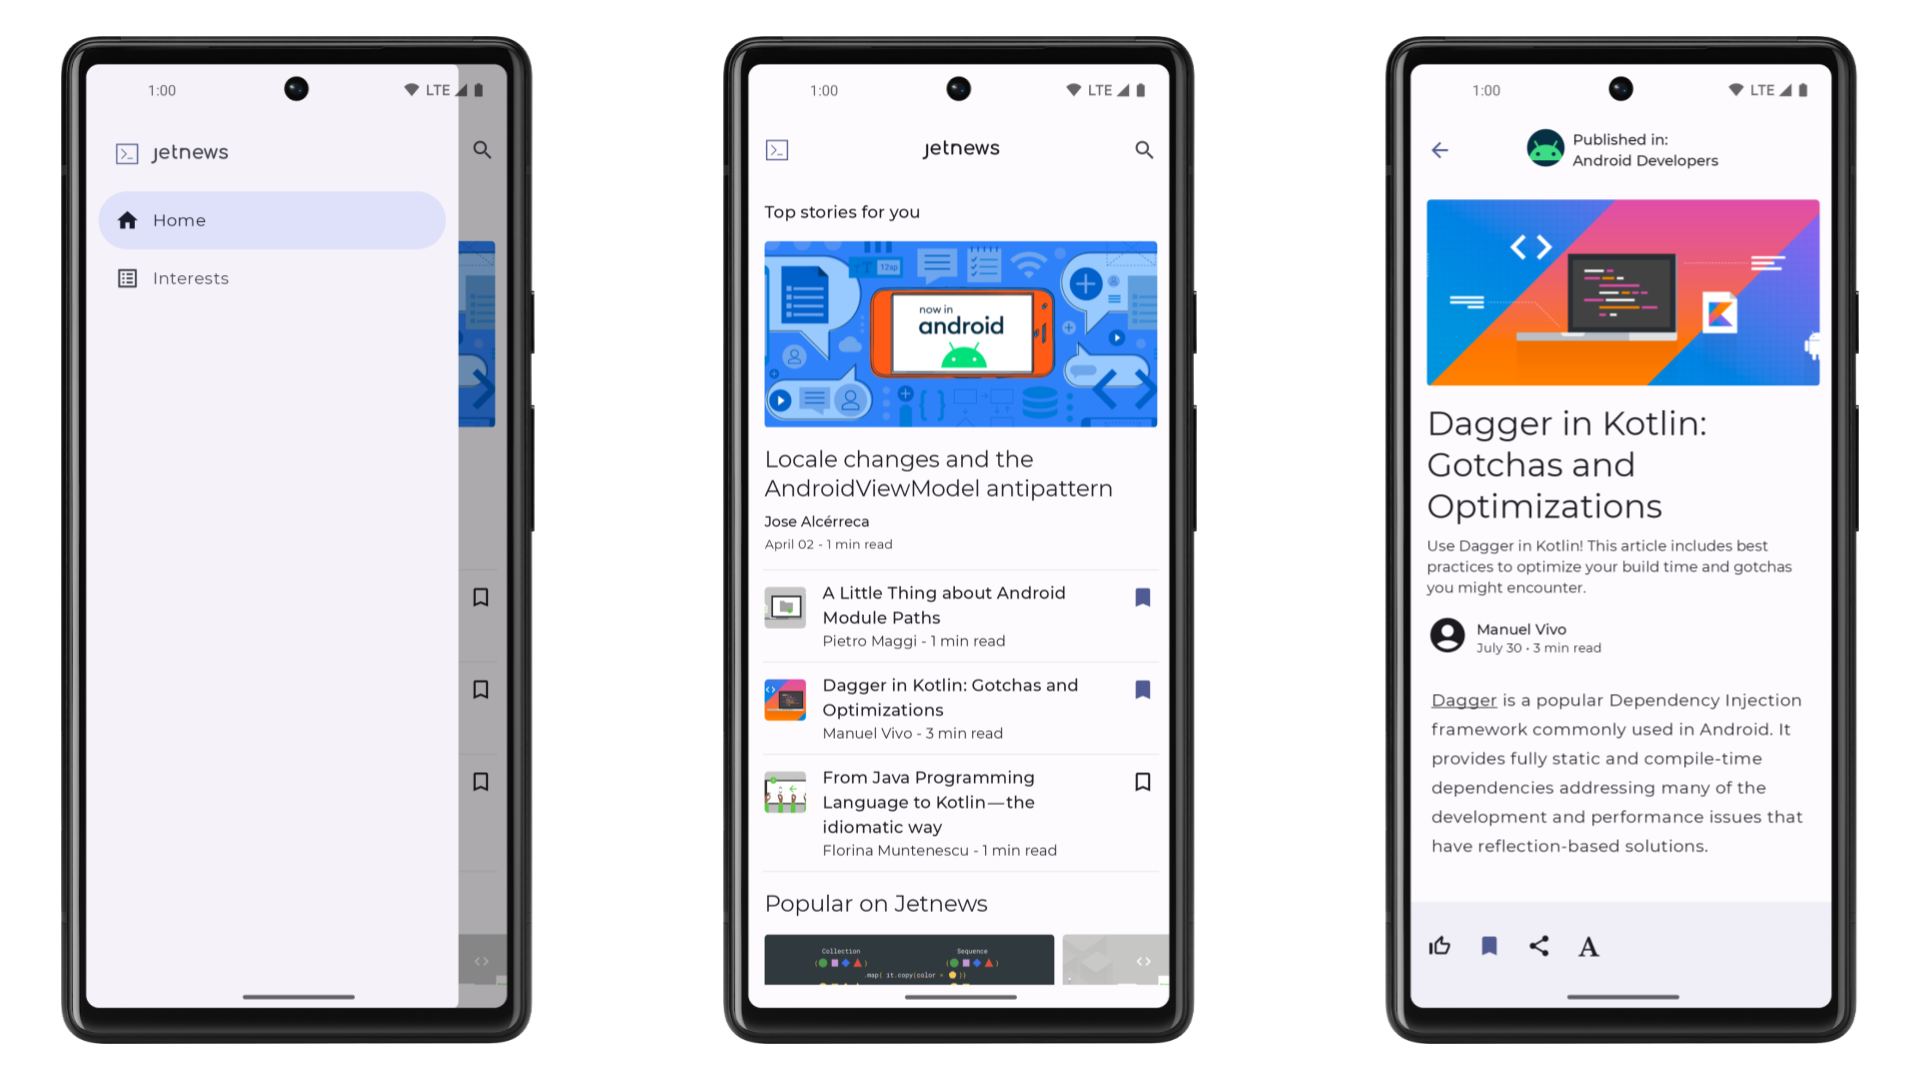
This sample Jetnews is a sample news reading app, built with Jetpack Compose. The goal of the sample is to showcase the current UI capabilities of Compose.
To try out this sample app, use the latest stable version of Android Studio. You can clone this repository Learn how this app was designed and built in the design case study, architecture learning journey and modularization learning journey.
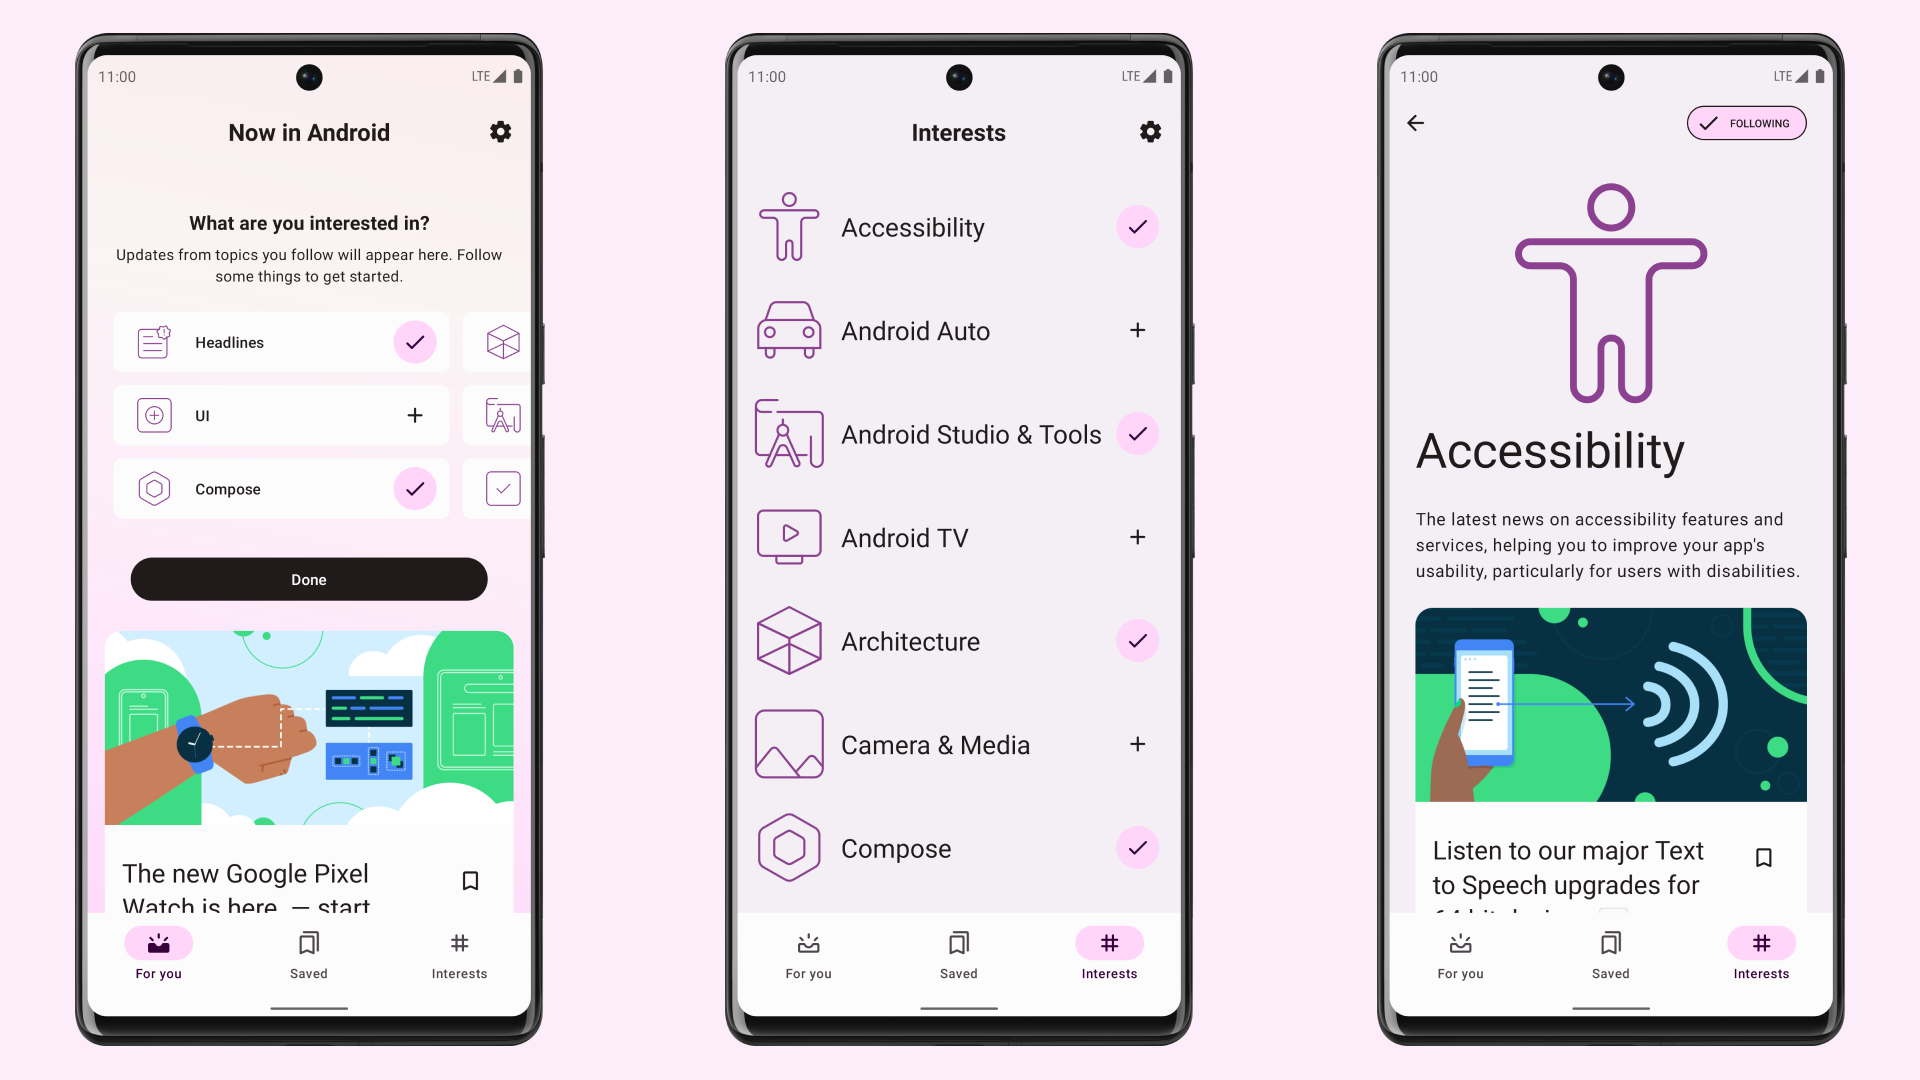
This is the repository for the Now in Android app. It is a work in progress 🚧.
Now in Android is a fully functionalJetchat sample
Jetnews sample
Now in Android App