
1. 總覽
ARCore 平台可讓您在 Android 上建構擴增實境應用程式。擴增圖片可讓您建立 AR 應用程式,識別現實世界中預先註冊的 2D 圖片,並在圖片上錨定虛擬內容。
本程式碼研究室會引導您修改現有的 ARCore 範例應用程式,加入可移動或固定在原位的擴增圖片。
建構項目
在本程式碼研究室中,您將以現有的 ARCore 範例應用程式為基礎,建構應用程式。完成本程式碼研究室後,您的應用程式將能夠:
- 偵測圖片目標,並在目標上附加虛擬迷宮
- 只要移動目標在攝影機視角內,就會持續追蹤
這是您第一次製作 ARCore 應用程式嗎?
您打算在本程式碼研究室中編寫範例程式碼,還是只想閱讀這些頁面?
課程內容
- 如何在 Java 的 ARCore 中使用擴增圖片
- 如何評估圖片是否能由 ARCore 辨識
- 如何在圖片上附加虛擬內容並追蹤其移動情形
必要條件
您需要特定硬體和軟體才能完成這個程式碼研究室。
硬體需求
- 透過 USB 傳輸線連接至開發機器的支援 ARCore 的裝置
軟體需求
- ARCore APK 1.9.0 以上版本。這個 APK 通常會透過 Play 商店自動安裝在裝置上
- 搭載 Android Studio (3.1 以上版本) 的開發機器
- 存取網際網路,因為您需要在開發期間下載程式庫
一切就緒後,我們就開始吧!
2. 設定開發環境
下載 SDK
首先,請從 GitHub 下載最新的 ARCore Android SDK。將檔案解壓縮至偏好位置。在本程式碼研究室中,最早的 SDK 版本為 1.18.1。這個資料夾會稱為 arcore-android-sdk-x.xx.x,確切值為您使用的 SDK 版本。
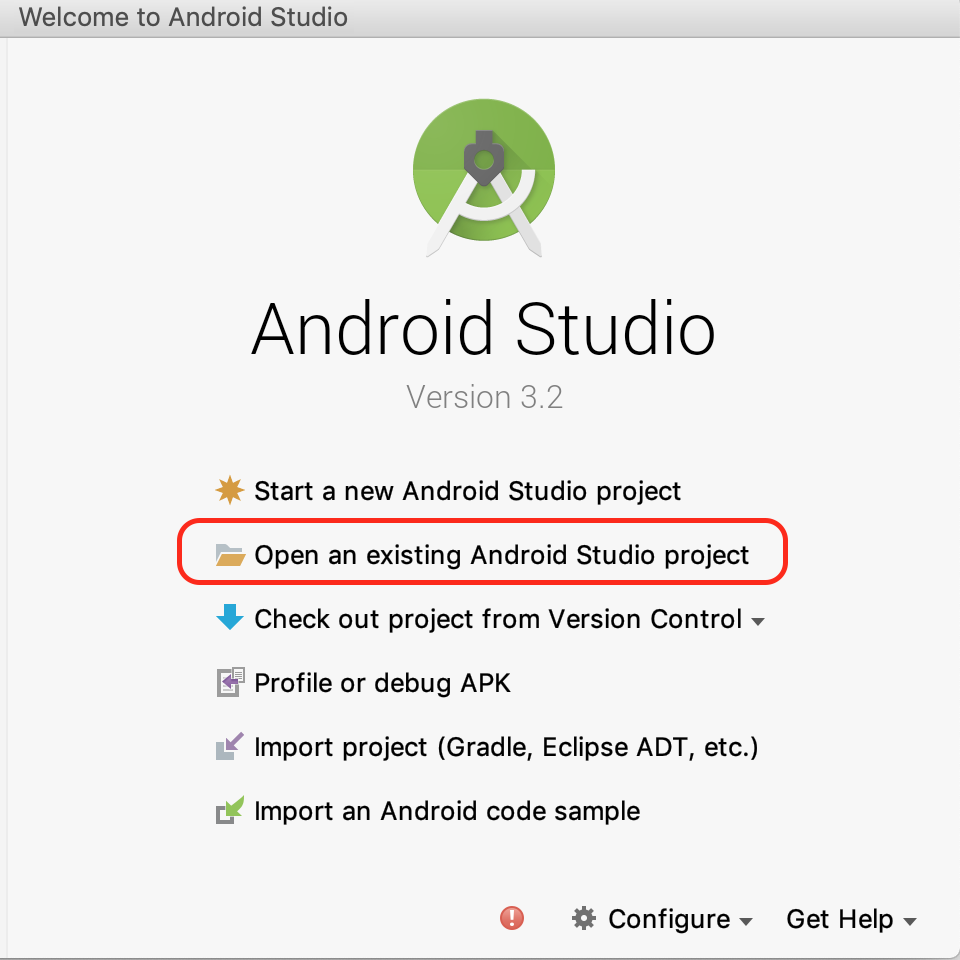
啟動 Android Studio,然後按一下「Open an existing Android Studio project」(開啟現有 Android Studio 專案)。
前往這個解壓縮的資料夾:
arcore-android-sdk-x.xx.x/samples/augmented_image_java
按一下「開啟」。
等待 Android Studio 完成專案同步處理。如果 Android Studio 沒有必要元件,可能會失敗並顯示 Install missing platform and sync project 訊息。按照畫面上的操作說明修正問題。
執行範例應用程式
現在您已建立可正常運作的 ARCore 應用程式專案,接下來就來測試執行。
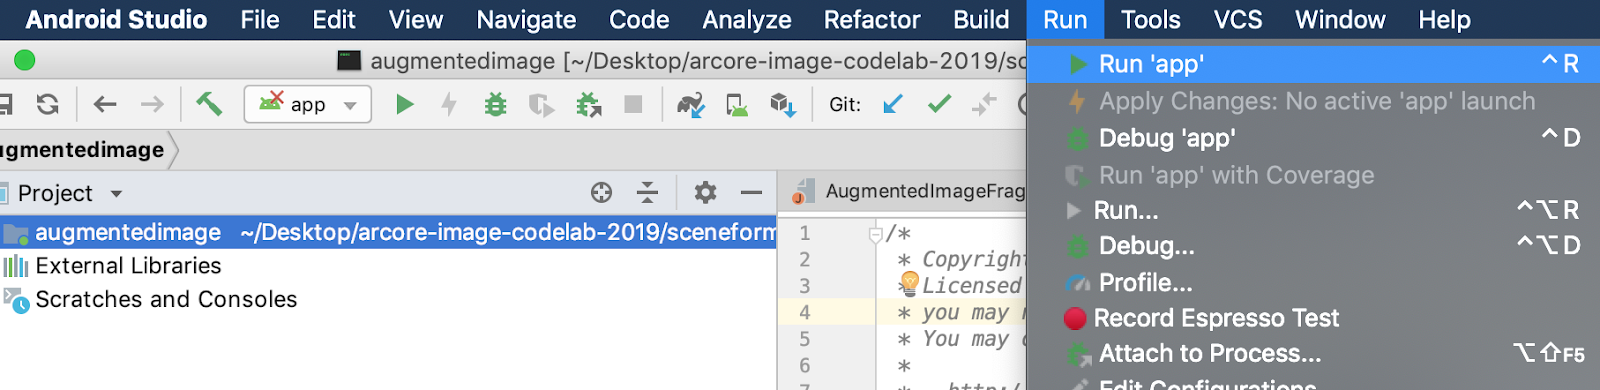
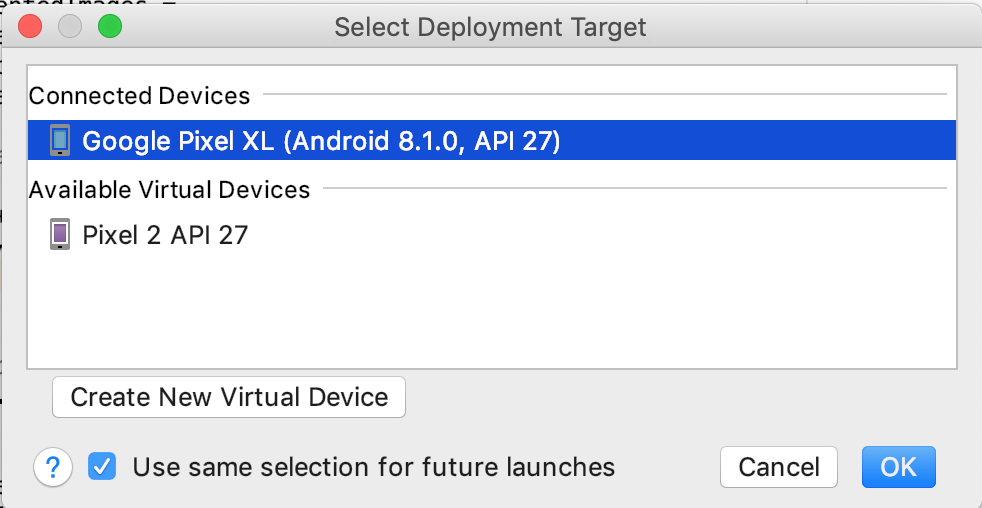
將 ARCore 裝置連線至開發機器,然後使用「Run」>「Run ‘app'」選單,在裝置上執行偵錯版本。在提示您選擇要從哪個裝置執行的對話方塊中,選擇已連線的裝置,然後按一下「確定」。
本範例專案使用 targetSdkVersion 28。如果發生 Failed to find Build Tools revision 28.0.3 等建構錯誤,請按照 Android Studio 中的指示,下載並安裝必要的 Android 建構工具版本。
如果一切順利,裝置會啟動範例應用程式,並提示您授予權限,允許擴增圖像拍攝相片和影片。輕觸「允許」即可授予權限。
使用範例圖片測試
開發環境設定完成後,您就可以提供圖片給應用程式,測試應用程式的運作情形。
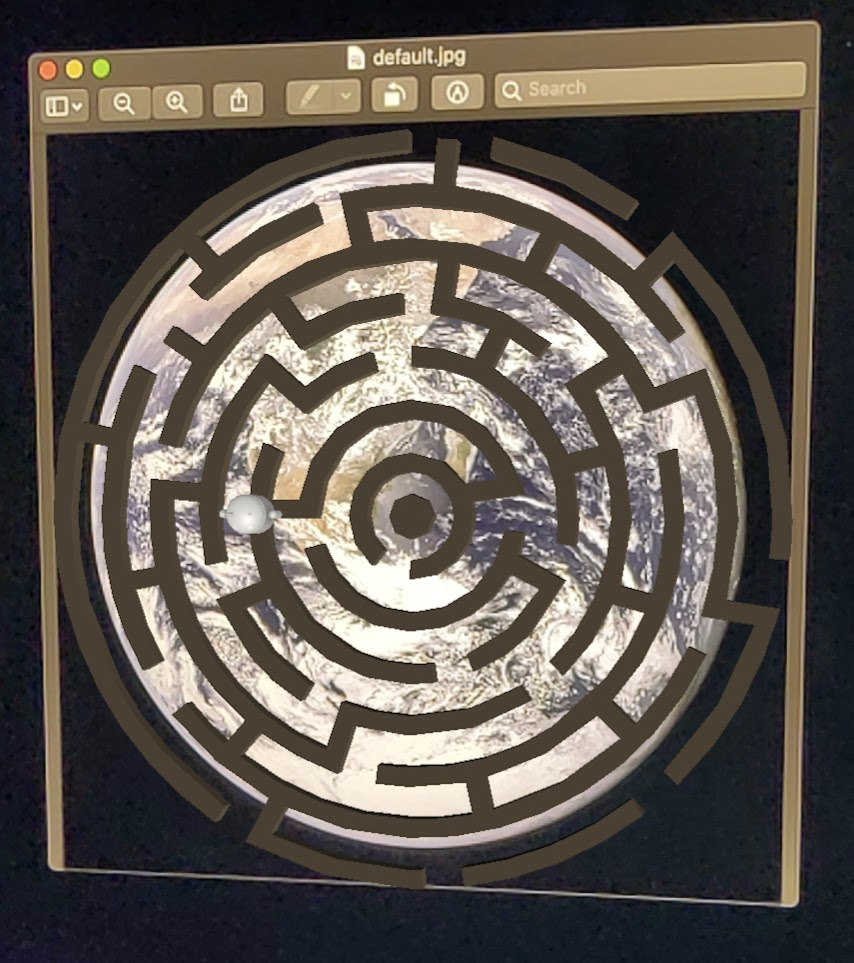
返回 Android Studio 的「Project」視窗,前往「app」>「assets」,然後按兩下開啟 default.jpg 檔案。
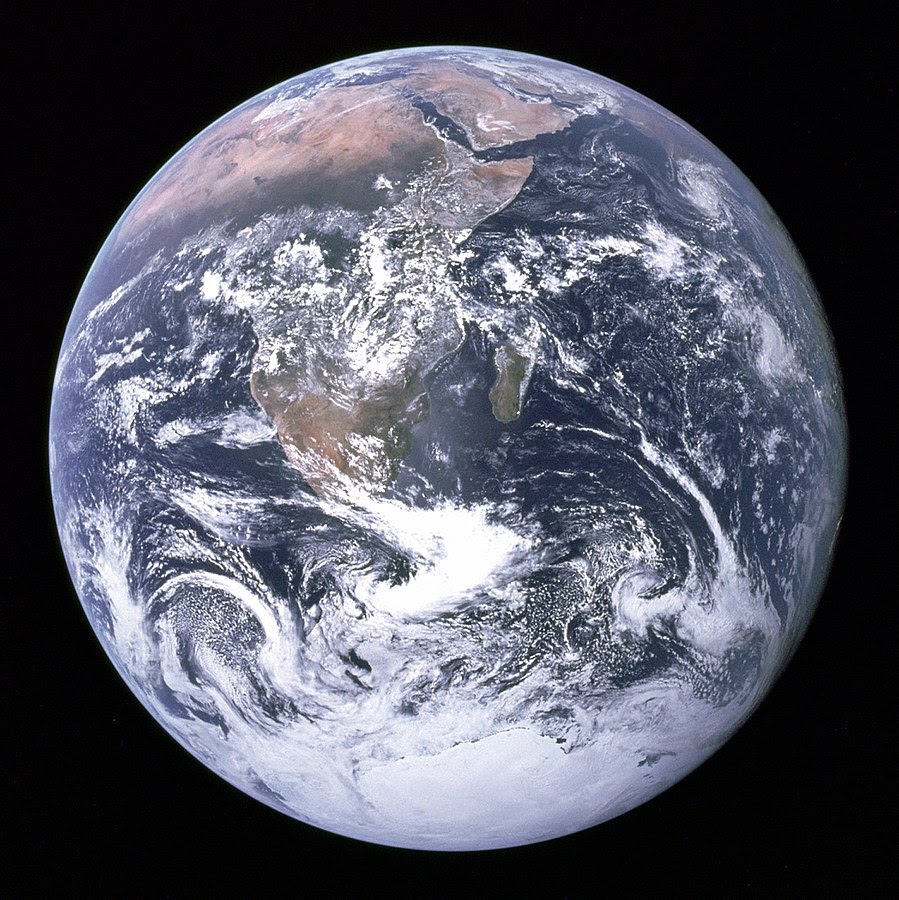
將裝置相機對準畫面上的地球圖像,然後按照指示將要掃描的圖像放入十字準線。
圖片上會疊加圖片影格,如下所示:
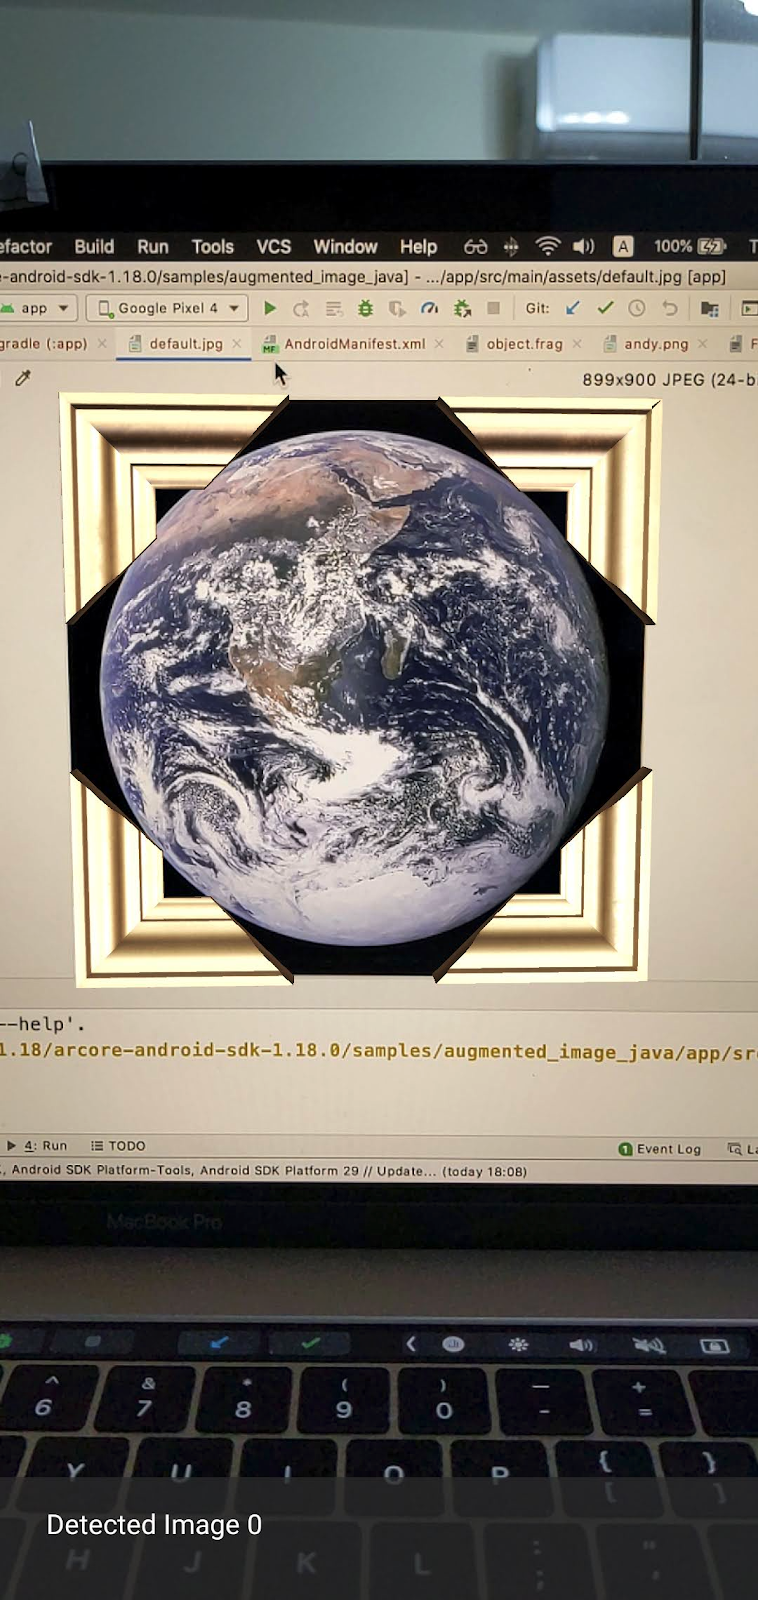
接著,我們會微幅改良範例應用程式。
3. 在 2D 圖片上顯示迷宮模型
您可以先在擴增圖片上顯示 3D 模型,開始使用這項功能。
下載 3D 模型
在本程式碼研究室中,我們將使用 Evol 的「Circle Maze - Green」,並採用 CC-BY 3.0 授權。我已將這個 3D 模型的副本儲存在本程式碼研究室的 GitHub 存放區中,您可以在這裡找到。
請按照下列步驟下載模型,並將其納入 Android Studio。
- 前往本程式碼研究室的 GitHub 存放區,也就是 third_party 目錄。
- 按一下「GreenMaze_obj.zip」,然後按一下「下載」按鈕。
系統會下載名為 GreenMaze_obj.zip 的檔案。
- 在 Android Studio 中,於 app > assets > models 下方建立
green-maze目錄 - 解壓縮
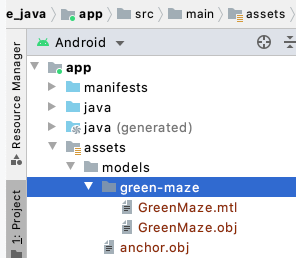
GreenMaze_obj.zip,然後將內容複製到這個位置:arcore-android-sdk-x.xx.x/samples/augmented_image_java/app/src/main/assets/models/green-maze - 在 Android Studio 中,依序前往「app」>「assets」>「models」>「green-maze」。
這個資料夾中應有兩個檔案:GreenMaze.obj 和 GreenMaze.mtl。
算繪迷宮模型
請按照下列步驟,在現有的 2D 圖片上顯示 3D 模型。GreenMaze.obj
在 AugmentedImageRenderer.java 中,新增名為 mazeRenderer 的成員變數,以便算繪迷宮模型。由於迷宮應附加至圖片,因此將 mazeRenderer 放在 AugmentedImageRenderer 類別中很合理。
AugmentedImageRenderer.java
  // Add a member variable to hold the maze model.
  private final ObjectRenderer mazeRenderer = new ObjectRenderer();
在 createOnGlThread() 函式中載入 GreenMaze.obj。為求簡便,請使用與紋理相同的影格紋理。
AugmentedImageRenderer.java
  // Replace the definition of the createOnGlThread() function with the
  // following code, which loads GreenMaze.obj.
  public void createOnGlThread(Context context) throws IOException {

    mazeRenderer.createOnGlThread(
        context, "models/green-maze/GreenMaze.obj", "models/frame_base.png");
    mazeRenderer.setMaterialProperties(0.0f, 3.5f, 1.0f, 6.0f);

  }
將 draw() 函式的定義替換為下列內容。這項操作會將迷宮大小調整為偵測到的圖片大小,並在螢幕上顯示。
AugmentedImageRenderer.java
  // Adjust size of detected image and render it on-screen
  public void draw(
      float[] viewMatrix,
      float[] projectionMatrix,
      AugmentedImage augmentedImage,
      Anchor centerAnchor,
      float[] colorCorrectionRgba) {
    float[] tintColor =
        convertHexToColor(TINT_COLORS_HEX[augmentedImage.getIndex() % TINT_COLORS_HEX.length]);

    final float mazeEdgeSize = 492.65f; // Magic number of maze size
    final float maxImageEdgeSize = Math.max(augmentedImage.getExtentX(), augmentedImage.getExtentZ()); // Get largest detected image edge size

    Pose anchorPose = centerAnchor.getPose();

    float mazeScaleFactor = maxImageEdgeSize / mazeEdgeSize; // scale to set Maze to image size
    float[] modelMatrix = new float[16];

    // OpenGL Matrix operation is in the order: Scale, rotation and Translation
    // So the manual adjustment is after scale
    // The 251.3f and 129.0f is magic number from the maze obj file
    // You mustWe need to do this adjustment because the maze obj file
    // is not centered around origin. Normally when you
    // work with your own model, you don't have this problem.
    Pose mazeModelLocalOffset = Pose.makeTranslation(
                                -251.3f * mazeScaleFactor,
                                0.0f,
                                129.0f * mazeScaleFactor);
    anchorPose.compose(mazeModelLocalOffset).toMatrix(modelMatrix, 0);
    mazeRenderer.updateModelMatrix(modelMatrix, mazeScaleFactor, mazeScaleFactor/10.0f, mazeScaleFactor); // This line relies on a change in ObjectRenderer.updateModelMatrix later in this codelab.
    mazeRenderer.draw(viewMatrix, projectionMatrix, colorCorrectionRgba, tintColor);
  }
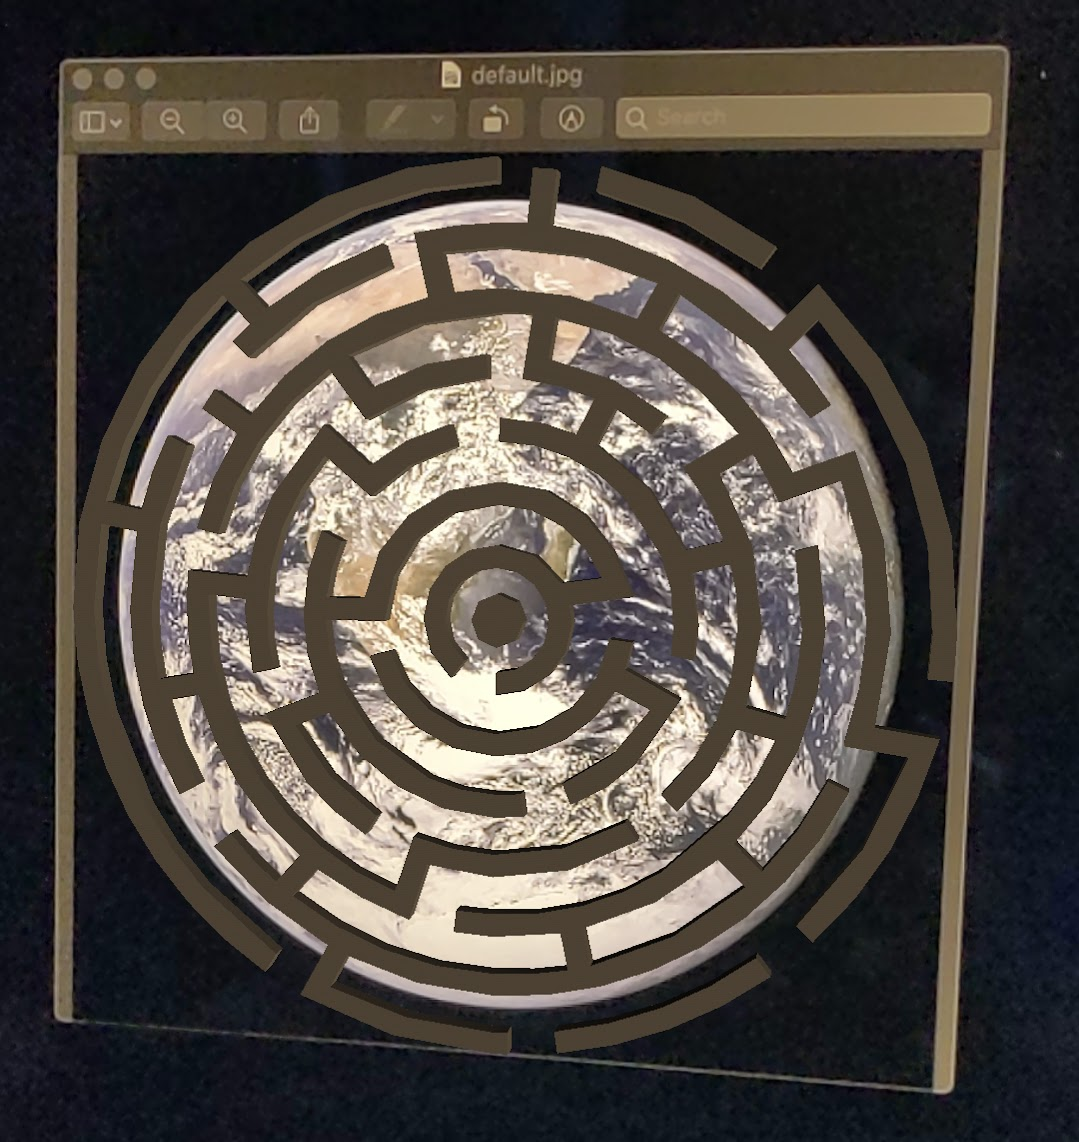
現在,迷宮應該會顯示在地球的 default.jpg 圖片上。
注意:由於您無法完全掌控這個 3D 模型範例,因此上述程式碼使用了幾個「神奇」數字。迷宮模型的尺寸為 492.65 x 120 x 492.65,中心點位於 (251.3, 60, -129.0)。頂點的 X、Y 和 Z 座標值範圍分別為 [5.02, 497.67]、[0, 120] 和 [-375.17, 117.25]。因此,迷宮模型的比例必須為 image_size / 492.65。迷宮的 3D 模型並非以原點 (0, 0, 0) 為中心,因此會導入 mazeModelLocalOffset。
迷宮牆壁的高度仍高於圖片,建立輔助函式 updateModelMatrix(),可不均勻地縮放 X、Y、Z,將迷宮的高度縮放 0.1。請注意,您應保留現有的 updateModelMatrix(float[] modelMatrix, float scaleFactor),並新增函式超載 updateModelMatrix(float[] modelMatrix, float scaleFactorX, float scaleFactorY, float scaleFactorZ) 做為新函式。
common/rendering/ObjectRenderer.java
// Scale X, Y, Z coordinates unevenly
public void updateModelMatrix(float[] modelMatrix, float scaleFactorX, float scaleFactorY, float scaleFactorZ) {
    float[] scaleMatrix = new float[16];
    Matrix.setIdentityM(scaleMatrix, 0);
    scaleMatrix[0] = scaleFactorX;
    scaleMatrix[5] = scaleFactorY;
    scaleMatrix[10] = scaleFactorZ;
    Matrix.multiplyMM(this.modelMatrix, 0, modelMatrix, 0, scaleMatrix, 0);
}
執行程式碼。迷宮現在應該會完美貼合圖片上方。
4. 將 Andy 新增至迷宮
現在您已建立迷宮,請新增可在迷宮中移動的角色。使用 ARCore Android SDK 隨附的 andy.obj 檔案。將圖片影格紋理保留為其紋理,因為這與圖片頂端算繪的綠色迷宮不同。
在 AugmentedImageRenderer.java 中新增私人 ObjectRenderer,以便算繪 Andy。
AugmentedImageRenderer.java
// Render for Andy
  private final ObjectRenderer andyRenderer = new ObjectRenderer();
接著,在 createOnGlThread() 結尾初始化 andyRenderer。
AugmentedImageRenderer.java
public void createOnGlThread(Context context) throws IOException {

    // Initialize andyRenderer
    andyRenderer.createOnGlThread(
        context, "models/andy.obj", "models/andy.png");
    andyRenderer.setMaterialProperties(0.0f, 3.5f, 1.0f, 6.0f);
  }
最後,在 draw() 函式的結尾,算繪站在迷宮頂端的 Andy。
AugmentedImageRenderer.java
public void draw(
      float[] viewMatrix,
      float[] projectionMatrix,
      AugmentedImage augmentedImage,
      Anchor centerAnchor,
      float[] colorCorrectionRgba) {


    // Render Andy, standing on top of the maze
    Pose andyModelLocalOffset = Pose.makeTranslation(
        0.0f,
        0.1f,
        0.0f);
    anchorPose.compose(andyModelLocalOffset).toMatrix(modelMatrix, 0);
    andyRenderer.updateModelMatrix(modelMatrix, 0.05f); // 0.05f is a Magic number to scale
    andyRenderer.draw(viewMatrix, projectionMatrix, colorCorrectionRgba, tintColor);

  }
執行程式碼。您應該會看到 Andy 站在迷宮頂端。
決定目標圖片品質
ARCore 會根據視覺特徵辨識圖片。由於品質不一,並非所有圖片都能輕鬆辨識。
arcoreimg 是一種指令列工具,可讓您判斷 ARCore 辨識圖片的程度。輸出介於 0 到 100 之間的數字,100 代表最容易辨識。
範例如下:
arcore-android-sdk-x.xx.x/tools/arcoreimg/macos$
$ ./arcoreimg  eval-img --input_image_path=/Users/username/maze.jpg
100
maze.jpg 的值為 100,因此 ARCore 很容易辨識。
5. 選用:讓 Andy 在迷宮中移動
最後,您可以新增一些程式碼,讓 Andy 在迷宮中移動。舉例來說,您可以使用開放原始碼的物理引擎 jBullet 處理物理模擬。略過這個部分完全沒問題。
下載 PhysicsController.java,並新增至專案的目錄中
arcore-android-sdk-x.xx.x/samples/augmented_image_java/app/src/main/java/com/google/ar/core/examples/java/augmentedimage/
在 Android Studio 中,將 GreenMaze.obj 新增至專案資產目錄,以便在執行階段載入。將 GreenMaze.obj 從 app > assets > models > green-maze 複製到 app > assets。
在應用程式的 build.gradle 檔案中新增下列依附元件。
app/build.gradle
    // jbullet library
    implementation 'cz.advel.jbullet:jbullet:20101010-1'
定義變數 andyPose,儲存 Andy 目前姿勢的位置。
AugmentedImageRenderer.java
  // Create a new pose for the Andy
  private Pose andyPose = Pose.IDENTITY;
修改 AugmentedImageRenderer.java,使用新的 andyPose 變數算繪 Andy。
AugmentedImageRenderer.java
public void draw(
      float[] viewMatrix,
      float[] projectionMatrix,
      AugmentedImage augmentedImage,
      Anchor centerAnchor,
      float[] colorCorrectionRgba) {

    // Use these code to replace previous code for rendering the Andy object
    //
    // Adjust the Andy's rendering position
    // The Andy's pose is at the maze's vertex's coordinate
    Pose andyPoseInImageSpace = Pose.makeTranslation(
        andyPose.tx() * mazeScaleFactor,
        andyPose.ty() * mazeScaleFactor,
        andyPose.tz() * mazeScaleFactor);

    anchorPose.compose(andyPoseInImageSpace).toMatrix(modelMatrix, 0);
    andyRenderer.updateModelMatrix(modelMatrix, 0.05f);
    andyRenderer.draw(viewMatrix, projectionMatrix, colorCorrectionRgba, tintColor);
  }
新增 updateAndyPose() 公用程式函式,接收 Andy 姿勢更新。
AugmentedImageRenderer.java
  // Receive Andy pose updates
  public void updateAndyPose(Pose pose) {
    andyPose = pose;
  }
在 AugmentedImageActivity.java 中,建立 PhysicsController 物件,使用 JBullet 物理引擎管理所有與物理相關的函式。
AugmentedImageActivity.java
import com.google.ar.core.Pose;

  // Declare the PhysicsController object
  private PhysicsController physicsController;
在 Physics 引擎中,我們實際上會使用剛性球體代表 Andy,並使用球體的姿勢更新 Andy 的姿勢。每當應用程式辨識出圖片時,請呼叫 PhysicsController 更新物理效果。如要像在現實世界中移動球,請套用現實世界的重力,在迷宮中移動球。
AugmentedImageActivity.java
// Update the case clause for TRACKING to call PhysicsController
// whenever the app recognizes an image
  private void drawAugmentedImages(

    ...

        case TRACKING:
          // Switch to UI Thread to update View
          this.runOnUiThread(
              new Runnable() {
                @Override
                public void run() {
                  fitToScanView.setVisibility(View.GONE);
                }
              });

          // Create a new anchor for newly found images
          if (!augmentedImageMap.containsKey(augmentedImage.getIndex())) {
            Anchor centerPoseAnchor = augmentedImage.createAnchor(augmentedImage.getCenterPose());
            augmentedImageMap.put(
                augmentedImage.getIndex(), Pair.create(augmentedImage, centerPoseAnchor));

            physicsController = new PhysicsController(this);
          } else {
            Pose ballPose = physicsController.getBallPose();
            augmentedImageRenderer.updateAndyPose(ballPose);


            // Use real world gravity, (0, -10, 0), as gravity
            // Convert to Physics world coordinate(maze mesh has to be static)
            // Use the converted coordinate as a force to move the ball
            Pose worldGravityPose = Pose.makeTranslation(0, -10f, 0);
            Pose mazeGravityPose = augmentedImage.getCenterPose().inverse().compose(worldGravityPose);
            float mazeGravity[] = mazeGravityPose.getTranslation();
            physicsController.applyGravityToBall(mazeGravity);

            physicsController.updatePhysics();
          }
          break;
執行應用程式。現在傾斜圖片時,Andy 應該會以逼真的方式移動。
下例使用另一部手機顯示圖片,您也可以使用任何方便的裝置,例如平板電腦、實體書的封面,或貼在平坦物體上的列印紙張。
大功告成!盡情嘗試,幫助安迪通過迷宮。提示:將目標圖片倒過來,更容易找到出口。
6. 恭喜
恭喜,您已完成本程式碼研究室,並達成以下目標:
- 建構並執行 ARCore AugmentedImage Java 範例。
- 更新範例,在圖片上以適當比例顯示迷宮模型。
- 利用圖片中的姿勢做出有趣的事。
如要參考完整程式碼,請在這裡下載。