1. Hinweis
Wäre es nicht toll, wenn Sie in einer Arztpraxis, einer Kfz-Zulassungsstelle oder einer Werkstatt auf einen Terminplaner zugreifen könnten?
In diesem Codelab erstellen Sie einen einfachen Chatbot mit Dialogflow und integrieren ihn über die 1-Klick-Integration ins Web.
Die Übungen sind so angeordnet:
- Erstellen Sie einen Dialogflow-Agent.
- Intent erstellen
- Chatbot testen
- Aktivieren Sie die Webintegration.
Vorbereitung
Bevor Sie fortfahren, müssen Sie die grundlegenden Konzepte und Konstrukte von Dialogflow verstehen. Diese können Sie den folgenden Videos im Lernpfad Einen Chatbot mit Dialogflow erstellen entnehmen.
Lerninhalte
- Dialogflow-Agent erstellen
- Intents in einem Agent erstellen
- Trainingsformulierungen in einem Intent erstellen
- Antworten in einem Intent erstellen
- Dialogflow-Agent testen
- Webintegration einrichten
Aufgaben
- Chatbot durch Erstellen eines Agents in Dialogflow
Voraussetzungen
- Ein Browser und eine E-Mail-Adresse für die Anmeldung in der Dialogflow-Konsole
2. Dialogflow-Agent erstellen
- Rufen Sie die Dialogflow-Konsole auf.
- Melden Sie sich an. Wenn Sie ein neuer Nutzer sind, registrieren Sie sich mit Ihrer E‑Mail-Adresse.
- Akzeptieren Sie die Nutzungsbedingungen. Sie werden dann zur Dialogflow-Konsole weitergeleitet.
- Wenn Sie einen Agent erstellen möchten**,** klicken Sie auf
 , scrollen Sie zum Ende des Menüs und klicken Sie auf **Neuen Agent erstellen**.
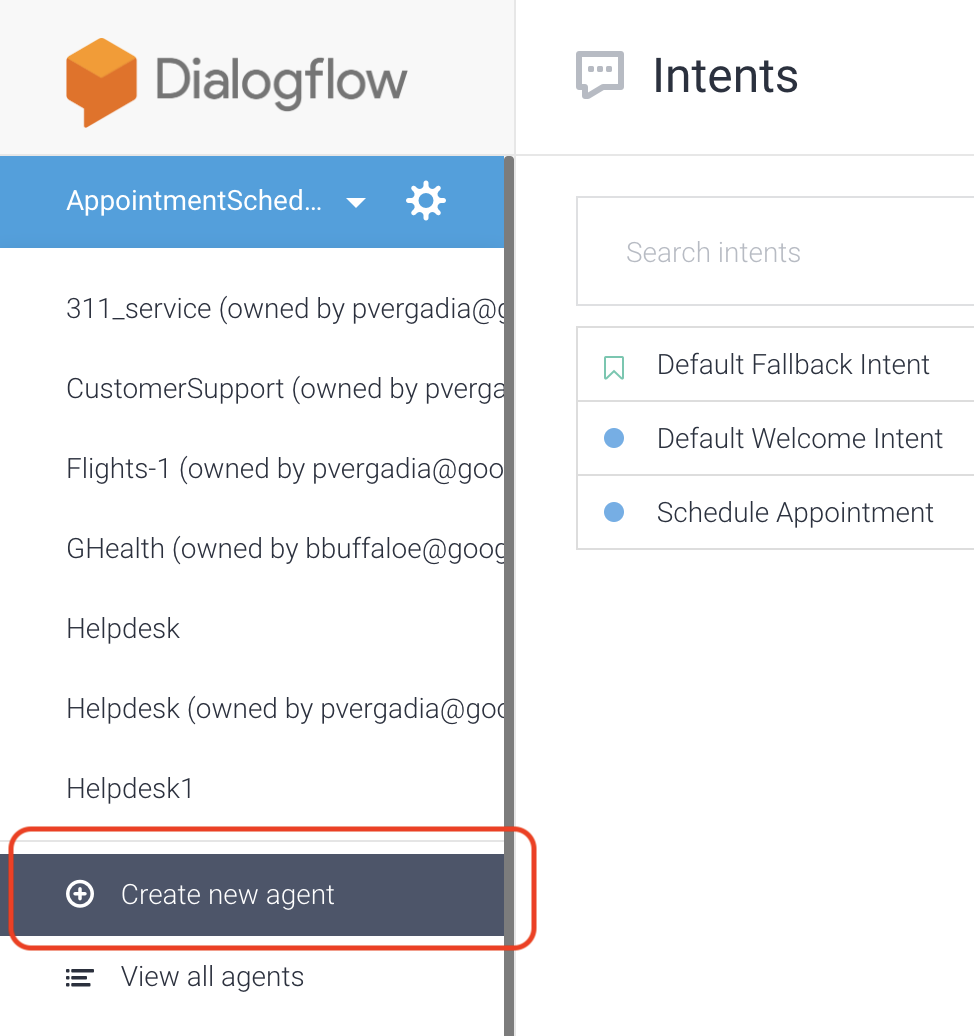
- Geben Sie „AppointmentScheduler“ als Agent-Name ein.
- Klicken Sie auf Erstellen.
Dialogflow erstellt die folgenden beiden Standard-Intents als Teil des Agents:
- Mit dem Standard-Begrüßungs-Intent werden Nutzer begrüßt.
- Der Standard-Fallback-Intent fängt alle Fragen ab, die Ihr Bot nicht versteht.
Damit haben Sie einen funktionsfähigen Bot erstellt, der Nutzer begrüßt.
Agent testen
Suchen Sie in der Dialogflow-Konsole nach dem Testbereich, der so aussieht:
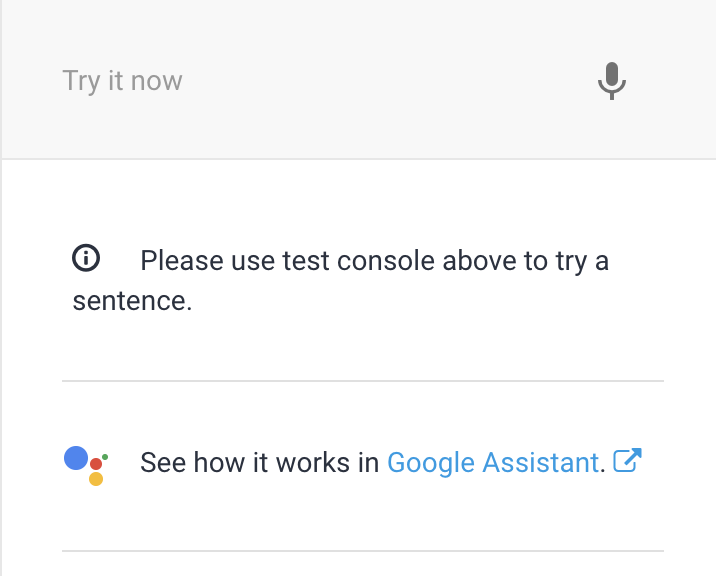
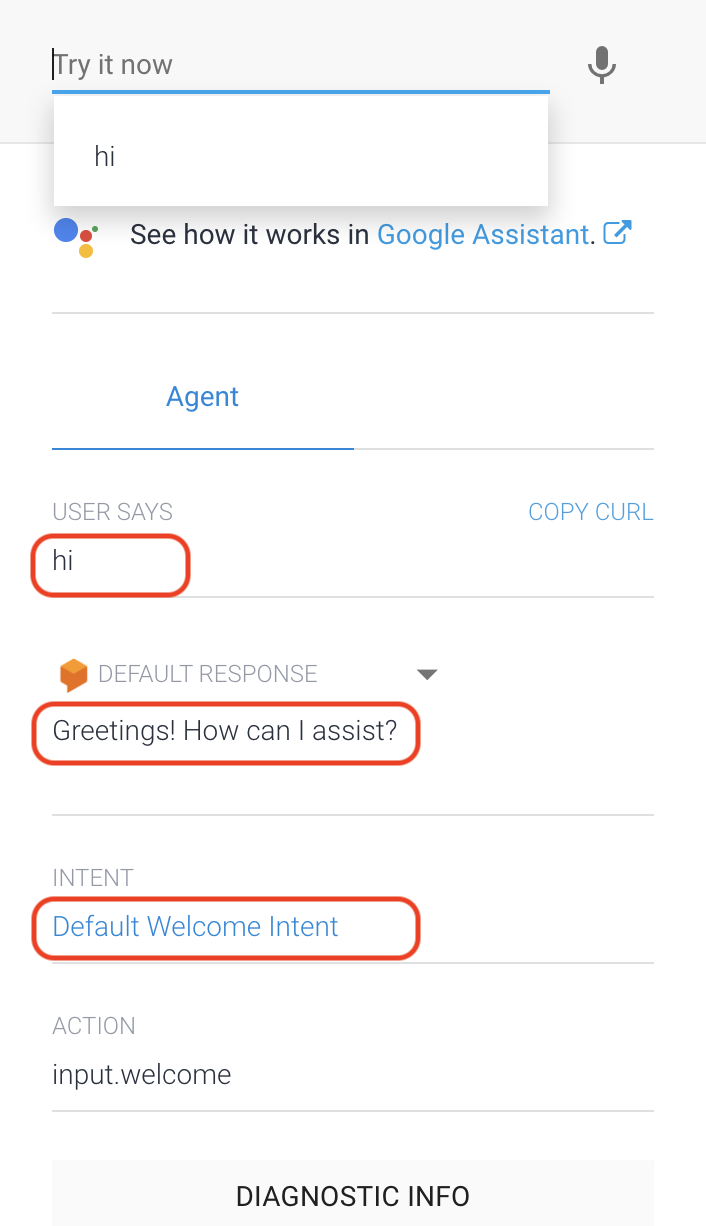
Geben Sie zum Testen des Agents „Hallo“ in das Feld Jetzt testen ein. Der Agent sollte mit der Standardbegrüßung antworten, die im Standard-Begrüßungs-Intent definiert ist. Es sollte „Hallo! Wie kann ich Ihnen helfen?“ Sie können die Antwort ändern.
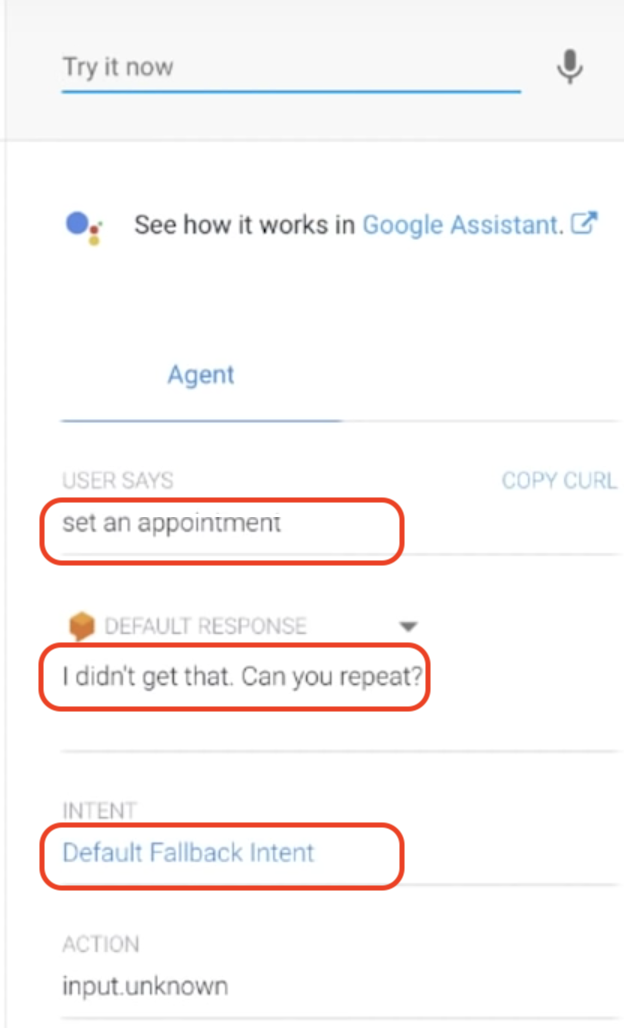
Wenn Sie jetzt „set an appointment“ (einen Termin vereinbaren) eingeben, weiß der Agent nicht, was er tun soll, und löst den Standard-Fallback-Intent aus. Das liegt daran, dass Sie keine Intention erstellt haben, um diese spezielle Frage zu beantworten.
3. Intent erstellen
- Klicken Sie auf Intents > Create Intent (Intent erstellen), um den Intent zu erstellen. Geben Sie „Schedule Appointment“ als Intent name (Intent-Name) ein.

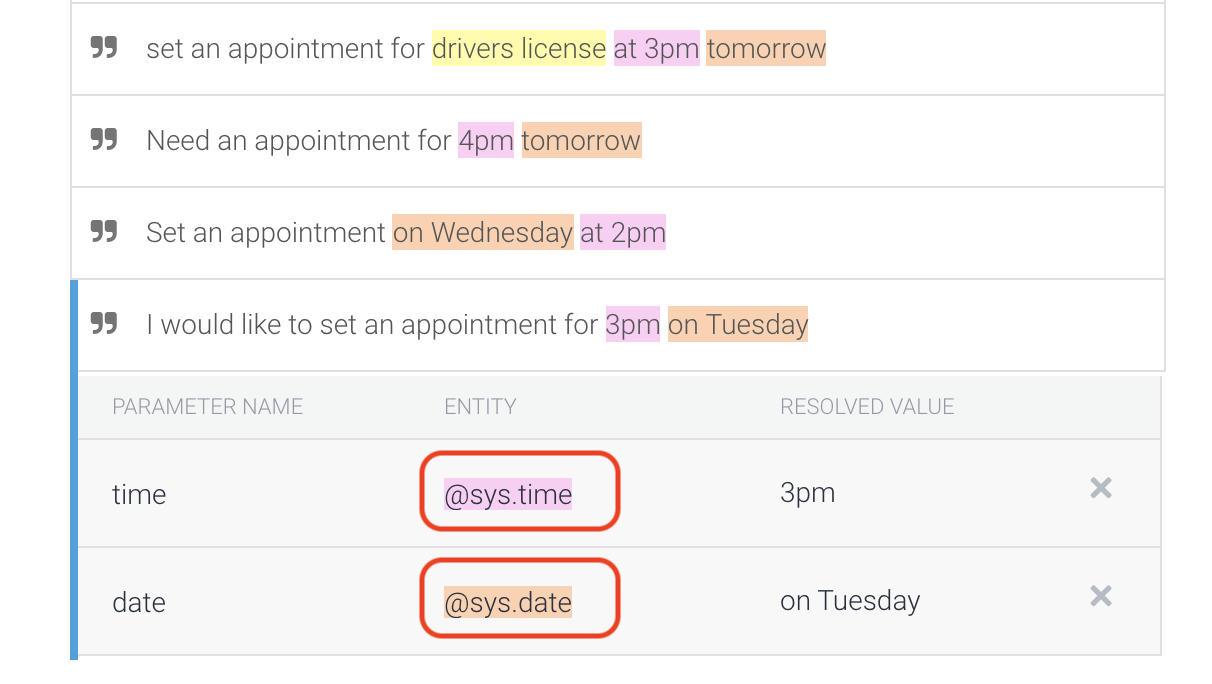
- Klicken Sie auf Trainingsformulierungen und geben Sie die folgenden Formulierungen ein.
- Stelle einen Termin für Mittwoch um 14 Uhr ein
- Ich brauche einen Termin für morgen um 16:00 Uhr.
- Ich möchte einen Termin für Dienstag um 15:00 Uhr vereinbaren.
Wenn Sie die Formulierungen eingeben, werden time (Uhrzeit) und date (Datum) automatisch als Systementitäten @sys.date und @sys.time erkannt.
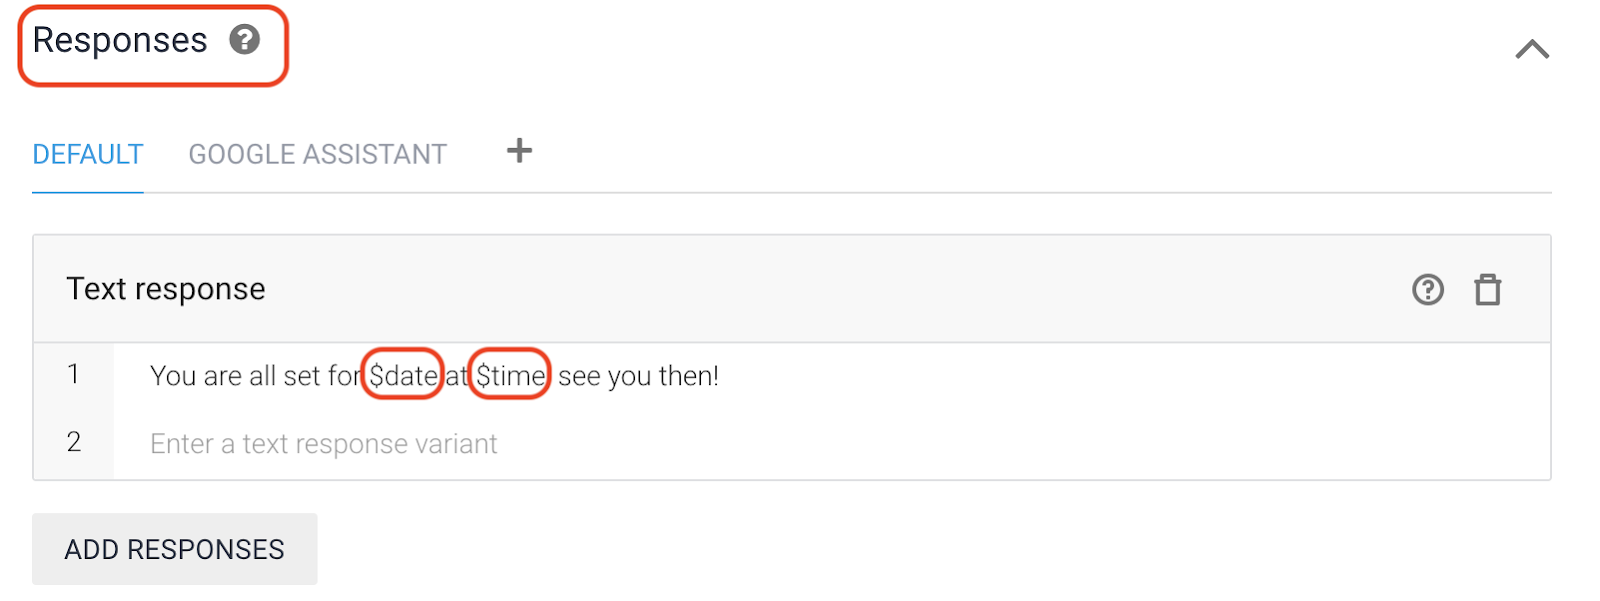
- Scrollen Sie zu Antworten und geben Sie „Alles erledigt. Bis dann!“ als Antwort oder Sie können es interessanter gestalten und „Du bist für den $date um $time eingeplant. Bis dann!“ Mit dem Dollarzeichen ($) können Sie auf die Entitätswerte zugreifen. Klicken Sie auf Antworten hinzufügen.
- Klicken Sie auf Speichern und testen Sie den Agenten mit „Vereinbare einen Termin für Donnerstag um 16:00 Uhr“. Wie erwartet erhalten Sie die Antwort mit dem richtigen Datum und der richtigen Uhrzeit.
Slot-Füllung
Testen Sie nun „Termin festlegen“. Das ist nicht sehr spezifisch und Sie haben dieses Szenario nicht berücksichtigt. Es sollte also von der Standard-Fallback-Intent behandelt werden. Dazu können Sie die sogenannte Slot-Füllung verwenden.
Mit der Slot-Füllung können Sie einen Unterhaltungsablauf für die Erfassung von Parameterwerten in einem einzelnen Intent entwerfen. Das ist hilfreich, wenn eine Aktion ohne eine bestimmte Gruppe von Parameterwerten nicht abgeschlossen werden kann.
Als Nächstes richten Sie die Slot-Füllung ein.
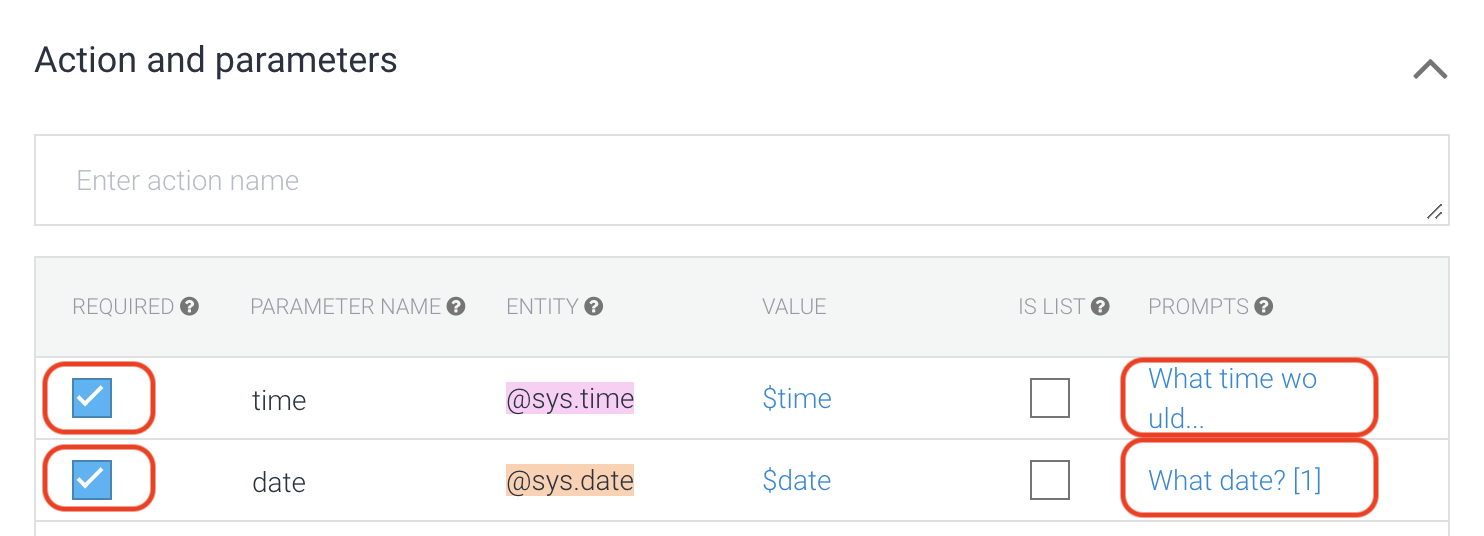
- Klicken Sie auf Aktionen und Parameter. Erstellen Sie die erforderlichen Einheiten. Dialogflow fragt dann nach Datum und Uhrzeit, bevor es antwortet.
- Geben Sie für die Uhrzeit „Um wie viel Uhr möchten Sie kommen?“ ein.
- Geben Sie für das Datum „Welches Datum?“ ein.
- Klicken Sie auf Speichern.
4. Chatbot testen
Jetzt sollte der Dialogflow fertig eingerichtet sein. Geben Sie in der Dialogflow-Konsole unter Jetzt testen die folgende Unterhaltung ein:
- Nutzer: „Hallo“
- Nutzer: „Vereinbare einen Termin.“
- Chatbot: „Welches Datum?“
- Nutzer: „23. Mai“
- Chatbot: „Um wie viel Uhr möchten Sie kommen?“
- Nutzer: „10 Uhr“
- Chatbot: „Du bist bereit für den 23.05.2019 um 10:00:00. Bis dann!“
5. Webintegration mit einem Klick aktivieren
Dialogflow bietet zahlreiche Integrationsmöglichkeiten für den Chatbot. Sehen Sie sich ein Beispiel für eine Webbenutzeroberfläche für den Chatbot an.
Klicken Sie in der Dialogflow-Konsole auf Integrations.
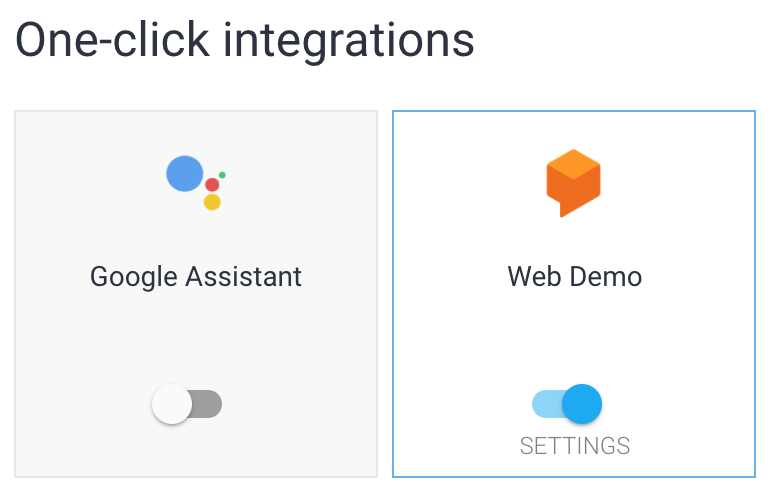
Aktivieren Sie Web Demo.
Klicken Sie auf die URL, um die Web-Demo zu starten. 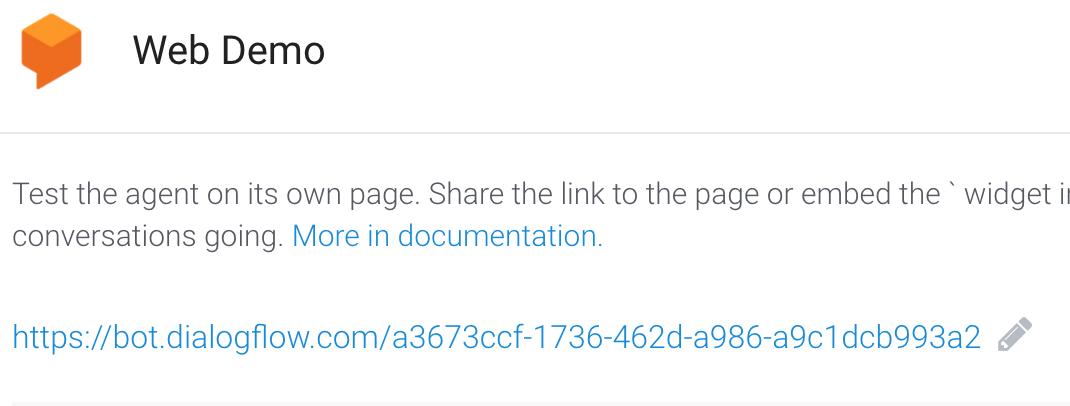
Geben Sie auf der Chatoberfläche im Abschnitt Frage stellen etwas ein. Verwenden Sie das folgende Gespräch:
- Geben Sie „Hallo“ ein. Der Chatbot sollte wie bisher antworten.
- Geben Sie „set an appointment for 4 PM tomorrow“ (vereinbare einen Termin für morgen um 16:00 Uhr) ein. Der Chatbot sollte den Termin bestätigen.
6. Bereinigen
Wenn Sie vorhaben, weitere Codelabs zu Dialogflow zu absolvieren, überspringen Sie diesen Abschnitt vorerst und kehren Sie später dazu zurück.
Dialogflow-Agent löschen
- Klicken Sie neben Ihrem vorhandenen Agent auf
 .
.
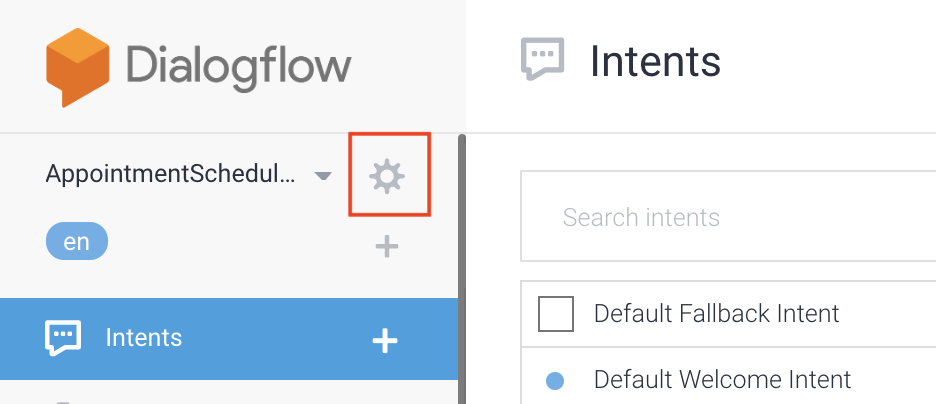
- Scrollen Sie auf dem Tab Allgemein nach unten und klicken Sie auf Diesen Agent löschen.
- Geben Sie im angezeigten Dialogfeld Löschen ein und klicken Sie auf Löschen.
7. Glückwunsch
Sie haben einen Chatbot erstellt und sind jetzt Chatbot-Entwickler!
Weitere Informationen
Weitere Dialogflow-Ressourcen:
