
1. Before you begin
In this codelab, you'll learn how Dialogflow connects with Google Workspace APIs to create a fully functioning Appointment Scheduler with Google Calendar with dynamic responses in Google Chat.
If you do not still have the set up from the previous codelabs or feel confident with Dialogflow and fulfillment, you may download the starter code and agent config from here
https://github.com/googleworkspace/appointment-scheduler-codelab
Prerequisites
Before proceeding, you need to complete the following codelabs:
- Build an Appointment Scheduler with Dialogflow
- Integrate Dialogflow with Actions on Google
- Understand entities in Dialogflow
- Understand fulfillment by integrating Dialogflow with Calendar
You also need to understand the basic concepts and constructs of Dialogflow, which you can glean from the following videos found in the Build a chatbot with Dialogflow pathway.
What you'll learn
- How to deploy and configure a Google Chat app
- How to build display cards in Google Chat
- How to build custom payloads in Dialogflow fulfillment
What you'll build
- An integration between Dialogflow, Google Chat and Calendar
- (Optional) Integrate Google Maps for richer cards
What you'll need
- A web browser and an email address to log into the Dialogflow console
- Calendar and Google Chat enabled in your Google Workspace domain
2. Enable and Configure Google Chat
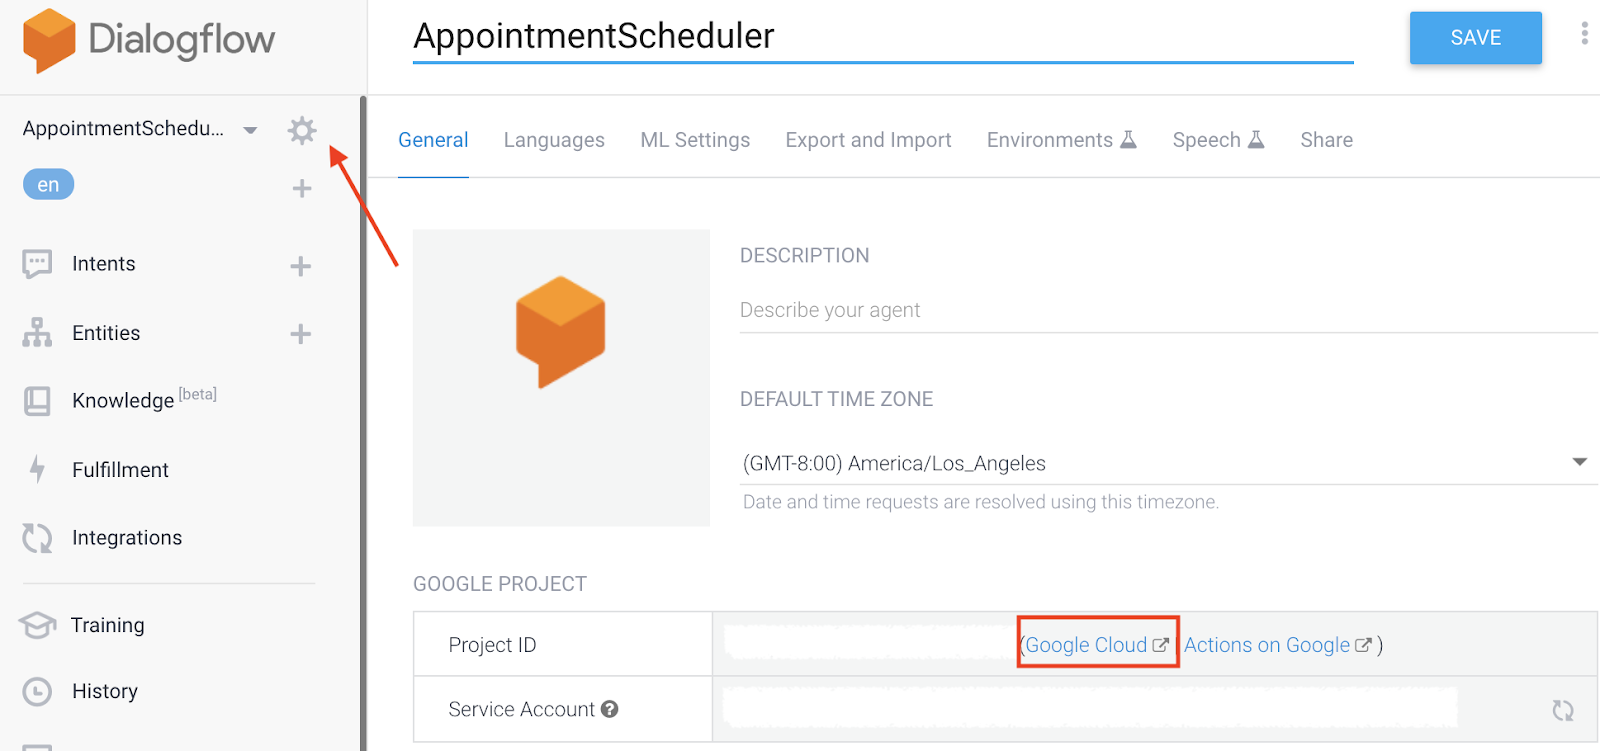
We will start with the Dialogflow Agent you have created in the previous codelabs.
- In the Dialogflow console, click
 .
. - In the General tab, scroll to Project ID, then click Google Cloud
 .
.
- In the Google Cloud Console, click Navigation menu ☰ > APIs & Services > Library.
- Search for "Google Chat API," then click Enable to use the API on your Google Cloud project.
- Now we will configure your Chat app, navigate to the Configuration page for the API. Please note each GCP project can have at most one Chat app.
- You should see the Dialogflow fields populating the configuration options.
- Change the Avatar URL field to this car image:
**https://fonts.gstatic.com/s/i/googlematerialicons/directions_car/v5/black-48dp/1x/gm_directions_car_black_48dp.png** - To enable your Chat app for both direct messages and spaces, select App can be messaged directly and App works in spaces with multiple users.
Click Save and exit the Cloud Console.
3. Additional Dialogflow Integrations
Google Chat is enabled by default but if you would like a bot to serve multiple platforms, you may navigate to the Integrations page in the Dialogflow Console to enable them.
4. Test in Google Chat
Now that your Chat app is configured, let's add it to a Chat space and test it out. Open Google Chat and create a test space.
- In the upper right corner of the space click the drop down and select Add people & apps.
- Search for
AppointmentSchedulerand add the app to the space. - You can now interact with the app you already have built in Google by simply typing @AppointmentScheduler in the space.
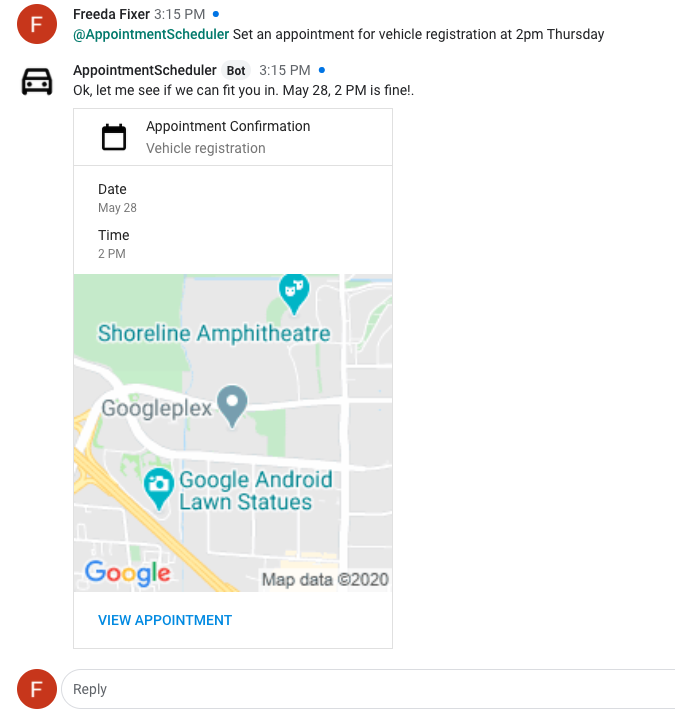
Test it out on this platform with the same input from the previous codelabs:
- User: "@AppointmentScheduler Set an appointment for vehicle registration at 2 PM tomorrow."
- Chat app: "Ok, let me see if we can fit you in. April 24, 2 PM is fine!"
Next we will use the customizations in Google Chat to add richer responses.
5. Custom Google Chat Cards
With Google Chat, you can have your app return the user a basic Text Response or a Card Response which allows you a richer interface built by different widgets including images, buttons, etc. Now that we have connected your Dialogflow Agent to a Google Chat app, you simply need to return the JSON in the correct format to display in Google in your fulfillment code. Let's look at some JSON examples.
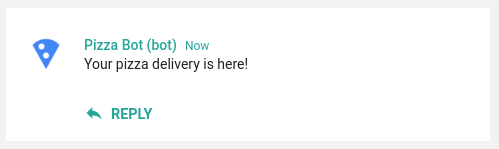
The basic text response looks like:
 {
  "text": "Your pizza delivery is here!"
}
A sample card response with widgets looks like:
{
  "cards": [
    {
      "sections": [
        {
          "widgets": [
            {
              "image": { "imageUrl": "https://..." }
            },
            {
              "buttons": [
                {
                  "textButton": {
                    "text": "OPEN IN GOOGLE MAPS",
                    "onClick": {
                      "openLink": {
                        "url": "https://..."
                      }
                    }
                  }
                }
              ]
            }
          ]
        }
      ]
    }
  ]
}
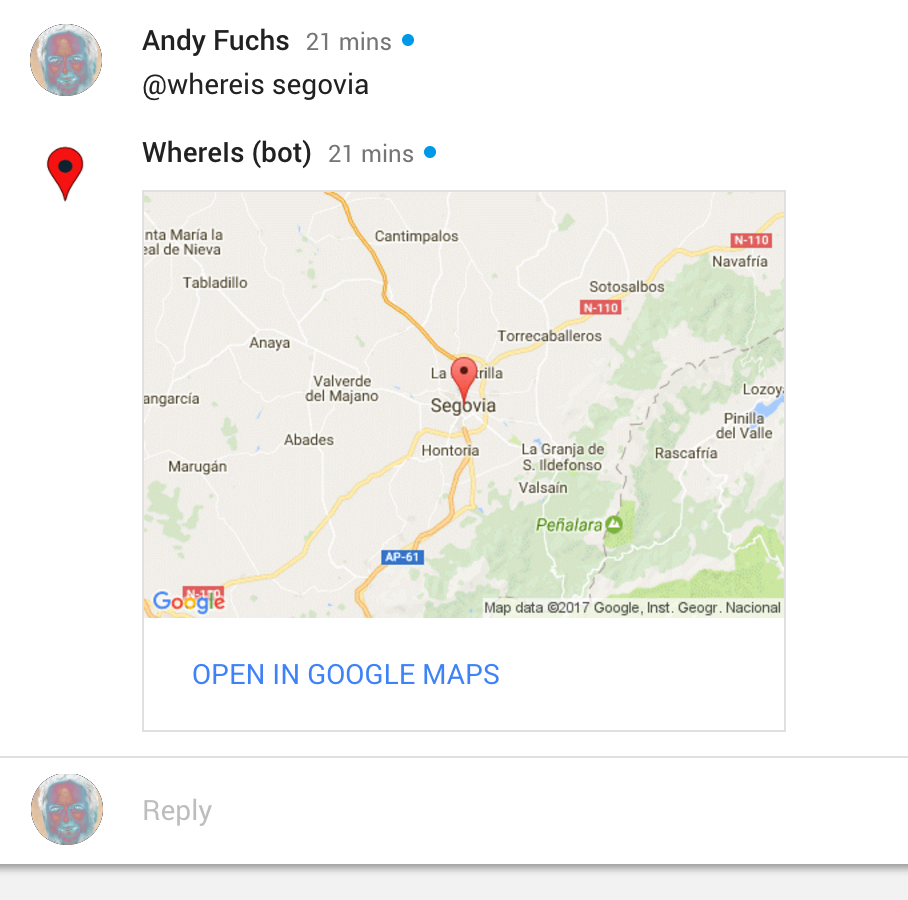
To learn more about cards please see the Message Format documentation. In the next section we will add cards to our Chat app.
6. Custom Payloads and Chat Cards
Custom payloads in Dialogflow allow for platform-specific rich response messages. This is where we will add our Hangout Chat JSON cards where they will be served back to the user by the agent.
Let's start by adding a basic card for the welcome intent. In the Dialogflow Console, navigate to the Default Welcome Intent and scroll down to the responses section.
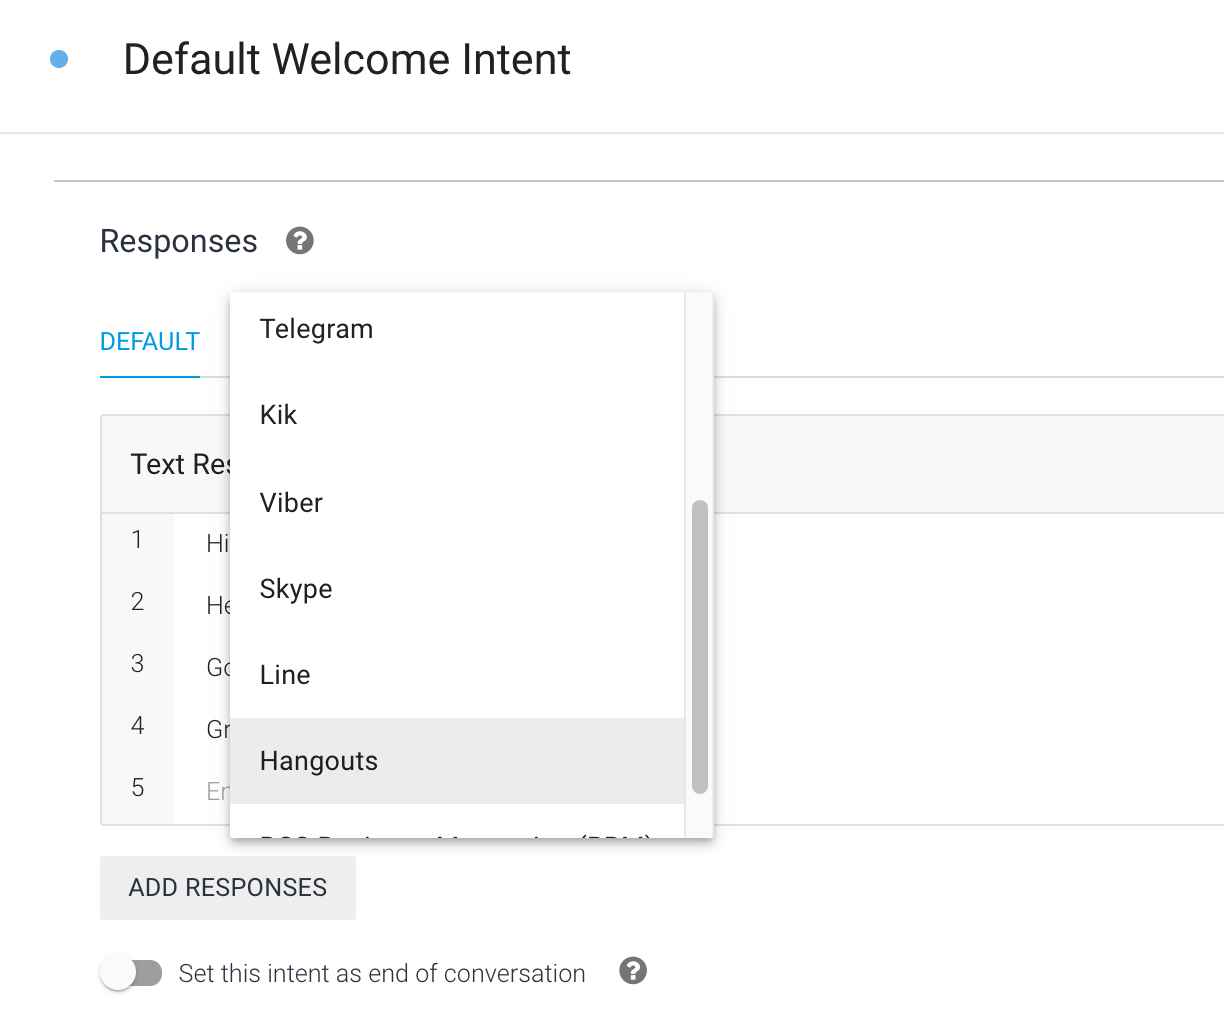
Click on Hangouts and unselect Use responses from the DEFAULT tab as the first responses, then ADD RESPONSES > Custom Payload.
You will see a JSON skeleton.
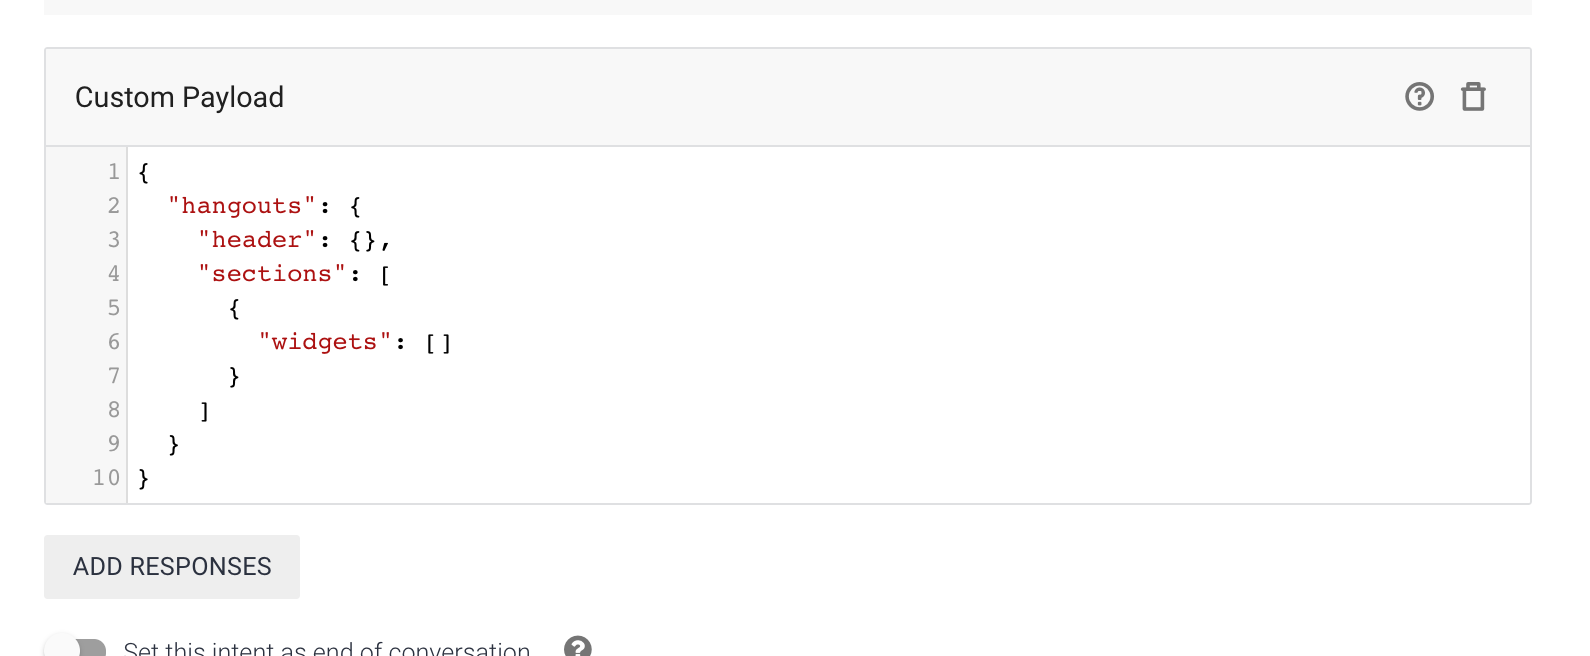
Copy and paste the following code below. We have set up a card with a TextParagraph widget.
{
 "hangouts": {
   "header": {
     "title": "Appointment Scheduler"
   },
   "sections": [
     {
       "widgets": [
         {
           "textParagraph": {
             "text": "Welcome, I am the scheduler agent. Please request an appointment type and time."
           }
         }
       ]
     }
   ]
 }
}
Hit Save then let's go to your test Chat space to see this card is rendered. In the Chat space, type ‘@AppointmentScheduler hello'.

Next we will add a custom payload in the fulfillment code so we can dynamically generate the content with our code.
7. Adding a card in Fulfillment
Now we will create a card with several widgets to show a scheduled appointment. Let's add a function called getGoogleChatCard where we will render the inputs: appointmentType, date, and time.
Add the function below to your code in index.js at the bottom.
function getGoogleChatCard(appointmentType, date, time) {
   const cardHeader = {
     title: 'Appointment Confirmation',
     subtitle: appointmentType,
     imageUrl: ICON_IMAGE_URL,
     imageStyle: 'IMAGE',
   };
    const dateWidget = {
     keyValue: {
       content: 'Date',
       bottomLabel: date,
     },
   };
    const timeWidget = {
     keyValue: {
       content: 'Time',
       bottomLabel: time,
     },
   };

    const buttonWidget = {
     buttons: [
       {
         textButton: {
           text: 'View Appointment',
           onClick: {
             openLink: {
               url: CALENDAR_URL,
             },
           },
         },
       },
     ],
   };
    const infoSection = {widgets: [dateWidget, timeWidget,
     buttonWidget]};
    return {
     'hangouts': {
       'name': 'Confirmation Card',
       'header': cardHeader,
       'sections': [infoSection],
     },
   };
 }
This card contains a key value pair and button widget. The widgets are then ordered in a section and the card contains a list of sections to render.
Now let's call this function when a calendar event is created. In your createCalendarEvent function, replace the contents with the code below and deploy the function.
return createCalendarEvent(dateTimeStart, dateTimeEnd, appointmentType).then(() => {
   agent.add(`Ok, let me see if we can fit you in. ${appointmentTimeString} is fine!.`);

   const dateString = dateTimeStart.toLocaleString(
     'en-US',
       {month: 'long', day: 'numeric'},
   );
   const dateParts = appointmentTimeString.split(',');
   const json = getGoogleChatCard(appointmentType, dateParts[0], dateParts[1]);
   const payload = new Payload(
       'hangouts',
       json,
       {rawPayload: true, sendAsMessage: true},
   );
   agent.add(payload);

 }).catch(() => {
   agent.add(`I'm sorry, there are no slots available for ${appointmentTimeString}.`);
 });
}
When the agent is responding in Google Chat, the agent will know to return the card constructed above. Test it out with a scheduling request.
8. (Optional) Add a Google Maps image widget
If you would like to make your response card more visual, you can add a static map of the appointment location generated by the Maps Static API. The API allows you to construct a Maps image by URL parameters. We can then use the image in an image widget in our card.
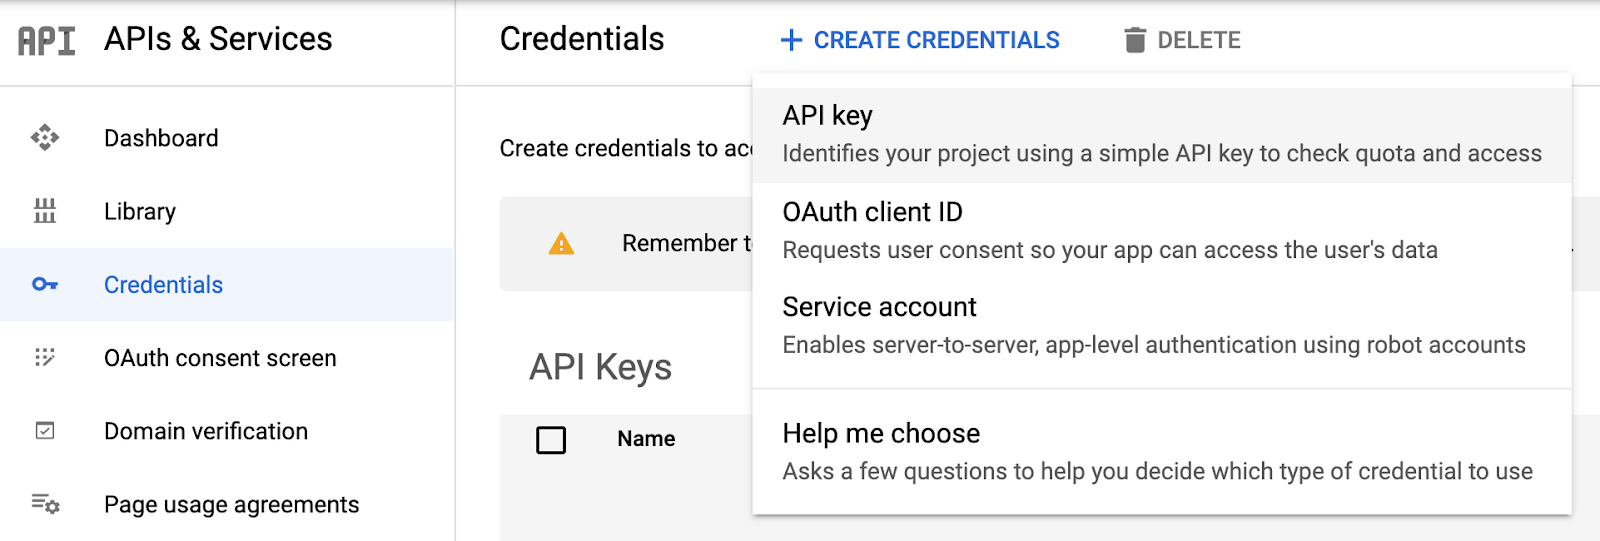
- Enable the Maps Static API in the Google Cloud Console, the same way you enabled the Calendar and Google Chat APIs.
- Create and save an API key for your project in the APIs & Services page in the console. For more information on retrieval and best practices on API keys with Maps, please see here.
- Copy the API key and the following constants to the top of your file in index.js
const API_KEY = 'YOUR_API_KEY';
const MAP_IMAGE_URL = 'https://maps.googleapis.com/maps/api/staticmap?center=Googleplex&zoom=14&size=200x200&key=' + API_KEY;
const ICON_IMAGE_URL = 'https://fonts.gstatic.com/s/i/googlematerialicons/calendar_today/v5/black-48dp/1x/gm_calendar_today_black_48dp.png';
const CALENDAR_URL = 'YOUR_CALENDAR_URL';
- Next add an image widget in your getGoogleChatCard function
  const mapImageWidget = {
    'image': {
      'imageUrl': MAP_IMAGE_URL,
      'onClick': {
        'openLink': {
          'url': MAP_IMAGE_URL,
        },
      },
    },
  };
- Add mapImageWidget into the list of widgets in your infoSection variable, save and deploy.
- Test out your Chat app in your Chat space and you should a rich response based on the code you added today!
9. Clean up
If you're planning to complete other Dialogflow codelabs, then skip this section for now and return to it later.
Delete the Dialogflow agent
- Click
 next to your existing agent.
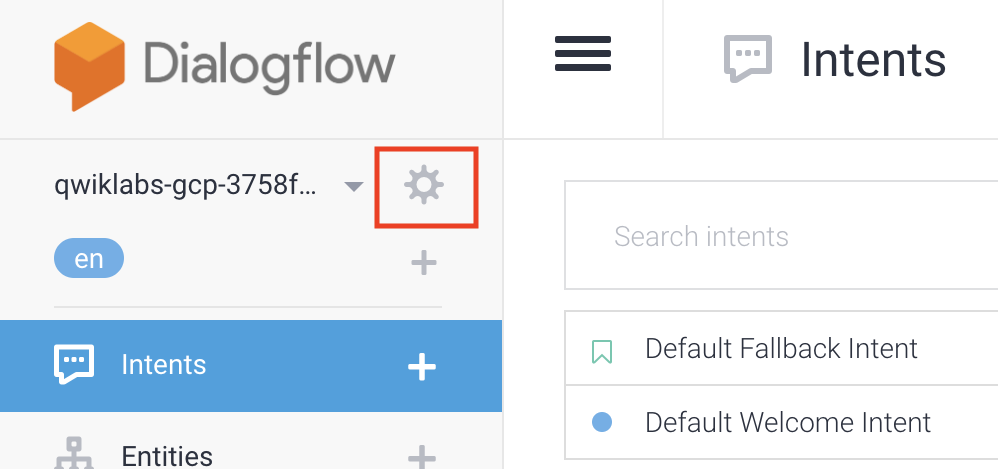
- In the General tab, scroll to the bottom and click Delete This Agent.
- Type Delete into the dialog and click Delete.
10. Congratulations
You created a chatbot in Dialogflow and integrated it with Calendar and now Google Chat, you're a Google Workspace Pro!
Learn more
To learn more, check out the code samples on the Dialogflow Github page.