
1. Overview
Cloud Dataproc is a managed Spark and Hadoop service that lets you take advantage of open source data tools for batch processing, querying, streaming, and machine learning. Cloud Dataproc automation helps you create clusters quickly, manage them easily, and save money by turning clusters off when you don't need them. With less time and money spent on administration, you can focus on your jobs and your data.
This tutorial is adapted from https://cloud.google.com/dataproc/overview
What you'll learn
- How to create a managed Cloud Dataproc cluster (with Apache Spark pre-installed).
- How to submit a Spark job
- How to resize a cluster
- How to ssh into the master node of a Dataproc cluster
- How to use gcloud to examine clusters, jobs, and firewall rules
- How to shut down your cluster
What you'll need
How will you use use this tutorial?
How would you rate your experience with using Google Cloud Platform services?
2. Setup and Requirements
Self-paced environment setup
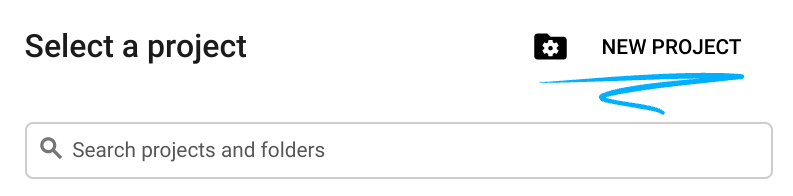
- Sign in to Cloud Console and create a new project or reuse an existing one. (If you don't already have a Gmail or G Suite account, you must create one.)

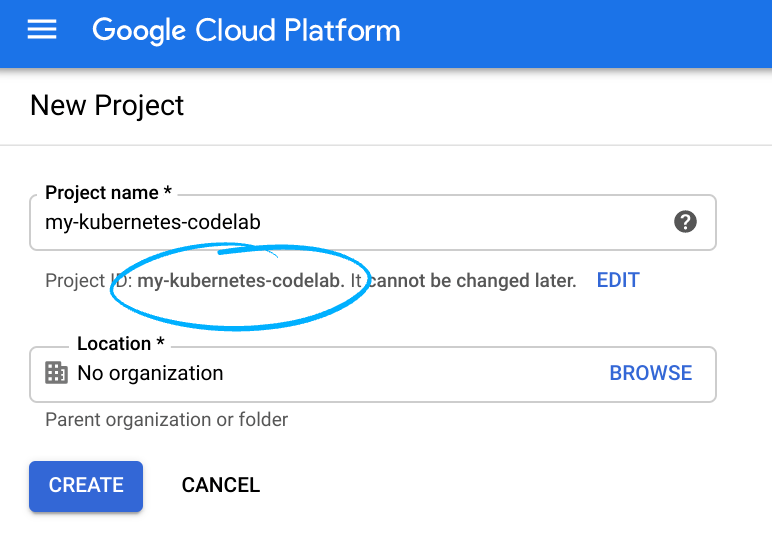
Remember the project ID, a unique name across all Google Cloud projects (the name above has already been taken and will not work for you, sorry!). It will be referred to later in this codelab as PROJECT_ID.
- Next, you'll need to enable billing in Cloud Console in order to use Google Cloud resources.
Running through this codelab shouldn't cost much, if anything at all. Be sure to to follow any instructions in the "Cleaning up" section which advises you how to shut down resources so you don't incur billing beyond this tutorial. New users of Google Cloud are eligible for the $300USD Free Trial program.
3. Enable the Cloud Dataproc and Google Compute Engine APIs
Click on the menu icon in the top left of the screen.

Select API Manager from the drop down.

Click on Enable APIs and Services.

Search for "Compute Engine" in the search box. Click on "Google Compute Engine API" in the results list that appears.

On the Google Compute Engine page click Enable

Once it has enabled click the arrow pointing left to go back.
Now search for "Google Cloud Dataproc API" and enable it as well.

4. Start Cloud Shell
This Debian-based virtual machine is loaded with all the development tools you'll need. It offers a persistent 5GB home directory and runs in Google Cloud, greatly enhancing network performance and authentication. This means that all you will need for this codelab is a browser (yes, it works on a Chromebook).
- To activate Cloud Shell from the Cloud Console, simply click Activate Cloud Shell
(it should only take a few moments to provision and connect to the environment).

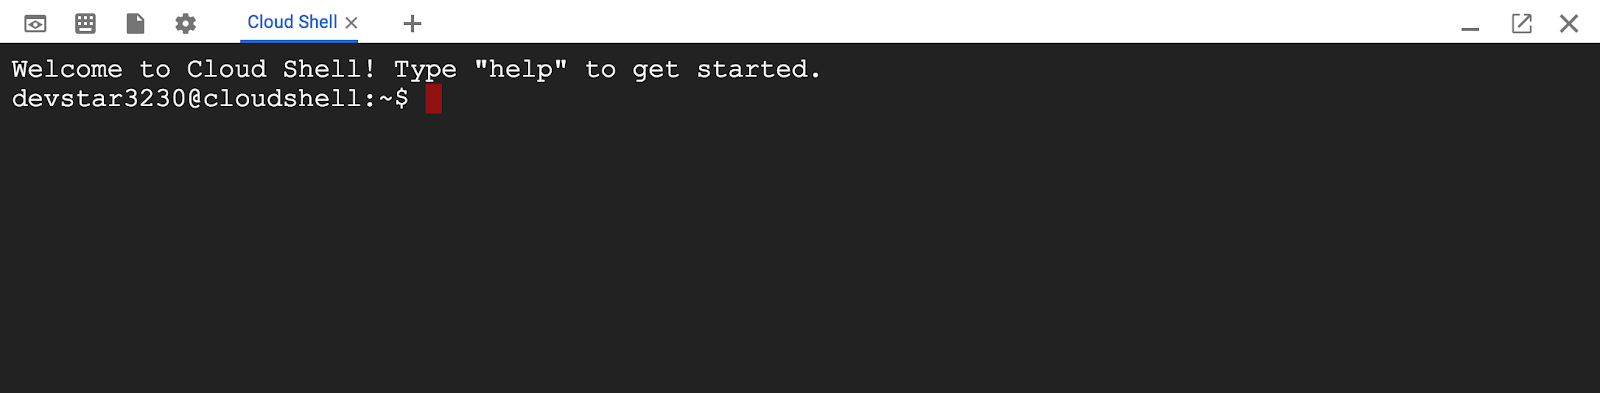
Once connected to Cloud Shell, you should see that you are already authenticated and that the project is already set to your PROJECT_ID.
gcloud auth list
Command output
Credentialed accounts:
 - <myaccount>@<mydomain>.com (active)
gcloud config list project
Command output
[core]
project = <PROJECT_ID>
If, for some reason, the project is not set, simply issue the following command:
gcloud config set project <PROJECT_ID>
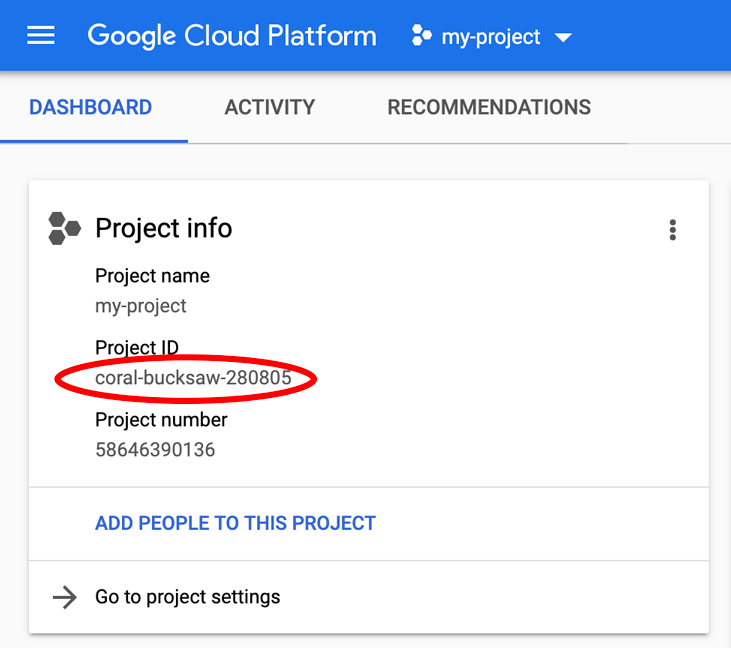
Looking for your PROJECT_ID? Check out what ID you used in the setup steps or look it up in the Cloud Console dashboard:
Cloud Shell also sets some environment variables by default, which may be useful as you run future commands.
echo $GOOGLE_CLOUD_PROJECT
Command output
<PROJECT_ID>
- Finally, set the default zone and project configuration.
gcloud config set compute/zone us-central1-f
You can choose a variety of different zones. For more information, see Regions & Zones.
5. Create a Cloud Dataproc cluster
After Cloud Shell launches, you can use the command line to invoke the Cloud SDK gcloud command or other tools available on the virtual machine instance.
Choose a cluster name to use in this lab:
$ CLUSTERNAME=${USER}-dplab
Let's get started by creating a new cluster:
$ gcloud dataproc clusters create ${CLUSTERNAME} \
  --region=us-central1 \
  --scopes=cloud-platform \
  --tags codelab \
  --zone=us-central1-c
The default cluster settings, which includes two-worker nodes, should be sufficient for this tutorial. The command above includes the --zone option to specify the geographic zone in which the cluster will be created, and two advanced options, --scopes and --tags, which are explained below when you use the features they enable. See the Cloud SDK gcloud dataproc clusters create command for information on using command line flags to customize cluster settings.
6. Submit a Spark job to your cluster
You can submit a job via a Cloud Dataproc API jobs.submit request, using the gcloud command line tool, or from the Google Cloud Platform Console. You can also connect to a machine instance in your cluster using SSH, and then run a job from the instance.
Let's submit a job using gcloud tool from the Cloud Shell command line:
$ gcloud dataproc jobs submit spark --cluster ${CLUSTERNAME} \
  --class org.apache.spark.examples.SparkPi \
  --jars file:///usr/lib/spark/examples/jars/spark-examples.jar -- 1000
As the job runs you will see the output in your Cloud Shell window.
Interrupt the output by entering Control-C. This will stop the gcloud command, but the job will still be running on the Dataproc cluster.
7. List Jobs and Reconnect
Print a list of jobs:
$ gcloud dataproc jobs list --cluster ${CLUSTERNAME}
The most recently submitted job is at the top of the list. Copy the job ID and paste it in place of "jobId" in the below command. The command will reconnect to the specified job and display its output:
$ gcloud dataproc jobs wait jobId
When the job finishes, the output will include an approximation of the value of Pi.

8. Resize Cluster
For running larger computations, you might want to add more nodes to your cluster to speed it up. Dataproc lets you add nodes to and remove nodes from your cluster at any time.
Examine the cluster configuration:
$ gcloud dataproc clusters describe ${CLUSTERNAME}
Make the cluster larger by adding some preemptible nodes:
$ gcloud dataproc clusters update ${CLUSTERNAME} --num-secondary-workers=2
Examine the cluster again:
$ gcloud dataproc clusters describe ${CLUSTERNAME}
Note that in addition to the workerConfig from the original cluster description, there is now also a secondaryWorkerConfig that includes two instanceNames for the preemptible workers. Dataproc shows the cluster status as being ready while the new nodes are booting.
Since you started with two nodes and now have four, your Spark jobs should run about twice as fast.
9. SSH into Cluster
Connect via ssh to the master node, whose instance name is always the cluster name with -m appended:
$ gcloud compute ssh ${CLUSTERNAME}-m --zone=us-central1-c
The first time you run an ssh command on Cloud Shell it will generate ssh keys for your account there. You can choose a passphrase, or use a blank passphrase for now and change it later using ssh-keygen if you want.
On the instance, check the hostname:
$ hostname
Because you specified --scopes=cloud-platform when you created the cluster, you can run gcloud commands on your cluster. List the clusters in your project:
$ gcloud dataproc clusters list
Log out of the ssh connection when you are done:
$ logout
10. Examine tags
When you created your cluster you included a --tags option to add a tag to each node in the cluster. Tags are used to attach firewall rules to each node. You did not create any matching firewall rules in this codelab, but you can still examine the tags on a node and the firewall rules on the network.
Print the description of the master node:
$ gcloud compute instances describe ${CLUSTERNAME}-m --zone us-central1-c
Look for tags: near the end of the output and see that it includes codelab.
Print the firewall rules:
$ gcloud compute firewall-rules list
Note the SRC_TAGS and TARGET_TAGS columns. By attaching a tag to a firewall rule, you can specify that it should be used on all nodes that have that tag.
11. Shut down your cluster
You can shut down a cluster via a Cloud Dataproc API clusters.delete request, from the command line using the gcloud dataproc clusters delete executable, or from the Google Cloud Platform Console.
Let's shut down the cluster using the Cloud Shell command line:
$ gcloud dataproc clusters delete ${CLUSTERNAME} --region us-central1
12. Congratulations!
You learned how to create a Dataproc cluster, submit a Spark job, resize a cluster, use ssh to log in to your master node, use gcloud to examine clusters, jobs, and firewall rules, and shut down your cluster using gcloud!
Learn More
- Dataproc Documentation: https://cloud.google.com/dataproc/overview
- Getting Started with Dataproc using the Console codelab
License
This work is licensed under a Creative Commons Attribution 3.0 Generic License, and Apache 2.0 license.