
1. Overview
This series of codelabs (self-paced, hands-on tutorials) aims to help Google App Engine (Standard) developers modernize their apps by guiding them through a series of migrations. Once that's accomplished, users can make their apps more portable by explicitly containerizing them for Cloud Run, Google Cloud's container-hosting sister service to App Engine, and other container-hosting services.
This tutorial teaches you how to containerize App Engine apps for deploying to the Cloud Run fully-managed service using Cloud Buildpacks, an alternative to Docker. Cloud Buildpacks containerize your apps without managing Dockerfile files or even knowing anything about Docker.
This codelab is for Python 2 App Engine developers who have moved their apps away from the original built-in services and ported them to Python 3, and who are now seeking to run them in a container. The codelab STARTs with either a completed Module 2 or Module 3 Python 3 app.
You'll learn how to
- Containerize your app using Cloud Buildpacks
- Deploy container images to Cloud Run
What you'll need
- A Google Cloud Platform project with:
- Basic Python skills
- Working knowledge of common Linux commands
- Basic knowledge of developing and deploying App Engine apps
- You're recommended to complete either (or both) of the Module 2 or Module 3 codelabs, including porting them to Python 3, before starting this one (Module 5).
- A working Python 3 App Engine app ready to be containerized
Survey
How will you use this codelab?
2. Background
PaaS systems like App Engine and Cloud Functions provide many conveniences for your team and application. For example, these serverless platforms enable SysAdmin/Devops to focus on building solutions. Your app can autoscale up as needed, scale down to zero with pay-per-use billing help control costs, and they use a variety of common development languages.
However, the flexibility of containers is compelling as well, the ability to choose any language, any library, any binary. Giving users the best of both worlds, the convenience of serverless along with the flexibility of containers, is what Google Cloud Run is all about.
Learning how to use Cloud Run is not within the scope of this codelab; that's covered by the Cloud Run documentation. The goal here is for you to know how to containerize your App Engine app for Cloud Run (or other services). There are a few things you should know before moving forward, primarily that your user experience will be slightly different, a bit lower-level as you will no longer be taking application code and deploying it.
Instead, you'll need to learn something about containers like how to build and deploy them. You also get to decide what you want to put in the container image, including a web server as you won't be using App Engine's web server any more. If your prefer not to follow this path, keeping your apps on App Engine is not a bad option.
In this tutorial, you'll learn how to containerize your app, removing App Engine configuration files, manage a web server, including how to start your app.
This migration features these steps:
- Setup/Prework
- Containerize application
- Replace configuration files
- Modify application files
3. Setup/Prework
Before we get going with the main part of the tutorial, let's set up our project, get the code, then deploy the baseline app so we know we started with working code.
1. Setup project
If you completed either the Module 2 or Module 3 codelabs, we recommend reusing that same project (and code). Alternatively, you can create a brand new project or reuse another existing project. Ensure the project has an active billing account and App Engine (app) is enabled.
2. Get baseline sample app
One of the prerequisites to this codelab is to have a working Module 2 or 3 sample app. If you won't have one, we recommend completing either tutorial (links above) before moving ahead here. Otherwise if you're already familiar with their contents, you can just start by grabbing one of their code folders below.
Whether you use yours or ours, that's where this tutorial STARTs. This codelab walks you through the migration, and by the time you're done, it should mostly match what's in the Module 5 FINISH repo folder.
- START:
- Cloud NDB: Module 2 code
- Cloud Datastore: Module 3 code
- FINISH: Module 5 code
- Entire repo (to clone or download ZIP)
The directory of the START files (yours or ours) should look like this:
$ ls
README.md               main.py                 templates
app.yaml                requirements.txt
3. (Re)Deploy baseline app
Your remaining prework steps to execute now:
- Re-familiarize yourself with the
gcloudcommand-line tool - Re-deploy the sample app with
gcloud app deploy - Confirm the app runs on App Engine without issue
Once you've successfully executed those steps, you're ready to containerize it.
4. Containerize application
Docker is the standard containerization platform in industry today. One challenge in using it, as mentioned earlier, is that it requires effort to curate an efficient Dockerfile, the configuration file that determines how your container images are built. Buildpacks, on the other hand, require little effort since it uses introspection to determine your app's dependencies, making the Buildpacks container as efficient as possible for your app.
You're in the right place if you wish to skip learning about Docker, and want to containerize your App Engine app to run on Cloud Run or any other container-hosting platform. If you're interested in learning how to use Docker for app containerization, you can do the Module 4 codelab after you finish this one. It is identical to this one, but uses Docker to give you a deeper understanding of how to manage container images.
The migration steps include replacing the App Engine configuration files and specifying how your app should start. Below is a table summarizing the configuration files to expect for each platform type. Compare the App Engine column with the Buildpacks column (and optionally Docker):
Description | App Engine | Docker | Buildpacks |
General config |
|
| ( |
3rd-party libraries |
|
|
|
3rd-party config |
| (n/a) | (n/a) |
Startup | (n/a) or |
|
|
Ignore files |
|
|
|
Once your app is containerized, it can be deployed to Cloud Run. Other Google Cloud container platform options include Compute Engine, GKE, and Anthos.
General config
App Engine automatically starts your application, but Cloud Run doesn't. The Procfile serves a similar role as the app.yaml entrypoint directive. For our sample app, our Procfile will execute python main.py to start the Flask development server. You may also use a production web server like gunicorn if desired, and if you do, be sure to add it to requirements.txt. Learn more about how to deploy from source code using Buildpacks from this Cloud Run docs page.
You only need to move your app.yaml entrypoint directive into a Procfile. If you don't have one, then use Flask development server for now as this is just a sample test app to familiarize users with this migration. Your app will be a specific startup command which you know best. Under the covers, the Cloud Run service creates a service.yaml which looks/acts more like an app.yaml. You can see the autogenerated service.yaml by visiting a link like this but for your service SVC_NAME and REGION: https://console.cloud.google.com/run/detail/REGION/SVC_NAME/yaml/view.
3rd-party libraries
The requirements.txt file does not need to change; Flask should be there along with your Datastore client library (Cloud Datastore or Cloud NDB). If you wish to use another WSGI-compliant HTTP server like Gunicorn — current version at the time of this writing is 20.0.4 — then add gunicorn==20.0.4 to requirements.txt.
3rd-party config
Buildpacks does not support Python 2, so we don't be discussing that here. Python 3 apps running in containers on Cloud Run are similar to Python 3 App Engine apps in that 3rd-party libraries must be specified in requirements.txt.
Startup
Python 3 users have the option of converting their app.yaml files to have an entrypoint instead of script: auto directives in their handlers section. If you use entrypoint in your Python 3 app.yaml, it would look something like this:
runtime: python38
entrypoint: python main.py
The entrypoint directive tells App Engine how to start your server. You can move it almost directly into your Procfile. Summarizing where an entrypoint directive would go between both platforms: This translates directly to the below; also showing the Docker equivalent as an FYI:
- Buildpacks: line in
Procfile:web: python main.py - Docker: line in
Dockerfile:ENTRYPOINT ["python", "main.py"]
For testing and staging, it's easy to just run Flask's development server from Python as we have above, but developers can opt for something more powerful for production such as the Cloud Run Quickstart sample which uses gunicorn.
Application files
All Module 2 or Module 3 apps are fully Python 2-3 compatible, meaning there are no changes to the core components of main.py; we will only be adding a few lines of startup code. Add a pair of lines at the bottom of main.py to start the development server as Cloud Run requires port 8080 to be open so it can call your app:
if __name__ == '__main__':
    import os
    app.run(debug=True, threaded=True, host='0.0.0.0',
            port=int(os.environ.get('PORT', 8080)))
5. Build and deploy
With your App Engine configuration replaced by Buildpacks and source file updates completed, you're ready to get it running on Cloud Run. Before that, let's briefly discuss services.
Services vs. Apps
While App Engine was primarily created to host applications, it is also a platform for hosting web services or applications made up of a collection of microservices. In Cloud Run, everything is a service, whether it's an actual service or an application with a web interface, so consider its use as the deployment of a service rather than an appplication.
Unless your App Engine app was made up of multiple services, you really didn't have to do any kind of naming when deploying your applications. That changes with Cloud Run where you do need to come up with a service name. Whereas an App Engine's appspot.com domain features its project ID, e.g., https://PROJECT_ID.appspot.com, and perhaps it's region ID abbreviation, e.g., http://PROJECT_ID.REGION_ID.r.appspot.com.
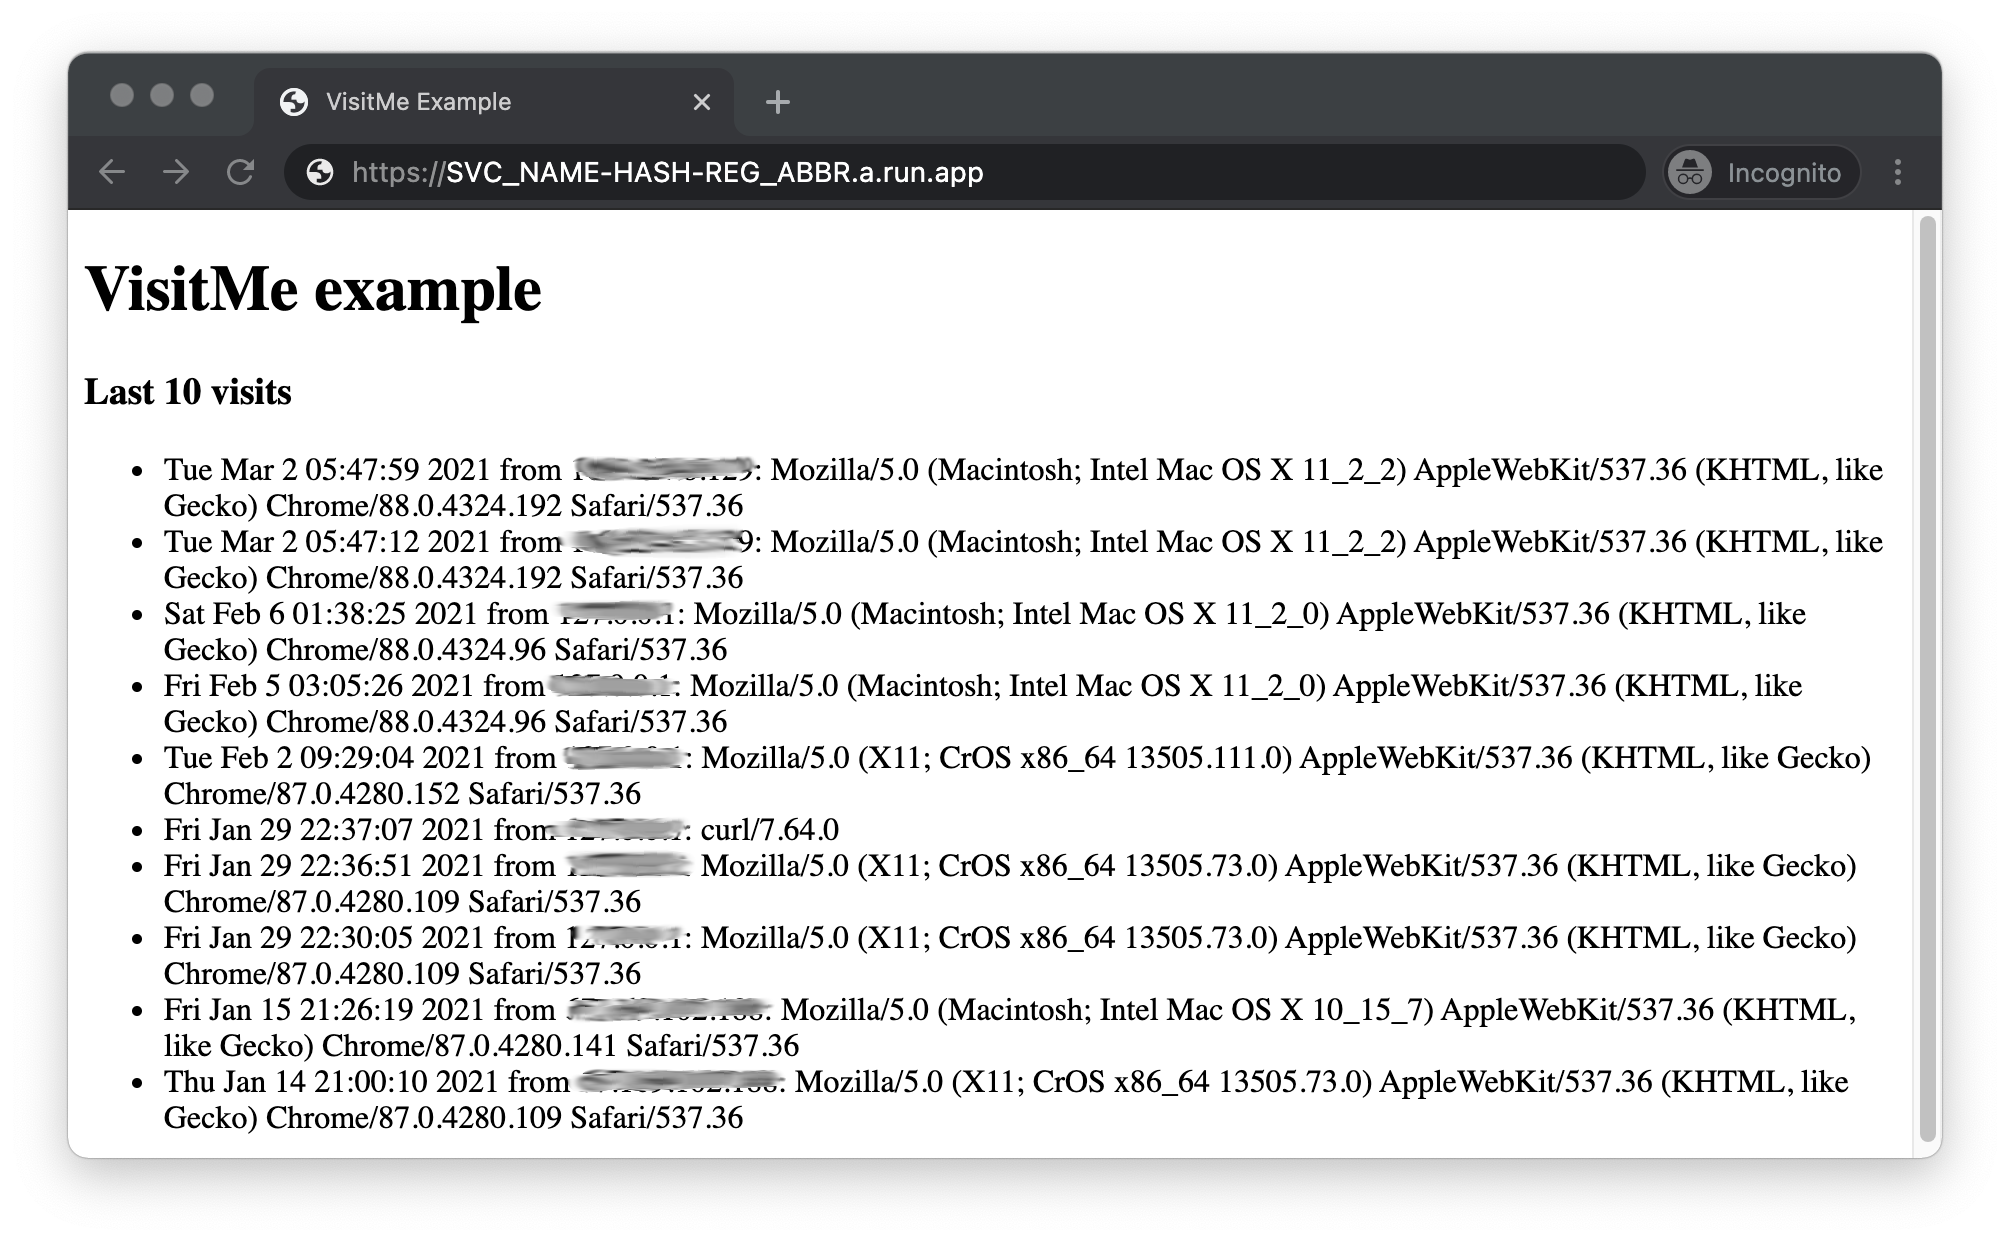
However, the domain for a Cloud Run service features its service name, region ID abbreviation, and a hash, but not its project ID, e.g., https://SVC_NAME-HASH-REG_ABBR.a.run.app. Bottom line, start thinking of a service name!
Deploy service
Execute the command below to build your container image and deploy to Cloud Run. When prompted, select your region and allow unauthenticated connections for easier testing and select your region as appropriate where SVC_NAME is the name the service you're deploying.
$ gcloud run deploy SVC_NAME --source .
Please choose a target platform:
 [1] Cloud Run (fully managed)
 [2] Cloud Run for Anthos deployed on Google Cloud
 [3] Cloud Run for Anthos deployed on VMware
 [4] cancel
Please enter your numeric choice:  1

To specify the platform yourself, pass `--platform managed`. Or, to make this the default target platform, run `gcloud config set run/platform managed`.

Please specify a region:
 [1] asia-east1
 [2] asia-east2
 [3] asia-northeast1
 [4] asia-northeast2
 [5] asia-northeast3
 [6] asia-south1
 [7] asia-southeast1
 [8] asia-southeast2
 [9] australia-southeast1
 [10] europe-north1
 [11] europe-west1
 [12] europe-west2
 [13] europe-west3
 [14] europe-west4
 [15] europe-west6
 [16] northamerica-northeast1
 [17] southamerica-east1
 [18] us-central1
 [19] us-east1
 [20] us-east4
 [21] us-west1
 [22] us-west2
 [23] us-west3
 [24] us-west4
 [25] cancel
Please enter your numeric choice: <select your numeric region choice>

To make this the default region, run `gcloud config set run/region REGION`.

Allow unauthenticated invocations to [SVC_NAME] (y/N)?  y

Building using Buildpacks and deploying container to Cloud Run service [SVC_NAME] in project [PROJECT_ID] region [REGION]
✓ Building and deploying... Done.
  ✓ Uploading sources...
  ✓ Building Container... Logs are available at [https://console.cloud.google.com/cloud-build/builds/BUILD-HASH?project=PROJECT_NUM].
  ✓ Creating Revision...
  ✓ Routing traffic...
Done.
Service [SVC_NAME] revision [SVC_NAME-00014-soc] has been deployed and is serving 100 percent of traffic.
Service URL: https://SVC_NAME-HASH-REG_ABBR.a.run.app
Visit the specified URL with your browser to confirm the deployment was successful!
As the gcloud command indicates, users can set various default settings to reduce the output and interactivity as shown above. For example, to avoid all interaction, you can use the following one-liner deploy command instead:
$ gcloud beta run deploy SVC_NAME --source . --platform managed --region REGION --allow-unauthenticated
If you use this one, be sure to select the same service name SVC_NAME and the desired REGION name, not the indexed menu selection as we did interactively above.
6. Summary/Cleanup
Confirm that the app works on Cloud Run as it did on App Engine. If you jumped into this series without doing any of the preceding codelabs, the app itself doesn't change; it registers all visits to the main web page (/) and looks like this once you've visited the site enough times:
Your code should now match what's in the Module 5 repo folder. Congrats on completing this Module 5 codelab.
Optional: Clean up
What about cleaning up to avoid being billed until you're ready to move onto the next migration codelab? Since you're now using a different product, be sure to review the Cloud Run pricing guide.
Optional: Disable service
If you're not ready to go to the next tutorial yet, disable your service to avoid incurring additional charges. When you're ready to move onto the next codelab, you can re-enable it. While your app is disabled, it won't get any traffic to incur charges, however another thing you can get billed for is your Datastore usage if it exceeds the free quota, so delete enough to fall under that limit.
On the other hand, if you're not going to continue with migrations and want to delete everything completely, you can either delete your service or shutdown your project entirely.
Next steps
Congratulations, you've containerized your app, which concludes this tutorial! From here, the next step is to learn about how to do the same thing with Docker in the Module 4 codelab (link below) or work through another App Engine migration:
- Module 4: Migrate to Cloud Run with Docker
- Containerize your app to run on Cloud Run with Docker
- Allows you to stay on Python 2
- Module 7: App Engine Push Task Queues (required if you use [push] Task Queues)
- Adds App Engine
taskqueuepush tasks to Module 1 app - Prepares users for migrating to Cloud Tasks in Module 8
- Adds App Engine
- Module 3:
- Modernize Datastore access from Cloud NDB to Cloud Datastore
- This is the library used for Python 3 App Engine apps and non-App Engine apps
- Module 6: Migrate to Cloud Firestore
- Migrate to Cloud Firestore to access Firebase features
- While Cloud Firestore supports Python 2, this codelab is available only in Python 3.
7. Additional resources
App Engine migration module codelabs issues/feedback
If you find any issues with this codelab, please search for your issue first before filing. Links to search and create new issues:
- Issue-tracker for the App Engine migration codelabs
Migration resources
Links to the repo folders for Module 2 and 3 (START) and Module 5 (FINISH) can be found in the table below. They can also be accessed from the repo for all App Engine codelab migrations which you can clone or download a ZIP file.
Codelab | Python 2 | Python 3 |
(code) | ||
(code) | ||
Module 5 | (n/a) |
App Engine and Cloud Run resources
Below are additional resources regarding this specific migration:
- Containers
- General