
1. Before you begin

Cloud Run is a managed compute platform that enables you to run stateless containers that are invocable via HTTP requests. Cloud Run is serverless; it removes the need for infrastructure management, so you can focus on what matters most—building great apps. It's built from Knative, letting you choose to run your containers with either Cloud Run (fully managed) or Cloud Run for Anthos. The goal of this codelab is for you to build a container image and deploy it to Cloud Run.
Prerequisites
N/A
2. Setup and requirements
Self-paced environment setup
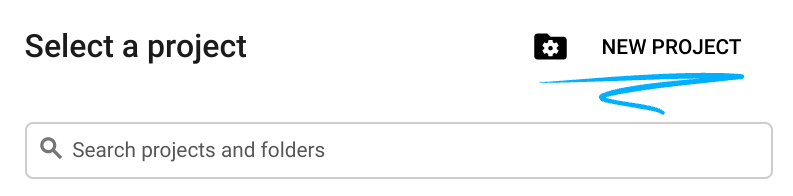
- Sign in to Cloud Console and create a new project or reuse an existing one. (If you don't already have a Gmail or G Suite account, you must create one.)

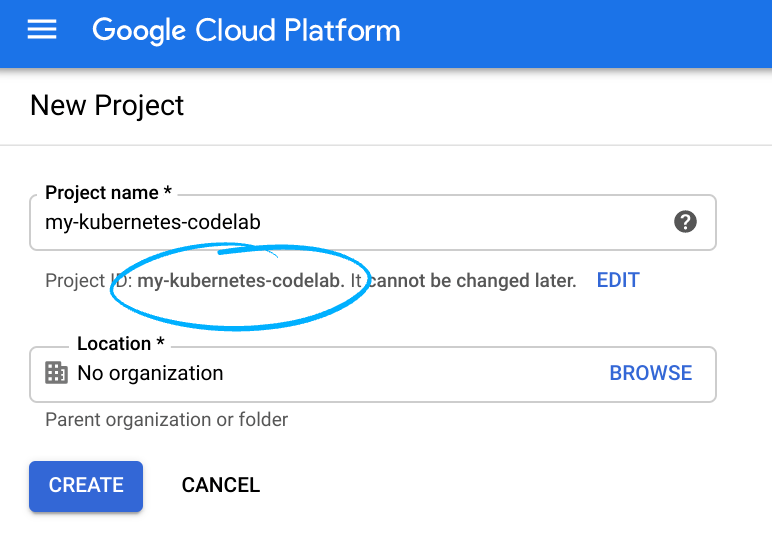
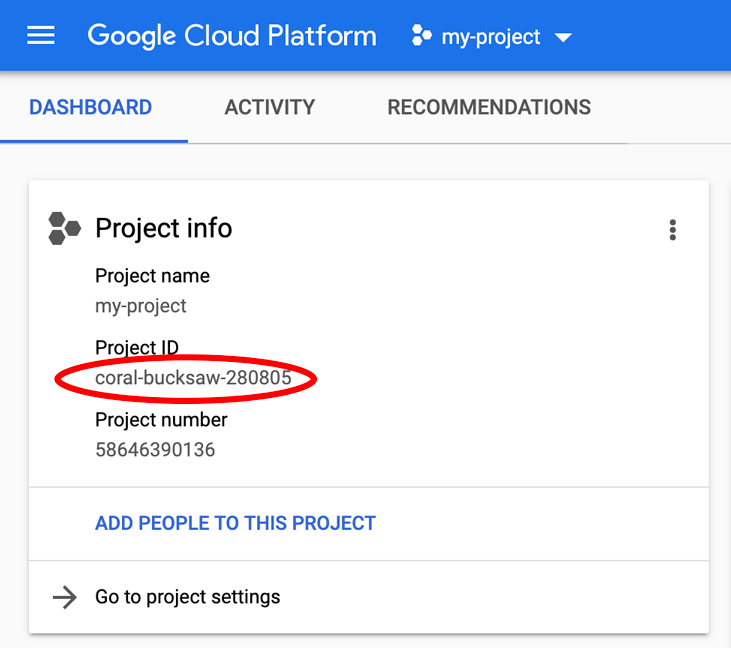
Remember the project ID, a unique name across all Google Cloud projects (the name above has already been taken and will not work for you, sorry!). It will be referred to later in this codelab as PROJECT_ID.
- Next, you'll need to enable billing in Cloud Console in order to use Google Cloud resources.
Running through this codelab shouldn't cost much, if anything at all. Be sure to to follow any instructions in the "Cleaning up" section which advises you how to shut down resources so you don't incur billing beyond this tutorial. New users of Google Cloud are eligible for the $300USD Free Trial program.
Cloud Shell
While Google Cloud can be operated remotely from your laptop, you'll use Cloud Shell, a command-line environment running in Google Cloud.
This Debian-based virtual machine is loaded with all the development tools you'll need. It offers a persistent 5GB home directory and runs in Google Cloud, greatly enhancing network performance and authentication. This means that all you will need for this codelab is a browser (yes, it works on a Chromebook).
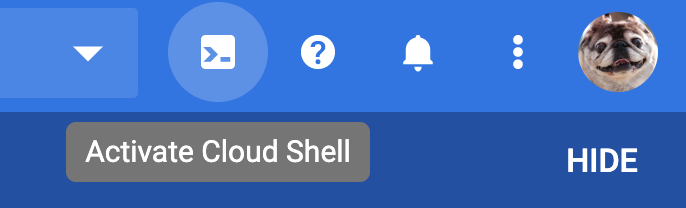
- To activate Cloud Shell from the Cloud Console, simply click Activate Cloud Shell
(it should only take a few moments to provision and connect to the environment).
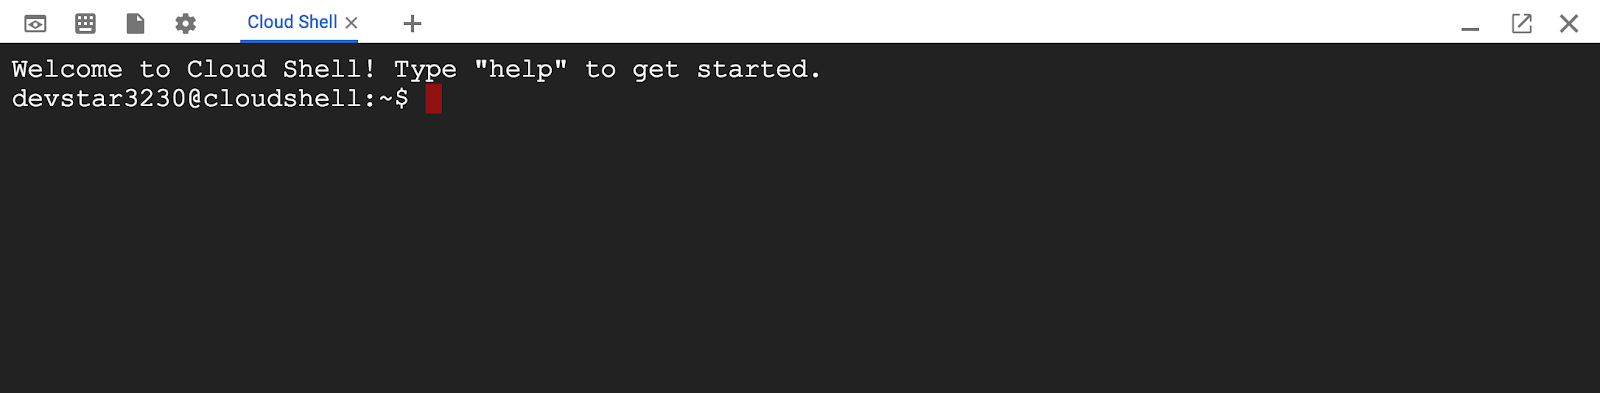
Once connected to Cloud Shell, you should see that you are already authenticated and that the project is already set to your PROJECT_ID.
gcloud auth list
Command output
Credentialed accounts:
 - <myaccount>@<mydomain>.com (active)
gcloud config list project
Command output
[core]
project = <PROJECT_ID>
If, for some reason, the project is not set, simply issue the following command:
gcloud config set project <PROJECT_ID>
Looking for your PROJECT_ID? Check out what ID you used in the setup steps or look it up in the Cloud Console dashboard:
Cloud Shell also sets some environment variables by default, which may be useful as you run future commands.
echo $GOOGLE_CLOUD_PROJECT
Command output
<PROJECT_ID>
- Finally, set the default zone and project configuration.
gcloud config set compute/zone us-central1-f
You can choose a variety of different zones. For more information, see Regions & Zones.
Enable the Cloud Run API
From Cloud Shell, enable the Cloud Run API.
gcloud services enable run.googleapis.com
That should produce a successful message similar to this one:
Operation "operations/acf.cc11852d-40af-47ad-9d59-477a12847c9e" finished successfully.
3. Write the sample app
You'll build a simple, express-based Node.js app responding to HTTP requests.
To build your app, use Cloud Shell to create a new directory named helloworld-nodejs and change directory into it.
mkdir helloworld-nodejs
cd helloworld-nodejs
Create a package.json file with the following content:
{
  "name": "cloudrun-helloworld",
  "version": "1.0.0",
  "description": "Simple hello world sample in Node",
  "main": "index.js",
  "scripts": {
    "start": "node index.js"
  },
  "author": "",
  "license": "Apache-2.0",
  "dependencies": {
    "express": "^4.17.1"
  }
}
Most importantly, the file above contains a start script command and a dependency on the Express web app framework.
Next, in the same directory, create an index.js file and copy the following content into it:
const express = require('express');
const app = express();

app.get('/', (req, res) => {
  console.log('Hello world received a request.');

  const target = process.env.TARGET || 'World';
  res.send(`Hello ${target}!`);
});

const port = process.env.PORT || 8080;
app.listen(port, () => {
  console.log('Hello world listening on port', port);
});
That code creates a basic web server that listens on the port defined by the PORT environment variable. Your app is now ready to be containerized, tested, and uploaded to Container Registry.
4. Containerize your app and upload it to Container Registry
To containerize the sample app, create a new file named Dockerfile in the same directory as the source files and copy the following content into it:
# Use the official lightweight Node.js 12 image.
# https://hub.docker.com/_/node
FROM node:12-slim

# Create and change to the app directory.
WORKDIR /usr/src/app

# Copy application dependency manifests to the container image.
# A wildcard is used to ensure both package.json AND package-lock.json are copied.
# Copying this separately prevents re-running npm install on every code change.
COPY package*.json ./

# Install production dependencies.
RUN npm install --only=production

# Copy local code to the container image.
COPY . ./

# Run the web service on container startup.
CMD [ "npm", "start" ]
Now, build your container image using Cloud Build by running the following command from the directory containing the Dockerfile:
gcloud builds submit --tag gcr.io/$GOOGLE_CLOUD_PROJECT/helloworld
$GOOGLE_CLOUD_PROJECT is an environment variable containing your Google Cloud project ID when running in Cloud Shell. You can also get it by running gcloud config get-value project.
Once pushed to the registry, you'll see a SUCCESS message containing the image name (gcr.io/$GOOGLE_CLOUD_PROJECT/helloworld). The image is stored in Container Registry and can be reused if desired.
You can list all the container images associated with your current project using this command:
gcloud container images list
If you would like to run and test the app locally from Cloud Shell, you can start it using this standard docker command:
docker run -d -p 8080:8080 gcr.io/$GOOGLE_CLOUD_PROJECT/helloworld
In Cloud Shell, click Web Preview  and select Preview on port 8080.

That opens a browser window that says Hello World!

You could also simply use curl localhost:8080.
5. Deploy to Cloud Run
Deploying your containerized app to Cloud Run is done using the following command (make sure to adjust it to the correct image name for the app that you built or use the gcr.io/cloudrun/hello prebuilt image):
gcloud run deploy helloworld \
  --image gcr.io/$GOOGLE_CLOUD_PROJECT/helloworld \
  --platform managed \
  --region us-central1 \
  --allow-unauthenticated
The --allow-unauthenticated deploy option enables you to reach the app without authentication. The --platform managed \ deploy option means that you're requesting the fully managed environment (not the Kubernetes infrastructure via Anthos).
Wait a few moments until the deployment is complete. When it's done, the command line displays the service URL.
Service [helloworld] revision [helloworld-00001] has been deployed
and is serving traffic at https://helloworld-wdl7fdwaaa-uc.a.run.app
You can now visit your deployed container by opening the service URL in a web browser:

Cloud Run automatically and horizontally scales up your container image to handle the received requests, then scales down when demand decreases. You only pay for the CPU, memory, and networking consumed during request handling.
6. Clean up
While Cloud Run doesn't charge when the service isn't in use, you might still be charged for storing the built container image.
You can either delete your Google Cloud project to avoid incurring charges, which will stop billing for all the resources used for that project, or simply delete your helloworld image using this command:
gcloud container images delete gcr.io/$GOOGLE_CLOUD_PROJECT/helloworld
To delete the Cloud Run service, use this command:
gcloud run services delete helloworld \
  --platform managed \
  --region us-central1
7. Congratulations
Congratulations! You deployed an app packaged in a container image to Cloud Run.
Learn more
A good next step would be to check out Quickstart: Deploy to Cloud Run for Anthos on Google Cloud.
For more information about building a stateless HTTP container suitable for Cloud Run from code source and pushing it to Container Registry, see the following resources:
To learn more about Knative, the underlying open source project, see Knative.