
1. Introduction

Cloud Run is a managed compute platform that enables you to run stateless containers that are invocable using HTTP requests. It is built on the Knative open-source project, enabling portability of your workloads across platforms. Cloud Run is serverless: it abstracts away all infrastructure management, so you can focus on what matters most — building great applications.
The goal of this tutorial is to create a "Hello World" Streamlit web application and deploy it to Cloud Run.
What you'll learn
- How to create a Streamlit "Hello World" application.
- Testing the application by running the Streamlit app prior to deploying.
- Cloud Buildpacks and how the presence of
streamlitin arequirements.txtallows for no Dockerfile to be needed. - How to deploy a Streamlit application to Cloud Run.
2. Setup and requirements
Self-paced environment setup
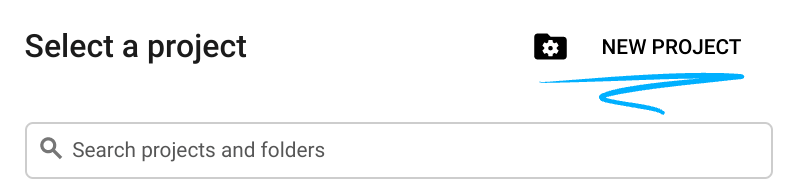
- Sign-in to the Google Cloud Console and create a new project or reuse an existing one. If you don't already have a Gmail or Google Workspace account, you must create one.

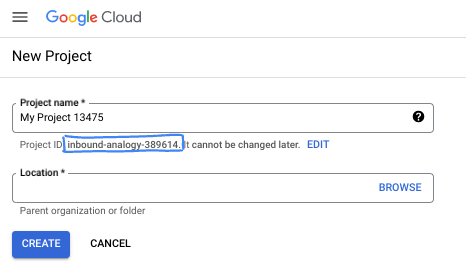
- The Project name is the display name for this project's participants. It is a character string not used by Google APIs. You can always update it.
- The Project ID is unique across all Google Cloud projects and is immutable (cannot be changed after it has been set). The Cloud Console auto-generates a unique string; usually you don't care what it is. In most codelabs, you'll need to reference your Project ID (typically identified as
PROJECT_ID). If you don't like the generated ID, you might generate another random one. Alternatively, you can try your own, and see if it's available. It can't be changed after this step and remains for the duration of the project. - For your information, there is a third value, a Project Number, which some APIs use. Learn more about all three of these values in the documentation.
- Next, you'll need to enable billing in the Cloud Console to use Cloud resources/APIs. Running through this codelab won't cost much, if anything at all. To shut down resources to avoid incurring billing beyond this tutorial, you can delete the resources you created or delete the project. New Google Cloud users are eligible for the $300 USD Free Trial program.
Start Cloud Shell
While Google Cloud can be operated remotely from your laptop, in this tutorial you will be using Cloud Shell, a command line environment running in the Cloud.
Activate Cloud Shell
- From the Cloud Console, click Activate Cloud Shell

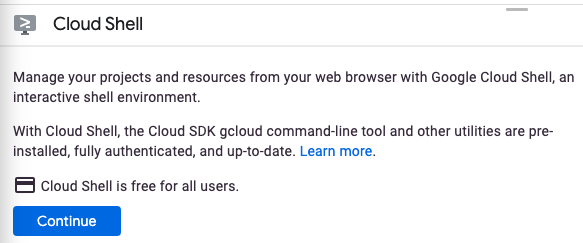
If this is your first time starting Cloud Shell, you're presented with an intermediate screen describing what it is. If you were presented with an intermediate screen, click Continue.
It should only take a few moments to provision and connect to Cloud Shell.

This virtual machine is loaded with all the development tools needed. It offers a persistent 5 GB home directory and runs in Google Cloud, greatly enhancing network performance and authentication. Much, if not all, of your work in this codelab can be done with a browser.
Once connected to Cloud Shell, you should see that you are authenticated and that the project is set to your project ID.
- Run the following command in Cloud Shell to confirm that you are authenticated:
gcloud auth list
Command output
 Credentialed Accounts
ACTIVE  ACCOUNT
*       <my_account>@<my_domain.com>

To set the active account, run:
    $ gcloud config set account `ACCOUNT`
- Run the following command in Cloud Shell to confirm that the gcloud command knows about your project:
gcloud config list project
Command output
[core]
project = <PROJECT_ID>
If it is not, you can set it with this command:
gcloud config set project <PROJECT_ID>
Command output
Updated property [core/project].
3. Enable the APIs
From Cloud Shell, enable the Artifact Registry, Cloud Build, and Cloud Run APIs:
gcloud services enable \
  artifactregistry.googleapis.com \
  cloudbuild.googleapis.com \
  run.googleapis.com
This outputs a success message similar to this one:
Operation "operations/..." finished successfully.
Now, you're ready to start working and write your application...
4. Write the application
In this step, you'll build a "Hello World" Streamlit Python application responding to HTTP requests.
Working directory
Use Cloud Shell to create a working directory named helloworld-streamlit and switch to it:
mkdir ~/helloworld-streamlit && cd ~/helloworld-streamlit
main.py
Create a file named main.py:
touch main.py
Edit the file with your preferred command line editor (nano, vim, or emacs) or by clicking the Cloud Shell Editor button:
To directly edit the file with Cloud Shell Editor, use this command:
cloudshell edit main.py
main.py
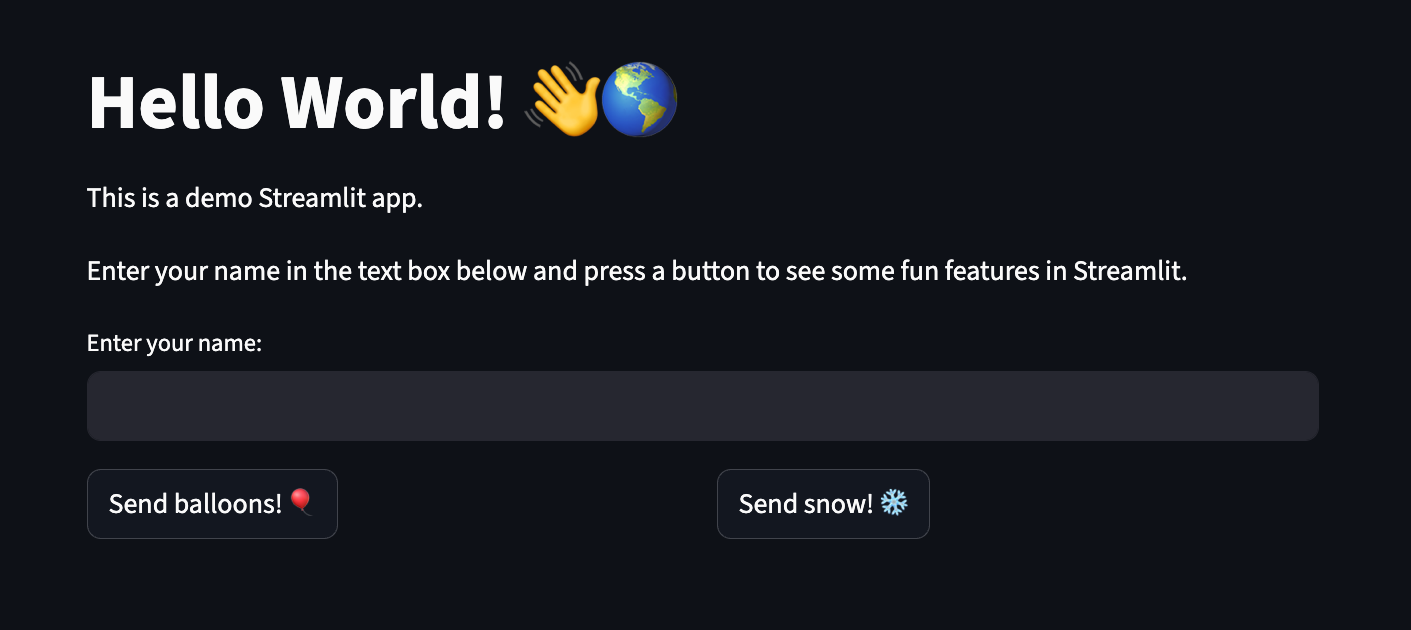
import streamlit as st

st.title("Hello World! 👋🌎")
st.markdown(
    """
    This is a demo Streamlit app.

    Enter your name in the text box below and press a button to see some fun features in Streamlit.
    """
)

name = st.text_input("Enter your name:")

# Use columns to create buttons side by side
col1, col2 = st.columns(2)

with col1:
    if st.button("Send balloons! 🎈"):
        st.balloons()
        st.write(f"Time to celebrate {name}! 🥳")
        st.write("You deployed a Streamlit app! 👏")

with col2:
    if st.button("Send snow! ❄️"):
        st.snow()
        st.write(f"Let it snow {name}! 🌨️")
        st.write("You deployed a Streamlit app! 👏")
This code creates a basic web service responding to HTTP GET requests with a friendly message.
requirements.txt
Re-open the terminal and add a file named requirements.txt to define the dependencies:
touch requirements.txt
To directly edit the file with Cloud Shell Editor, use this command:
cloudshell edit requirements.txt
requirements.txt
# https://pypi.org/project/streamlit
streamlit==1.47.0
The Streamlit application is ready to be deployed, but let's test it first...
5. Test the application
To test the application, use uv (Python's extremely fast package and project manager) which comes pre-installed in Cloud Shell.
To test the application, create a virtual environment:
uv venv
Install the dependencies:
uv pip install -r requirements.txt
Start the application using streamlit run (disabling --server.enableCORS for testing as it interferes with Cloud Shell):
uv run streamlit run main.py --server.port=8080 --server.enableCORS=false
The logs will show that the Streamlit app is running:
You can now view your Streamlit app in your browser.

  Local URL: http://localhost:8080
  Network URL: http://10.1.0.1:8080
  External URL: http://34.37.7.94:8080
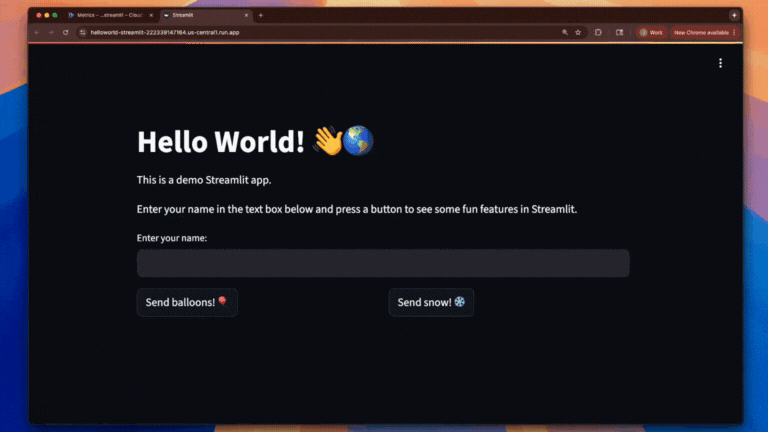
In the Cloud Shell window, click the Web Preview icon and select Preview on port 8080:

This should open a browser window showing the Hello World! 👋🌎 title.
Try filling in your name and testing out the two buttons on screen!
When you're done, go back to the main Cloud Shell session and stop the Streamlit app with CTRL+C.
The application works as expected: time to deploy it...
6. Deploy to Cloud Run
Cloud Run is regional, which means the infrastructure that runs your Cloud Run services is located in a specific region and is managed by Google to be redundantly available across all the zones within that region. Define the region you'll use for your deployment, for example:
REGION=europe-west4
Make sure you are still in the working directory:
ls
This should list the following files:
main.py requirements.txt
Before deploying, create a .gcloudignore file with .venv/ in it. This stops the Cloud Run deployment from including the virtual environment that was created from uv during local testing.
Create the .gcloudignore with the following command:
echo ".venv/" > .gcloudignore
Deploy the application to Cloud Run:
gcloud run deploy helloworld-streamlit \
  --source . \
  --region $REGION \
  --allow-unauthenticated
- The
--allow-unauthenticatedoption makes the service publicly available. To avoid unauthenticated requests, use--no-allow-unauthenticatedinstead.
The first time, you'll get a prompt to create an Artifact Registry repository. Tap Enter to validate:
Deploying from source requires an Artifact Registry Docker repository to store
built containers. A repository named [cloud-run-source-deploy] in region [REGION]
will be created.

Do you want to continue (Y/n)?
This launches the upload of your source code to the Artifact Registry repository and the build of your container image:
Building using Buildpacks and deploying container ...
* Building and deploying new service... Building Container.
  OK Creating Container Repository...
  OK Uploading sources...
  * Building Container... Logs are available at ...
Then, wait a moment until the deployment is complete. On success, the command line displays the service URL:
...
OK Building and deploying new service... Done.
  OK Creating Container Repository...
  OK Uploading sources...
  OK Building Container... Logs are available at ...
  OK Creating Revision... Creating Service.
  OK Routing traffic...
  OK Setting IAM Policy...
Done.
Service [SERVICE]... has been deployed and is serving 100 percent of traffic.
Service URL: https://SERVICE-PROJECTHASH-REGIONID.a.run.app
You can get the service URL with this command:
SERVICE_URL=$( \
  gcloud run services describe helloworld-streamlit \
  --region $REGION \
  --format "value(status.address.url)" \
)
echo $SERVICE_URL
This should display something like the following:
https://helloworld-streamlit-PROJECTHASH-REGIONID.a.run.app
You can now use your application by opening the service URL in a web browser:
Congratulations! You have just deployed an application to Cloud Run. Cloud Run automatically and horizontally scales your container image to handle the received requests, then scales down when demand decreases. You only pay for the CPU, memory, and networking consumed during request handling for this cloud run service.
7. Clean up
While Cloud Run does not charge when the service is not in use, you might still be charged for storing the container image in Artifact Registry. You can delete your repository or delete your Cloud project to avoid incurring charges. Deleting your Cloud project stops billing for all the resources used within that project.
To delete your container image repository:
gcloud artifacts repositories delete cloud-run-source-deploy \
  --location $REGION
To delete your Cloud Run service:
gcloud run services delete helloworld-streamlit \
  --region $REGION
To delete your Google Cloud project,
- Retrieve your current project ID:
PROJECT_ID=$(gcloud config get-value core/project)
- Make sure this is the project you want to delete:
echo $PROJECT_ID
- Delete the project:
gcloud projects delete $PROJECT_ID
8. Congratulations!
You created a "Hello World" Streamlit web application and deployed it to Cloud Run!
What we've covered
- How to create a Streamlit "Hello World" application.
- Testing the application by running the Streamlit app prior to deploying.
- Cloud Buildpacks and how the presence of
streamlitin arequirements.txtallows for no Dockerfile to be needed. - Deploying the Streamlit application to Cloud Run.
Learn more
- Check out the Cloud Run documentation
- Complete Dev to Prod in Three Easy Steps with Cloud Run, to explore more options
- Complete Django on Cloud Run, to create a Cloud SQL DB, manage credentials with Secret Manager, and deploy Django
- Check out more Cloud Run codelabs...