
1. 소개
개요
이 실습에서는 모델 컨텍스트 프로토콜 (MCP) 서버를 빌드하고 배포합니다. MCP 서버는 LLM에 외부 도구 및 서비스에 대한 액세스 권한을 제공하는 데 유용합니다. 여러 클라이언트에서 액세스할 수 있는 Cloud Run의 보안 프로덕션 지원 서비스로 구성합니다. 그런 다음 Gemini CLI에서 원격 MCP 서버에 연결합니다.
실습할 내용
FastMCP를 사용하여 두 가지 도구(get_animals_by_species 및 get_animal_details)가 있는 zoo MCP 서버를 만듭니다. FastMCP는 MCP 서버와 클라이언트를 빠르게 Python 방식으로 빌드하는 방법을 제공합니다.

학습할 내용
- Cloud Run에 MCP 서버를 배포합니다.
- 모든 요청에 인증을 요구하여 서버의 엔드포인트를 보호하고 승인된 클라이언트와 에이전트만 서버와 통신할 수 있도록 합니다.
- Gemini CLI에서 보안 MCP 서버 엔드포인트에 연결합니다.
2. 프로젝트 설정
- Google 계정이 없는 경우 Google 계정을 만들어야 합니다.
- 직장 또는 학교 계정 대신 개인 계정을 사용하세요. 직장 및 학교 계정에는 이 실습에 필요한 API를 사용 설정하지 못하도록 하는 제한사항이 있을 수 있습니다.
- Google Cloud 콘솔에 로그인합니다.
- 새 프로젝트를 만들거나 기존 프로젝트를 재사용합니다.
- 프로젝트 할당량에 관한 오류가 표시되면 기존 프로젝트를 재사용하거나 기존 프로젝트를 삭제하여 새 프로젝트를 만듭니다.
3. Cloud Shell 편집기 열기
- 이 링크를 클릭하여 Cloud Shell 편집기로 바로 이동합니다.
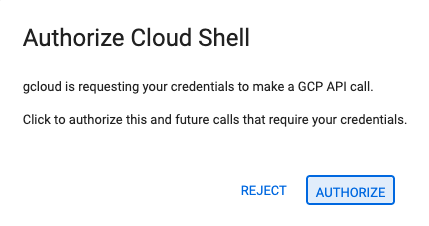
- 오늘 인증하라는 메시지가 표시되면 승인을 클릭하여 계속합니다.
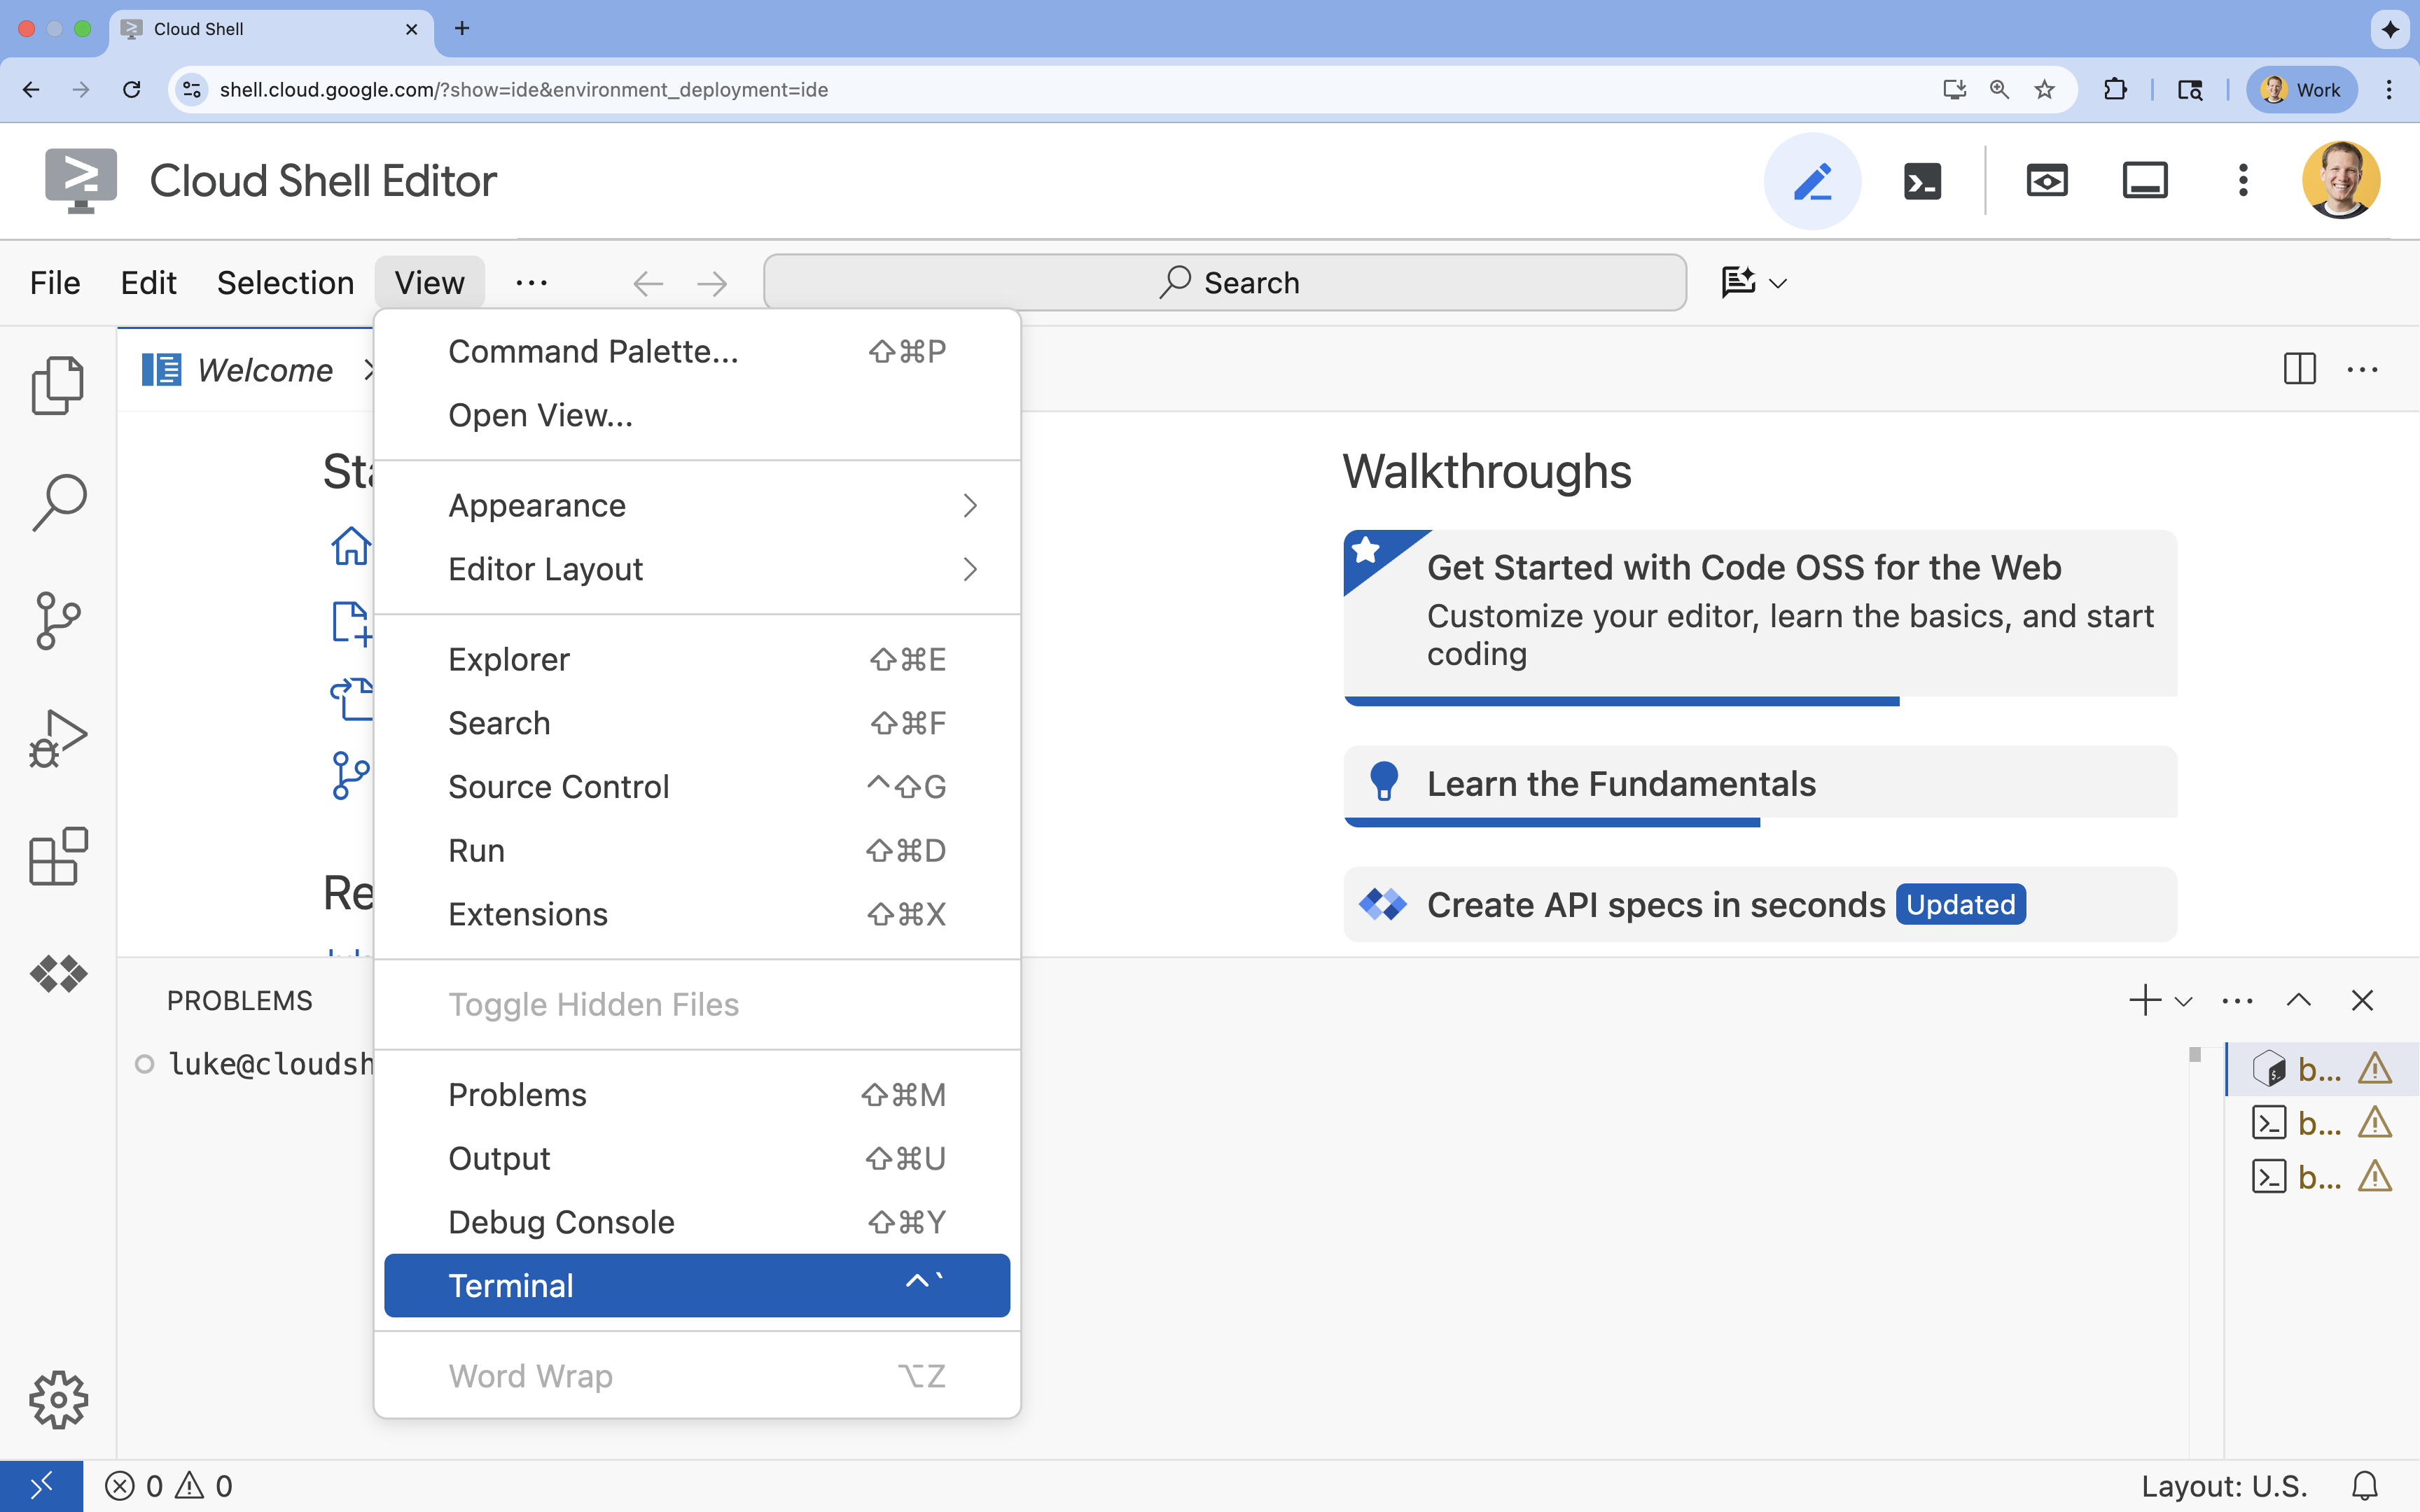
- 화면 하단에 터미널이 표시되지 않으면 다음 안내에 따라 엽니다.
- 보기 를 클릭합니다.
- 터미널을 클릭합니다.
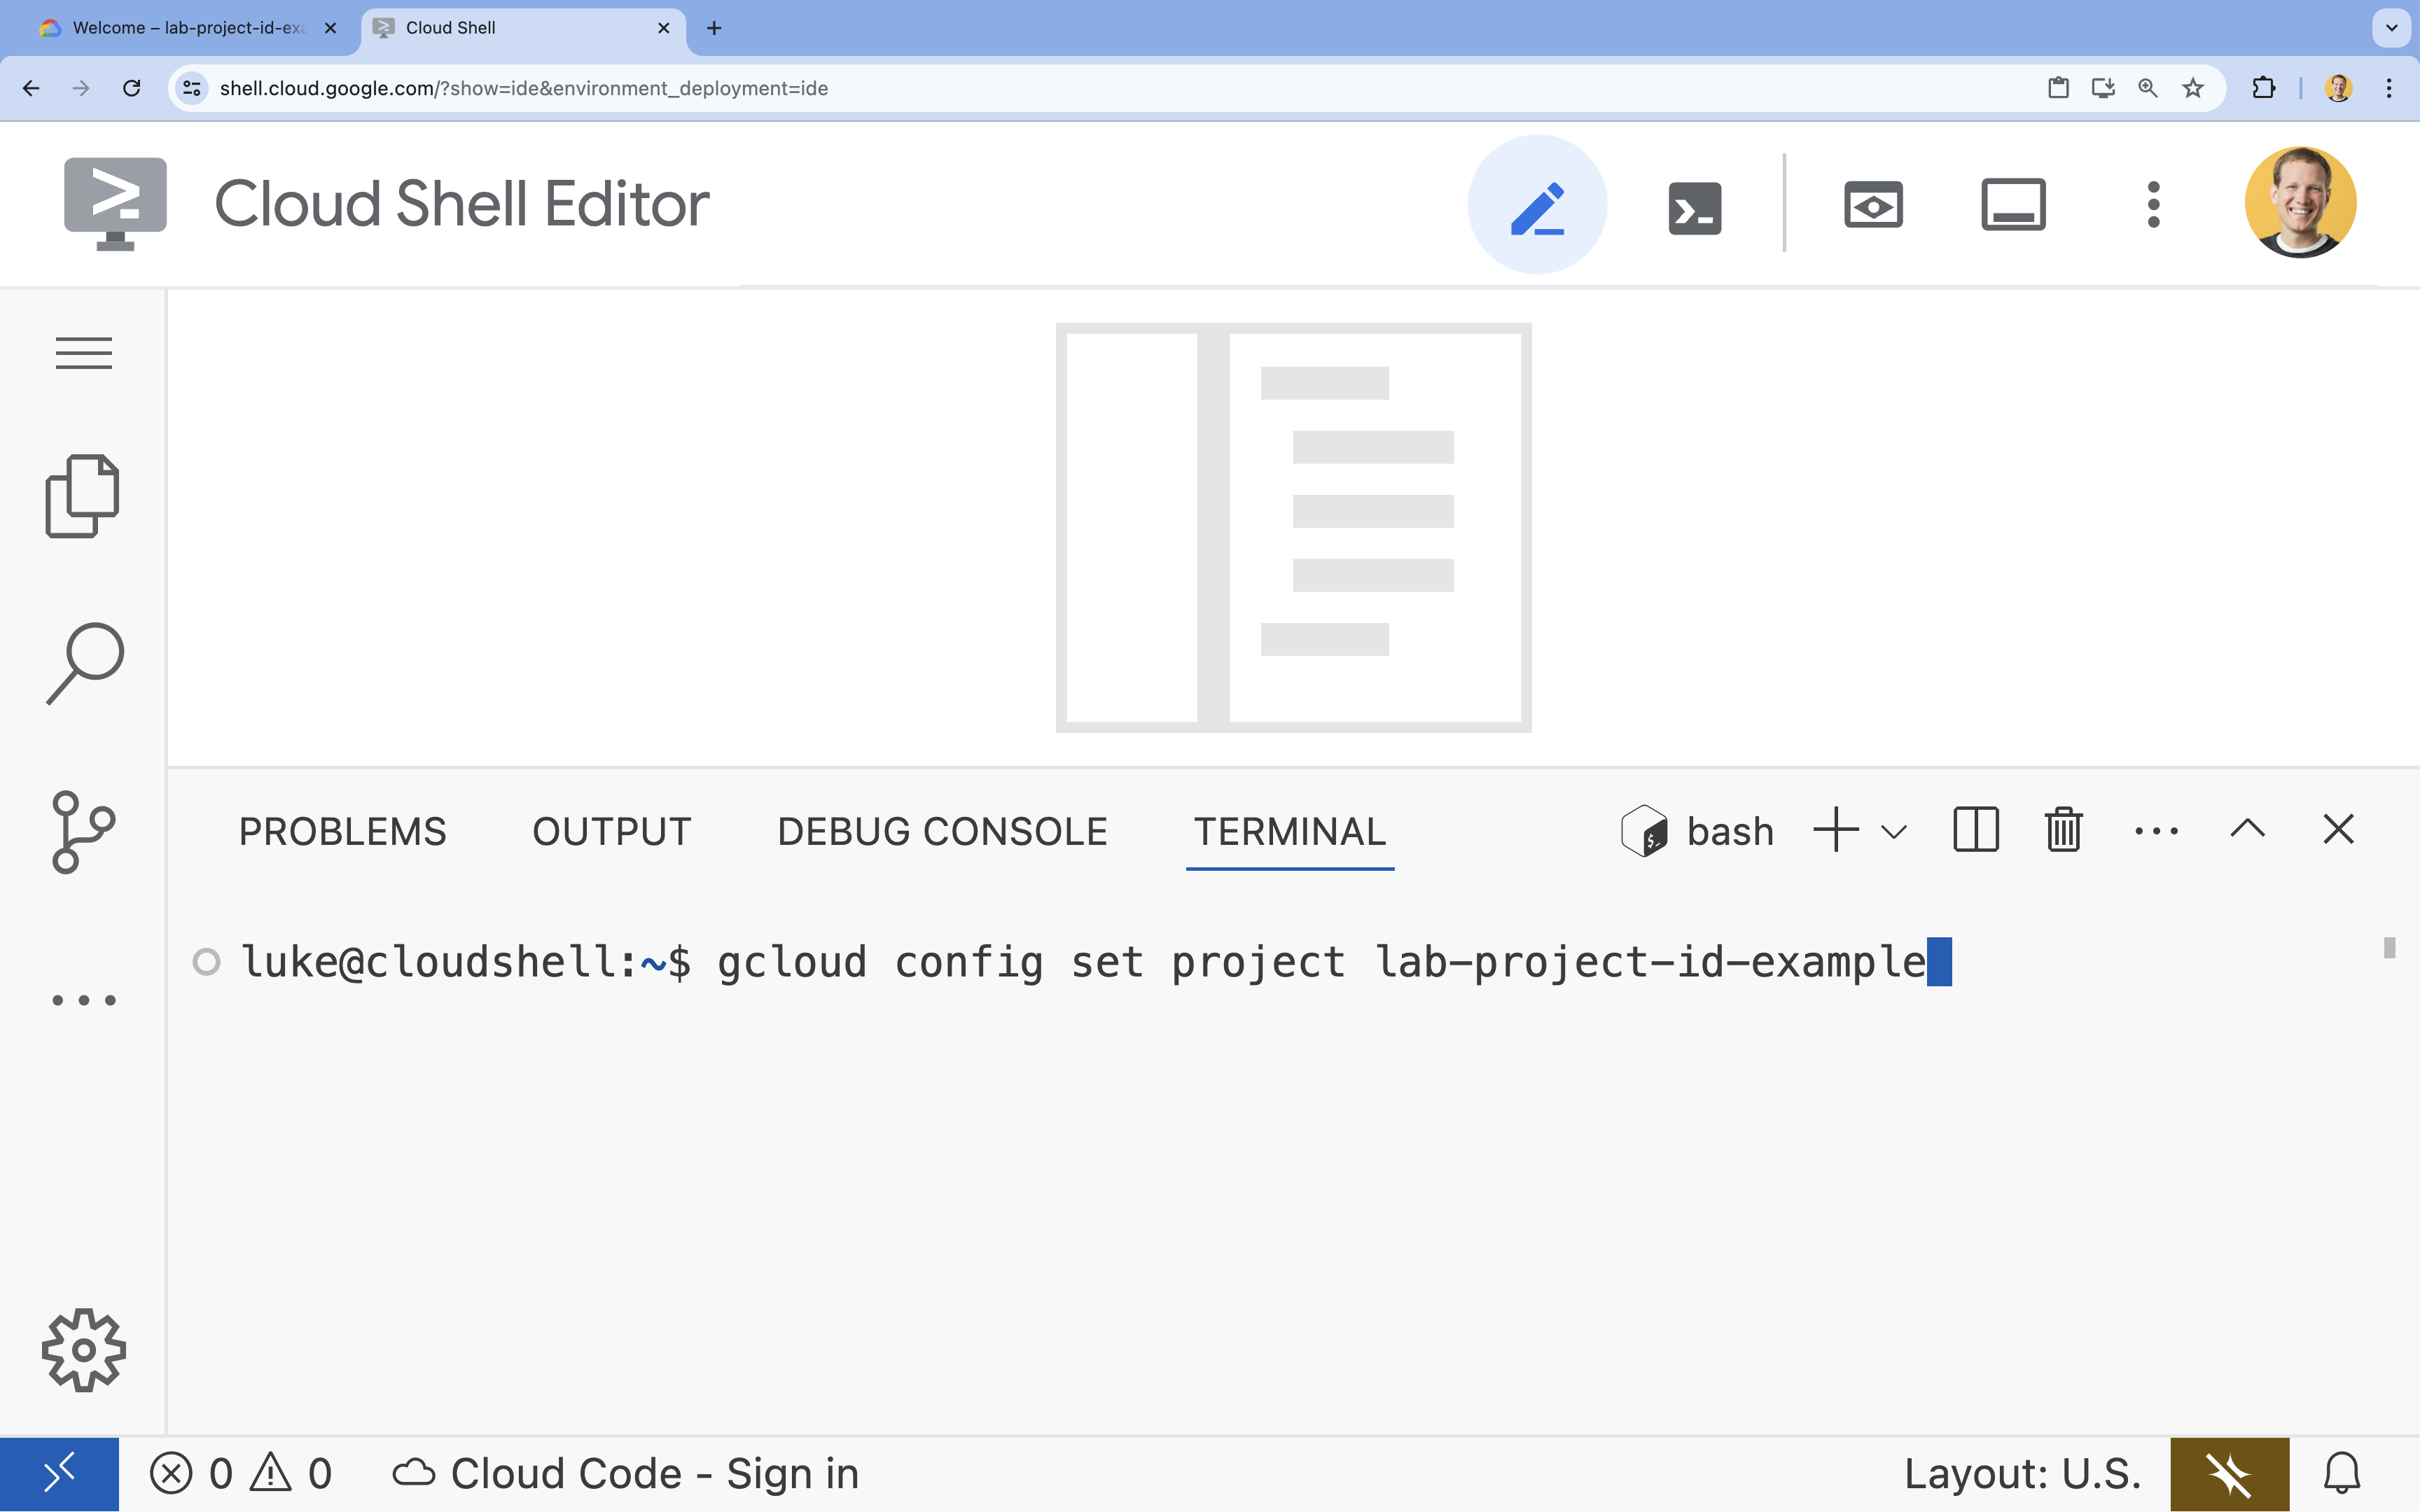
- 터미널에서 다음 명령어를 사용하여 프로젝트를 설정합니다.
- 형식:
gcloud config set project [PROJECT_ID] - 예:
gcloud config set project lab-project-id-example - 프로젝트 ID가 기억나지 않는 경우
- 다음을 사용하여 모든 프로젝트 ID를 나열할 수 있습니다.
gcloud projects list | awk '/PROJECT_ID/{print $2}'
- 다음을 사용하여 모든 프로젝트 ID를 나열할 수 있습니다.
- 형식:
- 다음 메시지가 표시되어야 합니다.
Updated property [core/project].
WARNING이 표시되고Do you want to continue (Y/n)?라는 메시지가 표시되면 프로젝트 ID를 잘못 입력했을 가능성이 큽니다.n을 누르고Enter키를 누른 후gcloud config set project명령어를 다시 실행해 보세요.
4. API 사용 설정
터미널에서 API를 사용 설정합니다.
gcloud services enable \
  run.googleapis.com \
  artifactregistry.googleapis.com \
  cloudbuild.googleapis.com
인증하라는 메시지가 표시되면 승인을 클릭하여 계속합니다.
이 명령어는 완료하는 데 몇 분 정도 걸릴 수 있지만 결국 다음과 같은 성공 메시지가 표시됩니다.
Operation "operations/acf.p2-73d90d00-47ee-447a-b600" finished successfully.
5. Python 프로젝트 준비
- 배포를 위한 소스 코드를 저장할
mcp-on-cloudrun폴더를 만듭니다.mkdir mcp-on-cloudrun && cd mcp-on-cloudrun uv도구를 사용하여 Python 프로젝트를 만들어pyproject.toml파일을 생성합니다.uv init --description "Example of deploying an MCP server on Cloud Run" --bare --python 3.13uv init명령어는 프로젝트의pyproject.toml파일을 만듭니다. 파일의 콘텐츠를 보려면 다음을 실행하세요.cat pyproject.toml[project] name = "mcp-on-cloudrun" version = "0.1.0" description = "Example of deploying an MCP server on Cloud Run" requires-python = ">=3.13" dependencies = []
6. zoo MCP 서버 만들기
MCP로 LLM 사용을 개선하는 데 유용한 컨텍스트를 제공하려면 모델 컨텍스트 프로토콜 작업을 위한 표준 프레임워크인 FastMCP로 zoo MCP 서버를 설정하세요. FastMCP는 Python으로 MCP 서버와 클라이언트를 빠르게 빌드하는 방법을 제공합니다. 이 MCP 서버는 가상의 동물원의 동물에 관한 데이터를 제공합니다. 간단히 하기 위해 데이터를 메모리에 저장합니다. 프로덕션 MCP 서버의 경우 데이터베이스 또는 API와 같은 소스의 데이터를 제공하는 것이 좋습니다.
- 다음 명령어를 실행하여
pyproject.toml파일에 FastMCP를 종속 항목으로 추가합니다.uv add fastmcp==2.12.4 --no-syncuv.lock파일이 추가됩니다. - MCP 서버 소스 코드의 새
server.py파일을 만들고 엽니다.cloudshell edit ~/mcp-on-cloudrun/server.pycloudshell edit명령어는 터미널 위의 편집기에서server.py파일을 엽니다. server.py파일에 다음 zoo MCP 서버 소스 코드를 추가합니다.import asyncio import logging import os from typing import List, Dict, Any from fastmcp import FastMCP logger = logging.getLogger(__name__) logging.basicConfig(format="[%(levelname)s]: %(message)s", level=logging.INFO) mcp = FastMCP("Zoo Animal MCP Server 🦁🐧🐻") # Dictionary of animals at the zoo ZOO_ANIMALS = [ { "species": "lion", "name": "Leo", "age": 7, "enclosure": "The Big Cat Plains", "trail": "Savannah Heights" }, { "species": "lion", "name": "Nala", "age": 6, "enclosure": "The Big Cat Plains", "trail": "Savannah Heights" }, { "species": "lion", "name": "Simba", "age": 3, "enclosure": "The Big Cat Plains", "trail": "Savannah Heights" }, { "species": "lion", "name": "King", "age": 8, "enclosure": "The Big Cat Plains", "trail": "Savannah Heights" }, { "species": "penguin", "name": "Waddles", "age": 2, "enclosure": "The Arctic Exhibit", "trail": "Polar Path" }, { "species": "penguin", "name": "Pip", "age": 4, "enclosure": "The Arctic Exhibit", "trail": "Polar Path" }, { "species": "penguin", "name": "Skipper", "age": 5, "enclosure": "The Arctic Exhibit", "trail": "Polar Path" }, { "species": "penguin", "name": "Chilly", "age": 3, "enclosure": "The Arctic Exhibit", "trail": "Polar Path" }, { "species": "penguin", "name": "Pingu", "age": 6, "enclosure": "The Arctic Exhibit", "trail": "Polar Path" }, { "species": "penguin", "name": "Noot", "age": 1, "enclosure": "The Arctic Exhibit", "trail": "Polar Path" }, { "species": "elephant", "name": "Ellie", "age": 15, "enclosure": "The Pachyderm Sanctuary", "trail": "Savannah Heights" }, { "species": "elephant", "name": "Peanut", "age": 12, "enclosure": "The Pachyderm Sanctuary", "trail": "Savannah Heights" }, { "species": "elephant", "name": "Dumbo", "age": 5, "enclosure": "The Pachyderm Sanctuary", "trail": "Savannah Heights" }, { "species": "elephant", "name": "Trunkers", "age": 10, "enclosure": "The Pachyderm Sanctuary", "trail": "Savannah Heights" }, { "species": "bear", "name": "Smokey", "age": 10, "enclosure": "The Grizzly Gulch", "trail": "Polar Path" }, { "species": "bear", "name": "Grizzly", "age": 8, "enclosure": "The Grizzly Gulch", "trail": "Polar Path" }, { "species": "bear", "name": "Barnaby", "age": 6, "enclosure": "The Grizzly Gulch", "trail": "Polar Path" }, { "species": "bear", "name": "Bruin", "age": 12, "enclosure": "The Grizzly Gulch", "trail": "Polar Path" }, { "species": "giraffe", "name": "Gerald", "age": 4, "enclosure": "The Tall Grass Plains", "trail": "Savannah Heights" }, { "species": "giraffe", "name": "Longneck", "age": 5, "enclosure": "The Tall Grass Plains", "trail": "Savannah Heights" }, { "species": "giraffe", "name": "Patches", "age": 3, "enclosure": "The Tall Grass Plains", "trail": "Savannah Heights" }, { "species": "giraffe", "name": "Stretch", "age": 6, "enclosure": "The Tall Grass Plains", "trail": "Savannah Heights" }, { "species": "antelope", "name": "Speedy", "age": 2, "enclosure": "The Tall Grass Plains", "trail": "Savannah Heights" }, { "species": "antelope", "name": "Dash", "age": 3, "enclosure": "The Tall Grass Plains", "trail": "Savannah Heights" }, { "species": "antelope", "name": "Gazelle", "age": 4, "enclosure": "The Tall Grass Plains", "trail": "Savannah Heights" }, { "species": "antelope", "name": "Swift", "age": 5, "enclosure": "The Tall Grass Plains", "trail": "Savannah Heights" }, { "species": "polar bear", "name": "Snowflake", "age": 7, "enclosure": "The Arctic Exhibit", "trail": "Polar Path" }, { "species": "polar bear", "name": "Blizzard", "age": 5, "enclosure": "The Arctic Exhibit", "trail": "Polar Path" }, { "species": "polar bear", "name": "Iceberg", "age": 9, "enclosure": "The Arctic Exhibit", "trail": "Polar Path" }, { "species": "walrus", "name": "Wally", "age": 10, "enclosure": "The Walrus Cove", "trail": "Polar Path" }, { "species": "walrus", "name": "Tusker", "age": 12, "enclosure": "The Walrus Cove", "trail": "Polar Path" }, { "species": "walrus", "name": "Moby", "age": 8, "enclosure": "The Walrus Cove", "trail": "Polar Path" }, { "species": "walrus", "name": "Flippers", "age": 9, "enclosure": "The Walrus Cove", "trail": "Polar Path" } ] @mcp.tool() def get_animals_by_species(species: str) -> List[Dict[str, Any]]: """ Retrieves all animals of a specific species from the zoo. Can also be used to collect the base data for aggregate queries of animals of a specific species - like counting the number of penguins or finding the oldest lion. Args: species: The species of the animal (e.g., 'lion', 'penguin'). Returns: A list of dictionaries, where each dictionary represents an animal and contains details like name, age, enclosure, and trail. """ logger.info(f">>> 🛠️ Tool: 'get_animals_by_species' called for '{species}'") return [animal for animal in ZOO_ANIMALS if animal["species"].lower() == species.lower()] @mcp.tool() def get_animal_details(name: str) -> Dict[str, Any]: """ Retrieves the details of a specific animal by its name. Args: name: The name of the animal. Returns: A dictionary with the animal's details (species, name, age, enclosure, trail) or an empty dictionary if the animal is not found. """ logger.info(f">>> 🛠️ Tool: 'get_animal_details' called for '{name}'") for animal in ZOO_ANIMALS: if animal["name"].lower() == name.lower(): return animal return {} if __name__ == "__main__": port = int(os.getenv("PORT", 8080)) logger.info(f"🚀 MCP server started on port {port}") asyncio.run( mcp.run_async( transport="http", host="0.0.0.0", port=port, ) )
코드가 완료되었습니다. 이제 MCP 서버를 Cloud Run에 배포할 차례입니다.
7. Cloud Run에 배포
이제 소스 코드에서 직접 Cloud Run에 MCP 서버를 배포합니다.
- Cloud Run에 배포할 새
Dockerfile을 만들고 엽니다.cloudshell edit ~/mcp-on-cloudrun/Dockerfile server.py파일을 실행하는 데uv도구를 사용하려면 Dockerfile에 다음 코드를 포함하세요.# Use the official Python image FROM python:3.13-slim # Install uv COPY --from=ghcr.io/astral-sh/uv:latest /uv /uvx /bin/ # Install the project into /app COPY . /app WORKDIR /app # Allow statements and log messages to immediately appear in the logs ENV PYTHONUNBUFFERED=1 # Install dependencies RUN uv sync EXPOSE $PORT # Run the FastMCP server CMD ["uv", "run", "server.py"]mcp-server-sa라는 서비스 계정을 만듭니다.gcloud iam service-accounts create mcp-server-sa --display-name="MCP Server Service Account"gcloud명령어를 실행하여 애플리케이션을 Cloud Run에 배포합니다.cd ~/mcp-on-cloudrun gcloud run deploy zoo-mcp-server \ --service-account=mcp-server-sa@$GOOGLE_CLOUD_PROJECT.iam.gserviceaccount.com \ --no-allow-unauthenticated \ --region=us-west1 \ --source=. \ --labels=dev-tutorial=codelab-mcp--no-allow-unauthenticated플래그를 사용하세요. 이는 보안상의 이유로 중요합니다. 인증을 요구하지 않으면 누구나 MCP 서버를 호출하여 시스템에 손상을 입힐 수 있습니다.- 새 Artifact Registry 저장소의 생성을 확인합니다. 소스 코드에서 Cloud Run에 처음 배포하는 것이므로 다음이 표시됩니다.
Deploying from source requires an Artifact Registry Docker repository to store built containers. A repository named
[cloud-run-source-deploy] in region [us-west1] will be created.

Do you want to continue (Y/n)?
Y를 입력하고Enter키를 누르면 배포를 위한 Artifact Registry 저장소가 생성됩니다. 이는 Cloud Run 서비스의 MCP 서버 Docker 컨테이너를 저장하는 데 필요합니다. - 몇 분 후에 다음과 같은 메시지가 표시됩니다.
Service [zoo-mcp-server] revision [zoo-mcp-server-12345-abc] has been deployed and is serving 100 percent of traffic.
MCP 서버를 배포했습니다. 이제 사용할 수 있습니다.
8. Gemini CLI에 원격 MCP 서버 추가
이제 원격 MCP 서버를 배포했으므로 Google Code Assist 또는 Gemini CLI와 같은 다양한 애플리케이션을 사용하여 연결할 수 있습니다. 이 섹션에서는 Gemini CLI를 사용하여 새 원격 MCP 서버에 대한 연결을 설정합니다.
- 원격 MCP 서버를 호출할 수 있는 권한을 사용자 계정에 부여합니다.
gcloud projects add-iam-policy-binding $GOOGLE_CLOUD_PROJECT \ --member=user:$(gcloud config get-value account) \ --role='roles/run.invoker' - Gemini 설정 파일에서 사용할 수 있도록 Google Cloud 사용자 인증 정보와 프로젝트 번호를 환경 변수에 저장합니다.
export PROJECT_NUMBER=$(gcloud projects describe $GOOGLE_CLOUD_PROJECT --format="value(projectNumber)") export ID_TOKEN=$(gcloud auth print-identity-token) .gemini폴더가 아직 생성되지 않은 경우 만듭니다.mkdir -p ~/.gemini- Gemini CLI 설정 파일을 엽니다.
cloudshell edit ~/.gemini/settings.json - Gemini CLI 설정 파일을 바꿔 Cloud Run MCP 서버를 추가합니다.
{ "ide": { "hasSeenNudge": true }, "mcpServers": { "zoo-remote": { "httpUrl": "https://zoo-mcp-server-$PROJECT_NUMBER.us-west1.run.app/mcp", "headers": { "Authorization": "Bearer $ID_TOKEN" } } }, "security": { "auth": { "selectedType": "cloud-shell" } } } - Cloud Shell에서 Gemini CLI를 시작합니다.
geminiEnter키를 눌러야 할 수 있습니다.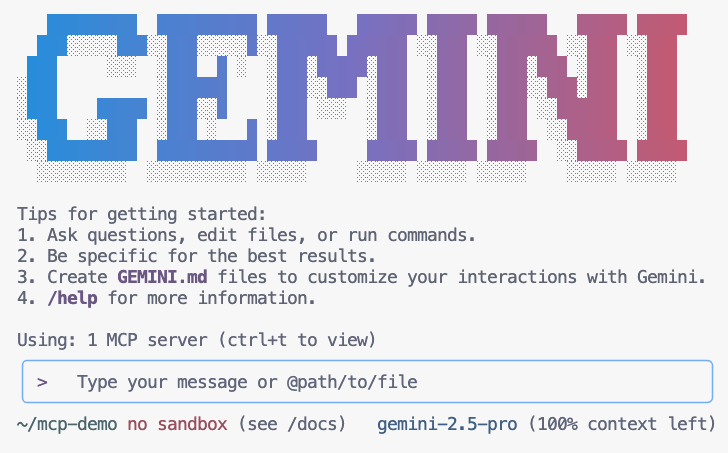
- Gemini가 컨텍스트 내에서 사용할 수 있는 MCP 도구를 나열하도록 합니다.
/mcp - Gemini에게 동물원에서 무언가를 찾도록 요청합니다.
Where can I find penguins?zoo-remoteMCP 서버를 사용해야 하며 MCP 실행을 허용할지 묻습니다. - 아래쪽 화살표를 사용한 후
Enter키를 눌러 선택합니다.Yes, always allow all tools from server "zoo-remote"
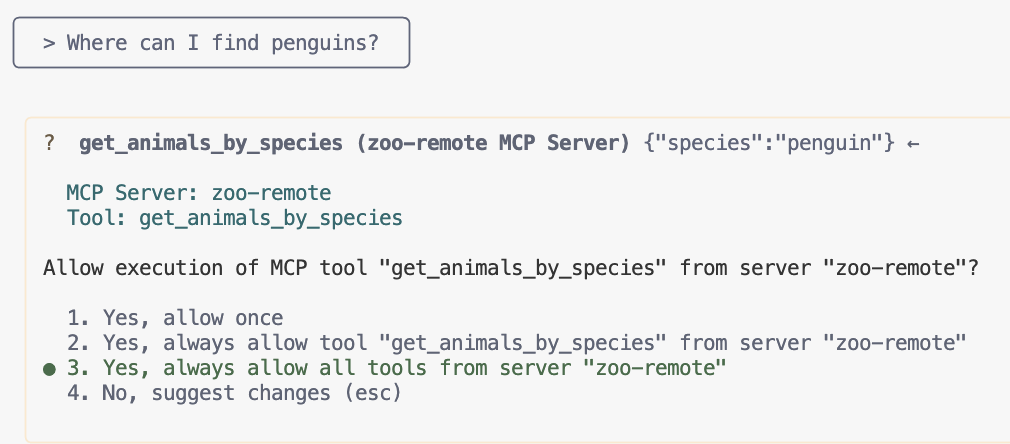
출력에는 정답과 MCP 서버가 사용되었음을 보여주는 표시 상자가 표시됩니다.

완료했습니다. 원격 MCP 서버를 Cloud Run에 배포하고 Gemini CLI를 사용하여 테스트했습니다.
세션을 종료할 준비가 되면 /quit를 입력한 후 Enter 키를 눌러 Gemini CLI를 종료합니다.
디버깅
다음과 같은 오류가 표시되면
🔍 Attempting OAuth discovery for 'zoo-remote'...
❌ 'zoo-remote' requires authentication but no OAuth configuration found
Error connecting to MCP server 'zoo-remote': MCP server 'zoo-remote' requires authentication. Please configure OAuth or check server settings.
ID 토큰이 만료되어 ID_TOKEN을 다시 설정해야 할 가능성이 큽니다.
/quit를 입력한 후Enter키를 눌러 Gemini CLI를 종료합니다.- 터미널에서 프로젝트를 설정합니다.
gcloud config set project [PROJECT_ID] - Google Cloud 사용자 인증 정보 명령어를 다시 실행하여 새
ID_TOKEN을 가져옵니다. 기존 토큰이 만료되었을 수 있습니다.export PROJECT_NUMBER=$(gcloud projects describe $GOOGLE_CLOUD_PROJECT --format="value(projectNumber)") export ID_TOKEN=$(gcloud auth print-identity-token)
9. (선택사항) 서버 로그에서 도구 호출 확인
Cloud Run MCP 서버가 호출되었는지 확인하려면 서비스 로그를 확인하세요.
gcloud run services logs read zoo-mcp-server --region us-west1 --limit=5
도구 호출이 이루어졌음을 확인하는 출력 로그가 표시됩니다. 🛠️
2025-08-05 19:50:31 INFO: 169.254.169.126:39444 - "POST /mcp HTTP/1.1" 200 OK 2025-08-05 19:50:31 [INFO]: Processing request of type CallToolRequest 2025-08-05 19:50:31 [INFO]: >>> 🛠️ Tool: 'get_animals_by_species' called for 'penguin'
10. (선택사항) 서버에 MCP 프롬프트 추가
MCP 프롬프트는 긴 프롬프트의 약어를 만들어 자주 실행하는 프롬프트의 워크플로 속도를 높일 수 있습니다.
Gemini CLI는 MCP 프롬프트를 커스텀 슬래시 명령어로 자동 변환하므로 /prompt_name을 입력하여 MCP 프롬프트를 호출할 수 있습니다. 여기서 prompt_name은 MCP 프롬프트의 이름입니다.
Gemini CLI에 /find animal을 입력하여 동물원에서 동물을 빠르게 찾을 수 있도록 MCP 프롬프트를 만듭니다.
- 기본 가드 (
if __name__ == "__main__":) 위의server.py파일에 이 코드를 추가합니다.@mcp.prompt() def find(animal: str) -> str: """ Find which exhibit and trail a specific animal might be located. """ return ( f"Please find the exhibit and trail information for {animal} in the zoo. " f"Respond with '[animal] can be found in the [exhibit] on the [trail].'" f"Example: Penguins can be found in The Arctic Exhibit on the Polar Path." ) - 애플리케이션을 Cloud Run에 다시 배포합니다.
gcloud run deploy zoo-mcp-server \ --region=us-west1 \ --source=. \ --labels=dev-tutorial=codelab-mcp - 원격 MCP 서버의 ID_TOKEN을 새로고침합니다.
export ID_TOKEN=$(gcloud auth print-identity-token) - 애플리케이션의 새 버전이 배포된 후 Gemini CLI를 시작합니다.
gemini - 프롬프트에서 만든 새 커스텀 명령어를 사용합니다.
/find lions
Gemini CLI가 get_animals_by_species 도구를 호출하고 MCP 프롬프트의 지시에 따라 대답 형식을 지정하는 것을 확인할 수 있습니다.
╭───────────────────────────╮
│ > /find lions │
╰───────────────────────────╯
╭───────────────────────────────────────────────────────────────────────────────────────────────────╮
│ ✔ get_animals_by_species (zoo-remote MCP Server) get_animals_by_species (zoo-remote MCP Server) │
│ │
│ [{"species":"lion","name":"Leo","age":7,"enclosure":"The Big Cat │
│ Plains","trail":"Savannah │
│ Heights"},{"species":"lion","name":"Nala","age":6,"enclosure":"The Big Cat │
│ Plains","trail":"Savannah │
│ Heights"},{"species":"lion","name":"Simba","age":3,"enclosure":"The Big Cat │
│ Plains","trail":"Savannah │
│ Heights"},{"species":"lion","name":"King","age":8,"enclosure":"The Big Cat │
│ Plains","trail":"Savannah Heights"}] │
╰───────────────────────────────────────────────────────────────────────────────────────────────────╯
✦ Lions can be found in The Big Cat Plains on the Savannah Heights.
11. (선택사항) 더 빠른 대답을 위해 Gemini Flash Lite 사용
Gemini CLI를 사용하면 사용하는 모델을 선택할 수 있습니다.
- Gemini 2.5 Pro 는 Google의 최첨단 사고 모델로, 코드, 수학, STEM의 복잡한 문제를 추론할 수 있을 뿐만 아니라 긴 컨텍스트를 사용하여 대규모 데이터 세트, 코드베이스, 문서를 분석할 수 있습니다.
- Gemini 2.5 Flash 는 가격 대비 성능이 가장 우수한 Google 모델로, 다재다능한 기능을 제공합니다. 2.5 Flash는 사고가 필요한 대규모 처리, 지연 시간이 짧은 대용량 작업, 에이전트형 사용 사례에 가장 적합합니다.
- Gemini 2.5 Flash Lite 는 비용 효율성과 높은 처리량을 위해 최적화된 Google의 가장 빠른 플래시 모델입니다.
동물원 동물 찾기와 관련된 요청에는 사고나 추론이 필요하지 않으므로 더 빠른 모델을 사용하여 속도를 높여 보세요.
이전 섹션에서는 Gemini CLI에 /find animal을 입력하여 동물원에서 동물을 빠르게 찾을 수 있도록 MCP 프롬프트를 만들었습니다.
- 애플리케이션의 새 버전이 배포된 후 Gemini CLI를 시작합니다.
gemini --model=gemini-2.5-flash-lite - 프롬프트에서 만든 새 커스텀 명령어를 사용합니다.
/find lions
Gemini CLI가 get_animals_by_species 도구를 호출하고 MCP 프롬프트의 지시에 따라 대답 형식을 지정하는 것을 확인할 수 있지만 대답이 훨씬 더 빠르게 표시됩니다.
╭───────────────────────────╮
│ > /find lions │
╰───────────────────────────╯
╭───────────────────────────────────────────────────────────────────────────────────────────────────╮
│ ✔ get_animals_by_species (zoo-remote MCP Server) get_animals_by_species (zoo-remote MCP Server) │
│ │
│ [{"species":"lion","name":"Leo","age":7,"enclosure":"The Big Cat │
│ Plains","trail":"Savannah │
│ Heights"},{"species":"lion","name":"Nala","age":6,"enclosure":"The Big Cat │
│ Plains","trail":"Savannah │
│ Heights"},{"species":"lion","name":"Simba","age":3,"enclosure":"The Big Cat │
│ Plains","trail":"Savannah │
│ Heights"},{"species":"lion","name":"King","age":8,"enclosure":"The Big Cat │
│ Plains","trail":"Savannah Heights"}] │
╰───────────────────────────────────────────────────────────────────────────────────────────────────╯
✦ Lions can be found in The Big Cat Plains on the Savannah Heights.
디버깅
다음과 같은 오류가 표시되면
✕ Unknown command: /find lions
/mcp를 실행하고 zoo-remote - Disconnected가 출력되면 다시 배포하거나 다음 명령어를 다시 실행해야 할 수 있습니다.
gcloud projects add-iam-policy-binding $GOOGLE_CLOUD_PROJECT \
--member=user:$(gcloud config get-value account) \
--role='roles/run.invoker'
export PROJECT_NUMBER=$(gcloud projects describe $GOOGLE_CLOUD_PROJECT --format="value(projectNumber)")
export ID_TOKEN=$(gcloud auth print-identity-token)
12. 결론
축하합니다. 보안 원격 MCP 서버를 배포하고 연결했습니다.
다음 실습으로 계속하기
이 실습은 3부작 시리즈의 첫 번째 실습입니다. 두 번째 실습에서는 ADK 에이전트로 만든 MCP 서버를 사용합니다.
Cloud Run에서 ADK 에이전트와 함께 MCP 서버 사용
(선택사항) 정리
다음 실습으로 계속 진행하지 않고 만든 항목을 정리하려면 추가 요금이 발생하지 않도록 Cloud 프로젝트를 삭제하면 됩니다.
Cloud Run에서는 서비스를 사용하지 않을 때 비용이 청구되지 않지만 Artifact Registry에 컨테이너 이미지를 저장하는 데 요금이 청구될 수 있습니다. Cloud 프로젝트를 삭제하면 해당 프로젝트 내에서 사용된 모든 리소스에 대한 청구가 중지됩니다.
원하는 경우 프로젝트를 삭제합니다.
gcloud projects delete $GOOGLE_CLOUD_PROJECT
cloudshell 디스크에서 불필요한 리소스를 삭제할 수도 있습니다. 다음과 같은 작업을 할 수 있습니다.
- Codelab 프로젝트 디렉터리를 삭제합니다.
rm -rf ~/mcp-on-cloudrun - 경고 다음 작업은 실행취소할 수 없습니다. 공간을 확보하기 위해 Cloud Shell의 모든 항목을 삭제하려면 홈 디렉터리 전체 를 삭제하면 됩니다. 보관하려는 모든 항목이 다른 곳에 저장되어 있는지 확인하세요.
sudo rm -rf $HOME