
1. Introduction
Overview
In this lab, you will build and deploy a website whose content is generated on the fly by Google's Gemini large language models. The website will be a simple "choose your own adventure" style navigator for exploring topics, where each click generates a new page with new links based on your selection. You will build this with Node.js and Fastify, use the Vertex AI SDK to call Gemini, deploy it as a secure, production-ready service on Cloud Run, and secure it using Identity-Aware Proxy (IAP).
What you'll do
- Create a Node.js Fastify application that uses Vertex AI.
- Deploy the application to Cloud Run from source without a Dockerfile.
- Secure the Cloud Run endpoint using Identity-Aware Proxy (IAP).
What you'll learn
- How to use the Vertex AI SDK for Node.js to generate content.
- How to deploy a Node.js application to Cloud Run.
- How to secure a Cloud Run application with IAP.
2. Project Setup
- If you don't already have a Google Account, you must create a Google Account.
- Use a personal account instead of a work or school account. Work and school accounts may have restrictions that prevent you from enabling the APIs needed for this lab.
- Sign-in to the Google Cloud Console.
- Enable billing in the Cloud Console.
- Completing this lab should cost less than $1 USD in Cloud resources.
- You can follow the steps at the end of this lab to delete resources to avoid further charges.
- New users are eligible for the $300 USD Free Trial.
- Create a new project or choose to reuse an existing project.
- If you see an error about project quota, reuse an existing project or delete an existing project to create a new project.
3. Open Cloud Shell Editor
- Click this link to navigate directly to Cloud Shell Editor
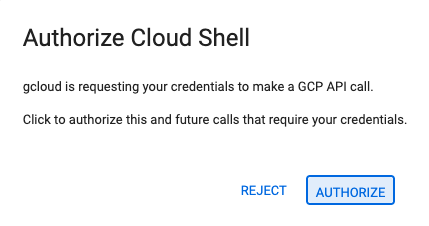
- If prompted to authorize at any point today, click Authorize to continue.
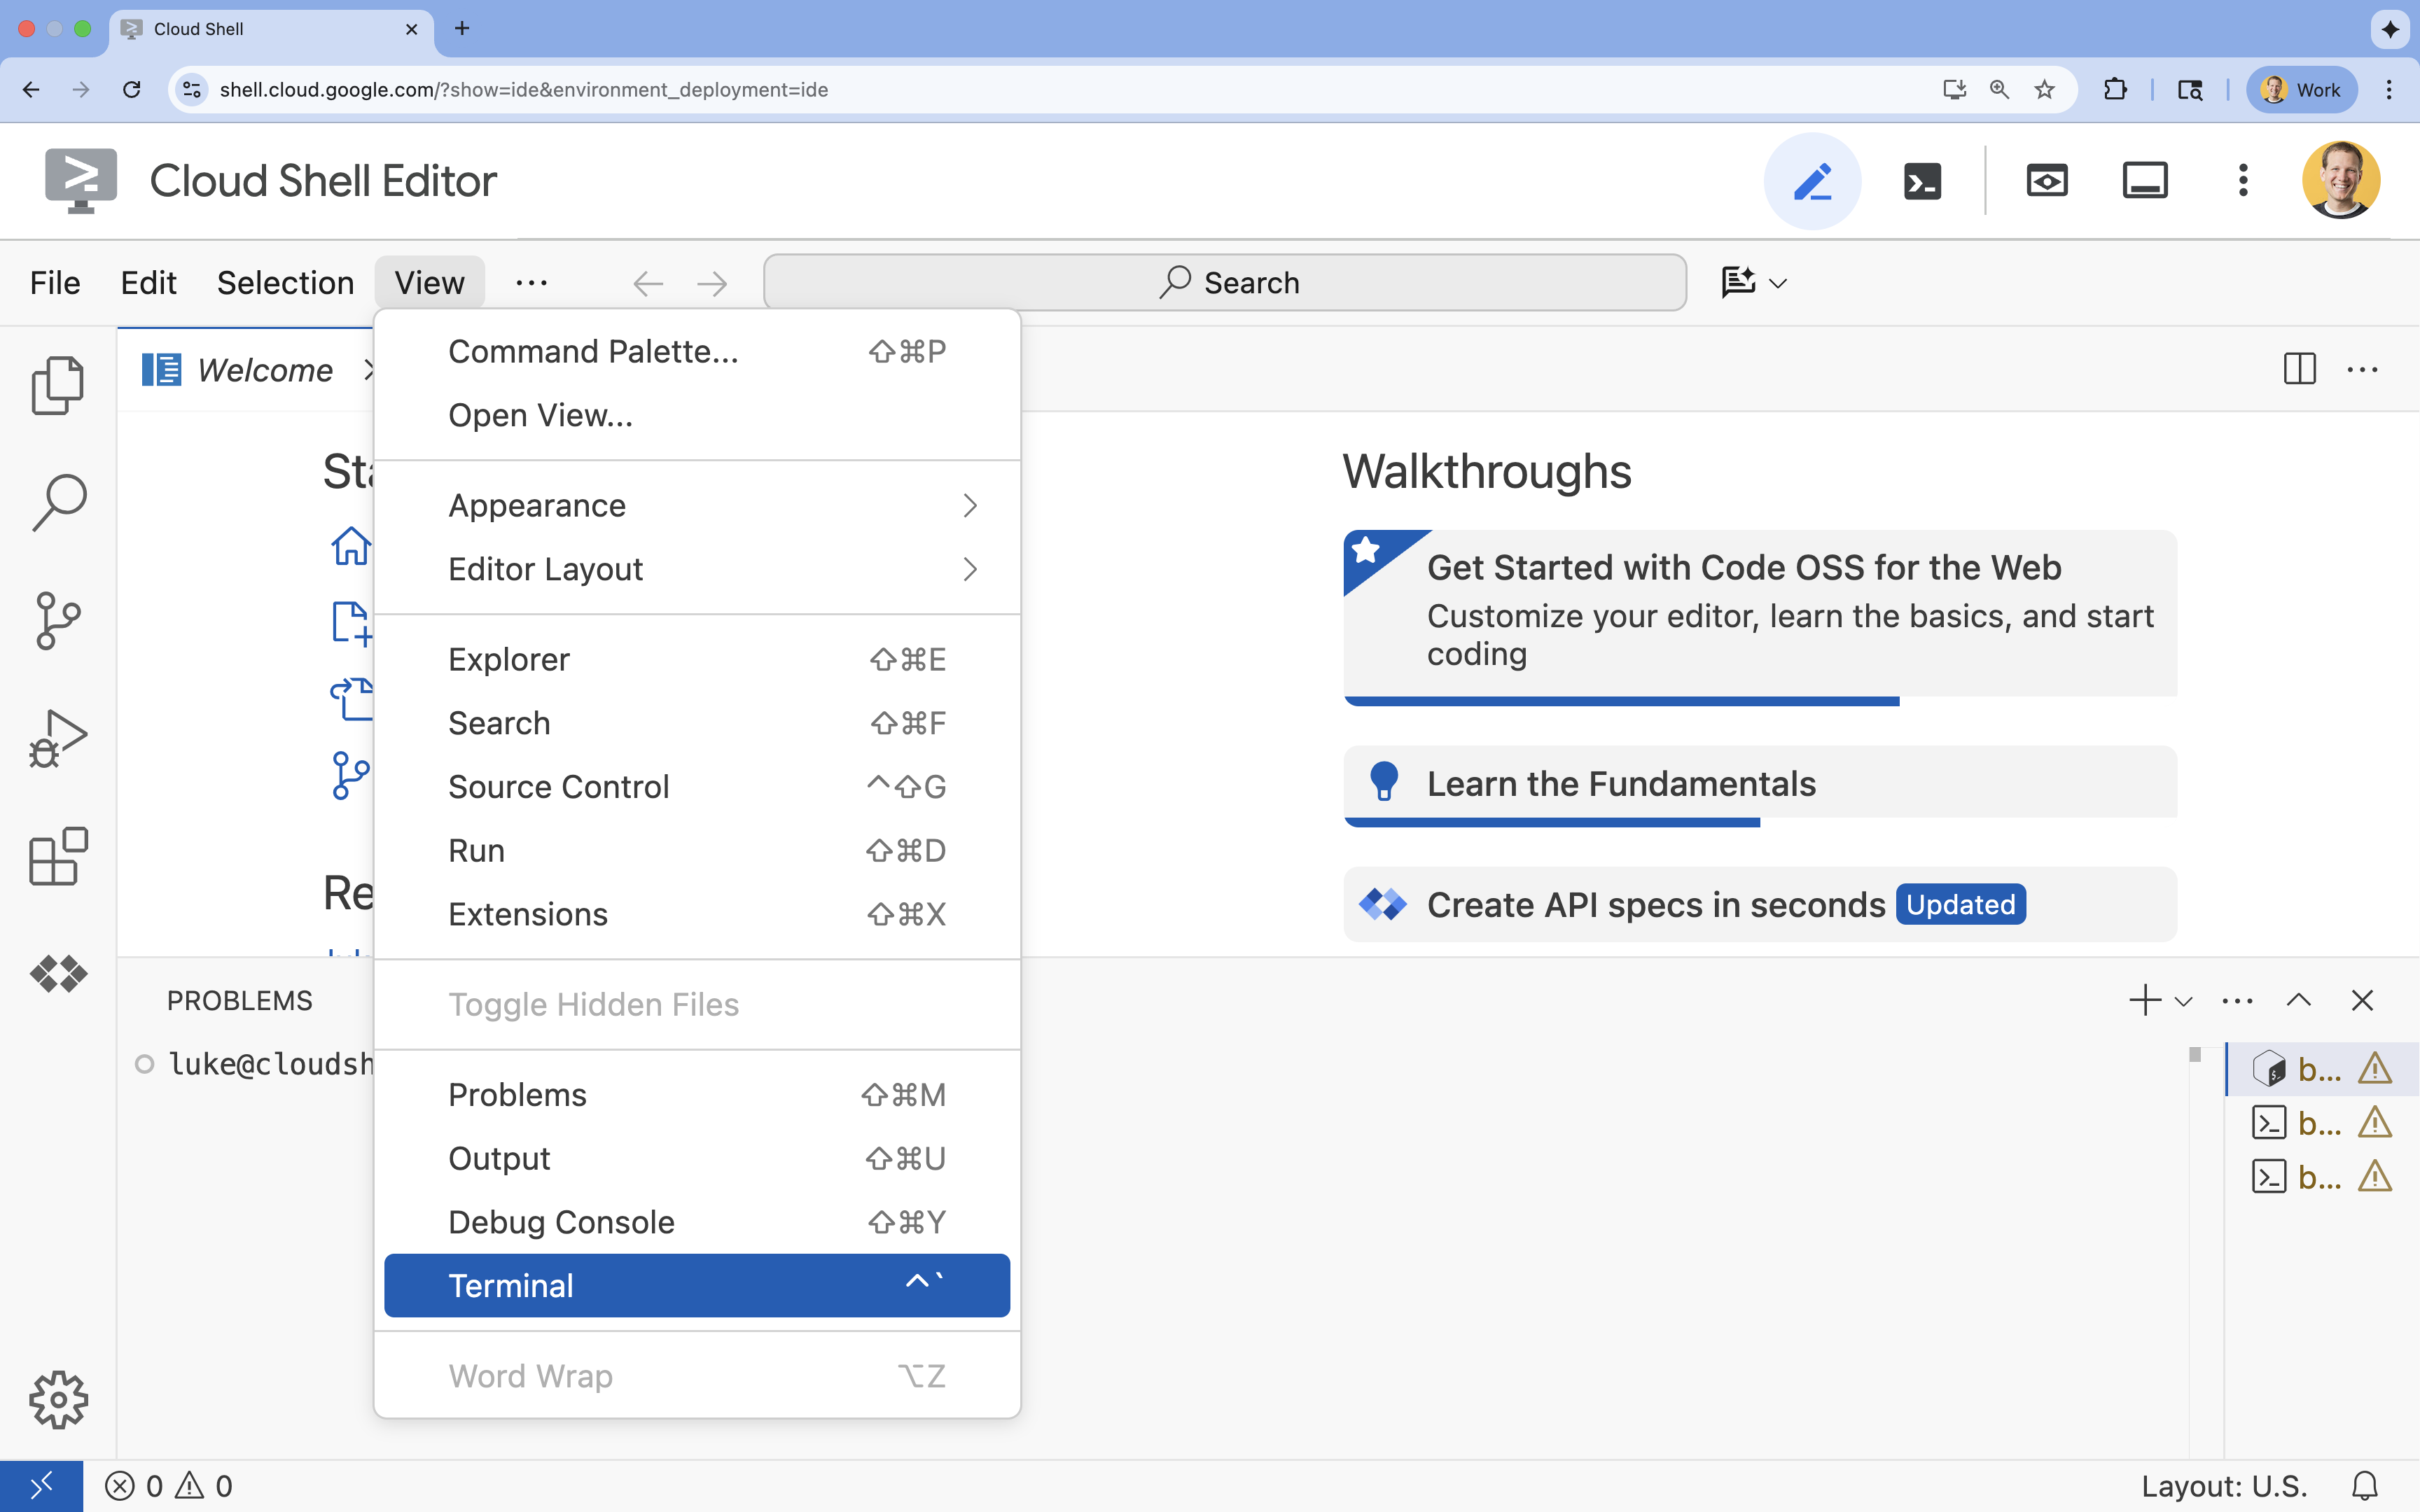
- If the terminal doesn't appear at the bottom of the screen, open it:
- Click View
- Click Terminal
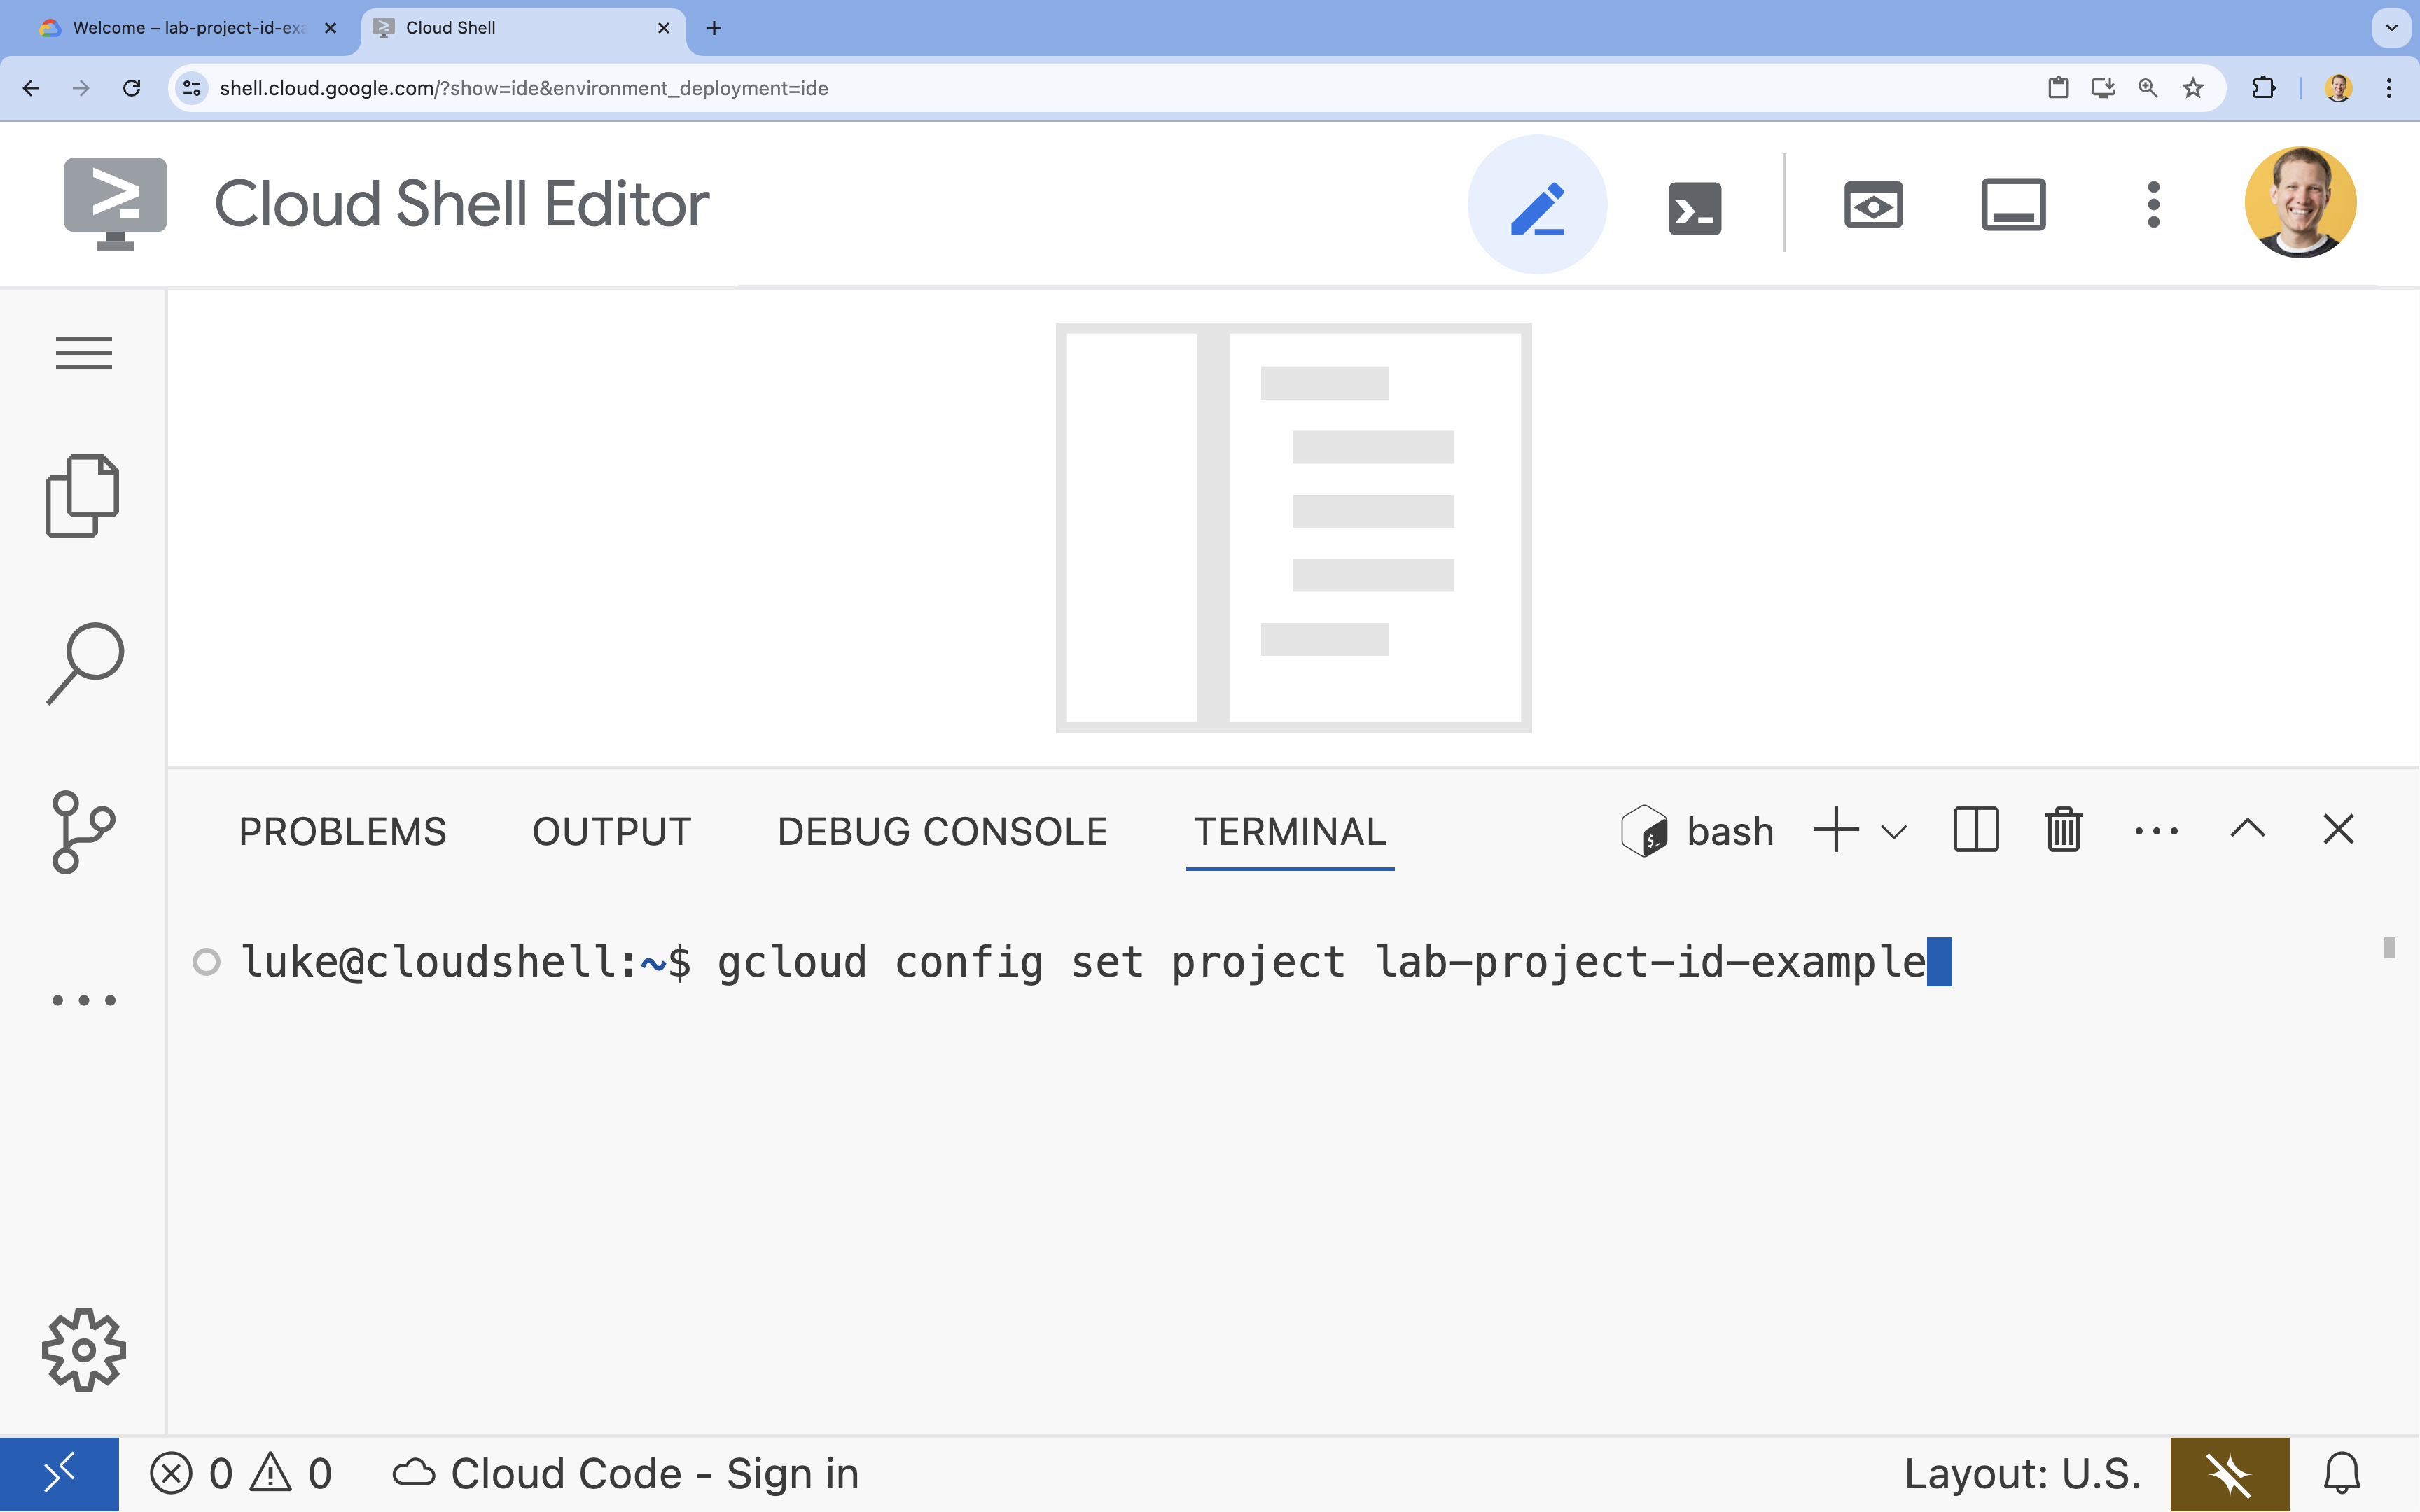
- In the terminal, set your project with this command:
- Format:
gcloud config set project [PROJECT_ID] - Example:
gcloud config set project lab-project-id-example - If you can't remember your project id:
- You can list all your project ids with:
gcloud projects list | awk '/PROJECT_ID/{print $2}'
- You can list all your project ids with:
- Format:
- You should see this message:
Updated property [core/project].
WARNINGand are askedDo you want to continue (Y/n)?, then you have likely entered the project ID incorrectly. Pressn, pressEnter, and try to run thegcloud config set projectcommand again.
- Set the
GOOGLE_CLOUD_PROJECTenvironment variableexport GOOGLE_CLOUD_PROJECT=$(gcloud config get-value project)
4. Enable APIs
In the terminal, enable the APIs:
gcloud services enable \
  run.googleapis.com \
  aiplatform.googleapis.com \
  cloudresourcemanager.googleapis.com \
  iap.googleapis.com
If prompted to authorize, click Authorize to continue.
This command may take a few minutes to complete, but it should eventually produce a successful message similar to this one:
Operation "operations/acf.p2-73d90d00-47ee-447a-b600" finished successfully.
5. Prepare your Node.js project
- Create a folder named
gen-ui-on-cloudrunto store the source code for deployment:mkdir gen-ui-on-cloudrun && cd gen-ui-on-cloudrun - Initialize a Node.js project:
npm init -y - Configure the project to use ES modules and define a start script by running these commands:
npm pkg set type="module" - Install
fastifyfor the web server and@google/genaifor the Vertex AI SDK:npm install fastify @google/genai
6. Create the application code
- Create and open a new
index.tsfile for the application source code:cloudshell edit ~/gen-ui-on-cloudrun/index.tscloudshell editcommand will open theindex.tsfile in the editor above the terminal. - Add the following generative UI server source code in the
index.tsfile:import fastifyLib from 'fastify'; import { GoogleGenAI } from '@google/genai'; const fastify = fastifyLib({ logger: true }); const ai = new GoogleGenAI({ vertexai: true, project: process.env.GOOGLE_CLOUD_PROJECT, location: process.env.GOOGLE_CLOUD_LOCATION || 'europe-west4', }); const SYSTEM_INSTRUCTION = `The user should have submitted an html page and the id of the element just clicked. Given the next page description, create a new webpage with a link back to "Start Over" (the / route), a brief overview of the topic, and a list of clickable link elements related to the page. When an element is clicked, the webpage should link to the base route / with the nextPageDescription as a query string parameter. All information needed to generate the next page should be included in the nextPageDescription without additional context. Each nextPageDescription should be less than 1500 characters. Example: If the current HTML page is for a small pet store, it might include a link to an "About" page. The href for the about page link should be /?nextPageDescription=about%20page%20for%20small%20pet%20store%20website All responses should be valid HTML without markdown backticks.`; interface QueryParams { nextPageDescription?: string; } fastify.get<{ Querystring: QueryParams }>('/', async (request, reply) => { const { nextPageDescription = 'A web page with interesting fun facts where I can select a fact to learn more about that topic.' } = request.query; try { const response = await ai.models.generateContent({ model: 'gemini-2.5-flash', contents: nextPageDescription, config: { systemInstruction: SYSTEM_INSTRUCTION, temperature: 0.9, } }); reply.type('text/html; charset=utf-8').send(response.text); } catch (error: any) { request.log.error(error); reply.status(500).send('An error occurred calling the AI.'); } }); const start = async () => { try { await fastify.listen({ port: Number(process.env.PORT) || 8080, host: '0.0.0.0' }); } catch (err) { fastify.log.error(err); process.exit(1); } }; start();
This code sets up a web server that listens for HTTP GET requests on the root path (/). When a request is received, it uses the nextPageDescription query parameter (or a default value) as a prompt for the Gemini 2.5 Flash model via Vertex AI. The model is instructed by SYSTEM_INSTRUCTION to return an HTML page containing links, where each link includes a nextPageDescription for generating the subsequent page.
7. Create Service Account
You need a service account for your Cloud Run service to authenticate with the Vertex AI API.
- Create a service account named
gen-navigator-sa:gcloud iam service-accounts create gen-navigator-sa --display-name="Generative Navigator Service Account" - Grant the service account permission to use Vertex AI:
gcloud projects add-iam-policy-binding $GOOGLE_CLOUD_PROJECT \
    --member="serviceAccount:gen-navigator-sa@$GOOGLE_CLOUD_PROJECT.iam.gserviceaccount.com" \
    --role="roles/aiplatform.user"
8. Deploy to Cloud Run
Now deploy the application to Cloud Run directly from the source code, without needing a Dockerfile.
- Run the
gcloudcommand to deploy the application:cd ~/gen-ui-on-cloudrun gcloud beta run deploy generative-web-navigator \ --source . \ --no-build \ --base-image=nodejs24 \ --command="node" \ --args="index.ts" \ --region=europe-west4 \ --no-allow-unauthenticated \ --iap \ --service-account="gen-navigator-sa@$GOOGLE_CLOUD_PROJECT.iam.gserviceaccount.com" \ --set-env-vars GOOGLE_CLOUD_PROJECT="$GOOGLE_CLOUD_PROJECT",GOOGLE_CLOUD_LOCATION="europe-west4"--source . --no-build --base-image=nodejs24: This tells Cloud Run to deploy the source code from the current directory, skip the build phase, and run the application using a prebuilt Node.js 24 base image.--no-allow-unauthenticated: This ensures that only authenticated users can access the service.--iap: This enables Identity-Aware Proxy (IAP) to manage access to your application. IAP lets you control access based on user identity and context, instead of just IP addresses.
- After a few minutes, you will see a message like:
Service [generative-web-navigator] revision [generative-web-navigator-12345-abc] has been deployed and is serving 100 percent of traffic.
You have deployed your application, but you still need to configure IAP to allow access.
9. Configure IAP Access
When you enable IAP on Cloud Run, IAP intercepts all requests and requires users to authenticate and be authorized before they can reach your service. For this to work, you need to grant two permissions:
- Allow the IAP service itself to invoke your Cloud Run service.
- Allow yourself (or other users/groups) to access the application through IAP.
- Get your project number, which is needed to identify the IAP service agent:
export PROJECT_NUMBER=$(gcloud projects describe $GOOGLE_CLOUD_PROJECT --format="value(projectNumber)") - Grant the IAP service agent the
roles/run.invokerrole on your Cloud Run service. This allows IAP to invoke your service after it authenticates and authorizes a user.gcloud run services add-iam-policy-binding generative-web-navigator \ --region=europe-west4 \ --member="serviceAccount:service-$PROJECT_NUMBER@gcp-sa-iap.iam.gserviceaccount.com" \ --role="roles/run.invoker" - Grant your user account the
roles/iap.httpsResourceAccessorrole. This lets you access IAP-secured HTTPS resources.gcloud beta iap web add-iam-policy-binding \ --resource-type=cloud-run \ --region=europe-west4 \ --service=generative-web-navigator \ --member="user:$(gcloud config get-value account)" \ --role="roles/iap.httpsResourceAccessor"
10. Test the application
- Get the URL of your deployed service:
gcloud run services describe generative-web-navigator --format='value(status.url)' --region=europe-west4 - Copy the URL and open it in your web browser. Because the service is secured with IAP, you will be prompted to log in with your Google account if you are not already logged in. After authenticating, you should see the first auto-generated page.
- Click any link to navigate to a new page, which will be generated by the AI based on the link you clicked!
You have done it! You have successfully deployed a generative UI website to Cloud Run and secured it using IAP.
11. Conclusion
Congratulations! You have successfully deployed and secured a generative UI website using Cloud Run, Vertex AI, and IAP.
(Optional) Clean up
If you would like to clean up what you have created, you can delete your Cloud project to avoid incurring additional charges.
While Cloud Run does not charge when the service is not in use, you might still be charged for storing build artifacts if any were created. Deleting your Cloud project stops billing for all the resources used within that project.
If you would like, delete the project:
gcloud projects delete $GOOGLE_CLOUD_PROJECT
You may also want to delete unnecessary resources from your cloudshell disk. You can:
- Delete the codelab project directory:
rm -rf ~/gen-ui-on-cloudrun - Warning! This next action is can't be undone! If you would like to delete everything on your Cloud Shell to free up space, you can delete your whole home directory. Be careful that everything you want to keep is saved somewhere else.
sudo rm -rf $HOME