
1. Introduction
Overview
Where does building with AI start today? For most of us, it starts with a simple query or prototype. Google AI Studio offers a powerful Build Mode (often referred to as "vibe coding") that allows you to design, test, and build full-stack web applications using code generation driven by Gemini models.
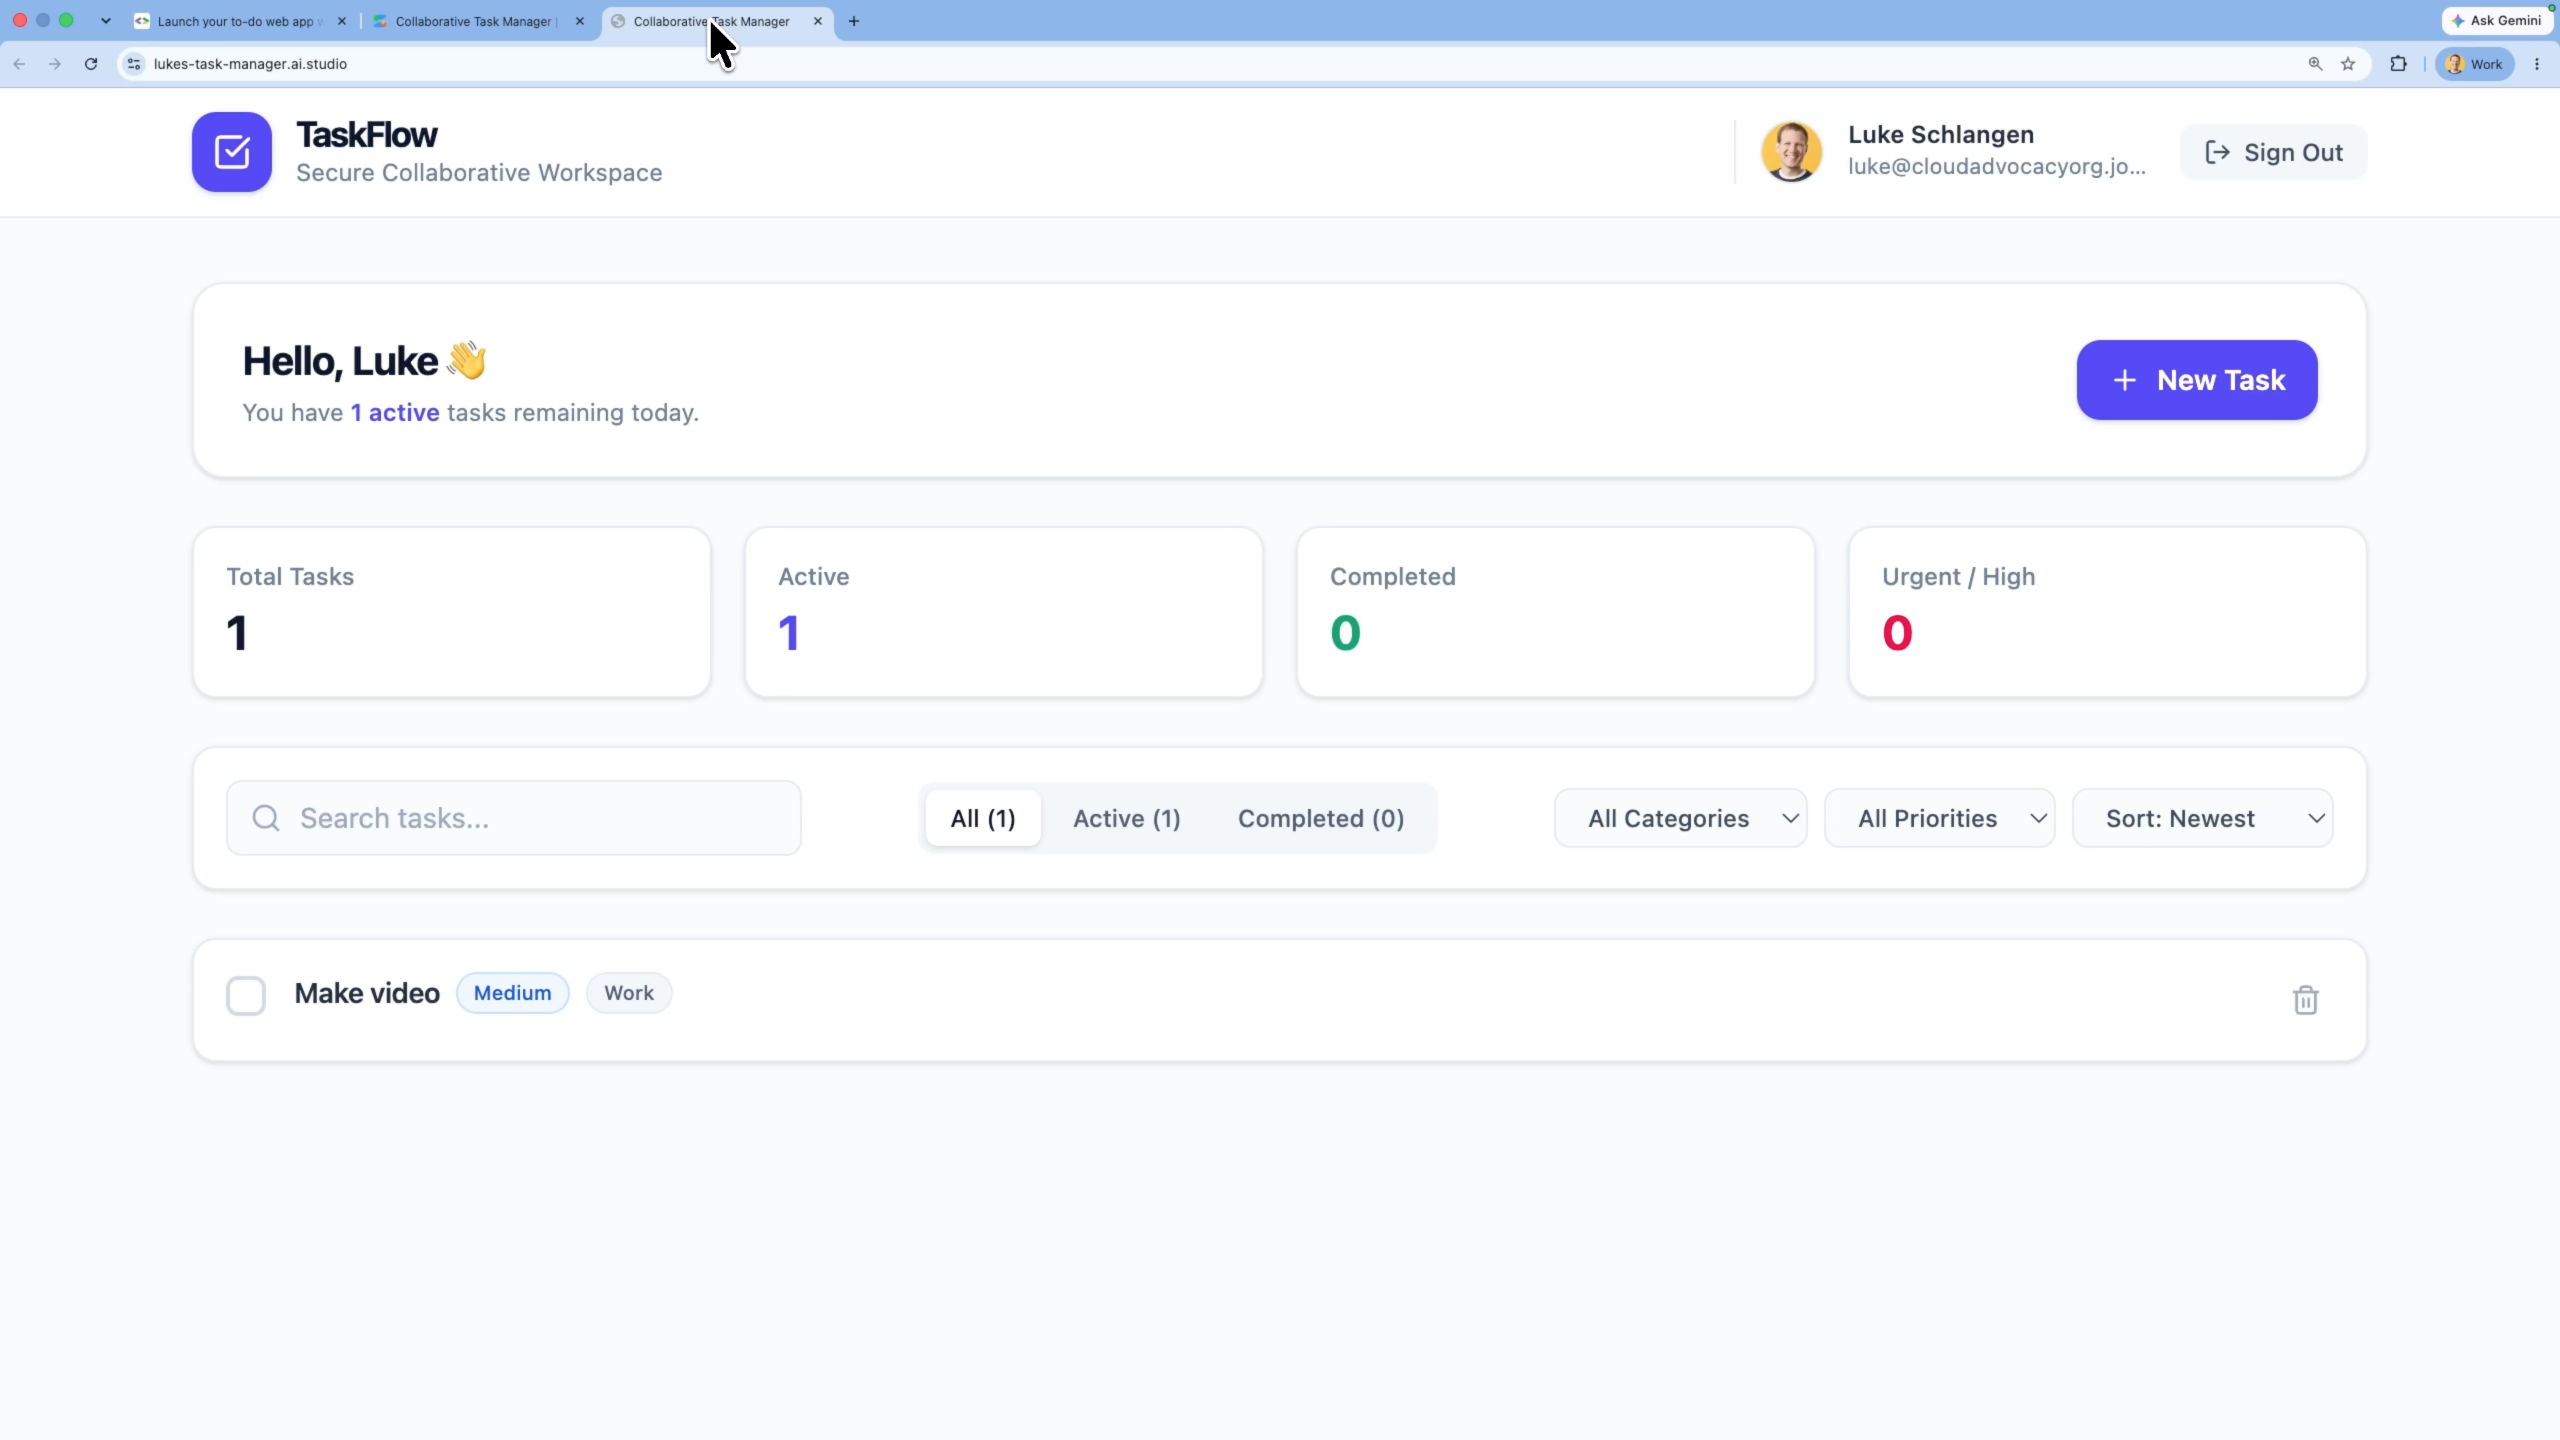
In this codelab, you will build a collaborative to-do application with a Firestore database for persistent storage and Firebase Authentication for user logins. The AI Studio agent will configure all backend services and write the frontend and database interaction code. Once the app is polished, you will deploy it straight to Cloud Run with a single click.
What you'll do
- Prompt Google AI Studio to prototype a collaborative to-do list web application.
- Configure and enable the Firebase integration to provision a Firestore database and setup Google Sign-In authentication.
- Test the application in the interactive preview sandbox.
- Deploy the application to Cloud Run directly from the Google AI Studio UI.
What you'll learn
- How to use Google AI Studio's Build mode to rapidly prototype a full-stack service using natural language.
- How Google AI Studio automatically configures Firebase Firestore and Authentication integrations.
- How to deploy your AI Studio application as a serverless container on Cloud Run.
- How to inspect database records and security status inside the Firebase Console.
2. Project Setup
Before launching AI Studio, verify your account status and prerequisites.
Google Account & Tier Information
- If you don't already have a Google Account, create a Google Account.
- Tip: Use a personal Google account for this lab if possible. Group, corporate, or school accounts may enforce Workspace policies that disable experimental features or cloud integrations.
- Review the billing details for deployments:
- Google Cloud Starter Tier: Allows publishing up to two full-stack applications in a select region at no cost, without establishing a full Google Cloud billing account.
- Standard Deployment: Connects to an existing paid Google Cloud project and expands storage limits, CPU resources, and APIs.
3. Create a To-Do App in AI Studio Build Mode
Let's create the application shell and prompt the AI code assistant to build security and persistence layers.
- Navigate to Google AI Studio Apps panel and click New App.
- In the chat prompt box, enter the description for your to-do application:
Build a collaborative to-do list application using Firebase as a backend. Users must be able to securely sign in using Google Sign-In, view their personal tasks, add new task items, toggle status as completed, and delete tasks. The database must isolate tasks so users can only view and modify their own records. - Click Build to start the application generation process.
When the AI Studio agent recognizes the need for database storage and secure user login, it triggers the automated Firebase configuration flow.
- After about a minute, an integration card to Enable Firebase pops up in the workspace.
- Click the Enable Firebase button to confirm and accept the terms of service.
- The agent will execute the background setup. Under the hood:
- A Firestore Database instance is provisioned.
- Firebase Authentication is enabled with Google Sign-in enabled.
- A service account configuration is established (e.g., creating
src/lib/firebase.tscontaining API credentials). - A
firestore.rulescontaining default security boundaries (user isolation rules) is added.
4. Test and Iterate
Before launching the service live, run validation checks in the interactive preview.
- Open the preview pane inside Google AI Studio.
- Click the Login button to trigger the sandbox Google Sign-In authentication.
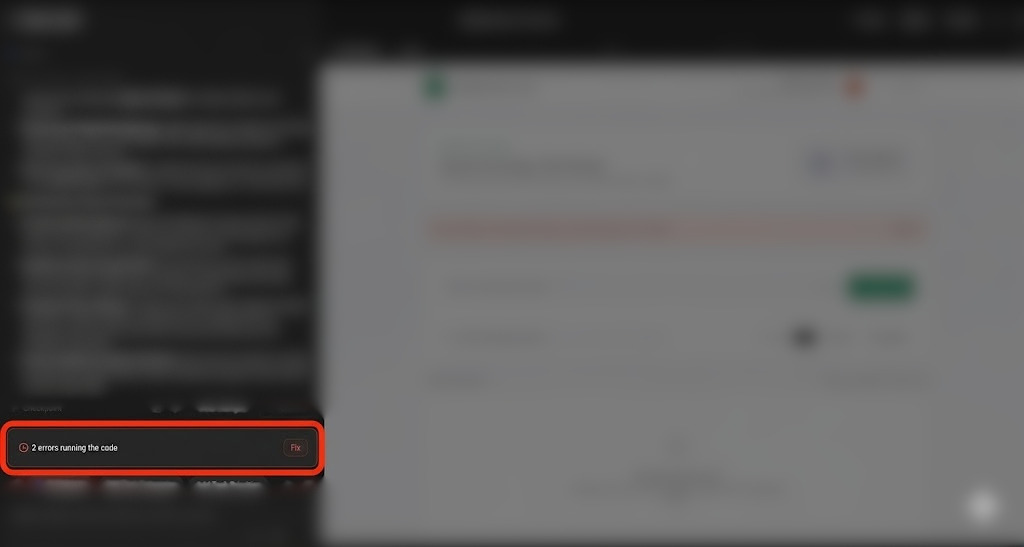
- Note on fixing errors: During generation or testing, you might occasionally face runtime issues, compilation errors, or Firestore permission failures due to security rules misalignment. If this happens, AI Studio displays a Fix button in the chat, allowing you to ask the agent to automatically diagnose and repair the issue.
- Once logged in, add several tasks (e.g., "Review Cloud Run docs", "Complete Codelab").
- Toggle some tasks as completed and delete one to ensure the client-side handlers and database state updates correctly.
- If you want to change styling or behavior, instruct the agent through the chat window. For example:
"Could you style the interface using Tailwind CSS, and add a dark mode toggle button?""Show a count of remaining incomplete tasks at the footer of the task list."
- Wait for the agent to update the codebase and check the preview browser to see the updates.
5. Deploy to Cloud Run
Once your prototype is fully functional, deploy it as a public service on Cloud Run.
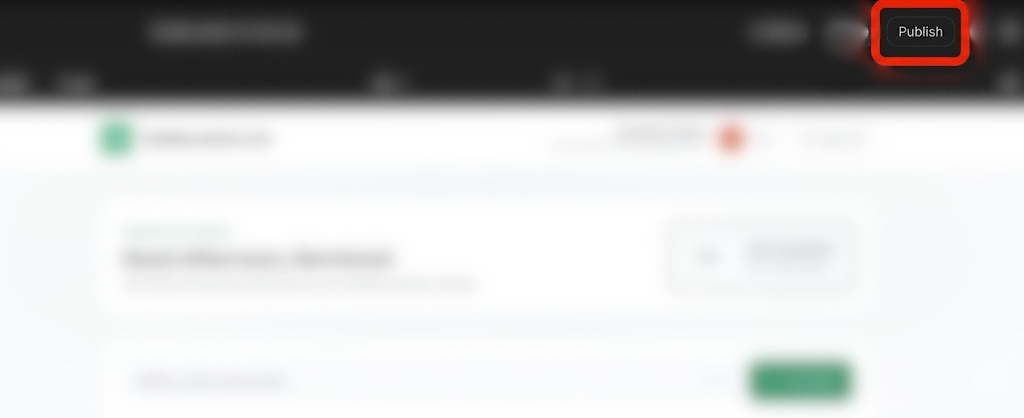
- In the top-right corner of Google AI Studio, click the Publish button to initiate the deployment wizard.
- Click Get Started to configure your Google Cloud project.
- Verify the target Google Cloud Project drop-down matches the project you associated with your workspace.
- AI Studio will automatically generate a unique service identifier for the Cloud Run instance.
- Optionally, you can specify a custom
.ai.studioURL prefix (e.g.,your-portfolio-name.ai.studio) as part of your deployment configuration.
- If this is your first time deploying and you are using standard Google Cloud parameters, you may be prompted to specify an organization type and supply billing details.
- Click Publish App.
- The container build, container registration, and service deployment steps happen in the background. This process normally completes in 2–4 minutes.
- When deployment finishes, copy the generated App URL and visit the live application link in a browser tab.
- Test the live web application in your browser!
6. Inspect in the Firebase Console
Take a look under the hood to see how the data schemas and users are tracked.
- Navigate to the Firebase Console.
- Select your project (which has the
AI Studiolabel or your manually bound project ID). - In the left-hand navigation pane, select Build > Firestore Database:
- View the database collections and documents created by your application.
- Verify that each document has an owner ID matching the active user authentication credentials.
- Select the Security tab in the Firestore panel to review the auto-generated security directives limiting read and write permissions to verified document owners.
- Navigate to Security > Authentication to see the list of active user credentials populated during your login tests.
7. Clean Up
To avoid any unforeseen billing charges or clean up your workspace resources:
- In Google AI Studio, go to the Apps page.
- Find your application in the grid or list.
- Click the trash icon to delete the app state and unpublish the service from Cloud Run.
- If you deployed using a standard project and want to shut down all resources entirely, go to the Google Cloud Console Project Settings and delete the underlying project.
8. Conclusion
Congratulations! You have designed, developed, and deployed a full-stack web application directly from Google AI Studio.
Visit this link to claim the Completed Builder Journey badge!
To continue your journey, head to goo.gle/builders for your next lab.