
1. Overview
Memorystore for Redis is a fully managed Redis service for Google Cloud. Apps running on Google Cloud can achieve extreme performance by leveraging the highly scalable, available, and secure Redis service without the burden of managing complex Redis deployments. It can be used as a backend for data caching to improve the performance of Spring Boot apps. The codelab explains how to set it up.
What you'll learn
- How to use Memorystore as a cache backend for a Spring Boot app.
What you'll need
- A Google Cloud project
- A browser, such Google Chrome
- Familiarity with standard Linux text editors such as Vim, Emacs, and GNU Nano
How will you use the codelab?
How would you rate your experience with Google Cloud services?
2. Setup and Requirements
Self-paced environment setup
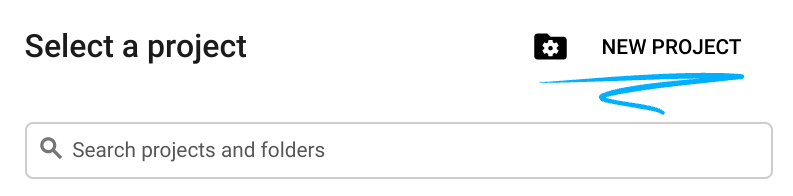
- Sign in to Cloud Console and create a new project or reuse an existing one. (If you don't already have a Gmail or G Suite account, you must create one.)

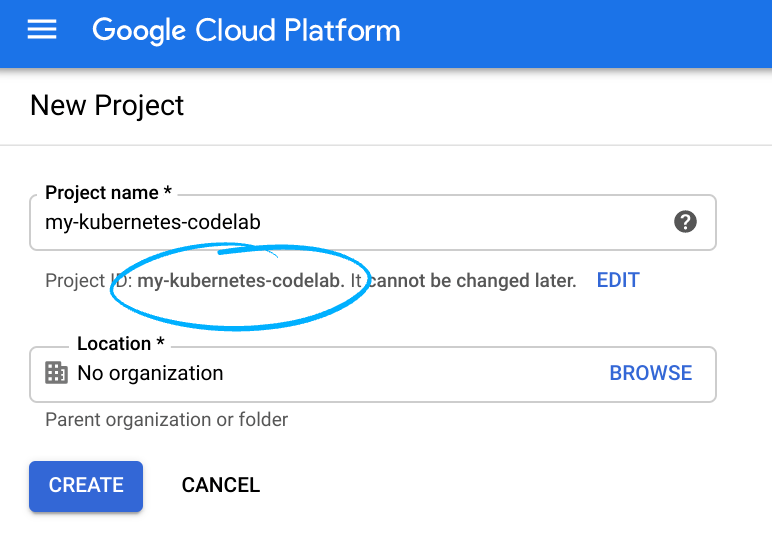
Remember the project ID, a unique name across all Google Cloud projects (the name above has already been taken and will not work for you, sorry!). It will be referred to later in this codelab as PROJECT_ID.
- Next, you'll need to enable billing in Cloud Console in order to use Google Cloud resources.
Running through this codelab shouldn't cost much, if anything at all. Be sure to to follow any instructions in the "Cleaning up" section which advises you how to shut down resources so you don't incur billing beyond this tutorial. New users of Google Cloud are eligible for the $300USD Free Trial program.
Activate Cloud Shell
- From the Cloud Console, click Activate Cloud Shell
.

If you've never started Cloud Shell before, you'll be presented with an intermediate screen (below the fold) describing what it is. If that's the case, click Continue (and you won't ever see it again). Here's what that one-time screen looks like:

It should only take a few moments to provision and connect to Cloud Shell.

This virtual machine is loaded with all the development tools you'll need. It offers a persistent 5GB home directory and runs in Google Cloud, greatly enhancing network performance and authentication. Much, if not all, of your work in this codelab can be done with simply a browser or your Chromebook.
Once connected to Cloud Shell, you should see that you are already authenticated and that the project is already set to your project ID.
- Run the following command in Cloud Shell to confirm that you are authenticated:
gcloud auth list
Command output
 Credentialed Accounts
ACTIVE  ACCOUNT
*       <my_account>@<my_domain.com>

To set the active account, run:
    $ gcloud config set account `ACCOUNT`
gcloud config list project
Command output
[core]
project = <PROJECT_ID>
If it is not, you can set it with this command:
gcloud config set project <PROJECT_ID>
Command output
Updated property [core/project].
3. Set up a Memorystore for Redis instance
Start Cloud Shell.
After Cloud Shell launches, use the command line to enable the Memorystore API and create a new Memorystore instance.
$ gcloud services enable redis.googleapis.com
$ gcloud redis instances create myinstance --size=1 --region=us-central1
After the operation completes, your instance will be ready to use.
Get the redis host ip-address of the instance by running the following command. You will use it again later when configuring your Spring Boot app.
$ gcloud redis instances describe myinstance --region=us-central1 \
  | grep host
host: 10.0.0.4
In Google Cloud Console, navigate to Databases > Memorystore > Redis. Your instance should be in the "ready" state :

4. Set up a Compute Engine instance
Create a Compute Engine instance in the same region.
$ gcloud compute instances create instance-1 --zone us-central1-c
After the operation completes, your instance will be ready to use.
Connect to your instance via SSH with the following command:
$ gcloud compute ssh instance-1 --zone us-central1-c
Alternatively, navigate to Compute > Compute Engine > VM instances, and click SSH in the Connect column:

In the virtual machine (VM) instance shell (not Cloud Shell), install OpenJDK, Maven, and Redis tools:
$ sudo apt-get install openjdk-17-jdk-headless maven redis-tools
Wait for the installation to complete and then proceed to the next step.
5. Set up a Spring Boot app
Create a new Spring Boot project with web, redis and cache dependencies:
$ curl https://start.spring.io/starter.tgz \
  -d dependencies=web,redis,cache -d language=java -d baseDir=cache-app \
  -d type=maven-project \
  | tar -xzvf - && cd cache-app
Edit the application.properties file to configure the app to use the IP address of the Memorystore instance for Redis host.
$ nano src/main/resources/application.properties
Add the following line with your Memorystore for Redis IP address (from a couple steps ago):
spring.data.redis.host=<memorystore-host-ip-address>
Add a new line after that and create a REST controller Java class:
$ nano src/main/java/com/example/demo/HelloWorldController.java
Put the following content into the file:
package com.example.demo;

import org.springframework.beans.factory.annotation.Autowired;
import org.springframework.cache.annotation.Cacheable;
import org.springframework.data.redis.core.StringRedisTemplate;
import org.springframework.web.bind.annotation.PathVariable;
import org.springframework.web.bind.annotation.RequestMapping;
import org.springframework.web.bind.annotation.RestController;

@RestController
public class HelloWorldController {
@Autowired
private StringRedisTemplate template;

@RequestMapping("/hello/{name}")
@Cacheable("hello")
public String hello(@PathVariable String name) throws InterruptedException {
  Thread.sleep(5000);
  return "Hello " + name;
 }
}
The @RequestMapping annotation exposes the method as an HTTP endpoint and maps part of the path to a method parameter (as indicated by the @PathVariable annotation).
The @Cacheable("hello") annotation indicates that the method execution should be cached and the cache name is "hello." It's used in combination with the parameter value as a cache key. You'll see an example later in the code lab.
Next, we'll enable caching in the Spring Boot app class. Edit DemoApplication.java:
$ nano src/main/java/com/example/demo/DemoApplication.java
Import org.springframework.cache.annotation.EnableCaching and annotate the class with this annotation. The result should look like this:
package com.example.demo;

import org.springframework.boot.SpringApplication;
import org.springframework.boot.autoconfigure.SpringBootApplication;
import org.springframework.cache.annotation.EnableCaching;

@SpringBootApplication
@EnableCaching
public class DemoApplication {

public static void main(String[] args) {
  SpringApplication.run(DemoApplication.class, args);
 }
}
6. Run the app and access the endpoint
Make sure, JAVA_HOME is set to the right version:
export JAVA_HOME=/usr/lib/jvm/java-17-openjdk-amd64/
Now you're ready to run the app!
$ mvn spring-boot:run
Open another SSH connection to your instance the same way that you did earlier. In the new SSH window, access the /hello/ endpoint multiple times, passing "bob" as name.
$ time curl http://localhost:8080/hello/bob
Hello bob!

real        0m5.408s
user        0m0.036s
sys        0m0.009s

$ time curl http://localhost:8080/hello/bob
Hello bob!

real        0m0.092s
user        0m0.021s
sys        0m0.027s
Notice that the first time the request took five seconds, but the next one was significantly faster despite the fact that you have Thread.sleep(5000)invocation in the method. That's because the actual method was executed only once and the result was put into the cache. Every subsequent call returns the result directly from the cache.
7. Review cached objects
You can actually see exactly what the app cached. From the same terminal that you used in the previous step, connect to Memorystore for Redis host using redis-cli:
$ redis-cli -h <memorystore-host-ip-address>
To see the list of cache keys, use the following command:
:6379> KEYS *
1) "hello::bob"
As you can see, the cache name is used as a prefix for the key and the parameter value is used as the second part.
To retrieve the value, use the GET command:
:6379> GET hello::bob
   Hello bob!
Use the exit command to exit.
8. Clean up
To clean up, delete Compute Engine and Memorystore instances from Cloud Shell.
Delete the compute instance:
$ gcloud compute instances delete instance-1 --zone us-central1-c
Delete the Memorystore for Redis instance:
$ gcloud redis instances delete myinstance --region=us-central1
9. Congratulations!
You created Memorystore for Redis and a Compute Engine instance. Also, you configured a Spring Boot app to use Memorystore with Spring Boot caching!
Learn More
License
This work is licensed under a Creative Commons Attribution 2.0 Generic License.