
1. Overview

With Cloud Functions you write simple, single-purpose functions that are attached to events emitted from your cloud infrastructure and services. Your Cloud Function is triggered when an event being watched is fired. Your code executes in a fully managed environment. There is no need to provision any infrastructure or worry about managing any servers.
Cloud Functions can currently be written in Javascript, Python, or Go. In the case of Javascript, they execute in a Node.js environment on Google Cloud Platform. You can take your Cloud Function and run it in any standard Node.js runtime which makes both portability and local testing a breeze.
Connect and Extend Cloud Services
Cloud Functions provides a connective layer of logic that lets you write code to connect and extend cloud services. Listen and respond to a file upload to Cloud Storage, a log change, or an incoming message on a Cloud Pub/Sub topic. Cloud Functions augments existing cloud services and allows you to address an increasing number of use cases with arbitrary programming logic. Cloud Functions have access to the Google Service Account credential and are thus seamlessly authenticated with the majority of Google Cloud Platform services such as Datastore, Cloud Spanner, Cloud Translation API, Cloud Vision API, as well as many others.

Events and Triggers
Cloud events are things that happen in your cloud environment.These might be things like changes to data in a database, files added to a storage system, or a new virtual machine instance being created.
Events occur whether or not you choose to respond to them. You create a response to an event with a trigger. A trigger is a declaration that you are interested in a certain event or set of events. Binding a function to a trigger allows you to capture and act on events. For more information on creating triggers and associating them with your functions, see Events and Triggers.
Serverless
Cloud Functions removes the work of managing servers, configuring software, updating frameworks, and patching operating systems. The software and infrastructure are fully managed by Google so that you just add code. Furthermore, provisioning of resources happens automatically in response to events. This means that a function can scale from a few invocations a day to many millions of invocations without any work from you.
Use Cases
Asynchronous workloads like lightweight ETL, or cloud automations like triggering application builds now no longer need their own server and a developer to wire it up. You simply deploy a Cloud Function bound to the event you want and you're done.
The fine-grained, on-demand nature of Cloud Functions also makes it a perfect candidate for lightweight APIs and webhooks. In addition, the automatic provisioning of HTTP endpoints when you deploy an HTTP Function means there is no complicated configuration required as there is with some other services.
This hands-on lab shows you how to create, deploy, and test a cloud function using the Google Cloud console. You will :
- Create a cloud function
- Deploy and test the function
- View logs
2. Setup and Requirements
Self-paced environment setup
- Sign in to Cloud Console and create a new project or reuse an existing one. (If you don't already have a Gmail or G Suite account, you must create one.)

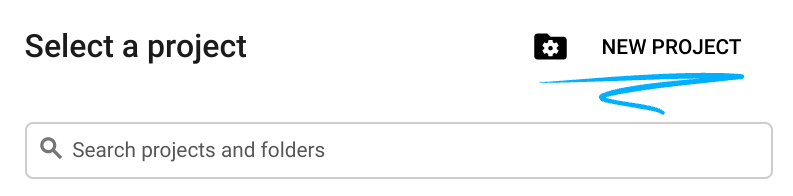
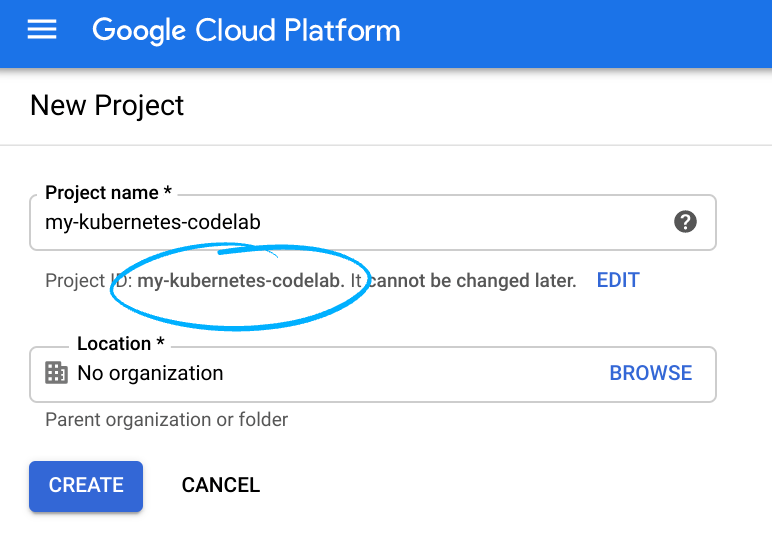
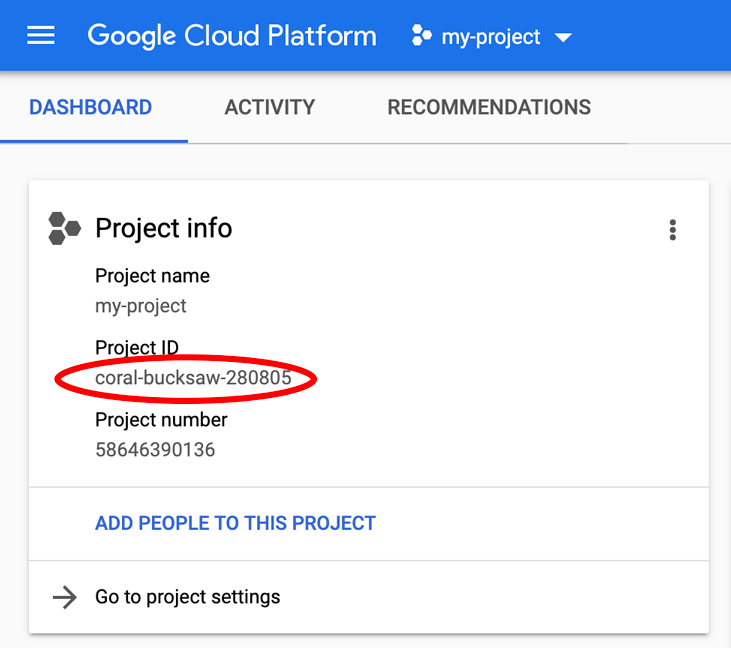
Remember the project ID, a unique name across all Google Cloud projects (the name above has already been taken and will not work for you, sorry!). It will be referred to later in this codelab as PROJECT_ID.
- Next, you'll need to enable billing in Cloud Console in order to use Google Cloud resources.
Running through this codelab shouldn't cost much, if anything at all. Be sure to to follow any instructions in the "Cleaning up" section which advises you how to shut down resources so you don't incur billing beyond this tutorial. New users of Google Cloud are eligible for the $300USD Free Trial program.
Google Cloud Shell
While Google Cloud and Cloud Functions can be operated remotely from your laptop, in this codelab we will be using Google Cloud Shell, a command line environment running in the Cloud.
This Debian-based virtual machine is loaded with all the development tools you'll need. It offers a persistent 5GB home directory and runs in Google Cloud, greatly enhancing network performance and authentication. This means that all you will need for this codelab is a browser (yes, it works on a Chromebook).
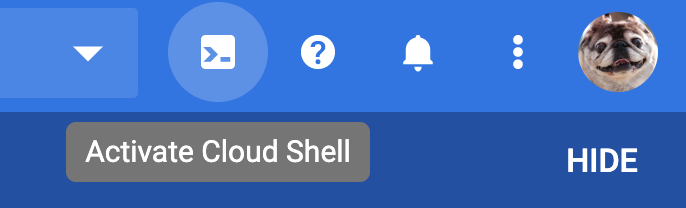
- To activate Cloud Shell from the Cloud Console, simply click Activate Cloud Shell
(it should only take a few moments to provision and connect to the environment).
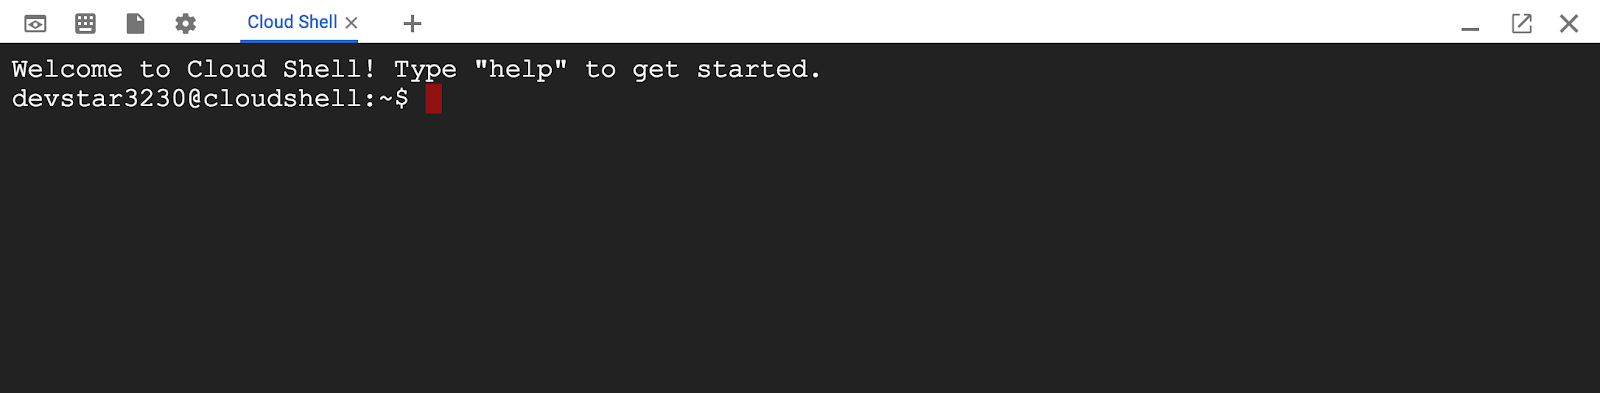
Once connected to Cloud Shell, you should see that you are already authenticated and that the project is already set to your PROJECT_ID.
gcloud auth list
Command output
Credentialed accounts:
 - <myaccount>@<mydomain>.com (active)
gcloud config list project
Command output
[core]
project = <PROJECT_ID>
If, for some reason, the project is not set, simply issue the following command:
gcloud config set project <PROJECT_ID>
Looking for your PROJECT_ID? Check out what ID you used in the setup steps or look it up in the Cloud Console dashboard:
Cloud Shell also sets some environment variables by default, which may be useful as you run future commands.
echo $GOOGLE_CLOUD_PROJECT
Command output
<PROJECT_ID>
- Finally, set the default zone and project configuration.
gcloud config set compute/zone us-central1-f
You can choose a variety of different zones. For more information, see Regions & Zones.
3. Create a function
In this step, you're going to create a cloud function using the console.
- In the console, click the Navigation menu > Cloud Functions.

- Click "CREATE FUNCTION" :

- Name your function
GCFunctionand keep the other defaults : memory allocation, HTTP as a trigger, inline editor, default runtime, and default sample code.

- While still in the "create function" dialog, at the bottom, click "Create" to deploy the function:

After you click Create, the console redirects to the Cloud Functions Overview page.
While the function is being deployed, the icon next to it is a small spinner. When it's deployed, the spinner will be a green check mark. If there are any issues, you will be notified with a red icon and a link to the logs to understand what went wrong (likely an issue in your code).

That's it! Your function is now live and ready to be triggered via HTTP.
4. Test the function
In the Cloud Functions Overview page, display the menu for your function, and click Test function :

In the Triggering event field, enter the following text between the brackets {} and click Test the function.
In the Output field, you should see the message Success: Hello World!
In the Logs field, a status code of 200 indicates success. Note that it may take a minute for the logs to appear.

5. View the function logs
Click the blue arrow to go back to the Cloud Functions Overview page :

Display the menu for your function, and click View logs :

Here is an example of the log history :

Note that you can filter logs per function, per severity, and search via a label or some free-form text.
Your application is deployed, tested, and you were able to view the logs.
6. Cleanup resources
Well you don't really need to clean up resources since this is serverless computing : scaling to zero meaning also scaling cost to zero. So if your function is getting no traffic, there will be no cost incurred. Also, the first 2 million Cloud Function invocations each month are free. Check out the pricing page for more details.
If you'd like to delete the function, simply head over to the overview page, select the function and click DELETE :

7. What's next
Cloud Functions has a lot more in store for you! Check out other codelabs and the product page, and its documentation.
You should also check out the following :
- Calling Cloud Functions (triggers available for function invocation)
- Monitoring Cloud Functions (logs, error reporting, and more)
- ... or more codelabs from the Serverless category