
1. Overview

The Translation API provides a simple, programmatic interface for dynamically translating an arbitrary string into any supported language using state-of-the-art Neural Machine Translation. It can also be used to detect a language in cases where the source language is unknown.
In this tutorial, you'll use the Translation API with Python. Concepts covered include how to list available languages, translate text, and detect the language of a given text.
What you'll learn
- How to set up your environment
- How to list available languages
- How to translate text
- How to detect languages
What you'll need
Survey
How will you use this tutorial?
How would you rate your experience with Python?
How would you rate your experience with Google Cloud services?
2. Setup and requirements
Self-paced environment setup
- Sign-in to the Google Cloud Console and create a new project or reuse an existing one. If you don't already have a Gmail or Google Workspace account, you must create one.


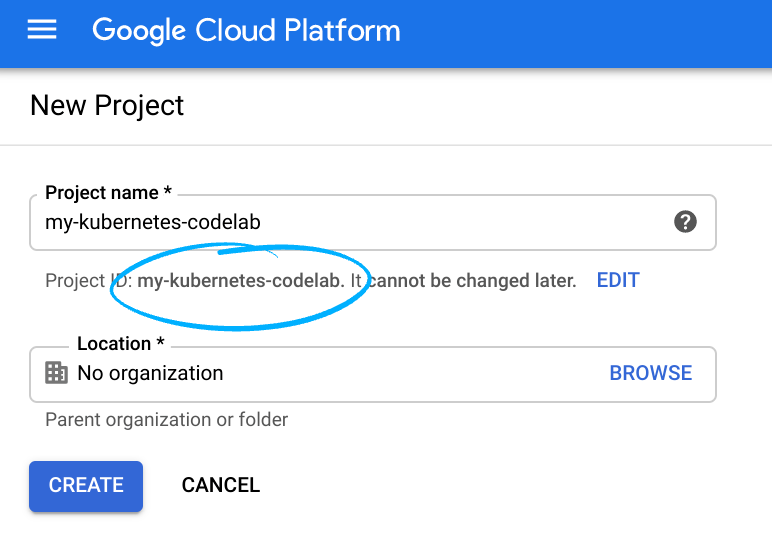
- The Project name is the display name for this project's participants. It is a character string not used by Google APIs. You can always update it.
- The Project ID is unique across all Google Cloud projects and is immutable (cannot be changed after it has been set). The Cloud Console auto-generates a unique string; usually you don't care what it is. In most codelabs, you'll need to reference your Project ID (typically identified as
PROJECT_ID). If you don't like the generated ID, you might generate another random one. Alternatively, you can try your own, and see if it's available. It can't be changed after this step and remains for the duration of the project. - For your information, there is a third value, a Project Number, which some APIs use. Learn more about all three of these values in the documentation.
- Next, you'll need to enable billing in the Cloud Console to use Cloud resources/APIs. Running through this codelab won't cost much, if anything at all. To shut down resources to avoid incurring billing beyond this tutorial, you can delete the resources you created or delete the project. New Google Cloud users are eligible for the $300 USD Free Trial program.
Start Cloud Shell
While Google Cloud can be operated remotely from your laptop, in this codelab you will be using Cloud Shell, a command line environment running in the Cloud.
Activate Cloud Shell
- From the Cloud Console, click Activate Cloud Shell
 .
.

If this is your first time starting Cloud Shell, you're presented with an intermediate screen describing what it is. If you were presented with an intermediate screen, click Continue.

It should only take a few moments to provision and connect to Cloud Shell.

This virtual machine is loaded with all the development tools needed. It offers a persistent 5 GB home directory and runs in Google Cloud, greatly enhancing network performance and authentication. Much, if not all, of your work in this codelab can be done with a browser.
Once connected to Cloud Shell, you should see that you are authenticated and that the project is set to your project ID.
- Run the following command in Cloud Shell to confirm that you are authenticated:
gcloud auth list
Command output
 Credentialed Accounts
ACTIVE  ACCOUNT
*       <my_account>@<my_domain.com>

To set the active account, run:
    $ gcloud config set account `ACCOUNT`
- Run the following command in Cloud Shell to confirm that the gcloud command knows about your project:
gcloud config list project
Command output
[core]
project = <PROJECT_ID>
If it is not, you can set it with this command:
gcloud config set project <PROJECT_ID>
Command output
Updated property [core/project].
3. Environment setup
Before you can begin using the Translation API, run the following command in Cloud Shell to enable the API:
gcloud services enable translate.googleapis.com
You should see something like this:
Operation "operations/..." finished successfully.
Now, you can use the Translation API!
Set the following environment variable (to be used in your application):
export PROJECT_ID=$(gcloud config get-value core/project)

echo "→ PROJECT_ID: $PROJECT_ID"
Navigate to your home directory:
cd ~
Create a Python virtual environment to isolate the dependencies:
virtualenv venv-translate
Activate the virtual environment:
source venv-translate/bin/activate
Install IPython and the Translation API client library:
pip install ipython google-cloud-translate
You should see something like this:
...
Installing collected packages: ..., ipython, google-cloud-translate
Successfully installed ... google-cloud-translate-3.11.0 ...
Now, you're ready to use the Translation API client library!
In the next steps, you'll use an interactive Python interpreter called IPython, which you installed in the previous step. Start a session by running ipython in Cloud Shell:
ipython
You should see something like this:
Python 3.9.2 (default, Feb 28 2021, 17:03:44)
Type 'copyright', 'credits' or 'license' for more information
IPython 8.12.0 -- An enhanced Interactive Python. Type '?' for help.

In [1]:
Copy the following code into your IPython session:
from os import environ

from google.cloud import translate


PROJECT_ID = environ.get("PROJECT_ID", "")
assert PROJECT_ID
PARENT = f"projects/{PROJECT_ID}"
You're ready to make your first request and list the supported languages...
4. List available languages
In this section, you'll list all available languages in the Translation API.
To list available languages, copy the following code into your IPython session:
def print_supported_languages(display_language_code: str):
    client = translate.TranslationServiceClient()

    response = client.get_supported_languages(
        parent=PARENT,
        display_language_code=display_language_code,
    )

    languages = response.languages
    print(f" Languages: {len(languages)} ".center(60, "-"))
    for language in languages:
        language_code = language.language_code
        display_name = language.display_name
        print(f"{language_code:10}{display_name}")
Call the function:
print_supported_languages("en")
You should get something like this:
---------------------- Languages: 136 ----------------------
af        Afrikaans
ak        Akan
sq        Albanian
am        Amharic
ar        Arabic
...
cy        Welsh
xh        Xhosa
yi        Yiddish
yo        Yoruba
zu        Zulu
Check out what you get with the display language in French:
print_supported_languages("fr")
You should get the same list, sorted with the French names, similar to the following:
---------------------- Languages: 136 ----------------------
af        Afrikaans
sq        Albanais
de        Allemand
am        Amharique
en        Anglais
...
vi        Vietnamien
xh        Xhosa
yi        Yiddish
yo        Yorouba
zu        Zoulou
You can try with another language code.
Summary
In this step, you were able to list all available languages in the Translation API. You can find the complete list of supported languages on the language support page.
5. Translate text
You can use the Translation API to translate text from one language to another. Text is translated using the Neural Machine Translation (NMT) model. If the NMT model is not supported for the requested language translation pair, the Phrase-Based Machine Translation (PBMT) model is used. For more on Google Translate and its translation models, see the NMT announcement post.
To translate text, copy the following code into your IPython session:
def translate_text(text: str, target_language_code: str) -> translate.Translation:
    client = translate.TranslationServiceClient()

    response = client.translate_text(
        parent=PARENT,
        contents=[text],
        target_language_code=target_language_code,
    )

    return response.translations[0]
Call the function to translate the same text in different languages:
text = "Hello World!"
target_languages = ["tr", "de", "es", "it", "el", "zh", "ja", "ko"]

print(f" {text} ".center(50, "-"))
for target_language in target_languages:
    translation = translate_text(text, target_language)
    source_language = translation.detected_language_code
    translated_text = translation.translated_text
    print(f"{source_language} → {target_language} : {translated_text}")
You should get the following:
------------------ Hello World! ------------------
en → tr : Selam Dünya!
en → de : Hallo Welt!
en → es : ¡Hola Mundo!
en → it : Ciao mondo!
en → el : Γειά σου Κόσμε!
en → zh : 你好世界!
en → ja : 「こんにちは世界」
en → ko : 안녕하세요 세계!
Summary
In this step, you were able to use the Translation API to translate text into multiple languages. Read more about translating text.
6. Detect languages
You can also use the Translation API to detect the language of a text string.
Copy the following code into your IPython session:
def detect_language(text: str) -> translate.DetectedLanguage:
    client = translate.TranslationServiceClient()

    response = client.detect_language(parent=PARENT, content=text)

    return response.languages[0]
Call the function to detect the language of different sentences:
sentences = [
    "Selam Dünya!",
    "Hallo Welt!",
    "¡Hola Mundo!",
    "Ciao mondo!",
    "Γειά σου Κόσμε!",
    "你好世界!",
    "「こんにちは世界」",
    "안녕하세요 세계!",
]
for sentence in sentences:
    language = detect_language(sentence)
    confidence = language.confidence
    language_code = language.language_code
    print(
        f"Confidence: {confidence:4.0%}",
        f"Language: {language_code:5}",
        sentence,
        sep=" | ",
    )
You should get the following:
Confidence: 100% | Language: tr    | Selam Dünya!
Confidence:  80% | Language: de    | Hallo Welt!
Confidence: 100% | Language: es    | ¡Hola Mundo!
Confidence: 100% | Language: it    | Ciao mondo!
Confidence: 100% | Language: el    | Γειά σου Κόσμε!
Confidence: 100% | Language: zh-CN | 你好世界!
Confidence: 100% | Language: ja    | 「こんにちは世界」
Confidence: 100% | Language: ko    | 안녕하세요 세계!
Summary
In this step, you were able to detect the language of a piece of text using the Translation API. Read more about detecting languages.
7. Congratulations!
You learned how to use the Translation API using Python!
Clean up
To clean up your development environment, from Cloud Shell:
- If you're still in your IPython session, go back to the shell:
exit - Stop using the Python virtual environment:
deactivate - Delete your virtual environment folder:
cd ~ ; rm -rf ./venv-translate
To delete your Google Cloud project, from Cloud Shell:
- Retrieve your current project ID:
PROJECT_ID=$(gcloud config get-value core/project) - Make sure this is the project you want to delete:
echo $PROJECT_ID - Delete the project:
gcloud projects delete $PROJECT_ID
Learn more
- Cloud Translation documentation: https://cloud.google.com/translate/docs
- Python on Google Cloud: https://cloud.google.com/python
- Cloud Client Libraries for Python: https://github.com/googleapis/google-cloud-python
License
This work is licensed under a Creative Commons Attribution 2.0 Generic License.