1. Introduction

You can use Workflows to create serverless workflows that link a series of serverless tasks together in an order you define. You can combine the power of Google Cloud's APIs, serverless products like Cloud Functions and Cloud Run, and calls to external APIs to create flexible serverless applications.
Workflows requires no infrastructure management and scales seamlessly with demand, including scaling down to zero. With its pay-per-use pricing model, you only pay for execution time.
In this codelab, you will learn how to connect various Google Cloud services and external HTTP APIs with Workflows. More specifically, you will connect two public Cloud Functions services, one private Cloud Run service and an external public HTTP API into a workflow.
What you'll learn
- Basics of Workflows.
- How to connect public Cloud Functions with Workflows.
- How to connect private Cloud Run services with Workflows.
- How to connect external HTTP APIs with Workflows.
2. Setup and Requirements
Self-paced environment setup
- Sign in to Cloud Console and create a new project or reuse an existing one. (If you don't already have a Gmail or G Suite account, you must create one.)
Remember the project ID, a unique name across all Google Cloud projects (the name above has already been taken and will not work for you, sorry!). It will be referred to later in this codelab as PROJECT_ID.
- Next, you'll need to enable billing in Cloud Console in order to use Google Cloud resources.
Running through this codelab shouldn't cost much, if anything at all. Be sure to to follow any instructions in the "Cleaning up" section which advises you how to shut down resources so you don't incur billing beyond this tutorial. New users of Google Cloud are eligible for the $300USD Free Trial program.
Start Cloud Shell
While Google Cloud can be operated remotely from your laptop, in this codelab you will be using Google Cloud Shell, a command line environment running in the Cloud.
From the GCP Console click the Cloud Shell icon on the top right toolbar:
It should only take a few moments to provision and connect to the environment. When it is finished, you should see something like this:
This virtual machine is loaded with all the development tools you'll need. It offers a persistent 5GB home directory, and runs on Google Cloud, greatly enhancing network performance and authentication. All of your work in this lab can be done with simply a browser.
3. Workflows Overview
Basics
A workflow is made up of a series of steps described using the Workflows YAML-based syntax. This is the workflow's definition. For a detailed explanation of the Workflows YAML syntax, see the Syntax reference page.
When a workflow is created, it is deployed, which makes the workflow ready for execution. An execution is a single run of the logic contained in a workflow's definition. All workflow executions are independent and the product supports a high number of concurrent executions.
Enable services
In this codelab, you will be connecting Cloud Functions, Cloud Run services with Workflows. You will also use Cloud Build and Cloud Storage during building of services.
Enable all necessary services:
gcloud services enable \
  cloudfunctions.googleapis.com \
  run.googleapis.com \
  workflows.googleapis.com \
  cloudbuild.googleapis.com \
  storage.googleapis.com
In the next step, you will connect two Cloud Functions together in a workflow.
4. Deploy first Cloud Function
The first function is a random number generator in Python.
Create and navigate to a directory for the function code:
mkdir ~/randomgen
cd ~/randomgen
Create a main.py file in the directory with the following contents:
import random, json
from flask import jsonify

def randomgen(request):
    randomNum = random.randint(1,100)
    output = {"random":randomNum}
    return jsonify(output)
When it receives an HTTP request, this function generates a random number between 1 and 100 and returns in JSON format back to the caller.
The function relies on Flask for HTTP processing and we need to add that as a dependency. Dependencies in Python are managed with pip and expressed in a metadata file called requirements.txt.
Create a requirements.txt file in the same directory with the following contents:
flask>=1.0.2
Deploy the function with an HTTP trigger and with unauthenticated requests allowed with this command:
gcloud functions deploy randomgen \
    --runtime python312 \
    --trigger-http \
    --allow-unauthenticated
Once the function is deployed, you can see the URL of the function under url property displayed in the console or displayed with gcloud functions describe command.
You can also visit that URL of the function with the following curl command:
curl $(gcloud functions describe randomgen --format='value(url)')
The function is ready for the workflow.
5. Deploy second Cloud Function
The second function is a multiplier. It multiplies the received input by 2.
Create and navigate to a directory for the function code:
mkdir ~/multiply
cd ~/multiply
Create a main.py file in the directory with the following contents:
import random, json
from flask import jsonify

def multiply(request):
    request_json = request.get_json()
    output = {"multiplied":2*request_json['input']}
    return jsonify(output)
When it receives an HTTP request, this function extracts the input from the JSON body, multiplies it by 2 and returns in JSON format back to the caller.
Create the same requirements.txt file in the same directory with the following contents:
flask>=1.0.2
Deploy the function with an HTTP trigger and with unauthenticated requests allowed with this command:
gcloud functions deploy multiply \
    --runtime python312 \
    --trigger-http \
    --allow-unauthenticated
Once the function is deployed, you can also visit that URL of the function with the following curl command:
curl $(gcloud functions describe multiply --format='value(url)') \
-X POST \
-H "content-type: application/json" \
-d '{"input": 5}'
The function is ready for the workflow.
6. Connect two Cloud Functions
In the first workflow, connect the two functions together.
Create a workflow.yaml file with the following contents.
- randomgenFunction:
    call: http.get
    args:
        url: https://<region>-<project-id>.cloudfunctions.net/randomgen
    result: randomgenResult
- multiplyFunction:
    call: http.post
    args:
        url: https://<region>-<project-id>.cloudfunctions.net/multiply
        body:
            input: ${randomgenResult.body.random}
    result: multiplyResult
- returnResult:
    return: ${multiplyResult}
In this workflow, you get a random number from the first function and you pass it to the second function. The result is the multiplied random number.
Deploy the first workflow:
gcloud workflows deploy workflow --source=workflow.yaml
Execute the first workflow:
gcloud workflows execute workflow
Once the workflow is executed, you can see the result by passing in the execution id given in the previous step:
gcloud workflows executions describe <your-execution-id> --workflow workflow
The output will include result and state:
result: '{"body":{"multiplied":108},"code":200 ... }

...
state: SUCCEEDED
7. Connect an external HTTP API
Next, you will connect math.js as an external service in the workflow.
In math.js, you can evaluate mathematical expressions like this:
curl https://api.mathjs.org/v4/?'expr=log(56)'
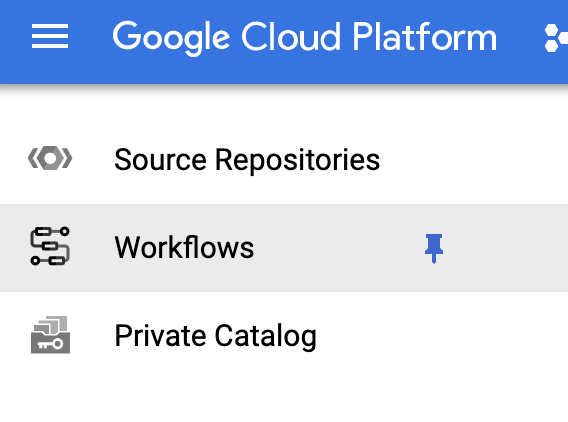
This time, you will use Cloud Console to update our workflow. Find Workflows in Google Cloud Console:

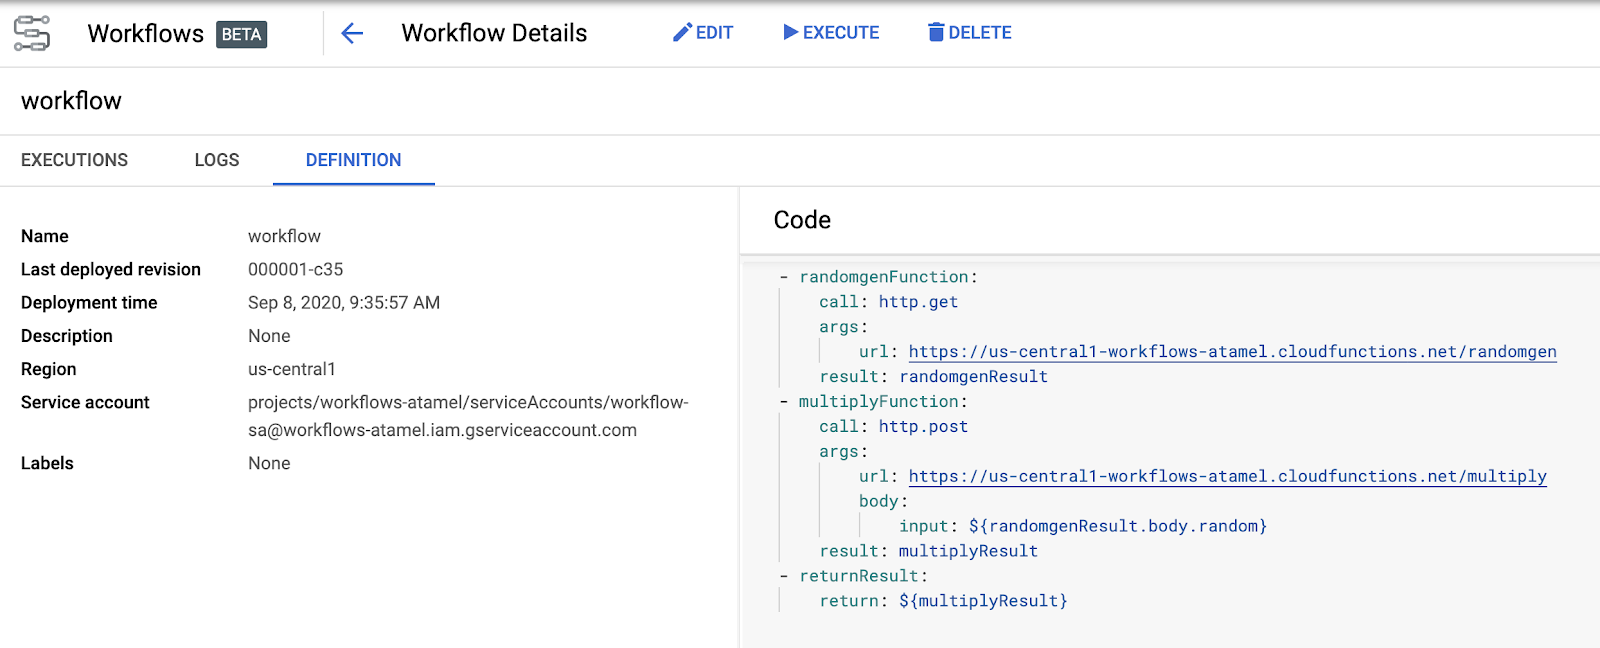
Find your workflow and click on Definition tab:

Edit the workflow definition and include a call to math.js.
- randomgenFunction:
    call: http.get
    args:
        url: https://<region>-<project-id>.cloudfunctions.net/randomgen
    result: randomgenResult
- multiplyFunction:
    call: http.post
    args:
        url: https://<region>-<project-id>.cloudfunctions.net/multiply
        body:
            input: ${randomgenResult.body.random}
    result: multiplyResult
- logFunction:
    call: http.get
    args:
        url: https://api.mathjs.org/v4/
        query:
            expr: ${"log(" + string(multiplyResult.body.multiplied) + ")"}
    result: logResult
- returnResult:
    return: ${logResult}
The workflow now feeds the output of multiply function into a log function call in math.js.
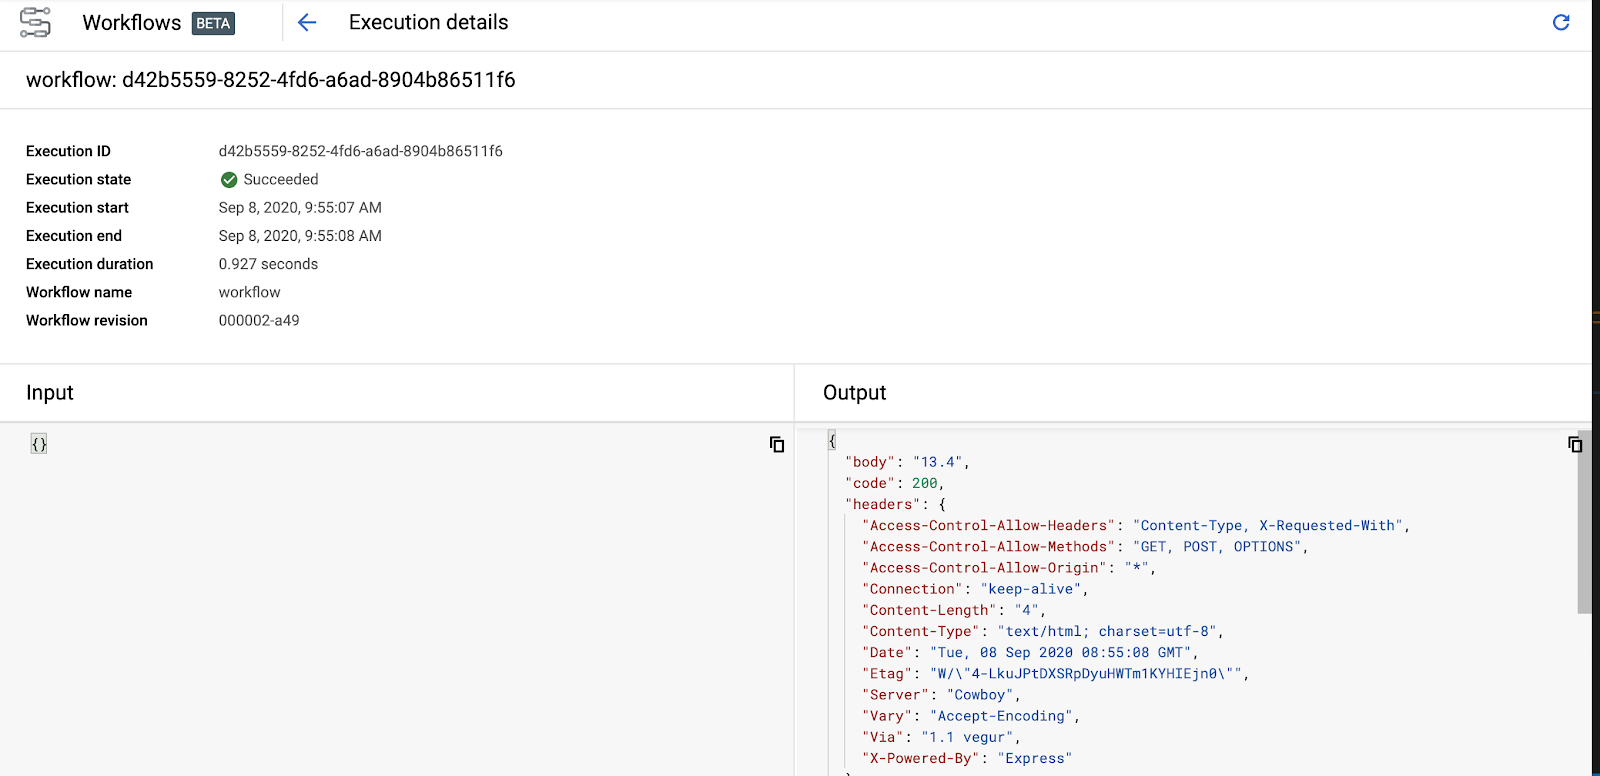
The UI will guide you to edit and deploy the workflow. Once deployed, click on Execute to execute the workflow. You'll see the details of the execution:

Notice the status code 200 and a body with the output of log function.
You just integrated an external service into our workflow, super cool!
8. Deploy a Cloud Run service
In the last part, finalize the workflow with a call to a private Cloud Run service. This means that the workflow needs to be authenticated to call the Cloud Run service.
The Cloud Run service returns the math.floor of the passed in number.
Create and navigate to a directory for the service code:
mkdir ~/floor
cd ~/floor
Create a app.py file in the directory with the following contents:
import json
import logging
import os
import math

from flask import Flask, request

app = Flask(__name__)

@app.route('/', methods=['POST'])
def handle_post():
    content = json.loads(request.data)
    input = float(content['input'])
    return f"{math.floor(input)}", 200

if __name__ != '__main__':
    # Redirect Flask logs to Gunicorn logs
    gunicorn_logger = logging.getLogger('gunicorn.error')
    app.logger.handlers = gunicorn_logger.handlers
    app.logger.setLevel(gunicorn_logger.level)
    app.logger.info('Service started...')
else:
    app.run(debug=True, host='0.0.0.0', port=int(os.environ.get('PORT', 8080)))
Cloud Run deploys containers, so you need a Dockerfile and your container needs to bind to 0.0.0.0 and PORT env variable, hence the code above.
When it receives an HTTP request, this function extracts the input from the JSON body, calls math.floor and returns the result back to the caller.
In the same directory, create the following Dockerfile:
# Use an official lightweight Python image.
# https://hub.docker.com/_/python
FROM python:3.7-slim

# Install production dependencies.
RUN pip install Flask gunicorn

# Copy local code to the container image.
WORKDIR /app
COPY . .

# Run the web service on container startup. Here we use the gunicorn
# webserver, with one worker process and 8 threads.
# For environments with multiple CPU cores, increase the number of workers
# to be equal to the cores available.
CMD exec gunicorn --bind 0.0.0.0:8080 --workers 1 --threads 8 app:app
Build the container:
export SERVICE_NAME=floor
gcloud builds submit --tag gcr.io/${GOOGLE_CLOUD_PROJECT}/${SERVICE_NAME}
Once the container is built, deploy to Cloud Run. Notice the no-allow-unauthenticated flag. This makes sure the service only accepts authenticated calls:
gcloud run deploy ${SERVICE_NAME} \
  --image gcr.io/${GOOGLE_CLOUD_PROJECT}/${SERVICE_NAME} \
  --platform managed \
  --no-allow-unauthenticated
Once deployed, the service is ready for the workflow.
9. Connect the Cloud Run service
Before you can configure Workflows to call the private Cloud Run service, you need to create a service account for Workflows to use:
export SERVICE_ACCOUNT=workflows-sa
gcloud iam service-accounts create ${SERVICE_ACCOUNT}
Grant run.invoker role to the service account. This will allow the service account to call authenticated Cloud Run services:
gcloud projects add-iam-policy-binding ${GOOGLE_CLOUD_PROJECT} \
    --member "serviceAccount:${SERVICE_ACCOUNT}@${GOOGLE_CLOUD_PROJECT}.iam.gserviceaccount.com" \
    --role "roles/run.invoker"
Update, the workflow definition in workflow.yaml to include the Cloud Run service. Notice how you are also including auth field to make sure Workflows passes in the authentication token in its calls to the Cloud Run service:
- randomgenFunction:
    call: http.get
    args:
        url: https://<region>-<project-id>.cloudfunctions.net/randomgen
    result: randomgenResult
- multiplyFunction:
    call: http.post
    args:
        url: https://<region>-<project-id>.cloudfunctions.net/multiply
        body:
            input: ${randomgenResult.body.random}
    result: multiplyResult
- logFunction:
    call: http.get
    args:
        url: https://api.mathjs.org/v4/
        query:
            expr: ${"log(" + string(multiplyResult.body.multiplied) + ")"}
    result: logResult
- floorFunction:
    call: http.post
    args:
        url: https://floor-<random-hash>.run.app
        auth:
            type: OIDC
        body:
            input: ${logResult.body}
    result: floorResult
- returnResult:
    return: ${floorResult}
Update the workflow. This time passing in the service-account:
gcloud workflows deploy workflow \
    --source=workflow.yaml \
    --service-account=${SERVICE_ACCOUNT}@${GOOGLE_CLOUD_PROJECT}.iam.gserviceaccount.com
Execute the workflow:
gcloud workflows execute workflow
In a few seconds, you can take a look at the workflow execution to see the result:
gcloud workflows executions describe <your-execution-id> --workflow workflow
The output will include an integer result and state:
result: '{"body":"5","code":200 ... }

...
state: SUCCEEDED
10. Congratulations!
Congratulations for completing the codelab.
What we've covered
- Basics of Workflows.
- How to connect public Cloud Functions with Workflows.
- How to connect private Cloud Run services with Workflows.
- How to connect external HTTP APIs with Workflows.
