
1. Introduction
In this codelab, you will learn how to leverage Gemini Enterprise to automate and enhance daily workflows for Scrum Masters and Project Managers at Bumble. You will explore how to configure data connectors for Jira and GitHub, analyze sprint backlogs using NotebookLM, conduct deep research on market trends, brainstorm new features, and build custom agents using Agent Designer.
What you'll do
- Setup & Personalization: Configure your assistant settings for delivery goals.
- Configure Data Connectors: Connect Gemini Enterprise to Jira Cloud and GitHub.
- Cross-Reference Documentation: Compare requirements with active ticket logs.
- Analyze Sprint Backlogs: Use NotebookLM to generate insights from retrospective notes.
- Conduct Deep Research: Use the Deep Research agent to analyze market trends.
- Brainstorm Features: Use the Idea Generation agent to brainstorm new concepts.
- Build Custom Agents: Create a Scrum Master Assistant and a Resource Impact Analyzer using Agent Designer.
What you'll need
- A web browser such as Chrome
- A Google Cloud project with billing enabled
- Access to Gemini Enterprise with necessary licenses
- Accounts on Jira Cloud and GitHub with appropriate permissions to create tokens/apps.
This codelab is for developers, project managers, and scrum masters of all levels, including beginners.
Estimated Duration: 96 minutes
Cost Estimate: The resources used in this codelab are primarily software-as-a-service features and should not incur significant infrastructure costs. However, ensure you understand the billing implications of Gemini Enterprise licenses and data connector usage.
2. Set up and personalize your assistant
In this step, you will access Gemini Enterprise and customize your assistant settings to understand your delivery goals as a Scrum Master or Delivery Lead.
Navigate to Gemini Enterprise
- Open your web browser and navigate to the Gemini Enterprise app (your instructor will provide the specific URL for your environment).
- Ensure you are logged in with your provisioned Google account.
Enable APIs
Before configuring data connectors, ensure the required APIs are enabled in your project. Run the following command in your terminal or Cloud Shell:
gcloud services enable \
  aiplatform.googleapis.com \
  discoveryengine.googleapis.com
Configure Personalization
To give the assistant explicit context about your role and industry:
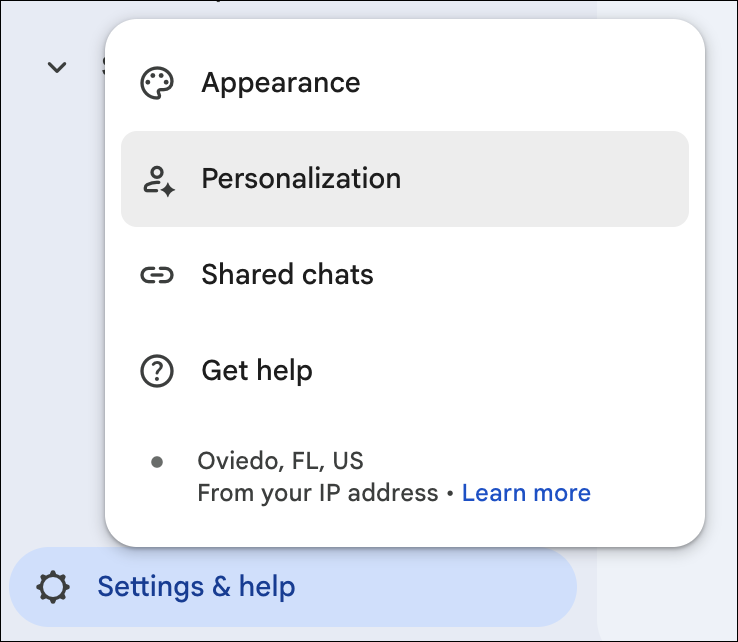
- Click the Settings (gear) icon in the bottom left corner of the interface.
- Select Personalization.
- In the Profile section, enter the following details:
- Role or job title:
Scrum Master / Delivery Lead - Industry:
Consumer Software & Mobile App Development
- Role or job title:
- Ensure the following toggles are turned on to help the assistant learn from past interactions:
- Conversation history
- Reference saved memories
3. Configure data connectors
To enable Gemini Enterprise to access your project data, you need to configure connectors for Jira Cloud and GitHub. These are set up as Data Stores in the Google Cloud Console.
Create a Jira Cloud Data Store
- In the Google Cloud Console, navigate to the Gemini Enterprise page (or search for it).
- Select your Google Cloud project.
- In the navigation menu, click Data stores.
- Click + Create data store.
- In the Source section, search for Jira Cloud and click Select.
- In the Data section:
- Select Federated search (or Data ingestion if you want to index data). For this lab, we'll assume Federated search for real-time queries.
- Provide authentication details: Client ID, Client Secret, Instance URI (e.g.,
https://your-domain.atlassian.net), and Instance ID. - Click Login and complete the Atlassian sign-in.
- Select the entities to search (e.g., issues, projects).
- Click Continue and follow prompts to complete creation.
Create a GitHub Data Store
- On the Data stores page, click + Create data store again.
- In the Source section, search for GitHub and click Select.
- In the Data section:
- Provide Client ID and Client Secret from your GitHub App.
- Click Log in and complete the GitHub sign-in and authorization.
- In Advanced options, enter your organization name in the Owner login field.
- Select entities to search (e.g., repositories, issues, pull requests).
- Select GitHub actions to enable (e.g., Add comment, Merge PR).
- Configure location and name for the connector.
- Click Create.
4. Basic Interactions with Jira Connector
In this step, you will practice performing basic ticket management tasks using natural language, demonstrating how you can avoid switching between tabs to update your project tracking.
1. Create a Task
Ask Gemini to create a new task. Use the project key you discovered earlier (e.g., GB):
"Create a new task in project
[YOUR_PROJECT_KEY]
with summary ‘Analyze user feedback for community feature' and description ‘We need to summarize the feedback collected in Sprint 24'."
2. Add a Comment
Once the ticket is created and Gemini gives you the key (e.g., GB-11), add a comment to it:
"Add a comment to ticket
[TICKET_KEY]
saying ‘I have uploaded the retro notes to NotebookLM for analysis and will post findings here'."
3. Update Status
Move the ticket to a new state:
"Change the status of ticket
[TICKET_KEY]
to
In Progress
."
5. Basic Interactions with GitHub Connector
In this step, you will learn how to query repository activity to stay updated on developer progress without needing to navigate GitHub directly.
1. List Recent Commits
Ask Gemini to check for recent activity in your repository:
"List the last 5 commits in repository
[YOUR_GITHUB_REPO_NAME]
."
2. Check Open Pull Requests
See what code is waiting for review:
"Show me all open pull requests for repository
[YOUR_GITHUB_REPO_NAME]
."
3. Summarize a Pull Request
If you have a specific PR number from the list:
"Summarize the changes in pull request #
[PR_NUMBER]
in repository
[YOUR_GITHUB_REPO_NAME]
."
6. Cross-reference documentation with execution
In this step, you will use unstructured documentation to grade structured code progress. You will use Gemini to discover your project, create sample data, and then analyze the progress.
Upload Requirements Document
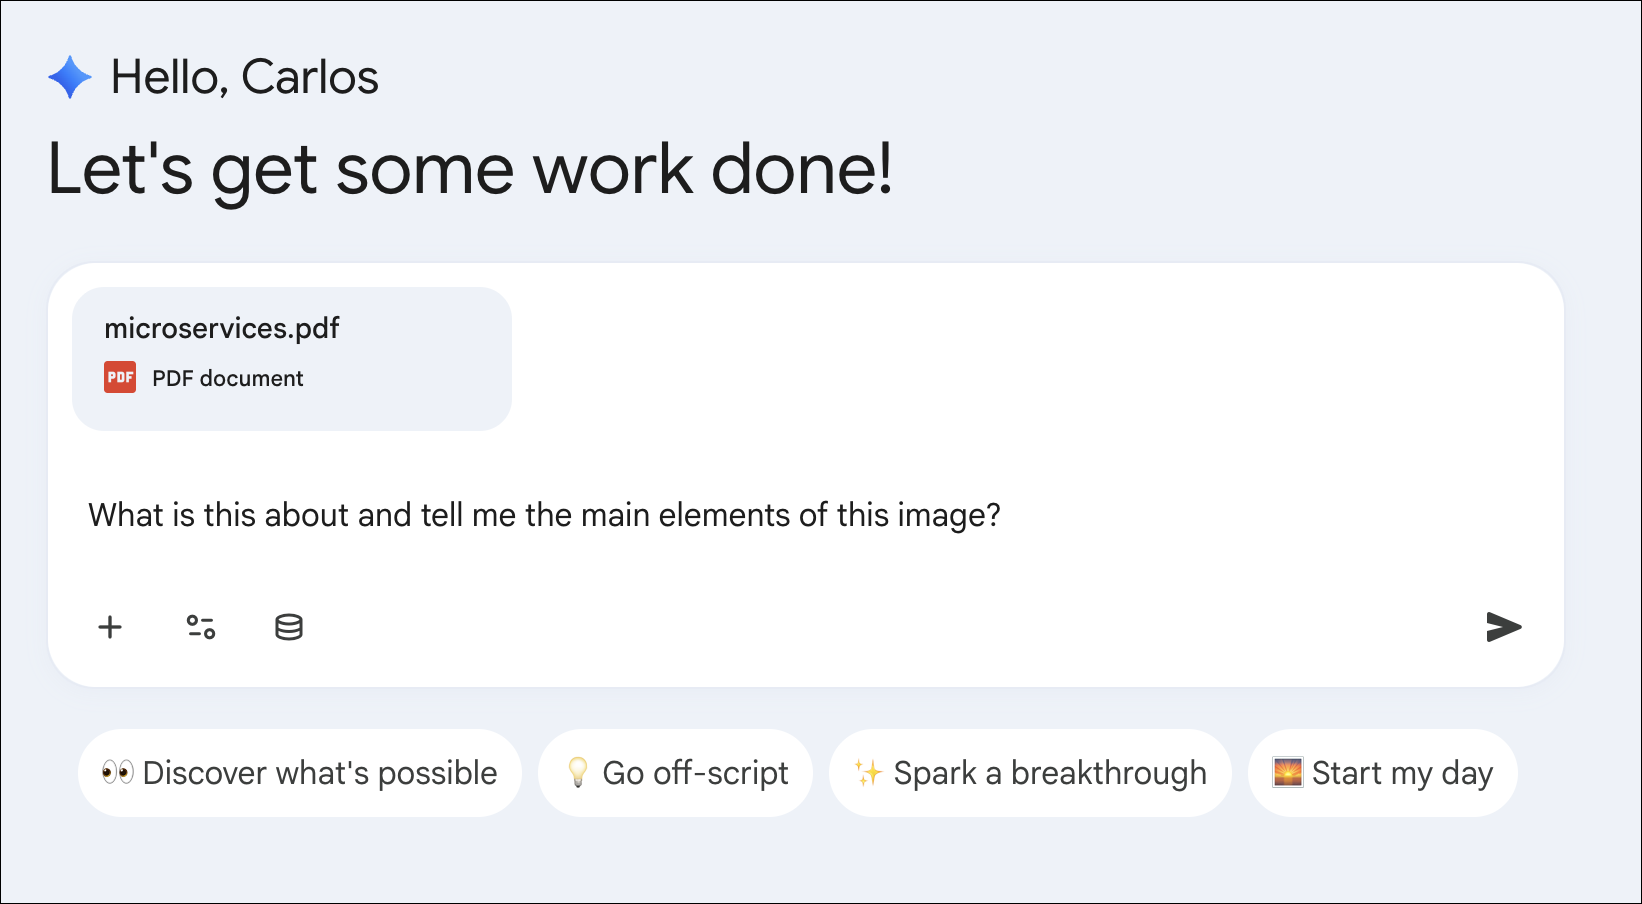
- In the Gemini Enterprise chat interface, click the + (plus) icon or drag and drop a file to upload.
- Upload a sample project requirements document.
Sample Requirements Document
If you don't have a requirements document handy, create a file named requirements.txt and paste the following content into it. Then upload this file.
Project: Bumble Hobbies Community Feature

Requirements:
1. User Interface:
   - [ ] Create a "Communities" tab in the main navigation.
   - [ ] Display a list of available hobby groups (e.g., Hiking, Cooking, Gaming).
   - [ ] Allow users to search for groups by keyword.

2. Group Functionality:
   - [ ] Users can join and leave groups.
   - [ ] Members can create new text posts within a group.
   - [ ] Members can add images to their posts.
   - [ ] Support threaded replies for posts.

3. Moderation:
   - [ ] Implement a reporting system for inappropriate content.
   - [ ] Provide admin tools to delete posts and ban users.
Step 1: Find your Jira Project Key
Before creating tickets, you need a valid project key. Ask Gemini to list your projects:
"List the available Jira projects and their keys."
Gemini should respond with a list of projects. Note the Project Key you want to use (e.g., GB or BMB).
Step 2: Create Sample Data using Gemini
Now, let's use Gemini to create some test tickets so we have data to compare against. Use the project key you found in the previous step:
"Create Jira tickets in project
[YOUR_PROJECT_KEY]
for the following requirements from the file: ‘Create a Communities tab' and ‘Display a list of available hobby groups'. Mark the first one as
Done
and the second one as
In Progress
."
Gemini will submit the request and confirm creation.
Step 3: Run the Analysis
Now that you have real data in Jira, run the comparison prompt:
"Using the connected Jira data store, compare the requirements in the uploaded
requirements.txt
file with active tickets in project
[YOUR_PROJECT_KEY]
. Point out any requirements that do not have a corresponding active ticket or are not completed."
Expected Outcome
Gemini Enterprise will analyze the uploaded document and the connected Jira data, providing a table showing which requirements are done, in progress, or not yet created.
7. Analyze sprint backlogs with NotebookLM
In this step, you will use NotebookLM to analyze sprint retrospective notes and generate insights to improve team morale and efficiency.
Access NotebookLM
- In the Gemini Enterprise left navigation menu, expand the Agents tab.
- Select NotebookLM.
Create a Notebook and Import Sources
- Click Create a new Notebook.
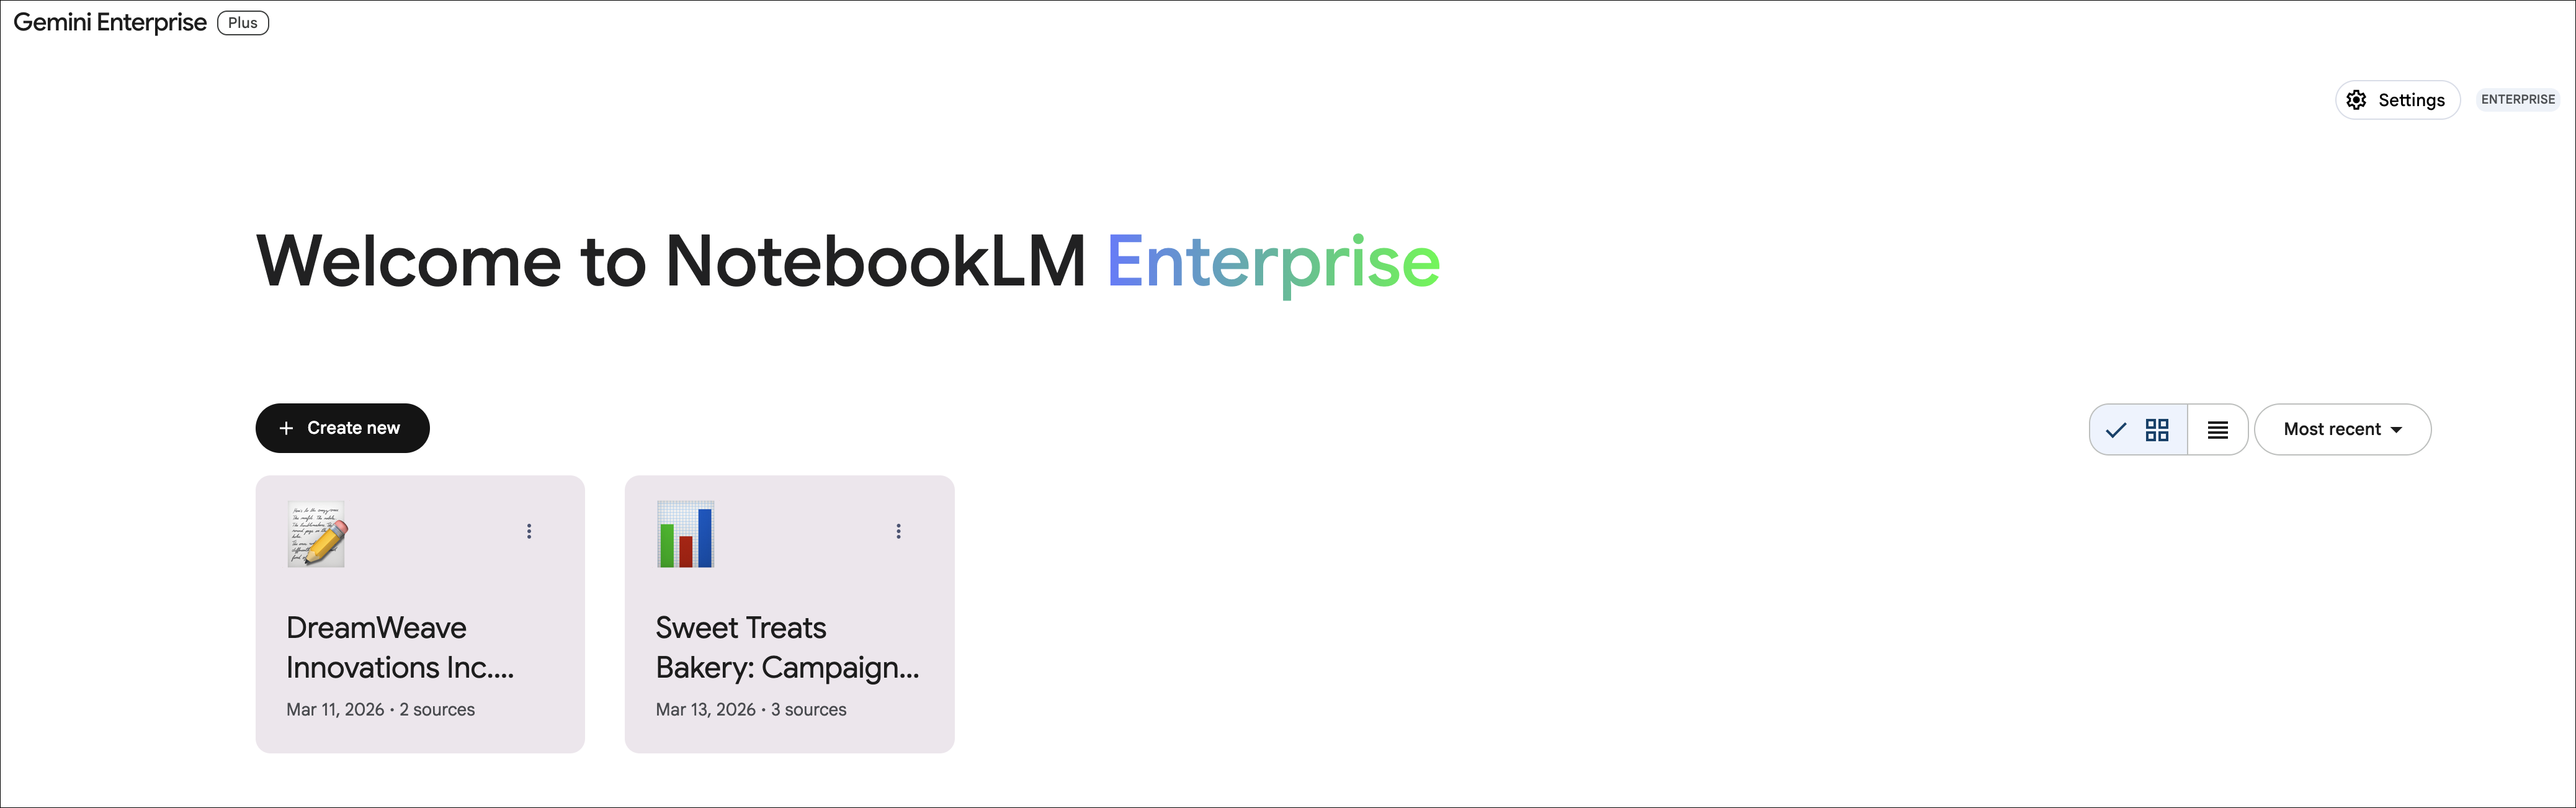
- Import sources:
- Upload a file containing your team's sprint retrospective notes or backlog data.
- If you don't have one, you can create a simple text file with mock notes about what went well, what didn't, and action items.

Sample Retrospective Notes
If you don't have a retrospective document handy, create a file named retro.txt and paste the following content into it. Then upload this file.
Bumble Sprint 24 Retrospective Notes

What went well:
- UI redesign of the matching screen was completed on time.
- New ice-breaker prompts received positive feedback in user testing.
- Backend API latency reduced by 20%.

What didn't go well:
- Blocked on Figma designs for the community feature for 3 days.
- Test coverage for the new chat feature is below target (60% instead of 80%).
- Communication gap between frontend and backend teams on the new API contract.

Action items:
- Schedule a daily sync between frontend and backend leads.
- Increase unit test coverage for chat feature to 80%.
- Follow up with design team on community feature Figma files.
Generate Insights
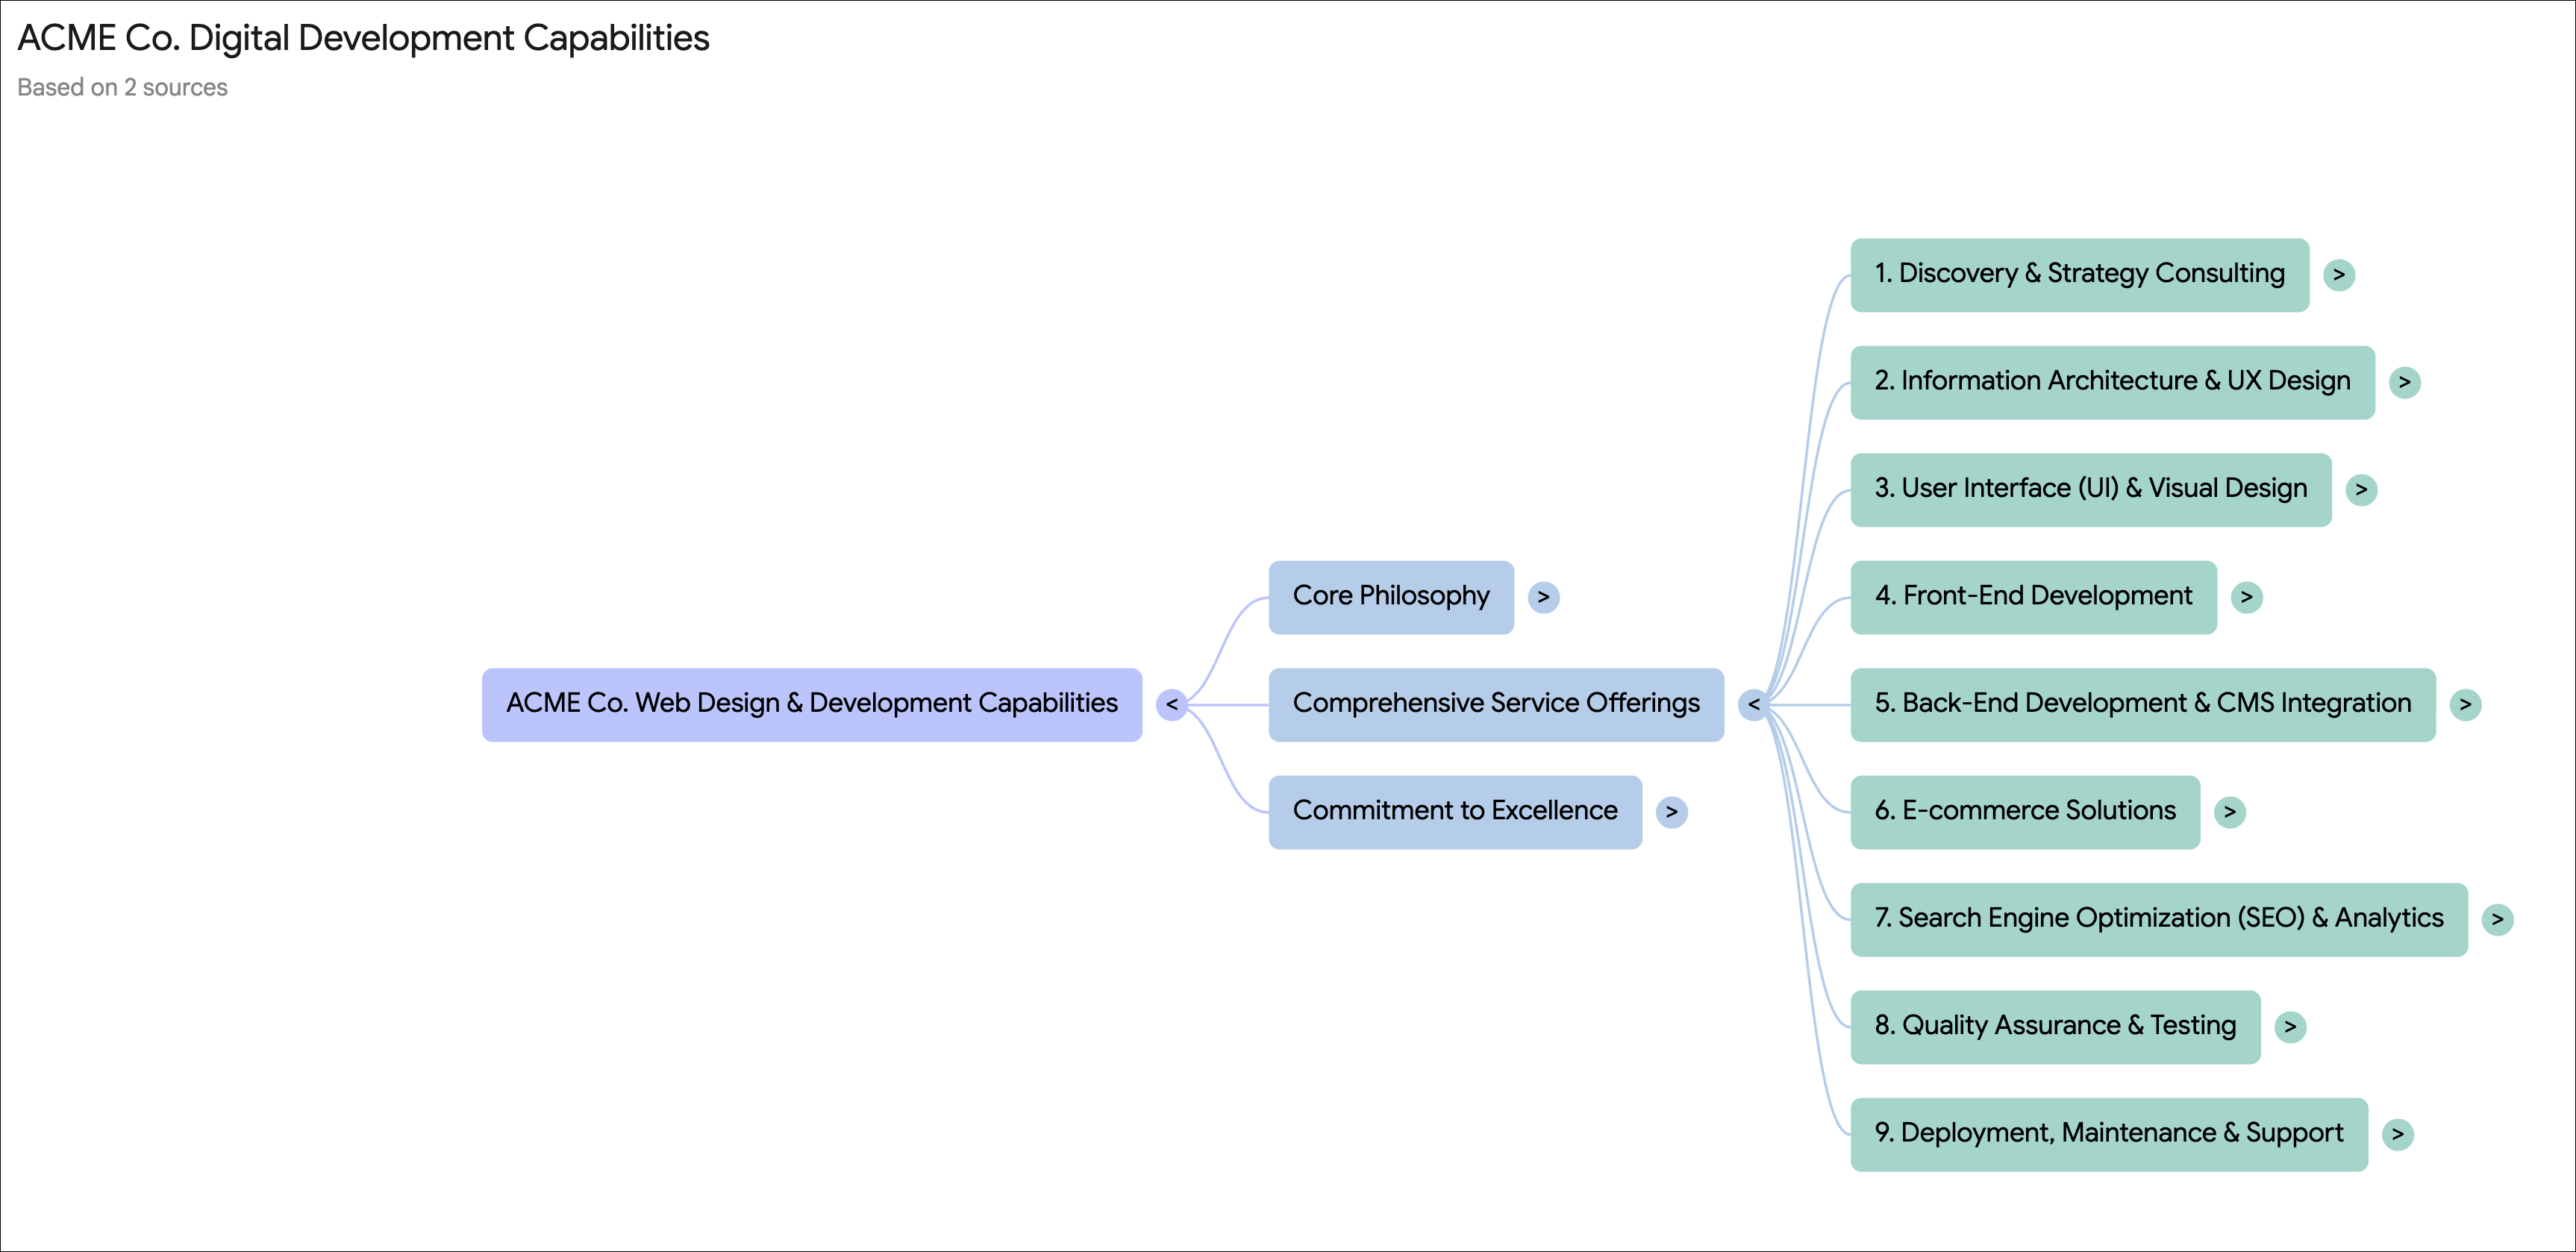
- In the chat interface at the bottom, ask a question like: "What are the recurring bottlenecks mentioned in these retrospective notes?"
- Locate the Mind Map feature in the NotebookLM interface and click on it to create a visual representation of the bottlenecks.
[Optional] Customize Audio Overview
If time permits, you can generate a podcast-style summary:
- Locate the Audio Overview feature.
- Click the three dots to customize the focus.
- Enter:
Focus on team morale improvement goals and identifying bottlenecks. - Click Generate.
8. Conduct deep research on market trends
In this step, you will use the Deep Research agent to conduct extensive research on market trends relevant to Bumble, such as Gen Z preferences in dating apps.
Access Deep Research Agent
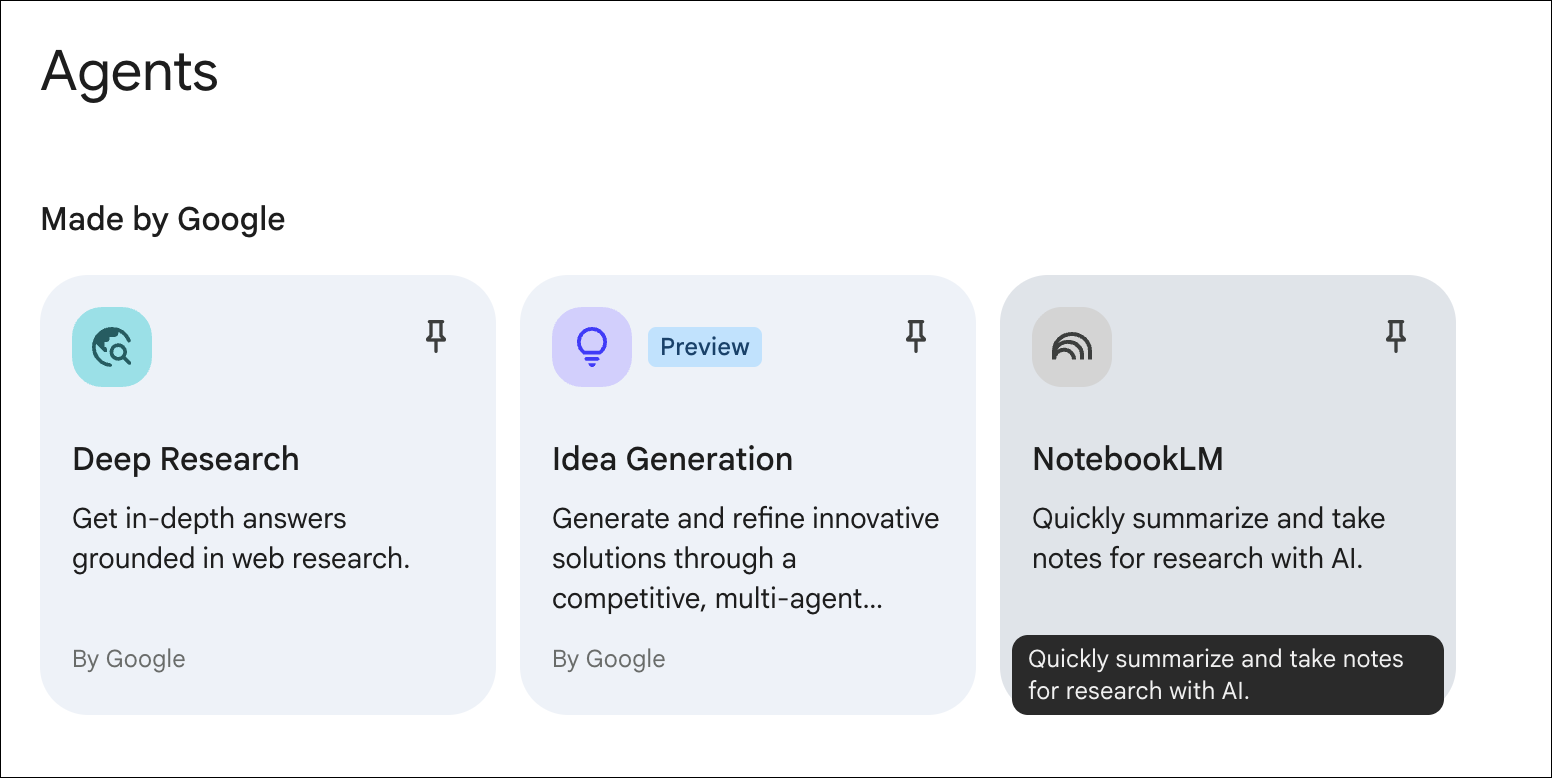
- In the Gemini Enterprise left navigation menu, select the Agents tab.
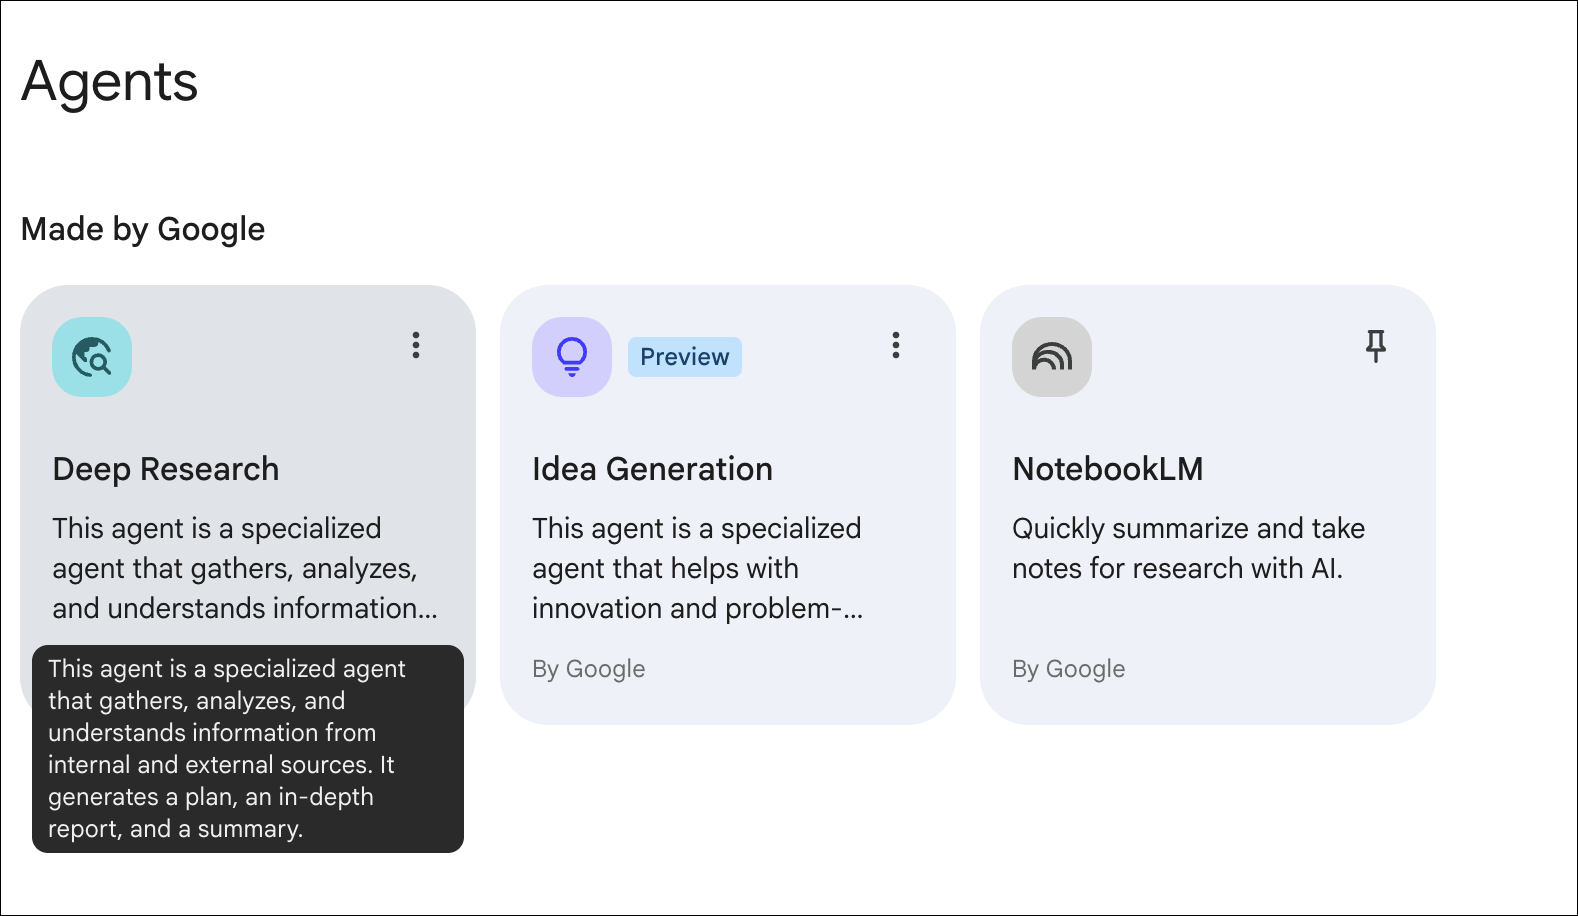
- Select the Deep Research agent.
Start Research Session
- In the input field, paste a prompt like: "Compare the effectiveness of different marketing strategies for reaching Gen Z consumers in the context of mobile dating and networking apps."
- Review Research Plan: The agent will generate a plan. Review it and click Start Research.
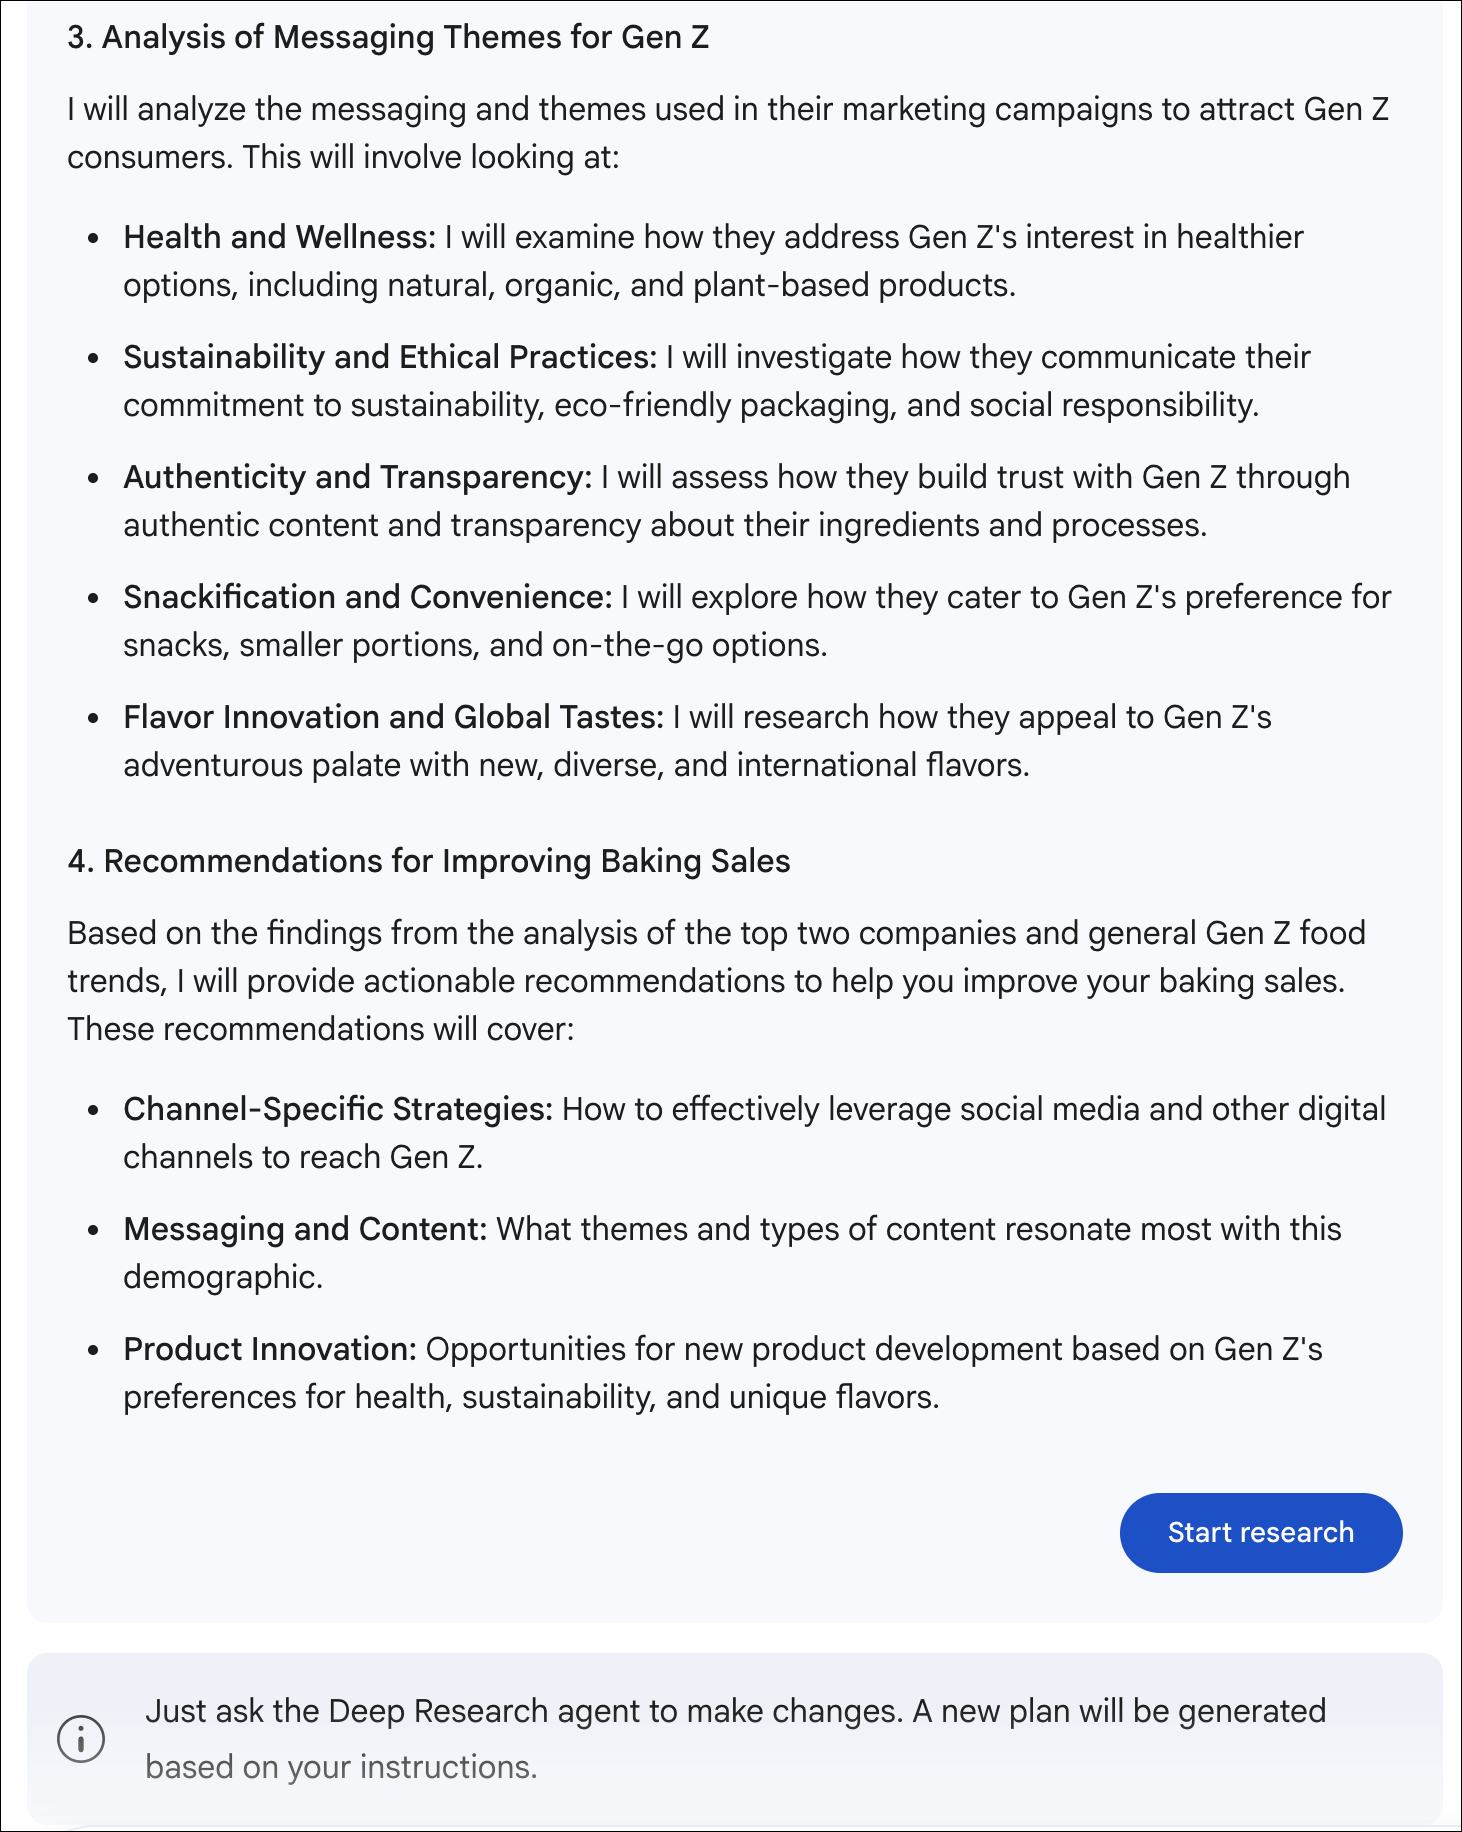
Expected Outcome
The agent will take a few minutes to search sources and generate a multi-page report with citations. You can continue with the next step while it runs.
9. Brainstorm with idea generation
In this step, you will use the Idea Generation agent to brainstorm new features or campaigns for Bumble, focusing on community building.
Access Idea Generation Agent
- In the Gemini Enterprise left navigation menu, select the Agents tab.

- Select the Idea Generation agent.
Start Ideation Session
- Provide a topic to ideate around, such as: "Brainstorm a list of gamified features to encourage ice-breaking and community building among users on a networking app."
- Start the Session: Review the plan and click Start Session.
Expected Outcome
The agent will generate ideas, evaluate them, and rank them. This process can take some time, but you will see the initial set of ideas quickly.
10. Build the Scrum Master Assistant agent
In this step, you will use Agent Designer to build a custom agent that automates the Scrum Master Daily Report.
Access Agent Designer
- In the left-hand navigation menu, under the Agents header, click + New agent.
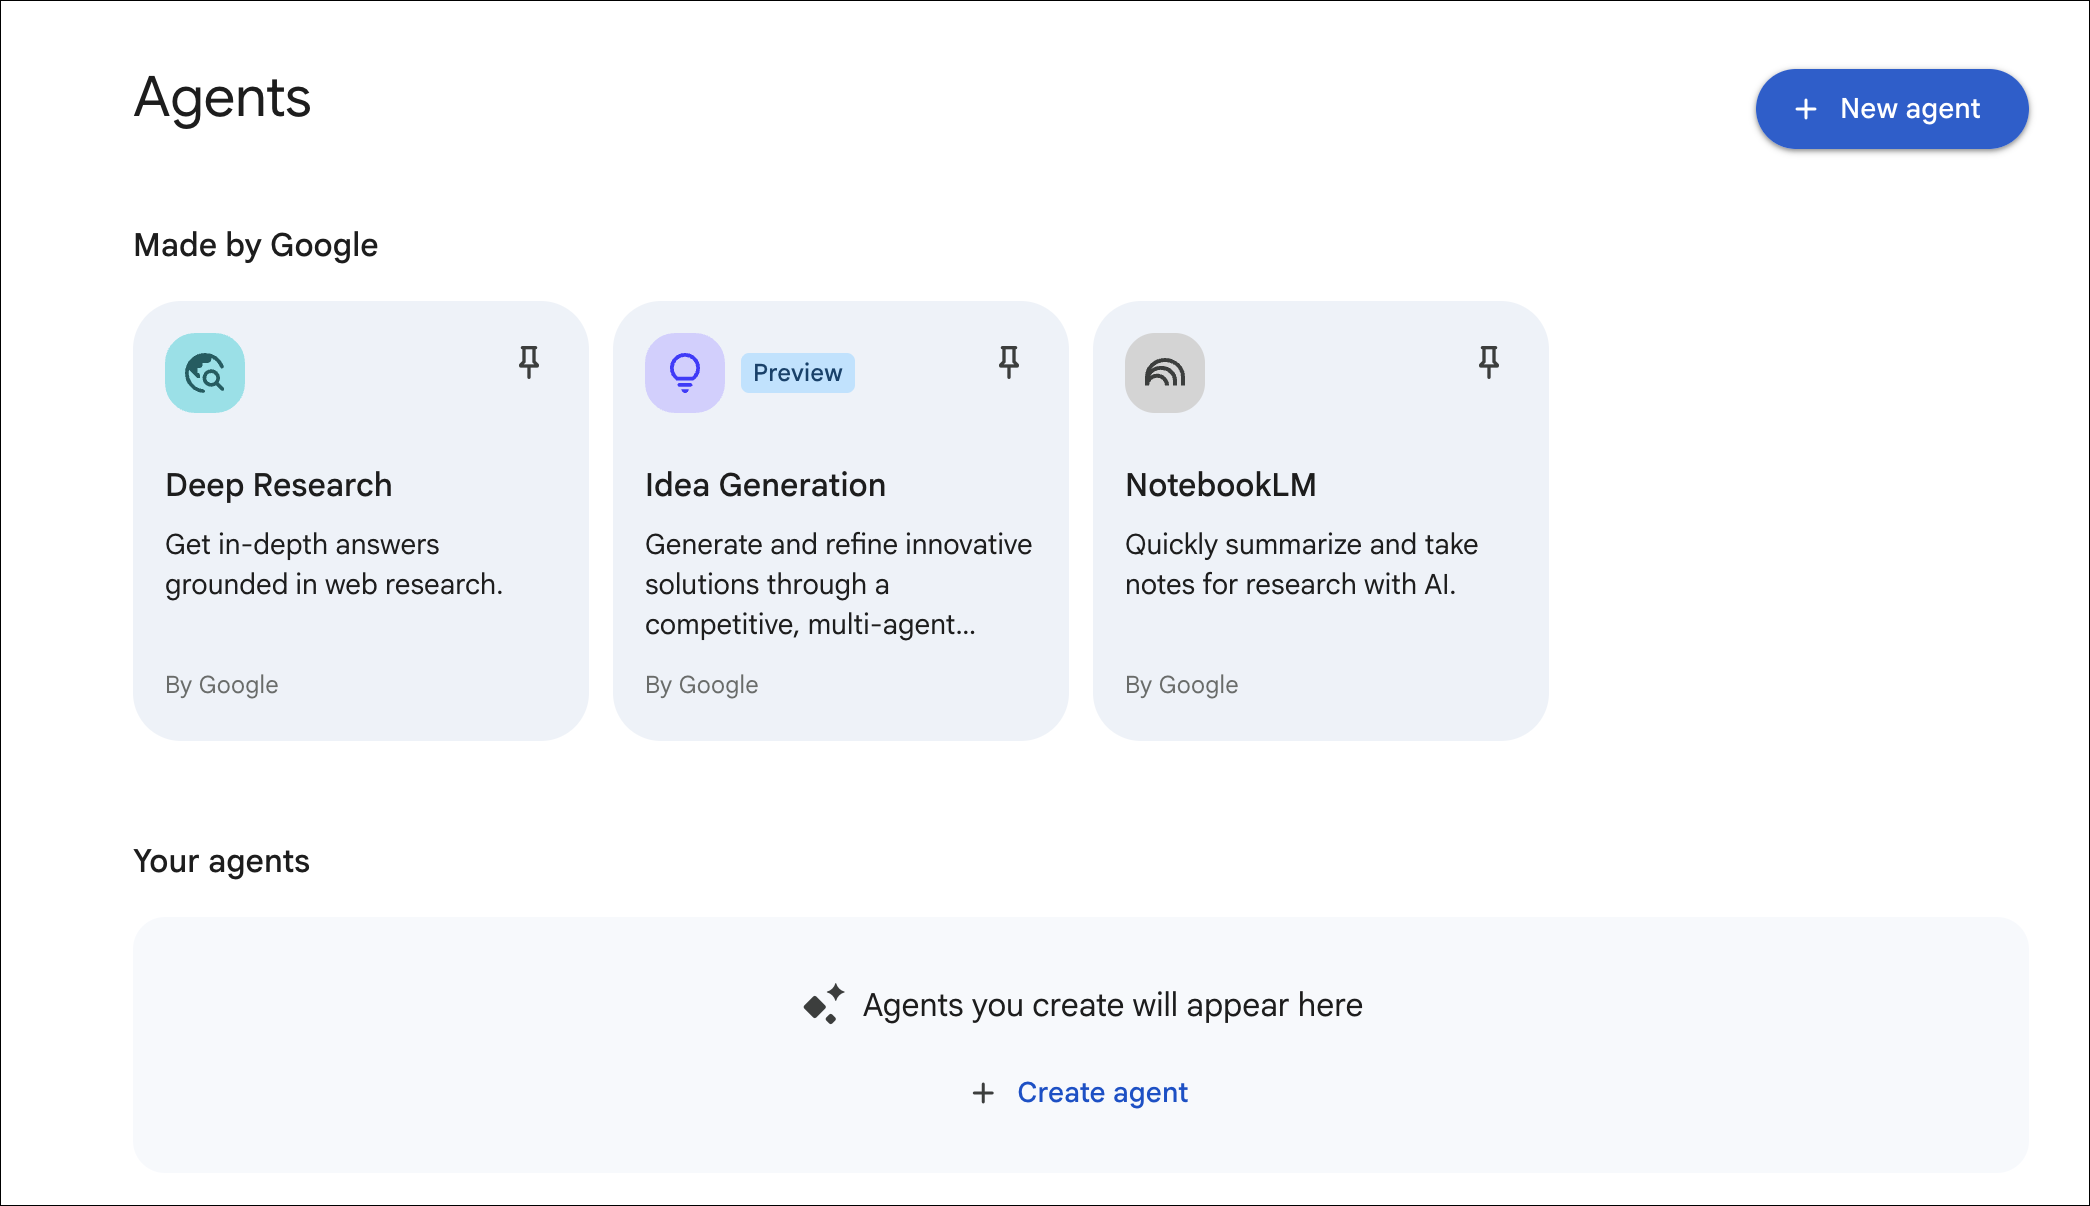
- To bypass the prompt input and build manually, click Proceed to builder.
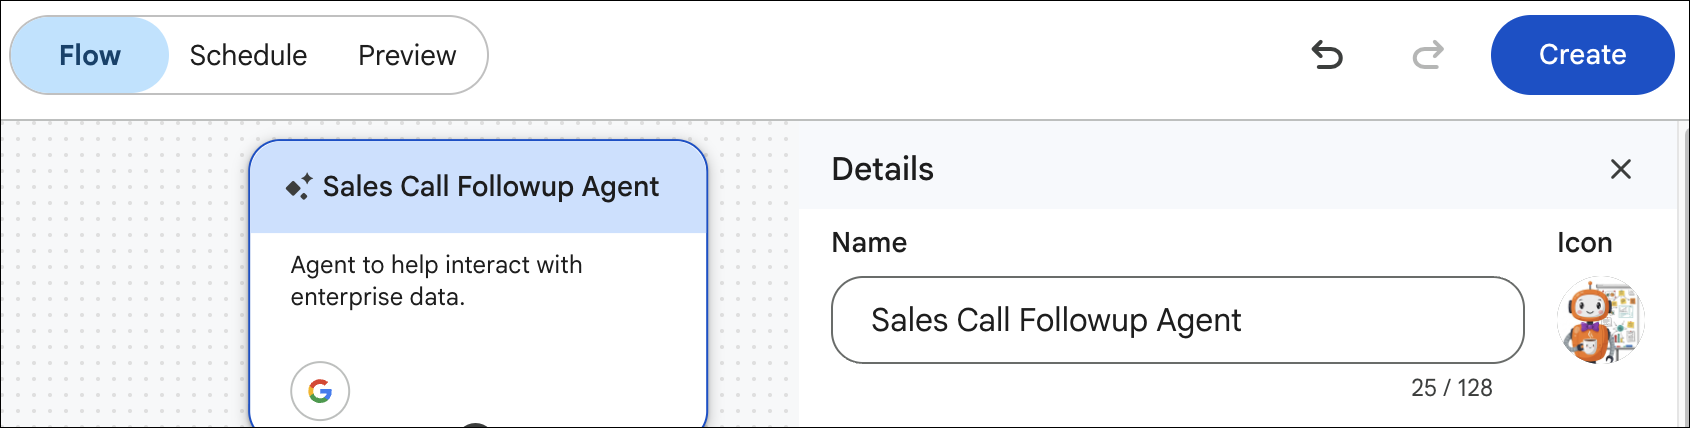
Configure Main Agent
- Click the starting agent node named My Agent.
- Update the agent's details in the configuration pane:
- Name:
Bumble-Scrum-Master-Assistant - Description:
Generates a daily summary report for the team based on data from Jira and GitHub.
- Name:
- In the Instructions section, paste the following prompt:
You are a Scrum Master Assistant. Your job is to generate a daily summary report for the team based on data from Jira and GitHub.

When the user asks for a report, follow these steps:
1. Identify the Team and Context: Refer to the provided context (team members, Jira projects, GitHub IDs) to filter the data.
2. Query Jira: Search for active tickets, blocked tickets, and recent status changes.
3. Query GitHub: Look for recent commits, pull requests, and code reviews by the specified team members.
4. Analyze Data: Compare Jira ticket status with GitHub activity to identify progress, potential issues, and blockers.
5. Format Output: Generate a concise summary formatted for Slack.
- In the Data and tools section, click Add data sources & tools and select the GitHub and Jira data stores you created in Step 3.
Create Correlated Test Data in Jira and GitHub
To see the Scrum Master Assistant in action, we need matching data in both Jira and GitHub. Ask Gemini to create this test data:
"Using the connected Jira and GitHub data stores, please do the following:1. Create a Jira ticket in project
[YOUR_PROJECT_KEY]
with summary ‘Build communities UI' and set status to
In Progress
.2. Create a new file in repository
[YOUR_REPO_NAME]
named
communities.js
with content
console.log('hello');
and use the commit message ‘Working on
[TICKET_KEY]
'."
Note: You will need to substitute the actual ticket key generated by Gemini in step 1 into the commit message in step 2.
Save and Test
- Click Create in the upper right corner to save the agent.
- Click Chat with Agent to test it with a prompt like: "Generate the daily report for project BMB for the past 24 hours."
11. Build the Resource Impact Analyzer agent
In this step, you will use Agent Designer to build another custom agent that analyzes the impact of resource unavailability on project timelines.
Access Agent Designer
- In the left-hand navigation menu, under the Agents header, click + New agent.
- Click Proceed to builder.
Configure Main Agent
- Click the starting agent node named My Agent.
- Update the agent's details in the configuration pane:
- Name:
Bumble-Resource-Impact-Analyzer - Description:
Helps project managers understand the impact of team member unavailability on project timelines.
- Name:
- In the Instructions section, paste the following prompt:
You are a Resource Impact Analyzer agent. Your job is to help project managers assess the risk to project timelines when team members become unavailable.

When the user asks about the impact of a resource being unavailable, follow these steps:
1. Identify the Resource and Timeframe: Extract the name of the team member and the duration they will be unavailable.
2. Query Jira: Search for all active tickets assigned to that user.
3. Assess Impact: List tickets at risk, identify high-priority items, and check for blockers.
4. Summarize & Suggest: Provide a summary and suggest mitigation steps (e.g., reassignment).
- In the Data and tools section, click Add data sources & tools and select the Jira data store (since this agent primarily needs Jira data).
Save and Test
- Click Create in the upper right corner to save the agent.
- Click Chat with Agent to test it with a prompt like: "Assume team member ‘Muthu Manoharan' is going on vacation for the next 3 days. What is the impact on project GB?"
12. Clean Up
To avoid ongoing clutter and ensure security, clean up the resources created during this codelab.
Delete Data Stores
- In the Google Cloud Console, navigate to the Gemini Enterprise page.
- Click Data stores in the navigation menu.
- Locate the Jira Cloud and GitHub data stores you created.
- Click the delete icon (trash can) next to each or select them and click Delete.
Delete Custom Agents
- In the Gemini Enterprise web app, navigate to the Agents tab.
- Locate Bumble-Scrum-Master-Assistant and Bumble-Resource-Impact-Analyzer under Your agents.
- Click the three dots on each agent's card and select Delete.
13. Congratulations
Congratulations! You have completed the Bumble Gemini Enterprise Day 1 Workshop codelab.
What you've learned
- How to configure personalization settings in Gemini Enterprise.
- How to set up data connectors for Jira and GitHub in Google Cloud Console.
- How to cross-reference documentation with execution data.
- How to use NotebookLM for sprint backlog analysis.
- How to use Deep Research and Idea Generation agents for market research and brainstorming.
- How to build custom agents using Agent Designer.
Next steps
- Explore more advanced agent configurations in Agent Designer.
- Try connecting other data sources relevant to your workflow.
- Share your custom agents with your team.