
1. مقدمة
نظرة عامة
في هذا الدرس التطبيقي، ستنشئ تطبيق دردشة كامل الميزات مستند إلى الذكاء الاصطناعي وتنشره على Google Kubernetes Engine (GKE). يوضّح هذا التطبيق "الهجين" نمطًا معماريًا قويًا: إمكانية التبديل بسلاسة بين نموذج مفتوح مستضاف ذاتيًا (Gemma 3 12B) يعمل مباشرةً في مجموعتك وخدمة ذكاء اصطناعي مُدارة (Gemini 2.5 Flash من خلال Vertex AI).
                                   +----------------------+
                                   |   User (Web Browser) |
                                   +-----------+----------+
                                               |
                                               v
+----------------------------------------------+---------------------------------------------+
| Google Cloud Platform                        |                                             |
|   |                                  +-------+-------+                                     |
|   |                                  | Load Balancer |                                     |
|   |                                  +-------+-------+                                     |
|   |                                          v                                             |
|   +------------------------------------------+-----------------------------------------+   |
|   |  Google Kubernetes Engine (GKE)          |                                         |   |
|   |                                          v                                         |   |
|   |                              +-----------+-----------+                             |   |
|   |                              |    Gradio Chat App    |                             |   |
|   |                              +--+-----------------+--+                             |   |
|   |                                 |                 |                                |   |
|   |                   (Self-hosted) |                 | (Managed via SDK)              |   |
|   |                                 v                 |                                |   |
|   |                  +--------------+---+             |                                |   |
|   |                  | Gemma 3 Model    |             |                                |   |
|   |                  | (GPU Node)       |             |                                |   |
|   |                  +------------------+             |                                |   |
|   +---------------------------------------------------|--------------------------------+   |
|                                                       |                                    |
|                                                       v                                    |
|                                            +----------+-----------+                        |
|                                            | Vertex AI (Gemini)   |                        |
|                                            +----------------------+                        |
|                                                       | (Save History)                     |
|                                                       v                                    |
|                                            +----------+-----------+                        |
|                                            | Firestore Database   |                        |
|                                            +----------------------+                        |
+--------------------------------------------------------------------------------------------+
ستستخدم Terraform لتوفير البنية الأساسية، بما في ذلك مجموعة GKE Autopilot وقاعدة بيانات Firestore للاحتفاظ بسجلّ جلسات المحادثة. بعد ذلك، ستكمل الرمز البرمجي لتطبيق Python للتعامل مع المحادثات المتعددة الأدوار، والتفاعل مع كلا نموذجي الذكاء الاصطناعي، وتفعيل التطبيق النهائي باستخدام Cloud Build وSkaffold.
أهداف الدورة التعليمية
- توفير البنية الأساسية لخدمتَي GKE وFirestore باستخدام Terraform
- نشر نموذج لغوي كبير (Gemma) على GKE Autopilot باستخدام بيانات Kubernetes
- تنفيذ واجهة دردشة Gradio في Python يمكنها التبديل بين نُظم خلفية مختلفة مستندة إلى الذكاء الاصطناعي
- استخدِم Firestore لتخزين سجلّ جلسات المحادثات واسترجاعه.
- يمكنك إعداد Workload Identity لمنح أحمال عمل GKE إذن الوصول إلى خدمات Google Cloud (مثل Vertex AI وFirestore) بشكل آمن.
المتطلبات الأساسية
- مشروع Google Cloud تم تفعيل الفوترة فيه
- يجب أن يكون لديك معرفة أساسية بلغة Python وKubernetes وأدوات سطر الأوامر العادية.
- رمز مميّز من Hugging Face يتيح الوصول إلى نماذج Gemma
2. إعداد المشروع
- إذا لم يكن لديك حساب Google، عليك إنشاء حساب Google.
- استخدام حساب شخصي بدلاً من حساب تديره المؤسسة التعليمية أو حساب تابع للعمل. قد تتضمّن حسابات العمل والحسابات المُدارة من المؤسسات التعليمية قيودًا تمنعك من تفعيل واجهات برمجة التطبيقات اللازمة لهذا الدرس التطبيقي.
- سجِّل الدخول إلى Google Cloud Console.
- فعِّل الفوترة في Cloud Console.
- يجب أن تكلّف إكمال هذا المختبر أقل من دولار أمريكي واحد من موارد السحابة الإلكترونية.
- يمكنك اتّباع الخطوات في نهاية هذا المختبر لحذف الموارد وتجنُّب المزيد من الرسوم.
- يمكن للمستخدمين الجدد الاستفادة من فترة تجريبية مجانية بقيمة 300 دولار أمريكي.
- أنشِئ مشروعًا جديدًا أو اختَر إعادة استخدام مشروع حالي.
فتح "محرّر Cloud Shell"
- انقر على هذا الرابط للانتقال مباشرةً إلى محرّر Cloud Shell
- إذا طُلب منك منح الإذن في أي وقت اليوم، انقر على منح الإذن للمتابعة.
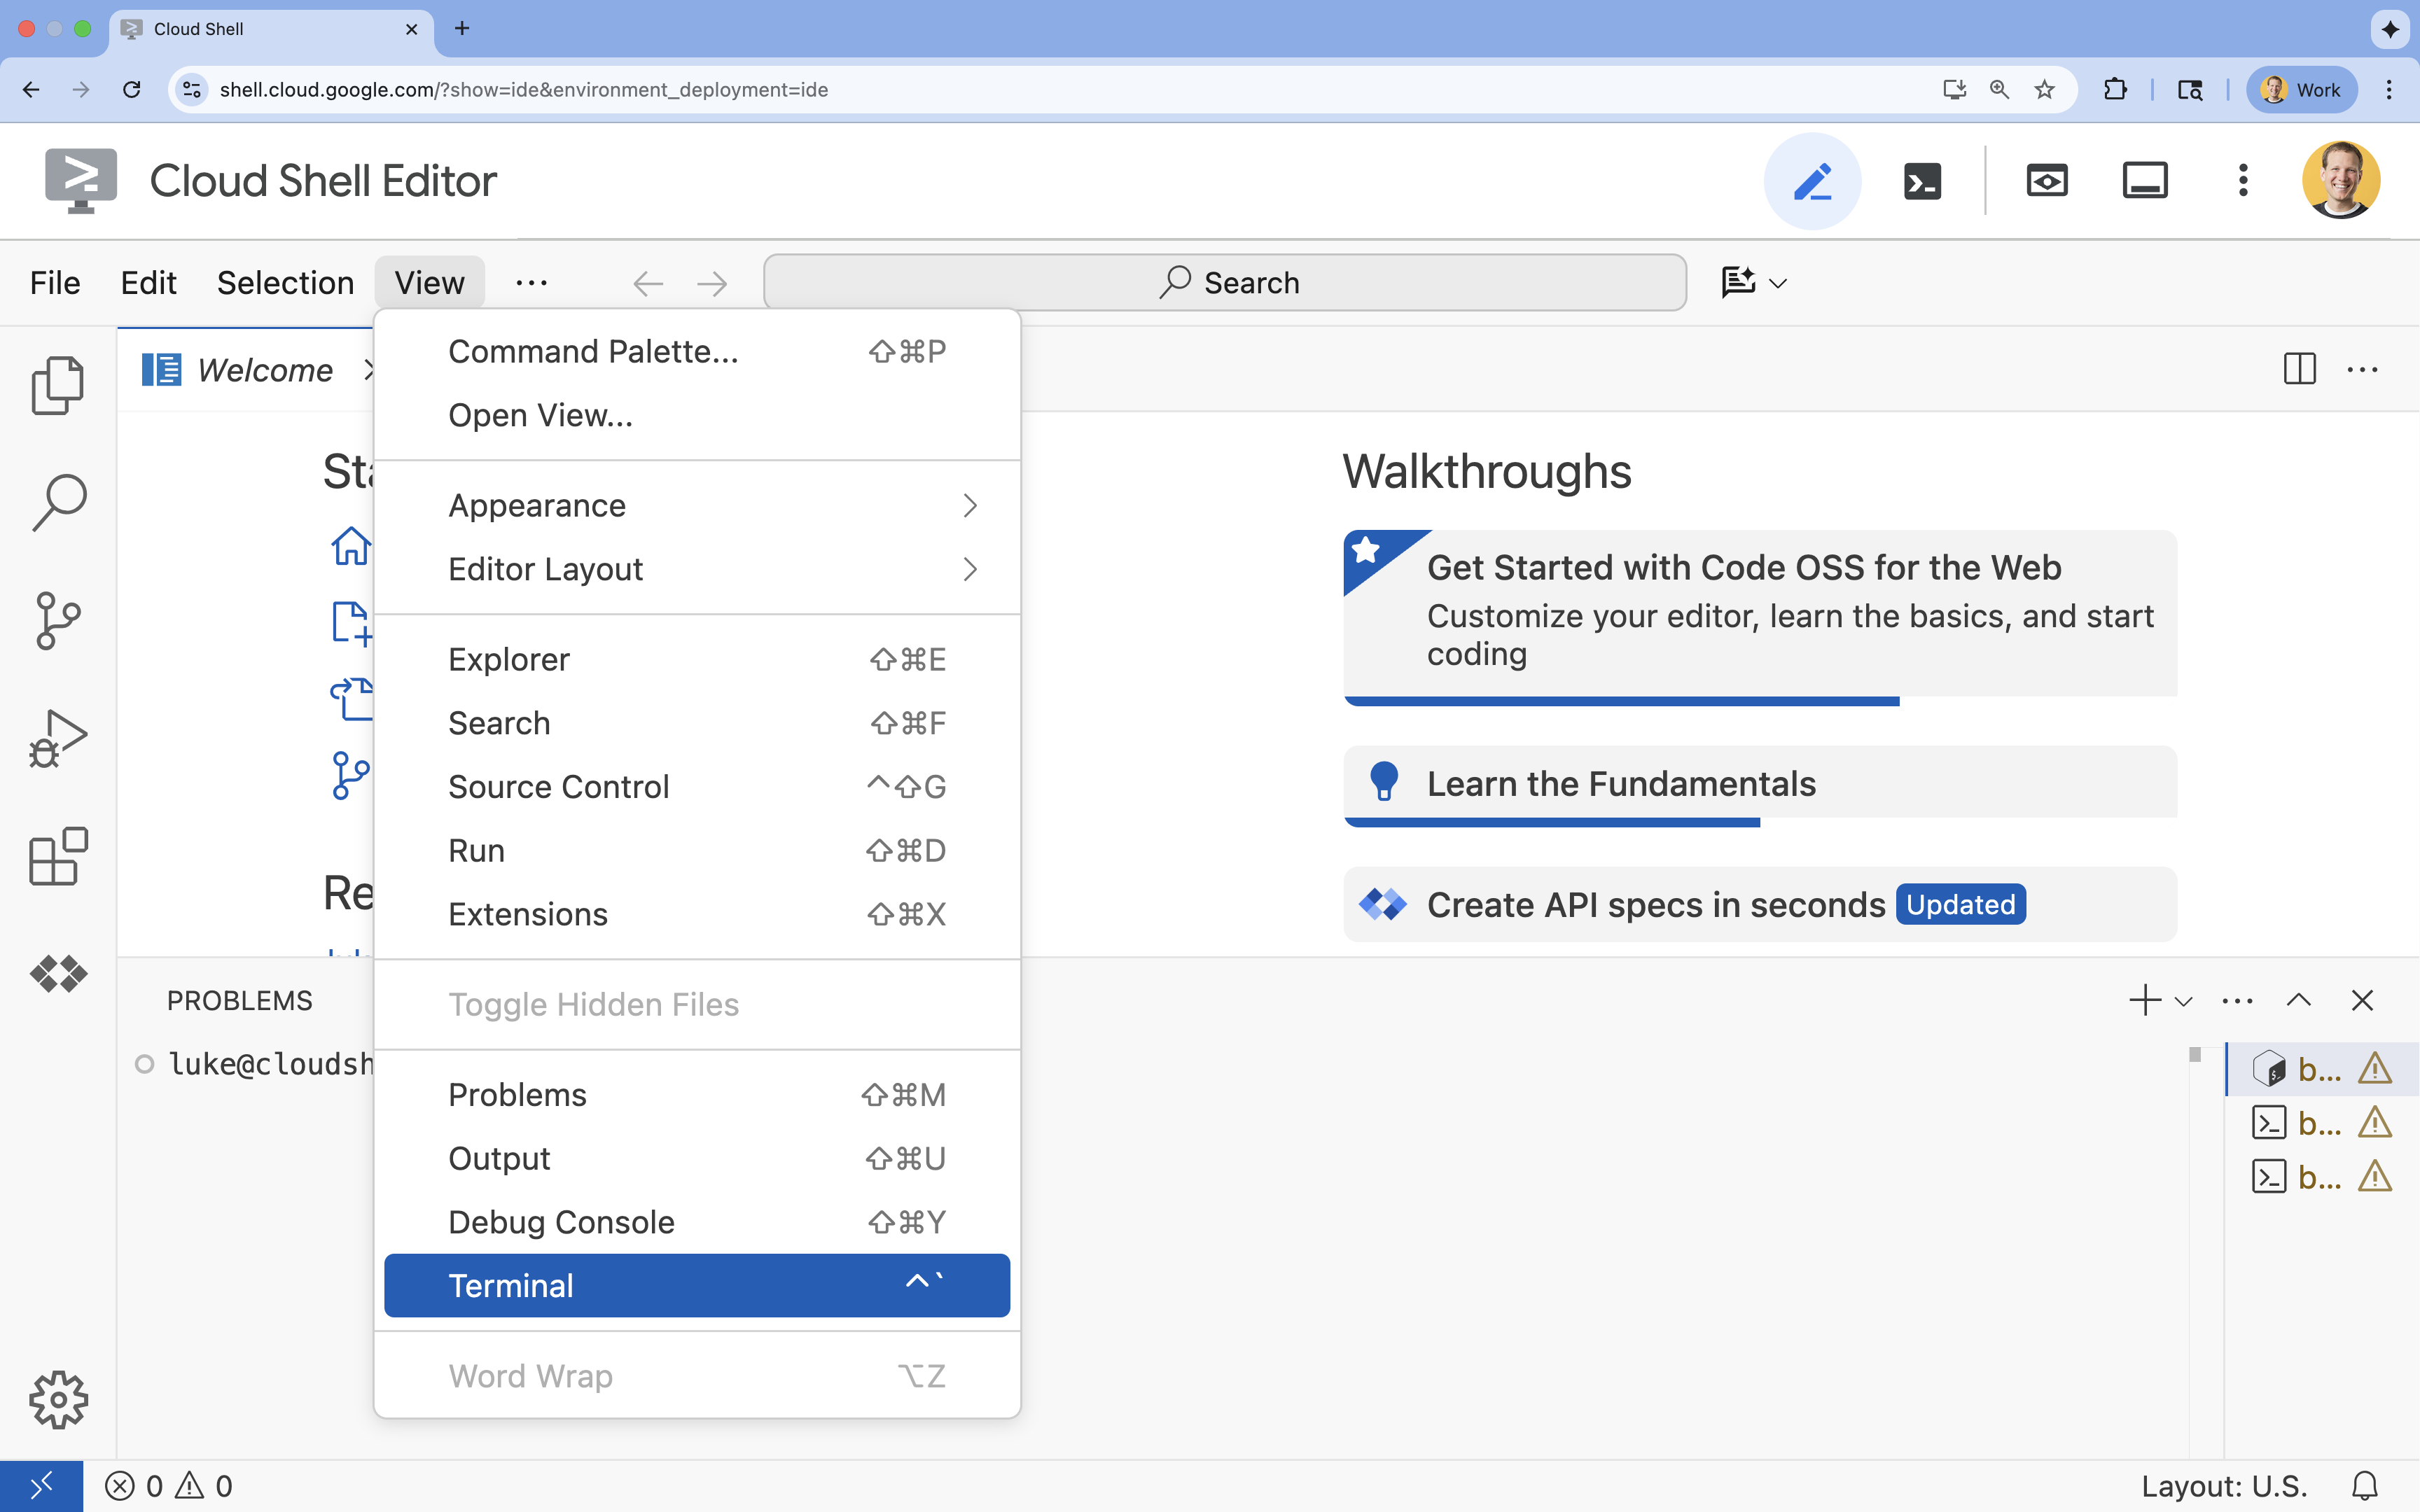
- إذا لم تظهر المحطة الطرفية في أسفل الشاشة، افتحها باتّباع الخطوات التالية:
- انقر على عرض.
- انقر على Terminal
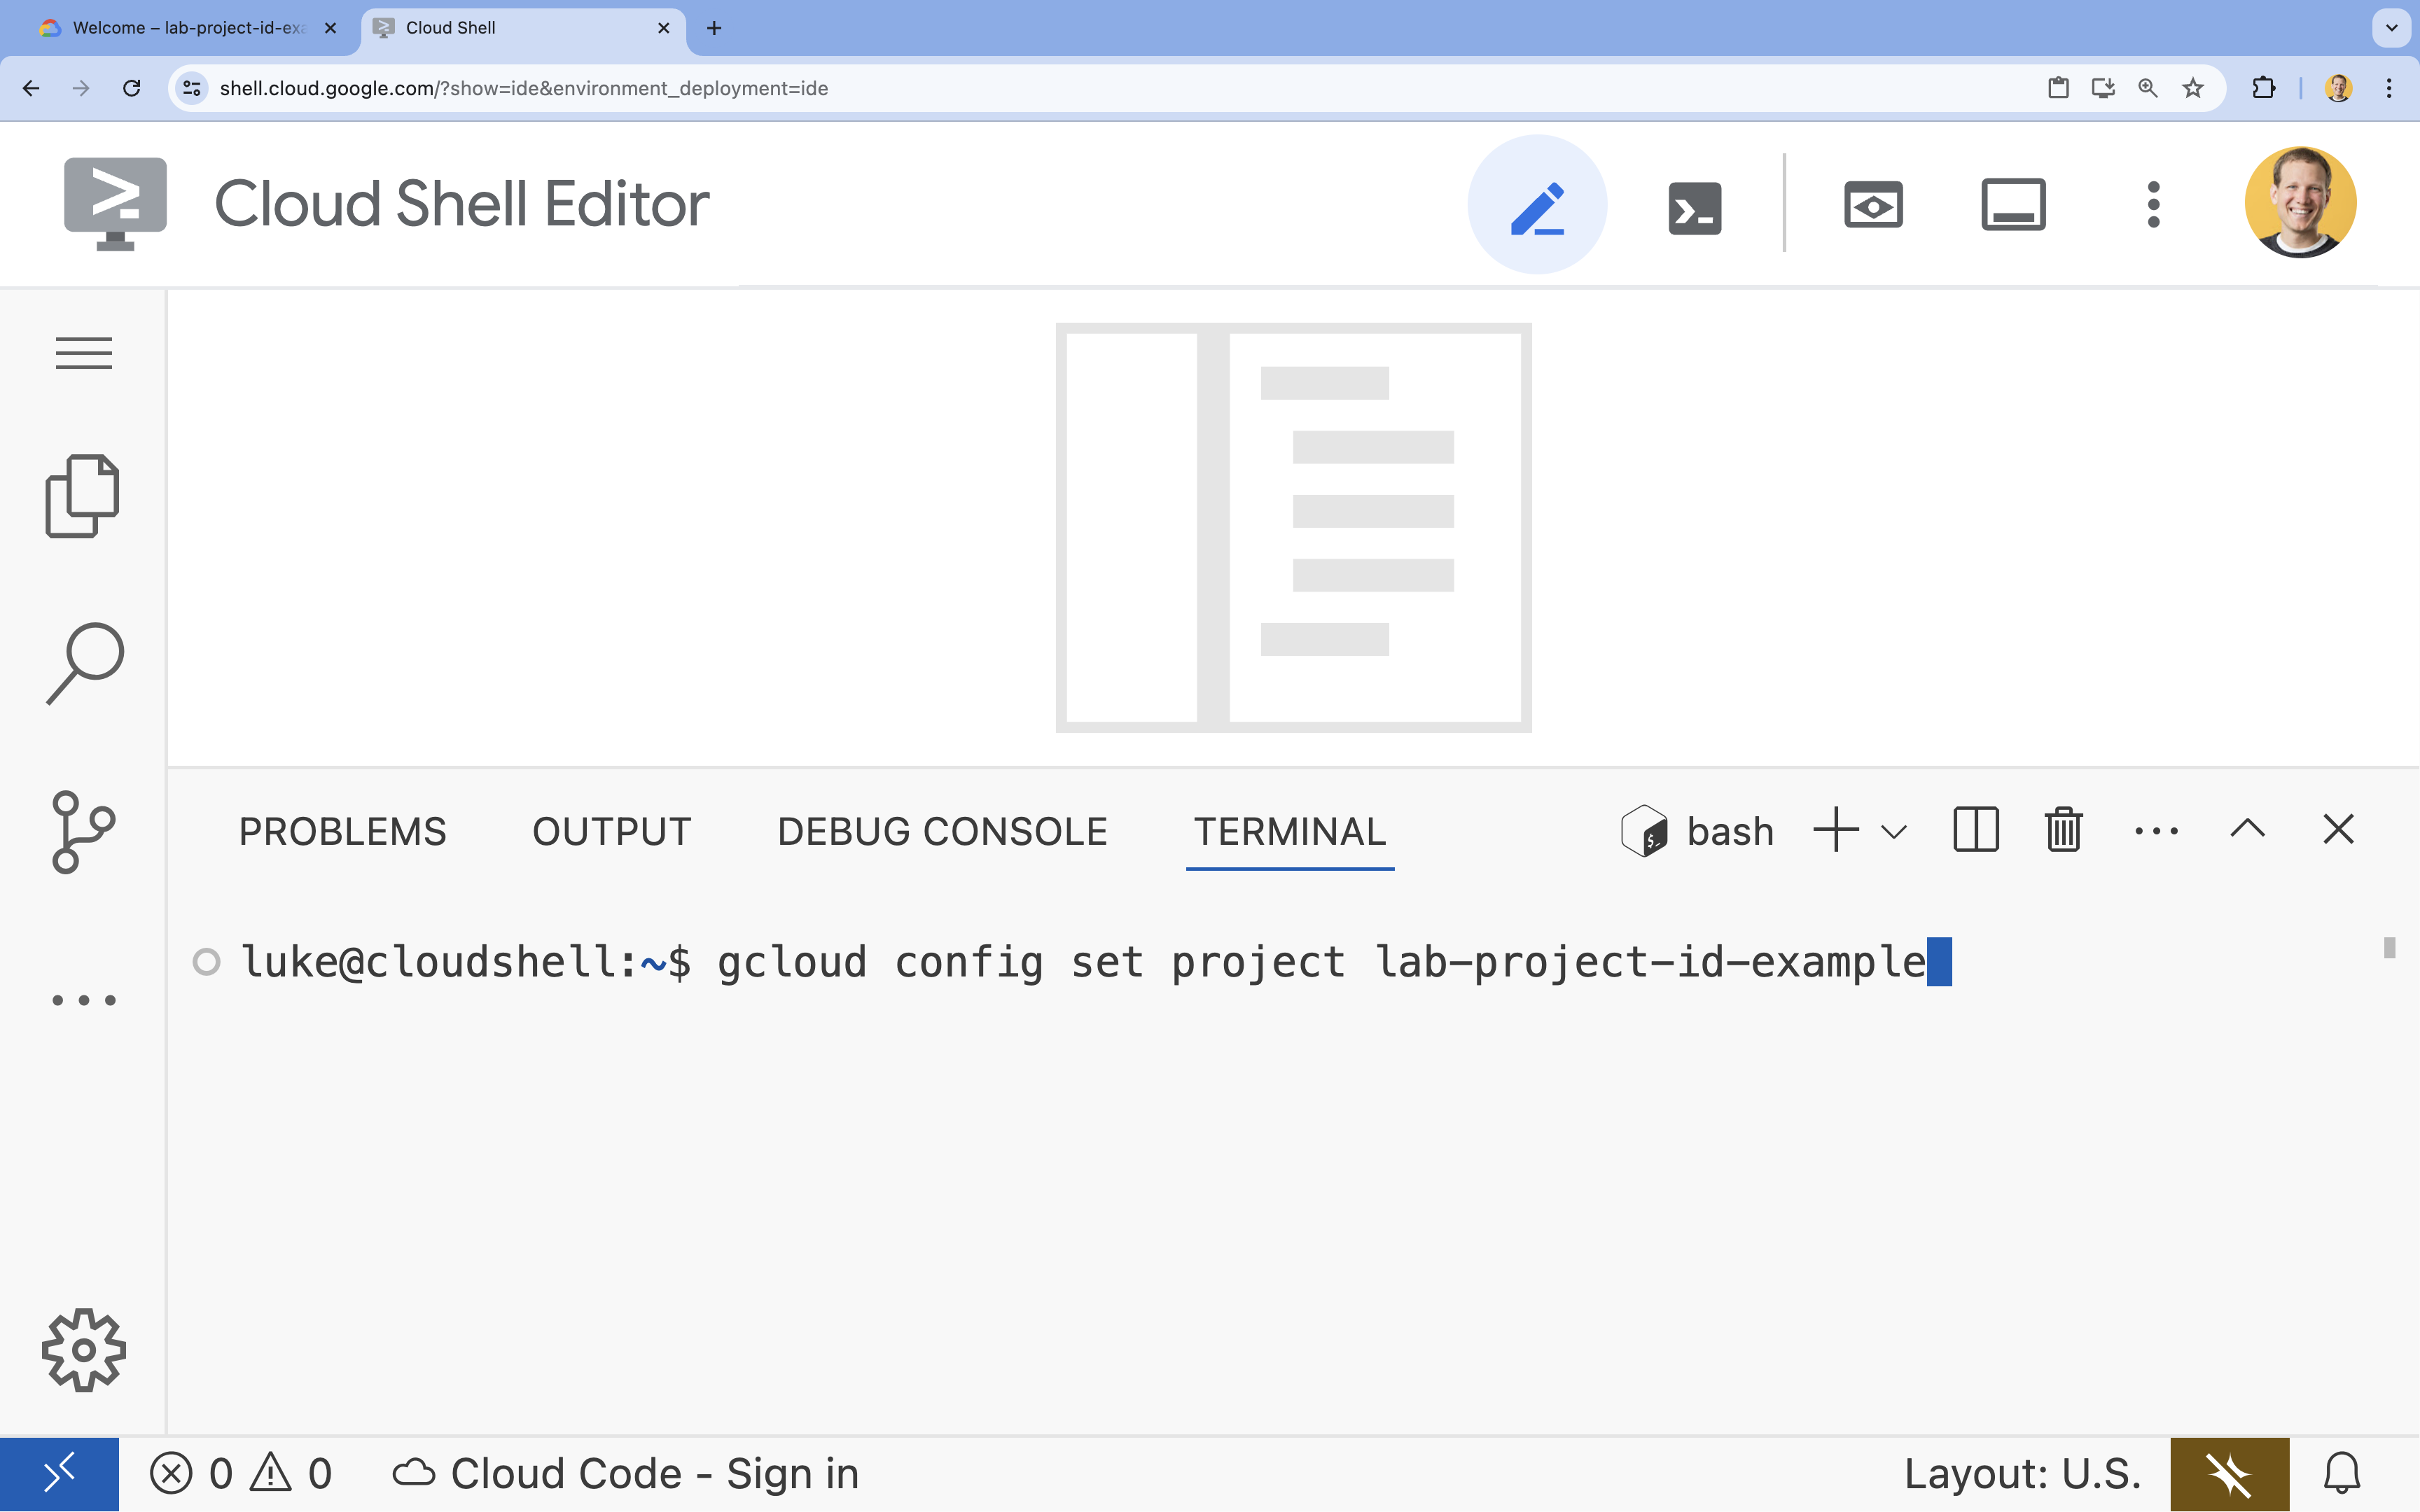
- في الوحدة الطرفية، اضبط مشروعك باستخدام الأمر التالي:
- التنسيق:
gcloud config set project [PROJECT_ID] - مثال:
gcloud config set project lab-project-id-example - إذا تعذّر عليك تذكُّر رقم تعريف مشروعك، اتّبِع الخطوات التالية:
- يمكنك إدراج جميع أرقام تعريف المشاريع باستخدام:
gcloud projects list | awk '/PROJECT_ID/{print $2}'
- يمكنك إدراج جميع أرقام تعريف المشاريع باستخدام:
- التنسيق:
- من المفترض أن تظهر لك هذه الرسالة:
Updated property [core/project].
WARNINGوطُلب منكDo you want to continue (Y/n)?، من المحتمل أنّك أدخلت رقم تعريف المشروع بشكل غير صحيح. اضغط علىn، ثم علىEnter، وحاوِل تنفيذ الأمرgcloud config set projectمرة أخرى.
إنشاء نسخة طبق الأصل من المستودع
في نافذة Cloud Shell، استنسِخ مستودع المشروع وانتقِل إلى دليل المشروع:
git clone https://github.com/GoogleCloudPlatform/devrel-demos.git
cd devrel-demos/containers/gradio-chat-gke
يُرجى تخصيص بعض الوقت لاستكشاف بنية المشروع:
gradio-chat-gke/
├── app/
│   ├── app.py                # Main application logic (you will edit this)
│   ├── requirements.txt      # Python dependencies
│   └── themes.py             # UI theming
├── deploy/
│   ├── chat-deploy.yaml      # Kubernetes deployment for the chat app
│   ├── Dockerfile            # Container definition for the chat app
│   └── gemma3-12b-deploy.yaml# Kubernetes deployment for Gemma model
├── infra/
│   └── main.tf               # Terraform infrastructure definition
└── skaffold.yaml             # Skaffold configuration for building/deploying
ضبط متغيرات البيئة
اضبط متغيّرات البيئة لرقم تعريف مشروعك ورقم مشروعك. سيتم استخدامها من قِبل Terraform والأوامر اللاحقة.
export GOOGLE_CLOUD_PROJECT=$(gcloud config get-value project)
export PROJECT_NUMBER=$(gcloud projects describe $GOOGLE_CLOUD_PROJECT --format="value(projectNumber)")
export REGION=us-central1
تفعيل Cloud Resource Manager API
تتطلّب أداة Terraform تفعيل Cloud Resource Manager API لإدارة موارد مشروعك، لذا علينا تفعيلها أولاً. سننشر تطبيق الدردشة لاحقًا باستخدام Skaffold، الذي يستخدم Cloud Build لإنشاء صورة الحاوية. سنفعّل Storage API وننشئ الحزمة اللازمة لخدمة Cloud Build الآن. سنستخدم Terraform نفسها لتفعيل بقية واجهات برمجة التطبيقات المطلوبة لهذا المشروع.
gcloud services enable cloudresourcemanager.googleapis.com storage-api.googleapis.com
إنشاء حزمة مرحلية في Cloud Build
يستخدم Skaffold خدمة Google Cloud Build التي تتطلّب حزمة Cloud Storage لتنظيم الرمز المصدر.
أنشئها الآن للتأكّد من توفّرها:
gcloud storage buckets create gs://${GOOGLE_CLOUD_PROJECT}_cloudbuild
(إذا ظهرت لك رسالة خطأ تفيد بأنّ الحزمة موجودة من قبل، يمكنك تجاهلها بأمان).
3- توفير البنية الأساسية باستخدام Terraform
سنستخدم Terraform لإعداد موارد Google Cloud اللازمة. يضمن ذلك توفير بيئة قابلة للتكرار ومتسقة.
- انتقِل إلى دليل البنية التحتية:
cd infra
يحدّد هذا الملف واجهات برمجة التطبيقات الإضافية التي سنحتاج إليها لهذا المشروع: cloudbuild وartifactregistry وcontainer (gke) وfirestore وaiplatform (vertexai). اطّلِع على الملف أو على ما يلي لمعرفة كيفية تفعيل واجهات برمجة التطبيقات من خلال Terraform:
resource "google_project_service" "cloudbuild" {
  service            = "cloudbuild.googleapis.com"
  disable_on_destroy = false
  project            = var.project_id
}

resource "google_project_service" "artifactregistry" {
  service            = "artifactregistry.googleapis.com"
  disable_on_destroy = false
  project            = var.project_id
}

resource "google_project_service" "container" {
  service            = "container.googleapis.com"
  disable_on_destroy = false
  project            = var.project_id
}

resource "google_project_service" "firestore" {
  service            = "firestore.googleapis.com"
  disable_on_destroy = false
  project            = var.project_id
}

resource "google_project_service" "vertexai" {
  service            = "aiplatform.googleapis.com"
  disable_on_destroy = false
  project            = var.project_id
}
تحديد مجموعة GKE
افتح infra/main.tf في المحرّر. ستظهر لك عدة تعليقات # TODO. يمكنك فتحها يدويًا أو استخدام الأمر التالي لفتح الملف في المحرّر:
cloudshell edit main.tf
أولاً، علينا تحديد مجموعة Kubernetes. سنستخدم وضع التشغيل الآلي في GKE، وهو مثالي لأحمال عمل الذكاء الاصطناعي لأنّه يتعامل مع إدارة العُقد تلقائيًا.
ابحث عن # TODO: Create a GKE Autopilot Cluster وأضِف الكتلة التالية أسفله:
# Create a GKE Autopilot Cluster
resource "google_container_cluster" "primary" {
  name     = var.cluster_name
  location = var.region
  project  = var.project_id

  # Enable Autopilot mode
  enable_autopilot = true

  deletion_protection = false

  # Networking
  network    = "default"
  subnetwork = "projects/${var.project_id}/regions/${var.region}/subnetworks/default"

  # Timeout for cluster creation
  timeouts {
    create = "30m"
    update = "30m"
  }

  depends_on = [google_project_service.container]
}
إشعار enable_autopilot = true يوفّر علينا هذا السطر الواحد عناء إدارة مجموعات العُقد والقياس التلقائي وتعبئة حاويات أحمال عمل وحدة معالجة الرسومات.
تحديد قاعدة بيانات Firestore
بعد ذلك، نحتاج إلى مكان لتخزين سجلّ المحادثات. Firestore هي قاعدة بيانات NoSQL بدون خادم تلبي هذه الحاجة تمامًا.
ابحث عن # TODO: Create a Firestore Database وأضِف:
resource "google_firestore_database" "database" {
  project     = var.project_id
  name        = "chat-app-db"
  location_id = "nam5"
  type        = "FIRESTORE_NATIVE"

  depends_on = [google_project_service.firestore]
}
بعد إضافة مورد قاعدة البيانات، ابحث عن # TODO: Create an initial Firestore Document وأضِف المجموعة التالية. ينشئ هذا المورد مستندًا أوّليًا للبيانات النائبة في مجموعتنا، وهو أمر مفيد لتهيئة بنية قاعدة البيانات.
resource "google_firestore_document" "initial_document" {
  project     = var.project_id
  collection  = "chat_sessions"
  document_id = "initialize"
  fields = <<EOF
  EOF

  depends_on = [google_firestore_database.database]
}
تعريف Workload Identity
أخيرًا، علينا ضبط إعدادات الأمان. نريد أن تتمكّن وحدات Kubernetes من الوصول إلى Vertex AI وFirestore بدون أن نضطر إلى إدارة أي أسرار أو مفاتيح API. نُجري ذلك باستخدام Workload Identity.
سنمنح أدوار إدارة الهوية وإمكانية الوصول (IAM) اللازمة لحساب خدمة Kubernetes (KSA) الذي سيستخدمه تطبيقنا.
ملاحظة: حساب خدمة Kubernetes (gradio-chat-ksa) المشار إليه في عمليات الربط هذه غير متوفّر بعد. سيتم إنشاؤه لاحقًا عند نشر تطبيقنا على المجموعة. لا بأس (وهو إجراء شائع) بتوفير عمليات ربط IAM هذه مسبقًا.
ابحث عن # TODO: Configure Workload Identity IAM bindings وأضِف:
locals {
  ksa_principal = "principal://iam.googleapis.com/projects/${var.project_number}/locations/global/workloadIdentityPools/${var.project_id}.svc.id.goog/subject/ns/default/sa/gradio-chat-ksa"
}

resource "google_project_iam_member" "ksa_token_creator" {
  project = var.project_id
  role    = "roles/iam.serviceAccountTokenCreator"
  member  = local.ksa_principal
}

resource "google_project_iam_member" "ksa_vertex_user" {
  project = var.project_id
  role    = "roles/aiplatform.user"
  member  = local.ksa_principal
}

resource "google_project_iam_member" "ksa_datastore_user" {
  project = var.project_id
  role    = "roles/datastore.user"
  member  = local.ksa_principal
}
تطبيق الإعداد
بعد تحديد البنية الأساسية، لنوفّرها.
- علينا أولاً ضبط بعض المتغيّرات التي ستستخدمها أداة Terraform. سننفّذ ذلك باستخدام متغيرات البيئة:
export TF_VAR_project_id=$(gcloud config get-value project)
export TF_VAR_project_number=$(gcloud projects describe $TF_VAR_project_id --format="value(projectNumber)")
export TF_VAR_region="us-central1"
- إعداد Terraform:
terraform init
- استخدِم
terraform planلمعاينة المراجع التي سيتم إنشاؤها.
terraform plan
- طبِّق الإعداد. عندما يُطلب منك ذلك، اكتب
yesللتأكيد.
terraform apply
ملاحظة: قد يستغرق توفير مجموعة GKE من 10 إلى 15 دقيقة. أثناء الانتظار، يمكنك الانتقال إلى مراجعة الرمز البرمجي للتطبيق في القسم التالي.
- بعد اكتمال العملية، اضبط
kubectlللتواصل مع مجموعتك الجديدة:
gcloud container clusters get-credentials gradio-chat-cluster --region us-central1 --project $TF_VAR_project_id
4. نشر Gemma المستضافة ذاتيًا على GKE
بعد ذلك، سننشر نموذج Gemma 3 12B مباشرةً على مجموعة GKE. يتيح ذلك الاستنتاج بزمن انتقال منخفض والتحكّم الكامل في بيئة تنفيذ النموذج.
ضبط إعدادات بيانات اعتماد Hugging Face
لتنزيل نموذج Gemma، يجب أن تتضمّن مجموعتك مصادقة مع Hugging Face.
- تأكَّد من توفّر رمز مميّز من Hugging Face.
- أنشئ Kubernetes Secret باستخدام الرمز المميّز: استبدِل [YOUR_HF_TOKEN] بالرمز المميّز الفعلي:
kubectl create secret generic hf-secret --from-literal=hf_api_token=[YOUR_HF_TOKEN]
نشر النموذج
سنستخدم عملية نشر Kubernetes عادية لتشغيل النموذج. يمكن العثور على ملف البيان في deploy/gemma3-12b-deploy.yaml. يمكنك فتحها يدويًا أو استخدام الأمر التالي لفتح الملف في المحرّر:
cd ../deploy
cloudshell edit gemma3-12b-deploy.yaml
يُرجى تخصيص بعض الوقت لفحص هذا الملف. لاحظ القسم resources:
        resources:
          requests:
            nvidia.com/gpu: 4
      nodeSelector:
        cloud.google.com/gke-accelerator: nvidia-l4
هذه هي البنية التحتية للذكاء الاصطناعي الإجرائي. نخبر GKE Autopilot أنّ هذا البود المحدّد يتطلّب 4 وحدات معالجة رسومات NVIDIA L4. ستعثر ميزة "التشغيل الآلي" على عقدة تستوفي هذه المتطلبات بالضبط أو ستوفّرها. إذا لم تكن إحدى العُقد متاحة للتوفير، ستستمر المحاولة إلى أن تصبح إحدى العُقد التي تستوفي المتطلبات متاحة.
- طبِّق بيان النشر:
cd .. kubectl apply -f deploy/gemma3-12b-deploy.yamlkubectl get podsgemmaقيد التشغيل بعد. سيتصل تطبيق محادثات بخدمة Gemma كلما أصبحت متاحة. يُرجى العِلم أنّه لن يكون بإمكانك التفاعل مع Gemma من خلال تطبيق المحادثة إلى أن تعرض وحدةgemmaحالةRunningو1/1. في هذه الأثناء، يمكنك الدردشة مع Gemini.
5- إنشاء تطبيق Chat
الآن، لنكمل تطبيق Python. افتح app/app.py في "محرِّر Cloud Shell". ستجد عدّة مربّعات # TODO يجب ملؤها لجعل التطبيق يعمل.
cloudshell edit app/app.py
الخطوة 1: معالجة سجلّ المحادثة
تتطلّب النماذج اللغوية الكبيرة تنسيق سجلّ المحادثات بشكلٍ محدّد لكي تفهم من قال ماذا.
نمط "المترجم الشامل": لاحظ أنّنا على وشك كتابة دالتَين مختلفتَين لمعالجة سجلّ المحادثات نفسه. هذا نمط أساسي في التطبيقات المتعددة النماذج.
- مصدر الحقيقة (Gradio): يحتفظ تطبيقنا بالسجلّ بتنسيق بسيط وعام:
[[user_msg1, bot_msg1], ...]. - الهدف 1 (Gemma): يجب تحويل هذا الهدف إلى سلسلة أولية واحدة تتضمّن رموزًا مميزة محدّدة.
- الهدف 2 (Gemini): يجب تحويل هذا النص إلى قائمة منظَّمة من عناصر واجهة برمجة التطبيقات.
من خلال إعادة تنسيق السجلّ العام إلى التنسيق المستهدف في كل دورة، يمكننا التبديل بسلاسة بين النماذج. لإضافة نموذج مختلف لاحقًا، عليك كتابة دالة معالجة جديدة بتنسيقه المحدّد.
بالنسبة إلى Gemma (المستضافة ذاتيًا)
التعرّف على نماذج Chat: عند استضافة نماذج مفتوحة خاصة بك، عليك عادةً تنسيق الطلب يدويًا في سلسلة محددة تم تدريب النموذج على التعرّف عليها كمحادثة. يُعرف ذلك باسم "نموذج محادثة".
ابحث عن الدالة process_message_gemma في app.py واستبدِلها بالرمز التالي:
# This function takes a user's message and the conversation history as input.
#   Its job is to format these elements into a single,
#   structured prompt that can be understood by the language model (LLM).
#   This structured format helps the LLM maintain context and generate more relevant responses.
def process_message_gemma(message, history):
    user_prompt_format = "User's Turn:\n>>> {prompt}\n"
    assistant_prompt_format = "Assistant's Turn:\n>>> {prompt}\n"

    history_message = ""
    for user_turn, assistant_turn in history:
        history_message += user_prompt_format.format(prompt=user_turn)
        history_message += assistant_prompt_format.format(prompt=assistant_turn)

    # Format the new user message
    new_user_message = user_prompt_format.format(prompt=message)
    # Create a new aggregated message to be used as a single flat string in a json object sent to the LLM
    aggregated_message = (
        history_message + new_user_message + assistant_prompt_format.format(prompt="")
    )
    return aggregated_message
بالنسبة إلى Gemini (المدارة)
غالبًا ما تفضّل الخدمات المُدارة الكائنات المنظَّمة على السلاسل الأولية. نحتاج إلى دالة منفصلة لتنسيق السجلّ في عناصر types.Content لحزمة تطوير البرامج (SDK) الخاصة بـ Gemini.
ابحث عن process_message_gemini واستبدله بما يلي:
def process_message_gemini(message, history):
    contents = []
    for user_turn, model_turn in history:
        contents.append(
            types.Content(role="user", parts=[types.Part.from_text(text=user_turn)])
        )
        contents.append(
            types.Content(role="model", parts=[types.Part.from_text(text=model_turn)])
        )

    contents.append(
        types.Content(role="user", parts=[types.Part.from_text(text=message)])
    )
    return contents
الخطوة 2: استدعاء نموذج Gemma المستضاف ذاتيًا
علينا إرسال الطلب المنسَّق إلى خدمة Gemma التي تعمل في مجموعتنا. سنستخدم طلب HTTP POST عاديًا لاسم نظام أسماء النطاقات الداخلي للخدمة.
ابحث عن الدالة call_gemma_model واستبدلها بما يلي:
# Construct the request, send it to Gemma, return the model's response
# aggregated_message = current user message + history
def call_gemma_model(aggregated_message, model_temperature, top_p, max_tokens):
    json_message = {
        "prompt": aggregated_message,
        "temperature": model_temperature,
        "top_p": top_p,
        "max_tokens": max_tokens,
        "stop": ["User's Turn:"],
    }

    # Log what will be sent to the LLM
    print("*** JSON request: " + str(json_message))

    # Send the constructed json with the user prompt to the model and put the model's response in the json_data variable
    json_data = post_request(json_message)

    # The response from the model is a list of predictions. We'll take the first result.
    raw_output = json_data["predictions"][0]

    # The vLLM server returns the full prompt in the response. We need to extract
    # just the newly generated text from the model.
    assistant_turn_marker = "Assistant's Turn:\n>>>"
    marker_pos = raw_output.rfind(assistant_turn_marker)

    if marker_pos != -1:
        output = raw_output[marker_pos + len(assistant_turn_marker) :]
    else:
        output = raw_output

    # Clean up potential over-generation
    stop_marker = "User's Turn:"
    stop_pos = output.lower().find(stop_marker.lower())
    if stop_pos != -1:
        output = output[:stop_pos]

    return output.strip()
الخطوة 3: استدعاء نموذج Gemini في Vertex AI
بالنسبة إلى النموذج المُدار، سنستخدم حزمة تطوير البرامج (SDK) من Google للذكاء الاصطناعي التوليدي. وهذا أبسط بكثير لأنّه يتعامل مع طلبات الشبكة نيابةً عنّا.
ابحث عن الدالة call_gemini_model واستبدلها بما يلي:
# Send a request to Gemini via the VertexAI API. Return the model's response
# contents = list of types.Content objects
def call_gemini_model(contents, model_temperature, top_p, max_tokens):
    gemini_model = "gemini-2.5-flash"

    response = client.models.generate_content(
        model=gemini_model,
        contents=contents,
        config={
            "temperature": model_temperature,
            "max_output_tokens": max_tokens,
            "top_p": top_p,
        },
    )
    return response.text
الخطوة 4: تنفيذ واجهة الاستدلال الرئيسية
أخيرًا، نحتاج إلى دالة التنسيق الرئيسية التي يستدعيها Gradio. يجب أن تتضمّن هذه الدالة ما يلي:
- تهيئة السجلّ إذا كان فارغًا
- معالجة الرسالة
- توجيه الطلب إلى النموذج المحدّد (Gemma أو Gemini)
- احفظ التفاعل في Firestore.
- إرجاع الردّ إلى واجهة المستخدم
Gradio وإدارة الحالة: يتعامل ChatInterface في Gradio تلقائيًا مع حالة الجلسة (عرض الرسائل في المتصفّح). ومع ذلك، لا تتضمّن هذه الأداة إمكانية استخدام قواعد بيانات خارجية.
للاحتفاظ بسجلّ المحادثات على المدى الطويل، نستخدم نمطًا عاديًا: نربط السجلّ بالدالة inference_interface. من خلال قبول request: gr.Request كمعلَمة، يرسل إلينا Gradio تلقائيًا تفاصيل جلسة المستخدِم الحالية. نستخدم هذا المعرّف لإنشاء مستند Firestore فريد لكل مستخدم، ما يضمن عدم اختلاط المحادثات في بيئة متعدّدة المستخدمين.
ابحث عن الدالة inference_interface واستبدلها بما يلي:
# This is the primary chat function. Every time a user sends a message, gradio calls this function,
# which sends the user's input to the appropriate AI (as indicated on the user interface), updates
# the chat history for future use during this session, and records the chat history in Firestore.
def inference_interface(
    message,
    history,
    model_name,
    model_temperature,
    top_p,
    max_tokens,
    request: gr.Request,
):

    # set history to empty array
    if history is None:
        history = []

    # Get or create session document
    session_hash = request.session_hash
    doc_id = f"session-{session_hash}"
    doc_ref = db.collection("chat_sessions").document(doc_id)

    # Create the session document if it doesn't exist
    if not doc_ref.get().exists:
        doc_ref.set({"Session start": datetime.datetime.now()})

    # Log info
    print("Model: " + model_name)
    print("LLM Engine: " + llm_engine)
    print("* History: " + str(history))

    # Pass the message and history to the appropriate model, as indicated by the user via the ui
    if model_name == "Gemma3 12b it":
        aggregated_message = process_message_gemma(message, history)
        output = call_gemma_model(
            aggregated_message, model_temperature, top_p, max_tokens
        )

    elif model_name == "Gemini":
        gemini_contents = process_message_gemini(message, history)
        output = call_gemini_model(
            gemini_contents, model_temperature, top_p, max_tokens
        )

    else:
        # Handle the case where no valid model is selected
        output = "Error: Invalid model selected."

    interaction = {"user": message, model_name: output}

    # Log the updated chat history
    print("* History: " + str(history) + " " + str(interaction))

    # Save the updated history to Firestore
    save_chat_history(interaction, doc_ref)

    return output
6. التحقّق من ملف app.py
في هذه المرحلة، يجب أن يكون تطبيق الدردشة المستند إلى Gradio جاهزًا للنشر. تأكَّد من تطابقه مع الملف الكامل التالي بدقة.
تحديد المشاكل وحلّها: إذا نشرت تطبيقك وظهرت لك رسالة الخطأ "تعذّر الاتصال" أو "لا يمكن الوصول إلى هذا الموقع الإلكتروني" عند محاولة الاتصال به، حاوِل تكرار الخطوات من هذه النقطة، بدءًا بنسخ هذا الملف بالكامل ولصقه في ملف app.py.
# Copyright 2024 Google LLC
#
# Licensed under the Apache License, Version 2.0 (the "License");
# you may not use this file except in compliance with the License.
# You may obtain a copy of the License at
#
#      http://www.apache.org/licenses/LICENSE-2.0
#
# Unless required by applicable law or agreed to in writing, software
# distributed under the License is distributed on an "AS IS" BASIS,
# WITHOUT WARRANTIES OR CONDITIONS OF ANY KIND, either express or implied.
# See the License for the specific language governing permissions and
# limitations under the License.

import datetime

import google.auth
import google.cloud
import gradio as gr
import requests
import themes
from google import genai

from google.cloud import firestore
from google.genai import types

## Do one-time initialization things

## grab the project id from google auth
_, project = google.auth.default()
print(f"Project: {project}")

# Set initial values for model
llm_engine = "vllm"
host = "http://gemma-service:8000"
context_path = "/generate"

# initialize vertex for interacting with Gemini
client = genai.Client(
    vertexai=True,
    project=project,
    location="global",
)

# Initialize Firestore client
db = firestore.Client(database="chat-app-db")


# This is the primary chat function. Every time a user sends a message, gradio calls this function,
# which sends the user's input to the appropriate AI (as indicated on the user interface), updates
# the chat history for future use during this session, and records the chat history in Firestore.
def inference_interface(
    message,
    history,
    model_name,
    model_temperature,
    top_p,
    max_tokens,
    request: gr.Request,
):

    # set history to empty array
    if history is None:
        history = []

    # Get or create session document
    session_hash = request.session_hash
    doc_id = f"session-{session_hash}"
    doc_ref = db.collection("chat_sessions").document(doc_id)

    # Create the session document if it doesn't exist
    if not doc_ref.get().exists:
        doc_ref.set({"Session start": datetime.datetime.now()})

    # Log info
    print("Model: " + model_name)
    print("LLM Engine: " + llm_engine)
    print("* History: " + str(history))

    # Pass the message and history to the appropriate model, as indicated by the user via the ui
    if model_name == "Gemma3 12b it":
        aggregated_message = process_message_gemma(message, history)
        output = call_gemma_model(
            aggregated_message, model_temperature, top_p, max_tokens
        )

    elif model_name == "Gemini":
        gemini_contents = process_message_gemini(message, history)
        output = call_gemini_model(
            gemini_contents, model_temperature, top_p, max_tokens
        )

    else:
        # Handle the case where no valid model is selected
        output = "Error: Invalid model selected."

    interaction = {"user": message, model_name: output}

    # Log the updated chat history
    print("* History: " + str(history) + " " + str(interaction))

    # Save the updated history to Firestore
    save_chat_history(interaction, doc_ref)

    return output


# Construct the request, send it to Gemma, return the model's response
# aggregated_message = current user message + history
def call_gemma_model(aggregated_message, model_temperature, top_p, max_tokens):
    json_message = {
        "prompt": aggregated_message,
        "temperature": model_temperature,
        "top_p": top_p,
        "max_tokens": max_tokens,
        "stop": ["User's Turn:"],
    }

    # Log what will be sent to the LLM
    print("*** JSON request: " + str(json_message))  # Log the JSON request

    # Send the constructed json with the user prompt to the model and put the model's response in the json_data variable
    json_data = post_request(json_message)

    # The response from the model is a list of predictions.
    # We'll take the first result.
    raw_output = json_data["predictions"][0]

    # The vLLM server returns the full prompt in the response. We need to extract
    # just the newly generated text from the model. The prompt ends with
    # "Assistant's Turn:\n>>>", so we find the last occurrence of that and
    # take everything after it.
    assistant_turn_marker = "Assistant's Turn:\n>>>"
    marker_pos = raw_output.rfind(assistant_turn_marker)

    if marker_pos != -1:
        # Get the text generated by the assistant
        output = raw_output[marker_pos + len(assistant_turn_marker) :]
    else:
        # Fallback in case the marker isn't found
        output = raw_output

    # The model sometimes continues the conversation and includes the next user's turn.
    # The 'stop' parameter is a good hint, but we parse the output as a safeguard.
    stop_marker = "User's Turn:"
    stop_pos = output.lower().find(stop_marker.lower())
    if stop_pos != -1:
        output = output[:stop_pos]

    # The model also sometimes prefixes its response with "Output:". We'll remove this.
    output = output.lstrip()
    prefix_marker = "Output:"
    if output.lower().startswith(prefix_marker.lower()):
        output = output[len(prefix_marker) :]

    return output.strip()


# Send a request to Gemini via the VertexAI API. Return the model's response
# contents = list of types.Content objects
def call_gemini_model(contents, model_temperature, top_p, max_tokens):
    gemini_model = "gemini-2.5-flash"

    response = client.models.generate_content(
        model=gemini_model,
        contents=contents,
        config={
            "temperature": model_temperature,
            "max_output_tokens": max_tokens,
            "top_p": top_p,
        },
    )
    output = response.text  # Extract the generated text
    # Consider handling additional response attributes (safety, usage, etc.)
    return output


def process_message_gemini(message, history):
    contents = []
    for user_turn, model_turn in history:
        contents.append(
            types.Content(role="user", parts=[types.Part.from_text(text=user_turn)])
        )
        contents.append(
            types.Content(role="model", parts=[types.Part.from_text(text=model_turn)])
        )

    contents.append(
        types.Content(role="user", parts=[types.Part.from_text(text=message)])
    )
    return contents


# This function takes a user's message and the conversation history as input.
#   Its job is to format these elements into a single,
#   structured prompt that can be understood by the language model (LLM).
#   This structured format helps the LLM maintain context and generate more relevant responses.
def process_message_gemma(message, history):
    user_prompt_format = "User's Turn:\n>>> {prompt}\n"
    assistant_prompt_format = "Assistant's Turn:\n>>> {prompt}\n"

    history_message = ""
    for user_turn, assistant_turn in history:
        history_message += user_prompt_format.format(prompt=user_turn)
        history_message += assistant_prompt_format.format(prompt=assistant_turn)

    # Format the new user message
    new_user_message = user_prompt_format.format(prompt=message)
    # Create a new aggregated message to be used as a single flat string in a json object sent to the LLM
    aggregated_message = (
        history_message + new_user_message + assistant_prompt_format.format(prompt="")
    )
    return aggregated_message


# Function to save chat history to Firestore
def save_chat_history(interaction, doc_ref):
    timestamp_str = str(datetime.datetime.now())

    # Save the chat history, merging with existing data
    doc_ref.update({timestamp_str: interaction})

    print("Chat history saved successfully!")  # Optional: Log success


# Send the json message to the model and return the model's response. This is used for Gemma but not Gemini. It could also be used for other models.
def post_request(json_message):
    print("*** Request" + str(json_message), flush=True)
    # Set a timeout and check for HTTP errors. This will raise an exception on a bad status code (4xx or 5xx).
    response = requests.post(host + context_path, json=json_message, timeout=60)
    response.raise_for_status()
    json_data = response.json()
    print("*** Output: " + str(json_data), flush=True)
    return json_data


# custom css to hide default footer
css = """
footer {display: none !important;} .gradio-container {min-height: 0px !important;}
"""

# Add a dropdown to select the model to chat with
model_dropdown = gr.Dropdown(
    ["Gemma3 12b it", "Gemini"],
    label="Model",
    info="Select the model you would like to chat with.",
    value="Gemma3 12b it",
)

# Make the model temperature, top_p, and max tokents modifiable via sliders in the GUI
model_temperature = gr.Slider(
    minimum=0.1, maximum=1.0, value=0.9, label="Temperature", render=False
)
top_p = gr.Slider(minimum=0.1, maximum=1.0, value=0.95, label="Top_p", render=False)
max_tokens = gr.Slider(
    minimum=1, maximum=4096, value=1024, label="Max Tokens", render=False
)

# Call gradio to create the chat interface
app = gr.ChatInterface(
    inference_interface,
    additional_inputs=[model_dropdown, model_temperature, top_p, max_tokens],
    theme=themes.google_theme(),
    css=css,
    title="Chat with AI",
)

app.launch(server_name="0.0.0.0", allowed_paths=["images"])
7. نشر تطبيق Chat
سنستخدم Skaffold لإنشاء صورة الحاوية ونشرها في المجموعة. Skaffold هي أداة سطر أوامر تنظّم وتنفّذ عملية إنشاء التطبيقات ونقلها ونشرها على Kubernetes تلقائيًا. ويسهّل سير عمل التطوير من خلال السماح لك بتنفيذ هذه العملية بأكملها باستخدام أمر واحد، ما يجعله مثاليًا لتكرار تطبيقك.
ملاحظة: سيؤدي ذلك أيضًا إلى نشر حساب خدمة Kubernetes الذي نحتاج إليه في Workload Identity. يمكنك الاطّلاع على تعريفها في الملف deploy/chat-deploy.yaml. يمكنك الاطّلاع على تعريفها هنا كمرجع:
apiVersion: v1
kind: ServiceAccount
metadata:
  name: gradio-chat-ksa
نفِّذ Skaffold لإنشاء التطبيق ونشره:
skaffold run --default-repo=us-central1-docker.pkg.dev/$GOOGLE_CLOUD_PROJECT/chat-app-repo
سيستخدم Skaffold خدمة Cloud Build لإنشاء صورة الحاوية ونقلها إلى Artifact Registry التي أنشأتها Terraform، ثم تطبيق بيانات Kubernetes على مجموعتك.
8. اختبار التطبيق
- انتظِر إلى أن تحصل خدمة تطبيق المحادثة على عنوان IP خارجي:
kubectl get svc gradio-chat-service --watchEXTERNAL-IPمنpendingإلى عنوان IP فعلي، اضغط علىCtrl+Cللتوقف عن المشاهدة. - افتح متصفّح ويب وانتقِل إلى
http://[EXTERNAL-IP]:7860. - جرِّب التفاعل مع النموذج. تم ضبط التطبيق على أن تتحدث مع نموذج Gemma المستضاف محليًا تلقائيًا. إذا أردت الدردشة مع Gemini، غيِّر النموذج في القائمة المنسدلة "مدخلات إضافية". للحصول على مثال، جرِّب أن تطلب من الذكاء الاصطناعي: "أريد سماع نكتة عن Kubernetes".
تحديد المشاكل وحلّها:
- إذا ظهرت لك رسالة خطأ مثل "يتعذّر الوصول إلى هذا الموقع الإلكتروني" أو "تم رفض الاتصال بـ [EXTERNAL-IP]"، قد يكون هناك خطأ في ملف app.py. ارجع إلى الخطوة بعنوان "التحقّق من ملف app.py" وكرِّر الخطوات من هناك.
- تكون واجهة المستخدم مضبوطة تلقائيًا على نموذج "Gemma3 12b it". إذا ظهر لك خطأ على الفور، من المحتمل أنّ السبب هو أنّ Gemma pod غير جاهز بعد. ملاحظة: يمكنك التبديل إلى القائمة المنسدلة "Gemini" لتجربة التفاعل مع تطبيق الدردشة أثناء انتظار بدء تشغيل Gemma.
اختبار Gemma: تأكَّد من اختيار "Gemma3 12b it" في القائمة المنسدلة وأرسِل رسالة (مثلاً، "أريد سماع نكتة عن Kubernetes").
اختبار Gemini: غيِّر القائمة المنسدلة إلى "Gemini" واطرح سؤالاً آخر (مثلاً، "ما الفرق بين مجموعة من الحاويات وعقدة؟").
التحقّق من السجلّ: بعد إجراء محادثة بنجاح مع نموذج (إما Gemma أو Gemini) في تطبيق المحادثة، اطّلِع على قاعدة بيانات "chat-app-db" في Firestore للاطّلاع على سجلّات المحادثات. إذا كنت قادرًا على الدردشة مع كلا النموذجين، ستلاحظ أنّه يتم الاحتفاظ بسجلّ المحادثات حتى عند التبديل بين النماذج.
9- مزيد من المعلومات
بعد أن أصبح لديك تطبيق دردشة مختلط يعمل، ننصحك بمواجهة التحديات التالية لتعميق فهمك:
- الشخصية المخصّصة: جرِّب تعديل الدالتَين
process_message_gemmaوprocess_message_geminiلتضمين "طلب من النظام" في البداية. على سبيل المثال، يمكنك أن تقول للنماذج "أنت مساعد قرصان مفيد"، ثم ترى كيف تتغير ردودها. - معرّف المستخدم الدائم: ينشئ التطبيق حاليًا رقم تعريف فريدًا عالميًا عشوائيًا جديدًا لكل جلسة. كيف يمكن دمج نظام مصادقة حقيقي (مثل "تسجيل الدخول باستخدام حساب Google") ليتمكّن المستخدم من الاطّلاع على سجلّ محادثاته السابقة على أجهزة مختلفة؟
- تجربة النماذج: جرِّب تغيير شريط التمرير
temperatureفي واجهة المستخدم. كيف تؤثر درجة العشوائية المرتفعة (قريبة من 1.0) في مستوى الإبداع والدقة في الردود مقارنةً بدرجة العشوائية المنخفضة (قريبة من 0.1)؟
10. الخاتمة
تهانينا! لقد أنشأت تطبيقًا هجينًا للذكاء الاصطناعي بنجاح. لقد تعلّمت كيفية:
- استخدام Terraform لتوفير البنية الأساسية كرمز برمجي على Google Cloud
- استضافة نماذج لغوية كبيرة مفتوحة المصدر على GKE للتحكّم الكامل
- يمكنك دمج خدمات الذكاء الاصطناعي المُدارة، مثل Vertex AI، للاستفادة من المرونة.
- إنشاء تطبيق ذي حالة باستخدام Firestore لتوفير الثبات
- يمكنك تأمين أحمال العمل باستخدام Workload Identity.
تنظيف
لتجنُّب تحمّل رسوم، عليك إتلاف الموارد التي أنشأتها:
cd infra
terraform destroy -var="project_id=$GOOGLE_CLOUD_PROJECT" -var="project_number=$PROJECT_NUMBER" -var="region=$REGION"