
1. Introduction
Overview
In this lab, you will build and deploy a full-stack AI-powered chat application on Google Kubernetes Engine (GKE). This "hybrid" application demonstrates a powerful architectural pattern: the ability to switch seamlessly between a self-hosted open model (Gemma 3 12B) running directly in your cluster and a managed AI service (Gemini 2.5 Flash via Vertex AI).
                                   +----------------------+
                                   |   User (Web Browser) |
                                   +-----------+----------+
                                               |
                                               v
+----------------------------------------------+---------------------------------------------+
| Google Cloud Platform                        |                                             |
|   |                                  +-------+-------+                                     |
|   |                                  | Load Balancer |                                     |
|   |                                  +-------+-------+                                     |
|   |                                          v                                             |
|   +------------------------------------------+-----------------------------------------+   |
|   |  Google Kubernetes Engine (GKE)          |                                         |   |
|   |                                          v                                         |   |
|   |                              +-----------+-----------+                             |   |
|   |                              |    Gradio Chat App    |                             |   |
|   |                              +--+-----------------+--+                             |   |
|   |                                 |                 |                                |   |
|   |                   (Self-hosted) |                 | (Managed via SDK)              |   |
|   |                                 v                 |                                |   |
|   |                  +--------------+---+             |                                |   |
|   |                  | Gemma 3 Model    |             |                                |   |
|   |                  | (GPU Node)       |             |                                |   |
|   |                  +------------------+             |                                |   |
|   +---------------------------------------------------|--------------------------------+   |
|                                                       |                                    |
|                                                       v                                    |
|                                            +----------+-----------+                        |
|                                            | Vertex AI (Gemini)   |                        |
|                                            +----------------------+                        |
|                                                       | (Save History)                     |
|                                                       v                                    |
|                                            +----------+-----------+                        |
|                                            | Firestore Database   |                        |
|                                            +----------------------+                        |
+--------------------------------------------------------------------------------------------+
You will use Terraform to provision the infrastructure, including a GKE Autopilot cluster and a Firestore database for persisting chat session history. You will then complete the Python application code to handle multi-turn conversations, interface with both AI models, and deploy the final application using Cloud Build and Skaffold.
What you'll learn
- Provision GKE and Firestore infrastructure using Terraform.
- Deploy a large language model (Gemma) on GKE Autopilot using Kubernetes manifests.
- Implement a Gradio chat interface in Python that can switch between different AI backends.
- Use Firestore to store and retrieve chat session history.
- Configure Workload Identity to securely grant your GKE workloads access to Google Cloud services (Vertex AI, Firestore).
Prerequisites
- A Google Cloud project with billing enabled.
- Basic familiarity with Python, Kubernetes, and standard command-line tools.
- A Hugging Face token with access to Gemma models.
2. Project Setup
- If you don't already have a Google Account, you must create a Google Account.
- Use a personal account instead of a work or school account. Work and school accounts may have restrictions that prevent you from enabling the APIs needed for this lab.
- Sign-in to the Google Cloud Console.
- Enable billing in the Cloud Console.
- Completing this lab should cost less than $1 USD in Cloud resources.
- You can follow the steps at the end of this lab to delete resources to avoid further charges.
- New users are eligible for the $300 USD Free Trial.
- Create a new project or choose to reuse an existing project.
Open Cloud Shell Editor
- Click this link to navigate directly to Cloud Shell Editor
- If prompted to authorize at any point today, click Authorize to continue.
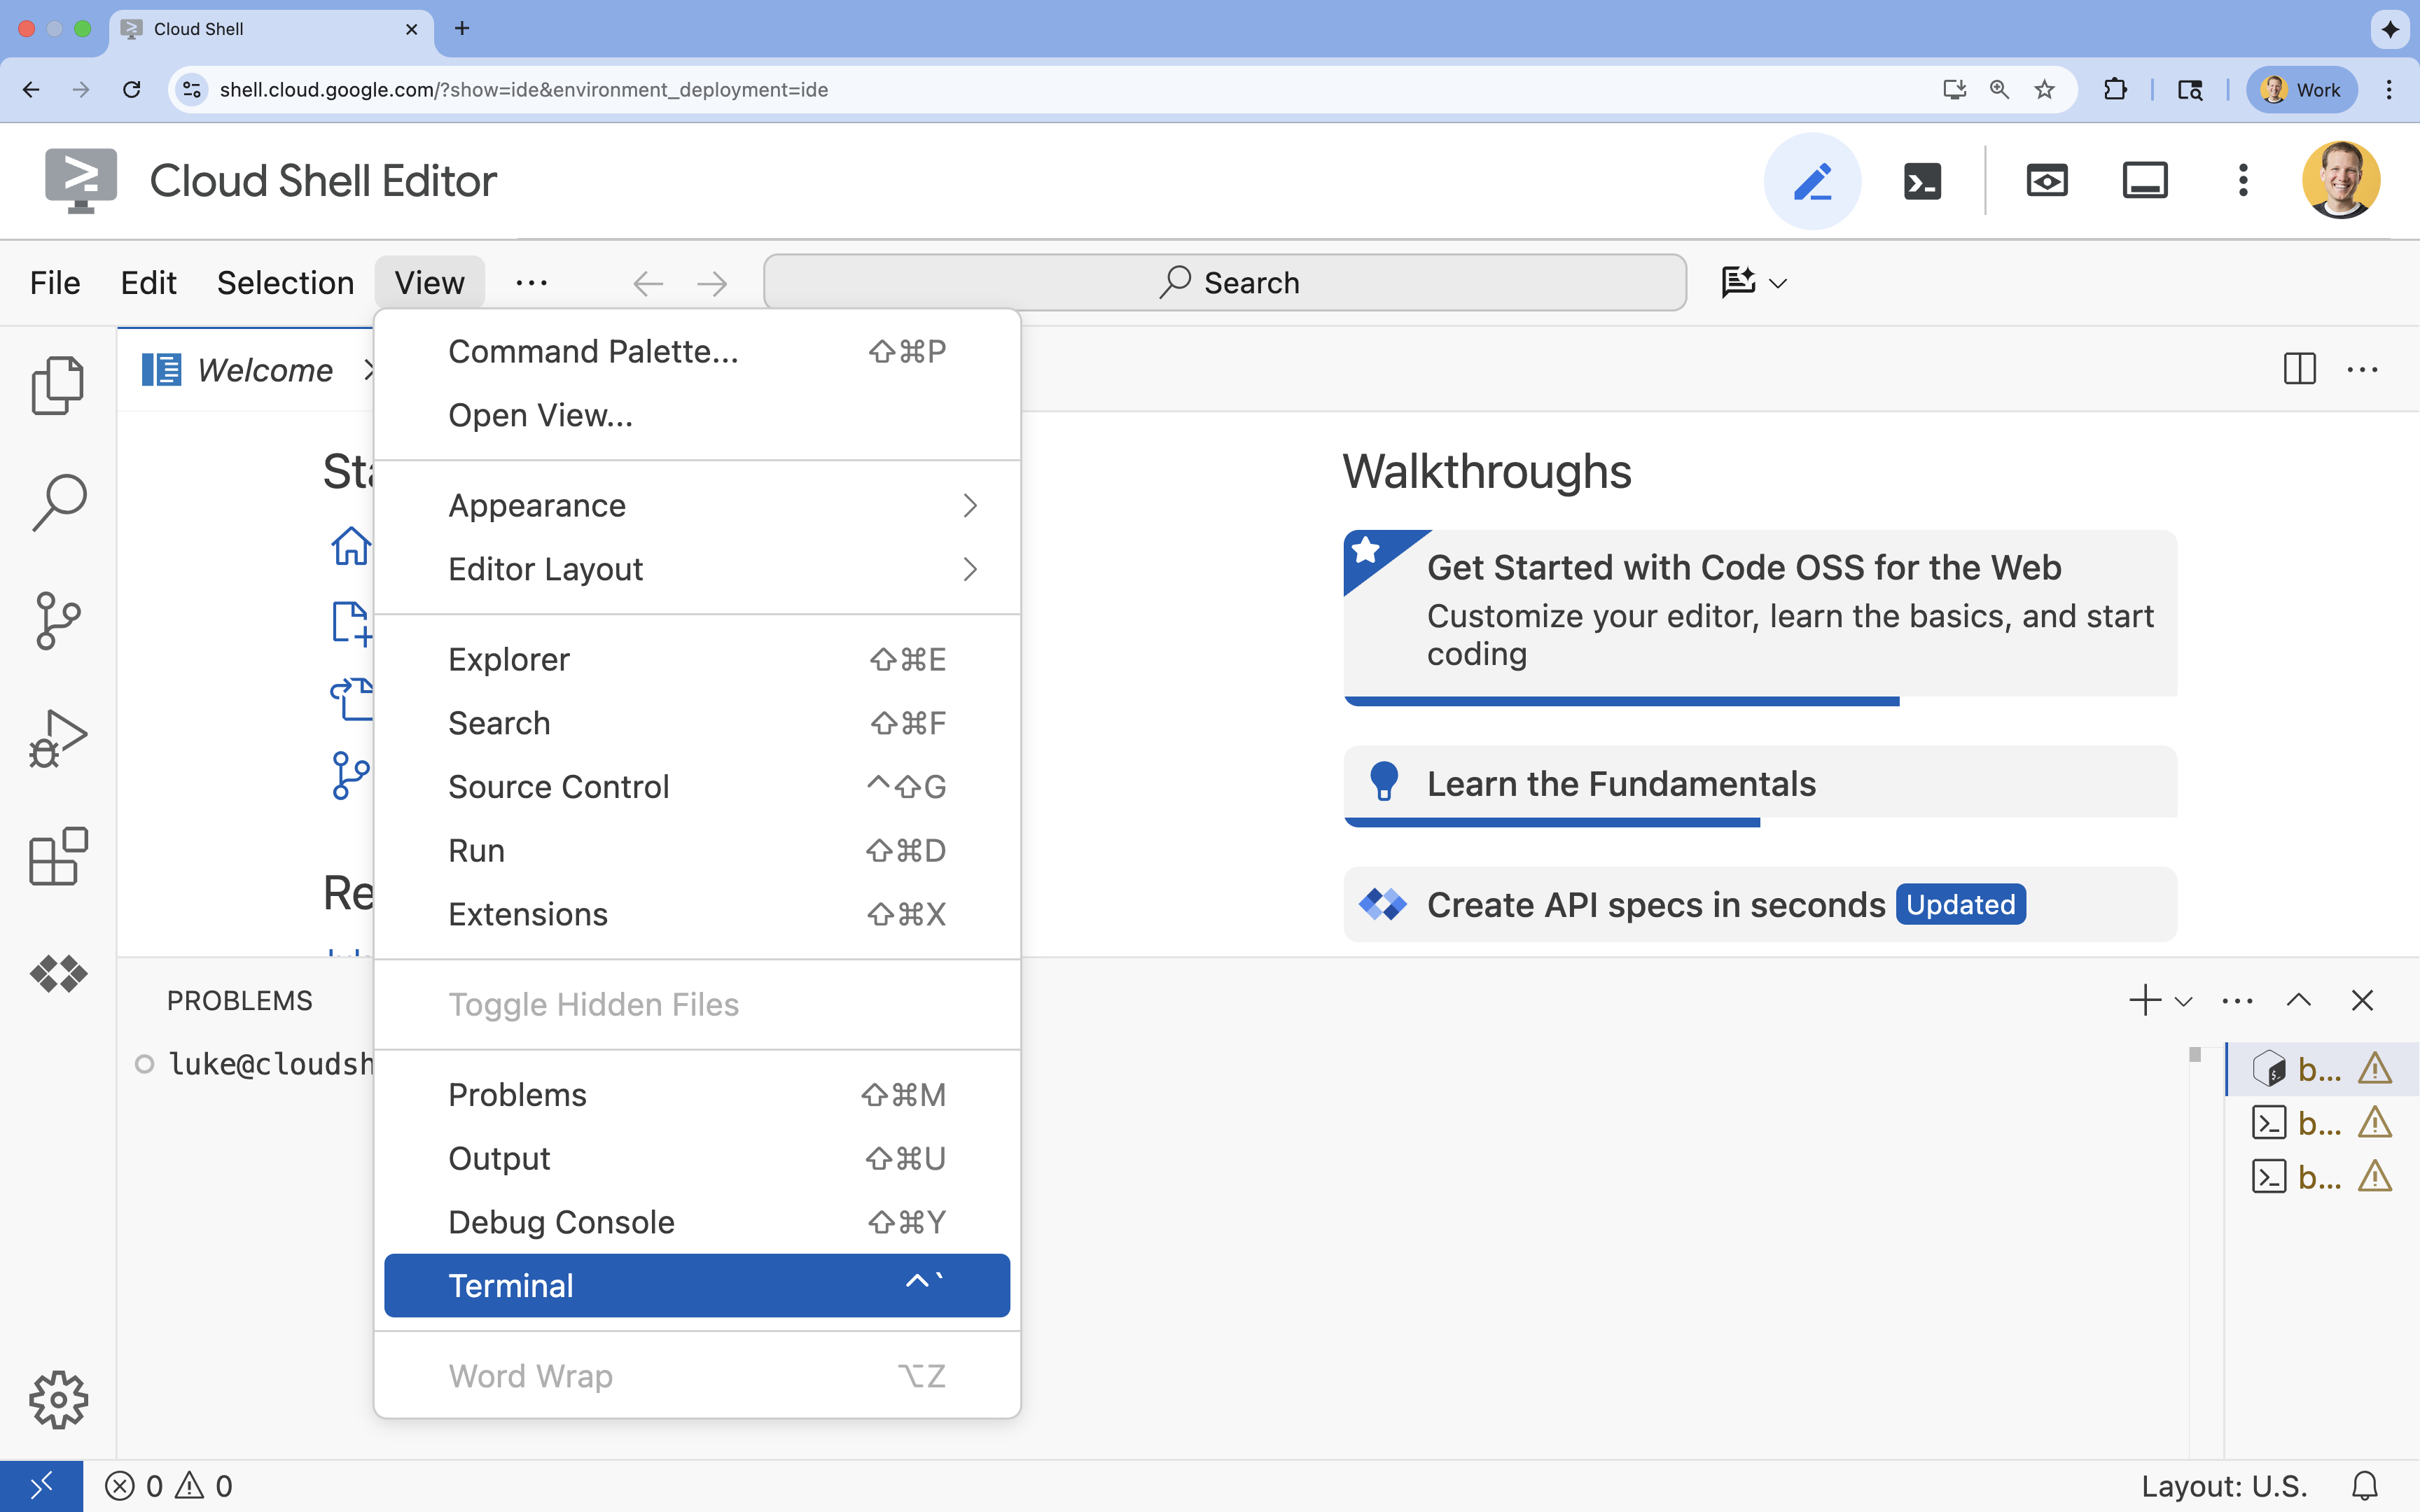
- If the terminal doesn't appear at the bottom of the screen, open it:
- Click View
- Click Terminal
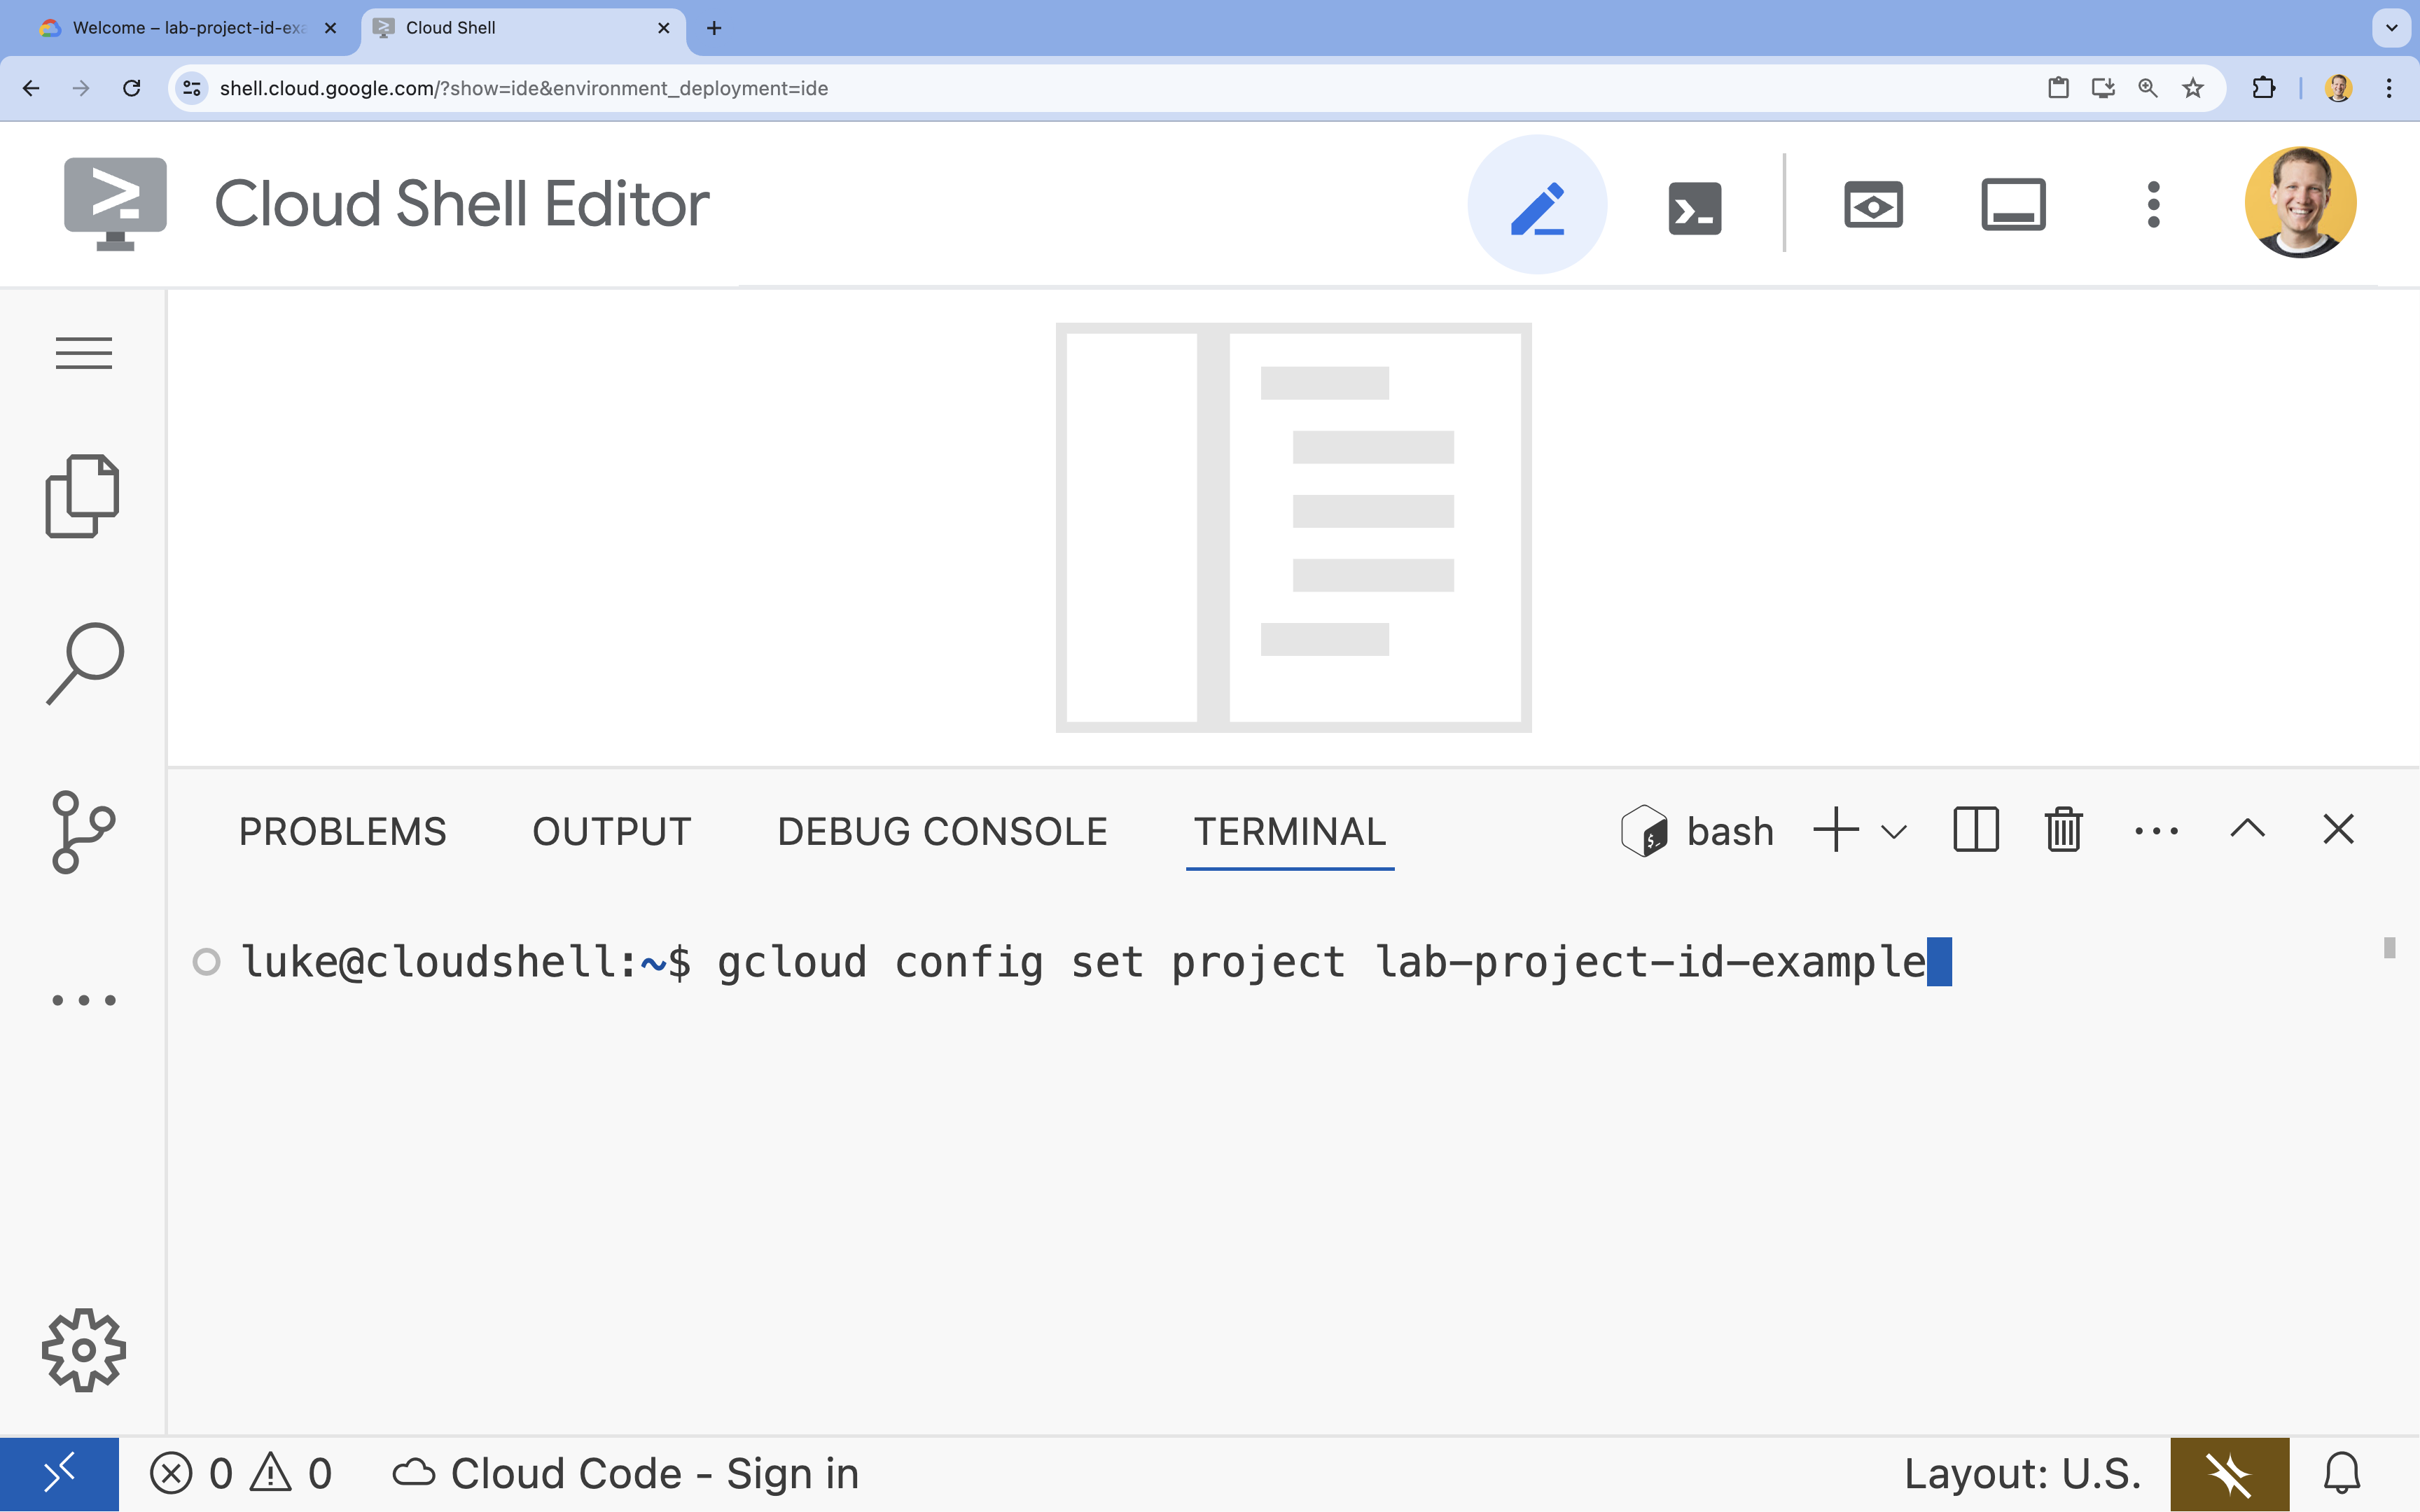
- In the terminal, set your project with this command:
- Format:
gcloud config set project [PROJECT_ID] - Example:
gcloud config set project lab-project-id-example - If you can't remember your project id:
- You can list all your project ids with:
gcloud projects list | awk '/PROJECT_ID/{print $2}'
- You can list all your project ids with:
- Format:
- You should see this message:
Updated property [core/project].
WARNINGand are askedDo you want to continue (Y/n)?, then you have likely entered the project ID incorrectly. Pressn, pressEnter, and try to run thegcloud config set projectcommand again.
Clone the Repository
In your Cloud Shell terminal, clone the project repository and navigate to the project directory:
git clone https://github.com/GoogleCloudPlatform/devrel-demos.git
cd devrel-demos/containers/gradio-chat-gke
Take a moment to explore the project structure:
gradio-chat-gke/
├── app/
│   ├── app.py                # Main application logic (you will edit this)
│   ├── requirements.txt      # Python dependencies
│   └── themes.py             # UI theming
├── deploy/
│   ├── chat-deploy.yaml      # Kubernetes deployment for the chat app
│   ├── Dockerfile            # Container definition for the chat app
│   └── gemma3-12b-deploy.yaml# Kubernetes deployment for Gemma model
├── infra/
│   └── main.tf               # Terraform infrastructure definition
└── skaffold.yaml             # Skaffold configuration for building/deploying
Set Environment Variables
Set up environment variables for your project ID and project number. These will be used by Terraform and subsequent commands.
export GOOGLE_CLOUD_PROJECT=$(gcloud config get-value project)
export PROJECT_NUMBER=$(gcloud projects describe $GOOGLE_CLOUD_PROJECT --format="value(projectNumber)")
export REGION=us-central1
Enable Cloud Resource Manager API
Terraform requires the Cloud Resource Manager API to be enabled to manage your project's resources, so we need to enable that first. Later, we will deploy our chat application with Skaffold, which uses Cloud Build to build our container image. We will enable the storage api and create the bucket needed for Cloud Build now. We will use Terraform itself to enable the rest of the APIs required for this project.
gcloud services enable cloudresourcemanager.googleapis.com storage-api.googleapis.com
Create Cloud Build Staging Bucket
Skaffold uses Google Cloud Build, which requires a Cloud Storage bucket to stage your source code.
Create it now to ensure it exists:
gcloud storage buckets create gs://${GOOGLE_CLOUD_PROJECT}_cloudbuild
(If you get an error saying the bucket already exists, you can safely ignore it).
3. Provision Infrastructure with Terraform
We will use Terraform to set up the necessary Google Cloud resources. This ensures a reproducible and consistent environment.
- Navigate to the infrastructure directory:
cd infra
This file defines the additional APIs we'll need for this project: cloudbuild, artifactregistry, container (gke), firestore, and aiplatform (vertexai). Take a look in the file or below to see how the APIs are enabled via Terraform:
resource "google_project_service" "cloudbuild" {
  service            = "cloudbuild.googleapis.com"
  disable_on_destroy = false
  project            = var.project_id
}

resource "google_project_service" "artifactregistry" {
  service            = "artifactregistry.googleapis.com"
  disable_on_destroy = false
  project            = var.project_id
}

resource "google_project_service" "container" {
  service            = "container.googleapis.com"
  disable_on_destroy = false
  project            = var.project_id
}

resource "google_project_service" "firestore" {
  service            = "firestore.googleapis.com"
  disable_on_destroy = false
  project            = var.project_id
}

resource "google_project_service" "vertexai" {
  service            = "aiplatform.googleapis.com"
  disable_on_destroy = false
  project            = var.project_id
}
Define the GKE Cluster
Open infra/main.tf in your editor. You will see several # TODO comments. You can open it manually or use this command to open the file in the editor:
cloudshell edit main.tf
First, we need to define our Kubernetes cluster. We will use GKE Autopilot, which is ideal for AI workloads as it handles node management automatically.
Find # TODO: Create a GKE Autopilot Cluster and add the following block below it:
# Create a GKE Autopilot Cluster
resource "google_container_cluster" "primary" {
  name     = var.cluster_name
  location = var.region
  project  = var.project_id

  # Enable Autopilot mode
  enable_autopilot = true

  deletion_protection = false

  # Networking
  network    = "default"
  subnetwork = "projects/${var.project_id}/regions/${var.region}/subnetworks/default"

  # Timeout for cluster creation
  timeouts {
    create = "30m"
    update = "30m"
  }

  depends_on = [google_project_service.container]
}
Notice enable_autopilot = true. This single line saves us from managing node pools, autoscaling, and bin-packing our GPU workloads.
Define the Firestore Database
Next, we need a place to store our chat history. Firestore is a serverless, NoSQL database that fits this need perfectly.
Find # TODO: Create a Firestore Database and add:
resource "google_firestore_database" "database" {
  project     = var.project_id
  name        = "chat-app-db"
  location_id = "nam5"
  type        = "FIRESTORE_NATIVE"

  depends_on = [google_project_service.firestore]
}
After adding the database resource, find # TODO: Create an initial Firestore Document and add the following block. This resource creates an initial placeholder document in our collection, which is helpful for initializing the database structure.
resource "google_firestore_document" "initial_document" {
  project     = var.project_id
  collection  = "chat_sessions"
  document_id = "initialize"
  fields = <<EOF
  EOF

  depends_on = [google_firestore_database.database]
}
Define Workload Identity
Finally, we need to configure security. We want our Kubernetes pods to be able to access Vertex AI and Firestore without us having to manage any secrets or API keys. We do this with Workload Identity.
We will grant the necessary IAM roles to the Kubernetes Service Account (KSA) that our app will use.
Note: The Kubernetes Service Account (gradio-chat-ksa) referenced in these bindings doesn't exist yet! It will be created later when we deploy our application to the cluster. It is perfectly fine (and common practice) to pre-provision these IAM bindings.
Find # TODO: Configure Workload Identity IAM bindings and add:
locals {
  ksa_principal = "principal://iam.googleapis.com/projects/${var.project_number}/locations/global/workloadIdentityPools/${var.project_id}.svc.id.goog/subject/ns/default/sa/gradio-chat-ksa"
}

resource "google_project_iam_member" "ksa_token_creator" {
  project = var.project_id
  role    = "roles/iam.serviceAccountTokenCreator"
  member  = local.ksa_principal
}

resource "google_project_iam_member" "ksa_vertex_user" {
  project = var.project_id
  role    = "roles/aiplatform.user"
  member  = local.ksa_principal
}

resource "google_project_iam_member" "ksa_datastore_user" {
  project = var.project_id
  role    = "roles/datastore.user"
  member  = local.ksa_principal
}
Apply the Configuration
Now that our infrastructure is defined, let's provision it.
- We'll first need to set a few variables for Terraform to use. We'll do this using environment variables:
export TF_VAR_project_id=$(gcloud config get-value project)
export TF_VAR_project_number=$(gcloud projects describe $TF_VAR_project_id --format="value(projectNumber)")
export TF_VAR_region="us-central1"
- Initialize Terraform:
terraform init
- Use
terraform planto preview what resources will be created.
terraform plan
- Apply the configuration. When prompted, type
yesto confirm.
terraform apply
Note: Provisioning a GKE cluster may take 10-15 minutes. While waiting, you can proceed to reviewing the application code in the next section.
- Once complete, configure
kubectlto communicate with your new cluster:
gcloud container clusters get-credentials gradio-chat-cluster --region us-central1 --project $TF_VAR_project_id
4. Deploy Self-Hosted Gemma on GKE
Next, we will deploy the Gemma 3 12B model directly onto your GKE cluster. This allows for low-latency inference and complete control over the model execution environment.
Configure Hugging Face Credentials
To download the Gemma model, your cluster needs authentication with Hugging Face.
- Ensure you have a Hugging Face token.
- Create a Kubernetes Secret with your token- Replace [YOUR_HF_TOKEN] with your actual token:
kubectl create secret generic hf-secret --from-literal=hf_api_token=[YOUR_HF_TOKEN]
Deploy the Model
We will use a standard Kubernetes Deployment to run the model. The manifest is located at deploy/gemma3-12b-deploy.yaml. You can open it manually or use this command to open the file in the editor:
cd ../deploy
cloudshell edit gemma3-12b-deploy.yaml
Take a moment to inspect this file. Notice the resources section:
        resources:
          requests:
            nvidia.com/gpu: 4
      nodeSelector:
        cloud.google.com/gke-accelerator: nvidia-l4
This is declarative AI infrastructure. We are telling GKE Autopilot that this specific pod requires 4 NVIDIA L4 GPUs. Autopilot will find or provision a node that meets exactly these requirements. If a node is not available to provision, it will keep trying until a node that meets the requirements is available.
- Apply the deployment manifest:
cd .. kubectl apply -f deploy/gemma3-12b-deploy.yamlkubectl get podsgemmapod is not up and running yet. The chat app will connect to the gemma service whenever it becomes available. Be aware that you will not be able to interact with Gemma via your chat app until thegemmapod shows a status ofRunningand1/1. But you can chat with Gemini in the meantime instead!
5. Build the Chat Application
Now, let's complete the Python application. Open app/app.py in the Cloud Shell Editor. You will find several # TODO blocks that need to be filled in to make the application functional.
cloudshell edit app/app.py
Step 1: Process Conversation History
LLMs require conversation history to be formatted specifically so they understand who said what.
The "Universal Translator" Pattern: Notice that we are about to write two different functions to process the same chat history. This is a key pattern in multi-model applications.
- The Source of Truth (Gradio): Our app keeps the history in a simple, generic format:
[[user_msg1, bot_msg1], ...]. - Target 1 (Gemma): Needs this converted into a single raw string with specific special tokens.
- Target 2 (Gemini): Needs this converted into a structured list of API objects.
By re-formatting the generic history into the target format on every turn, we can seamlessly switch between models. To add a different model later, you would need to write a new processing function for its specific format.
For Gemma (Self-Hosted)
Understanding Chat Templates: When hosting your own open models, you typically need to manually format the prompt into a specific string that the model was trained to recognize as a conversation. This is known as a "chat template".
Find the process_message_gemma function in app.py and replace it with the following code:
# This function takes a user's message and the conversation history as input.
#   Its job is to format these elements into a single,
#   structured prompt that can be understood by the language model (LLM).
#   This structured format helps the LLM maintain context and generate more relevant responses.
def process_message_gemma(message, history):
    user_prompt_format = "User's Turn:\n>>> {prompt}\n"
    assistant_prompt_format = "Assistant's Turn:\n>>> {prompt}\n"

    history_message = ""
    for user_turn, assistant_turn in history:
        history_message += user_prompt_format.format(prompt=user_turn)
        history_message += assistant_prompt_format.format(prompt=assistant_turn)

    # Format the new user message
    new_user_message = user_prompt_format.format(prompt=message)
    # Create a new aggregated message to be used as a single flat string in a json object sent to the LLM
    aggregated_message = (
        history_message + new_user_message + assistant_prompt_format.format(prompt="")
    )
    return aggregated_message
For Gemini (Managed)
Managed services often prefer structured objects over raw strings. We need a separate function to format the history into types.Content objects for the Gemini SDK.
Find process_message_gemini and replace it with:
def process_message_gemini(message, history):
    contents = []
    for user_turn, model_turn in history:
        contents.append(
            types.Content(role="user", parts=[types.Part.from_text(text=user_turn)])
        )
        contents.append(
            types.Content(role="model", parts=[types.Part.from_text(text=model_turn)])
        )

    contents.append(
        types.Content(role="user", parts=[types.Part.from_text(text=message)])
    )
    return contents
Step 2: Call the Self-Hosted Gemma Model
We need to send our formatted prompt to the Gemma service running in our cluster. We'll use a standard HTTP POST request to the service's internal DNS name.
Find the call_gemma_model function and replace it with:
# Construct the request, send it to Gemma, return the model's response
# aggregated_message = current user message + history
def call_gemma_model(aggregated_message, model_temperature, top_p, max_tokens):
    json_message = {
        "prompt": aggregated_message,
        "temperature": model_temperature,
        "top_p": top_p,
        "max_tokens": max_tokens,
        "stop": ["User's Turn:"],
    }

    # Log what will be sent to the LLM
    print("*** JSON request: " + str(json_message))

    # Send the constructed json with the user prompt to the model and put the model's response in the json_data variable
    json_data = post_request(json_message)

    # The response from the model is a list of predictions. We'll take the first result.
    raw_output = json_data["predictions"][0]

    # The vLLM server returns the full prompt in the response. We need to extract
    # just the newly generated text from the model.
    assistant_turn_marker = "Assistant's Turn:\n>>>"
    marker_pos = raw_output.rfind(assistant_turn_marker)

    if marker_pos != -1:
        output = raw_output[marker_pos + len(assistant_turn_marker) :]
    else:
        output = raw_output

    # Clean up potential over-generation
    stop_marker = "User's Turn:"
    stop_pos = output.lower().find(stop_marker.lower())
    if stop_pos != -1:
        output = output[:stop_pos]

    return output.strip()
Step 3: Call the Vertex AI Gemini Model
For the managed model, we'll use the Google GenAI SDK. This is much simpler as it handles the network calls for us.
Find the call_gemini_model function and replace it with:
# Send a request to Gemini via the VertexAI API. Return the model's response
# contents = list of types.Content objects
def call_gemini_model(contents, model_temperature, top_p, max_tokens):
    gemini_model = "gemini-2.5-flash"

    response = client.models.generate_content(
        model=gemini_model,
        contents=contents,
        config={
            "temperature": model_temperature,
            "max_output_tokens": max_tokens,
            "top_p": top_p,
        },
    )
    return response.text
Step 4: Implement the Main Inference Interface
Finally, we need the main orchestrator function that Gradio calls. This function needs to:
- Initialize history if it's empty.
- Process the message.
- Route the request to the selected model (Gemma or Gemini).
- Save the interaction to Firestore.
- Return the response to the UI.
Gradio and State Management: Gradio's ChatInterface automatically handles the session-level state (displaying messages in the browser). However, it doesn't have built-in support for external databases.
To persist chat history for the long term, we use a standard pattern: we hook into the inference_interface function. By accepting request: gr.Request as an argument, Gradio automatically passes us the current user's session details. We use this to create a unique Firestore document for each user, ensuring that conversations don't get mixed up in a multi-user environment.
Find the inference_interface function and replace it with:
# This is the primary chat function. Every time a user sends a message, gradio calls this function,
# which sends the user's input to the appropriate AI (as indicated on the user interface), updates
# the chat history for future use during this session, and records the chat history in Firestore.
def inference_interface(
    message,
    history,
    model_name,
    model_temperature,
    top_p,
    max_tokens,
    request: gr.Request,
):

    # set history to empty array
    if history is None:
        history = []

    # Get or create session document
    session_hash = request.session_hash
    doc_id = f"session-{session_hash}"
    doc_ref = db.collection("chat_sessions").document(doc_id)

    # Create the session document if it doesn't exist
    if not doc_ref.get().exists:
        doc_ref.set({"Session start": datetime.datetime.now()})

    # Log info
    print("Model: " + model_name)
    print("LLM Engine: " + llm_engine)
    print("* History: " + str(history))

    # Pass the message and history to the appropriate model, as indicated by the user via the ui
    if model_name == "Gemma3 12b it":
        aggregated_message = process_message_gemma(message, history)
        output = call_gemma_model(
            aggregated_message, model_temperature, top_p, max_tokens
        )

    elif model_name == "Gemini":
        gemini_contents = process_message_gemini(message, history)
        output = call_gemini_model(
            gemini_contents, model_temperature, top_p, max_tokens
        )

    else:
        # Handle the case where no valid model is selected
        output = "Error: Invalid model selected."

    interaction = {"user": message, model_name: output}

    # Log the updated chat history
    print("* History: " + str(history) + " " + str(interaction))

    # Save the updated history to Firestore
    save_chat_history(interaction, doc_ref)

    return output
6. Check Your app.py File
At this point, your gradio-based chat application should be ready to deploy. Ensure that it matches the following complete file precisely.
Troubleshooting: If you deploy your application and get a "refused to connect" or "This site can't be reached" error when trying to connect to it, try repeating the steps from this point, starting by copying this whole file and pasting it into your app.py.
# Copyright 2024 Google LLC
#
# Licensed under the Apache License, Version 2.0 (the "License");
# you may not use this file except in compliance with the License.
# You may obtain a copy of the License at
#
#      http://www.apache.org/licenses/LICENSE-2.0
#
# Unless required by applicable law or agreed to in writing, software
# distributed under the License is distributed on an "AS IS" BASIS,
# WITHOUT WARRANTIES OR CONDITIONS OF ANY KIND, either express or implied.
# See the License for the specific language governing permissions and
# limitations under the License.

import datetime

import google.auth
import google.cloud
import gradio as gr
import requests
import themes
from google import genai

from google.cloud import firestore
from google.genai import types

## Do one-time initialization things

## grab the project id from google auth
_, project = google.auth.default()
print(f"Project: {project}")

# Set initial values for model
llm_engine = "vllm"
host = "http://gemma-service:8000"
context_path = "/generate"

# initialize vertex for interacting with Gemini
client = genai.Client(
    vertexai=True,
    project=project,
    location="global",
)

# Initialize Firestore client
db = firestore.Client(database="chat-app-db")


# This is the primary chat function. Every time a user sends a message, gradio calls this function,
# which sends the user's input to the appropriate AI (as indicated on the user interface), updates
# the chat history for future use during this session, and records the chat history in Firestore.
def inference_interface(
    message,
    history,
    model_name,
    model_temperature,
    top_p,
    max_tokens,
    request: gr.Request,
):

    # set history to empty array
    if history is None:
        history = []

    # Get or create session document
    session_hash = request.session_hash
    doc_id = f"session-{session_hash}"
    doc_ref = db.collection("chat_sessions").document(doc_id)

    # Create the session document if it doesn't exist
    if not doc_ref.get().exists:
        doc_ref.set({"Session start": datetime.datetime.now()})

    # Log info
    print("Model: " + model_name)
    print("LLM Engine: " + llm_engine)
    print("* History: " + str(history))

    # Pass the message and history to the appropriate model, as indicated by the user via the ui
    if model_name == "Gemma3 12b it":
        aggregated_message = process_message_gemma(message, history)
        output = call_gemma_model(
            aggregated_message, model_temperature, top_p, max_tokens
        )

    elif model_name == "Gemini":
        gemini_contents = process_message_gemini(message, history)
        output = call_gemini_model(
            gemini_contents, model_temperature, top_p, max_tokens
        )

    else:
        # Handle the case where no valid model is selected
        output = "Error: Invalid model selected."

    interaction = {"user": message, model_name: output}

    # Log the updated chat history
    print("* History: " + str(history) + " " + str(interaction))

    # Save the updated history to Firestore
    save_chat_history(interaction, doc_ref)

    return output


# Construct the request, send it to Gemma, return the model's response
# aggregated_message = current user message + history
def call_gemma_model(aggregated_message, model_temperature, top_p, max_tokens):
    json_message = {
        "prompt": aggregated_message,
        "temperature": model_temperature,
        "top_p": top_p,
        "max_tokens": max_tokens,
        "stop": ["User's Turn:"],
    }

    # Log what will be sent to the LLM
    print("*** JSON request: " + str(json_message))  # Log the JSON request

    # Send the constructed json with the user prompt to the model and put the model's response in the json_data variable
    json_data = post_request(json_message)

    # The response from the model is a list of predictions.
    # We'll take the first result.
    raw_output = json_data["predictions"][0]

    # The vLLM server returns the full prompt in the response. We need to extract
    # just the newly generated text from the model. The prompt ends with
    # "Assistant's Turn:\n>>>", so we find the last occurrence of that and
    # take everything after it.
    assistant_turn_marker = "Assistant's Turn:\n>>>"
    marker_pos = raw_output.rfind(assistant_turn_marker)

    if marker_pos != -1:
        # Get the text generated by the assistant
        output = raw_output[marker_pos + len(assistant_turn_marker) :]
    else:
        # Fallback in case the marker isn't found
        output = raw_output

    # The model sometimes continues the conversation and includes the next user's turn.
    # The 'stop' parameter is a good hint, but we parse the output as a safeguard.
    stop_marker = "User's Turn:"
    stop_pos = output.lower().find(stop_marker.lower())
    if stop_pos != -1:
        output = output[:stop_pos]

    # The model also sometimes prefixes its response with "Output:". We'll remove this.
    output = output.lstrip()
    prefix_marker = "Output:"
    if output.lower().startswith(prefix_marker.lower()):
        output = output[len(prefix_marker) :]

    return output.strip()


# Send a request to Gemini via the VertexAI API. Return the model's response
# contents = list of types.Content objects
def call_gemini_model(contents, model_temperature, top_p, max_tokens):
    gemini_model = "gemini-2.5-flash"

    response = client.models.generate_content(
        model=gemini_model,
        contents=contents,
        config={
            "temperature": model_temperature,
            "max_output_tokens": max_tokens,
            "top_p": top_p,
        },
    )
    output = response.text  # Extract the generated text
    # Consider handling additional response attributes (safety, usage, etc.)
    return output


def process_message_gemini(message, history):
    contents = []
    for user_turn, model_turn in history:
        contents.append(
            types.Content(role="user", parts=[types.Part.from_text(text=user_turn)])
        )
        contents.append(
            types.Content(role="model", parts=[types.Part.from_text(text=model_turn)])
        )

    contents.append(
        types.Content(role="user", parts=[types.Part.from_text(text=message)])
    )
    return contents


# This function takes a user's message and the conversation history as input.
#   Its job is to format these elements into a single,
#   structured prompt that can be understood by the language model (LLM).
#   This structured format helps the LLM maintain context and generate more relevant responses.
def process_message_gemma(message, history):
    user_prompt_format = "User's Turn:\n>>> {prompt}\n"
    assistant_prompt_format = "Assistant's Turn:\n>>> {prompt}\n"

    history_message = ""
    for user_turn, assistant_turn in history:
        history_message += user_prompt_format.format(prompt=user_turn)
        history_message += assistant_prompt_format.format(prompt=assistant_turn)

    # Format the new user message
    new_user_message = user_prompt_format.format(prompt=message)
    # Create a new aggregated message to be used as a single flat string in a json object sent to the LLM
    aggregated_message = (
        history_message + new_user_message + assistant_prompt_format.format(prompt="")
    )
    return aggregated_message


# Function to save chat history to Firestore
def save_chat_history(interaction, doc_ref):
    timestamp_str = str(datetime.datetime.now())

    # Save the chat history, merging with existing data
    doc_ref.update({timestamp_str: interaction})

    print("Chat history saved successfully!")  # Optional: Log success


# Send the json message to the model and return the model's response. This is used for Gemma but not Gemini. It could also be used for other models.
def post_request(json_message):
    print("*** Request" + str(json_message), flush=True)
    # Set a timeout and check for HTTP errors. This will raise an exception on a bad status code (4xx or 5xx).
    response = requests.post(host + context_path, json=json_message, timeout=60)
    response.raise_for_status()
    json_data = response.json()
    print("*** Output: " + str(json_data), flush=True)
    return json_data


# custom css to hide default footer
css = """
footer {display: none !important;} .gradio-container {min-height: 0px !important;}
"""

# Add a dropdown to select the model to chat with
model_dropdown = gr.Dropdown(
    ["Gemma3 12b it", "Gemini"],
    label="Model",
    info="Select the model you would like to chat with.",
    value="Gemma3 12b it",
)

# Make the model temperature, top_p, and max tokents modifiable via sliders in the GUI
model_temperature = gr.Slider(
    minimum=0.1, maximum=1.0, value=0.9, label="Temperature", render=False
)
top_p = gr.Slider(minimum=0.1, maximum=1.0, value=0.95, label="Top_p", render=False)
max_tokens = gr.Slider(
    minimum=1, maximum=4096, value=1024, label="Max Tokens", render=False
)

# Call gradio to create the chat interface
app = gr.ChatInterface(
    inference_interface,
    additional_inputs=[model_dropdown, model_temperature, top_p, max_tokens],
    theme=themes.google_theme(),
    css=css,
    title="Chat with AI",
)

app.launch(server_name="0.0.0.0", allowed_paths=["images"])
7. Deploy the Chat Application
We will use Skaffold to build our container image and deploy it to the cluster. Skaffold is a command line tool that orchestrates and automates the process of building, pushing, and deploying applications to Kubernetes. It simplifies the development workflow by allowing you to trigger this entire process with a single command, making it ideal for iterating on your application.
Note: this will also deploy the Kubernetes Service account we need for Workload Identity. You can see its definition in the deploy/chat-deploy.yaml file. Check out its definition here, for reference:
apiVersion: v1
kind: ServiceAccount
metadata:
  name: gradio-chat-ksa
Run Skaffold to build and deploy:
skaffold run --default-repo=us-central1-docker.pkg.dev/$GOOGLE_CLOUD_PROJECT/chat-app-repo
Skaffold will use Cloud Build to build the container image, push it to the Artifact Registry created by Terraform, and then apply the Kubernetes manifests to your cluster.
8. Test the Application
- Wait for the chat application service to get an external IP address:
kubectl get svc gradio-chat-service --watchEXTERNAL-IPchanges frompendingto an actual IP address, pressCtrl+Cto stop watching. - Open a web browser and navigate to
http://[EXTERNAL-IP]:7860. - Try interacting with the model! The app is configured to have you chat with your locally hosted Gemma model by default. If you want to chat with Gemini, change the model in the "Additional Inputs" dropdown. For an example, try asking the AI: "Tell me a Kubernetes joke."
Troubleshooting:
- If you get an error like "This site can't be reached" or "[EXTERNAL-IP] refused to connect," something may have gone wrong with your app.py file. Return to the step titled "Check Your app.py File" and repeat the steps from there.
- The UI defaults to the "Gemma3 12b it" model. If you get an error immediately, it's likely because the Gemma pod isn't ready yet. Tip: You can switch the dropdown to "Gemini" to test interacting with the chat application while waiting for Gemma to initialize!
Test Gemma: Ensure "Gemma3 12b it" is selected in the dropdown and send a message (e.g., "Tell me a joke about Kubernetes").
Test Gemini: Switch the dropdown to "Gemini" and ask another question (e.g., "What is the difference between a pod and a node?").
Verify History: Once you have successfully chatted with a model (either Gemma or Gemini) in the chat app, check out your "chat-app-db" database in Firestore to see the chat logs. If you were able to chat with both models, notice that the conversation history is maintained even when switching models.
9. Going Further
Now that you have a working hybrid chat application, consider these challenges to deepen your understanding:
- Custom Persona: Try modifying the
process_message_gemmaandprocess_message_geminifunctions to include a "system prompt" at the beginning. For example, tell the models "You are a helpful pirate assistant." and see how it changes their responses. - Persistent User Identity: Currently, the application generates a new random UUID for every session. How would you integrate a real authentication system (like Google Sign-In) so that a user could see their past conversation history across different devices?
- Model Experimentation: Try changing the
temperatureslider in the UI. How does a high temperature (near 1.0) affect the creativity vs. accuracy of the responses compared to a low temperature (near 0.1)?
10. Conclusion
Congratulations! You have successfully built a hybrid AI application. You've learned how to:
- Use Terraform for infrastructure-as-code on Google Cloud.
- Host your own open-weight LLMs on GKE for complete control.
- Integrate managed AI services like Vertex AI for flexibility.
- Build a stateful application using Firestore for persistence.
- Secure your workloads using Workload Identity.
Clean Up
To avoid incurring charges, destroy the resources you created:
cd infra
terraform destroy -var="project_id=$GOOGLE_CLOUD_PROJECT" -var="project_number=$PROJECT_NUMBER" -var="region=$REGION"