
1. परिचय
खास जानकारी
इस लैब में, Google Kubernetes Engine (GKE) पर एआई की मदद से काम करने वाला फ़ुल-स्टैक चैट ऐप्लिकेशन बनाया और डिप्लॉय किया जाएगा. यह "हाइब्रिड" ऐप्लिकेशन, एक बेहतरीन आर्किटेक्चरल पैटर्न दिखाता है: यह सीधे आपके क्लस्टर में चल रहे, खुद होस्ट किए गए ओपन मॉडल (Gemma 3 12B) और मैनेज की गई एआई सेवा (Vertex AI के ज़रिए Gemini 2.5 Flash) के बीच आसानी से स्विच करने की सुविधा देता है.
                                   +----------------------+
                                   |   User (Web Browser) |
                                   +-----------+----------+
                                               |
                                               v
+----------------------------------------------+---------------------------------------------+
| Google Cloud Platform                        |                                             |
|   |                                  +-------+-------+                                     |
|   |                                  | Load Balancer |                                     |
|   |                                  +-------+-------+                                     |
|   |                                          v                                             |
|   +------------------------------------------+-----------------------------------------+   |
|   |  Google Kubernetes Engine (GKE)          |                                         |   |
|   |                                          v                                         |   |
|   |                              +-----------+-----------+                             |   |
|   |                              |    Gradio Chat App    |                             |   |
|   |                              +--+-----------------+--+                             |   |
|   |                                 |                 |                                |   |
|   |                   (Self-hosted) |                 | (Managed via SDK)              |   |
|   |                                 v                 |                                |   |
|   |                  +--------------+---+             |                                |   |
|   |                  | Gemma 3 Model    |             |                                |   |
|   |                  | (GPU Node)       |             |                                |   |
|   |                  +------------------+             |                                |   |
|   +---------------------------------------------------|--------------------------------+   |
|                                                       |                                    |
|                                                       v                                    |
|                                            +----------+-----------+                        |
|                                            | Vertex AI (Gemini)   |                        |
|                                            +----------------------+                        |
|                                                       | (Save History)                     |
|                                                       v                                    |
|                                            +----------+-----------+                        |
|                                            | Firestore Database   |                        |
|                                            +----------------------+                        |
+--------------------------------------------------------------------------------------------+
आपको इंफ़्रास्ट्रक्चर को चालू करने के लिए Terraform का इस्तेमाल करना होगा. इसमें GKE Autopilot क्लस्टर और चैट सेशन के इतिहास को सेव करने के लिए Firestore डेटाबेस शामिल है. इसके बाद, आपको Python ऐप्लिकेशन कोड पूरा करना होगा. इससे कई बार बातचीत की जा सकेगी, दोनों एआई मॉडल के साथ इंटरफ़ेस किया जा सकेगा, और Cloud Build और Skaffold का इस्तेमाल करके फ़ाइनल ऐप्लिकेशन को डिप्लॉय किया जा सकेगा.
आपको क्या सीखने को मिलेगा
- Terraform का इस्तेमाल करके, GKE और Firestore का इन्फ़्रास्ट्रक्चर उपलब्ध कराएं.
- Kubernetes मेनिफ़ेस्ट का इस्तेमाल करके, GKE Autopilot पर लार्ज लैंग्वेज मॉडल (Gemma) डिप्लॉय करें.
- Python में Gradio चैट इंटरफ़ेस लागू करें, जो अलग-अलग एआई बैकएंड के बीच स्विच कर सके.
- इस कुकी का इस्तेमाल, चैट सेशन के इतिहास को सेव करने और वापस पाने के लिए किया जाता है.
- Workload Identity को कॉन्फ़िगर करें, ताकि आपके GKE वर्कलोड को Google Cloud की सेवाओं (Vertex AI, Firestore) का ऐक्सेस सुरक्षित तरीके से दिया जा सके.
ज़रूरी शर्तें
- बिलिंग की सुविधा वाला Google Cloud प्रोजेक्ट.
- Python, Kubernetes, और स्टैंडर्ड कमांड-लाइन टूल के बारे में बुनियादी जानकारी.
- Gemma मॉडल को ऐक्सेस करने के लिए, Hugging Face टोकन.
2. प्रोजेक्ट सेटअप करना
- अगर आपके पास पहले से कोई Google खाता नहीं है, तो आपको Google खाता बनाना होगा.
- ऑफ़िस या स्कूल वाले खाते के बजाय, निजी खाते का इस्तेमाल करें. ऑफ़िस और स्कूल वाले खातों पर कुछ पाबंदियां हो सकती हैं. इनकी वजह से, इस लैब के लिए ज़रूरी एपीआई चालू नहीं किए जा सकते.
- Google Cloud Console में साइन इन करें.
- Cloud Console में बिलिंग चालू करें.
- इस लैब को पूरा करने में, Cloud संसाधनों पर 1 डॉलर से कम का खर्च आना चाहिए.
- ज़्यादा शुल्क से बचने के लिए, इस लैब के आखिर में दिए गए निर्देशों का पालन करके संसाधनों को मिटाया जा सकता है.
- नए उपयोगकर्ता, 300 डॉलर के मुफ़्त में आज़माने की सुविधा का फ़ायदा पा सकते हैं.
- नया प्रोजेक्ट बनाएं या किसी मौजूदा प्रोजेक्ट का फिर से इस्तेमाल करें.
Cloud Shell Editor खोलें
- सीधे Cloud Shell Editor पर जाने के लिए, इस लिंक पर क्लिक करें
- अगर आज किसी भी समय अनुमति देने के लिए कहा जाता है, तो जारी रखने के लिए अनुमति दें पर क्लिक करें.
- अगर टर्मिनल स्क्रीन पर सबसे नीचे नहीं दिखता है, तो इसे खोलें:
- देखें पर क्लिक करें
- टर्मिनल
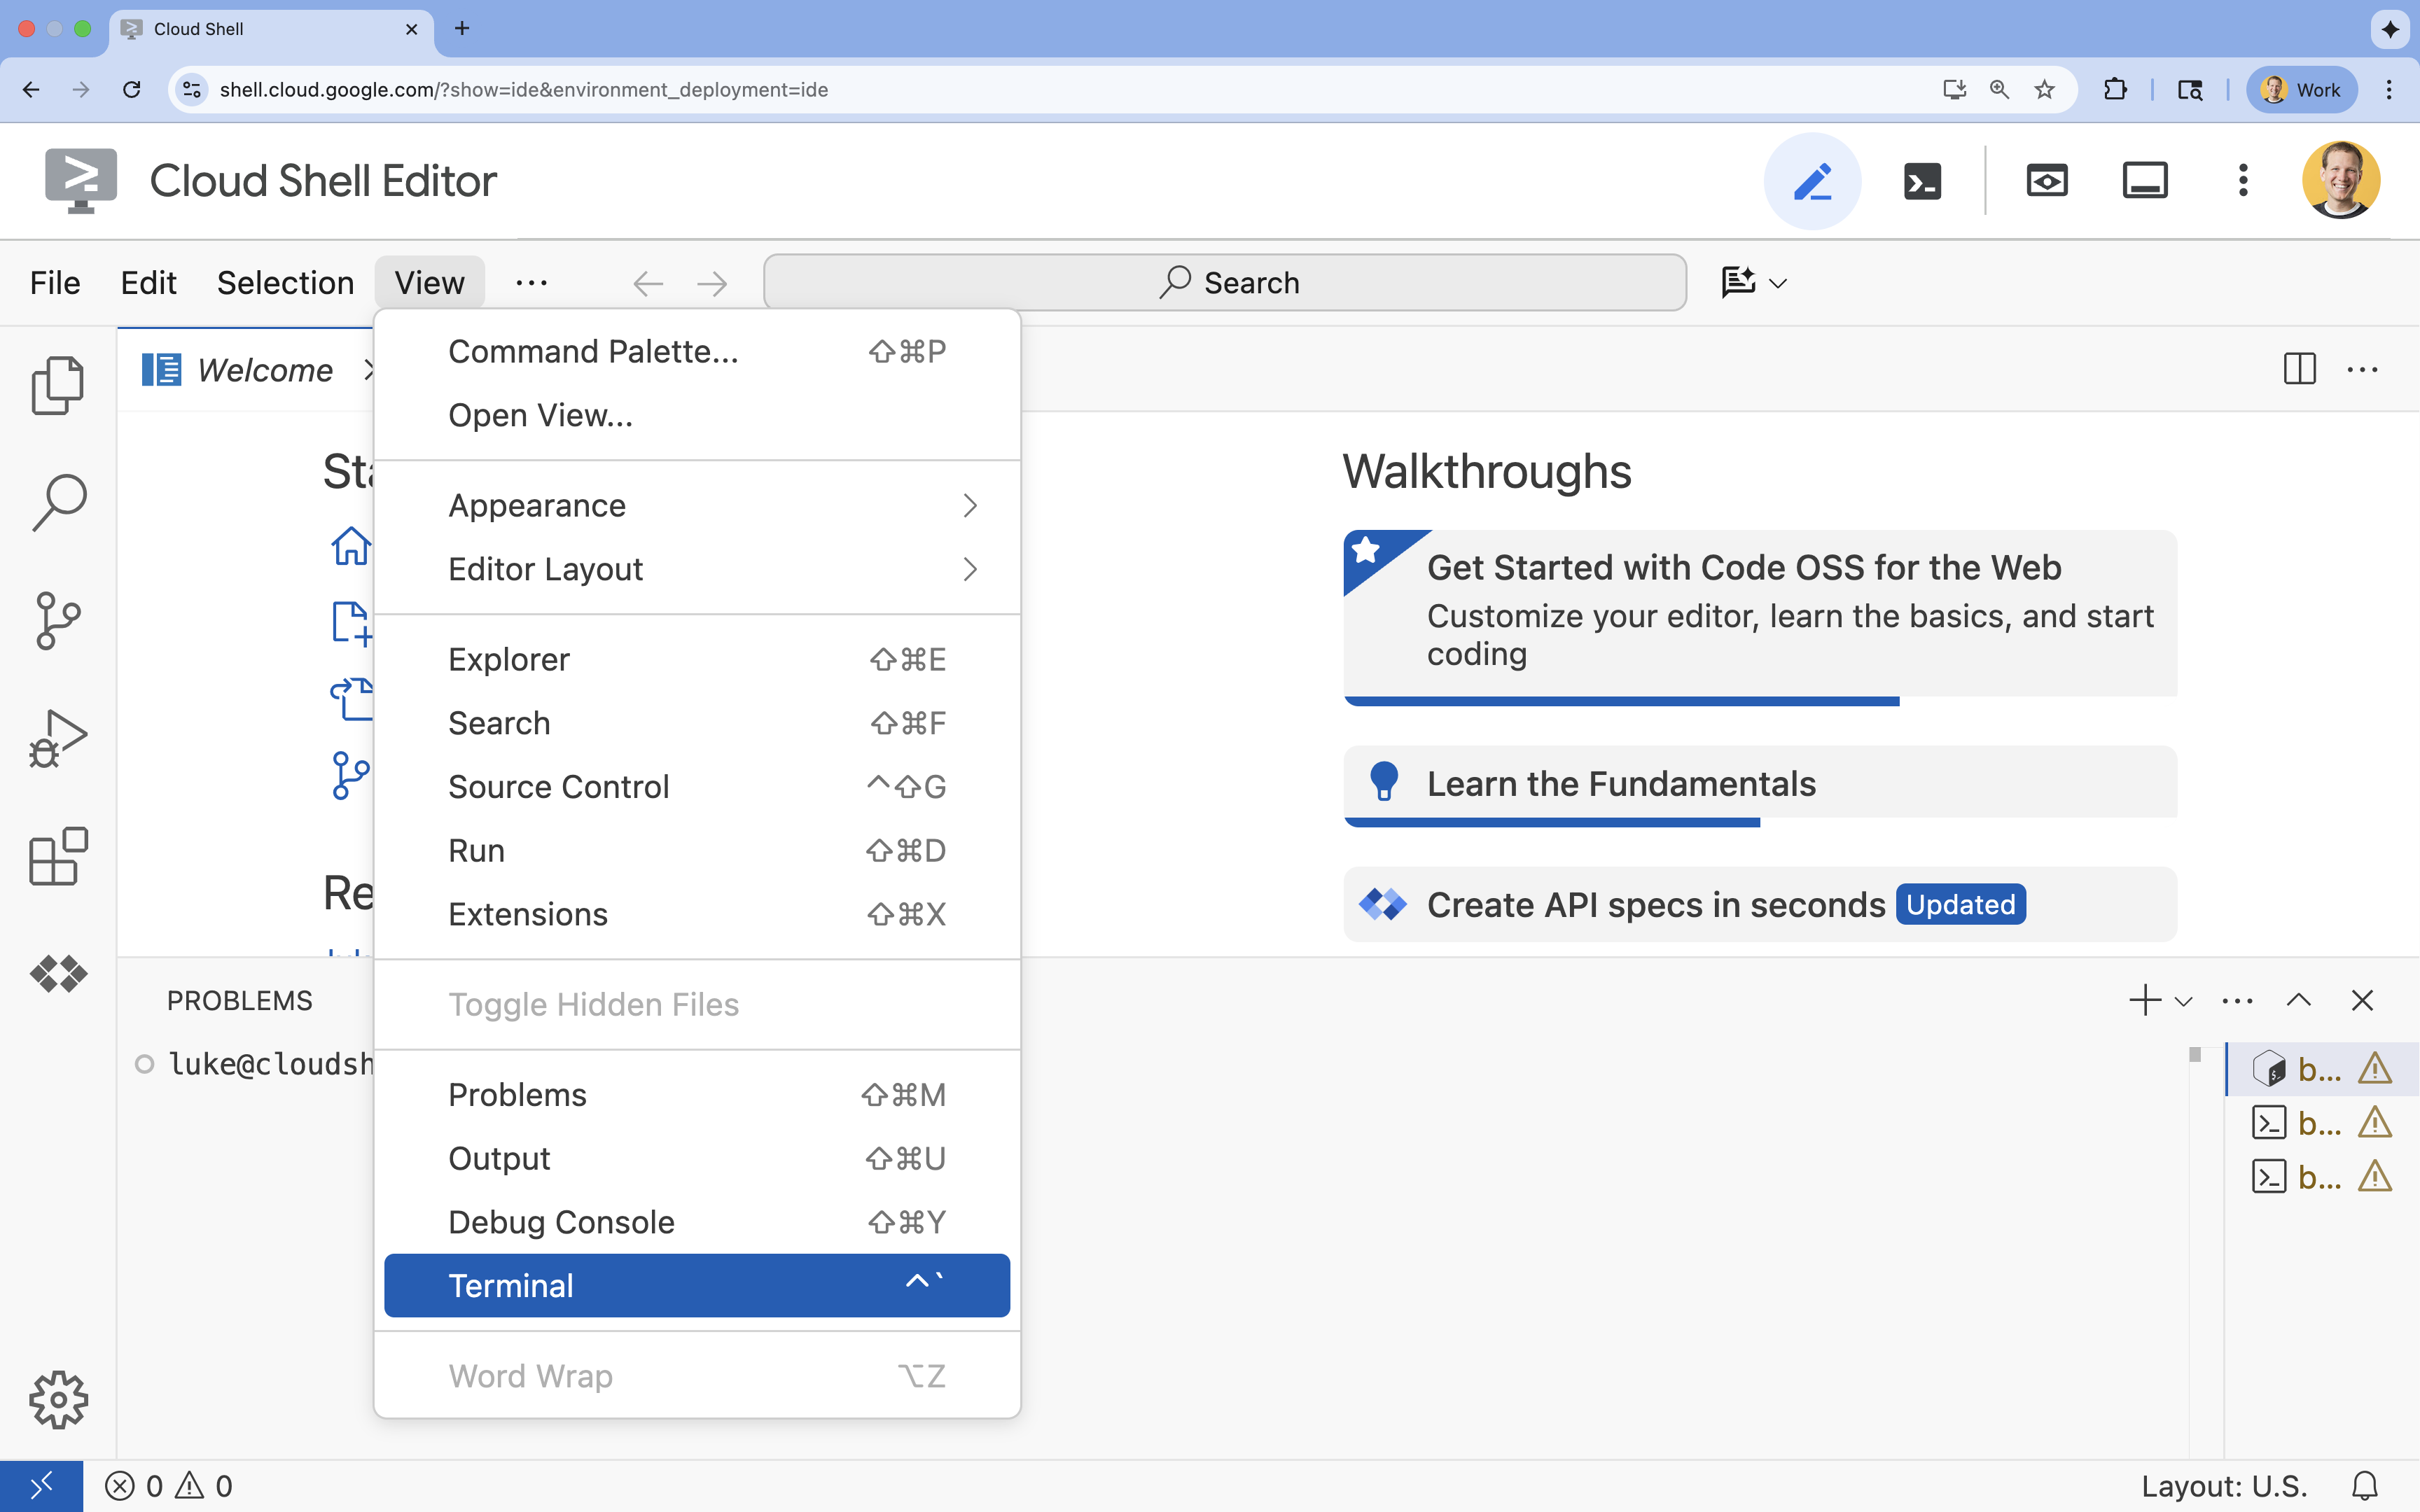 पर क्लिक करें
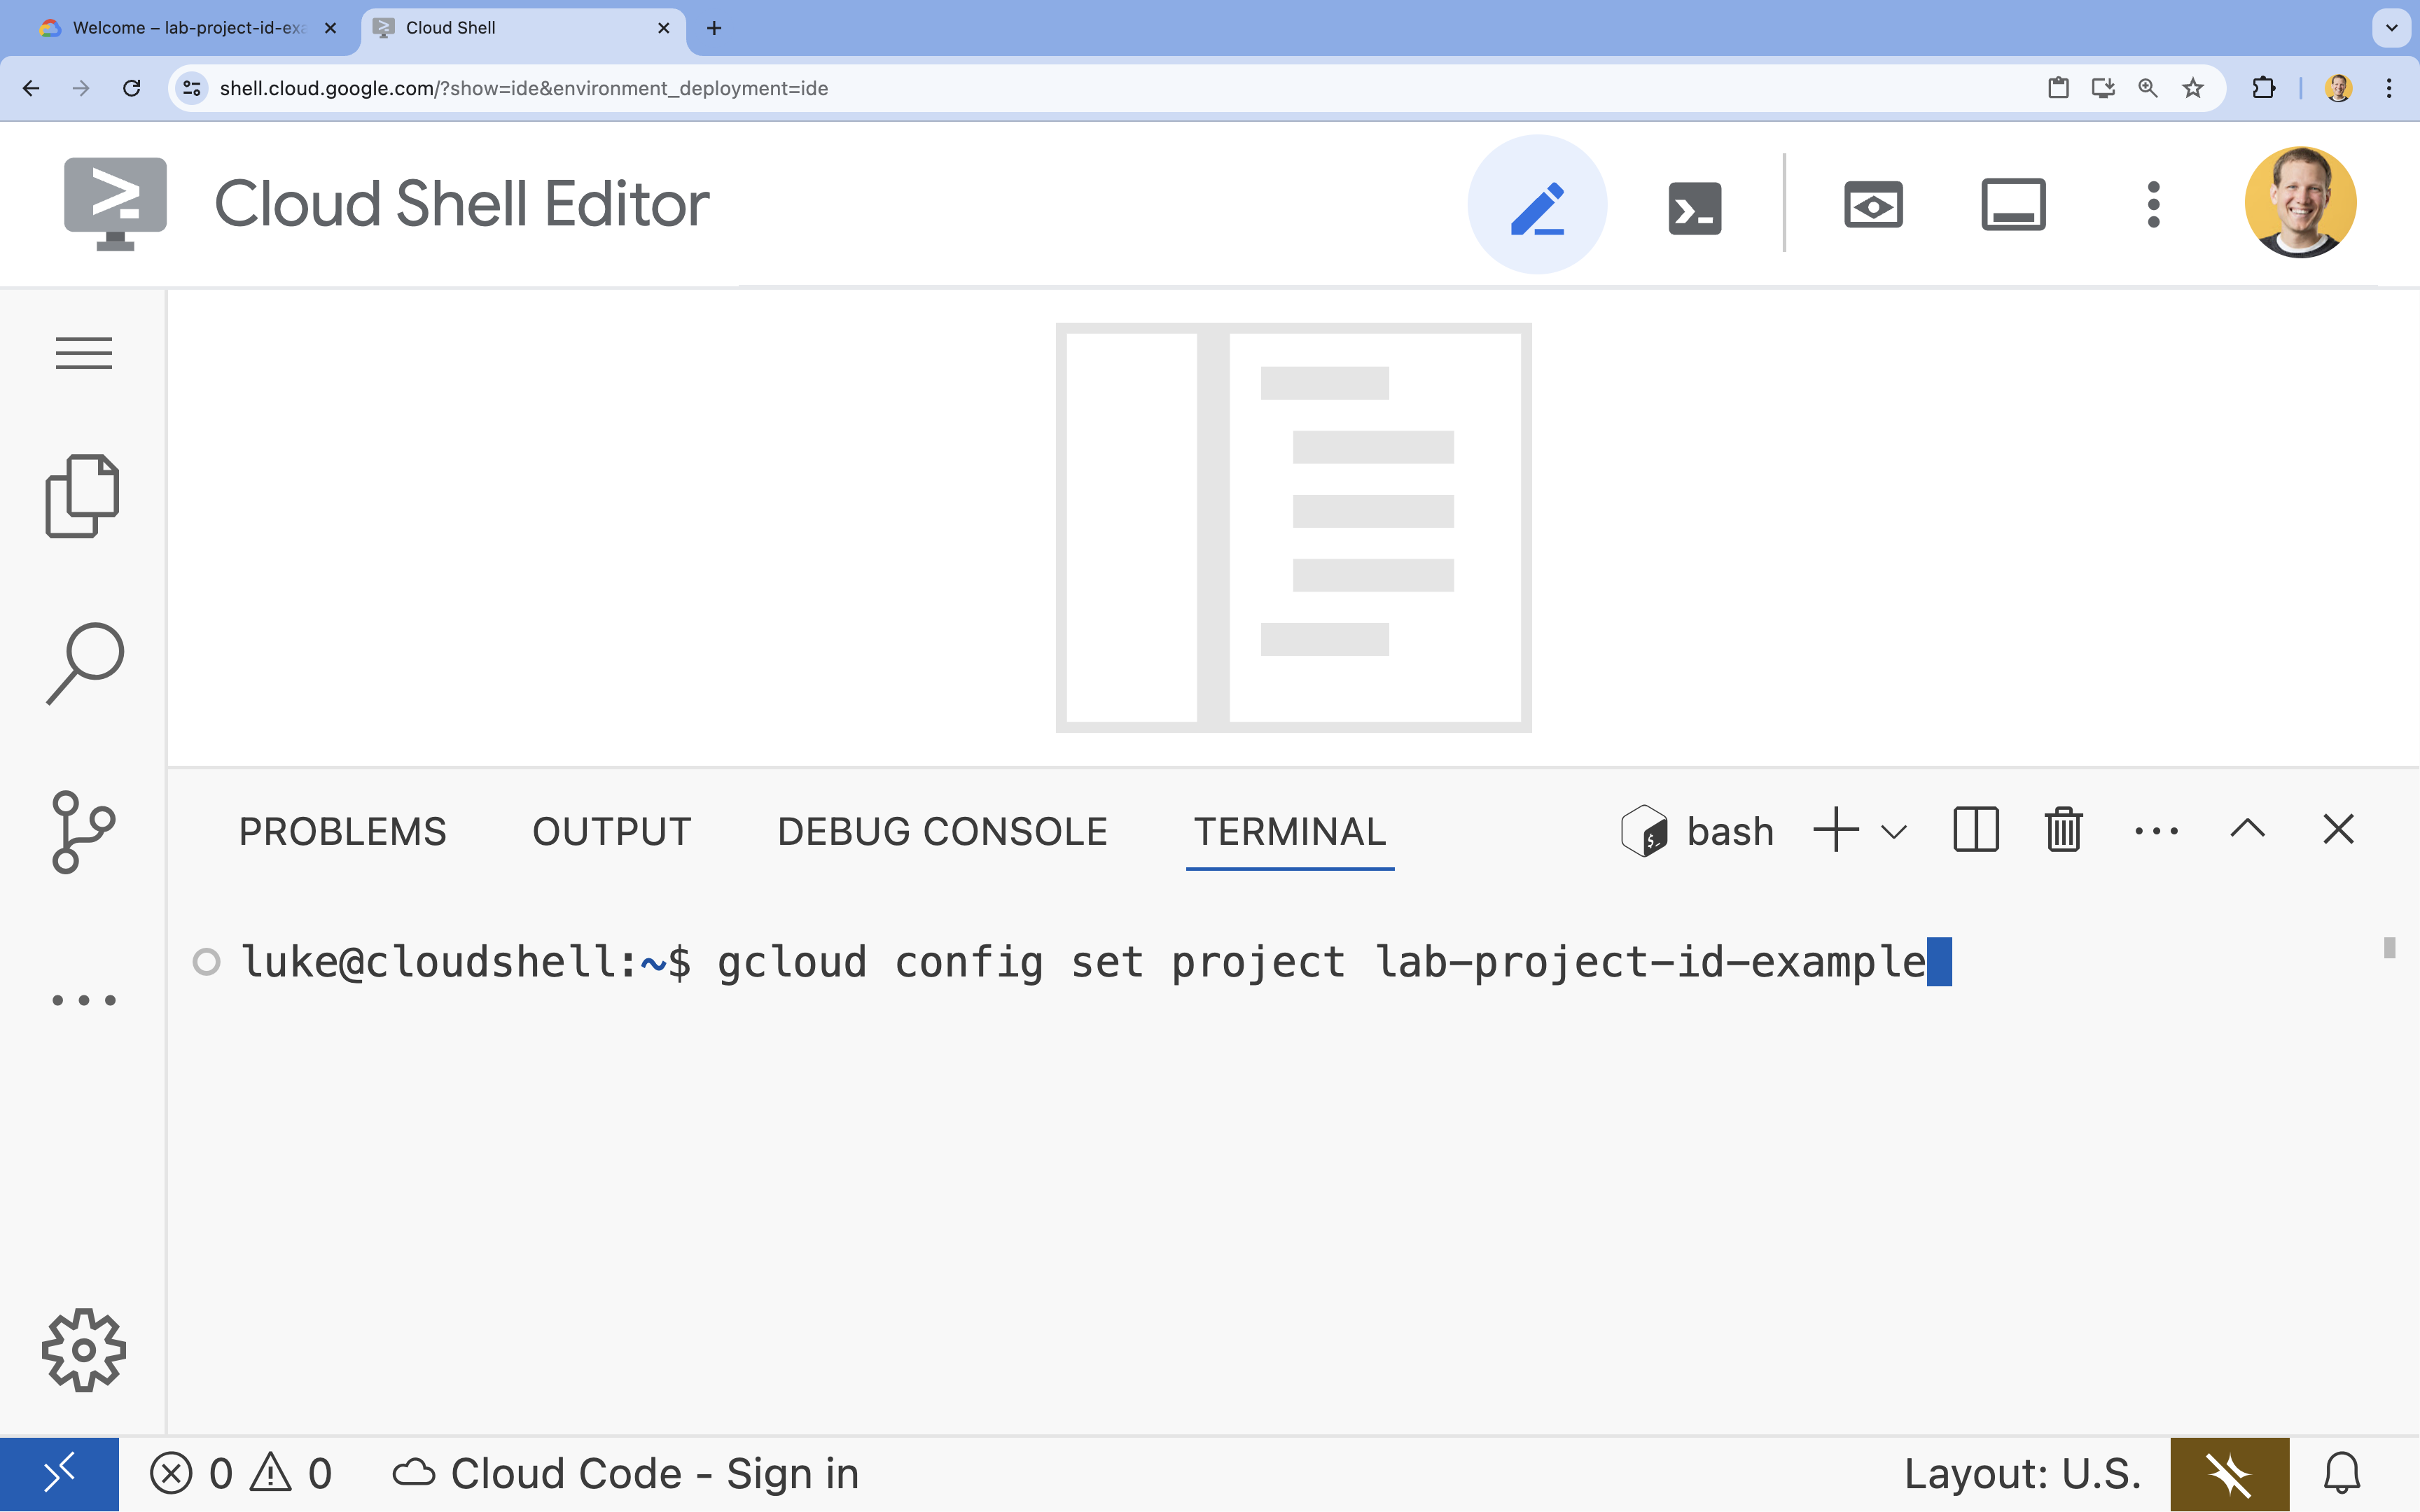
- टर्मिनल में, इस निर्देश का इस्तेमाल करके अपना प्रोजेक्ट सेट करें:
- फ़ॉर्मैट:
gcloud config set project [PROJECT_ID] - उदाहरण:
gcloud config set project lab-project-id-example - अगर आपको अपना प्रोजेक्ट आईडी याद नहीं है, तो:
- अपने सभी प्रोजेक्ट आईडी की सूची बनाने के लिए, यह तरीका अपनाएं:
gcloud projects list | awk '/PROJECT_ID/{print $2}'
- अपने सभी प्रोजेक्ट आईडी की सूची बनाने के लिए, यह तरीका अपनाएं:
- फ़ॉर्मैट:
- आपको यह मैसेज दिखेगा:
Updated property [core/project].
WARNINGदिखता है और आपसेDo you want to continue (Y/n)?पूछा जाता है, तो इसका मतलब है कि आपने प्रोजेक्ट आईडी गलत डाला है.nदबाएं,Enterदबाएं, औरgcloud config set projectनिर्देश को फिर से चलाने की कोशिश करें.
रिपॉज़िटरी का क्लोन बनाना
अपने Cloud Shell टर्मिनल में, प्रोजेक्ट रिपॉज़िटरी को क्लोन करें और प्रोजेक्ट डायरेक्ट्री पर जाएं:
git clone https://github.com/GoogleCloudPlatform/devrel-demos.git
cd devrel-demos/containers/gradio-chat-gke
थोड़ा समय निकालकर प्रोजेक्ट के स्ट्रक्चर के बारे में जानें:
gradio-chat-gke/
├── app/
│   ├── app.py                # Main application logic (you will edit this)
│   ├── requirements.txt      # Python dependencies
│   └── themes.py             # UI theming
├── deploy/
│   ├── chat-deploy.yaml      # Kubernetes deployment for the chat app
│   ├── Dockerfile            # Container definition for the chat app
│   └── gemma3-12b-deploy.yaml# Kubernetes deployment for Gemma model
├── infra/
│   └── main.tf               # Terraform infrastructure definition
└── skaffold.yaml             # Skaffold configuration for building/deploying
एनवायरमेंट वैरिएबल सेट करना
अपने प्रोजेक्ट आईडी और प्रोजेक्ट नंबर के लिए एनवायरमेंट वैरिएबल सेट अप करें. इनका इस्तेमाल Terraform और बाद की कमांड के लिए किया जाएगा.
export GOOGLE_CLOUD_PROJECT=$(gcloud config get-value project)
export PROJECT_NUMBER=$(gcloud projects describe $GOOGLE_CLOUD_PROJECT --format="value(projectNumber)")
export REGION=us-central1
Cloud Resource Manager API चालू करना
Terraform को Cloud Resource Manager API की ज़रूरत होती है, ताकि वह आपके प्रोजेक्ट के संसाधनों को मैनेज कर सके. इसलिए, हमें इसे पहले चालू करना होगा. बाद में, हम Skaffold की मदद से अपना चैट ऐप्लिकेशन डिप्लॉय करेंगे. यह हमारी कंटेनर इमेज बनाने के लिए, Cloud Build का इस्तेमाल करता है. अब हम स्टोरेज एपीआई चालू करेंगे और Cloud Build के लिए ज़रूरी बकेट बनाएंगे. हम इस प्रोजेक्ट के लिए ज़रूरी अन्य एपीआई को चालू करने के लिए, Terraform का इस्तेमाल करेंगे.
gcloud services enable cloudresourcemanager.googleapis.com storage-api.googleapis.com
Cloud Build का स्टेजिंग बकेट बनाना
Skaffold, Google Cloud Build का इस्तेमाल करता है. इसके लिए, Cloud Storage बकेट की ज़रूरत होती है, ताकि आपके सोर्स कोड को स्टेज किया जा सके.
इसे अभी बनाएं, ताकि यह पक्का किया जा सके कि यह मौजूद है:
gcloud storage buckets create gs://${GOOGLE_CLOUD_PROJECT}_cloudbuild
(अगर आपको यह गड़बड़ी का मैसेज मिलता है कि बकेट पहले से मौजूद है, तो इसे अनदेखा किया जा सकता है).
3. Terraform की मदद से इंफ़्रास्ट्रक्चर उपलब्ध कराना
हम ज़रूरी Google Cloud संसाधनों को सेट अप करने के लिए, Terraform का इस्तेमाल करेंगे. इससे यह पक्का होता है कि एनवायरमेंट को दोहराया जा सकता है और वह एक जैसा है.
- इंफ़्रास्ट्रक्चर डायरेक्ट्री पर जाएं:
cd infra
इस फ़ाइल में, उन अतिरिक्त एपीआई के बारे में बताया गया है जिनकी हमें इस प्रोजेक्ट के लिए ज़रूरत होगी: cloudbuild, artifactregistry, container (gke), firestore, और aiplatform (vertexai). फ़ाइल में या यहां देखें कि Terraform के ज़रिए एपीआई कैसे चालू किए जाते हैं:
resource "google_project_service" "cloudbuild" {
  service            = "cloudbuild.googleapis.com"
  disable_on_destroy = false
  project            = var.project_id
}

resource "google_project_service" "artifactregistry" {
  service            = "artifactregistry.googleapis.com"
  disable_on_destroy = false
  project            = var.project_id
}

resource "google_project_service" "container" {
  service            = "container.googleapis.com"
  disable_on_destroy = false
  project            = var.project_id
}

resource "google_project_service" "firestore" {
  service            = "firestore.googleapis.com"
  disable_on_destroy = false
  project            = var.project_id
}

resource "google_project_service" "vertexai" {
  service            = "aiplatform.googleapis.com"
  disable_on_destroy = false
  project            = var.project_id
}
GKE क्लस्टर तय करना
अपने एडिटर में infra/main.tf खोलें. आपको कई # TODO टिप्पणियां दिखेंगी. इसे मैन्युअल तरीके से खोला जा सकता है. इसके अलावा, एडिटर में फ़ाइल खोलने के लिए इस कमांड का इस्तेमाल करें:
cloudshell edit main.tf
सबसे पहले, हमें अपने Kubernetes क्लस्टर को तय करना होगा. हम GKE Autopilot का इस्तेमाल करेंगे. यह एआई वर्कलोड के लिए सबसे सही है, क्योंकि यह नोड मैनेजमेंट को अपने-आप मैनेज करता है.
# TODO: Create a GKE Autopilot Cluster ढूंढें और इसके नीचे यह ब्लॉक जोड़ें:
# Create a GKE Autopilot Cluster
resource "google_container_cluster" "primary" {
  name     = var.cluster_name
  location = var.region
  project  = var.project_id

  # Enable Autopilot mode
  enable_autopilot = true

  deletion_protection = false

  # Networking
  network    = "default"
  subnetwork = "projects/${var.project_id}/regions/${var.region}/subnetworks/default"

  # Timeout for cluster creation
  timeouts {
    create = "30m"
    update = "30m"
  }

  depends_on = [google_project_service.container]
}
सूचना enable_autopilot = true. इस एक लाइन से, हमें नोड पूल, ऑटोस्केलिंग, और जीपीयू वर्कलोड को बिन-पैक करने की सुविधा मिलती है.
Firestore डेटाबेस को तय करना
इसके बाद, हमें चैट इतिहास को सेव करने के लिए एक जगह की ज़रूरत होगी. Firestore एक सर्वरलेस, NoSQL डेटाबेस है, जो इस ज़रूरत को पूरी तरह से पूरा करता है.
# TODO: Create a Firestore Database ढूंढें और यह जोड़ें:
resource "google_firestore_database" "database" {
  project     = var.project_id
  name        = "chat-app-db"
  location_id = "nam5"
  type        = "FIRESTORE_NATIVE"

  depends_on = [google_project_service.firestore]
}
डेटाबेस संसाधन जोड़ने के बाद, # TODO: Create an initial Firestore Document ढूंढें और यह ब्लॉक जोड़ें. इस संसाधन से, हमारे कलेक्शन में एक शुरुआती प्लेसहोल्डर दस्तावेज़ बनता है. यह डेटाबेस स्ट्रक्चर को शुरू करने के लिए मददगार होता है.
resource "google_firestore_document" "initial_document" {
  project     = var.project_id
  collection  = "chat_sessions"
  document_id = "initialize"
  fields = <<EOF
  EOF

  depends_on = [google_firestore_database.database]
}
Workload Identity तय करना
आखिर में, हमें सुरक्षा को कॉन्फ़िगर करना होगा. हम चाहते हैं कि हमारे Kubernetes पॉड, Vertex AI और Firestore को ऐक्सेस कर सकें. इसके लिए, हमें किसी भी गोपनीय जानकारी या एपीआई पासकोड को मैनेज न करना पड़े. हम ऐसा Workload Identity की मदद से करते हैं.
हम Kubernetes सेवा खाते (केएसए) को ज़रूरी IAM भूमिकाएं असाइन करेंगे. हमारा ऐप्लिकेशन इस खाते का इस्तेमाल करेगा.
ध्यान दें: इन बाइंडिंग में रेफ़र किया गया Kubernetes सेवा खाता (gradio-chat-ksa) अभी मौजूद नहीं है! इसे बाद में बनाया जाएगा, जब हम अपने ऐप्लिकेशन को क्लस्टर पर डिप्लॉय करेंगे. इन IAM बाइंडिंग को पहले से ही उपलब्ध कराना, एक सामान्य और सही तरीका है.
# TODO: Configure Workload Identity IAM bindings ढूंढें और यह जोड़ें:
locals {
  ksa_principal = "principal://iam.googleapis.com/projects/${var.project_number}/locations/global/workloadIdentityPools/${var.project_id}.svc.id.goog/subject/ns/default/sa/gradio-chat-ksa"
}

resource "google_project_iam_member" "ksa_token_creator" {
  project = var.project_id
  role    = "roles/iam.serviceAccountTokenCreator"
  member  = local.ksa_principal
}

resource "google_project_iam_member" "ksa_vertex_user" {
  project = var.project_id
  role    = "roles/aiplatform.user"
  member  = local.ksa_principal
}

resource "google_project_iam_member" "ksa_datastore_user" {
  project = var.project_id
  role    = "roles/datastore.user"
  member  = local.ksa_principal
}
कॉन्फ़िगरेशन लागू करना
अब जब हमारा इन्फ़्रास्ट्रक्चर तय हो गया है, तो आइए इसे प्रोविज़न करें.
- हमें Terraform के इस्तेमाल के लिए, कुछ वैरिएबल सेट करने होंगे. हम एनवायरमेंट वैरिएबल का इस्तेमाल करके ऐसा करेंगे:
export TF_VAR_project_id=$(gcloud config get-value project)
export TF_VAR_project_number=$(gcloud projects describe $TF_VAR_project_id --format="value(projectNumber)")
export TF_VAR_region="us-central1"
- Terraform शुरू करें:
terraform init
terraform planका इस्तेमाल करके, यह देखें कि कौनसे संसाधन बनाए जाएंगे.
terraform plan
- कॉन्फ़िगरेशन लागू करें. जब कहा जाए, तब पुष्टि करने के लिए
yesलिखें.
terraform apply
ध्यान दें: GKE क्लस्टर को चालू होने में 10 से 15 मिनट लग सकते हैं. जब तक आपको कोड नहीं मिलता, तब तक अगले सेक्शन में जाकर ऐप्लिकेशन कोड की समीक्षा करें.
- सेटअप पूरा होने के बाद, अपने नए क्लस्टर से कम्यूनिकेट करने के लिए
kubectlको कॉन्फ़िगर करें:
gcloud container clusters get-credentials gradio-chat-cluster --region us-central1 --project $TF_VAR_project_id
4. GKE पर सेल्फ-होस्ट किए गए Gemma को डिप्लॉय करना
इसके बाद, हम Gemma 3 12B मॉडल को सीधे आपके GKE क्लस्टर पर डिप्लॉय करेंगे. इससे कम समय में अनुमान लगाया जा सकता है. साथ ही, मॉडल को चलाने के लिए एनवायरमेंट को पूरी तरह से कंट्रोल किया जा सकता है.
Hugging Face के क्रेडेंशियल कॉन्फ़िगर करना
Gemma मॉडल डाउनलोड करने के लिए, आपके क्लस्टर की पुष्टि Hugging Face से होनी चाहिए.
- पक्का करें कि आपके पास Hugging Face टोकन हो.
- अपने टोकन के साथ Kubernetes Secret बनाएं- [YOUR_HF_TOKEN] की जगह अपना असल टोकन डालें:
kubectl create secret generic hf-secret --from-literal=hf_api_token=[YOUR_HF_TOKEN]
मॉडल डिप्लॉय करना
हम मॉडल को चलाने के लिए, स्टैंडर्ड Kubernetes डिप्लॉयमेंट का इस्तेमाल करेंगे. मेनिफ़ेस्ट deploy/gemma3-12b-deploy.yaml पर मौजूद है. इसे मैन्युअल तरीके से खोला जा सकता है. इसके अलावा, एडिटर में फ़ाइल खोलने के लिए इस कमांड का इस्तेमाल करें:
cd ../deploy
cloudshell edit gemma3-12b-deploy.yaml
कुछ समय निकालकर इस फ़ाइल की जांच करें. resources सेक्शन पर ध्यान दें:
        resources:
          requests:
            nvidia.com/gpu: 4
      nodeSelector:
        cloud.google.com/gke-accelerator: nvidia-l4
यह डिक्लेरेटिव एआई इन्फ़्रास्ट्रक्चर है. हम GKE Autopilot को बता रहे हैं कि इस पॉड के लिए, चार NVIDIA L4 जीपीयू की ज़रूरत है. ऑटोपायलट, इन ज़रूरी शर्तों को पूरा करने वाला नोड ढूंढ लेगा या उसे उपलब्ध करा देगा. अगर कोई नोड उपलब्ध नहीं है, तो हमारा सिस्टम तब तक कोशिश करता रहेगा, जब तक ज़रूरी शर्तों को पूरा करने वाला कोई नोड उपलब्ध नहीं हो जाता.
- डप्लॉयमेंट मेनिफ़ेस्ट लागू करें:
cd .. kubectl apply -f deploy/gemma3-12b-deploy.yamlkubectl get podsgemmaपॉड के चालू न होने पर भी, ऐप्लिकेशन को डिप्लॉय किया जा सकता है.gemmaGemma की सेवा उपलब्ध होने पर, चैट ऐप्लिकेशन उससे कनेक्ट हो जाएगा. ध्यान रखें कि जब तकgemmaपॉड का स्टेटसRunningऔर1/1नहीं दिखता, तब तक चैट ऐप्लिकेशन के ज़रिए Gemma से इंटरैक्ट नहीं किया जा सकेगा. हालाँकि, इस दौरान Gemini से चैट की जा सकती है!
5. Chat ऐप्लिकेशन बनाना
अब, Python ऐप्लिकेशन को पूरा करते हैं. Cloud Shell Editor में app/app.py खोलें. आपको कई # TODO ब्लॉक दिखेंगे. ऐप्लिकेशन को चालू करने के लिए, आपको इन्हें भरना होगा.
cloudshell edit app/app.py
पहला चरण: बातचीत के इतिहास को प्रोसेस करना
LLM को बातचीत के इतिहास को खास तौर पर फ़ॉर्मैट करने की ज़रूरत होती है, ताकि वे समझ सकें कि किसने क्या कहा.
"यूनिवर्सल ट्रांसलेटर" पैटर्न: ध्यान दें कि हम एक ही चैट के इतिहास को प्रोसेस करने के लिए, दो अलग-अलग फ़ंक्शन लिखने वाले हैं. यह मल्टी-मॉडल ऐप्लिकेशन में इस्तेमाल होने वाला एक अहम पैटर्न है.
- भरोसेमंद सोर्स (Gradio): हमारा ऐप्लिकेशन, इतिहास को सामान्य फ़ॉर्मैट में सेव करता है:
[[user_msg1, bot_msg1], ...]. - पहला टारगेट (Gemma): इसे खास टोकन के साथ एक ही रॉ स्ट्रिंग में बदलना होगा.
- टारगेट 2 (Gemini): इसे एपीआई ऑब्जेक्ट की स्ट्रक्चर्ड सूची में बदलना होगा.
हर बार सामान्य इतिहास को टारगेट फ़ॉर्मैट में बदलकर, हम मॉडल के बीच आसानी से स्विच कर सकते हैं. बाद में कोई दूसरा मॉडल जोड़ने के लिए, आपको उसके फ़ॉर्मैट के हिसाब से एक नया प्रोसेसिंग फ़ंक्शन लिखना होगा.
Gemma (सेल्फ़-होस्ट किया गया) के लिए
चैट टेंप्लेट के बारे में जानकारी: अपने ओपन मॉडल होस्ट करते समय, आपको आम तौर पर प्रॉम्प्ट को मैन्युअल तरीके से किसी ऐसी स्ट्रिंग में फ़ॉर्मैट करना होता है जिसे मॉडल को बातचीत के तौर पर पहचानने के लिए ट्रेन किया गया हो. इसे "चैट टेंप्लेट" कहा जाता है.
app.py में process_message_gemma फ़ंक्शन ढूंढें और उसे इस कोड से बदलें:
# This function takes a user's message and the conversation history as input.
#   Its job is to format these elements into a single,
#   structured prompt that can be understood by the language model (LLM).
#   This structured format helps the LLM maintain context and generate more relevant responses.
def process_message_gemma(message, history):
    user_prompt_format = "User's Turn:\n>>> {prompt}\n"
    assistant_prompt_format = "Assistant's Turn:\n>>> {prompt}\n"

    history_message = ""
    for user_turn, assistant_turn in history:
        history_message += user_prompt_format.format(prompt=user_turn)
        history_message += assistant_prompt_format.format(prompt=assistant_turn)

    # Format the new user message
    new_user_message = user_prompt_format.format(prompt=message)
    # Create a new aggregated message to be used as a single flat string in a json object sent to the LLM
    aggregated_message = (
        history_message + new_user_message + assistant_prompt_format.format(prompt="")
    )
    return aggregated_message
Gemini (Managed) के लिए
मैनेज की गई सेवाएं, अक्सर रॉ स्ट्रिंग के बजाय स्ट्रक्चर्ड ऑब्जेक्ट को प्राथमिकता देती हैं. हमें Gemini SDK के लिए, इतिहास को types.Content ऑब्जेक्ट में फ़ॉर्मैट करने के लिए एक अलग फ़ंक्शन की ज़रूरत होती है.
process_message_gemini को ढूंढें और इसे इससे बदलें:
def process_message_gemini(message, history):
    contents = []
    for user_turn, model_turn in history:
        contents.append(
            types.Content(role="user", parts=[types.Part.from_text(text=user_turn)])
        )
        contents.append(
            types.Content(role="model", parts=[types.Part.from_text(text=model_turn)])
        )

    contents.append(
        types.Content(role="user", parts=[types.Part.from_text(text=message)])
    )
    return contents
दूसरा चरण: सेल्फ-होस्ट किए गए Gemma मॉडल को कॉल करना
हमें अपने क्लस्टर में चल रही Gemma सेवा को फ़ॉर्मैट किया गया प्रॉम्प्ट भेजना होगा. हम सेवा के इंटरनल डीएनएस नाम के लिए, स्टैंडर्ड एचटीटीपी पोस्ट अनुरोध का इस्तेमाल करेंगे.
call_gemma_model फ़ंक्शन ढूंढें और इसे इससे बदलें:
# Construct the request, send it to Gemma, return the model's response
# aggregated_message = current user message + history
def call_gemma_model(aggregated_message, model_temperature, top_p, max_tokens):
    json_message = {
        "prompt": aggregated_message,
        "temperature": model_temperature,
        "top_p": top_p,
        "max_tokens": max_tokens,
        "stop": ["User's Turn:"],
    }

    # Log what will be sent to the LLM
    print("*** JSON request: " + str(json_message))

    # Send the constructed json with the user prompt to the model and put the model's response in the json_data variable
    json_data = post_request(json_message)

    # The response from the model is a list of predictions. We'll take the first result.
    raw_output = json_data["predictions"][0]

    # The vLLM server returns the full prompt in the response. We need to extract
    # just the newly generated text from the model.
    assistant_turn_marker = "Assistant's Turn:\n>>>"
    marker_pos = raw_output.rfind(assistant_turn_marker)

    if marker_pos != -1:
        output = raw_output[marker_pos + len(assistant_turn_marker) :]
    else:
        output = raw_output

    # Clean up potential over-generation
    stop_marker = "User's Turn:"
    stop_pos = output.lower().find(stop_marker.lower())
    if stop_pos != -1:
        output = output[:stop_pos]

    return output.strip()
तीसरा चरण: Vertex AI Gemini मॉडल को कॉल करना
मैनेज किए गए मॉडल के लिए, हम Google GenAI SDK का इस्तेमाल करेंगे. यह ज़्यादा आसान है, क्योंकि यह हमारे लिए नेटवर्क कॉल को मैनेज करता है.
call_gemini_model फ़ंक्शन ढूंढें और इसे इससे बदलें:
# Send a request to Gemini via the VertexAI API. Return the model's response
# contents = list of types.Content objects
def call_gemini_model(contents, model_temperature, top_p, max_tokens):
    gemini_model = "gemini-2.5-flash"

    response = client.models.generate_content(
        model=gemini_model,
        contents=contents,
        config={
            "temperature": model_temperature,
            "max_output_tokens": max_tokens,
            "top_p": top_p,
        },
    )
    return response.text
चौथा चरण: मुख्य अनुमान इंटरफ़ेस लागू करना
आखिर में, हमें मुख्य ऑर्केस्ट्रेटर फ़ंक्शन की ज़रूरत होती है, जिसे Gradio कॉल करता है. इस फ़ंक्शन के लिए ज़रूरी है कि:
- अगर इतिहास खाली है, तो उसे शुरू करें.
- मैसेज को प्रोसेस करना.
- अनुरोध को चुने गए मॉडल (Gemma या Gemini) पर रूट करता है.
- इंटरैक्शन को Firestore में सेव करें.
- जवाब को यूज़र इंटरफ़ेस (यूआई) पर दिखाएं.
Gradio और स्टेट मैनेजमेंट: Gradio का ChatInterface, सेशन-लेवल की स्थिति (ब्राउज़र में मैसेज दिखाना) को अपने-आप मैनेज करता है. हालांकि, इसमें बाहरी डेटाबेस के लिए पहले से मौजूद सहायता नहीं मिलती है.
चैट के इतिहास को लंबे समय तक सेव रखने के लिए, हम एक स्टैंडर्ड पैटर्न का इस्तेमाल करते हैं: हम inference_interface फ़ंक्शन में हुक करते हैं. Gradio, request: gr.Request को एक तर्क के तौर पर स्वीकार करके, हमें मौजूदा उपयोगकर्ता के सेशन की जानकारी अपने-आप भेजता है. हम इसका इस्तेमाल हर उपयोगकर्ता के लिए एक यूनीक Firestore दस्तावेज़ बनाने के लिए करते हैं. इससे यह पक्का किया जाता है कि एक से ज़्यादा उपयोगकर्ताओं वाले एनवायरमेंट में बातचीत मिक्स न हो.
inference_interface फ़ंक्शन ढूंढें और इसे इससे बदलें:
# This is the primary chat function. Every time a user sends a message, gradio calls this function,
# which sends the user's input to the appropriate AI (as indicated on the user interface), updates
# the chat history for future use during this session, and records the chat history in Firestore.
def inference_interface(
    message,
    history,
    model_name,
    model_temperature,
    top_p,
    max_tokens,
    request: gr.Request,
):

    # set history to empty array
    if history is None:
        history = []

    # Get or create session document
    session_hash = request.session_hash
    doc_id = f"session-{session_hash}"
    doc_ref = db.collection("chat_sessions").document(doc_id)

    # Create the session document if it doesn't exist
    if not doc_ref.get().exists:
        doc_ref.set({"Session start": datetime.datetime.now()})

    # Log info
    print("Model: " + model_name)
    print("LLM Engine: " + llm_engine)
    print("* History: " + str(history))

    # Pass the message and history to the appropriate model, as indicated by the user via the ui
    if model_name == "Gemma3 12b it":
        aggregated_message = process_message_gemma(message, history)
        output = call_gemma_model(
            aggregated_message, model_temperature, top_p, max_tokens
        )

    elif model_name == "Gemini":
        gemini_contents = process_message_gemini(message, history)
        output = call_gemini_model(
            gemini_contents, model_temperature, top_p, max_tokens
        )

    else:
        # Handle the case where no valid model is selected
        output = "Error: Invalid model selected."

    interaction = {"user": message, model_name: output}

    # Log the updated chat history
    print("* History: " + str(history) + " " + str(interaction))

    # Save the updated history to Firestore
    save_chat_history(interaction, doc_ref)

    return output
6. अपनी app.py फ़ाइल की जांच करना
इस समय, आपका gradio पर आधारित चैट ऐप्लिकेशन डिप्लॉय करने के लिए तैयार होना चाहिए. पक्का करें कि यह फ़ाइल, यहां दी गई पूरी फ़ाइल से मेल खाती हो.
समस्या हल करना: अगर आपने अपना ऐप्लिकेशन डिप्लॉय कर दिया है और उससे कनेक्ट करने की कोशिश करते समय आपको "कनेक्ट नहीं किया जा सका" या "इस साइट तक नहीं पहुंचा जा सकता" गड़बड़ी का मैसेज मिलता है, तो इस पॉइंट से दिए गए चरणों को दोहराएं. इसके लिए, इस पूरी फ़ाइल को कॉपी करके अपने app.py में चिपकाएं.
# Copyright 2024 Google LLC
#
# Licensed under the Apache License, Version 2.0 (the "License");
# you may not use this file except in compliance with the License.
# You may obtain a copy of the License at
#
#      http://www.apache.org/licenses/LICENSE-2.0
#
# Unless required by applicable law or agreed to in writing, software
# distributed under the License is distributed on an "AS IS" BASIS,
# WITHOUT WARRANTIES OR CONDITIONS OF ANY KIND, either express or implied.
# See the License for the specific language governing permissions and
# limitations under the License.

import datetime

import google.auth
import google.cloud
import gradio as gr
import requests
import themes
from google import genai

from google.cloud import firestore
from google.genai import types

## Do one-time initialization things

## grab the project id from google auth
_, project = google.auth.default()
print(f"Project: {project}")

# Set initial values for model
llm_engine = "vllm"
host = "http://gemma-service:8000"
context_path = "/generate"

# initialize vertex for interacting with Gemini
client = genai.Client(
    vertexai=True,
    project=project,
    location="global",
)

# Initialize Firestore client
db = firestore.Client(database="chat-app-db")


# This is the primary chat function. Every time a user sends a message, gradio calls this function,
# which sends the user's input to the appropriate AI (as indicated on the user interface), updates
# the chat history for future use during this session, and records the chat history in Firestore.
def inference_interface(
    message,
    history,
    model_name,
    model_temperature,
    top_p,
    max_tokens,
    request: gr.Request,
):

    # set history to empty array
    if history is None:
        history = []

    # Get or create session document
    session_hash = request.session_hash
    doc_id = f"session-{session_hash}"
    doc_ref = db.collection("chat_sessions").document(doc_id)

    # Create the session document if it doesn't exist
    if not doc_ref.get().exists:
        doc_ref.set({"Session start": datetime.datetime.now()})

    # Log info
    print("Model: " + model_name)
    print("LLM Engine: " + llm_engine)
    print("* History: " + str(history))

    # Pass the message and history to the appropriate model, as indicated by the user via the ui
    if model_name == "Gemma3 12b it":
        aggregated_message = process_message_gemma(message, history)
        output = call_gemma_model(
            aggregated_message, model_temperature, top_p, max_tokens
        )

    elif model_name == "Gemini":
        gemini_contents = process_message_gemini(message, history)
        output = call_gemini_model(
            gemini_contents, model_temperature, top_p, max_tokens
        )

    else:
        # Handle the case where no valid model is selected
        output = "Error: Invalid model selected."

    interaction = {"user": message, model_name: output}

    # Log the updated chat history
    print("* History: " + str(history) + " " + str(interaction))

    # Save the updated history to Firestore
    save_chat_history(interaction, doc_ref)

    return output


# Construct the request, send it to Gemma, return the model's response
# aggregated_message = current user message + history
def call_gemma_model(aggregated_message, model_temperature, top_p, max_tokens):
    json_message = {
        "prompt": aggregated_message,
        "temperature": model_temperature,
        "top_p": top_p,
        "max_tokens": max_tokens,
        "stop": ["User's Turn:"],
    }

    # Log what will be sent to the LLM
    print("*** JSON request: " + str(json_message))  # Log the JSON request

    # Send the constructed json with the user prompt to the model and put the model's response in the json_data variable
    json_data = post_request(json_message)

    # The response from the model is a list of predictions.
    # We'll take the first result.
    raw_output = json_data["predictions"][0]

    # The vLLM server returns the full prompt in the response. We need to extract
    # just the newly generated text from the model. The prompt ends with
    # "Assistant's Turn:\n>>>", so we find the last occurrence of that and
    # take everything after it.
    assistant_turn_marker = "Assistant's Turn:\n>>>"
    marker_pos = raw_output.rfind(assistant_turn_marker)

    if marker_pos != -1:
        # Get the text generated by the assistant
        output = raw_output[marker_pos + len(assistant_turn_marker) :]
    else:
        # Fallback in case the marker isn't found
        output = raw_output

    # The model sometimes continues the conversation and includes the next user's turn.
    # The 'stop' parameter is a good hint, but we parse the output as a safeguard.
    stop_marker = "User's Turn:"
    stop_pos = output.lower().find(stop_marker.lower())
    if stop_pos != -1:
        output = output[:stop_pos]

    # The model also sometimes prefixes its response with "Output:". We'll remove this.
    output = output.lstrip()
    prefix_marker = "Output:"
    if output.lower().startswith(prefix_marker.lower()):
        output = output[len(prefix_marker) :]

    return output.strip()


# Send a request to Gemini via the VertexAI API. Return the model's response
# contents = list of types.Content objects
def call_gemini_model(contents, model_temperature, top_p, max_tokens):
    gemini_model = "gemini-2.5-flash"

    response = client.models.generate_content(
        model=gemini_model,
        contents=contents,
        config={
            "temperature": model_temperature,
            "max_output_tokens": max_tokens,
            "top_p": top_p,
        },
    )
    output = response.text  # Extract the generated text
    # Consider handling additional response attributes (safety, usage, etc.)
    return output


def process_message_gemini(message, history):
    contents = []
    for user_turn, model_turn in history:
        contents.append(
            types.Content(role="user", parts=[types.Part.from_text(text=user_turn)])
        )
        contents.append(
            types.Content(role="model", parts=[types.Part.from_text(text=model_turn)])
        )

    contents.append(
        types.Content(role="user", parts=[types.Part.from_text(text=message)])
    )
    return contents


# This function takes a user's message and the conversation history as input.
#   Its job is to format these elements into a single,
#   structured prompt that can be understood by the language model (LLM).
#   This structured format helps the LLM maintain context and generate more relevant responses.
def process_message_gemma(message, history):
    user_prompt_format = "User's Turn:\n>>> {prompt}\n"
    assistant_prompt_format = "Assistant's Turn:\n>>> {prompt}\n"

    history_message = ""
    for user_turn, assistant_turn in history:
        history_message += user_prompt_format.format(prompt=user_turn)
        history_message += assistant_prompt_format.format(prompt=assistant_turn)

    # Format the new user message
    new_user_message = user_prompt_format.format(prompt=message)
    # Create a new aggregated message to be used as a single flat string in a json object sent to the LLM
    aggregated_message = (
        history_message + new_user_message + assistant_prompt_format.format(prompt="")
    )
    return aggregated_message


# Function to save chat history to Firestore
def save_chat_history(interaction, doc_ref):
    timestamp_str = str(datetime.datetime.now())

    # Save the chat history, merging with existing data
    doc_ref.update({timestamp_str: interaction})

    print("Chat history saved successfully!")  # Optional: Log success


# Send the json message to the model and return the model's response. This is used for Gemma but not Gemini. It could also be used for other models.
def post_request(json_message):
    print("*** Request" + str(json_message), flush=True)
    # Set a timeout and check for HTTP errors. This will raise an exception on a bad status code (4xx or 5xx).
    response = requests.post(host + context_path, json=json_message, timeout=60)
    response.raise_for_status()
    json_data = response.json()
    print("*** Output: " + str(json_data), flush=True)
    return json_data


# custom css to hide default footer
css = """
footer {display: none !important;} .gradio-container {min-height: 0px !important;}
"""

# Add a dropdown to select the model to chat with
model_dropdown = gr.Dropdown(
    ["Gemma3 12b it", "Gemini"],
    label="Model",
    info="Select the model you would like to chat with.",
    value="Gemma3 12b it",
)

# Make the model temperature, top_p, and max tokents modifiable via sliders in the GUI
model_temperature = gr.Slider(
    minimum=0.1, maximum=1.0, value=0.9, label="Temperature", render=False
)
top_p = gr.Slider(minimum=0.1, maximum=1.0, value=0.95, label="Top_p", render=False)
max_tokens = gr.Slider(
    minimum=1, maximum=4096, value=1024, label="Max Tokens", render=False
)

# Call gradio to create the chat interface
app = gr.ChatInterface(
    inference_interface,
    additional_inputs=[model_dropdown, model_temperature, top_p, max_tokens],
    theme=themes.google_theme(),
    css=css,
    title="Chat with AI",
)

app.launch(server_name="0.0.0.0", allowed_paths=["images"])
7. Chat ऐप्लिकेशन डिप्लॉय करना
हम Skaffold का इस्तेमाल करके, कंटेनर इमेज बनाएंगे और उसे क्लस्टर पर डिप्लॉय करेंगे. Skaffold, कमांड लाइन टूल है. यह Kubernetes पर ऐप्लिकेशन बनाने, पुश करने, और डिप्लॉय करने की प्रोसेस को व्यवस्थित और ऑटोमेट करता है. इससे डेवलपमेंट का वर्कफ़्लो आसान हो जाता है. इसकी मदद से, एक ही कमांड से पूरी प्रोसेस को ट्रिगर किया जा सकता है. इसलिए, यह आपके ऐप्लिकेशन को बेहतर बनाने के लिए सबसे सही है.
ध्यान दें: इससे, Workload Identity के लिए ज़रूरी Kubernetes सेवा खाता भी डिप्लॉय हो जाएगा. इसकी परिभाषा, deploy/chat-deploy.yaml फ़ाइल में देखी जा सकती है. संदर्भ के लिए, इसकी परिभाषा यहां देखें:
apiVersion: v1
kind: ServiceAccount
metadata:
  name: gradio-chat-ksa
बनाने और डिप्लॉय करने के लिए, Skaffold चलाएं:
skaffold run --default-repo=us-central1-docker.pkg.dev/$GOOGLE_CLOUD_PROJECT/chat-app-repo
Skaffold, कंटेनर इमेज बनाने के लिए Cloud Build का इस्तेमाल करेगा. इसके बाद, इसे Terraform से बनाए गए Artifact Registry में पुश करेगा. इसके बाद, Kubernetes मेनिफ़ेस्ट को आपके क्लस्टर पर लागू करेगा.
8. ऐप्लिकेशन की जांच करना
- चैट ऐप्लिकेशन सेवा को बाहरी आईपी पता मिलने तक इंतज़ार करें:
kubectl get svc gradio-chat-service --watchEXTERNAL-IP,pendingसे बदलकर असली आईपी पते में बदल जाए, तो वीडियो देखना बंद करने के लिएCtrl+Cदबाएं. - कोई वेब ब्राउज़र खोलें और
http://[EXTERNAL-IP]:7860पर जाएं. - मॉडल के साथ इंटरैक्ट करके देखें! इस ऐप्लिकेशन को इस तरह कॉन्फ़िगर किया गया है कि डिफ़ॉल्ट रूप से, यह आपके स्थानीय तौर पर होस्ट किए गए Gemma मॉडल के साथ चैट कर सके. अगर आपको Gemini से चैट करनी है, तो "ज़्यादा इनपुट" ड्रॉपडाउन में जाकर मॉडल बदलें. उदाहरण के लिए, एआई से पूछें: "मुझे Kubernetes के बारे में कोई चुटकुला सुनाओ."
समस्या हल करना:
- अगर आपको "इस साइट तक नहीं पहुंचा जा सकता" या "[EXTERNAL-IP] ने कनेक्ट करने से मना कर दिया" जैसी गड़बड़ी दिखती है, तो हो सकता है कि आपकी app.py फ़ाइल में कोई समस्या हो. "अपनी app.py फ़ाइल की जांच करें" शीर्षक वाले चरण पर वापस जाएं और वहां से दिए गए चरणों को दोहराएं.
- यूज़र इंटरफ़ेस (यूआई) में डिफ़ॉल्ट रूप से "Gemma3 12b it" मॉडल सेट होता है. अगर आपको तुरंत गड़बड़ी का मैसेज मिलता है, तो हो सकता है कि Gemma पॉड अभी तैयार न हुआ हो. अहम जानकारी: Gemma के शुरू होने का इंतज़ार करते समय, चैट ऐप्लिकेशन के साथ इंटरैक्ट करने की सुविधा को आज़माने के लिए, ड्रॉपडाउन को "Gemini" पर स्विच करें!
Gemma को आज़माएं: पक्का करें कि ड्रॉपडाउन में "Gemma3 12b it" चुना गया हो.इसके बाद, कोई मैसेज भेजें. उदाहरण के लिए, "मुझे Kubernetes के बारे में कोई चुटकुला सुनाओ".
Gemini को आज़माएं: ड्रॉपडाउन को "Gemini" पर स्विच करें और कोई दूसरा सवाल पूछें. उदाहरण के लिए, "पॉड और नोड में क्या अंतर है?".
इतिहास की पुष्टि करें: चैट ऐप्लिकेशन में किसी मॉडल (Gemma या Gemini) से चैट करने के बाद, चैट लॉग देखने के लिए Firestore में मौजूद "chat-app-db" डेटाबेस देखें. अगर आपने दोनों मॉडल से चैट की है, तो ध्यान दें कि मॉडल बदलने पर भी बातचीत का इतिहास सेव रहता है.
9. ज़्यादा जानकारी
अब आपके पास एक हाइब्रिड चैट ऐप्लिकेशन है. इसे बेहतर तरीके से समझने के लिए, इन चुनौतियों के बारे में सोचें:
- कस्टम पर्सोना:
process_message_gemmaऔरprocess_message_geminiफ़ंक्शन में बदलाव करके, शुरुआत में "सिस्टम प्रॉम्प्ट" शामिल करें. उदाहरण के लिए, मॉडल को बताएं कि "तुम एक मददगार समुद्री डाकू असिस्टेंट हो." और देखें कि इससे उसके जवाबों में क्या बदलाव होता है. - उपयोगकर्ता की स्थायी पहचान: फ़िलहाल, ऐप्लिकेशन हर सेशन के लिए, बिना क्रम वाला एक नया UUID जनरेट करता है. असली पुष्टि करने वाले सिस्टम (जैसे कि Google साइन इन) को कैसे इंटिग्रेट किया जाएगा, ताकि कोई उपयोगकर्ता अलग-अलग डिवाइसों पर अपनी पिछली बातचीत का इतिहास देख सके?
- मॉडल एक्सपेरिमेंट: यूज़र इंटरफ़ेस (यूआई) में मौजूद
temperatureस्लाइडर को बदलकर देखें. कम तापमान (0.1 के आस-पास) की तुलना में, ज़्यादा तापमान (1.0 के आस-पास) होने पर, जवाबों की क्रिएटिविटी और सटीकता पर क्या असर पड़ता है?
10. नतीजा
बधाई हो! आपने हाइब्रिड एआई ऐप्लिकेशन बना लिया है. आपने इनके बारे में जानकारी पा ली है:
- Google Cloud पर इंफ़्रास्ट्रक्चर-एज़-कोड के लिए Terraform का इस्तेमाल करें.
- पूरे कंट्रोल के लिए, GKE पर अपने ओपन-वेट एलएलएम होस्ट करें.
- लचीलेपन के लिए, Vertex AI जैसी मैनेज की जा रही एआई सेवाओं को इंटिग्रेट करें.
- डेटा को सेव करने के लिए, Firestore का इस्तेमाल करके स्टेटफ़ुल ऐप्लिकेशन बनाएं.
- Workload Identity का इस्तेमाल करके, अपने वर्कलोड को सुरक्षित करें.
क्लीन अप करें
शुल्क से बचने के लिए, बनाए गए संसाधनों को डिस्ट्रॉय करें:
cd infra
terraform destroy -var="project_id=$GOOGLE_CLOUD_PROJECT" -var="project_number=$PROJECT_NUMBER" -var="region=$REGION"