
1. Introduzione
Panoramica
In questo lab creerai ed eseguirai il deployment di un'applicazione di chat full-stack basata sull'AI su Google Kubernetes Engine (GKE). Questa applicazione "ibrida" dimostra un potente pattern architetturale: la possibilità di passare senza problemi da un modello aperto self-hosted (Gemma 3 12B) in esecuzione direttamente nel cluster a un servizio AI gestito (Gemini 2.5 Flash tramite Vertex AI).
                                   +----------------------+
                                   |   User (Web Browser) |
                                   +-----------+----------+
                                               |
                                               v
+----------------------------------------------+---------------------------------------------+
| Google Cloud Platform                        |                                             |
|   |                                  +-------+-------+                                     |
|   |                                  | Load Balancer |                                     |
|   |                                  +-------+-------+                                     |
|   |                                          v                                             |
|   +------------------------------------------+-----------------------------------------+   |
|   |  Google Kubernetes Engine (GKE)          |                                         |   |
|   |                                          v                                         |   |
|   |                              +-----------+-----------+                             |   |
|   |                              |    Gradio Chat App    |                             |   |
|   |                              +--+-----------------+--+                             |   |
|   |                                 |                 |                                |   |
|   |                   (Self-hosted) |                 | (Managed via SDK)              |   |
|   |                                 v                 |                                |   |
|   |                  +--------------+---+             |                                |   |
|   |                  | Gemma 3 Model    |             |                                |   |
|   |                  | (GPU Node)       |             |                                |   |
|   |                  +------------------+             |                                |   |
|   +---------------------------------------------------|--------------------------------+   |
|                                                       |                                    |
|                                                       v                                    |
|                                            +----------+-----------+                        |
|                                            | Vertex AI (Gemini)   |                        |
|                                            +----------------------+                        |
|                                                       | (Save History)                     |
|                                                       v                                    |
|                                            +----------+-----------+                        |
|                                            | Firestore Database   |                        |
|                                            +----------------------+                        |
+--------------------------------------------------------------------------------------------+
Utilizzerai Terraform per eseguire il provisioning dell'infrastruttura, inclusi un cluster GKE Autopilot e un database Firestore per archiviare la cronologia delle sessioni di chat. Dopodiché, completerai il codice dell'applicazione Python per gestire le conversazioni multi-turno, interfacciarti con entrambi i modelli di AI e implementare l'applicazione finale utilizzando Cloud Build e Skaffold.
Obiettivi didattici
- Esegui il provisioning dell'infrastruttura GKE e Firestore utilizzando Terraform.
- Esegui il deployment di un modello linguistico di grandi dimensioni (Gemma) su GKE Autopilot utilizzando i manifest Kubernetes.
- Implementa un'interfaccia di chat Gradio in Python in grado di passare da un backend AI all'altro.
- Utilizza Firestore per archiviare e recuperare la cronologia delle sessioni di chat.
- Configura Workload Identity per concedere in modo sicuro ai tuoi carichi di lavoro GKE l'accesso ai servizi Google Cloud (Vertex AI, Firestore).
Prerequisiti
- Un progetto Google Cloud con la fatturazione abilitata.
- Conoscenza di base di Python, Kubernetes e degli strumenti a riga di comando standard.
- Un token Hugging Face con accesso ai modelli Gemma.
2. Configurazione del progetto
- Se non hai ancora un Account Google, devi crearne uno.
- Utilizza un account personale anziché un account di lavoro o della scuola. Gli account di lavoro e della scuola potrebbero avere limitazioni che impediscono l'attivazione delle API necessarie per questo lab.
- Accedi a Google Cloud Console.
- Abilita la fatturazione nella console Cloud.
- Il completamento di questo lab dovrebbe costare meno di 1 $in risorse cloud.
- Per evitare ulteriori addebiti, puoi seguire i passaggi alla fine di questo lab per eliminare le risorse.
- I nuovi utenti hanno diritto alla prova senza costi di 300$.
- Crea un nuovo progetto o scegli di riutilizzarne uno esistente.
Apri editor di Cloud Shell
- Fai clic su questo link per andare direttamente all'editor di Cloud Shell.
- Se ti viene richiesto di concedere l'autorizzazione in qualsiasi momento della giornata, fai clic su Autorizza per continuare.

- Se il terminale non viene visualizzato nella parte inferiore dello schermo, aprilo:
- Fai clic su Visualizza.
- Fai clic su Terminale
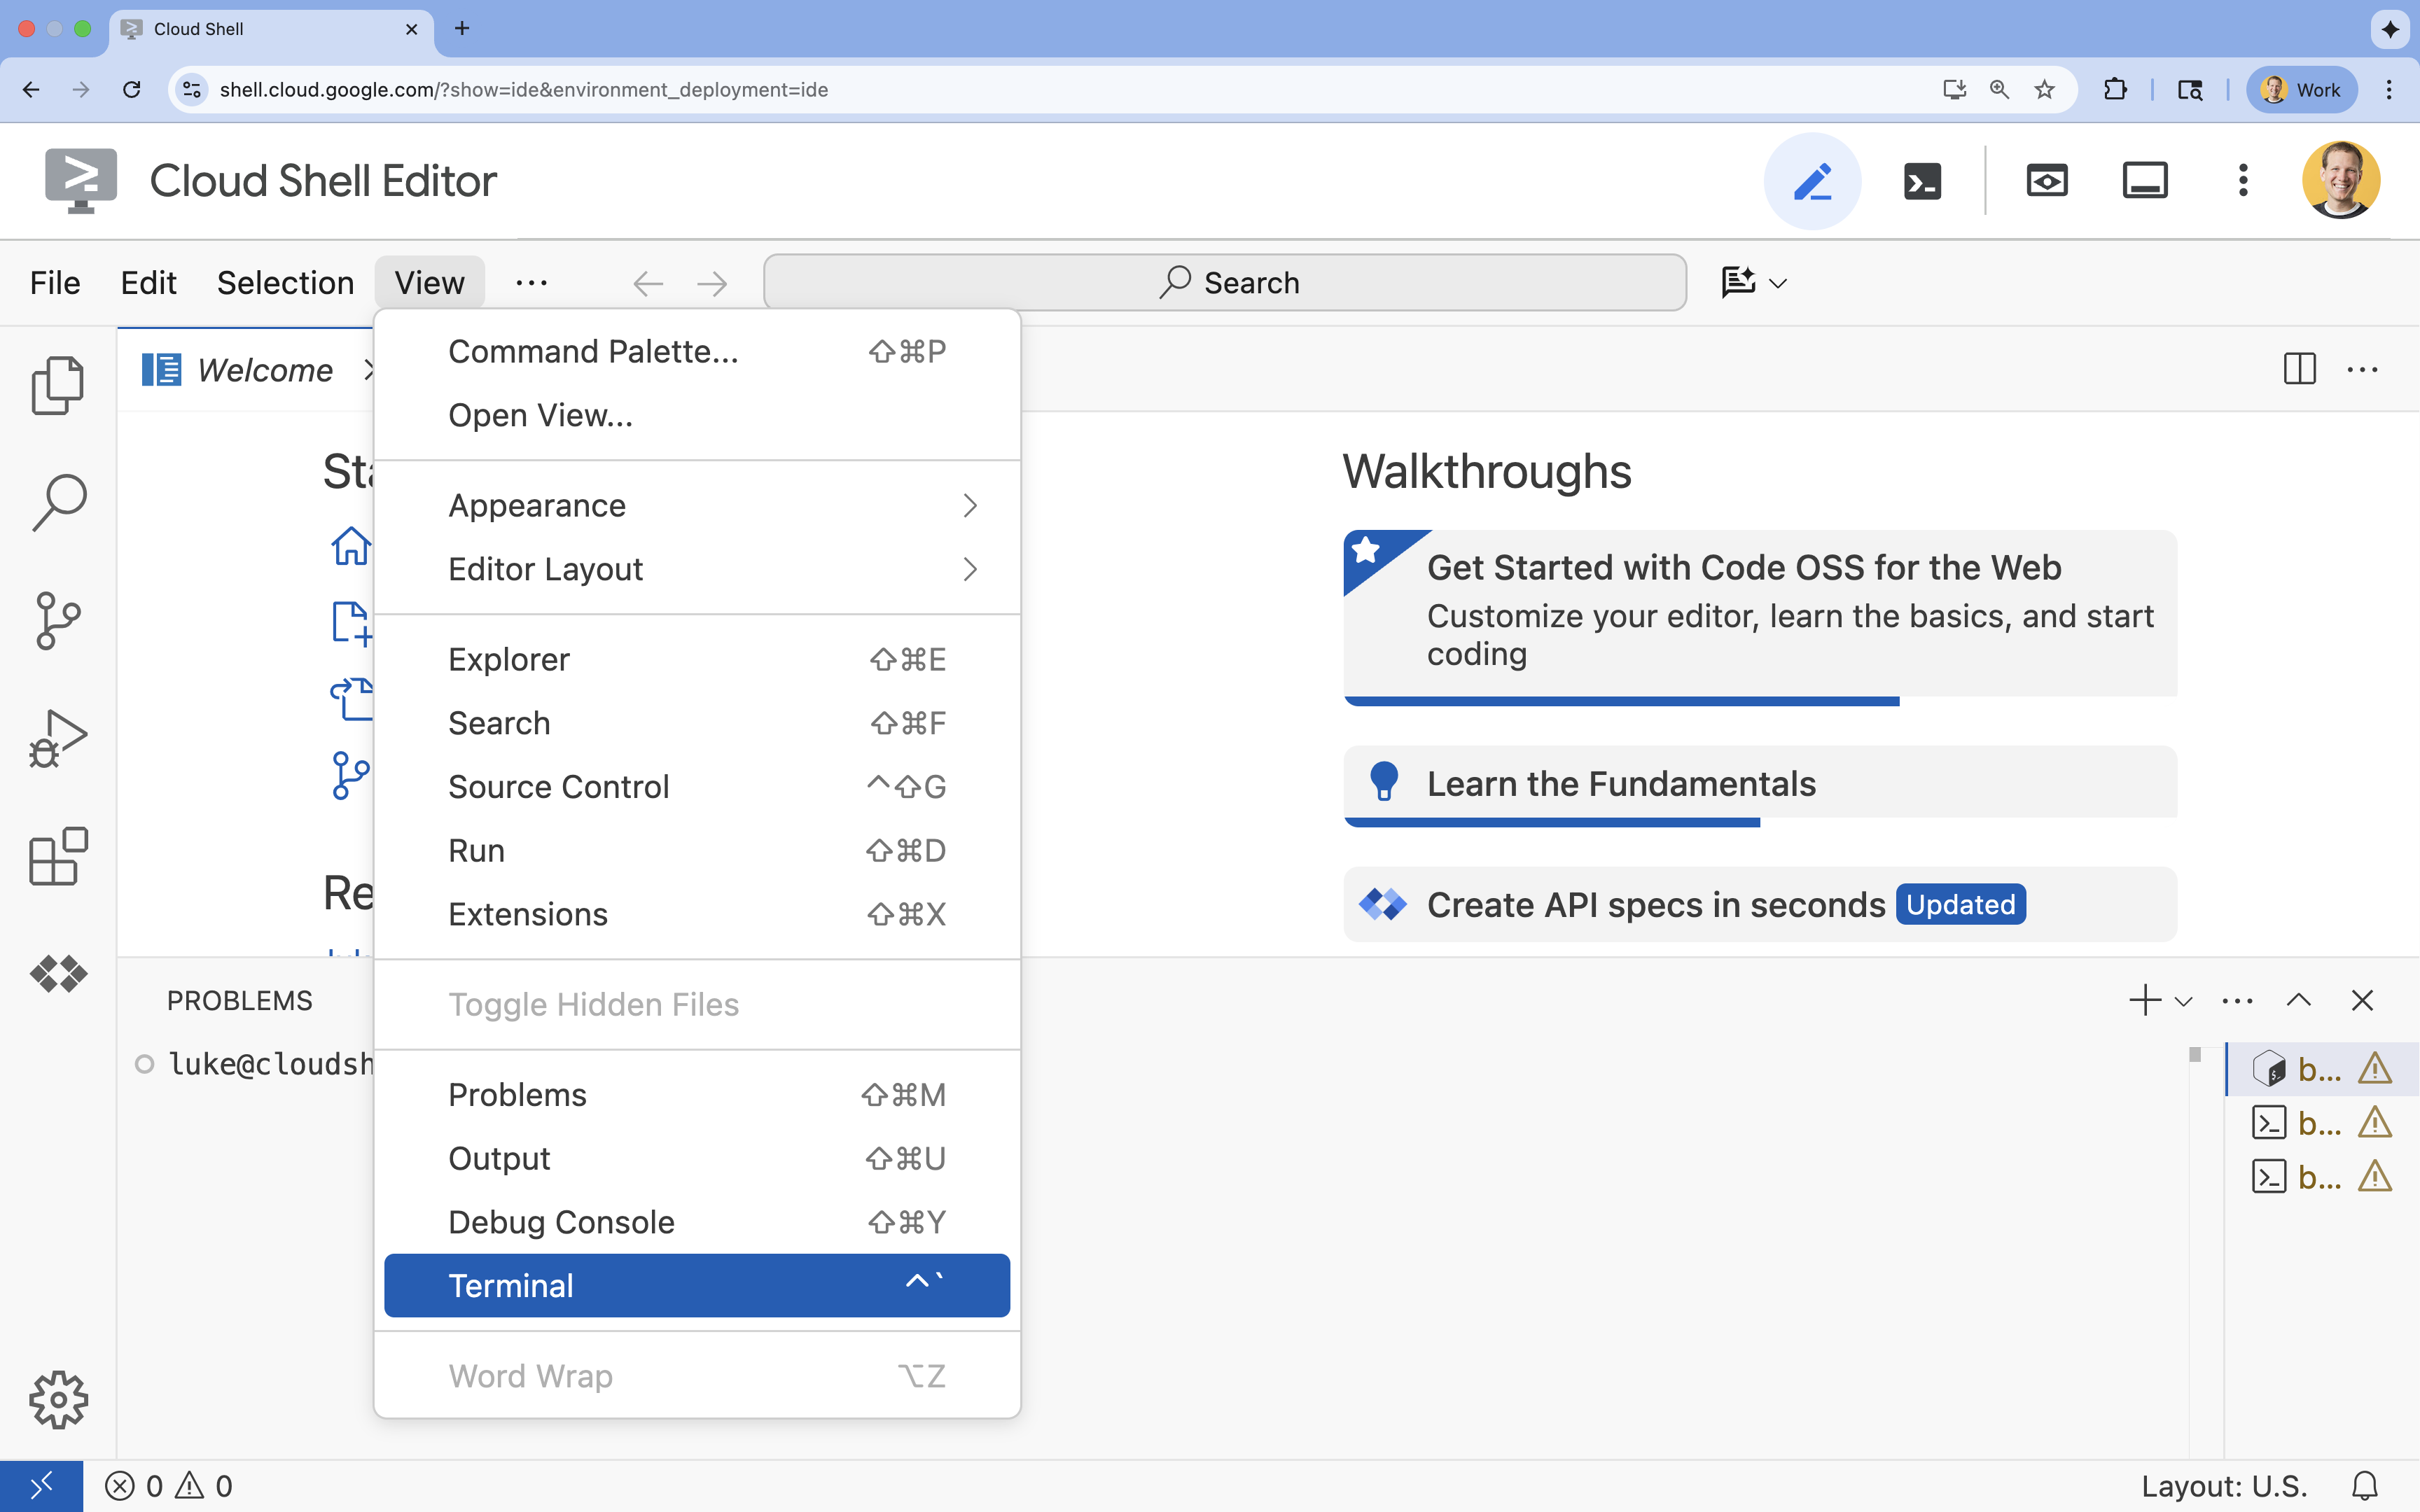 .
.
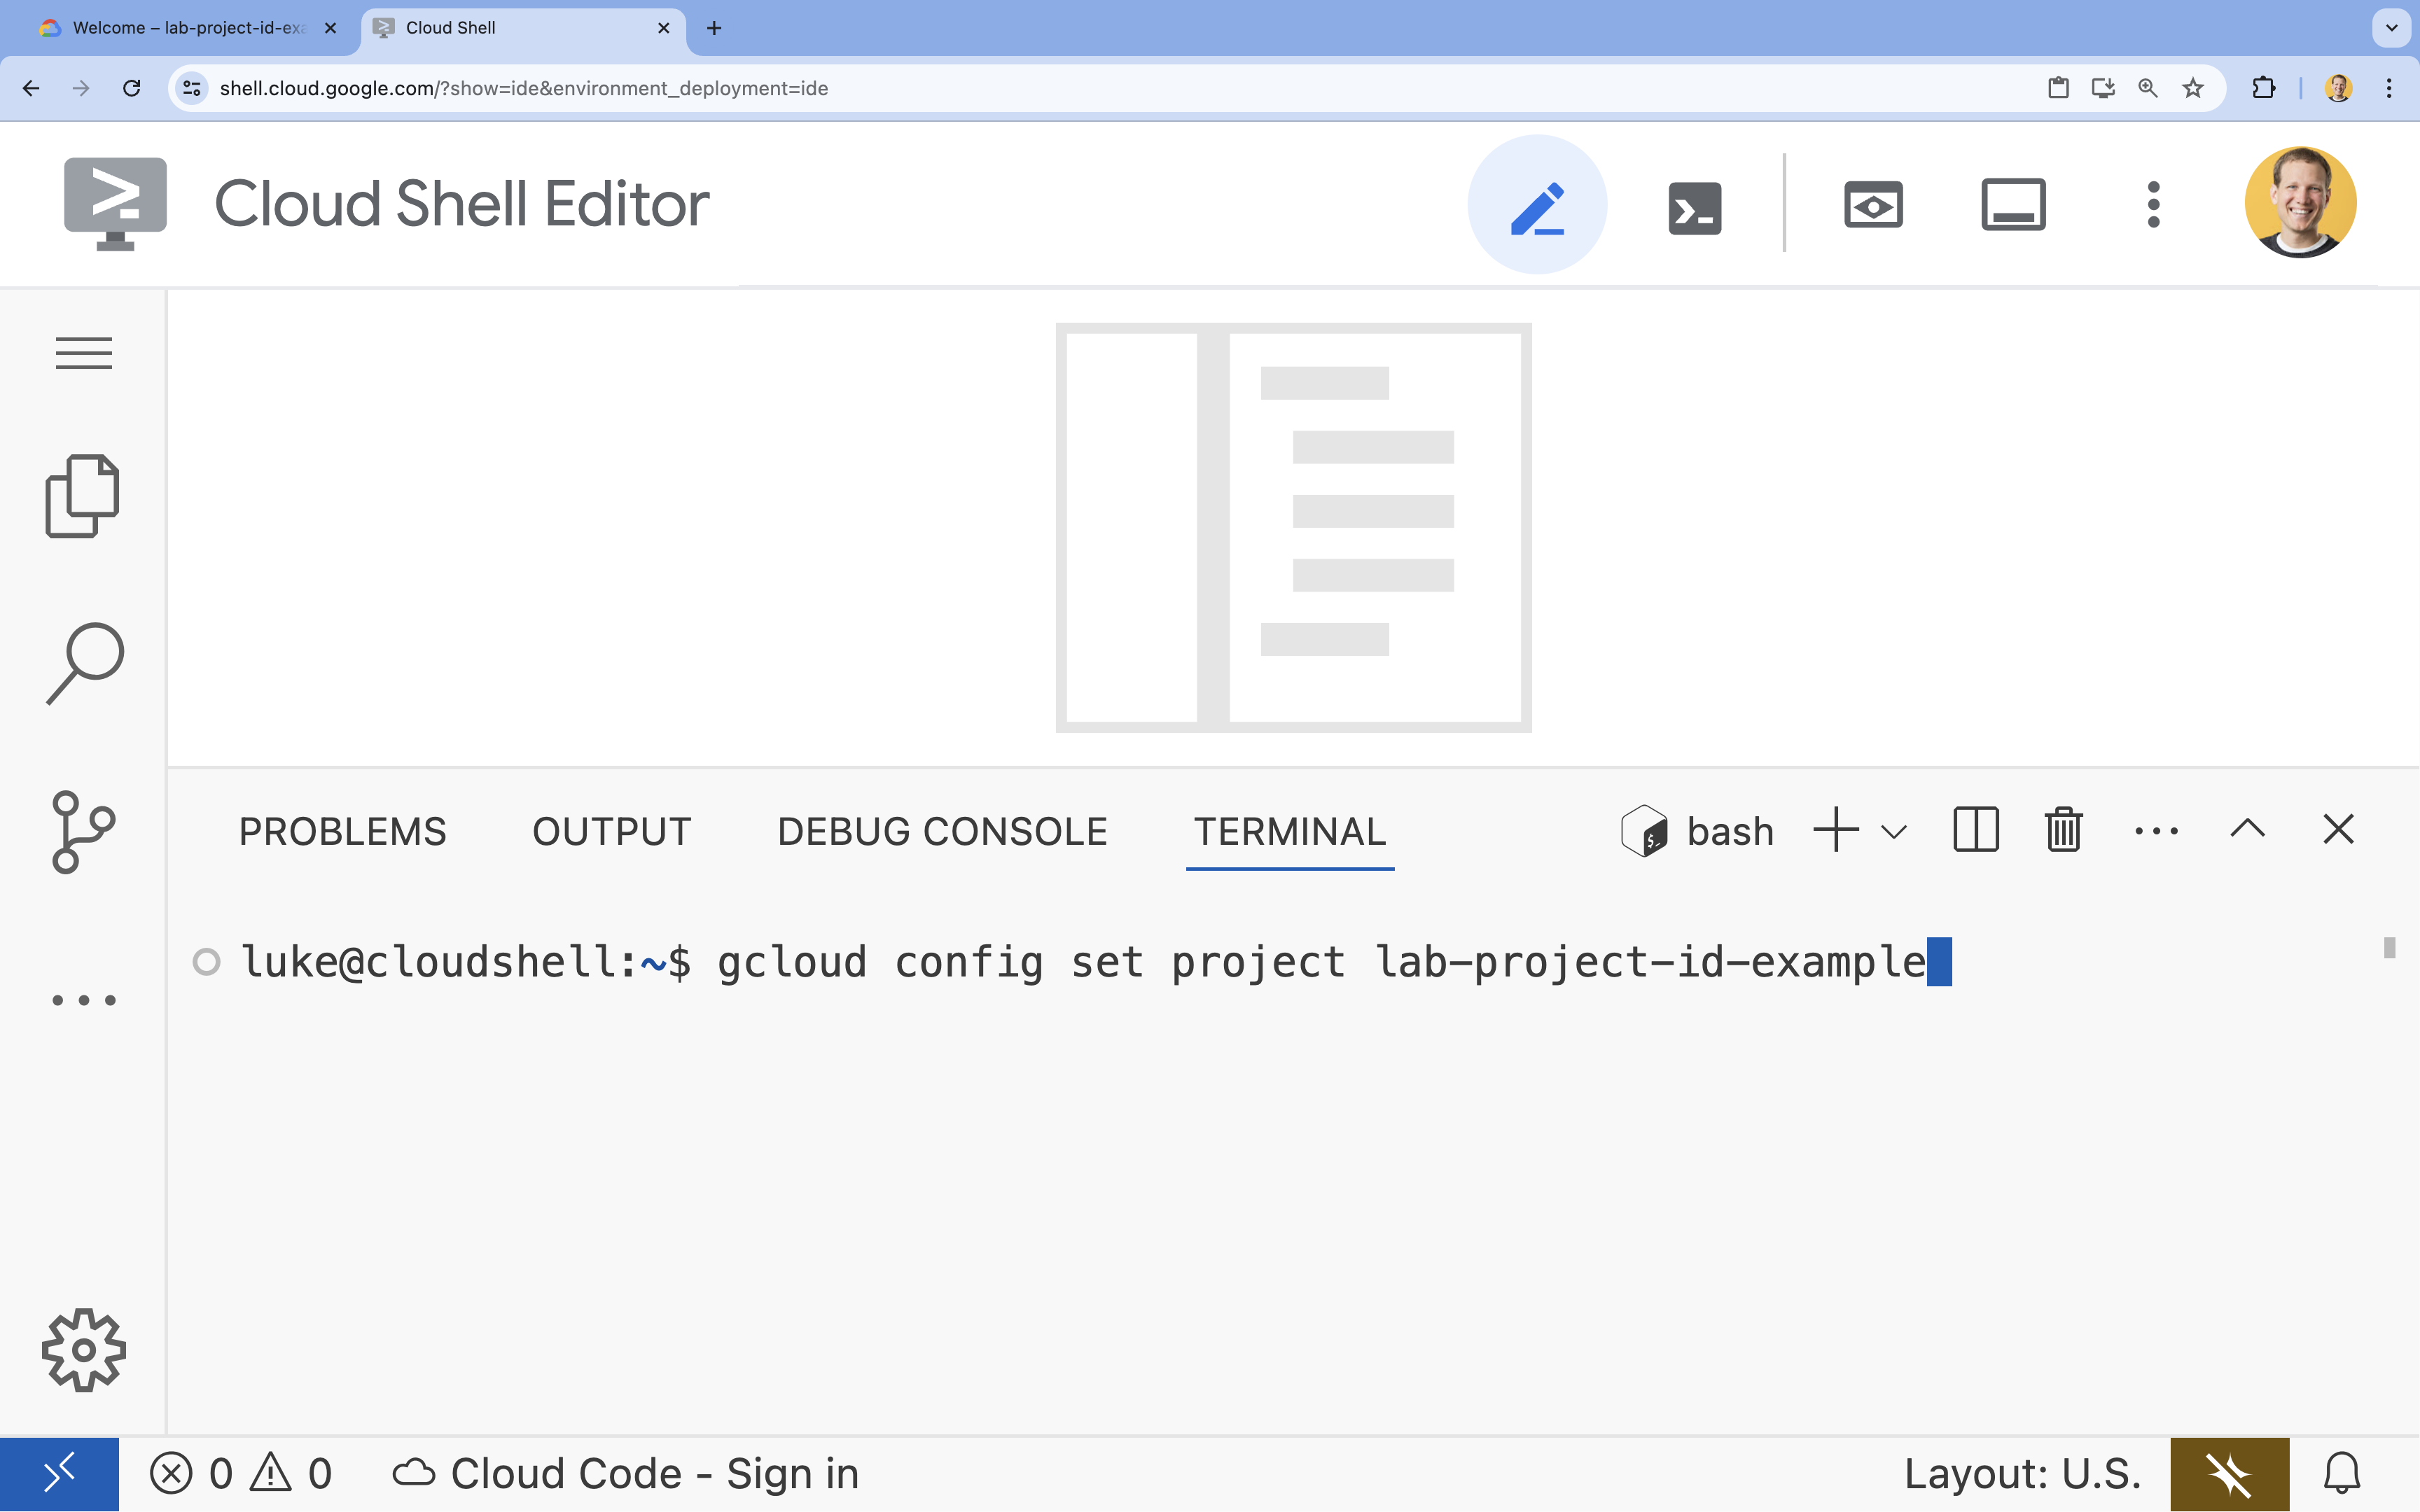
- Nel terminale, imposta il tuo progetto con questo comando:
- Formato:
gcloud config set project [PROJECT_ID] - Esempio:
gcloud config set project lab-project-id-example - Se non ricordi l'ID progetto:
- Puoi elencare tutti gli ID progetto con:
gcloud projects list | awk '/PROJECT_ID/{print $2}'
- Puoi elencare tutti gli ID progetto con:
- Formato:
- Dovresti visualizzare questo messaggio:
Updated property [core/project].
WARNINGe ti viene chiestoDo you want to continue (Y/n)?, probabilmente hai inserito l'ID progetto in modo errato. Premin, premiEntere prova a eseguire di nuovo il comandogcloud config set project.
Clona il repository
Nel terminale Cloud Shell, clona il repository del progetto e vai alla directory del progetto:
git clone https://github.com/GoogleCloudPlatform/devrel-demos.git
cd devrel-demos/containers/gradio-chat-gke
Dedica un momento a esplorare la struttura del progetto:
gradio-chat-gke/
├── app/
│   ├── app.py                # Main application logic (you will edit this)
│   ├── requirements.txt      # Python dependencies
│   └── themes.py             # UI theming
├── deploy/
│   ├── chat-deploy.yaml      # Kubernetes deployment for the chat app
│   ├── Dockerfile            # Container definition for the chat app
│   └── gemma3-12b-deploy.yaml# Kubernetes deployment for Gemma model
├── infra/
│   └── main.tf               # Terraform infrastructure definition
└── skaffold.yaml             # Skaffold configuration for building/deploying
Imposta le variabili di ambiente
Configura le variabili di ambiente per l'ID e il numero del progetto. Questi verranno utilizzati da Terraform e dai comandi successivi.
export GOOGLE_CLOUD_PROJECT=$(gcloud config get-value project)
export PROJECT_NUMBER=$(gcloud projects describe $GOOGLE_CLOUD_PROJECT --format="value(projectNumber)")
export REGION=us-central1
Abilita l'API Cloud Resource Manager
Terraform richiede l'abilitazione dell'API Cloud Resource Manager per gestire le risorse del progetto, quindi dobbiamo abilitarla prima. Successivamente, eseguiremo il deployment della nostra applicazione di chat con Skaffold, che utilizza Cloud Build per creare l'immagine container. Ora attiveremo l'API Storage e creeremo il bucket necessario per Cloud Build. Utilizzeremo Terraform stesso per abilitare le altre API richieste per questo progetto.
gcloud services enable cloudresourcemanager.googleapis.com storage-api.googleapis.com
Crea il bucket di staging di Cloud Build
Skaffold utilizza Google Cloud Build, che richiede un bucket Cloud Storage per preparare il codice sorgente.
Crealo ora per assicurarti che esista:
gcloud storage buckets create gs://${GOOGLE_CLOUD_PROJECT}_cloudbuild
Se viene visualizzato un errore che indica che il bucket esiste già, puoi ignorarlo tranquillamente.
3. Eseguire il provisioning dell'infrastruttura con Terraform
Utilizzeremo Terraform per configurare le risorse Google Cloud necessarie. In questo modo, l'ambiente è riproducibile e coerente.
- Vai alla directory dell'infrastruttura:
cd infra
Questo file definisce le API aggiuntive necessarie per questo progetto: cloudbuild, artifactregistry, container (gke), firestore e aiplatform (vertexai). Dai un'occhiata al file o di seguito per vedere come vengono abilitate le API tramite Terraform:
resource "google_project_service" "cloudbuild" {
  service            = "cloudbuild.googleapis.com"
  disable_on_destroy = false
  project            = var.project_id
}

resource "google_project_service" "artifactregistry" {
  service            = "artifactregistry.googleapis.com"
  disable_on_destroy = false
  project            = var.project_id
}

resource "google_project_service" "container" {
  service            = "container.googleapis.com"
  disable_on_destroy = false
  project            = var.project_id
}

resource "google_project_service" "firestore" {
  service            = "firestore.googleapis.com"
  disable_on_destroy = false
  project            = var.project_id
}

resource "google_project_service" "vertexai" {
  service            = "aiplatform.googleapis.com"
  disable_on_destroy = false
  project            = var.project_id
}
Definisci il cluster GKE
Apri infra/main.tf nell'editor. Vedrai diversi commenti # TODO. Puoi aprirlo manualmente o utilizzare questo comando per aprire il file nell'editor:
cloudshell edit main.tf
Innanzitutto, dobbiamo definire il nostro cluster Kubernetes. Utilizzeremo GKE Autopilot, ideale per i carichi di lavoro di AI in quanto gestisce automaticamente i nodi.
Trova # TODO: Create a GKE Autopilot Cluster e aggiungi il seguente blocco sotto:
# Create a GKE Autopilot Cluster
resource "google_container_cluster" "primary" {
  name     = var.cluster_name
  location = var.region
  project  = var.project_id

  # Enable Autopilot mode
  enable_autopilot = true

  deletion_protection = false

  # Networking
  network    = "default"
  subnetwork = "projects/${var.project_id}/regions/${var.region}/subnetworks/default"

  # Timeout for cluster creation
  timeouts {
    create = "30m"
    update = "30m"
  }

  depends_on = [google_project_service.container]
}
Avviso enable_autopilot = true. Questa singola riga ci evita di gestire i node pool, la scalabilità automatica e il bin packing dei nostri carichi di lavoro GPU.
Definisci il database Firestore
Successivamente, abbiamo bisogno di un posto dove archiviare la cronologia chat. Firestore è un database NoSQL serverless che soddisfa perfettamente questa esigenza.
Trova # TODO: Create a Firestore Database e aggiungi:
resource "google_firestore_database" "database" {
  project     = var.project_id
  name        = "chat-app-db"
  location_id = "nam5"
  type        = "FIRESTORE_NATIVE"

  depends_on = [google_project_service.firestore]
}
Dopo aver aggiunto la risorsa di database, individua # TODO: Create an initial Firestore Document e aggiungi il seguente blocco. Questa risorsa crea un documento segnaposto iniziale nella nostra raccolta, utile per inizializzare la struttura del database.
resource "google_firestore_document" "initial_document" {
  project     = var.project_id
  collection  = "chat_sessions"
  document_id = "initialize"
  fields = <<EOF
  EOF

  depends_on = [google_firestore_database.database]
}
Definisci Workload Identity
Infine, dobbiamo configurare la sicurezza. Vogliamo che i nostri pod Kubernetes possano accedere a Vertex AI e Firestore senza dover gestire segreti o chiavi API. Lo facciamo con Workload Identity.
Concederemo i ruoli IAM necessari al service account Kubernetes (KSA) che verrà utilizzato dalla nostra app.
Nota:il service account Kubernetes (gradio-chat-ksa) a cui viene fatto riferimento in questi binding non esiste ancora. Verrà creato in un secondo momento, quando eseguiremo il deployment dell'applicazione nel cluster. È perfettamente accettabile (e prassi comune) eseguire il provisioning preliminare di questi binding IAM.
Trova # TODO: Configure Workload Identity IAM bindings e aggiungi:
locals {
  ksa_principal = "principal://iam.googleapis.com/projects/${var.project_number}/locations/global/workloadIdentityPools/${var.project_id}.svc.id.goog/subject/ns/default/sa/gradio-chat-ksa"
}

resource "google_project_iam_member" "ksa_token_creator" {
  project = var.project_id
  role    = "roles/iam.serviceAccountTokenCreator"
  member  = local.ksa_principal
}

resource "google_project_iam_member" "ksa_vertex_user" {
  project = var.project_id
  role    = "roles/aiplatform.user"
  member  = local.ksa_principal
}

resource "google_project_iam_member" "ksa_datastore_user" {
  project = var.project_id
  role    = "roles/datastore.user"
  member  = local.ksa_principal
}
Applica la configurazione
Ora che l'infrastruttura è definita, eseguiamo il provisioning.
- Per prima cosa, dobbiamo impostare alcune variabili da utilizzare in Terraform. Lo faremo utilizzando le variabili di ambiente:
export TF_VAR_project_id=$(gcloud config get-value project)
export TF_VAR_project_number=$(gcloud projects describe $TF_VAR_project_id --format="value(projectNumber)")
export TF_VAR_region="us-central1"
- Inizializza Terraform:
terraform init
- Utilizza
terraform planper visualizzare l'anteprima delle risorse che verranno create.
terraform plan
- Applica la configurazione. Quando richiesto, digita
yesper confermare.
terraform apply
Nota: il provisioning di un cluster GKE può richiedere 10-15 minuti. Nell'attesa, puoi procedere all'esame del codice dell'applicazione nella sezione successiva.
- Al termine, configura
kubectlper comunicare con il nuovo cluster:
gcloud container clusters get-credentials gradio-chat-cluster --region us-central1 --project $TF_VAR_project_id
4. Esegui il deployment di Gemma self-hosted su GKE
Successivamente, eseguiremo il deployment del modello Gemma 3 12B direttamente nel tuo cluster GKE. Ciò consente un'inferenza a bassa latenza e il controllo completo sull'ambiente di esecuzione del modello.
Configurare le credenziali di Hugging Face
Per scaricare il modello Gemma, il cluster deve essere autenticato con Hugging Face.
- Assicurati di avere un token Hugging Face.
- Crea un secret Kubernetes con il tuo token sostituisci [YOUR_HF_TOKEN] con il tuo token effettivo:
kubectl create secret generic hf-secret --from-literal=hf_api_token=[YOUR_HF_TOKEN]
Esegui il deployment del modello
Utilizzeremo un deployment Kubernetes standard per eseguire il modello. Il manifest si trova in deploy/gemma3-12b-deploy.yaml. Puoi aprirlo manualmente o utilizzare questo comando per aprire il file nell'editor:
cd ../deploy
cloudshell edit gemma3-12b-deploy.yaml
Prenditi un momento per esaminare questo file. Nota la sezione resources:
        resources:
          requests:
            nvidia.com/gpu: 4
      nodeSelector:
        cloud.google.com/gke-accelerator: nvidia-l4
Questa è l'infrastruttura AI dichiarativa. Stiamo comunicando a GKE Autopilot che questo pod specifico richiede 4 GPU NVIDIA L4. Autopilot troverà o eseguirà il provisioning di un nodo che soddisfi esattamente questi requisiti. Se un nodo non è disponibile per il provisioning, il sistema continuerà a riprovare finché non sarà disponibile un nodo che soddisfi i requisiti.
- Applica il manifest del deployment:
cd .. kubectl apply -f deploy/gemma3-12b-deploy.yamlkubectl get podsgemmanon è ancora in esecuzione. L'app di chat si connetterà al servizio Gemma non appena sarà disponibile. Tieni presente che non potrai interagire con Gemma tramite l'app di chat finché il podgemmanon mostra lo statoRunninge1/1. Nel frattempo, puoi usare Gemini.
5. Creare l'applicazione di chat
Ora completiamo l'applicazione Python. Apri app/app.py nell'editor di Cloud Shell. Troverai diversi blocchi # TODO che devono essere compilati per rendere funzionale l'applicazione.
cloudshell edit app/app.py
Passaggio 1: elabora la cronologia delle conversazioni
Gli LLM richiedono che la cronologia della conversazione sia formattata in modo specifico per capire chi ha detto cosa.
Il pattern "Universal Translator": nota che stiamo per scrivere due funzioni diverse per elaborare la stessa cronologia della chat. Questo è un pattern chiave nelle applicazioni multimodello.
- Fonte di riferimento (Gradio): la nostra app conserva la cronologia in un formato semplice e generico:
[[user_msg1, bot_msg1], ...]. - Target 1 (Gemma): deve essere convertito in una singola stringa non elaborata con token speciali specifici.
- Target 2 (Gemini): deve essere convertito in un elenco strutturato di oggetti API.
Riformattando la cronologia generica nel formato di destinazione a ogni turno, possiamo passare facilmente da un modello all'altro. Per aggiungere un modello diverso in un secondo momento, dovrai scrivere una nuova funzione di elaborazione per il suo formato specifico.
Per Gemma (self-hosted)
Informazioni sui modelli di chat:quando ospiti i tuoi modelli aperti, in genere devi formattare manualmente il prompt in una stringa specifica che il modello è stato addestrato a riconoscere come conversazione. Questo è noto come "modello di chat".
Trova la funzione process_message_gemma in app.py e sostituiscila con il seguente codice:
# This function takes a user's message and the conversation history as input.
#   Its job is to format these elements into a single,
#   structured prompt that can be understood by the language model (LLM).
#   This structured format helps the LLM maintain context and generate more relevant responses.
def process_message_gemma(message, history):
    user_prompt_format = "User's Turn:\n>>> {prompt}\n"
    assistant_prompt_format = "Assistant's Turn:\n>>> {prompt}\n"

    history_message = ""
    for user_turn, assistant_turn in history:
        history_message += user_prompt_format.format(prompt=user_turn)
        history_message += assistant_prompt_format.format(prompt=assistant_turn)

    # Format the new user message
    new_user_message = user_prompt_format.format(prompt=message)
    # Create a new aggregated message to be used as a single flat string in a json object sent to the LLM
    aggregated_message = (
        history_message + new_user_message + assistant_prompt_format.format(prompt="")
    )
    return aggregated_message
Per Gemini (gestito)
I servizi gestiti spesso preferiscono oggetti strutturati a stringhe non elaborate. Abbiamo bisogno di una funzione separata per formattare la cronologia in oggetti types.Content per l'SDK Gemini.
Trova process_message_gemini e sostituiscilo con:
def process_message_gemini(message, history):
    contents = []
    for user_turn, model_turn in history:
        contents.append(
            types.Content(role="user", parts=[types.Part.from_text(text=user_turn)])
        )
        contents.append(
            types.Content(role="model", parts=[types.Part.from_text(text=model_turn)])
        )

    contents.append(
        types.Content(role="user", parts=[types.Part.from_text(text=message)])
    )
    return contents
Passaggio 2: chiama il modello Gemma self-hosted
Dobbiamo inviare il prompt formattato al servizio Gemma in esecuzione nel nostro cluster. Utilizzeremo una richiesta HTTP POST standard per il nome DNS interno del servizio.
Trova la funzione call_gemma_model e sostituiscila con:
# Construct the request, send it to Gemma, return the model's response
# aggregated_message = current user message + history
def call_gemma_model(aggregated_message, model_temperature, top_p, max_tokens):
    json_message = {
        "prompt": aggregated_message,
        "temperature": model_temperature,
        "top_p": top_p,
        "max_tokens": max_tokens,
        "stop": ["User's Turn:"],
    }

    # Log what will be sent to the LLM
    print("*** JSON request: " + str(json_message))

    # Send the constructed json with the user prompt to the model and put the model's response in the json_data variable
    json_data = post_request(json_message)

    # The response from the model is a list of predictions. We'll take the first result.
    raw_output = json_data["predictions"][0]

    # The vLLM server returns the full prompt in the response. We need to extract
    # just the newly generated text from the model.
    assistant_turn_marker = "Assistant's Turn:\n>>>"
    marker_pos = raw_output.rfind(assistant_turn_marker)

    if marker_pos != -1:
        output = raw_output[marker_pos + len(assistant_turn_marker) :]
    else:
        output = raw_output

    # Clean up potential over-generation
    stop_marker = "User's Turn:"
    stop_pos = output.lower().find(stop_marker.lower())
    if stop_pos != -1:
        output = output[:stop_pos]

    return output.strip()
Passaggio 3: chiama il modello Vertex AI Gemini
Per il modello gestito, utilizzeremo l'SDK Google GenAI. È molto più semplice perché gestisce le chiamate di rete per noi.
Trova la funzione call_gemini_model e sostituiscila con:
# Send a request to Gemini via the VertexAI API. Return the model's response
# contents = list of types.Content objects
def call_gemini_model(contents, model_temperature, top_p, max_tokens):
    gemini_model = "gemini-2.5-flash"

    response = client.models.generate_content(
        model=gemini_model,
        contents=contents,
        config={
            "temperature": model_temperature,
            "max_output_tokens": max_tokens,
            "top_p": top_p,
        },
    )
    return response.text
Passaggio 4: implementa l'interfaccia di inferenza principale
Infine, abbiamo bisogno della funzione di orchestratore principale chiamata da Gradio. Questa funzione deve:
- Inizializza la cronologia se è vuota.
- Elaborare il messaggio.
- Instrada la richiesta al modello selezionato (Gemma o Gemini).
- Salva l'interazione in Firestore.
- Restituisci la risposta alla UI.
Gradio e gestione dello stato:ChatInterface di Gradio gestisce automaticamente lo stato a livello di sessione (visualizzazione dei messaggi nel browser). Tuttavia, non supporta i database esterni.
Per conservare la cronologia chat a lungo termine, utilizziamo un pattern standard: ci colleghiamo alla funzione inference_interface. Accettando request: gr.Request come argomento, Gradio ci trasmette automaticamente i dettagli della sessione dell'utente corrente. Utilizziamo questo valore per creare un documento Firestore univoco per ogni utente, assicurandoci che le conversazioni non vengano confuse in un ambiente multiutente.
Trova la funzione inference_interface e sostituiscila con:
# This is the primary chat function. Every time a user sends a message, gradio calls this function,
# which sends the user's input to the appropriate AI (as indicated on the user interface), updates
# the chat history for future use during this session, and records the chat history in Firestore.
def inference_interface(
    message,
    history,
    model_name,
    model_temperature,
    top_p,
    max_tokens,
    request: gr.Request,
):

    # set history to empty array
    if history is None:
        history = []

    # Get or create session document
    session_hash = request.session_hash
    doc_id = f"session-{session_hash}"
    doc_ref = db.collection("chat_sessions").document(doc_id)

    # Create the session document if it doesn't exist
    if not doc_ref.get().exists:
        doc_ref.set({"Session start": datetime.datetime.now()})

    # Log info
    print("Model: " + model_name)
    print("LLM Engine: " + llm_engine)
    print("* History: " + str(history))

    # Pass the message and history to the appropriate model, as indicated by the user via the ui
    if model_name == "Gemma3 12b it":
        aggregated_message = process_message_gemma(message, history)
        output = call_gemma_model(
            aggregated_message, model_temperature, top_p, max_tokens
        )

    elif model_name == "Gemini":
        gemini_contents = process_message_gemini(message, history)
        output = call_gemini_model(
            gemini_contents, model_temperature, top_p, max_tokens
        )

    else:
        # Handle the case where no valid model is selected
        output = "Error: Invalid model selected."

    interaction = {"user": message, model_name: output}

    # Log the updated chat history
    print("* History: " + str(history) + " " + str(interaction))

    # Save the updated history to Firestore
    save_chat_history(interaction, doc_ref)

    return output
6. Controlla il file app.py
A questo punto, l'applicazione di chat basata su Gradio dovrebbe essere pronta per il deployment. Assicurati che corrisponda esattamente al seguente file completo.
Risoluzione dei problemi:se esegui il deployment dell'applicazione e ricevi l'errore "Connessione rifiutata" o "Impossibile raggiungere il sito" quando tenti di connetterti, prova a ripetere i passaggi da questo punto, iniziando copiando l'intero file e incollandolo in app.py.
# Copyright 2024 Google LLC
#
# Licensed under the Apache License, Version 2.0 (the "License");
# you may not use this file except in compliance with the License.
# You may obtain a copy of the License at
#
#      http://www.apache.org/licenses/LICENSE-2.0
#
# Unless required by applicable law or agreed to in writing, software
# distributed under the License is distributed on an "AS IS" BASIS,
# WITHOUT WARRANTIES OR CONDITIONS OF ANY KIND, either express or implied.
# See the License for the specific language governing permissions and
# limitations under the License.

import datetime

import google.auth
import google.cloud
import gradio as gr
import requests
import themes
from google import genai

from google.cloud import firestore
from google.genai import types

## Do one-time initialization things

## grab the project id from google auth
_, project = google.auth.default()
print(f"Project: {project}")

# Set initial values for model
llm_engine = "vllm"
host = "http://gemma-service:8000"
context_path = "/generate"

# initialize vertex for interacting with Gemini
client = genai.Client(
    vertexai=True,
    project=project,
    location="global",
)

# Initialize Firestore client
db = firestore.Client(database="chat-app-db")


# This is the primary chat function. Every time a user sends a message, gradio calls this function,
# which sends the user's input to the appropriate AI (as indicated on the user interface), updates
# the chat history for future use during this session, and records the chat history in Firestore.
def inference_interface(
    message,
    history,
    model_name,
    model_temperature,
    top_p,
    max_tokens,
    request: gr.Request,
):

    # set history to empty array
    if history is None:
        history = []

    # Get or create session document
    session_hash = request.session_hash
    doc_id = f"session-{session_hash}"
    doc_ref = db.collection("chat_sessions").document(doc_id)

    # Create the session document if it doesn't exist
    if not doc_ref.get().exists:
        doc_ref.set({"Session start": datetime.datetime.now()})

    # Log info
    print("Model: " + model_name)
    print("LLM Engine: " + llm_engine)
    print("* History: " + str(history))

    # Pass the message and history to the appropriate model, as indicated by the user via the ui
    if model_name == "Gemma3 12b it":
        aggregated_message = process_message_gemma(message, history)
        output = call_gemma_model(
            aggregated_message, model_temperature, top_p, max_tokens
        )

    elif model_name == "Gemini":
        gemini_contents = process_message_gemini(message, history)
        output = call_gemini_model(
            gemini_contents, model_temperature, top_p, max_tokens
        )

    else:
        # Handle the case where no valid model is selected
        output = "Error: Invalid model selected."

    interaction = {"user": message, model_name: output}

    # Log the updated chat history
    print("* History: " + str(history) + " " + str(interaction))

    # Save the updated history to Firestore
    save_chat_history(interaction, doc_ref)

    return output


# Construct the request, send it to Gemma, return the model's response
# aggregated_message = current user message + history
def call_gemma_model(aggregated_message, model_temperature, top_p, max_tokens):
    json_message = {
        "prompt": aggregated_message,
        "temperature": model_temperature,
        "top_p": top_p,
        "max_tokens": max_tokens,
        "stop": ["User's Turn:"],
    }

    # Log what will be sent to the LLM
    print("*** JSON request: " + str(json_message))  # Log the JSON request

    # Send the constructed json with the user prompt to the model and put the model's response in the json_data variable
    json_data = post_request(json_message)

    # The response from the model is a list of predictions.
    # We'll take the first result.
    raw_output = json_data["predictions"][0]

    # The vLLM server returns the full prompt in the response. We need to extract
    # just the newly generated text from the model. The prompt ends with
    # "Assistant's Turn:\n>>>", so we find the last occurrence of that and
    # take everything after it.
    assistant_turn_marker = "Assistant's Turn:\n>>>"
    marker_pos = raw_output.rfind(assistant_turn_marker)

    if marker_pos != -1:
        # Get the text generated by the assistant
        output = raw_output[marker_pos + len(assistant_turn_marker) :]
    else:
        # Fallback in case the marker isn't found
        output = raw_output

    # The model sometimes continues the conversation and includes the next user's turn.
    # The 'stop' parameter is a good hint, but we parse the output as a safeguard.
    stop_marker = "User's Turn:"
    stop_pos = output.lower().find(stop_marker.lower())
    if stop_pos != -1:
        output = output[:stop_pos]

    # The model also sometimes prefixes its response with "Output:". We'll remove this.
    output = output.lstrip()
    prefix_marker = "Output:"
    if output.lower().startswith(prefix_marker.lower()):
        output = output[len(prefix_marker) :]

    return output.strip()


# Send a request to Gemini via the VertexAI API. Return the model's response
# contents = list of types.Content objects
def call_gemini_model(contents, model_temperature, top_p, max_tokens):
    gemini_model = "gemini-2.5-flash"

    response = client.models.generate_content(
        model=gemini_model,
        contents=contents,
        config={
            "temperature": model_temperature,
            "max_output_tokens": max_tokens,
            "top_p": top_p,
        },
    )
    output = response.text  # Extract the generated text
    # Consider handling additional response attributes (safety, usage, etc.)
    return output


def process_message_gemini(message, history):
    contents = []
    for user_turn, model_turn in history:
        contents.append(
            types.Content(role="user", parts=[types.Part.from_text(text=user_turn)])
        )
        contents.append(
            types.Content(role="model", parts=[types.Part.from_text(text=model_turn)])
        )

    contents.append(
        types.Content(role="user", parts=[types.Part.from_text(text=message)])
    )
    return contents


# This function takes a user's message and the conversation history as input.
#   Its job is to format these elements into a single,
#   structured prompt that can be understood by the language model (LLM).
#   This structured format helps the LLM maintain context and generate more relevant responses.
def process_message_gemma(message, history):
    user_prompt_format = "User's Turn:\n>>> {prompt}\n"
    assistant_prompt_format = "Assistant's Turn:\n>>> {prompt}\n"

    history_message = ""
    for user_turn, assistant_turn in history:
        history_message += user_prompt_format.format(prompt=user_turn)
        history_message += assistant_prompt_format.format(prompt=assistant_turn)

    # Format the new user message
    new_user_message = user_prompt_format.format(prompt=message)
    # Create a new aggregated message to be used as a single flat string in a json object sent to the LLM
    aggregated_message = (
        history_message + new_user_message + assistant_prompt_format.format(prompt="")
    )
    return aggregated_message


# Function to save chat history to Firestore
def save_chat_history(interaction, doc_ref):
    timestamp_str = str(datetime.datetime.now())

    # Save the chat history, merging with existing data
    doc_ref.update({timestamp_str: interaction})

    print("Chat history saved successfully!")  # Optional: Log success


# Send the json message to the model and return the model's response. This is used for Gemma but not Gemini. It could also be used for other models.
def post_request(json_message):
    print("*** Request" + str(json_message), flush=True)
    # Set a timeout and check for HTTP errors. This will raise an exception on a bad status code (4xx or 5xx).
    response = requests.post(host + context_path, json=json_message, timeout=60)
    response.raise_for_status()
    json_data = response.json()
    print("*** Output: " + str(json_data), flush=True)
    return json_data


# custom css to hide default footer
css = """
footer {display: none !important;} .gradio-container {min-height: 0px !important;}
"""

# Add a dropdown to select the model to chat with
model_dropdown = gr.Dropdown(
    ["Gemma3 12b it", "Gemini"],
    label="Model",
    info="Select the model you would like to chat with.",
    value="Gemma3 12b it",
)

# Make the model temperature, top_p, and max tokents modifiable via sliders in the GUI
model_temperature = gr.Slider(
    minimum=0.1, maximum=1.0, value=0.9, label="Temperature", render=False
)
top_p = gr.Slider(minimum=0.1, maximum=1.0, value=0.95, label="Top_p", render=False)
max_tokens = gr.Slider(
    minimum=1, maximum=4096, value=1024, label="Max Tokens", render=False
)

# Call gradio to create the chat interface
app = gr.ChatInterface(
    inference_interface,
    additional_inputs=[model_dropdown, model_temperature, top_p, max_tokens],
    theme=themes.google_theme(),
    css=css,
    title="Chat with AI",
)

app.launch(server_name="0.0.0.0", allowed_paths=["images"])
7. Esegui il deployment dell'applicazione Chat
Utilizzeremo Skaffold per creare l'immagine container ed eseguirne il deployment nel cluster. Skaffold è uno strumento a riga di comando che orchestra e automatizza il processo di creazione, push e deployment delle applicazioni su Kubernetes. Semplifica il flusso di lavoro di sviluppo consentendoti di attivare l'intero processo con un unico comando, il che lo rende ideale per l'iterazione dell'applicazione.
Nota: verrà eseguito il deployment anche del service account Kubernetes necessario per Workload Identity. Puoi visualizzarne la definizione nel file deploy/chat-deploy.yaml. Per riferimento, consulta la definizione qui:
apiVersion: v1
kind: ServiceAccount
metadata:
  name: gradio-chat-ksa
Esegui Skaffold per creare ed eseguire il deployment:
skaffold run --default-repo=us-central1-docker.pkg.dev/$GOOGLE_CLOUD_PROJECT/chat-app-repo
Skaffold utilizzerà Cloud Build per creare l'immagine container, eseguirne il push nel registro Artifact Registry creato da Terraform e quindi applicare i manifest Kubernetes al cluster.
8. Testare l'applicazione
- Attendi che il servizio dell'applicazione di chat riceva un indirizzo IP esterno:
kubectl get svc gradio-chat-service --watchEXTERNAL-IPpassa dapendinga un indirizzo IP effettivo, premiCtrl+Cper interrompere la visione. - Apri un browser web e vai alla pagina
http://[EXTERNAL-IP]:7860. - Prova a interagire con il modello. L'app è configurata per impostazione predefinita per farti chattare con il modello Gemma ospitato localmente. Se vuoi chattare con Gemini, cambia il modello nel menu a discesa "Input aggiuntivi". Ad esempio, prova a chiedere all'AI: "Raccontami una barzelletta su Kubernetes".
Risoluzione dei problemi:
- Se ricevi un errore come "Impossibile raggiungere il sito" o "[EXTERNAL-IP] rifiuta la connessione", potrebbe essersi verificato un problema con il file app.py. Torna al passaggio "Controlla il file app.py" e ripeti i passaggi da lì.
- L'interfaccia utente utilizza per impostazione predefinita il modello "Gemma3 12b it". Se ricevi immediatamente un errore, è probabile che il pod Gemma non sia ancora pronto. Suggerimento:puoi impostare il menu a discesa su "Gemini" per provare a interagire con l'applicazione di chat mentre aspetti che Gemma venga inizializzata.
Prova Gemma:assicurati che "Gemma3 12b it" sia selezionato nel menu a discesa e invia un messaggio (ad es. "Raccontami una barzelletta su Kubernetes").
Prova Gemini: imposta il menu a discesa su "Gemini" e fai un'altra domanda (ad es. "Qual è la differenza tra un pod e un nodo?").
Verifica la cronologia:dopo aver chattato correttamente con un modello (Gemma o Gemini) nell'app di chat, controlla il database "chat-app-db" in Firestore per visualizzare i log della chat. Se hai potuto chattare con entrambi i modelli, noterai che la cronologia della conversazione viene mantenuta anche quando cambi modello.
9. Approfondimento
Ora che hai un'applicazione di chat ibrida funzionante, considera queste sfide per approfondire la tua comprensione:
- Persona personalizzata:prova a modificare le funzioni
process_message_gemmaeprocess_message_geminiper includere un "prompt di sistema" all'inizio. Ad esempio, puoi dire ai modelli "Sei un assistente pirata utile" e vedere come cambiano le loro risposte. - Identità utente persistente:al momento, l'applicazione genera un nuovo UUID casuale per ogni sessione. Come integreresti un sistema di autenticazione reale (come Accedi con Google) in modo che un utente possa visualizzare la cronologia delle conversazioni passate su diversi dispositivi?
- Sperimentazione del modello:prova a modificare il cursore
temperaturenell'interfaccia utente. In che modo una temperatura elevata (vicina a 1.0) influisce sulla creatività rispetto all'accuratezza delle risposte rispetto a una temperatura bassa (vicina a 0.1)?
10. Conclusione
Complimenti! Hai creato un'applicazione di AI ibrida. Hai imparato a:
- Utilizza Terraform per l'infrastruttura come codice su Google Cloud.
- Ospita i tuoi LLM open-weight su GKE per un controllo completo.
- Integra servizi di AI gestiti come Vertex AI per una maggiore flessibilità.
- Crea un'applicazione stateful utilizzando Firestore per la persistenza.
- Proteggi i tuoi workload utilizzando Workload Identity.
Esegui la pulizia
Per evitare addebiti, elimina le risorse che hai creato:
cd infra
terraform destroy -var="project_id=$GOOGLE_CLOUD_PROJECT" -var="project_number=$PROJECT_NUMBER" -var="region=$REGION"