
1. 소개
개요
이 실습에서는 Google Kubernetes Engine (GKE)에서 풀스택 AI 기반 채팅 애플리케이션을 빌드하고 배포합니다. 이 '하이브리드' 애플리케이션은 강력한 아키텍처 패턴을 보여줍니다. 클러스터에서 직접 실행되는 자체 호스팅 개방형 모델 (Gemma 3 12B)과 관리형 AI 서비스 (Vertex AI를 통한 Gemini 2.5 Flash) 간에 원활하게 전환할 수 있습니다.
                                   +----------------------+
                                   |   User (Web Browser) |
                                   +-----------+----------+
                                               |
                                               v
+----------------------------------------------+---------------------------------------------+
| Google Cloud Platform                        |                                             |
|   |                                  +-------+-------+                                     |
|   |                                  | Load Balancer |                                     |
|   |                                  +-------+-------+                                     |
|   |                                          v                                             |
|   +------------------------------------------+-----------------------------------------+   |
|   |  Google Kubernetes Engine (GKE)          |                                         |   |
|   |                                          v                                         |   |
|   |                              +-----------+-----------+                             |   |
|   |                              |    Gradio Chat App    |                             |   |
|   |                              +--+-----------------+--+                             |   |
|   |                                 |                 |                                |   |
|   |                   (Self-hosted) |                 | (Managed via SDK)              |   |
|   |                                 v                 |                                |   |
|   |                  +--------------+---+             |                                |   |
|   |                  | Gemma 3 Model    |             |                                |   |
|   |                  | (GPU Node)       |             |                                |   |
|   |                  +------------------+             |                                |   |
|   +---------------------------------------------------|--------------------------------+   |
|                                                       |                                    |
|                                                       v                                    |
|                                            +----------+-----------+                        |
|                                            | Vertex AI (Gemini)   |                        |
|                                            +----------------------+                        |
|                                                       | (Save History)                     |
|                                                       v                                    |
|                                            +----------+-----------+                        |
|                                            | Firestore Database   |                        |
|                                            +----------------------+                        |
+--------------------------------------------------------------------------------------------+
Terraform을 사용하여 GKE Autopilot 클러스터와 채팅 세션 기록을 유지하는 Firestore 데이터베이스를 비롯한 인프라를 프로비저닝합니다. 그런 다음 다중 턴 대화를 처리하고, 두 AI 모델과 모두 인터페이스하고, Cloud Build 및 Skaffold를 사용하여 최종 애플리케이션을 배포하는 Python 애플리케이션 코드를 완성합니다.
학습할 내용
- Terraform을 사용하여 GKE 및 Firestore 인프라를 프로비저닝합니다.
- Kubernetes 매니페스트를 사용하여 GKE Autopilot에 대규모 언어 모델 (Gemma)을 배포합니다.
- 다양한 AI 백엔드 간에 전환할 수 있는 Gradio 채팅 인터페이스를 Python으로 구현합니다.
- Firestore를 사용하여 채팅 세션 기록을 저장하고 검색합니다.
- GKE 워크로드에 Google Cloud 서비스 (Vertex AI, Firestore)에 대한 액세스 권한을 안전하게 부여하도록 워크로드 아이덴티티를 구성합니다.
기본 요건
- 결제가 사용 설정된 Google Cloud 프로젝트.
- Python, Kubernetes, 표준 명령줄 도구에 대한 기본적인 지식
- Gemma 모델에 액세스할 수 있는 Hugging Face 토큰
2. 프로젝트 설정
- 아직 Google 계정이 없다면 Google 계정을 만들어야 합니다.
- 직장 또는 학교 계정 대신 개인 계정을 사용하세요. 직장 및 학교 계정에는 이 실습에 필요한 API를 사용 설정하지 못하도록 하는 제한이 있을 수 있습니다.
- Google Cloud 콘솔에 로그인합니다.
- Cloud 콘솔에서 결제를 사용 설정합니다.
- 이 실습을 완료하는 데 드는 Cloud 리소스 비용은 미화 1달러 미만입니다.
- 이 실습이 끝나면 단계에 따라 리소스를 삭제하여 추가 요금이 발생하지 않도록 할 수 있습니다.
- 신규 사용자는 미화$300 상당의 무료 체험판을 사용할 수 있습니다.
- 새 프로젝트를 만들거나 기존 프로젝트를 재사용합니다.
Cloud Shell 편집기 열기
- 이 링크를 클릭하여 Cloud Shell 편집기로 바로 이동합니다.
- 오늘 언제든지 승인하라는 메시지가 표시되면 승인을 클릭하여 계속합니다.
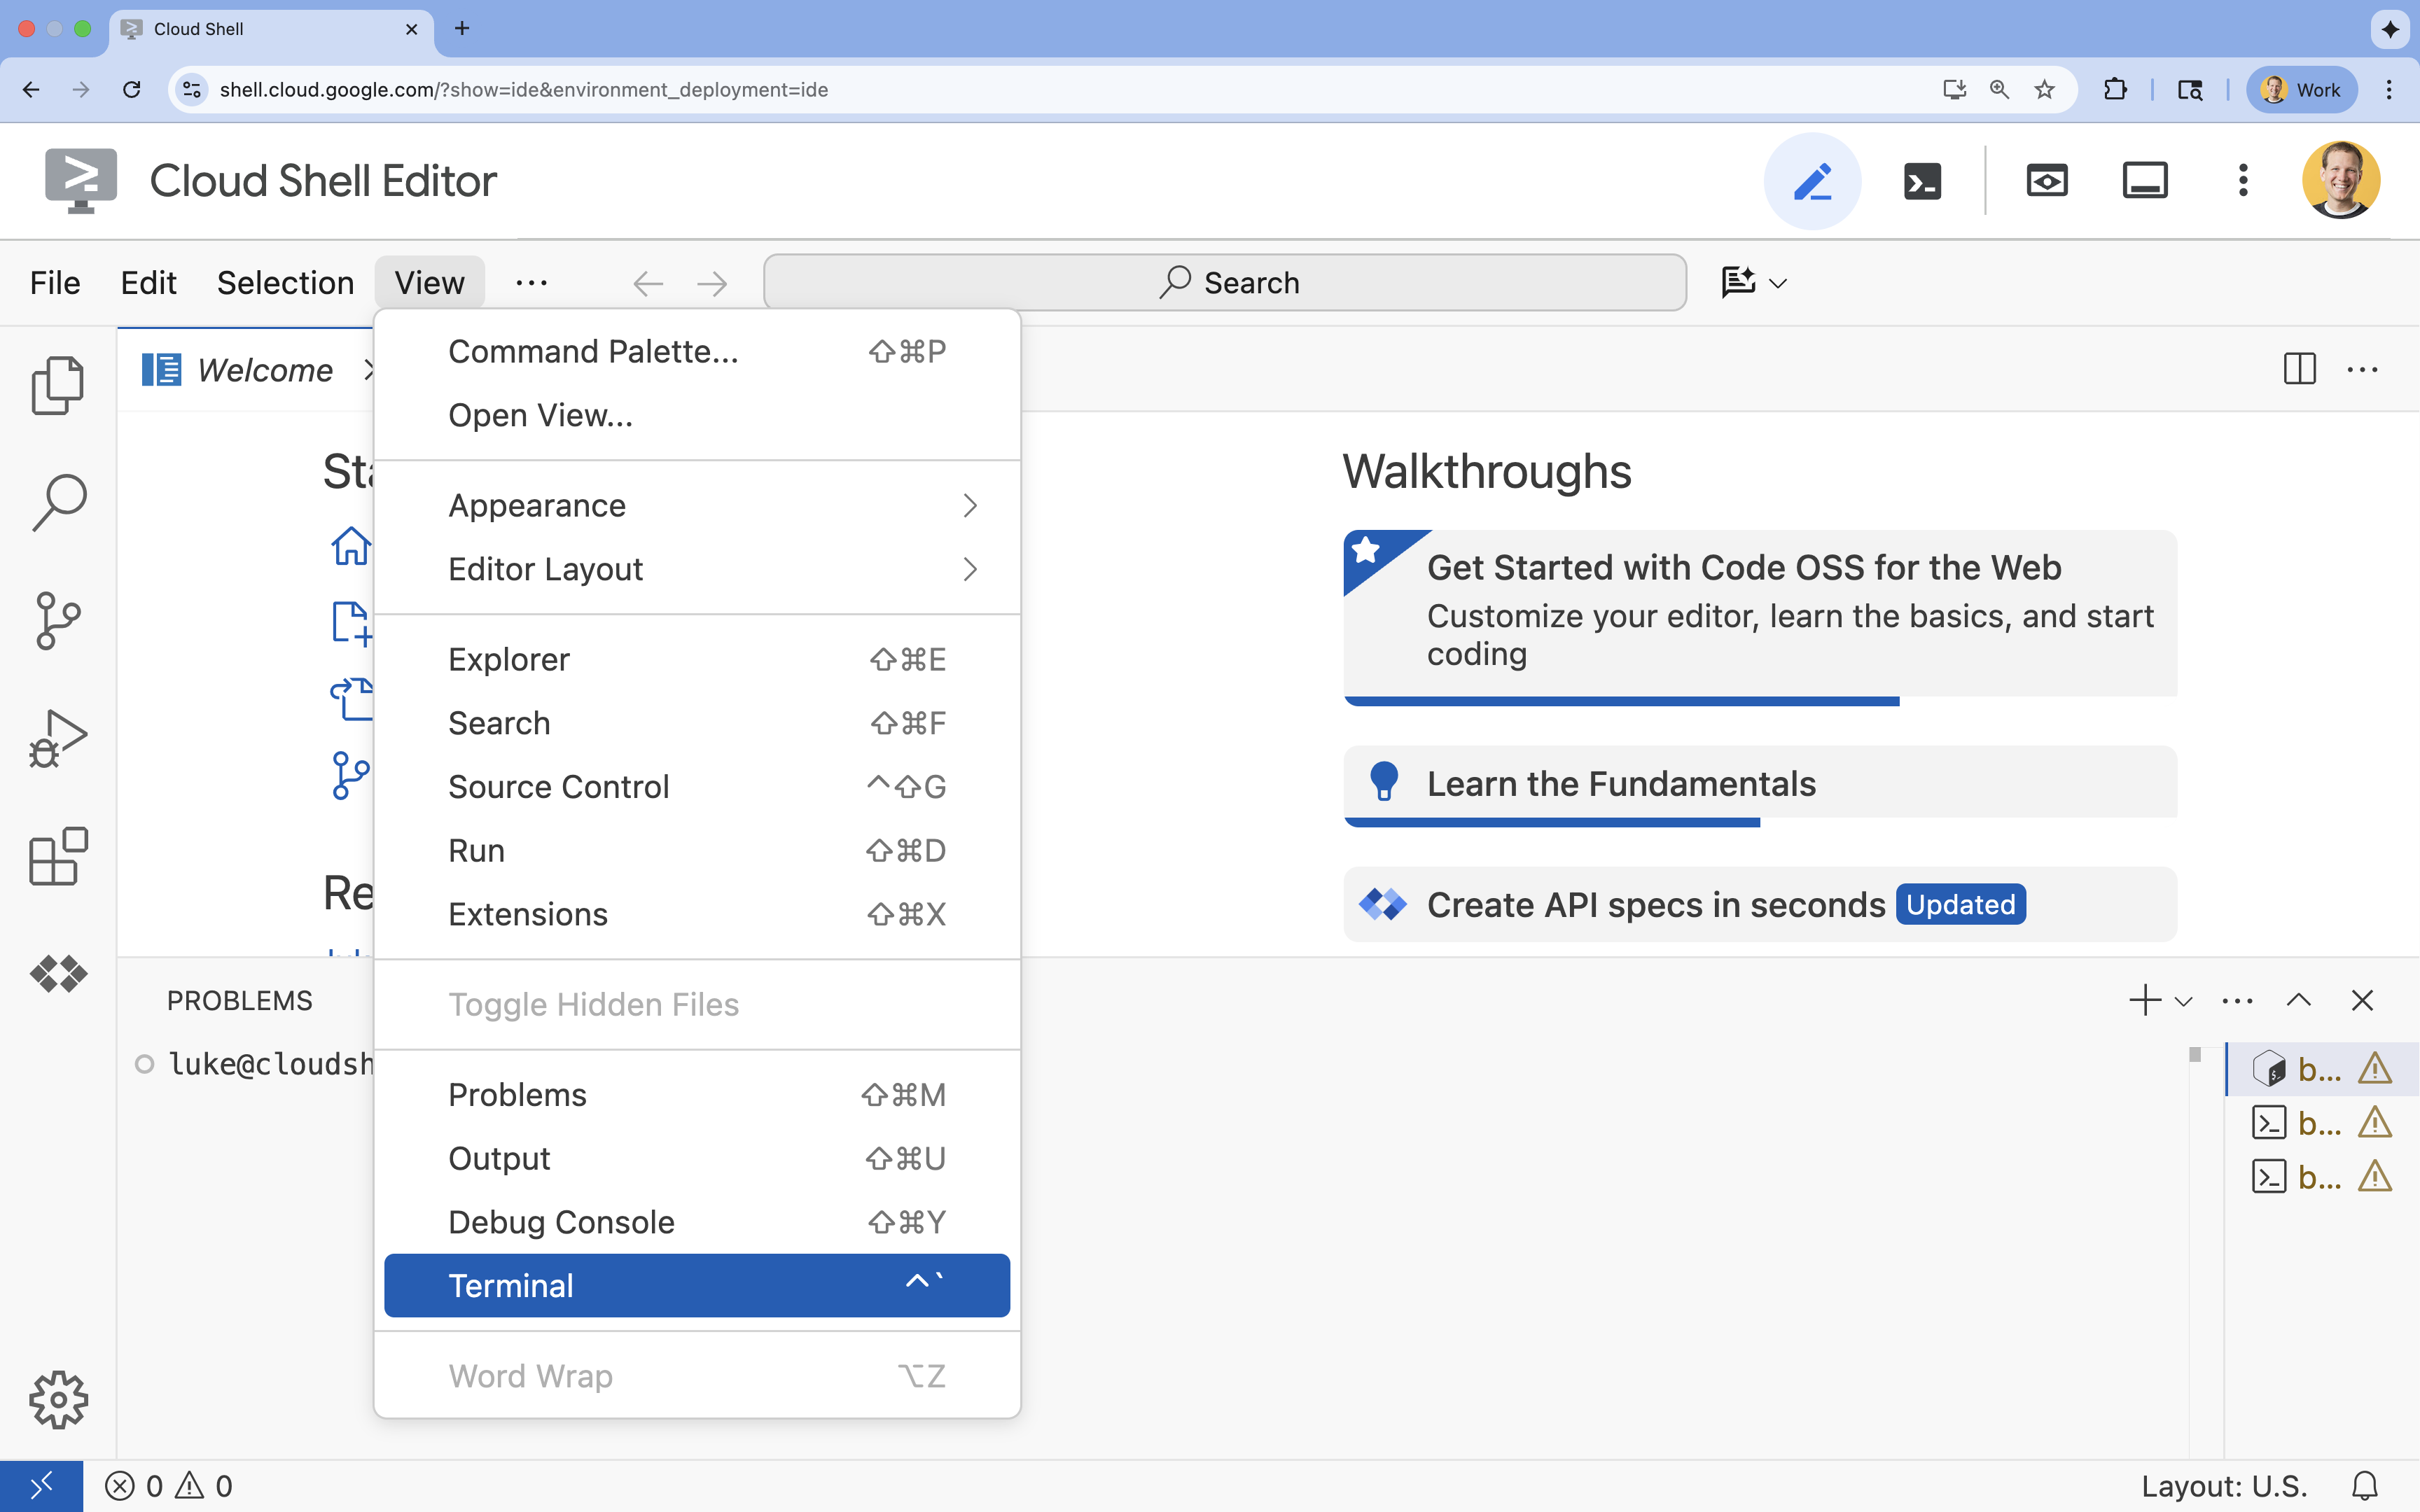
- 터미널이 화면 하단에 표시되지 않으면 다음 단계에 따라 엽니다.
- 보기를 클릭합니다.
- 터미널을 클릭합니다.
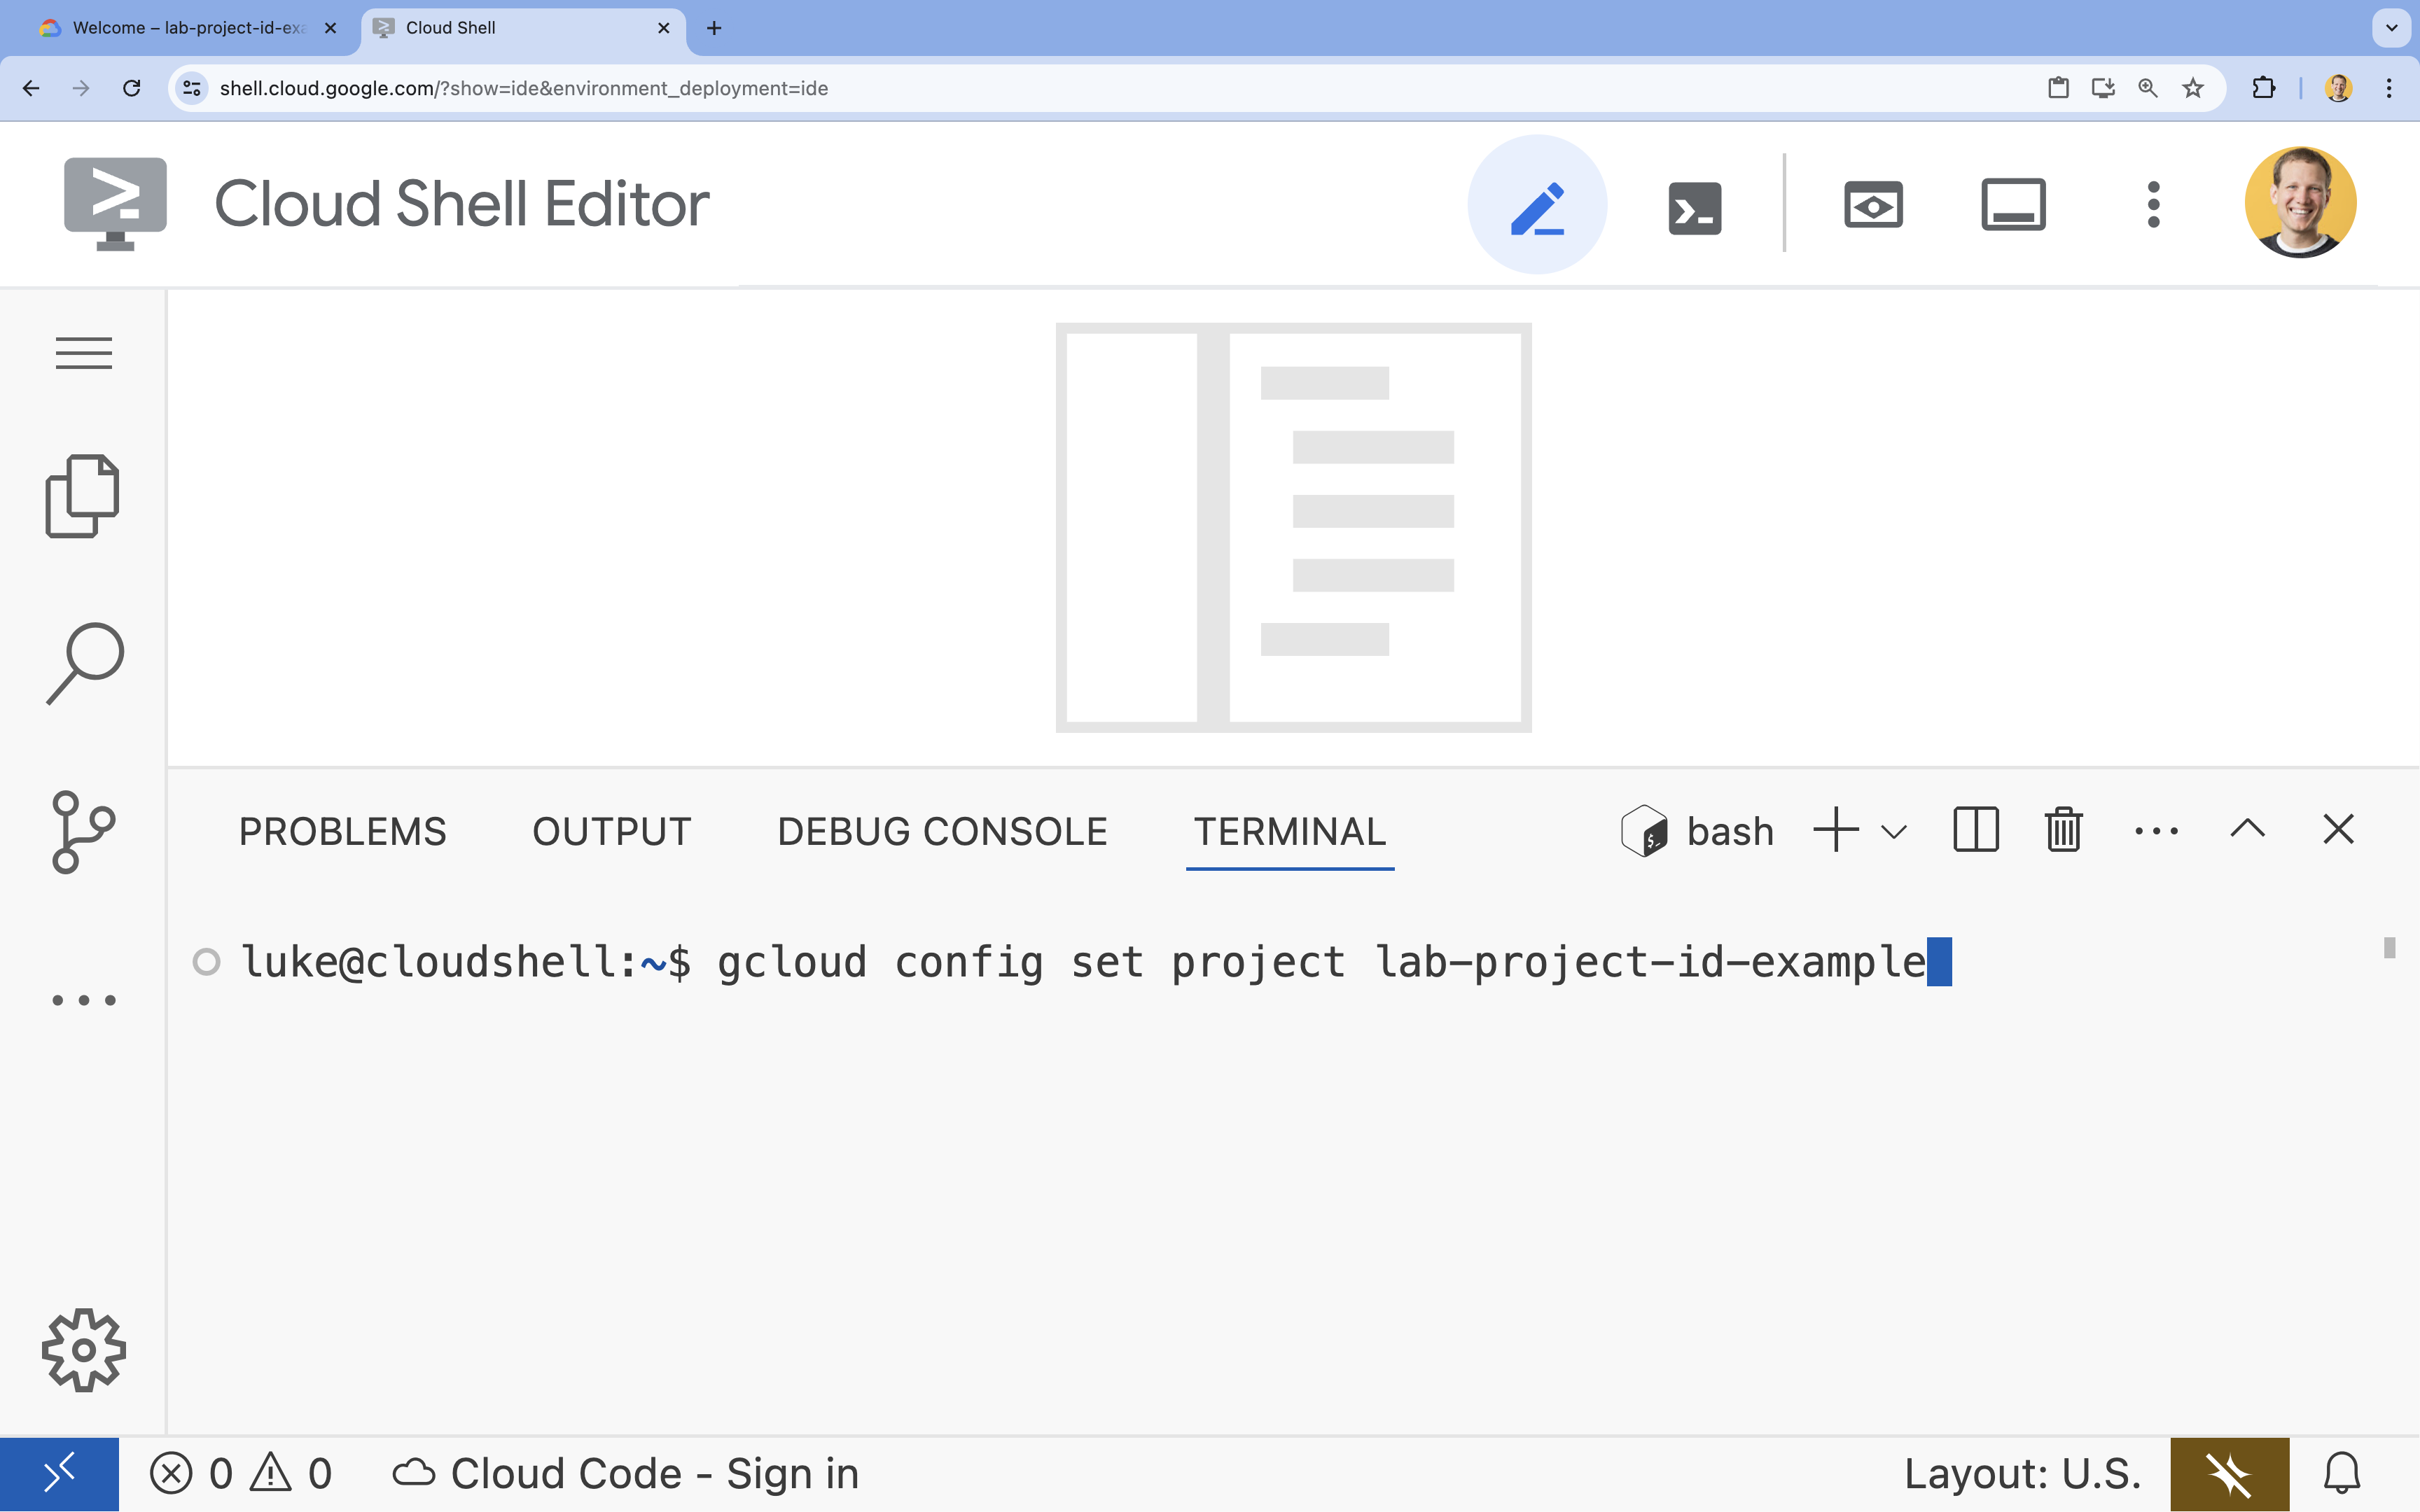
- 터미널에서 다음 명령어를 사용하여 프로젝트를 설정합니다.
- 형식:
gcloud config set project [PROJECT_ID] - 예:
gcloud config set project lab-project-id-example - 프로젝트 ID를 기억할 수 없는 경우 다음 단계를 따르세요.
- 다음 명령어를 사용하여 모든 프로젝트 ID를 나열할 수 있습니다.
gcloud projects list | awk '/PROJECT_ID/{print $2}'
- 다음 명령어를 사용하여 모든 프로젝트 ID를 나열할 수 있습니다.
- 형식:
- 다음 메시지가 표시되어야 합니다.
Updated property [core/project].
WARNING이 표시되고Do you want to continue (Y/n)?라는 메시지가 표시되면 프로젝트 ID를 잘못 입력한 것일 수 있습니다.n를 누르고Enter를 누른 후gcloud config set project명령어를 다시 실행해 보세요.
저장소 클론
Cloud Shell 터미널에서 프로젝트 저장소를 클론하고 프로젝트 디렉터리로 이동합니다.
git clone https://github.com/GoogleCloudPlatform/devrel-demos.git
cd devrel-demos/containers/gradio-chat-gke
잠시 시간을 내어 프로젝트 구조를 살펴보세요.
gradio-chat-gke/
├── app/
│   ├── app.py                # Main application logic (you will edit this)
│   ├── requirements.txt      # Python dependencies
│   └── themes.py             # UI theming
├── deploy/
│   ├── chat-deploy.yaml      # Kubernetes deployment for the chat app
│   ├── Dockerfile            # Container definition for the chat app
│   └── gemma3-12b-deploy.yaml# Kubernetes deployment for Gemma model
├── infra/
│   └── main.tf               # Terraform infrastructure definition
└── skaffold.yaml             # Skaffold configuration for building/deploying
환경 변수 설정
프로젝트 ID와 프로젝트 번호의 환경 변수를 설정합니다. 이는 Terraform 및 후속 명령어에서 사용됩니다.
export GOOGLE_CLOUD_PROJECT=$(gcloud config get-value project)
export PROJECT_NUMBER=$(gcloud projects describe $GOOGLE_CLOUD_PROJECT --format="value(projectNumber)")
export REGION=us-central1
Cloud Resource Manager API 사용 설정
Terraform은 프로젝트의 리소스를 관리하기 위해 Cloud Resource Manager API를 사용 설정해야 하므로 먼저 이를 사용 설정해야 합니다. 나중에 Cloud Build를 사용하여 컨테이너 이미지를 빌드하는 Skaffold를 사용하여 채팅 애플리케이션을 배포합니다. 이제 스토리지 API를 사용 설정하고 Cloud Build에 필요한 버킷을 만듭니다. Terraform 자체를 사용하여 이 프로젝트에 필요한 나머지 API를 사용 설정합니다.
gcloud services enable cloudresourcemanager.googleapis.com storage-api.googleapis.com
Cloud Build 스테이징 버킷 만들기
Skaffold는 소스 코드를 스테이징하는 데 Cloud Storage 버킷이 필요한 Google Cloud Build를 사용합니다.
다음과 같이 지금 만들어야 합니다.
gcloud storage buckets create gs://${GOOGLE_CLOUD_PROJECT}_cloudbuild
(버킷이 이미 있다는 오류가 표시되면 무시해도 됩니다).
3. Terraform으로 인프라 프로비저닝
Terraform을 사용하여 필요한 Google Cloud 리소스를 설정합니다. 이렇게 하면 재현 가능하고 일관된 환경이 보장됩니다.
- 인프라 디렉터리로 이동합니다.
cd infra
이 파일은 이 프로젝트에 필요한 추가 API(cloudbuild, artifactregistry, container(gke), firestore, aiplatform(vertexai))를 정의합니다. 파일 또는 아래에서 Terraform을 통해 API가 사용 설정되는 방식을 확인하세요.
resource "google_project_service" "cloudbuild" {
  service            = "cloudbuild.googleapis.com"
  disable_on_destroy = false
  project            = var.project_id
}

resource "google_project_service" "artifactregistry" {
  service            = "artifactregistry.googleapis.com"
  disable_on_destroy = false
  project            = var.project_id
}

resource "google_project_service" "container" {
  service            = "container.googleapis.com"
  disable_on_destroy = false
  project            = var.project_id
}

resource "google_project_service" "firestore" {
  service            = "firestore.googleapis.com"
  disable_on_destroy = false
  project            = var.project_id
}

resource "google_project_service" "vertexai" {
  service            = "aiplatform.googleapis.com"
  disable_on_destroy = false
  project            = var.project_id
}
GKE 클러스터 정의
편집기에서 infra/main.tf을 엽니다. # TODO 주석이 여러 개 표시됩니다. 수동으로 열거나 다음 명령어를 사용하여 편집기에서 파일을 열 수 있습니다.
cloudshell edit main.tf
먼저 Kubernetes 클러스터를 정의해야 합니다. 노드 관리를 자동으로 처리하므로 AI 워크로드에 적합한 GKE Autopilot을 사용합니다.
# TODO: Create a GKE Autopilot Cluster을 찾아 그 아래에 다음 블록을 추가합니다.
# Create a GKE Autopilot Cluster
resource "google_container_cluster" "primary" {
  name     = var.cluster_name
  location = var.region
  project  = var.project_id

  # Enable Autopilot mode
  enable_autopilot = true

  deletion_protection = false

  # Networking
  network    = "default"
  subnetwork = "projects/${var.project_id}/regions/${var.region}/subnetworks/default"

  # Timeout for cluster creation
  timeouts {
    create = "30m"
    update = "30m"
  }

  depends_on = [google_project_service.container]
}
enable_autopilot = true를 확인합니다. 이 한 줄을 통해 노드 풀, 자동 확장, GPU 워크로드의 빈 패킹을 관리하지 않아도 됩니다.
Firestore 데이터베이스 정의
다음으로 채팅 기록을 저장할 공간이 필요합니다. Firestore는 이러한 요구사항에 완벽하게 부합하는 서버리스 NoSQL 데이터베이스입니다.
# TODO: Create a Firestore Database를 찾아 다음을 추가합니다.
resource "google_firestore_database" "database" {
  project     = var.project_id
  name        = "chat-app-db"
  location_id = "nam5"
  type        = "FIRESTORE_NATIVE"

  depends_on = [google_project_service.firestore]
}
데이터베이스 리소스를 추가한 후 # TODO: Create an initial Firestore Document를 찾아 다음 블록을 추가합니다. 이 리소스는 컬렉션에 초기 자리표시자 문서를 만듭니다. 이는 데이터베이스 구조를 초기화하는 데 유용합니다.
resource "google_firestore_document" "initial_document" {
  project     = var.project_id
  collection  = "chat_sessions"
  document_id = "initialize"
  fields = <<EOF
  EOF

  depends_on = [google_firestore_database.database]
}
워크로드 아이덴티티 정의
마지막으로 보안을 구성해야 합니다. Google은 Kubernetes 포드가 비밀 또는 API 키를 관리하지 않고도 Vertex AI 및 Firestore에 액세스할 수 있기를 원합니다. 워크로드 아이덴티티를 사용하여 이를 수행합니다.
앱에서 사용할 Kubernetes 서비스 계정 (KSA)에 필요한 IAM 역할을 부여합니다.
참고: 이러한 바인딩에서 참조되는 Kubernetes 서비스 계정 (gradio-chat-ksa)은 아직 존재하지 않습니다. 나중에 클러스터에 애플리케이션을 배포할 때 생성됩니다. 이러한 IAM 바인딩을 사전 프로비저닝해도 괜찮습니다 (일반적인 방법).
# TODO: Configure Workload Identity IAM bindings를 찾아 다음을 추가합니다.
locals {
  ksa_principal = "principal://iam.googleapis.com/projects/${var.project_number}/locations/global/workloadIdentityPools/${var.project_id}.svc.id.goog/subject/ns/default/sa/gradio-chat-ksa"
}

resource "google_project_iam_member" "ksa_token_creator" {
  project = var.project_id
  role    = "roles/iam.serviceAccountTokenCreator"
  member  = local.ksa_principal
}

resource "google_project_iam_member" "ksa_vertex_user" {
  project = var.project_id
  role    = "roles/aiplatform.user"
  member  = local.ksa_principal
}

resource "google_project_iam_member" "ksa_datastore_user" {
  project = var.project_id
  role    = "roles/datastore.user"
  member  = local.ksa_principal
}
구성 적용
이제 인프라가 정의되었으므로 프로비저닝해 보겠습니다.
- 먼저 Terraform에서 사용할 몇 가지 변수를 설정해야 합니다. 환경 변수를 사용하여 이 작업을 실행합니다.
export TF_VAR_project_id=$(gcloud config get-value project)
export TF_VAR_project_number=$(gcloud projects describe $TF_VAR_project_id --format="value(projectNumber)")
export TF_VAR_region="us-central1"
- Terraform을 초기화합니다.
terraform init
terraform plan을 사용하여 생성될 리소스를 미리 봅니다.
terraform plan
- 구성을 적용합니다. 메시지가 표시되면
yes를 입력하여 확인합니다.
terraform apply
참고: GKE 클러스터를 프로비저닝하는 데 10~15분 정도 걸릴 수 있습니다. 기다리는 동안 다음 섹션에서 애플리케이션 코드를 검토할 수 있습니다.
- 완료되면 새 클러스터와 통신하도록
kubectl을 구성합니다.
gcloud container clusters get-credentials gradio-chat-cluster --region us-central1 --project $TF_VAR_project_id
4. GKE에 자체 호스팅 Gemma 배포
다음으로 Gemma 3 12B 모델을 GKE 클러스터에 직접 배포합니다. 이를 통해 지연 시간이 짧은 추론과 모델 실행 환경에 대한 완전한 제어가 가능합니다.
Hugging Face 사용자 인증 정보 구성
Gemma 모델을 다운로드하려면 클러스터가 Hugging Face로 인증되어야 합니다.
- Hugging Face 토큰이 있는지 확인합니다.
- 토큰으로 Kubernetes 보안 비밀을 만듭니다. [YOUR_HF_TOKEN] 을 실제 토큰으로 바꿉니다.
kubectl create secret generic hf-secret --from-literal=hf_api_token=[YOUR_HF_TOKEN]
모델 배포하기
표준 Kubernetes 배포를 사용하여 모델을 실행합니다. 매니페스트는 deploy/gemma3-12b-deploy.yaml에 있습니다. 수동으로 열거나 다음 명령어를 사용하여 편집기에서 파일을 열 수 있습니다.
cd ../deploy
cloudshell edit gemma3-12b-deploy.yaml
잠시 시간을 내어 이 파일을 검사하세요. resources 섹션을 확인합니다.
        resources:
          requests:
            nvidia.com/gpu: 4
      nodeSelector:
        cloud.google.com/gke-accelerator: nvidia-l4
선언적 AI 인프라입니다. GKE Autopilot에 이 특정 포드에 NVIDIA L4 GPU 4개가 필요하다고 알립니다. Autopilot은 이러한 요구사항을 정확히 충족하는 노드를 찾거나 프로비저닝합니다. 프로비저닝할 수 없는 노드는 요구사항을 충족하는 노드가 제공될 때까지 계속 시도합니다.
- 배포 매니페스트를 적용합니다.
cd .. kubectl apply -f deploy/gemma3-12b-deploy.yamlkubectl get podsgemma포드가 아직 실행되지 않더라도 애플리케이션 배포를 진행할 수 있습니다. 채팅 앱은 사용할 수 있게 될 때마다 gemma 서비스에 연결됩니다.gemmapod에Running및1/1상태가 표시될 때까지는 채팅 앱을 통해 Gemma와 상호작용할 수 없습니다. 그동안 Gemini와 채팅할 수 있습니다.
5. Chat 애플리케이션 빌드
이제 Python 애플리케이션을 완성해 보겠습니다. Cloud Shell 편집기에서 app/app.py를 엽니다. 애플리케이션이 작동하려면 채워야 하는 # TODO 블록이 여러 개 있습니다.
cloudshell edit app/app.py
1단계: 대화 기록 처리
LLM은 누가 무엇을 말했는지 이해할 수 있도록 대화 기록이 구체적으로 서식 지정되어야 합니다.
'범용 번역기' 패턴: 동일한 채팅 기록을 처리하기 위해 서로 다른 두 함수를 작성하려고 합니다. 이는 멀티 모델 애플리케이션의 핵심 패턴입니다.
- 신뢰할 수 있는 소스 (Gradio): 앱은
[[user_msg1, bot_msg1], ...]와 같은 간단한 일반 형식으로 기록을 유지합니다. - 타겟 1 (Gemma): 특정 특수 토큰이 포함된 단일 원시 문자열로 변환해야 합니다.
- 타겟 2 (Gemini): API 객체의 구조화된 목록으로 변환해야 합니다.
턴마다 일반 기록을 타겟 형식으로 다시 포맷하면 모델 간에 원활하게 전환할 수 있습니다. 나중에 다른 모델을 추가하려면 특정 형식에 맞는 새로운 처리 함수를 작성해야 합니다.
Gemma (자체 호스팅)
채팅 템플릿 이해: 자체 오픈 모델을 호스팅할 때는 일반적으로 모델이 대화로 인식하도록 학습된 특정 문자열로 프롬프트를 수동으로 포맷해야 합니다. 이를 '채팅 템플릿'이라고 합니다.
app.py에서 process_message_gemma 함수를 찾아 다음 코드로 바꿉니다.
# This function takes a user's message and the conversation history as input.
#   Its job is to format these elements into a single,
#   structured prompt that can be understood by the language model (LLM).
#   This structured format helps the LLM maintain context and generate more relevant responses.
def process_message_gemma(message, history):
    user_prompt_format = "User's Turn:\n>>> {prompt}\n"
    assistant_prompt_format = "Assistant's Turn:\n>>> {prompt}\n"

    history_message = ""
    for user_turn, assistant_turn in history:
        history_message += user_prompt_format.format(prompt=user_turn)
        history_message += assistant_prompt_format.format(prompt=assistant_turn)

    # Format the new user message
    new_user_message = user_prompt_format.format(prompt=message)
    # Create a new aggregated message to be used as a single flat string in a json object sent to the LLM
    aggregated_message = (
        history_message + new_user_message + assistant_prompt_format.format(prompt="")
    )
    return aggregated_message
Gemini (관리 대상)
관리형 서비스는 원시 문자열보다 구조화된 객체를 선호하는 경우가 많습니다. Gemini SDK를 위해 기록을 types.Content 객체로 포맷하는 별도의 함수가 필요합니다.
process_message_gemini를 찾아 다음으로 바꿉니다.
def process_message_gemini(message, history):
    contents = []
    for user_turn, model_turn in history:
        contents.append(
            types.Content(role="user", parts=[types.Part.from_text(text=user_turn)])
        )
        contents.append(
            types.Content(role="model", parts=[types.Part.from_text(text=model_turn)])
        )

    contents.append(
        types.Content(role="user", parts=[types.Part.from_text(text=message)])
    )
    return contents
2단계: 자체 호스팅 Gemma 모델 호출
형식이 지정된 프롬프트를 클러스터에서 실행되는 Gemma 서비스로 전송해야 합니다. 서비스의 내부 DNS 이름에 표준 HTTP POST 요청을 사용합니다.
call_gemma_model 함수를 찾아 다음으로 바꿉니다.
# Construct the request, send it to Gemma, return the model's response
# aggregated_message = current user message + history
def call_gemma_model(aggregated_message, model_temperature, top_p, max_tokens):
    json_message = {
        "prompt": aggregated_message,
        "temperature": model_temperature,
        "top_p": top_p,
        "max_tokens": max_tokens,
        "stop": ["User's Turn:"],
    }

    # Log what will be sent to the LLM
    print("*** JSON request: " + str(json_message))

    # Send the constructed json with the user prompt to the model and put the model's response in the json_data variable
    json_data = post_request(json_message)

    # The response from the model is a list of predictions. We'll take the first result.
    raw_output = json_data["predictions"][0]

    # The vLLM server returns the full prompt in the response. We need to extract
    # just the newly generated text from the model.
    assistant_turn_marker = "Assistant's Turn:\n>>>"
    marker_pos = raw_output.rfind(assistant_turn_marker)

    if marker_pos != -1:
        output = raw_output[marker_pos + len(assistant_turn_marker) :]
    else:
        output = raw_output

    # Clean up potential over-generation
    stop_marker = "User's Turn:"
    stop_pos = output.lower().find(stop_marker.lower())
    if stop_pos != -1:
        output = output[:stop_pos]

    return output.strip()
3단계: Vertex AI Gemini 모델 호출
관리 모델의 경우 Google 생성형 AI SDK를 사용합니다. 네트워크 호출을 처리하므로 훨씬 간단합니다.
call_gemini_model 함수를 찾아 다음으로 바꿉니다.
# Send a request to Gemini via the VertexAI API. Return the model's response
# contents = list of types.Content objects
def call_gemini_model(contents, model_temperature, top_p, max_tokens):
    gemini_model = "gemini-2.5-flash"

    response = client.models.generate_content(
        model=gemini_model,
        contents=contents,
        config={
            "temperature": model_temperature,
            "max_output_tokens": max_tokens,
            "top_p": top_p,
        },
    )
    return response.text
4단계: 기본 추론 인터페이스 구현
마지막으로 Gradio가 호출하는 기본 오케스트레이터 함수가 필요합니다. 이 함수는 다음을 수행해야 합니다.
- 기록이 비어 있으면 초기화합니다.
- 메시지를 처리합니다.
- 선택한 모델 (Gemma 또는 Gemini)로 요청을 라우팅합니다.
- 상호작용을 Firestore에 저장합니다.
- UI에 응답을 반환합니다.
Gradio 및 상태 관리: Gradio의 ChatInterface는 세션 수준 상태 (브라우저에 메시지 표시)를 자동으로 처리합니다. 하지만 외부 데이터베이스에 대한 기본 지원은 없습니다.
채팅 기록을 장기간 유지하기 위해 inference_interface 함수에 연결하는 표준 패턴을 사용합니다. request: gr.Request를 인수로 수락하면 Gradio가 현재 사용자의 세션 세부정보를 자동으로 전달합니다. 이는 각 사용자에 대해 고유한 Firestore 문서를 만들어 멀티 사용자 환경에서 대화가 혼동되지 않도록 하는 데 사용됩니다.
inference_interface 함수를 찾아 다음으로 바꿉니다.
# This is the primary chat function. Every time a user sends a message, gradio calls this function,
# which sends the user's input to the appropriate AI (as indicated on the user interface), updates
# the chat history for future use during this session, and records the chat history in Firestore.
def inference_interface(
    message,
    history,
    model_name,
    model_temperature,
    top_p,
    max_tokens,
    request: gr.Request,
):

    # set history to empty array
    if history is None:
        history = []

    # Get or create session document
    session_hash = request.session_hash
    doc_id = f"session-{session_hash}"
    doc_ref = db.collection("chat_sessions").document(doc_id)

    # Create the session document if it doesn't exist
    if not doc_ref.get().exists:
        doc_ref.set({"Session start": datetime.datetime.now()})

    # Log info
    print("Model: " + model_name)
    print("LLM Engine: " + llm_engine)
    print("* History: " + str(history))

    # Pass the message and history to the appropriate model, as indicated by the user via the ui
    if model_name == "Gemma3 12b it":
        aggregated_message = process_message_gemma(message, history)
        output = call_gemma_model(
            aggregated_message, model_temperature, top_p, max_tokens
        )

    elif model_name == "Gemini":
        gemini_contents = process_message_gemini(message, history)
        output = call_gemini_model(
            gemini_contents, model_temperature, top_p, max_tokens
        )

    else:
        # Handle the case where no valid model is selected
        output = "Error: Invalid model selected."

    interaction = {"user": message, model_name: output}

    # Log the updated chat history
    print("* History: " + str(history) + " " + str(interaction))

    # Save the updated history to Firestore
    save_chat_history(interaction, doc_ref)

    return output
6. app.py 파일 확인
이제 gradio 기반 채팅 애플리케이션을 배포할 준비가 되었습니다. 다음 전체 파일과 정확히 일치하는지 확인합니다.
문제 해결: 애플리케이션을 배포하고 연결하려고 할 때 '연결 거부됨' 또는 '이 사이트에 연결할 수 없음' 오류가 표시되면 이 시점부터 단계를 반복해 보세요. 먼저 이 파일 전체를 복사하여 app.py에 붙여넣습니다.
# Copyright 2024 Google LLC
#
# Licensed under the Apache License, Version 2.0 (the "License");
# you may not use this file except in compliance with the License.
# You may obtain a copy of the License at
#
#      http://www.apache.org/licenses/LICENSE-2.0
#
# Unless required by applicable law or agreed to in writing, software
# distributed under the License is distributed on an "AS IS" BASIS,
# WITHOUT WARRANTIES OR CONDITIONS OF ANY KIND, either express or implied.
# See the License for the specific language governing permissions and
# limitations under the License.

import datetime

import google.auth
import google.cloud
import gradio as gr
import requests
import themes
from google import genai

from google.cloud import firestore
from google.genai import types

## Do one-time initialization things

## grab the project id from google auth
_, project = google.auth.default()
print(f"Project: {project}")

# Set initial values for model
llm_engine = "vllm"
host = "http://gemma-service:8000"
context_path = "/generate"

# initialize vertex for interacting with Gemini
client = genai.Client(
    vertexai=True,
    project=project,
    location="global",
)

# Initialize Firestore client
db = firestore.Client(database="chat-app-db")


# This is the primary chat function. Every time a user sends a message, gradio calls this function,
# which sends the user's input to the appropriate AI (as indicated on the user interface), updates
# the chat history for future use during this session, and records the chat history in Firestore.
def inference_interface(
    message,
    history,
    model_name,
    model_temperature,
    top_p,
    max_tokens,
    request: gr.Request,
):

    # set history to empty array
    if history is None:
        history = []

    # Get or create session document
    session_hash = request.session_hash
    doc_id = f"session-{session_hash}"
    doc_ref = db.collection("chat_sessions").document(doc_id)

    # Create the session document if it doesn't exist
    if not doc_ref.get().exists:
        doc_ref.set({"Session start": datetime.datetime.now()})

    # Log info
    print("Model: " + model_name)
    print("LLM Engine: " + llm_engine)
    print("* History: " + str(history))

    # Pass the message and history to the appropriate model, as indicated by the user via the ui
    if model_name == "Gemma3 12b it":
        aggregated_message = process_message_gemma(message, history)
        output = call_gemma_model(
            aggregated_message, model_temperature, top_p, max_tokens
        )

    elif model_name == "Gemini":
        gemini_contents = process_message_gemini(message, history)
        output = call_gemini_model(
            gemini_contents, model_temperature, top_p, max_tokens
        )

    else:
        # Handle the case where no valid model is selected
        output = "Error: Invalid model selected."

    interaction = {"user": message, model_name: output}

    # Log the updated chat history
    print("* History: " + str(history) + " " + str(interaction))

    # Save the updated history to Firestore
    save_chat_history(interaction, doc_ref)

    return output


# Construct the request, send it to Gemma, return the model's response
# aggregated_message = current user message + history
def call_gemma_model(aggregated_message, model_temperature, top_p, max_tokens):
    json_message = {
        "prompt": aggregated_message,
        "temperature": model_temperature,
        "top_p": top_p,
        "max_tokens": max_tokens,
        "stop": ["User's Turn:"],
    }

    # Log what will be sent to the LLM
    print("*** JSON request: " + str(json_message))  # Log the JSON request

    # Send the constructed json with the user prompt to the model and put the model's response in the json_data variable
    json_data = post_request(json_message)

    # The response from the model is a list of predictions.
    # We'll take the first result.
    raw_output = json_data["predictions"][0]

    # The vLLM server returns the full prompt in the response. We need to extract
    # just the newly generated text from the model. The prompt ends with
    # "Assistant's Turn:\n>>>", so we find the last occurrence of that and
    # take everything after it.
    assistant_turn_marker = "Assistant's Turn:\n>>>"
    marker_pos = raw_output.rfind(assistant_turn_marker)

    if marker_pos != -1:
        # Get the text generated by the assistant
        output = raw_output[marker_pos + len(assistant_turn_marker) :]
    else:
        # Fallback in case the marker isn't found
        output = raw_output

    # The model sometimes continues the conversation and includes the next user's turn.
    # The 'stop' parameter is a good hint, but we parse the output as a safeguard.
    stop_marker = "User's Turn:"
    stop_pos = output.lower().find(stop_marker.lower())
    if stop_pos != -1:
        output = output[:stop_pos]

    # The model also sometimes prefixes its response with "Output:". We'll remove this.
    output = output.lstrip()
    prefix_marker = "Output:"
    if output.lower().startswith(prefix_marker.lower()):
        output = output[len(prefix_marker) :]

    return output.strip()


# Send a request to Gemini via the VertexAI API. Return the model's response
# contents = list of types.Content objects
def call_gemini_model(contents, model_temperature, top_p, max_tokens):
    gemini_model = "gemini-2.5-flash"

    response = client.models.generate_content(
        model=gemini_model,
        contents=contents,
        config={
            "temperature": model_temperature,
            "max_output_tokens": max_tokens,
            "top_p": top_p,
        },
    )
    output = response.text  # Extract the generated text
    # Consider handling additional response attributes (safety, usage, etc.)
    return output


def process_message_gemini(message, history):
    contents = []
    for user_turn, model_turn in history:
        contents.append(
            types.Content(role="user", parts=[types.Part.from_text(text=user_turn)])
        )
        contents.append(
            types.Content(role="model", parts=[types.Part.from_text(text=model_turn)])
        )

    contents.append(
        types.Content(role="user", parts=[types.Part.from_text(text=message)])
    )
    return contents


# This function takes a user's message and the conversation history as input.
#   Its job is to format these elements into a single,
#   structured prompt that can be understood by the language model (LLM).
#   This structured format helps the LLM maintain context and generate more relevant responses.
def process_message_gemma(message, history):
    user_prompt_format = "User's Turn:\n>>> {prompt}\n"
    assistant_prompt_format = "Assistant's Turn:\n>>> {prompt}\n"

    history_message = ""
    for user_turn, assistant_turn in history:
        history_message += user_prompt_format.format(prompt=user_turn)
        history_message += assistant_prompt_format.format(prompt=assistant_turn)

    # Format the new user message
    new_user_message = user_prompt_format.format(prompt=message)
    # Create a new aggregated message to be used as a single flat string in a json object sent to the LLM
    aggregated_message = (
        history_message + new_user_message + assistant_prompt_format.format(prompt="")
    )
    return aggregated_message


# Function to save chat history to Firestore
def save_chat_history(interaction, doc_ref):
    timestamp_str = str(datetime.datetime.now())

    # Save the chat history, merging with existing data
    doc_ref.update({timestamp_str: interaction})

    print("Chat history saved successfully!")  # Optional: Log success


# Send the json message to the model and return the model's response. This is used for Gemma but not Gemini. It could also be used for other models.
def post_request(json_message):
    print("*** Request" + str(json_message), flush=True)
    # Set a timeout and check for HTTP errors. This will raise an exception on a bad status code (4xx or 5xx).
    response = requests.post(host + context_path, json=json_message, timeout=60)
    response.raise_for_status()
    json_data = response.json()
    print("*** Output: " + str(json_data), flush=True)
    return json_data


# custom css to hide default footer
css = """
footer {display: none !important;} .gradio-container {min-height: 0px !important;}
"""

# Add a dropdown to select the model to chat with
model_dropdown = gr.Dropdown(
    ["Gemma3 12b it", "Gemini"],
    label="Model",
    info="Select the model you would like to chat with.",
    value="Gemma3 12b it",
)

# Make the model temperature, top_p, and max tokents modifiable via sliders in the GUI
model_temperature = gr.Slider(
    minimum=0.1, maximum=1.0, value=0.9, label="Temperature", render=False
)
top_p = gr.Slider(minimum=0.1, maximum=1.0, value=0.95, label="Top_p", render=False)
max_tokens = gr.Slider(
    minimum=1, maximum=4096, value=1024, label="Max Tokens", render=False
)

# Call gradio to create the chat interface
app = gr.ChatInterface(
    inference_interface,
    additional_inputs=[model_dropdown, model_temperature, top_p, max_tokens],
    theme=themes.google_theme(),
    css=css,
    title="Chat with AI",
)

app.launch(server_name="0.0.0.0", allowed_paths=["images"])
7. Chat 애플리케이션 배포
Skaffold를 사용하여 컨테이너 이미지를 빌드하고 클러스터에 배포합니다. Skaffold는 Kubernetes에 애플리케이션을 빌드, 푸시, 배포하는 프로세스를 조정하고 자동화하는 명령줄 도구입니다. 단일 명령어로 이 전체 프로세스를 트리거할 수 있으므로 개발 워크플로가 간소화되어 애플리케이션을 반복하는 데 적합합니다.
참고: 이렇게 하면 워크로드 아이덴티티에 필요한 Kubernetes 서비스 계정도 배포됩니다. deploy/chat-deploy.yaml 파일에서 정의를 확인할 수 있습니다. 참고로 정의는 여기에서 확인할 수 있습니다.
apiVersion: v1
kind: ServiceAccount
metadata:
  name: gradio-chat-ksa
Skaffold를 실행하여 빌드 및 배포합니다.
skaffold run --default-repo=us-central1-docker.pkg.dev/$GOOGLE_CLOUD_PROJECT/chat-app-repo
Skaffold는 Cloud Build를 사용하여 컨테이너 이미지를 빌드하고, Terraform으로 생성된 Artifact Registry에 푸시한 다음, Kubernetes 매니페스트를 클러스터에 적용합니다.
8. 애플리케이션 테스트
- 채팅 애플리케이션 서비스에 외부 IP 주소가 할당될 때까지 기다립니다.
kubectl get svc gradio-chat-service --watchEXTERNAL-IP이pending에서 실제 IP 주소로 변경되면Ctrl+C를 눌러 시청을 중지합니다. - 웹브라우저를 열고
http://[EXTERNAL-IP]:7860로 이동합니다. - 모델과 상호작용해 보세요. 앱은 기본적으로 로컬로 호스팅되는 Gemma 모델과 채팅하도록 구성되어 있습니다. Gemini와 채팅하려면 '추가 입력' 드롭다운에서 모델을 변경하세요. 예를 들어 AI에 '쿠버네티스 관련 농담을 말해 줘'라고 요청해 보세요.
문제 해결:
- '이 사이트에 연결할 수 없음' 또는 '[EXTERNAL-IP] 연결이 거부됨'과 같은 오류가 표시되면 app.py 파일에 문제가 있을 수 있습니다. 'app.py 파일 확인' 단계로 돌아가서 해당 단계부터 반복합니다.
- UI는 기본적으로 'Gemma3 12b it' 모델로 설정됩니다. 오류가 즉시 표시되면 Gemma 포드가 아직 준비되지 않았기 때문일 수 있습니다. 도움말: Gemma가 초기화되는 동안 드롭다운을 'Gemini'로 전환하여 채팅 애플리케이션과의 상호작용을 테스트할 수 있습니다.
Gemma 테스트: 드롭다운에서 'Gemma3 12b it'이 선택되어 있는지 확인하고 메시지 (예: 'Kubernetes에 관한 농담을 말해 줘')를 보냅니다.
Gemini 테스트: 드롭다운을 'Gemini'로 전환하고 다른 질문 (예: '포드와 노드의 차이점은 무엇인가요?')을 합니다.
기록 확인: 채팅 앱에서 모델 (Gemma 또는 Gemini)과 채팅을 성공적으로 마친 후 Firestore의 'chat-app-db' 데이터베이스를 확인하여 채팅 로그를 확인합니다. 두 모델과 모두 채팅할 수 있었다면 모델을 전환해도 대화 기록이 유지되는 것을 알 수 있습니다.
9. 추가 정보
이제 작동하는 하이브리드 채팅 애플리케이션이 있으므로 다음 과제를 고려하여 이해도를 높이세요.
- 맞춤 페르소나:
process_message_gemma및process_message_gemini함수를 수정하여 시작 부분에 '시스템 프롬프트'를 포함해 보세요. 예를 들어 모델에 '너는 유용한 해적 어시스턴트야'라고 말하고 응답이 어떻게 달라지는지 확인해 보세요. - 영구 사용자 ID: 현재 애플리케이션은 세션마다 새로운 임의 UUID를 생성합니다. 사용자가 여러 기기에서 이전 대화 기록을 볼 수 있도록 실제 인증 시스템 (예: Google 로그인)을 어떻게 통합하겠어?
- 모델 실험: UI에서
temperature슬라이더를 변경해 보세요. 높은 온도 (1.0에 가까움)는 낮은 온도 (0.1에 가까움)와 비교했을 때 대답의 창의성과 정확성에 어떤 영향을 미치나요?
10. 결론
축하합니다. 하이브리드 AI 애플리케이션을 빌드했습니다. 다음과 같은 내용을 배웠습니다.
- Google Cloud에서 코드형 인프라에 Terraform을 사용합니다.
- 완전한 제어를 위해 GKE에서 자체 오픈 가중치 LLM을 호스팅하세요.
- 유연성을 위해 Vertex AI와 같은 관리형 AI 서비스를 통합합니다.
- 지속성을 위해 Firestore를 사용하여 스테이트풀(Stateful) 애플리케이션을 빌드합니다.
- 워크로드 아이덴티티를 사용하여 워크로드를 보호하세요.
삭제
요금이 발생하지 않도록 하려면 생성한 리소스를 삭제합니다.
cd infra
terraform destroy -var="project_id=$GOOGLE_CLOUD_PROJECT" -var="project_number=$PROJECT_NUMBER" -var="region=$REGION"