
1. Giriş
Genel Bakış
Bu laboratuvarda, Google Kubernetes Engine (GKE) üzerinde tam yığınlı ve yapay zeka destekli bir sohbet uygulaması oluşturup dağıtacaksınız. Bu "karma" uygulama, güçlü bir mimari modeli gösterir: doğrudan kümenizde çalışan kendi kendine barındırılan açık bir model (Gemma 3 12B) ile yönetilen bir yapay zeka hizmeti (Vertex AI aracılığıyla Gemini 2.5 Flash) arasında sorunsuz bir şekilde geçiş yapabilme.
                                   +----------------------+
                                   |   User (Web Browser) |
                                   +-----------+----------+
                                               |
                                               v
+----------------------------------------------+---------------------------------------------+
| Google Cloud Platform                        |                                             |
|   |                                  +-------+-------+                                     |
|   |                                  | Load Balancer |                                     |
|   |                                  +-------+-------+                                     |
|   |                                          v                                             |
|   +------------------------------------------+-----------------------------------------+   |
|   |  Google Kubernetes Engine (GKE)          |                                         |   |
|   |                                          v                                         |   |
|   |                              +-----------+-----------+                             |   |
|   |                              |    Gradio Chat App    |                             |   |
|   |                              +--+-----------------+--+                             |   |
|   |                                 |                 |                                |   |
|   |                   (Self-hosted) |                 | (Managed via SDK)              |   |
|   |                                 v                 |                                |   |
|   |                  +--------------+---+             |                                |   |
|   |                  | Gemma 3 Model    |             |                                |   |
|   |                  | (GPU Node)       |             |                                |   |
|   |                  +------------------+             |                                |   |
|   +---------------------------------------------------|--------------------------------+   |
|                                                       |                                    |
|                                                       v                                    |
|                                            +----------+-----------+                        |
|                                            | Vertex AI (Gemini)   |                        |
|                                            +----------------------+                        |
|                                                       | (Save History)                     |
|                                                       v                                    |
|                                            +----------+-----------+                        |
|                                            | Firestore Database   |                        |
|                                            +----------------------+                        |
+--------------------------------------------------------------------------------------------+
Altyapıyı (GKE Autopilot kümesi ve sohbet oturumu geçmişini kalıcı hale getirmek için Firestore veritabanı dahil) sağlamak üzere Terraform'u kullanacaksınız. Ardından, çok turlu sohbetleri işlemek, her iki yapay zeka modeliyle arayüz oluşturmak ve son uygulamayı Cloud Build ile Skaffold kullanarak dağıtmak için Python uygulama kodunu tamamlayacaksınız.
Neler öğreneceksiniz?
- Terraform kullanarak GKE ve Firestore altyapısı sağlama
- Kubernetes manifestlerini kullanarak GKE Autopilot'ta büyük bir dil modeli (Gemma) dağıtın.
- Farklı yapay zeka arka uçları arasında geçiş yapabilen bir Python Gradio sohbet arayüzü uygulayın.
- Sohbet oturumu geçmişini saklamak ve almak için Firestore'u kullanın.
- GKE iş yüklerinize Google Cloud hizmetlerine (Vertex AI, Firestore) güvenli bir şekilde erişim izni vermek için Workload Identity'yi yapılandırın.
Ön koşullar
- Faturalandırmanın etkin olduğu bir Google Cloud projesi.
- Python, Kubernetes ve standart komut satırı araçları hakkında temel düzeyde bilgi sahibi olmanız gerekir.
- Gemma modellerine erişimi olan bir Hugging Face jetonu.
2. Proje Ayarları
- Google Hesabınız yoksa Google Hesabı oluşturmanız gerekir.
- İş veya okul hesabı yerine kişisel hesap kullanıyorsanız. İş ve okul hesaplarında, bu laboratuvar için gereken API'leri etkinleştirmenizi engelleyen kısıtlamalar olabilir.
- Google Cloud Console'da oturum açın.
- Cloud Console'da faturalandırmayı etkinleştirin.
- Bu laboratuvarı tamamlamak için 1 ABD dolarından daha az tutarda bulut kaynağı kullanmanız gerekir.
- Daha fazla ücret ödememek için bu laboratuvarın sonundaki adımları uygulayarak kaynakları silebilirsiniz.
- Yeni kullanıcılar 300 ABD doları değerinde ücretsiz deneme sürümünden yararlanabilir.
- Yeni bir proje oluşturun veya mevcut bir projeyi yeniden kullanmayı seçin.
Cloud Shell Düzenleyici'yi açma
- Doğrudan Cloud Shell Düzenleyici'ye gitmek için bu bağlantıyı tıklayın.
- Bugün herhangi bir noktada yetkilendirmeniz istenirse devam etmek için Yetkilendir'i tıklayın.
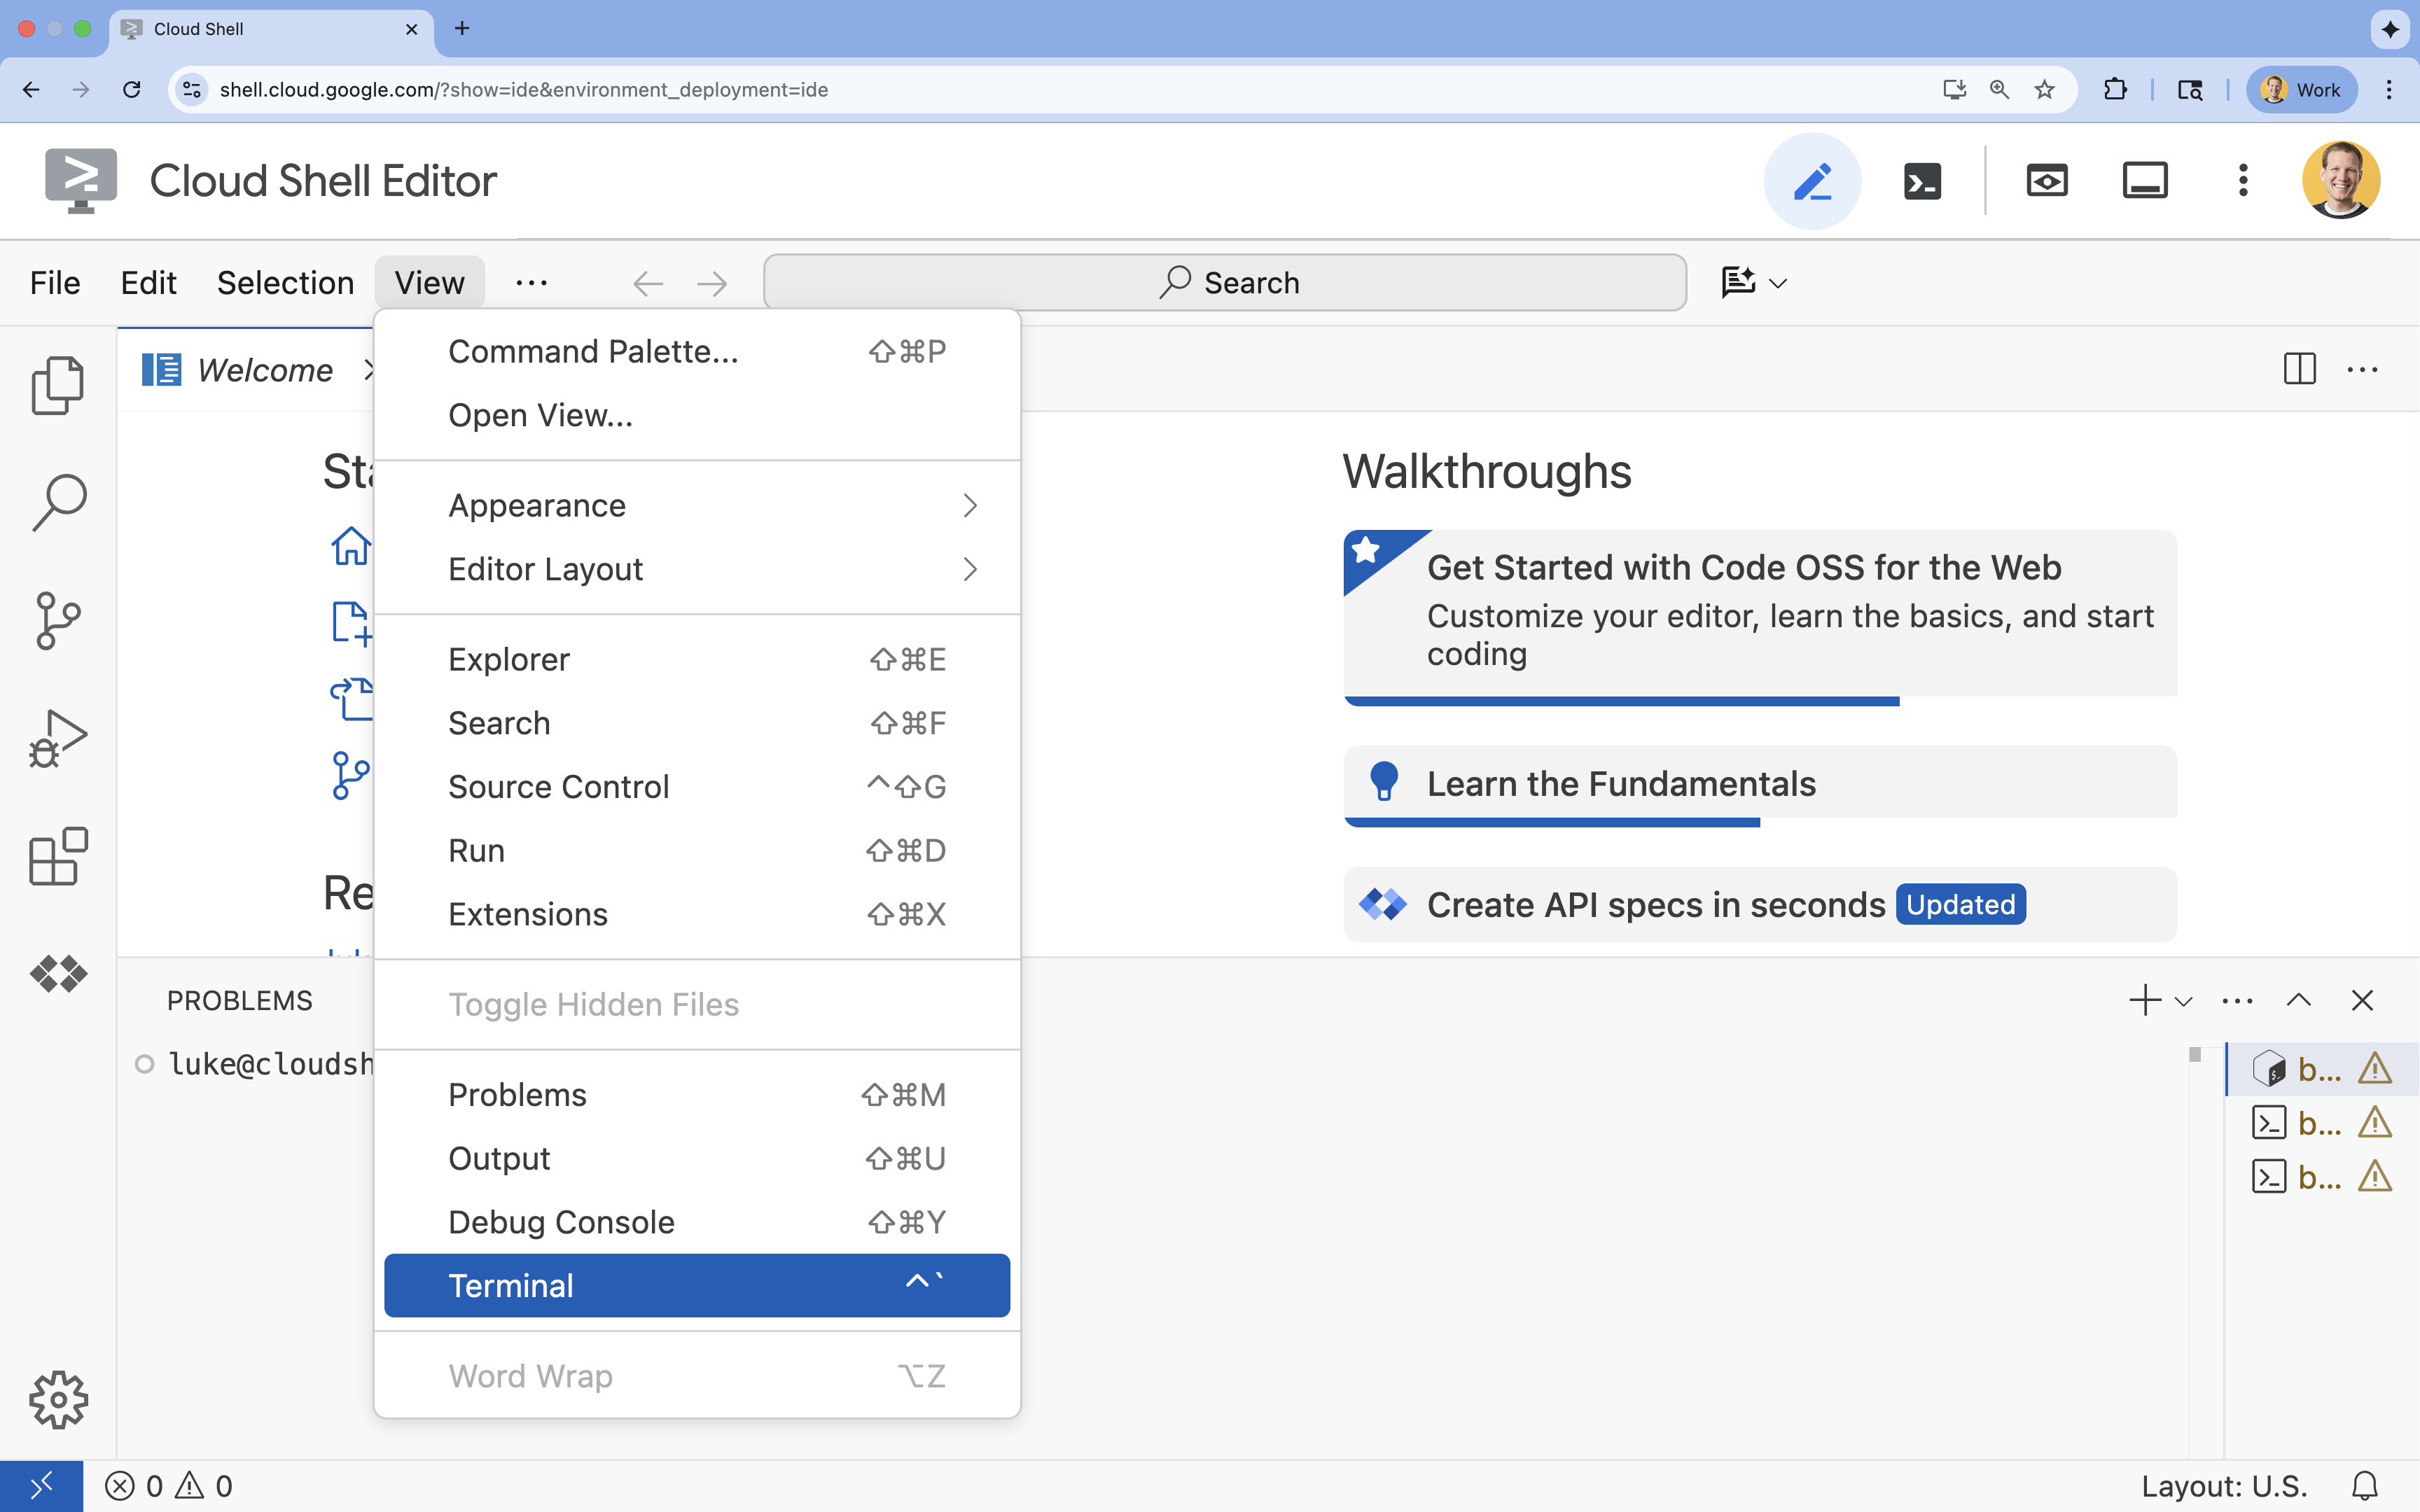
- Terminal ekranın alt kısmında görünmüyorsa açın:
- Görünüm'ü tıklayın.
- Terminal'i tıklayın.
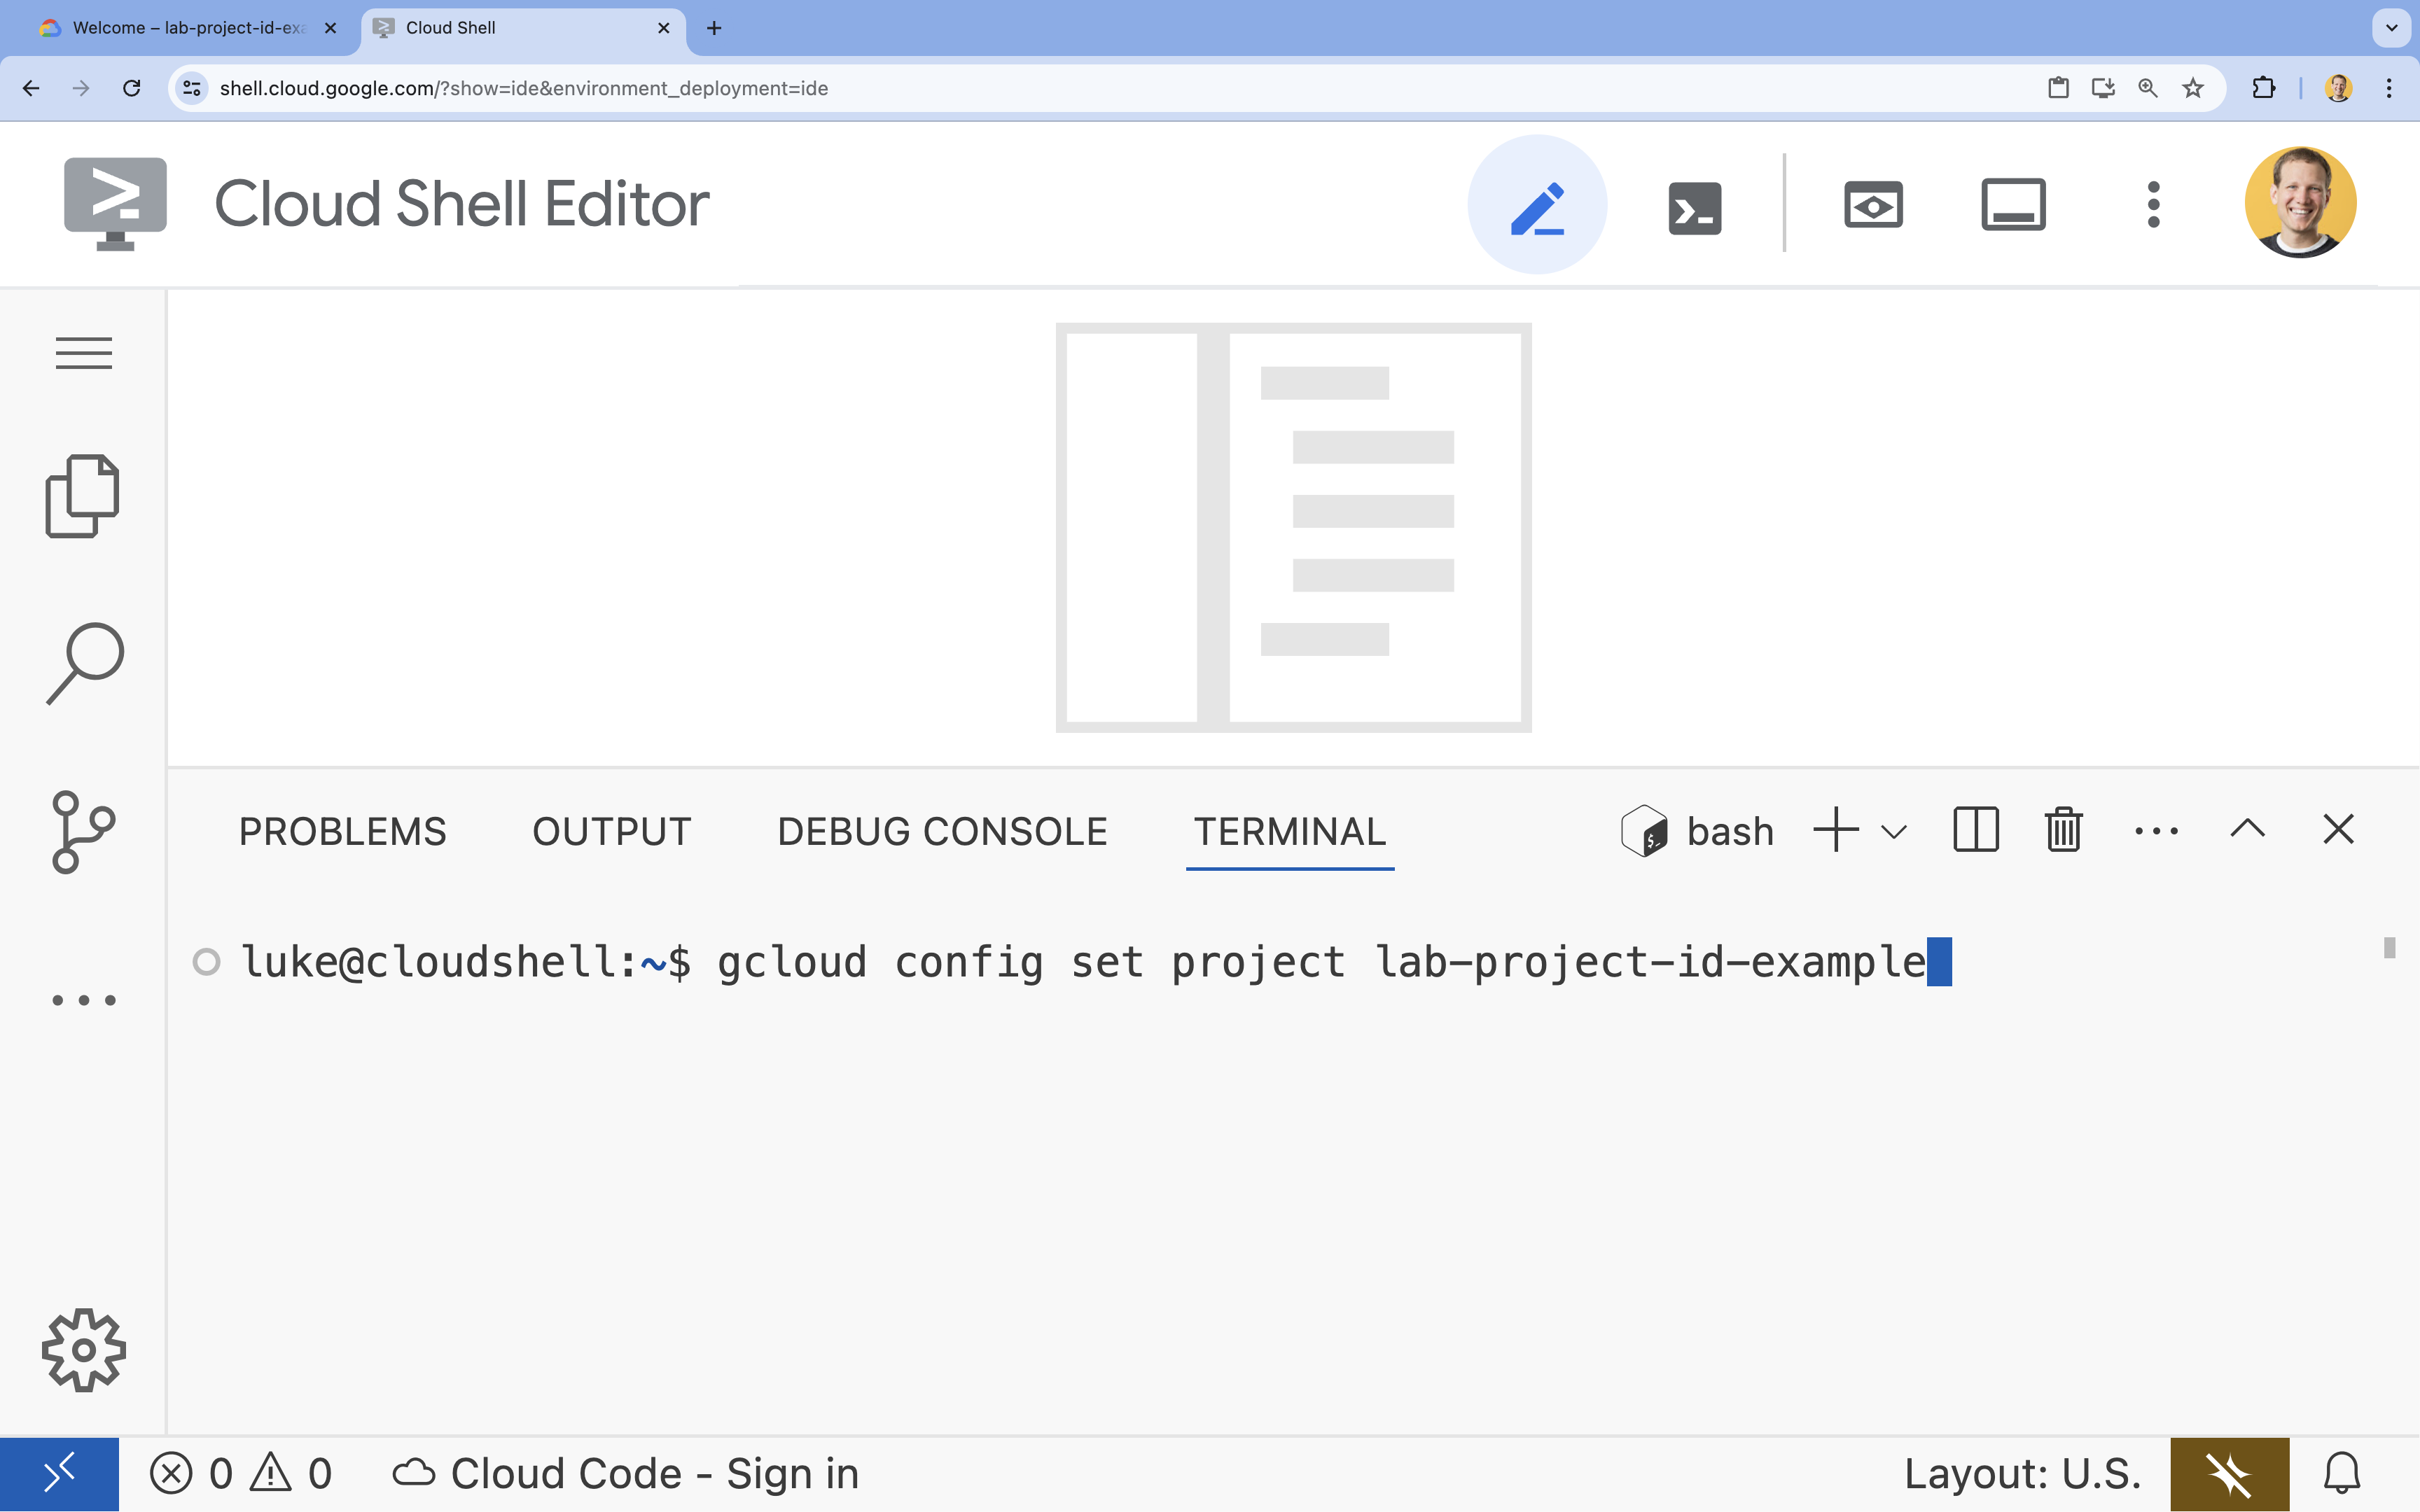
- Terminalde şu komutla projenizi ayarlayın:
- Biçim:
gcloud config set project [PROJECT_ID] - Örnek:
gcloud config set project lab-project-id-example - Proje kimliğinizi hatırlamıyorsanız:
- Tüm proje kimliklerinizi şu komutla listeleyebilirsiniz:
gcloud projects list | awk '/PROJECT_ID/{print $2}'
- Tüm proje kimliklerinizi şu komutla listeleyebilirsiniz:
- Biçim:
- Şu mesajı görmeniz gerekir:
Updated property [core/project].
WARNINGsimgesini görüyorsanız veDo you want to continue (Y/n)?soruluyorsa proje kimliğini yanlış girmiş olabilirsiniz.ntuşuna,Entertuşuna basın vegcloud config set projectkomutunu tekrar çalıştırmayı deneyin.
Depoyu Klonlama
Cloud Shell terminalinizde proje deposunu klonlayın ve proje dizinine gidin:
git clone https://github.com/GoogleCloudPlatform/devrel-demos.git
cd devrel-demos/containers/gradio-chat-gke
Biraz zaman ayırarak proje yapısını inceleyin:
gradio-chat-gke/
├── app/
│   ├── app.py                # Main application logic (you will edit this)
│   ├── requirements.txt      # Python dependencies
│   └── themes.py             # UI theming
├── deploy/
│   ├── chat-deploy.yaml      # Kubernetes deployment for the chat app
│   ├── Dockerfile            # Container definition for the chat app
│   └── gemma3-12b-deploy.yaml# Kubernetes deployment for Gemma model
├── infra/
│   └── main.tf               # Terraform infrastructure definition
└── skaffold.yaml             # Skaffold configuration for building/deploying
Ortam değişkenlerini ayarlama
Proje kimliğiniz ve proje numaranız için ortam değişkenleri ayarlayın. Bunlar Terraform ve sonraki komutlar tarafından kullanılır.
export GOOGLE_CLOUD_PROJECT=$(gcloud config get-value project)
export PROJECT_NUMBER=$(gcloud projects describe $GOOGLE_CLOUD_PROJECT --format="value(projectNumber)")
export REGION=us-central1
Cloud Resource Manager API'yi etkinleştirme
Terraform, projenizin kaynaklarını yönetmek için Cloud Resource Manager API'nin etkinleştirilmesini gerektirir. Bu nedenle, önce bu API'yi etkinleştirmemiz gerekir. Daha sonra, container görüntümüzü oluşturmak için Cloud Build'i kullanan Skaffold ile sohbet uygulamamızı dağıtacağız. Şimdi depolama API'sini etkinleştirecek ve Cloud Build için gereken paketi oluşturacağız. Bu proje için gereken diğer API'leri etkinleştirmek üzere Terraform'u kullanacağız.
gcloud services enable cloudresourcemanager.googleapis.com storage-api.googleapis.com
Cloud Build hazırlık paketi oluşturma
Skaffold, kaynak kodunuzu hazırlamak için Cloud Storage paketi gerektiren Google Cloud Build'ü kullanır.
Bu dosyayı oluşturmak için hemen şu adımları uygulayın:
gcloud storage buckets create gs://${GOOGLE_CLOUD_PROJECT}_cloudbuild
(Paketin zaten mevcut olduğunu belirten bir hata alırsanız bu hatayı güvenle yoksayabilirsiniz).
3. Terraform ile altyapı sağlama
Gerekli Google Cloud kaynaklarını ayarlamak için Terraform'u kullanacağız. Bu sayede tekrarlanabilir ve tutarlı bir ortam sağlanır.
- Altyapı dizinine gidin:
cd infra
Bu dosya, bu proje için ihtiyacımız olan ek API'leri (cloudbuild, artifactregistry, container (gke), firestore ve aiplatform (vertexai)) tanımlar. API'lerin Terraform aracılığıyla nasıl etkinleştirildiğini görmek için dosyaya veya aşağıya göz atın:
resource "google_project_service" "cloudbuild" {
  service            = "cloudbuild.googleapis.com"
  disable_on_destroy = false
  project            = var.project_id
}

resource "google_project_service" "artifactregistry" {
  service            = "artifactregistry.googleapis.com"
  disable_on_destroy = false
  project            = var.project_id
}

resource "google_project_service" "container" {
  service            = "container.googleapis.com"
  disable_on_destroy = false
  project            = var.project_id
}

resource "google_project_service" "firestore" {
  service            = "firestore.googleapis.com"
  disable_on_destroy = false
  project            = var.project_id
}

resource "google_project_service" "vertexai" {
  service            = "aiplatform.googleapis.com"
  disable_on_destroy = false
  project            = var.project_id
}
GKE kümesini tanımlama
infra/main.tf dosyasını düzenleyicinizde açın. Birkaç # TODO yorumu görürsünüz. Dosyayı manuel olarak açabilir veya düzenleyicide açmak için şu komutu kullanabilirsiniz:
cloudshell edit main.tf
Öncelikle Kubernetes kümemizi tanımlamamız gerekir. Düğüm yönetimini otomatik olarak gerçekleştirdiği için yapay zeka iş yükleri için ideal olan GKE Autopilot'u kullanacağız.
# TODO: Create a GKE Autopilot Cluster simgesini bulun ve altına aşağıdaki bloğu ekleyin:
# Create a GKE Autopilot Cluster
resource "google_container_cluster" "primary" {
  name     = var.cluster_name
  location = var.region
  project  = var.project_id

  # Enable Autopilot mode
  enable_autopilot = true

  deletion_protection = false

  # Networking
  network    = "default"
  subnetwork = "projects/${var.project_id}/regions/${var.region}/subnetworks/default"

  # Timeout for cluster creation
  timeouts {
    create = "30m"
    update = "30m"
  }

  depends_on = [google_project_service.container]
}
Bildirim enable_autopilot = true. Bu tek satır, düğüm havuzlarını yönetme, otomatik ölçeklendirme ve GPU iş yüklerimizi bin-packing işleminden kurtarıyor.
Firestore veritabanını tanımlama
Ardından, sohbet geçmişimizi saklayacağımız bir yer bulmamız gerekiyor. Firestore, bu ihtiyaca mükemmel şekilde uyan sunucusuz bir NoSQL veritabanıdır.
# TODO: Create a Firestore Database öğesini bulup ekleyin:
resource "google_firestore_database" "database" {
  project     = var.project_id
  name        = "chat-app-db"
  location_id = "nam5"
  type        = "FIRESTORE_NATIVE"

  depends_on = [google_project_service.firestore]
}
Veritabanı kaynağını ekledikten sonra # TODO: Create an initial Firestore Document öğesini bulun ve aşağıdaki bloğu ekleyin. Bu kaynak, koleksiyonumuzda ilk yer tutucu dokümanı oluşturur. Bu, veritabanı yapısını başlatmak için faydalıdır.
resource "google_firestore_document" "initial_document" {
  project     = var.project_id
  collection  = "chat_sessions"
  document_id = "initialize"
  fields = <<EOF
  EOF

  depends_on = [google_firestore_database.database]
}
Workload Identity'yi tanımlama
Son olarak, güvenliği yapılandırmamız gerekir. Kubernetes pod'larımızın, herhangi bir sır veya API anahtarı yönetmemize gerek kalmadan Vertex AI ve Firestore'a erişebilmesini istiyoruz. Bu işlem için Workload Identity kullanılır.
Uygulamamızın kullanacağı Kubernetes hizmet hesabına (KSA) gerekli IAM rollerini vereceğiz.
Not: Bu bağlamalarda referans verilen Kubernetes hizmet hesabı (gradio-chat-ksa) henüz mevcut değil. Uygulamamızı kümeye dağıttığımızda daha sonra oluşturulur. Bu IAM bağlamalarını önceden sağlamak tamamen uygundur (ve yaygın bir uygulamadır).
# TODO: Configure Workload Identity IAM bindings öğesini bulup ekleyin:
locals {
  ksa_principal = "principal://iam.googleapis.com/projects/${var.project_number}/locations/global/workloadIdentityPools/${var.project_id}.svc.id.goog/subject/ns/default/sa/gradio-chat-ksa"
}

resource "google_project_iam_member" "ksa_token_creator" {
  project = var.project_id
  role    = "roles/iam.serviceAccountTokenCreator"
  member  = local.ksa_principal
}

resource "google_project_iam_member" "ksa_vertex_user" {
  project = var.project_id
  role    = "roles/aiplatform.user"
  member  = local.ksa_principal
}

resource "google_project_iam_member" "ksa_datastore_user" {
  project = var.project_id
  role    = "roles/datastore.user"
  member  = local.ksa_principal
}
Yapılandırmayı Uygulama
Altyapımızı tanımladığımıza göre artık altyapımızı sağlayabiliriz.
- Öncelikle Terraform'un kullanması için birkaç değişken ayarlamamız gerekir. Bunu ortam değişkenlerini kullanarak yapacağız:
export TF_VAR_project_id=$(gcloud config get-value project)
export TF_VAR_project_number=$(gcloud projects describe $TF_VAR_project_id --format="value(projectNumber)")
export TF_VAR_region="us-central1"
- Terraform'u başlatın:
terraform init
- Hangi kaynakların oluşturulacağını önizlemek için
terraform plansimgesini kullanın.
terraform plan
- Yapılandırmayı uygulayın. İstendiğinde,
yesyazarak işlemi onaylayın.
terraform apply
Not: GKE kümesinin temel hazırlığı 10-15 dakika sürebilir. Beklerken bir sonraki bölümde uygulama kodunu incelemeye devam edebilirsiniz.
- İşlem tamamlandıktan sonra yeni kümenizle iletişim kurmak için
kubectlyapılandırın:
gcloud container clusters get-credentials gradio-chat-cluster --region us-central1 --project $TF_VAR_project_id
4. GKE'de Self-Hosted Gemma'yı dağıtma
Ardından, Gemma 3 12B modelini doğrudan GKE kümenize dağıtacağız. Bu sayede düşük gecikmeli çıkarım ve model yürütme ortamı üzerinde tam kontrol sağlanır.
Hugging Face kimlik bilgilerini yapılandırma
Gemma modelini indirmek için kümenizin Hugging Face ile kimlik doğrulaması yapması gerekir.
- Hugging Face jetonunuzun olduğundan emin olun.
- Jetonunuzla bir Kubernetes Secret oluşturun. [YOUR_HF_TOKEN] değerini gerçek jetonunuzla değiştirin:
kubectl create secret generic hf-secret --from-literal=hf_api_token=[YOUR_HF_TOKEN]
Modeli Dağıtma
Modeli çalıştırmak için standart bir Kubernetes dağıtımı kullanacağız. Manifest dosyası deploy/gemma3-12b-deploy.yaml konumunda bulunur. Dosyayı manuel olarak açabilir veya düzenleyicide açmak için şu komutu kullanabilirsiniz:
cd ../deploy
cloudshell edit gemma3-12b-deploy.yaml
Bu dosyayı incelemek için biraz zaman ayırın. resources bölümüne dikkat edin:
        resources:
          requests:
            nvidia.com/gpu: 4
      nodeSelector:
        cloud.google.com/gke-accelerator: nvidia-l4
Bu, bildirim temelli yapay zeka altyapısıdır. GKE Autopilot'a bu belirli pod'un 4 NVIDIA L4 GPU gerektirdiğini söylüyoruz. Autopilot, tam olarak bu koşulları karşılayan bir düğümü bulur veya sağlar. Bir düğüm, sağlama için kullanılamıyorsa koşulları karşılayan bir düğüm kullanılabilir duruma gelene kadar denemeye devam eder.
- Dağıtım manifestini uygulayın:
cd .. kubectl apply -f deploy/gemma3-12b-deploy.yamlkubectl get podsgemmapod'u henüz çalışmıyor olsa bile uygulamayı dağıtmaya devam edebilirsiniz. Sohbet uygulaması, kullanılabilir olduğunda Gemma hizmetine bağlanır.gemmapod'uRunningve1/1durumunu gösterene kadar Gemma ile sohbet uygulamanız üzerinden etkileşimde bulunamayacağınızı unutmayın. Ancak bu sırada Gemini ile sohbet edebilirsiniz.
5. Chat uygulamasını oluşturma
Şimdi Python uygulamasını tamamlayalım. Cloud Shell Düzenleyici'de app/app.py dosyasını açın. Uygulamanın işlevsel olması için doldurulması gereken birkaç # TODO blok göreceksiniz.
cloudshell edit app/app.py
1. adım: Görüşme geçmişini işleme
LLM'ler, kimin ne söylediğini anlamak için görüşme geçmişinin özel olarak biçimlendirilmesini gerektirir.
"Evrensel Çevirmen" Kalıbı: Aynı sohbet geçmişini işlemek için iki farklı işlev yazacağımızı unutmayın. Bu, çok modelli uygulamalarda önemli bir kalıptır.
- Doğru Kaynak (Gradio): Uygulamamız, geçmişi basit ve genel bir biçimde (
[[user_msg1, bot_msg1], ...]) saklar. - Hedef 1 (Gemma): Bunun, belirli özel jetonlarla tek bir ham dizeye dönüştürülmesi gerekiyor.
- Hedef 2 (Gemini): Bunun, yapılandırılmış bir API nesneleri listesine dönüştürülmesi gerekir.
Genel geçmişi her dönüşte hedef biçime yeniden biçimlendirerek modeller arasında sorunsuz bir şekilde geçiş yapabiliriz. Daha sonra farklı bir model eklemek isterseniz bu modelin belirli biçimi için yeni bir işleme işlevi yazmanız gerekir.
Gemma (Self-Hosted) için
Sohbet Şablonlarını Anlama: Kendi açık modellerinizi barındırırken genellikle istemi, modelin sohbet olarak tanımak üzere eğitildiği belirli bir dizeye manuel olarak biçimlendirmeniz gerekir. Buna "sohbet şablonu" denir.
app.py içinde process_message_gemma işlevini bulun ve aşağıdaki kodla değiştirin:
# This function takes a user's message and the conversation history as input.
#   Its job is to format these elements into a single,
#   structured prompt that can be understood by the language model (LLM).
#   This structured format helps the LLM maintain context and generate more relevant responses.
def process_message_gemma(message, history):
    user_prompt_format = "User's Turn:\n>>> {prompt}\n"
    assistant_prompt_format = "Assistant's Turn:\n>>> {prompt}\n"

    history_message = ""
    for user_turn, assistant_turn in history:
        history_message += user_prompt_format.format(prompt=user_turn)
        history_message += assistant_prompt_format.format(prompt=assistant_turn)

    # Format the new user message
    new_user_message = user_prompt_format.format(prompt=message)
    # Create a new aggregated message to be used as a single flat string in a json object sent to the LLM
    aggregated_message = (
        history_message + new_user_message + assistant_prompt_format.format(prompt="")
    )
    return aggregated_message
Gemini (Yönetilen) için
Yönetilen hizmetler genellikle yapılandırılmış nesneleri ham dizelere tercih eder. Geçmişi Gemini SDK için types.Content nesneleri olarak biçimlendirmek üzere ayrı bir işlev gerekir.
process_message_gemini simgesini bulun ve aşağıdakilerle değiştirin:
def process_message_gemini(message, history):
    contents = []
    for user_turn, model_turn in history:
        contents.append(
            types.Content(role="user", parts=[types.Part.from_text(text=user_turn)])
        )
        contents.append(
            types.Content(role="model", parts=[types.Part.from_text(text=model_turn)])
        )

    contents.append(
        types.Content(role="user", parts=[types.Part.from_text(text=message)])
    )
    return contents
2. adım: Self-Hosted Gemma Modelini çağırın
Biçimlendirilmiş istemimizi, kümemizde çalışan Gemma hizmetine göndermemiz gerekiyor. Hizmetin dahili DNS adına standart bir HTTP POST isteği göndeririz.
call_gemma_model işlevini bulun ve şu işlevle değiştirin:
# Construct the request, send it to Gemma, return the model's response
# aggregated_message = current user message + history
def call_gemma_model(aggregated_message, model_temperature, top_p, max_tokens):
    json_message = {
        "prompt": aggregated_message,
        "temperature": model_temperature,
        "top_p": top_p,
        "max_tokens": max_tokens,
        "stop": ["User's Turn:"],
    }

    # Log what will be sent to the LLM
    print("*** JSON request: " + str(json_message))

    # Send the constructed json with the user prompt to the model and put the model's response in the json_data variable
    json_data = post_request(json_message)

    # The response from the model is a list of predictions. We'll take the first result.
    raw_output = json_data["predictions"][0]

    # The vLLM server returns the full prompt in the response. We need to extract
    # just the newly generated text from the model.
    assistant_turn_marker = "Assistant's Turn:\n>>>"
    marker_pos = raw_output.rfind(assistant_turn_marker)

    if marker_pos != -1:
        output = raw_output[marker_pos + len(assistant_turn_marker) :]
    else:
        output = raw_output

    # Clean up potential over-generation
    stop_marker = "User's Turn:"
    stop_pos = output.lower().find(stop_marker.lower())
    if stop_pos != -1:
        output = output[:stop_pos]

    return output.strip()
3. adım: Vertex AI Gemini modelini çağırın
Yönetilen model için Google GenAI SDK'yı kullanacağız. Bu yöntem, ağ çağrılarını bizim için işlediğinden çok daha basittir.
call_gemini_model işlevini bulun ve şu işlevle değiştirin:
# Send a request to Gemini via the VertexAI API. Return the model's response
# contents = list of types.Content objects
def call_gemini_model(contents, model_temperature, top_p, max_tokens):
    gemini_model = "gemini-2.5-flash"

    response = client.models.generate_content(
        model=gemini_model,
        contents=contents,
        config={
            "temperature": model_temperature,
            "max_output_tokens": max_tokens,
            "top_p": top_p,
        },
    )
    return response.text
4. adım: Ana çıkarım arayüzünü uygulayın
Son olarak, Gradio'nun çağırdığı ana düzenleyici işlevine ihtiyacımız var. Bu işlevin şunları yapması gerekir:
- Boşsa geçmişi başlatın.
- Mesajı işleyin.
- İsteği seçilen modele (Gemma veya Gemini) yönlendirin.
- Etkileşimi Firestore'a kaydedin.
- Yanıtı kullanıcı arayüzüne döndürün.
Gradio ve Durum Yönetimi: Gradio'nun ChatInterface özelliği, oturum düzeyindeki durumu (tarayıcıda mesajları görüntüleme) otomatik olarak yönetir. Ancak harici veritabanları için yerleşik desteği yoktur.
Sohbet geçmişini uzun süre saklamak için standart bir yöntem kullanırız: inference_interface işlevini kullanırız. Gradio, request: gr.Request öğesini bağımsız değişken olarak kabul ederek mevcut kullanıcının oturum ayrıntılarını otomatik olarak bize iletir. Bunu, her kullanıcı için benzersiz bir Firestore dokümanı oluşturmak amacıyla kullanırız. Böylece, çok kullanıcılı bir ortamda sohbetlerin karışmasını önleriz.
inference_interface işlevini bulun ve şu işlevle değiştirin:
# This is the primary chat function. Every time a user sends a message, gradio calls this function,
# which sends the user's input to the appropriate AI (as indicated on the user interface), updates
# the chat history for future use during this session, and records the chat history in Firestore.
def inference_interface(
    message,
    history,
    model_name,
    model_temperature,
    top_p,
    max_tokens,
    request: gr.Request,
):

    # set history to empty array
    if history is None:
        history = []

    # Get or create session document
    session_hash = request.session_hash
    doc_id = f"session-{session_hash}"
    doc_ref = db.collection("chat_sessions").document(doc_id)

    # Create the session document if it doesn't exist
    if not doc_ref.get().exists:
        doc_ref.set({"Session start": datetime.datetime.now()})

    # Log info
    print("Model: " + model_name)
    print("LLM Engine: " + llm_engine)
    print("* History: " + str(history))

    # Pass the message and history to the appropriate model, as indicated by the user via the ui
    if model_name == "Gemma3 12b it":
        aggregated_message = process_message_gemma(message, history)
        output = call_gemma_model(
            aggregated_message, model_temperature, top_p, max_tokens
        )

    elif model_name == "Gemini":
        gemini_contents = process_message_gemini(message, history)
        output = call_gemini_model(
            gemini_contents, model_temperature, top_p, max_tokens
        )

    else:
        # Handle the case where no valid model is selected
        output = "Error: Invalid model selected."

    interaction = {"user": message, model_name: output}

    # Log the updated chat history
    print("* History: " + str(history) + " " + str(interaction))

    # Save the updated history to Firestore
    save_chat_history(interaction, doc_ref)

    return output
6. app.py dosyanızı kontrol edin
Bu noktada, Gradio tabanlı sohbet uygulamanız dağıtıma hazır olmalıdır. Aşağıdaki tam dosya ile tam olarak eşleştiğinden emin olun.
Sorun giderme: Uygulamanızı dağıtır ve bağlanmaya çalıştığınızda "bağlantı reddedildi" veya "bu siteye ulaşılamıyor" hatası alırsanız bu noktadan itibaren adımları tekrarlamayı deneyin. Bu dosyayı kopyalayıp app.py dosyanıza yapıştırarak başlayın.
# Copyright 2024 Google LLC
#
# Licensed under the Apache License, Version 2.0 (the "License");
# you may not use this file except in compliance with the License.
# You may obtain a copy of the License at
#
#      http://www.apache.org/licenses/LICENSE-2.0
#
# Unless required by applicable law or agreed to in writing, software
# distributed under the License is distributed on an "AS IS" BASIS,
# WITHOUT WARRANTIES OR CONDITIONS OF ANY KIND, either express or implied.
# See the License for the specific language governing permissions and
# limitations under the License.

import datetime

import google.auth
import google.cloud
import gradio as gr
import requests
import themes
from google import genai

from google.cloud import firestore
from google.genai import types

## Do one-time initialization things

## grab the project id from google auth
_, project = google.auth.default()
print(f"Project: {project}")

# Set initial values for model
llm_engine = "vllm"
host = "http://gemma-service:8000"
context_path = "/generate"

# initialize vertex for interacting with Gemini
client = genai.Client(
    vertexai=True,
    project=project,
    location="global",
)

# Initialize Firestore client
db = firestore.Client(database="chat-app-db")


# This is the primary chat function. Every time a user sends a message, gradio calls this function,
# which sends the user's input to the appropriate AI (as indicated on the user interface), updates
# the chat history for future use during this session, and records the chat history in Firestore.
def inference_interface(
    message,
    history,
    model_name,
    model_temperature,
    top_p,
    max_tokens,
    request: gr.Request,
):

    # set history to empty array
    if history is None:
        history = []

    # Get or create session document
    session_hash = request.session_hash
    doc_id = f"session-{session_hash}"
    doc_ref = db.collection("chat_sessions").document(doc_id)

    # Create the session document if it doesn't exist
    if not doc_ref.get().exists:
        doc_ref.set({"Session start": datetime.datetime.now()})

    # Log info
    print("Model: " + model_name)
    print("LLM Engine: " + llm_engine)
    print("* History: " + str(history))

    # Pass the message and history to the appropriate model, as indicated by the user via the ui
    if model_name == "Gemma3 12b it":
        aggregated_message = process_message_gemma(message, history)
        output = call_gemma_model(
            aggregated_message, model_temperature, top_p, max_tokens
        )

    elif model_name == "Gemini":
        gemini_contents = process_message_gemini(message, history)
        output = call_gemini_model(
            gemini_contents, model_temperature, top_p, max_tokens
        )

    else:
        # Handle the case where no valid model is selected
        output = "Error: Invalid model selected."

    interaction = {"user": message, model_name: output}

    # Log the updated chat history
    print("* History: " + str(history) + " " + str(interaction))

    # Save the updated history to Firestore
    save_chat_history(interaction, doc_ref)

    return output


# Construct the request, send it to Gemma, return the model's response
# aggregated_message = current user message + history
def call_gemma_model(aggregated_message, model_temperature, top_p, max_tokens):
    json_message = {
        "prompt": aggregated_message,
        "temperature": model_temperature,
        "top_p": top_p,
        "max_tokens": max_tokens,
        "stop": ["User's Turn:"],
    }

    # Log what will be sent to the LLM
    print("*** JSON request: " + str(json_message))  # Log the JSON request

    # Send the constructed json with the user prompt to the model and put the model's response in the json_data variable
    json_data = post_request(json_message)

    # The response from the model is a list of predictions.
    # We'll take the first result.
    raw_output = json_data["predictions"][0]

    # The vLLM server returns the full prompt in the response. We need to extract
    # just the newly generated text from the model. The prompt ends with
    # "Assistant's Turn:\n>>>", so we find the last occurrence of that and
    # take everything after it.
    assistant_turn_marker = "Assistant's Turn:\n>>>"
    marker_pos = raw_output.rfind(assistant_turn_marker)

    if marker_pos != -1:
        # Get the text generated by the assistant
        output = raw_output[marker_pos + len(assistant_turn_marker) :]
    else:
        # Fallback in case the marker isn't found
        output = raw_output

    # The model sometimes continues the conversation and includes the next user's turn.
    # The 'stop' parameter is a good hint, but we parse the output as a safeguard.
    stop_marker = "User's Turn:"
    stop_pos = output.lower().find(stop_marker.lower())
    if stop_pos != -1:
        output = output[:stop_pos]

    # The model also sometimes prefixes its response with "Output:". We'll remove this.
    output = output.lstrip()
    prefix_marker = "Output:"
    if output.lower().startswith(prefix_marker.lower()):
        output = output[len(prefix_marker) :]

    return output.strip()


# Send a request to Gemini via the VertexAI API. Return the model's response
# contents = list of types.Content objects
def call_gemini_model(contents, model_temperature, top_p, max_tokens):
    gemini_model = "gemini-2.5-flash"

    response = client.models.generate_content(
        model=gemini_model,
        contents=contents,
        config={
            "temperature": model_temperature,
            "max_output_tokens": max_tokens,
            "top_p": top_p,
        },
    )
    output = response.text  # Extract the generated text
    # Consider handling additional response attributes (safety, usage, etc.)
    return output


def process_message_gemini(message, history):
    contents = []
    for user_turn, model_turn in history:
        contents.append(
            types.Content(role="user", parts=[types.Part.from_text(text=user_turn)])
        )
        contents.append(
            types.Content(role="model", parts=[types.Part.from_text(text=model_turn)])
        )

    contents.append(
        types.Content(role="user", parts=[types.Part.from_text(text=message)])
    )
    return contents


# This function takes a user's message and the conversation history as input.
#   Its job is to format these elements into a single,
#   structured prompt that can be understood by the language model (LLM).
#   This structured format helps the LLM maintain context and generate more relevant responses.
def process_message_gemma(message, history):
    user_prompt_format = "User's Turn:\n>>> {prompt}\n"
    assistant_prompt_format = "Assistant's Turn:\n>>> {prompt}\n"

    history_message = ""
    for user_turn, assistant_turn in history:
        history_message += user_prompt_format.format(prompt=user_turn)
        history_message += assistant_prompt_format.format(prompt=assistant_turn)

    # Format the new user message
    new_user_message = user_prompt_format.format(prompt=message)
    # Create a new aggregated message to be used as a single flat string in a json object sent to the LLM
    aggregated_message = (
        history_message + new_user_message + assistant_prompt_format.format(prompt="")
    )
    return aggregated_message


# Function to save chat history to Firestore
def save_chat_history(interaction, doc_ref):
    timestamp_str = str(datetime.datetime.now())

    # Save the chat history, merging with existing data
    doc_ref.update({timestamp_str: interaction})

    print("Chat history saved successfully!")  # Optional: Log success


# Send the json message to the model and return the model's response. This is used for Gemma but not Gemini. It could also be used for other models.
def post_request(json_message):
    print("*** Request" + str(json_message), flush=True)
    # Set a timeout and check for HTTP errors. This will raise an exception on a bad status code (4xx or 5xx).
    response = requests.post(host + context_path, json=json_message, timeout=60)
    response.raise_for_status()
    json_data = response.json()
    print("*** Output: " + str(json_data), flush=True)
    return json_data


# custom css to hide default footer
css = """
footer {display: none !important;} .gradio-container {min-height: 0px !important;}
"""

# Add a dropdown to select the model to chat with
model_dropdown = gr.Dropdown(
    ["Gemma3 12b it", "Gemini"],
    label="Model",
    info="Select the model you would like to chat with.",
    value="Gemma3 12b it",
)

# Make the model temperature, top_p, and max tokents modifiable via sliders in the GUI
model_temperature = gr.Slider(
    minimum=0.1, maximum=1.0, value=0.9, label="Temperature", render=False
)
top_p = gr.Slider(minimum=0.1, maximum=1.0, value=0.95, label="Top_p", render=False)
max_tokens = gr.Slider(
    minimum=1, maximum=4096, value=1024, label="Max Tokens", render=False
)

# Call gradio to create the chat interface
app = gr.ChatInterface(
    inference_interface,
    additional_inputs=[model_dropdown, model_temperature, top_p, max_tokens],
    theme=themes.google_theme(),
    css=css,
    title="Chat with AI",
)

app.launch(server_name="0.0.0.0", allowed_paths=["images"])
7. Chat uygulamasını dağıtma
Container görüntümüzü oluşturmak ve kümeye dağıtmak için Skaffold'u kullanacağız. Skaffold, uygulamaların Kubernetes'e derlenmesi, gönderilmesi ve dağıtılması sürecini düzenleyen ve otomatikleştiren bir komut satırı aracıdır. Bu sürecin tamamını tek bir komutla tetiklemenize olanak tanıyarak geliştirme iş akışını basitleştirir. Bu nedenle, uygulamanızda yineleme yapmak için idealdir.
Not: Bu işlem, Workload Identity için ihtiyaç duyduğumuz Kubernetes hizmet hesabını da dağıtır. Tanımını deploy/chat-deploy.yaml dosyasında görebilirsiniz. Referans için tanımına buradan göz atabilirsiniz:
apiVersion: v1
kind: ServiceAccount
metadata:
  name: gradio-chat-ksa
Derleme ve dağıtım için Skaffold'u çalıştırın:
skaffold run --default-repo=us-central1-docker.pkg.dev/$GOOGLE_CLOUD_PROJECT/chat-app-repo
Skaffold, kapsayıcı görüntüsünü oluşturmak için Cloud Build'i kullanır, görüntüyü Terraform tarafından oluşturulan Artifact Registry'ye aktarır ve ardından Kubernetes manifestlerini kümenize uygular.
8. Uygulamayı test etme
- Sohbet uygulaması hizmetinin harici IP adresi almasını bekleyin:
kubectl get svc gradio-chat-service --watchEXTERNAL-IP,pendingyerine gerçek bir IP adresi olduğunda izlemeyi durdurmak içinCtrl+Ctuşuna basın. - Bir web tarayıcısı açıp
http://[EXTERNAL-IP]:7860adresine gidin. - Modelle etkileşim kurmayı deneyin. Uygulama, varsayılan olarak yerel olarak barındırılan Gemma modelinizle sohbet etmenizi sağlayacak şekilde yapılandırılır. Gemini ile sohbet etmek istiyorsanız "Ek Girişler" açılır listesinden modeli değiştirin. Örneğin, yapay zekaya "Bana bir Kubernetes fıkrası anlat" diye sorun.
Sorun giderme:
- "Bu siteye ulaşılamıyor" veya "[EXTERNAL-IP] bağlantıyı reddetti" gibi bir hata alırsanız app.py dosyanızda bir sorun olabilir. "app.py dosyanızı kontrol edin" başlıklı adıma dönün ve oradaki adımları tekrarlayın.
- Kullanıcı arayüzü varsayılan olarak "Gemma3 12b it" modelini kullanır. Hemen hata alırsanız bunun nedeni Gemma pod'unun henüz hazır olmamasıdır. İpucu: Gemma'nın başlatılmasını beklerken sohbet uygulamasıyla etkileşimi test etmek için açılır listeyi "Gemini" olarak değiştirebilirsiniz.
Gemma'yı test etme: Açılır listede "Gemma3 12b it" seçeneğinin belirlendiğinden emin olun ve bir ileti gönderin (ör. "Kubernetes hakkında bir şaka yap").
Gemini'ı test edin: Açılır listeyi "Gemini" olarak değiştirin ve başka bir soru sorun (ör. "Pod ile düğüm arasındaki fark nedir?").
Geçmişi Doğrulama: Sohbet uygulamasında bir modelle (Gemma veya Gemini) başarılı bir şekilde sohbet ettikten sonra sohbet günlüklerini görmek için Firestore'daki "chat-app-db" veritabanınızı inceleyin. Her iki modelle de sohbet edebildiyseniz modeller arasında geçiş yaparken bile sohbet geçmişinin korunduğunu fark edeceksiniz.
9. Daha Fazlasını Yapma
Çalışan bir karma sohbet uygulamanız olduğuna göre, konuyu daha iyi anlamak için aşağıdaki zorlukları göz önünde bulundurun:
- Özel Karakter:
process_message_gemmaveprocess_message_geminiişlevlerini, başlangıçta "sistem istemi" içerecek şekilde değiştirmeyi deneyin. Örneğin, modellere "Faydalı bir korsan asistanısın" deyin ve yanıtlarının nasıl değiştiğini görün. - Kalıcı Kullanıcı Kimliği: Uygulama şu anda her oturum için yeni bir rastgele UUID oluşturmaktadır. Kullanıcının farklı cihazlardaki geçmiş yazışma geçmişini görebilmesi için gerçek bir kimlik doğrulama sistemini (ör. Google ile Oturum Açma) nasıl entegre edersiniz?
- Model denemesi: Kullanıcı arayüzündeki
temperaturekaydırma çubuğunu değiştirmeyi deneyin. Yüksek sıcaklık (1.0'a yakın), düşük sıcaklığa (0.1'e yakın) kıyasla yanıtların yaratıcılığını ve doğruluğunu nasıl etkiler?
10. Sonuç
Tebrikler! Karma yapay zeka uygulamasını başarıyla oluşturdunuz. Öğrendikleriniz:
- Google Cloud'da kod olarak altyapı için Terraform'u kullanın.
- Tam kontrol için kendi açık ağırlıklı LLM'lerinizi GKE'de barındırın.
- Esneklik için Vertex AI gibi yönetilen yapay zeka hizmetlerini entegre edin.
- Kalıcılık için Firestore'u kullanarak durum bilgisi olan bir uygulama oluşturun.
- Workload Identity kullanarak iş yüklerinizin güvenliğini sağlayın.
Temizleme
Ücretlendirilmemek için oluşturduğunuz kaynakları yok edin:
cd infra
terraform destroy -var="project_id=$GOOGLE_CLOUD_PROJECT" -var="project_number=$PROJECT_NUMBER" -var="region=$REGION"