
1. 简介
概览
在本实验中,您将在 Google Kubernetes Engine (GKE) 上构建并部署一个全栈 AI 赋能的聊天应用。此“混合”应用展示了一种强大的架构模式:能够在直接在集群中运行的自托管开放模型 (Gemma 3 12B) 与受管理的 AI 服务(通过 Vertex AI 运行的 Gemini 2.5 Flash)之间无缝切换。
                                   +----------------------+
                                   |   User (Web Browser) |
                                   +-----------+----------+
                                               |
                                               v
+----------------------------------------------+---------------------------------------------+
| Google Cloud Platform                        |                                             |
|   |                                  +-------+-------+                                     |
|   |                                  | Load Balancer |                                     |
|   |                                  +-------+-------+                                     |
|   |                                          v                                             |
|   +------------------------------------------+-----------------------------------------+   |
|   |  Google Kubernetes Engine (GKE)          |                                         |   |
|   |                                          v                                         |   |
|   |                              +-----------+-----------+                             |   |
|   |                              |    Gradio Chat App    |                             |   |
|   |                              +--+-----------------+--+                             |   |
|   |                                 |                 |                                |   |
|   |                   (Self-hosted) |                 | (Managed via SDK)              |   |
|   |                                 v                 |                                |   |
|   |                  +--------------+---+             |                                |   |
|   |                  | Gemma 3 Model    |             |                                |   |
|   |                  | (GPU Node)       |             |                                |   |
|   |                  +------------------+             |                                |   |
|   +---------------------------------------------------|--------------------------------+   |
|                                                       |                                    |
|                                                       v                                    |
|                                            +----------+-----------+                        |
|                                            | Vertex AI (Gemini)   |                        |
|                                            +----------------------+                        |
|                                                       | (Save History)                     |
|                                                       v                                    |
|                                            +----------+-----------+                        |
|                                            | Firestore Database   |                        |
|                                            +----------------------+                        |
+--------------------------------------------------------------------------------------------+
您将使用 Terraform 来预配基础设施,包括 GKE Autopilot 集群和用于持久保存聊天会话历史记录的 Firestore 数据库。然后,您将完成 Python 应用代码,以处理多轮对话、与两个 AI 模型交互,并使用 Cloud Build 和 Skaffold 部署最终应用。
学习内容
- 使用 Terraform 预配 GKE 和 Firestore 基础架构。
- 使用 Kubernetes 清单在 GKE Autopilot 上部署大语言模型 (Gemma)。
- 在 Python 中实现一个 Gradio 聊天界面,该界面可在不同的 AI 后端之间切换。
- 使用 Firestore 存储和检索聊天会话历史记录。
- 配置 Workload Identity,以安全地向 GKE 工作负载授予对 Google Cloud 服务(Vertex AI、Firestore)的访问权限。
前提条件
- 启用了结算功能的 Google Cloud 项目。
- 基本熟悉 Python、Kubernetes 和标准命令行工具。
- 具有 Gemma 模型访问权限的 Hugging Face 令牌。
2. 项目设置
- 如果您还没有 Google 账号,则必须先创建一个 Google 账号。
- 请改用个人账号,而非工作账号或学校账号。工作账号和学校账号可能存在限制,导致您无法启用本实验所需的 API。
- 登录 Google Cloud 控制台。
- 在 Cloud 控制台中启用结算功能。
- 完成本实验的 Cloud 资源费用应低于 1 美元。
- 您可以按照本实验末尾的步骤删除资源,以避免产生更多费用。
- 新用户符合参与 $300 USD 免费试用计划的条件。
- 创建新项目或选择重复使用现有项目。
打开 Cloud Shell Editor
- 点击此链接可直接前往 Cloud Shell 编辑器
- 如果系统在今天任何时间提示您进行授权,请点击授权继续。

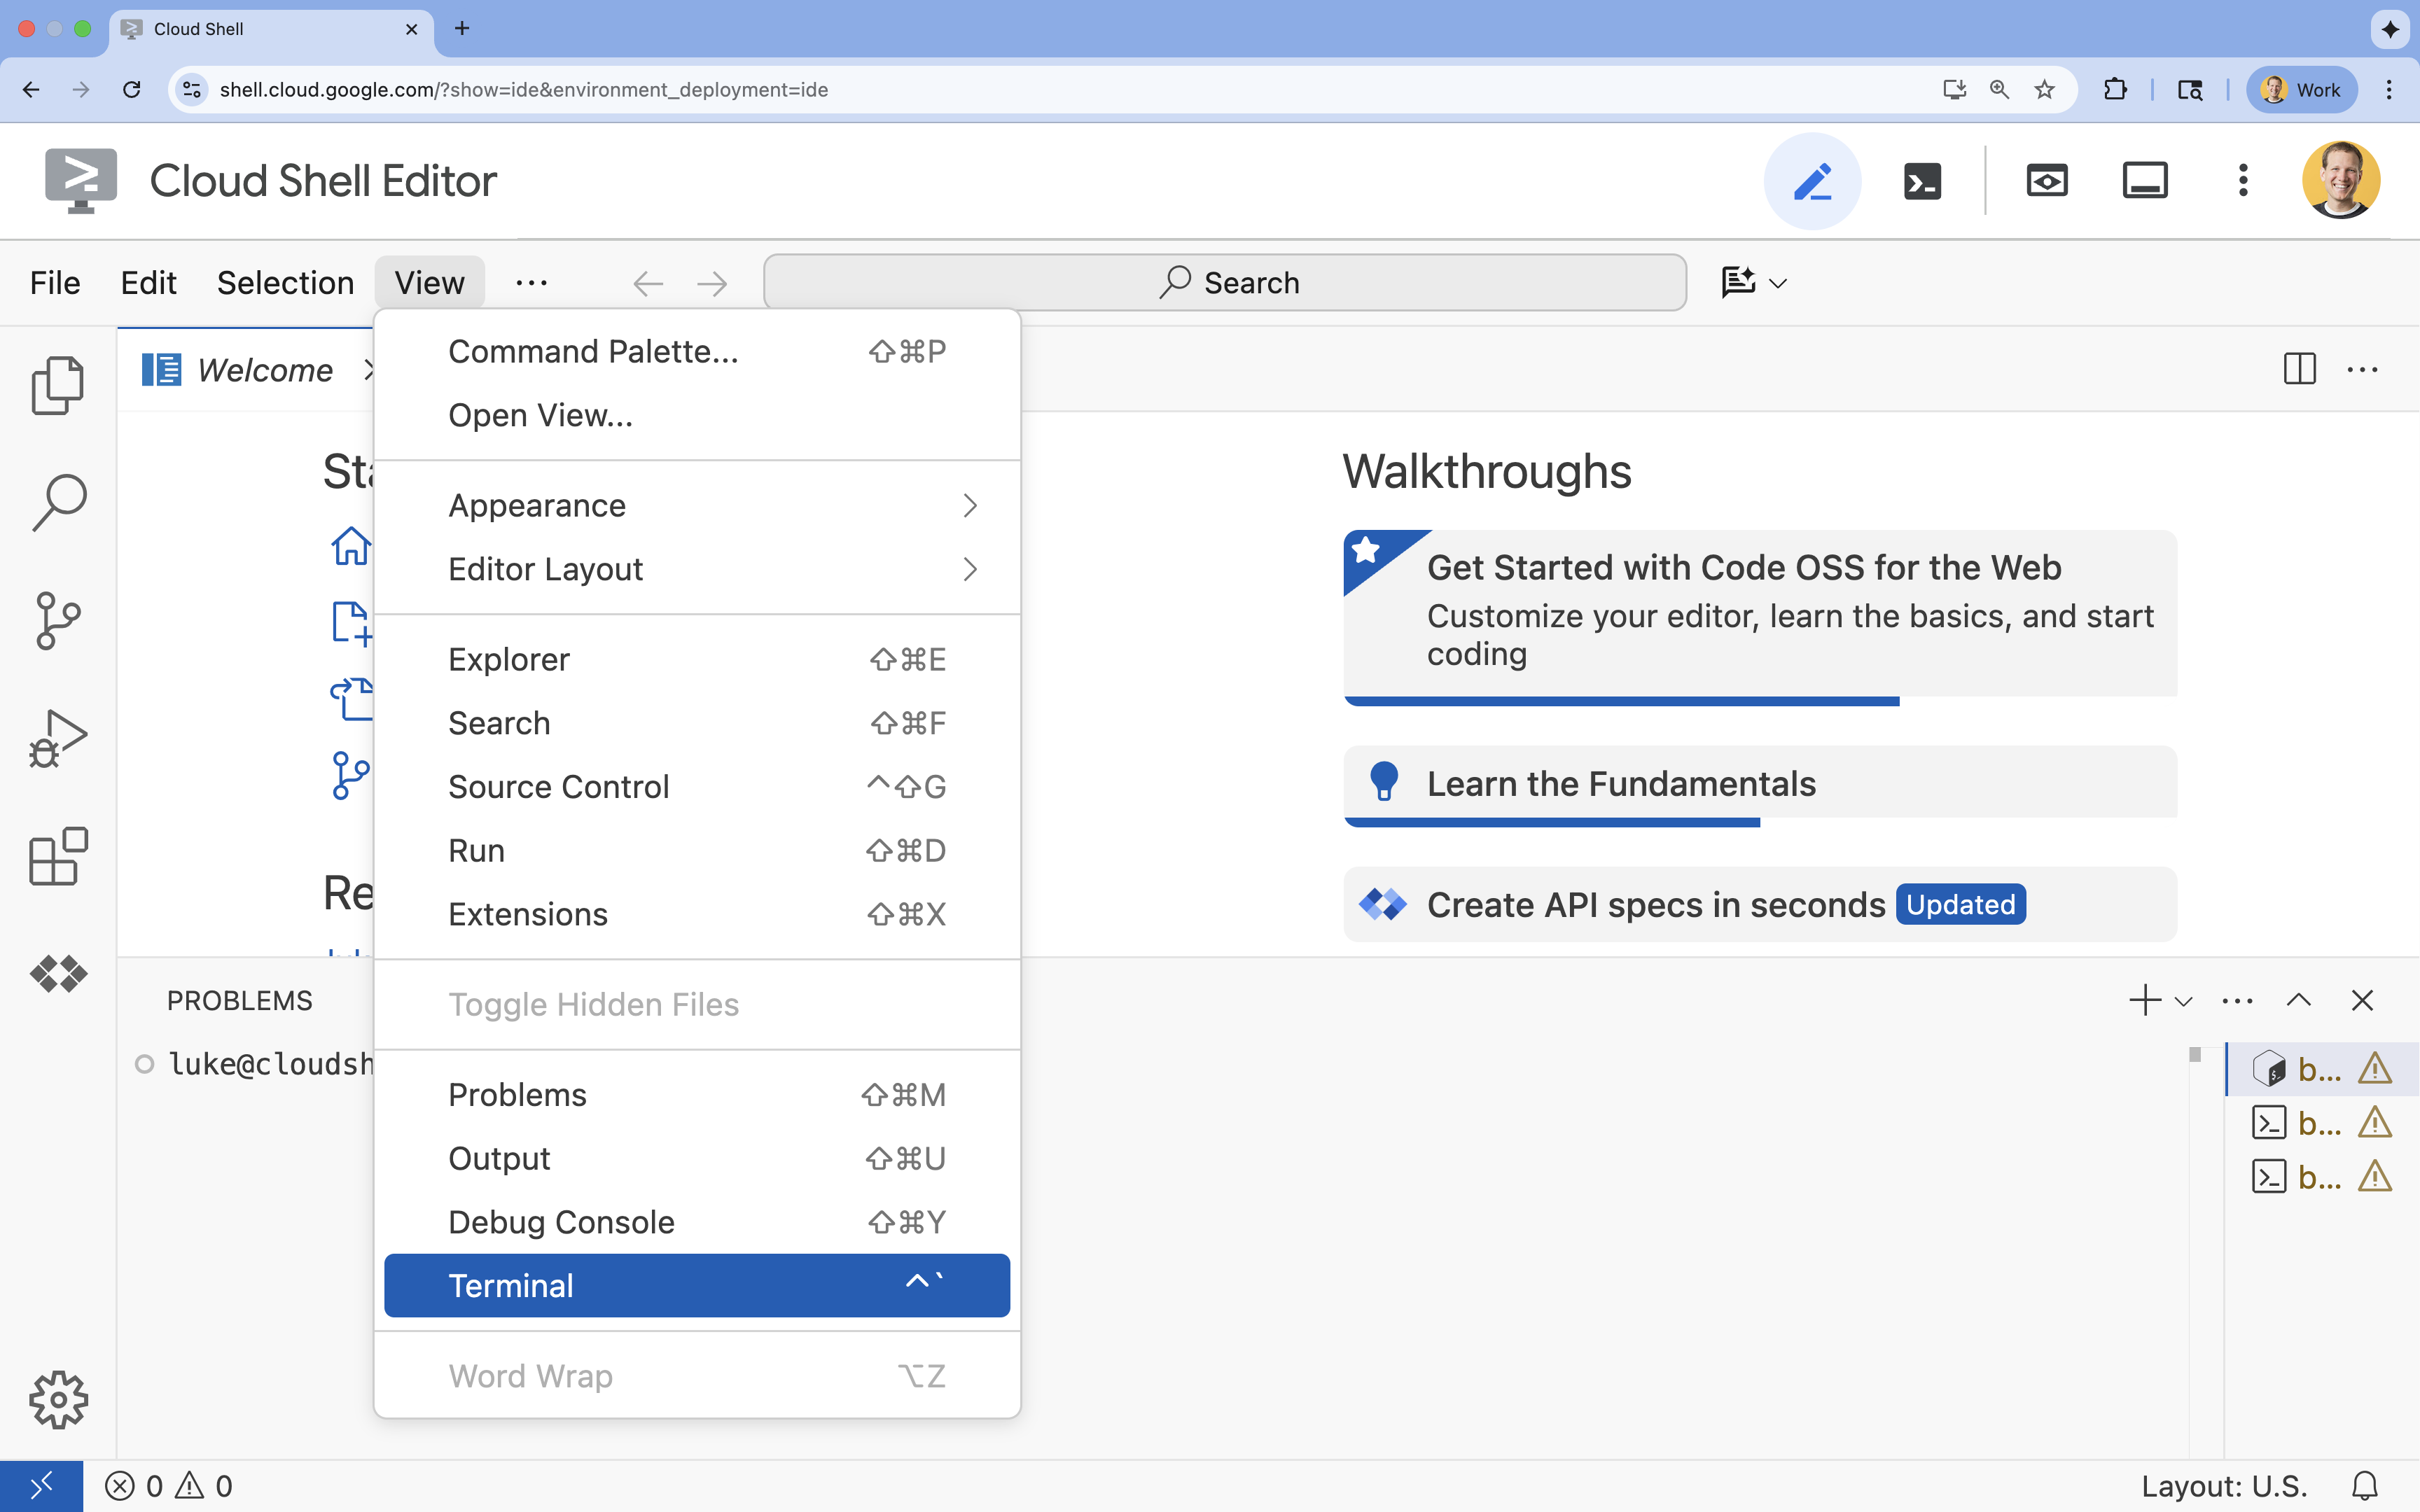
- 如果终端未显示在屏幕底部,请打开它:
- 点击查看
- 点击终端
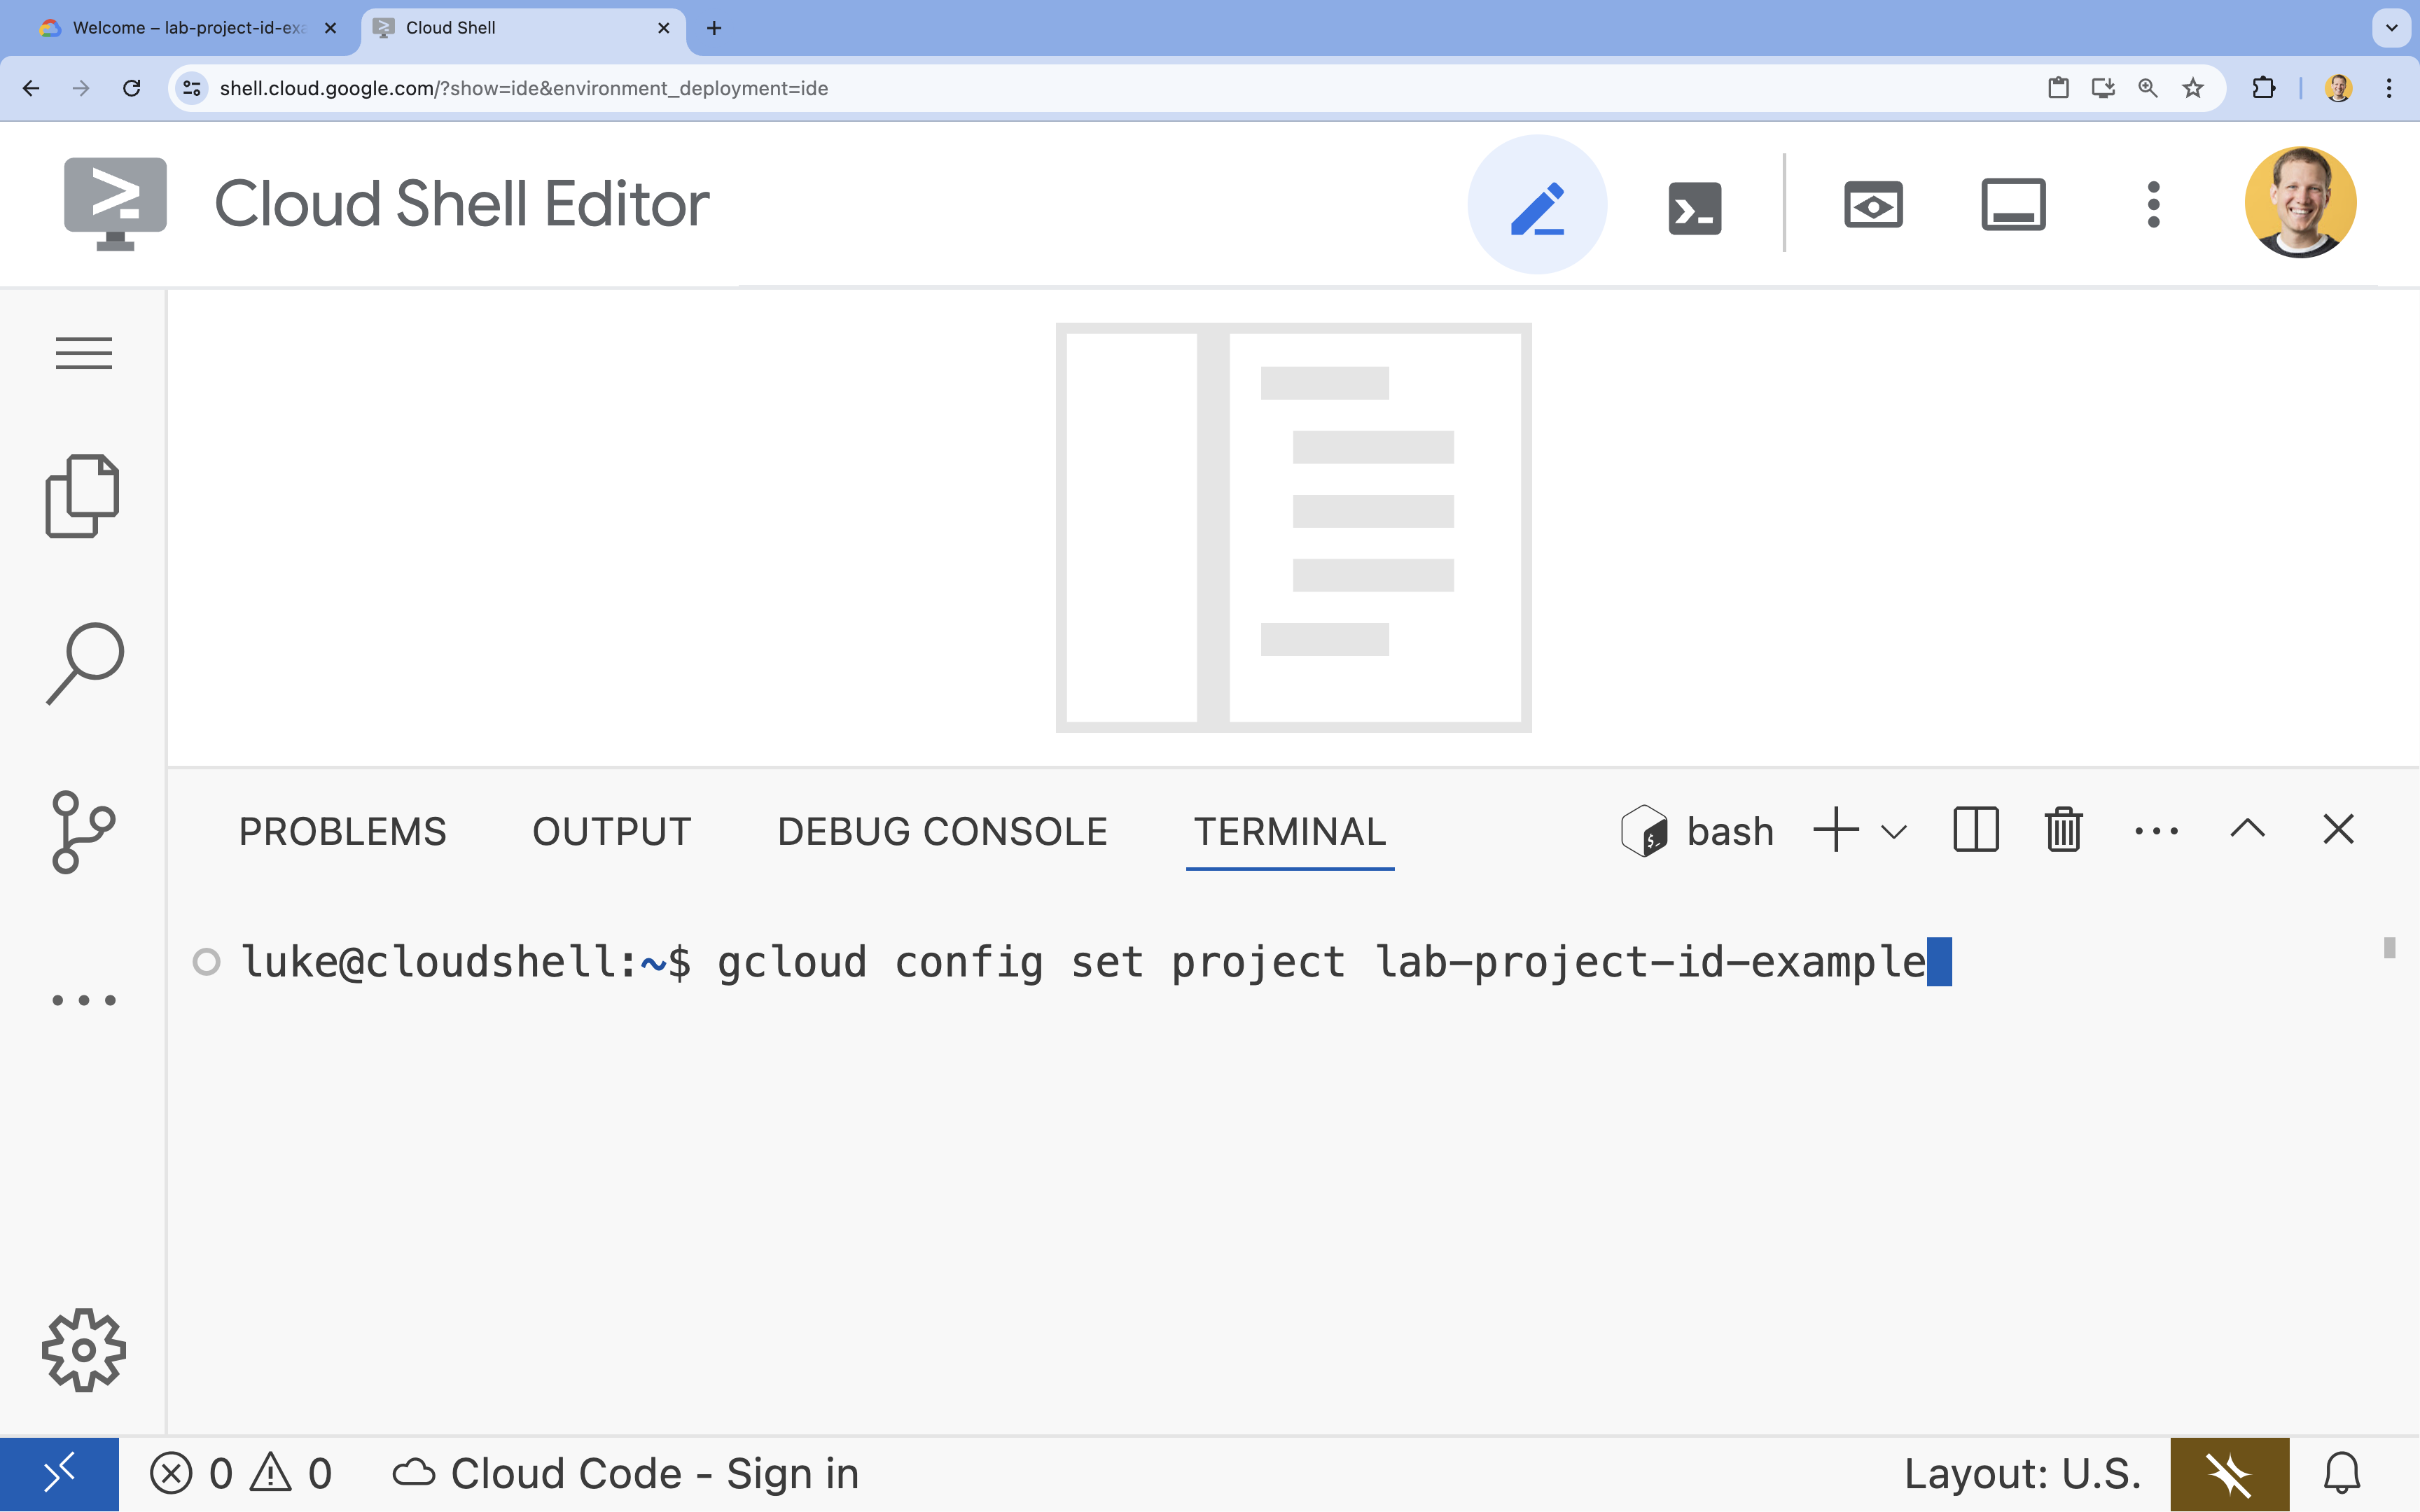
- 在终端中,使用以下命令设置项目:
- 格式:
gcloud config set project [PROJECT_ID] - 示例:
gcloud config set project lab-project-id-example - 如果您不记得项目 ID,请执行以下操作:
- 您可以使用以下命令列出所有项目 ID:
gcloud projects list | awk '/PROJECT_ID/{print $2}'
- 您可以使用以下命令列出所有项目 ID:
- 格式:
- 您应会看到以下消息:
Updated property [core/project].
WARNING并被问到Do you want to continue (Y/n)?,则很可能是您输入的项目 ID 有误。按n,按Enter,然后尝试再次运行gcloud config set project命令。
克隆代码库
在 Cloud Shell 终端中,克隆项目代码库并前往项目目录:
git clone https://github.com/GoogleCloudPlatform/devrel-demos.git
cd devrel-demos/containers/gradio-chat-gke
花点时间浏览一下项目结构:
gradio-chat-gke/
├── app/
│   ├── app.py                # Main application logic (you will edit this)
│   ├── requirements.txt      # Python dependencies
│   └── themes.py             # UI theming
├── deploy/
│   ├── chat-deploy.yaml      # Kubernetes deployment for the chat app
│   ├── Dockerfile            # Container definition for the chat app
│   └── gemma3-12b-deploy.yaml# Kubernetes deployment for Gemma model
├── infra/
│   └── main.tf               # Terraform infrastructure definition
└── skaffold.yaml             # Skaffold configuration for building/deploying
设置环境变量
为项目 ID 和项目编号设置环境变量。这些变量将由 Terraform 和后续命令使用。
export GOOGLE_CLOUD_PROJECT=$(gcloud config get-value project)
export PROJECT_NUMBER=$(gcloud projects describe $GOOGLE_CLOUD_PROJECT --format="value(projectNumber)")
export REGION=us-central1
启用 Cloud Resource Manager API
Terraform 需要启用 Cloud Resource Manager API 才能管理项目的资源,因此我们需要先启用该 API。稍后,我们将使用 Skaffold 部署聊天应用,Skaffold 会使用 Cloud Build 构建容器映像。现在,我们将启用存储 API 并创建 Cloud Build 所需的存储分区。我们将使用 Terraform 本身来启用此项目所需的其余 API。
gcloud services enable cloudresourcemanager.googleapis.com storage-api.googleapis.com
创建 Cloud Build 暂存存储分区
Skaffold 使用 Google Cloud Build,后者需要一个 Cloud Storage 存储分区来暂存您的源代码。
立即创建,确保其存在:
gcloud storage buckets create gs://${GOOGLE_CLOUD_PROJECT}_cloudbuild
(如果您收到一条错误消息,指出相应存储分区已存在,可以放心地忽略该消息)。
3. 使用 Terraform 预配基础设施
我们将使用 Terraform 设置必要的 Google Cloud 资源。这样可确保环境可重现且一致。
- 前往基础架构目录:
cd infra
此文件定义了此项目所需的其他 API:cloudbuild、artifactregistry、container (gke)、firestore 和 aiplatform (vertexai)。请查看文件或下方内容,了解如何通过 Terraform 启用 API:
resource "google_project_service" "cloudbuild" {
  service            = "cloudbuild.googleapis.com"
  disable_on_destroy = false
  project            = var.project_id
}

resource "google_project_service" "artifactregistry" {
  service            = "artifactregistry.googleapis.com"
  disable_on_destroy = false
  project            = var.project_id
}

resource "google_project_service" "container" {
  service            = "container.googleapis.com"
  disable_on_destroy = false
  project            = var.project_id
}

resource "google_project_service" "firestore" {
  service            = "firestore.googleapis.com"
  disable_on_destroy = false
  project            = var.project_id
}

resource "google_project_service" "vertexai" {
  service            = "aiplatform.googleapis.com"
  disable_on_destroy = false
  project            = var.project_id
}
定义 GKE 集群
在编辑器中打开 infra/main.tf。您会看到多条 # TODO 注释。您可以手动打开该文件,也可以使用以下命令在编辑器中打开该文件:
cloudshell edit main.tf
首先,我们需要定义 Kubernetes 集群。我们将使用 GKE Autopilot,它非常适合 AI 工作负载,因为它可以自动处理节点管理。
找到 # TODO: Create a GKE Autopilot Cluster,并在其下方添加以下代码块:
# Create a GKE Autopilot Cluster
resource "google_container_cluster" "primary" {
  name     = var.cluster_name
  location = var.region
  project  = var.project_id

  # Enable Autopilot mode
  enable_autopilot = true

  deletion_protection = false

  # Networking
  network    = "default"
  subnetwork = "projects/${var.project_id}/regions/${var.region}/subnetworks/default"

  # Timeout for cluster creation
  timeouts {
    create = "30m"
    update = "30m"
  }

  depends_on = [google_project_service.container]
}
请注意 enable_autopilot = true。这一行代码可让我们免于管理节点池、自动扩缩和 GPU 工作负载的箱打包。
定义 Firestore 数据库
接下来,我们需要一个位置来存储聊天记录。Firestore 是一种无服务器的 NoSQL 数据库,可完美满足此需求。
找到 # TODO: Create a Firestore Database 并添加以下内容:
resource "google_firestore_database" "database" {
  project     = var.project_id
  name        = "chat-app-db"
  location_id = "nam5"
  type        = "FIRESTORE_NATIVE"

  depends_on = [google_project_service.firestore]
}
添加数据库资源后,找到 # TODO: Create an initial Firestore Document 并添加以下代码块。此资源会在我们的集合中创建一个初始占位文档,这有助于初始化数据库结构。
resource "google_firestore_document" "initial_document" {
  project     = var.project_id
  collection  = "chat_sessions"
  document_id = "initialize"
  fields = <<EOF
  EOF

  depends_on = [google_firestore_database.database]
}
定义 Workload Identity
最后,我们需要配置安全性。我们希望 Kubernetes pod 能够访问 Vertex AI 和 Firestore,而无需管理任何密钥或 API 密钥。我们通过 Workload Identity 实现此目的。
我们将向应用将使用的 Kubernetes 服务账号 (KSA) 授予必要的 IAM 角色。
注意:这些绑定中引用的 Kubernetes 服务账号 (gradio-chat-ksa) 尚不存在!稍后,当我们向集群部署应用时,系统会创建该服务。预先配置这些 IAM 绑定完全没问题(也是一种常见做法)。
找到 # TODO: Configure Workload Identity IAM bindings 并添加以下内容:
locals {
  ksa_principal = "principal://iam.googleapis.com/projects/${var.project_number}/locations/global/workloadIdentityPools/${var.project_id}.svc.id.goog/subject/ns/default/sa/gradio-chat-ksa"
}

resource "google_project_iam_member" "ksa_token_creator" {
  project = var.project_id
  role    = "roles/iam.serviceAccountTokenCreator"
  member  = local.ksa_principal
}

resource "google_project_iam_member" "ksa_vertex_user" {
  project = var.project_id
  role    = "roles/aiplatform.user"
  member  = local.ksa_principal
}

resource "google_project_iam_member" "ksa_datastore_user" {
  project = var.project_id
  role    = "roles/datastore.user"
  member  = local.ksa_principal
}
应用配置
现在,我们已经定义了基础架构,接下来让我们来预配它。
- 我们首先需要设置一些供 Terraform 使用的变量。我们将使用环境变量来实现此目的:
export TF_VAR_project_id=$(gcloud config get-value project)
export TF_VAR_project_number=$(gcloud projects describe $TF_VAR_project_id --format="value(projectNumber)")
export TF_VAR_region="us-central1"
- 初始化 Terraform:
terraform init
- 使用
terraform plan预览将创建的资源。
terraform plan
- 应用配置。 出现提示时,输入
yes进行确认。
terraform apply
注意:预配 GKE 集群可能需要 10-15 分钟。在等待期间,您可以继续查看下一部分中的应用代码。
- 完成后,配置
kubectl以与新集群通信:
gcloud container clusters get-credentials gradio-chat-cluster --region us-central1 --project $TF_VAR_project_id
4. 在 GKE 上部署自托管 Gemma
接下来,我们将直接在您的 GKE 集群上部署 Gemma 3 12B 模型。这样可以实现低延迟推理,并完全控制模型执行环境。
配置 Hugging Face 凭据
如需下载 Gemma 模型,您的集群需要通过 Hugging Face 进行身份验证。
- 确保您拥有 Hugging Face 令牌。
- 使用您的令牌创建 Kubernetes Secret - 将 [YOUR_HF_TOKEN] 替换为您的实际令牌:
kubectl create secret generic hf-secret --from-literal=hf_api_token=[YOUR_HF_TOKEN]
部署模型
我们将使用标准的 Kubernetes Deployment 来运行模型。相应清单位于 deploy/gemma3-12b-deploy.yaml。您可以手动打开该文件,也可以使用以下命令在编辑器中打开该文件:
cd ../deploy
cloudshell edit gemma3-12b-deploy.yaml
请花点时间检查此文件。请注意 resources 部分:
        resources:
          requests:
            nvidia.com/gpu: 4
      nodeSelector:
        cloud.google.com/gke-accelerator: nvidia-l4
这就是声明式 AI 基础设施。我们是在告知 GKE Autopilot,此特定 pod 需要 4 个 NVIDIA L4 GPU。Autopilot 会找到或预配完全满足这些要求的节点。如果无法配置某个节点,系统会一直尝试,直到找到符合要求的节点。
- 应用部署清单:
cd .. kubectl apply -f deploy/gemma3-12b-deploy.yamlkubectl get podsgemmapod 尚未启动并运行,您也可以继续部署应用。聊天应用会在 gemma 服务可用时连接到该服务。请注意,在gemmapod 显示Running和1/1状态之前,您将无法通过聊天应用与 Gemma 互动。不过,在此期间,您可以先与 Gemini 对话!
5. 构建聊天应用
现在,我们来完成 Python 应用。在 Cloud Shell Editor 中打开 app/app.py。您会看到多个 # TODO 块,需要填写这些块才能使应用正常运行。
cloudshell edit app/app.py
第 1 步:处理对话历史记录
LLM 需要以特定格式设置对话历史记录,以便了解是谁说了什么。
“通用翻译器”模式:请注意,我们即将编写两个不同的函数来处理同一聊天记录。这是多模型应用中的一种关键模式。
- The Source of Truth (Gradio):我们的应用以简单通用的格式
[[user_msg1, bot_msg1], ...]保存历史记录。 - 目标 1 (Gemma):需要将其转换为包含特定特殊令牌的单个原始字符串。
- 目标 2 (Gemini):需要将此内容转换为结构化的 API 对象列表。
通过在每个回合中将通用历史记录重新格式化为目标格式,我们可以在模型之间无缝切换。如果以后要添加其他模型,您需要为其特定格式编写新的处理函数。
对于 Gemma(自托管)
了解聊天模板:自行托管开放模型时,您通常需要手动将提示格式化为模型经过训练后能够识别为对话的特定字符串。这称为“聊天模板”。
在 app.py 中找到 process_message_gemma 函数,并将其替换为以下代码:
# This function takes a user's message and the conversation history as input.
#   Its job is to format these elements into a single,
#   structured prompt that can be understood by the language model (LLM).
#   This structured format helps the LLM maintain context and generate more relevant responses.
def process_message_gemma(message, history):
    user_prompt_format = "User's Turn:\n>>> {prompt}\n"
    assistant_prompt_format = "Assistant's Turn:\n>>> {prompt}\n"

    history_message = ""
    for user_turn, assistant_turn in history:
        history_message += user_prompt_format.format(prompt=user_turn)
        history_message += assistant_prompt_format.format(prompt=assistant_turn)

    # Format the new user message
    new_user_message = user_prompt_format.format(prompt=message)
    # Create a new aggregated message to be used as a single flat string in a json object sent to the LLM
    aggregated_message = (
        history_message + new_user_message + assistant_prompt_format.format(prompt="")
    )
    return aggregated_message
对于 Gemini(受管理)
受管服务通常更喜欢结构化对象,而不是原始字符串。我们需要一个单独的函数来将历史记录格式化为 Gemini SDK 的 types.Content 对象。
找到 process_message_gemini 并将其替换为:
def process_message_gemini(message, history):
    contents = []
    for user_turn, model_turn in history:
        contents.append(
            types.Content(role="user", parts=[types.Part.from_text(text=user_turn)])
        )
        contents.append(
            types.Content(role="model", parts=[types.Part.from_text(text=model_turn)])
        )

    contents.append(
        types.Content(role="user", parts=[types.Part.from_text(text=message)])
    )
    return contents
第 2 步:调用自托管 Gemma 模型
我们需要将格式化后的提示发送到集群中运行的 Gemma 服务。我们将使用标准 HTTP POST 请求向服务的内部 DNS 名称发送请求。
找到 call_gemma_model 函数并将其替换为:
# Construct the request, send it to Gemma, return the model's response
# aggregated_message = current user message + history
def call_gemma_model(aggregated_message, model_temperature, top_p, max_tokens):
    json_message = {
        "prompt": aggregated_message,
        "temperature": model_temperature,
        "top_p": top_p,
        "max_tokens": max_tokens,
        "stop": ["User's Turn:"],
    }

    # Log what will be sent to the LLM
    print("*** JSON request: " + str(json_message))

    # Send the constructed json with the user prompt to the model and put the model's response in the json_data variable
    json_data = post_request(json_message)

    # The response from the model is a list of predictions. We'll take the first result.
    raw_output = json_data["predictions"][0]

    # The vLLM server returns the full prompt in the response. We need to extract
    # just the newly generated text from the model.
    assistant_turn_marker = "Assistant's Turn:\n>>>"
    marker_pos = raw_output.rfind(assistant_turn_marker)

    if marker_pos != -1:
        output = raw_output[marker_pos + len(assistant_turn_marker) :]
    else:
        output = raw_output

    # Clean up potential over-generation
    stop_marker = "User's Turn:"
    stop_pos = output.lower().find(stop_marker.lower())
    if stop_pos != -1:
        output = output[:stop_pos]

    return output.strip()
第 3 步:调用 Vertex AI Gemini 模型
对于受管理的模型,我们将使用 Google GenAI SDK。由于它会为我们处理网络调用,因此使用起来非常简单。
找到 call_gemini_model 函数并将其替换为:
# Send a request to Gemini via the VertexAI API. Return the model's response
# contents = list of types.Content objects
def call_gemini_model(contents, model_temperature, top_p, max_tokens):
    gemini_model = "gemini-2.5-flash"

    response = client.models.generate_content(
        model=gemini_model,
        contents=contents,
        config={
            "temperature": model_temperature,
            "max_output_tokens": max_tokens,
            "top_p": top_p,
        },
    )
    return response.text
第 4 步:实现主要推理接口
最后,我们需要 Gradio 调用的主编排器函数。此函数需要:
- 如果历史记录为空,则进行初始化。
- 处理消息。
- 将请求路由到所选模型(Gemma 或 Gemini)。
- 将互动保存到 Firestore。
- 将响应返回给界面。
Gradio 和状态管理:Gradio 的 ChatInterface 会自动处理会话级状态(在浏览器中显示消息)。不过,它不支持外部数据库。
为了长期保留聊天记录,我们使用了一种标准模式:挂钩到 inference_interface 函数。通过接受 request: gr.Request 作为实参,Gradio 会自动将当前用户的会话详细信息传递给我们。我们使用此参数为每位用户创建一个唯一的 Firestore 文档,确保在多用户环境中对话不会混淆。
找到 inference_interface 函数并将其替换为:
# This is the primary chat function. Every time a user sends a message, gradio calls this function,
# which sends the user's input to the appropriate AI (as indicated on the user interface), updates
# the chat history for future use during this session, and records the chat history in Firestore.
def inference_interface(
    message,
    history,
    model_name,
    model_temperature,
    top_p,
    max_tokens,
    request: gr.Request,
):

    # set history to empty array
    if history is None:
        history = []

    # Get or create session document
    session_hash = request.session_hash
    doc_id = f"session-{session_hash}"
    doc_ref = db.collection("chat_sessions").document(doc_id)

    # Create the session document if it doesn't exist
    if not doc_ref.get().exists:
        doc_ref.set({"Session start": datetime.datetime.now()})

    # Log info
    print("Model: " + model_name)
    print("LLM Engine: " + llm_engine)
    print("* History: " + str(history))

    # Pass the message and history to the appropriate model, as indicated by the user via the ui
    if model_name == "Gemma3 12b it":
        aggregated_message = process_message_gemma(message, history)
        output = call_gemma_model(
            aggregated_message, model_temperature, top_p, max_tokens
        )

    elif model_name == "Gemini":
        gemini_contents = process_message_gemini(message, history)
        output = call_gemini_model(
            gemini_contents, model_temperature, top_p, max_tokens
        )

    else:
        # Handle the case where no valid model is selected
        output = "Error: Invalid model selected."

    interaction = {"user": message, model_name: output}

    # Log the updated chat history
    print("* History: " + str(history) + " " + str(interaction))

    # Save the updated history to Firestore
    save_chat_history(interaction, doc_ref)

    return output
6. 检查您的 app.py 文件
此时,基于 Gradio 的聊天应用应该已准备好部署。确保其与以下完整文件完全一致。
问题排查:如果您部署应用后,在尝试连接到该应用时收到“拒绝连接”或“无法访问此网站”错误,请尝试从这一步开始重复执行相关步骤,首先复制整个文件并将其粘贴到 app.py 中。
# Copyright 2024 Google LLC
#
# Licensed under the Apache License, Version 2.0 (the "License");
# you may not use this file except in compliance with the License.
# You may obtain a copy of the License at
#
#      http://www.apache.org/licenses/LICENSE-2.0
#
# Unless required by applicable law or agreed to in writing, software
# distributed under the License is distributed on an "AS IS" BASIS,
# WITHOUT WARRANTIES OR CONDITIONS OF ANY KIND, either express or implied.
# See the License for the specific language governing permissions and
# limitations under the License.

import datetime

import google.auth
import google.cloud
import gradio as gr
import requests
import themes
from google import genai

from google.cloud import firestore
from google.genai import types

## Do one-time initialization things

## grab the project id from google auth
_, project = google.auth.default()
print(f"Project: {project}")

# Set initial values for model
llm_engine = "vllm"
host = "http://gemma-service:8000"
context_path = "/generate"

# initialize vertex for interacting with Gemini
client = genai.Client(
    vertexai=True,
    project=project,
    location="global",
)

# Initialize Firestore client
db = firestore.Client(database="chat-app-db")


# This is the primary chat function. Every time a user sends a message, gradio calls this function,
# which sends the user's input to the appropriate AI (as indicated on the user interface), updates
# the chat history for future use during this session, and records the chat history in Firestore.
def inference_interface(
    message,
    history,
    model_name,
    model_temperature,
    top_p,
    max_tokens,
    request: gr.Request,
):

    # set history to empty array
    if history is None:
        history = []

    # Get or create session document
    session_hash = request.session_hash
    doc_id = f"session-{session_hash}"
    doc_ref = db.collection("chat_sessions").document(doc_id)

    # Create the session document if it doesn't exist
    if not doc_ref.get().exists:
        doc_ref.set({"Session start": datetime.datetime.now()})

    # Log info
    print("Model: " + model_name)
    print("LLM Engine: " + llm_engine)
    print("* History: " + str(history))

    # Pass the message and history to the appropriate model, as indicated by the user via the ui
    if model_name == "Gemma3 12b it":
        aggregated_message = process_message_gemma(message, history)
        output = call_gemma_model(
            aggregated_message, model_temperature, top_p, max_tokens
        )

    elif model_name == "Gemini":
        gemini_contents = process_message_gemini(message, history)
        output = call_gemini_model(
            gemini_contents, model_temperature, top_p, max_tokens
        )

    else:
        # Handle the case where no valid model is selected
        output = "Error: Invalid model selected."

    interaction = {"user": message, model_name: output}

    # Log the updated chat history
    print("* History: " + str(history) + " " + str(interaction))

    # Save the updated history to Firestore
    save_chat_history(interaction, doc_ref)

    return output


# Construct the request, send it to Gemma, return the model's response
# aggregated_message = current user message + history
def call_gemma_model(aggregated_message, model_temperature, top_p, max_tokens):
    json_message = {
        "prompt": aggregated_message,
        "temperature": model_temperature,
        "top_p": top_p,
        "max_tokens": max_tokens,
        "stop": ["User's Turn:"],
    }

    # Log what will be sent to the LLM
    print("*** JSON request: " + str(json_message))  # Log the JSON request

    # Send the constructed json with the user prompt to the model and put the model's response in the json_data variable
    json_data = post_request(json_message)

    # The response from the model is a list of predictions.
    # We'll take the first result.
    raw_output = json_data["predictions"][0]

    # The vLLM server returns the full prompt in the response. We need to extract
    # just the newly generated text from the model. The prompt ends with
    # "Assistant's Turn:\n>>>", so we find the last occurrence of that and
    # take everything after it.
    assistant_turn_marker = "Assistant's Turn:\n>>>"
    marker_pos = raw_output.rfind(assistant_turn_marker)

    if marker_pos != -1:
        # Get the text generated by the assistant
        output = raw_output[marker_pos + len(assistant_turn_marker) :]
    else:
        # Fallback in case the marker isn't found
        output = raw_output

    # The model sometimes continues the conversation and includes the next user's turn.
    # The 'stop' parameter is a good hint, but we parse the output as a safeguard.
    stop_marker = "User's Turn:"
    stop_pos = output.lower().find(stop_marker.lower())
    if stop_pos != -1:
        output = output[:stop_pos]

    # The model also sometimes prefixes its response with "Output:". We'll remove this.
    output = output.lstrip()
    prefix_marker = "Output:"
    if output.lower().startswith(prefix_marker.lower()):
        output = output[len(prefix_marker) :]

    return output.strip()


# Send a request to Gemini via the VertexAI API. Return the model's response
# contents = list of types.Content objects
def call_gemini_model(contents, model_temperature, top_p, max_tokens):
    gemini_model = "gemini-2.5-flash"

    response = client.models.generate_content(
        model=gemini_model,
        contents=contents,
        config={
            "temperature": model_temperature,
            "max_output_tokens": max_tokens,
            "top_p": top_p,
        },
    )
    output = response.text  # Extract the generated text
    # Consider handling additional response attributes (safety, usage, etc.)
    return output


def process_message_gemini(message, history):
    contents = []
    for user_turn, model_turn in history:
        contents.append(
            types.Content(role="user", parts=[types.Part.from_text(text=user_turn)])
        )
        contents.append(
            types.Content(role="model", parts=[types.Part.from_text(text=model_turn)])
        )

    contents.append(
        types.Content(role="user", parts=[types.Part.from_text(text=message)])
    )
    return contents


# This function takes a user's message and the conversation history as input.
#   Its job is to format these elements into a single,
#   structured prompt that can be understood by the language model (LLM).
#   This structured format helps the LLM maintain context and generate more relevant responses.
def process_message_gemma(message, history):
    user_prompt_format = "User's Turn:\n>>> {prompt}\n"
    assistant_prompt_format = "Assistant's Turn:\n>>> {prompt}\n"

    history_message = ""
    for user_turn, assistant_turn in history:
        history_message += user_prompt_format.format(prompt=user_turn)
        history_message += assistant_prompt_format.format(prompt=assistant_turn)

    # Format the new user message
    new_user_message = user_prompt_format.format(prompt=message)
    # Create a new aggregated message to be used as a single flat string in a json object sent to the LLM
    aggregated_message = (
        history_message + new_user_message + assistant_prompt_format.format(prompt="")
    )
    return aggregated_message


# Function to save chat history to Firestore
def save_chat_history(interaction, doc_ref):
    timestamp_str = str(datetime.datetime.now())

    # Save the chat history, merging with existing data
    doc_ref.update({timestamp_str: interaction})

    print("Chat history saved successfully!")  # Optional: Log success


# Send the json message to the model and return the model's response. This is used for Gemma but not Gemini. It could also be used for other models.
def post_request(json_message):
    print("*** Request" + str(json_message), flush=True)
    # Set a timeout and check for HTTP errors. This will raise an exception on a bad status code (4xx or 5xx).
    response = requests.post(host + context_path, json=json_message, timeout=60)
    response.raise_for_status()
    json_data = response.json()
    print("*** Output: " + str(json_data), flush=True)
    return json_data


# custom css to hide default footer
css = """
footer {display: none !important;} .gradio-container {min-height: 0px !important;}
"""

# Add a dropdown to select the model to chat with
model_dropdown = gr.Dropdown(
    ["Gemma3 12b it", "Gemini"],
    label="Model",
    info="Select the model you would like to chat with.",
    value="Gemma3 12b it",
)

# Make the model temperature, top_p, and max tokents modifiable via sliders in the GUI
model_temperature = gr.Slider(
    minimum=0.1, maximum=1.0, value=0.9, label="Temperature", render=False
)
top_p = gr.Slider(minimum=0.1, maximum=1.0, value=0.95, label="Top_p", render=False)
max_tokens = gr.Slider(
    minimum=1, maximum=4096, value=1024, label="Max Tokens", render=False
)

# Call gradio to create the chat interface
app = gr.ChatInterface(
    inference_interface,
    additional_inputs=[model_dropdown, model_temperature, top_p, max_tokens],
    theme=themes.google_theme(),
    css=css,
    title="Chat with AI",
)

app.launch(server_name="0.0.0.0", allowed_paths=["images"])
7. 部署聊天应用
我们将使用 Skaffold 构建容器映像并将其部署到集群。Skaffold 是一种命令行工具,可编排和自动执行将应用构建、推送和部署到 Kubernetes 的过程。它允许您通过单个命令触发整个流程,从而简化开发工作流程,非常适合迭代应用。
注意:此命令还会部署 Workload Identity 所需的 Kubernetes 服务账号。您可以在 deploy/chat-deploy.yaml 文件中查看其定义。如需参考,请查看其定义:
apiVersion: v1
kind: ServiceAccount
metadata:
  name: gradio-chat-ksa
运行 Skaffold 以构建和部署:
skaffold run --default-repo=us-central1-docker.pkg.dev/$GOOGLE_CLOUD_PROJECT/chat-app-repo
Skaffold 将使用 Cloud Build 构建容器映像,将其推送到由 Terraform 创建的 Artifact Registry,然后将 Kubernetes 清单应用到您的集群。
8. 测试应用
- 等待聊天应用服务获取外部 IP 地址:
kubectl get svc gradio-chat-service --watchEXTERNAL-IP从pending更改为实际 IP 地址后,按Ctrl+C停止观看。 - 打开网络浏览器,然后前往
http://[EXTERNAL-IP]:7860。 - 不妨尝试与模型互动!该应用默认配置为让您与本地托管的 Gemma 模型聊天。如果您想与 Gemini 对话,请在“其他输入内容”下拉菜单中更改模型。例如,您可以尝试向 AI 提问:“给我讲个 Kubernetes 笑话。”
问题排查:
- 如果您收到“无法访问此网站”或“[外部 IP 地址] 拒绝连接”等错误,则表示您的 app.py 文件可能出了问题。返回到标题为“检查 app.py 文件”的步骤,然后从该步骤开始重复执行相关步骤。
- 界面默认使用“Gemma3 12b it”模型。如果您立即收到错误,可能是因为 Gemma pod 尚未准备就绪。提示:在等待 Gemma 初始化时,您可以将下拉菜单切换为“Gemini”,测试与聊天应用的互动!
测试 Gemma:确保下拉菜单中已选择“Gemma3 12b it”,然后发送消息(例如“给我讲一个关于 Kubernetes 的笑话”)。
测试 Gemini:将下拉菜单切换为“Gemini”,然后提出另一个问题(例如“Pod 和节点有什么区别?”)。
验证历史记录:在聊天应用中成功与模型(Gemma 或 Gemini)对话后,请查看 Firestore 中的“chat-app-db”数据库,看看是否有对话记录。如果您能够与这两个模型对话,您会发现即使在切换模型时,对话记录也会保留。
9. 深入了解
现在您已经有了一个可正常运行的混合聊天应用,不妨考虑以下挑战,以加深了解:
- 自定义角色:尝试修改
process_message_gemma和process_message_gemini函数,在开头添加“系统提示”。例如,告诉模型“你是一位乐于助人的海盗助理”,看看这会如何改变模型的回答。 - 持久用户身份:目前,应用会为每个会话生成一个新的随机 UUID。如何集成真实的身份验证系统(例如 Google 登录),以便用户可以在不同设备上查看其过往对话记录?
- 模型实验:尝试更改界面中的
temperature滑块。与低温度值(接近 0.1)相比,高温度值(接近 1.0)对回答的创造性和准确性有何影响?
10. 总结
恭喜!您已成功构建混合 AI 应用。您已了解如何:
- 在 Google Cloud 上使用 Terraform 实现基础设施即代码。
- 在 GKE 上托管您自己的开放权重 LLM,以实现完全控制。
- 集成 Vertex AI 等托管式 AI 服务,以实现灵活性。
- 使用 Firestore 构建有状态应用以实现持久性。
- 使用 Workload Identity 保护工作负载的安全。
清理
为避免产生费用,请销毁您创建的资源:
cd infra
terraform destroy -var="project_id=$GOOGLE_CLOUD_PROJECT" -var="project_number=$PROJECT_NUMBER" -var="region=$REGION"