
1. 簡介
總覽
在本實驗室中,您將在 Google Kubernetes Engine (GKE) 上建構及部署全端 AI 輔助聊天應用程式。這個「混合式」應用程式示範了強大的架構模式:能夠在叢集中直接執行的自架開放模型 (Gemma 3 12B),以及代管式 AI 服務 (透過 Vertex AI 使用 Gemini 2.5 Flash) 之間,輕鬆切換。
                                   +----------------------+
                                   |   User (Web Browser) |
                                   +-----------+----------+
                                               |
                                               v
+----------------------------------------------+---------------------------------------------+
| Google Cloud Platform                        |                                             |
|   |                                  +-------+-------+                                     |
|   |                                  | Load Balancer |                                     |
|   |                                  +-------+-------+                                     |
|   |                                          v                                             |
|   +------------------------------------------+-----------------------------------------+   |
|   |  Google Kubernetes Engine (GKE)          |                                         |   |
|   |                                          v                                         |   |
|   |                              +-----------+-----------+                             |   |
|   |                              |    Gradio Chat App    |                             |   |
|   |                              +--+-----------------+--+                             |   |
|   |                                 |                 |                                |   |
|   |                   (Self-hosted) |                 | (Managed via SDK)              |   |
|   |                                 v                 |                                |   |
|   |                  +--------------+---+             |                                |   |
|   |                  | Gemma 3 Model    |             |                                |   |
|   |                  | (GPU Node)       |             |                                |   |
|   |                  +------------------+             |                                |   |
|   +---------------------------------------------------|--------------------------------+   |
|                                                       |                                    |
|                                                       v                                    |
|                                            +----------+-----------+                        |
|                                            | Vertex AI (Gemini)   |                        |
|                                            +----------------------+                        |
|                                                       | (Save History)                     |
|                                                       v                                    |
|                                            +----------+-----------+                        |
|                                            | Firestore Database   |                        |
|                                            +----------------------+                        |
+--------------------------------------------------------------------------------------------+
您將使用 Terraform 佈建基礎架構,包括 GKE Autopilot 叢集和 Firestore 資料庫,用於保存即時通訊工作階段記錄。接著,您將完成 Python 應用程式程式碼,處理多輪對話、與兩個 AI 模型互動,並使用 Cloud Build 和 Skaffold 部署最終應用程式。
課程內容
- 使用 Terraform 佈建 GKE 和 Firestore 基礎架構。
- 使用 Kubernetes 資訊清單,在 GKE Autopilot 上部署大型語言模型 (Gemma)。
- 在 Python 中實作 Gradio 即時通訊介面,可在不同 AI 後端之間切換。
- 使用 Firestore 儲存及擷取即時通訊工作階段記錄。
- 設定 Workload Identity,安全地授予 GKE 工作負載 Google Cloud 服務 (Vertex AI、Firestore) 的存取權。
必要條件
- 已啟用計費功能的 Google Cloud 專案。
- 熟悉 Python、Kubernetes 和標準指令列工具的基本操作。
- 有權存取 Gemma 模型的 Hugging Face 權杖。
2. 專案設定
- 如果沒有 Google 帳戶,請先建立帳戶。
- 請改用個人帳戶,而非公司或學校帳戶。公司和學校帳戶可能設有限制,導致您無法啟用本實驗室所需的 API。
- 登入 Google Cloud 控制台。
- 在 Cloud 控制台中啟用帳單。
- 完成本實驗室的 Cloud 資源費用應不到 $1 美元。
- 您可以按照本實驗室結尾的步驟刪除資源,以免產生後續費用。
- 新使用者可獲得價值 $300 美元的免費試用期。
- 建立新專案,或選擇重複使用現有專案。
開啟 Cloud Shell 編輯器
- 按一下這個連結,直接前往 Cloud Shell 編輯器
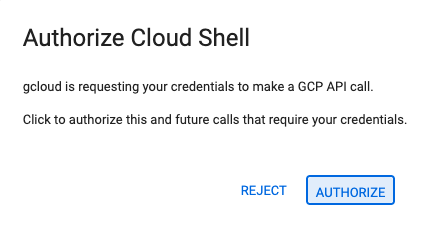
- 如果系統在今天任何時間提示您授權,請點選「授權」繼續操作。
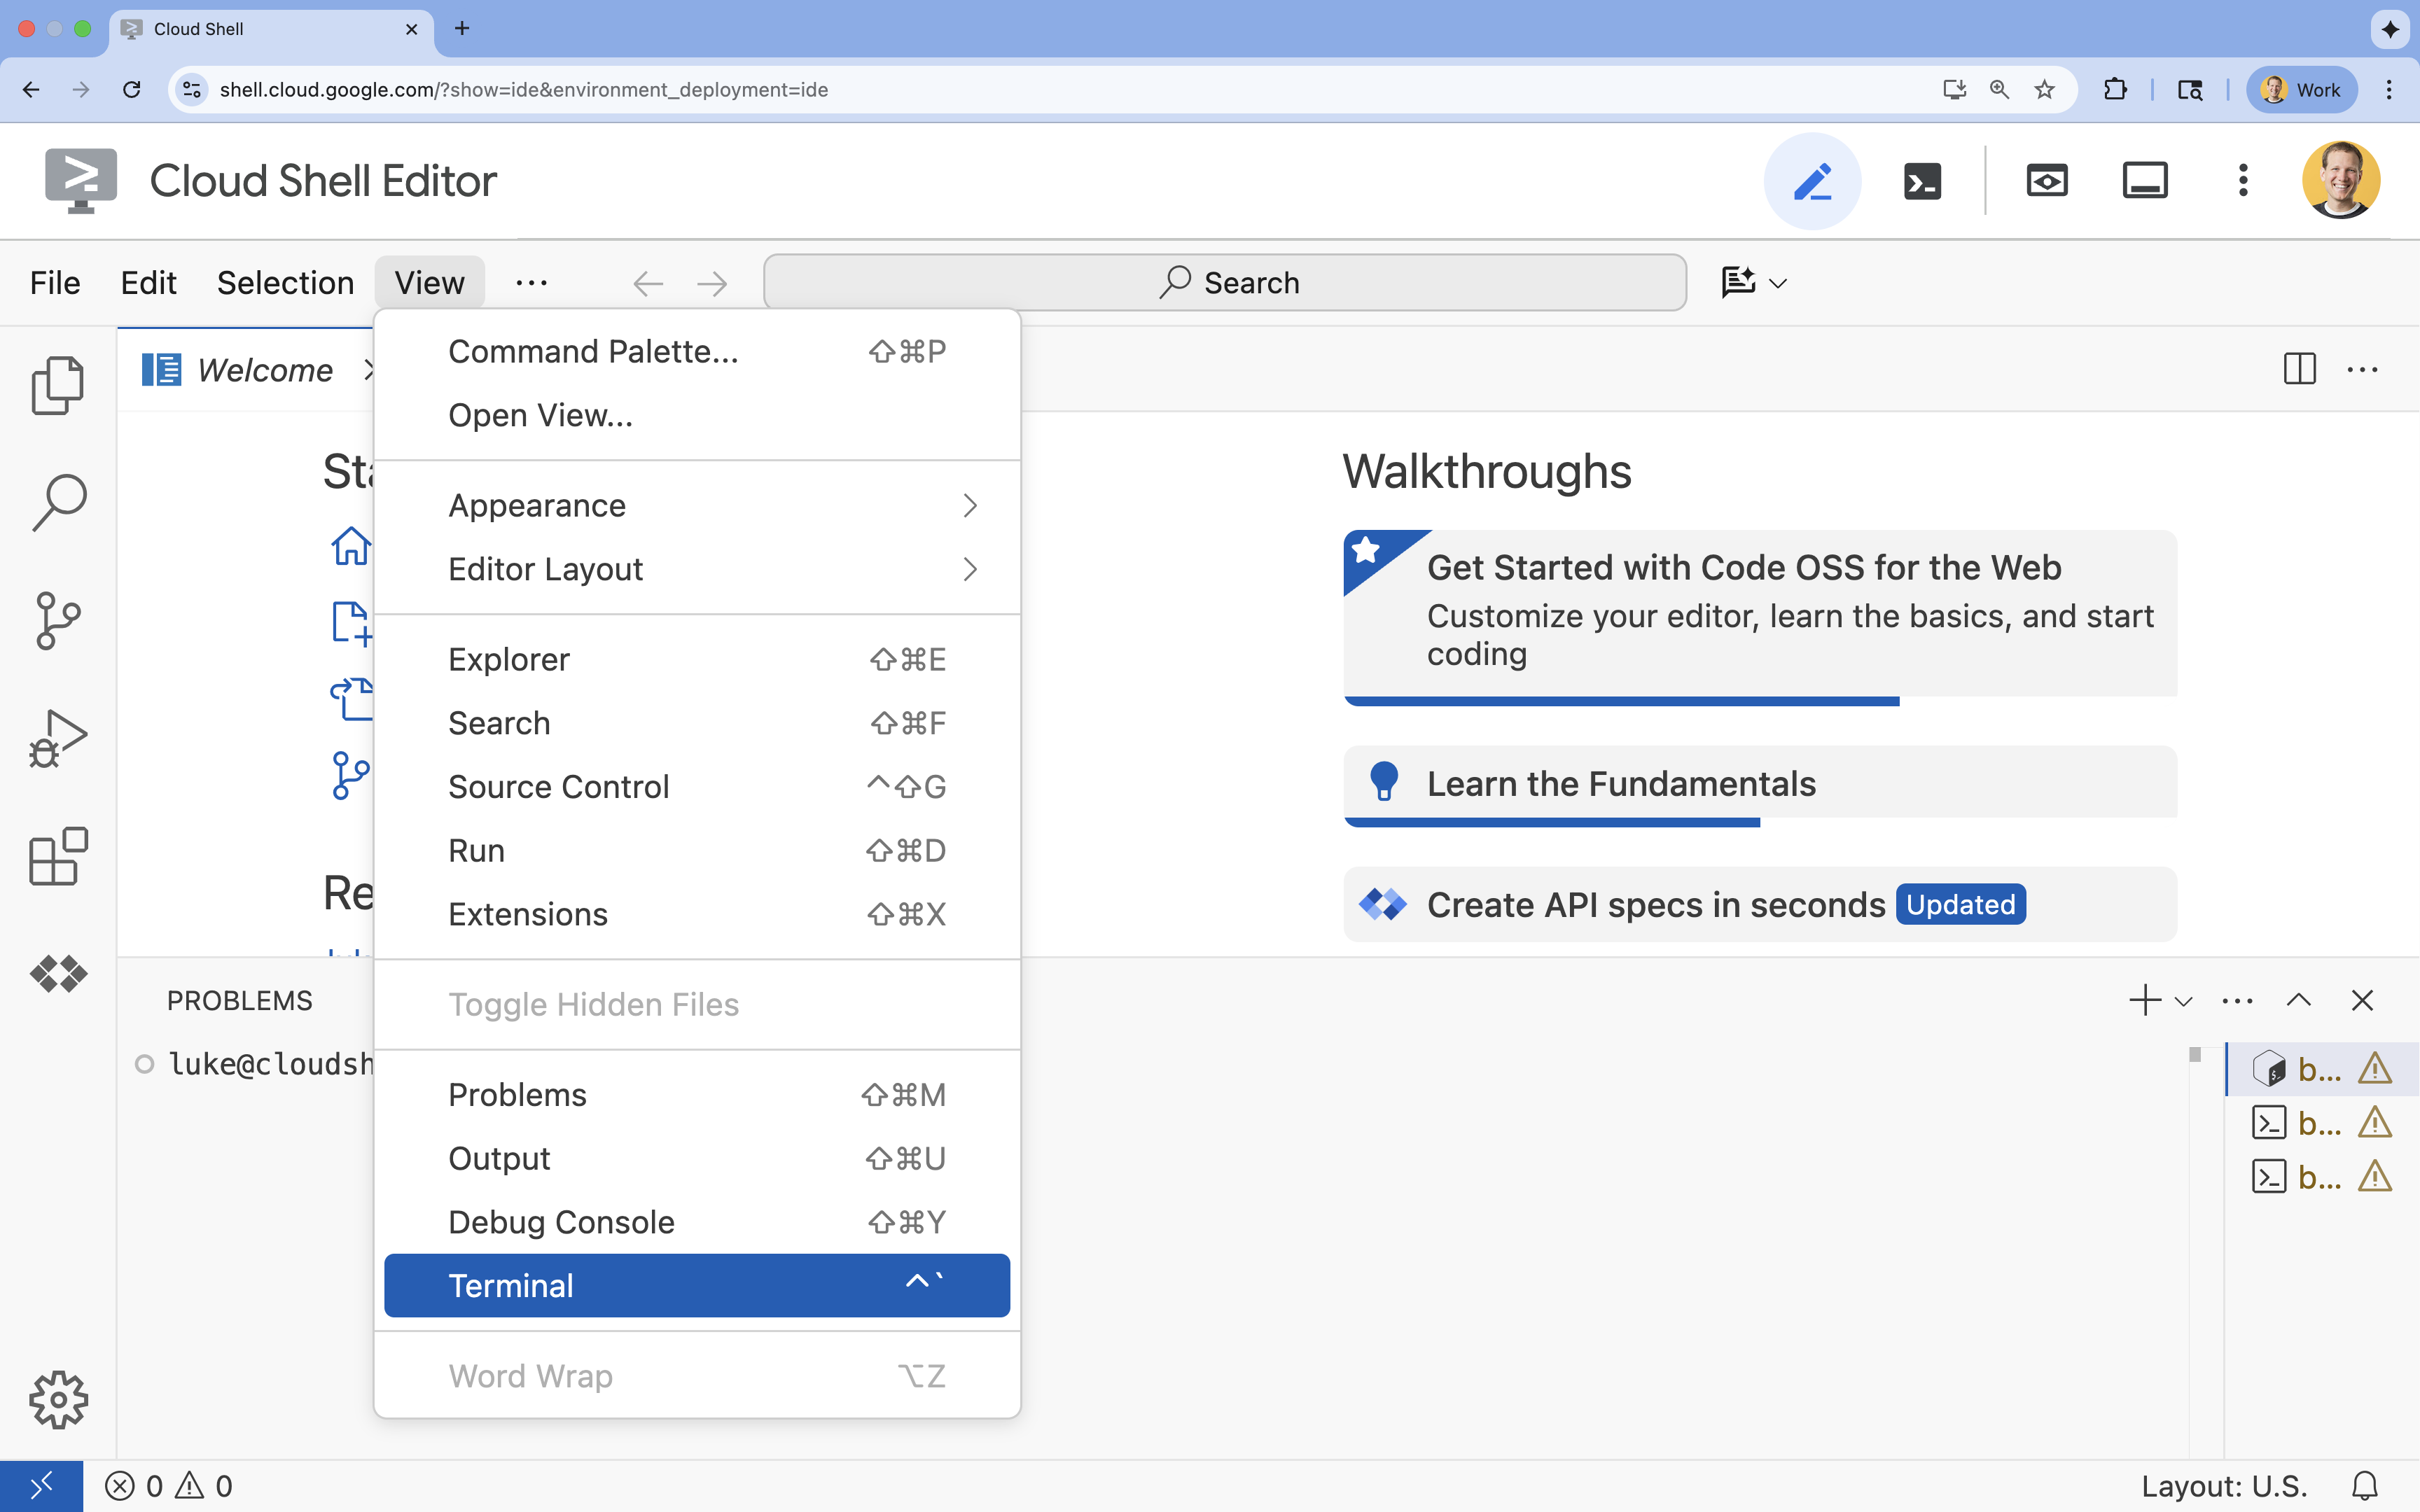
- 如果畫面底部未顯示終端機,請開啟終端機:
- 按一下「查看」
- 按一下「終端機」
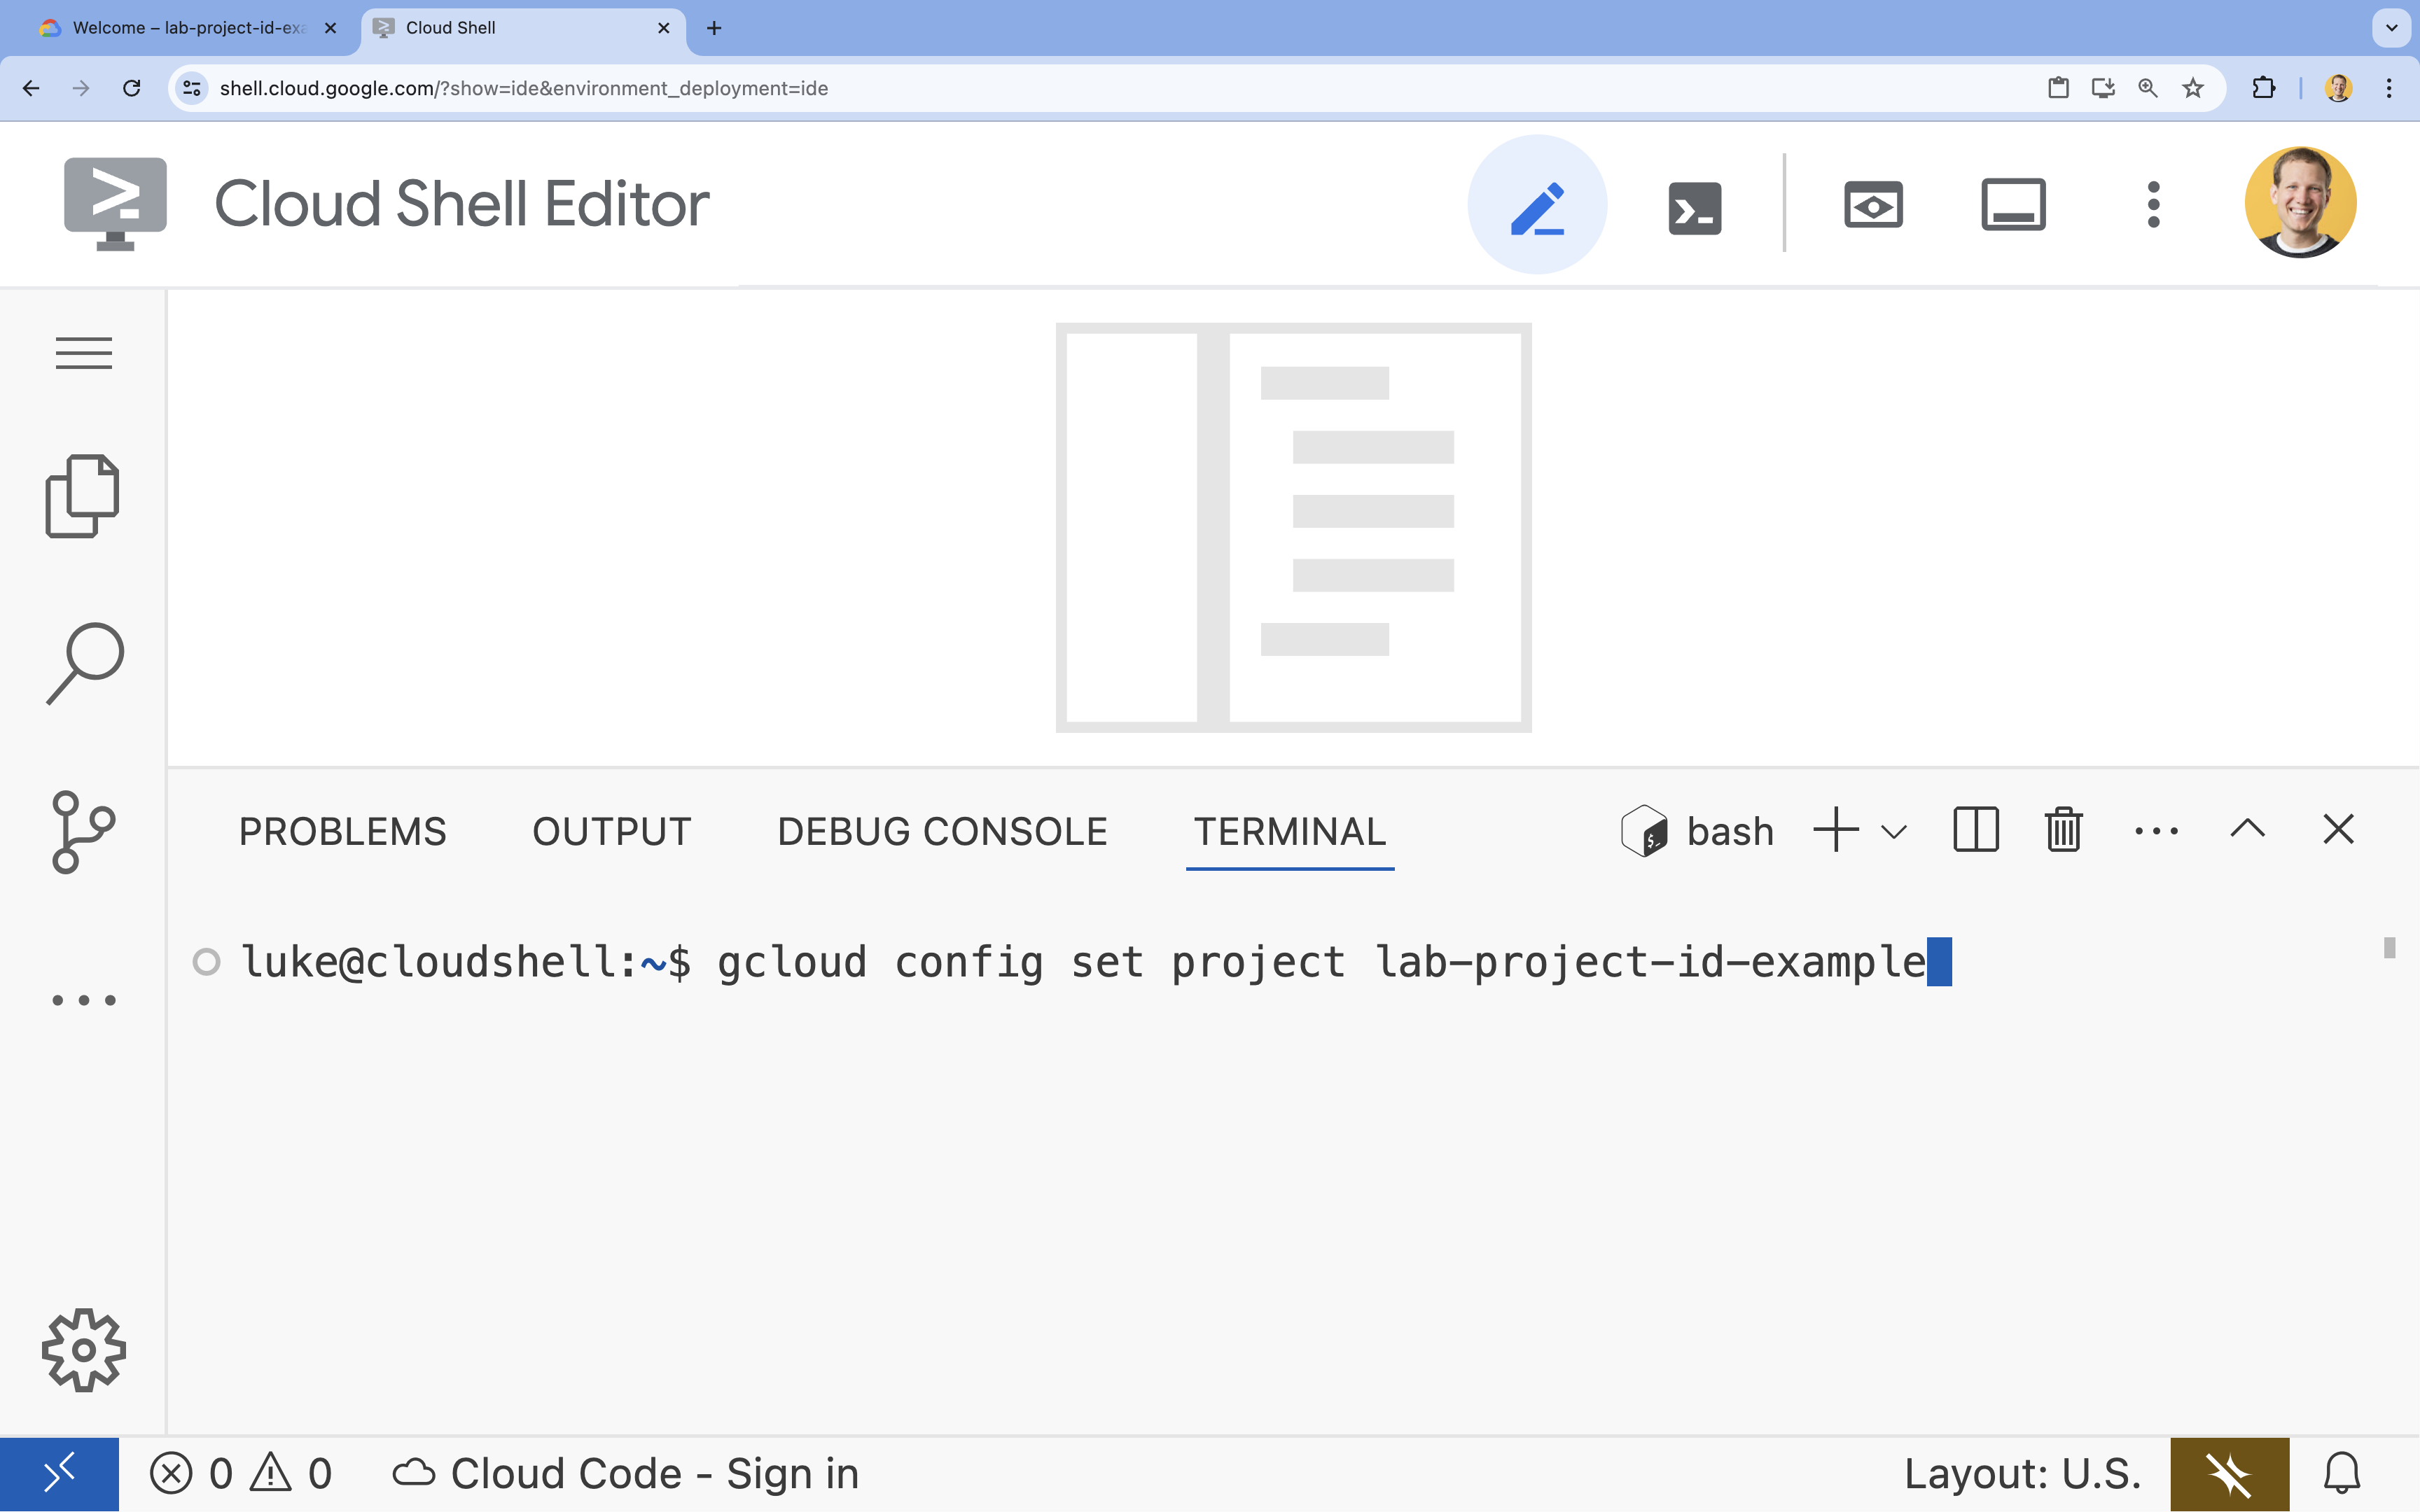
- 在終端機中,使用下列指令設定專案:
- 格式:
gcloud config set project [PROJECT_ID] - 範例:
gcloud config set project lab-project-id-example - 如果忘記專案 ID,請按照下列步驟操作:
- 您可以使用下列指令列出所有專案 ID:
gcloud projects list | awk '/PROJECT_ID/{print $2}'
- 您可以使用下列指令列出所有專案 ID:
- 格式:
- 您應會看到下列訊息:
Updated property [core/project].
WARNING並收到Do you want to continue (Y/n)?提示,可能是輸入的專案 ID 有誤。按下n和Enter,然後再次嘗試執行gcloud config set project指令。
複製存放區
在 Cloud Shell 終端機中,複製專案存放區並前往專案目錄:
git clone https://github.com/GoogleCloudPlatform/devrel-demos.git
cd devrel-demos/containers/gradio-chat-gke
請花點時間瞭解專案結構:
gradio-chat-gke/
├── app/
│   ├── app.py                # Main application logic (you will edit this)
│   ├── requirements.txt      # Python dependencies
│   └── themes.py             # UI theming
├── deploy/
│   ├── chat-deploy.yaml      # Kubernetes deployment for the chat app
│   ├── Dockerfile            # Container definition for the chat app
│   └── gemma3-12b-deploy.yaml# Kubernetes deployment for Gemma model
├── infra/
│   └── main.tf               # Terraform infrastructure definition
└── skaffold.yaml             # Skaffold configuration for building/deploying
設定環境變數
設定專案 ID 和專案編號的環境變數。Terraform 和後續指令會使用這些值。
export GOOGLE_CLOUD_PROJECT=$(gcloud config get-value project)
export PROJECT_NUMBER=$(gcloud projects describe $GOOGLE_CLOUD_PROJECT --format="value(projectNumber)")
export REGION=us-central1
啟用 Cloud Resource Manager API
Terraform 需要啟用 Cloud Resource Manager API,才能管理專案的資源,因此我們必須先啟用該 API。稍後,我們會使用 Skaffold 部署聊天應用程式,並透過 Cloud Build 建構容器映像檔。我們現在要啟用 Storage API,並建立 Cloud Build 所需的 bucket。我們將使用 Terraform 本身,啟用這項專案所需的其餘 API。
gcloud services enable cloudresourcemanager.googleapis.com storage-api.googleapis.com
建立 Cloud Build 暫存 bucket
Skaffold 會使用 Google Cloud Build,因此需要 Cloud Storage bucket 來暫存原始碼。
請立即建立,確保該目錄存在:
gcloud storage buckets create gs://${GOOGLE_CLOUD_PROJECT}_cloudbuild
(如果收到值區已存在的錯誤訊息,可以放心忽略)。
3. 透過 Terraform 佈建基礎架構
我們將使用 Terraform 設定必要的 Google Cloud 資源。確保環境可重現且一致。
- 前往基礎架構目錄:
cd infra
這個檔案定義了這個專案所需的額外 API:cloudbuild、artifactregistry、container (gke)、firestore 和 aiplatform (vertexai)。請查看檔案或下方內容,瞭解如何透過 Terraform 啟用 API:
resource "google_project_service" "cloudbuild" {
  service            = "cloudbuild.googleapis.com"
  disable_on_destroy = false
  project            = var.project_id
}

resource "google_project_service" "artifactregistry" {
  service            = "artifactregistry.googleapis.com"
  disable_on_destroy = false
  project            = var.project_id
}

resource "google_project_service" "container" {
  service            = "container.googleapis.com"
  disable_on_destroy = false
  project            = var.project_id
}

resource "google_project_service" "firestore" {
  service            = "firestore.googleapis.com"
  disable_on_destroy = false
  project            = var.project_id
}

resource "google_project_service" "vertexai" {
  service            = "aiplatform.googleapis.com"
  disable_on_destroy = false
  project            = var.project_id
}
定義 GKE 叢集
在編輯器中開啟 infra/main.tf。你會看到多則 # TODO 留言。您可以手動開啟,也可以使用下列指令在編輯器中開啟檔案:
cloudshell edit main.tf
首先,我們需要定義 Kubernetes 叢集。我們將使用 GKE Autopilot,這個服務會自動處理節點管理作業,非常適合 AI 工作負載。
找出 # TODO: Create a GKE Autopilot Cluster,並在下方新增下列區塊:
# Create a GKE Autopilot Cluster
resource "google_container_cluster" "primary" {
  name     = var.cluster_name
  location = var.region
  project  = var.project_id

  # Enable Autopilot mode
  enable_autopilot = true

  deletion_protection = false

  # Networking
  network    = "default"
  subnetwork = "projects/${var.project_id}/regions/${var.region}/subnetworks/default"

  # Timeout for cluster creation
  timeouts {
    create = "30m"
    update = "30m"
  }

  depends_on = [google_project_service.container]
}
請注意 enable_autopilot = true。只要這一行程式碼,我們就能免於管理節點集區、自動調整資源配置,以及將 GPU 工作負載裝箱。
定義 Firestore 資料庫
接著,我們需要儲存對話記錄的位置。Firestore 是無伺服器的 NoSQL 資料庫,完全符合這項需求。
找出 # TODO: Create a Firestore Database 並新增:
resource "google_firestore_database" "database" {
  project     = var.project_id
  name        = "chat-app-db"
  location_id = "nam5"
  type        = "FIRESTORE_NATIVE"

  depends_on = [google_project_service.firestore]
}
新增資料庫資源後,請找出 # TODO: Create an initial Firestore Document 並新增下列區塊。這項資源會在集合中建立初始預留位置文件,有助於初始化資料庫結構。
resource "google_firestore_document" "initial_document" {
  project     = var.project_id
  collection  = "chat_sessions"
  document_id = "initialize"
  fields = <<EOF
  EOF

  depends_on = [google_firestore_database.database]
}
定義 Workload Identity
最後,我們需要設定安全性。我們希望 Kubernetes Pod 能夠存取 Vertex AI 和 Firestore,而我們不必管理任何密鑰或 API 金鑰。我們使用 Workload Identity 執行這項操作。
我們會將必要的 IAM 角色授予應用程式使用的 Kubernetes 服務帳戶 (KSA)。
注意:這些繫結參照的 Kubernetes 服務帳戶 (gradio-chat-ksa) 尚不存在!稍後將應用程式部署至叢集時,系統就會建立這個命名空間。預先佈建這些 IAM 繫結完全沒問題 (也是常見做法)。
找出 # TODO: Configure Workload Identity IAM bindings 並新增:
locals {
  ksa_principal = "principal://iam.googleapis.com/projects/${var.project_number}/locations/global/workloadIdentityPools/${var.project_id}.svc.id.goog/subject/ns/default/sa/gradio-chat-ksa"
}

resource "google_project_iam_member" "ksa_token_creator" {
  project = var.project_id
  role    = "roles/iam.serviceAccountTokenCreator"
  member  = local.ksa_principal
}

resource "google_project_iam_member" "ksa_vertex_user" {
  project = var.project_id
  role    = "roles/aiplatform.user"
  member  = local.ksa_principal
}

resource "google_project_iam_member" "ksa_datastore_user" {
  project = var.project_id
  role    = "roles/datastore.user"
  member  = local.ksa_principal
}
套用設定
基礎架構定義完成後,請佈建基礎架構。
- 首先,我們需要設定幾個變數供 Terraform 使用。我們會使用環境變數執行這項操作:
export TF_VAR_project_id=$(gcloud config get-value project)
export TF_VAR_project_number=$(gcloud projects describe $TF_VAR_project_id --format="value(projectNumber)")
export TF_VAR_region="us-central1"
- 初始化 Terraform:
terraform init
- 使用
terraform plan預覽即將建立的資源。
terraform plan
- 套用設定。出現提示時,請輸入
yes來確認。
terraform apply
注意:佈建 GKE 叢集可能需要 10 到 15 分鐘。等待期間,您可以繼續查看下一節中的應用程式程式碼。
- 完成後,請設定
kubectl與新叢集通訊:
gcloud container clusters get-credentials gradio-chat-cluster --region us-central1 --project $TF_VAR_project_id
4. 在 GKE 上部署自架主機 Gemma
接著,我們會將 Gemma 3 12B 模型直接部署至 GKE 叢集。這樣一來,您就能以低延遲時間進行推論,並完全掌控模型執行環境。
設定 Hugging Face 憑證
如要下載 Gemma 模型,叢集必須通過 Hugging Face 驗證。
- 確認您擁有 Hugging Face 權杖。
- 使用權杖建立 Kubernetes 密鑰 - 請將 [YOUR_HF_TOKEN] 換成實際權杖:
kubectl create secret generic hf-secret --from-literal=hf_api_token=[YOUR_HF_TOKEN]
部署模型
我們會使用標準 Kubernetes 部署作業執行模型。資訊清單位於 deploy/gemma3-12b-deploy.yaml。您可以手動開啟,也可以使用下列指令在編輯器中開啟檔案:
cd ../deploy
cloudshell edit gemma3-12b-deploy.yaml
請花點時間檢查這個檔案。請注意 resources 區段:
        resources:
          requests:
            nvidia.com/gpu: 4
      nodeSelector:
        cloud.google.com/gke-accelerator: nvidia-l4
這是宣告式 AI 基礎架構。我們告訴 GKE Autopilot,這個特定 Pod 需要 4 個 NVIDIA L4 GPU。Autopilot 會尋找或佈建完全符合這些需求的節點。如果節點無法佈建,系統會持續嘗試,直到找到符合需求的節點為止。
- 套用部署資訊清單:
cd .. kubectl apply -f deploy/gemma3-12b-deploy.yamlkubectl get podsgemmaPod 尚未啟動並執行,您仍可繼續部署應用程式。聊天應用程式會在 Gemma 服務上線後連線。請注意,在gemmapod 顯示Running和1/1狀態前,您無法透過即時通訊應用程式與 Gemma 互動。但在此期間,你可以與 Gemini 交談!
5. 建構即時通訊應用程式
現在,我們來完成 Python 應用程式。在 Cloud Shell 編輯器中開啟 app/app.py。您會看到幾個 # TODO 區塊,需要填入內容才能讓應用程式正常運作。
cloudshell edit app/app.py
步驟 1:處理對話記錄
大型語言模型需要特定格式的對話記錄,才能瞭解對話內容。
「通用翻譯器」模式:請注意,我們即將撰寫兩個不同的函式來處理相同的對話記錄。這是多模型應用程式中的重要模式。
- 單一事實來源 (Gradio):我們的應用程式會以簡單的通用格式 (
[[user_msg1, bot_msg1], ...]) 保存記錄。 - 目標 1 (Gemma):需要將此內容轉換為單一原始字串,並包含特定特殊符記。
- 目標 2 (Gemini):需要將此內容轉換為 API 物件的結構化清單。
在每個回合中,我們會將一般記錄重新格式化為目標格式,因此可以在模型之間順暢切換。如要稍後新增其他模型,您需要為特定格式編寫新的處理函式。
適用於 Gemma (自行託管)
瞭解即時通訊範本:自行代管開放模型時,通常需要手動將提示格式化為特定字串,模型會將該字串辨識為對話。這就是「即時通訊範本」。
在 app.py 中找出 process_message_gemma 函式,並替換為下列程式碼:
# This function takes a user's message and the conversation history as input.
#   Its job is to format these elements into a single,
#   structured prompt that can be understood by the language model (LLM).
#   This structured format helps the LLM maintain context and generate more relevant responses.
def process_message_gemma(message, history):
    user_prompt_format = "User's Turn:\n>>> {prompt}\n"
    assistant_prompt_format = "Assistant's Turn:\n>>> {prompt}\n"

    history_message = ""
    for user_turn, assistant_turn in history:
        history_message += user_prompt_format.format(prompt=user_turn)
        history_message += assistant_prompt_format.format(prompt=assistant_turn)

    # Format the new user message
    new_user_message = user_prompt_format.format(prompt=message)
    # Create a new aggregated message to be used as a single flat string in a json object sent to the LLM
    aggregated_message = (
        history_message + new_user_message + assistant_prompt_format.format(prompt="")
    )
    return aggregated_message
適用於 Gemini (受管理)
代管服務通常偏好結構化物件,而非原始字串。我們需要另外一個函式,將記錄格式化為 Gemini SDK 適用的 types.Content 物件。
找出 process_message_gemini 並替換為:
def process_message_gemini(message, history):
    contents = []
    for user_turn, model_turn in history:
        contents.append(
            types.Content(role="user", parts=[types.Part.from_text(text=user_turn)])
        )
        contents.append(
            types.Content(role="model", parts=[types.Part.from_text(text=model_turn)])
        )

    contents.append(
        types.Content(role="user", parts=[types.Part.from_text(text=message)])
    )
    return contents
步驟 2:呼叫自架主機的 Gemma 模型
我們需要將格式化提示傳送至叢集內執行的 Gemma 服務。我們會使用標準 HTTP POST 要求,傳送至服務的內部 DNS 名稱。
找出 call_gemma_model 函式,並替換為:
# Construct the request, send it to Gemma, return the model's response
# aggregated_message = current user message + history
def call_gemma_model(aggregated_message, model_temperature, top_p, max_tokens):
    json_message = {
        "prompt": aggregated_message,
        "temperature": model_temperature,
        "top_p": top_p,
        "max_tokens": max_tokens,
        "stop": ["User's Turn:"],
    }

    # Log what will be sent to the LLM
    print("*** JSON request: " + str(json_message))

    # Send the constructed json with the user prompt to the model and put the model's response in the json_data variable
    json_data = post_request(json_message)

    # The response from the model is a list of predictions. We'll take the first result.
    raw_output = json_data["predictions"][0]

    # The vLLM server returns the full prompt in the response. We need to extract
    # just the newly generated text from the model.
    assistant_turn_marker = "Assistant's Turn:\n>>>"
    marker_pos = raw_output.rfind(assistant_turn_marker)

    if marker_pos != -1:
        output = raw_output[marker_pos + len(assistant_turn_marker) :]
    else:
        output = raw_output

    # Clean up potential over-generation
    stop_marker = "User's Turn:"
    stop_pos = output.lower().find(stop_marker.lower())
    if stop_pos != -1:
        output = output[:stop_pos]

    return output.strip()
步驟 3:呼叫 Vertex AI Gemini 模型
對於代管模型,我們將使用 Google GenAI SDK。由於這會為我們處理網路呼叫,因此簡單許多。
找出 call_gemini_model 函式,並替換為:
# Send a request to Gemini via the VertexAI API. Return the model's response
# contents = list of types.Content objects
def call_gemini_model(contents, model_temperature, top_p, max_tokens):
    gemini_model = "gemini-2.5-flash"

    response = client.models.generate_content(
        model=gemini_model,
        contents=contents,
        config={
            "temperature": model_temperature,
            "max_output_tokens": max_tokens,
            "top_p": top_p,
        },
    )
    return response.text
步驟 4:實作主要推論介面
最後,我們需要 Gradio 呼叫的主要自動化調度管理函式。這個函式必須:
- 如果記錄為空白,請初始化記錄。
- 處理訊息。
- 將要求傳送至所選模型 (Gemma 或 Gemini)。
- 將互動儲存至 Firestore。
- 將回應傳回 UI。
Gradio 和狀態管理:Gradio 的 ChatInterface 會自動處理工作階段層級的狀態 (在瀏覽器中顯示訊息)。但未內建外部資料庫支援功能。
如要長期保留對話記錄,我們會使用標準模式:掛鉤到 inference_interface 函式。接受 request: gr.Request 做為引數後,Gradio 會自動將目前使用者的工作階段詳細資料傳送給我們。我們會使用這項資訊為每位使用者建立專屬的 Firestore 文件,確保在多使用者環境中不會混淆對話。
找出 inference_interface 函式,並替換為:
# This is the primary chat function. Every time a user sends a message, gradio calls this function,
# which sends the user's input to the appropriate AI (as indicated on the user interface), updates
# the chat history for future use during this session, and records the chat history in Firestore.
def inference_interface(
    message,
    history,
    model_name,
    model_temperature,
    top_p,
    max_tokens,
    request: gr.Request,
):

    # set history to empty array
    if history is None:
        history = []

    # Get or create session document
    session_hash = request.session_hash
    doc_id = f"session-{session_hash}"
    doc_ref = db.collection("chat_sessions").document(doc_id)

    # Create the session document if it doesn't exist
    if not doc_ref.get().exists:
        doc_ref.set({"Session start": datetime.datetime.now()})

    # Log info
    print("Model: " + model_name)
    print("LLM Engine: " + llm_engine)
    print("* History: " + str(history))

    # Pass the message and history to the appropriate model, as indicated by the user via the ui
    if model_name == "Gemma3 12b it":
        aggregated_message = process_message_gemma(message, history)
        output = call_gemma_model(
            aggregated_message, model_temperature, top_p, max_tokens
        )

    elif model_name == "Gemini":
        gemini_contents = process_message_gemini(message, history)
        output = call_gemini_model(
            gemini_contents, model_temperature, top_p, max_tokens
        )

    else:
        # Handle the case where no valid model is selected
        output = "Error: Invalid model selected."

    interaction = {"user": message, model_name: output}

    # Log the updated chat history
    print("* History: " + str(history) + " " + str(interaction))

    # Save the updated history to Firestore
    save_chat_history(interaction, doc_ref)

    return output
6. 檢查 app.py 檔案
此時,您應該已準備好部署以 Gradio 為基礎的聊天應用程式。請確認檔案內容與下列完整檔案完全一致。
疑難排解:如果您部署應用程式後,嘗試連線時收到「拒絕連線」或「這個網站無法連線」錯誤訊息,請從這個步驟開始重複操作,首先複製整個檔案並貼到 app.py 中。
# Copyright 2024 Google LLC
#
# Licensed under the Apache License, Version 2.0 (the "License");
# you may not use this file except in compliance with the License.
# You may obtain a copy of the License at
#
#      http://www.apache.org/licenses/LICENSE-2.0
#
# Unless required by applicable law or agreed to in writing, software
# distributed under the License is distributed on an "AS IS" BASIS,
# WITHOUT WARRANTIES OR CONDITIONS OF ANY KIND, either express or implied.
# See the License for the specific language governing permissions and
# limitations under the License.

import datetime

import google.auth
import google.cloud
import gradio as gr
import requests
import themes
from google import genai

from google.cloud import firestore
from google.genai import types

## Do one-time initialization things

## grab the project id from google auth
_, project = google.auth.default()
print(f"Project: {project}")

# Set initial values for model
llm_engine = "vllm"
host = "http://gemma-service:8000"
context_path = "/generate"

# initialize vertex for interacting with Gemini
client = genai.Client(
    vertexai=True,
    project=project,
    location="global",
)

# Initialize Firestore client
db = firestore.Client(database="chat-app-db")


# This is the primary chat function. Every time a user sends a message, gradio calls this function,
# which sends the user's input to the appropriate AI (as indicated on the user interface), updates
# the chat history for future use during this session, and records the chat history in Firestore.
def inference_interface(
    message,
    history,
    model_name,
    model_temperature,
    top_p,
    max_tokens,
    request: gr.Request,
):

    # set history to empty array
    if history is None:
        history = []

    # Get or create session document
    session_hash = request.session_hash
    doc_id = f"session-{session_hash}"
    doc_ref = db.collection("chat_sessions").document(doc_id)

    # Create the session document if it doesn't exist
    if not doc_ref.get().exists:
        doc_ref.set({"Session start": datetime.datetime.now()})

    # Log info
    print("Model: " + model_name)
    print("LLM Engine: " + llm_engine)
    print("* History: " + str(history))

    # Pass the message and history to the appropriate model, as indicated by the user via the ui
    if model_name == "Gemma3 12b it":
        aggregated_message = process_message_gemma(message, history)
        output = call_gemma_model(
            aggregated_message, model_temperature, top_p, max_tokens
        )

    elif model_name == "Gemini":
        gemini_contents = process_message_gemini(message, history)
        output = call_gemini_model(
            gemini_contents, model_temperature, top_p, max_tokens
        )

    else:
        # Handle the case where no valid model is selected
        output = "Error: Invalid model selected."

    interaction = {"user": message, model_name: output}

    # Log the updated chat history
    print("* History: " + str(history) + " " + str(interaction))

    # Save the updated history to Firestore
    save_chat_history(interaction, doc_ref)

    return output


# Construct the request, send it to Gemma, return the model's response
# aggregated_message = current user message + history
def call_gemma_model(aggregated_message, model_temperature, top_p, max_tokens):
    json_message = {
        "prompt": aggregated_message,
        "temperature": model_temperature,
        "top_p": top_p,
        "max_tokens": max_tokens,
        "stop": ["User's Turn:"],
    }

    # Log what will be sent to the LLM
    print("*** JSON request: " + str(json_message))  # Log the JSON request

    # Send the constructed json with the user prompt to the model and put the model's response in the json_data variable
    json_data = post_request(json_message)

    # The response from the model is a list of predictions.
    # We'll take the first result.
    raw_output = json_data["predictions"][0]

    # The vLLM server returns the full prompt in the response. We need to extract
    # just the newly generated text from the model. The prompt ends with
    # "Assistant's Turn:\n>>>", so we find the last occurrence of that and
    # take everything after it.
    assistant_turn_marker = "Assistant's Turn:\n>>>"
    marker_pos = raw_output.rfind(assistant_turn_marker)

    if marker_pos != -1:
        # Get the text generated by the assistant
        output = raw_output[marker_pos + len(assistant_turn_marker) :]
    else:
        # Fallback in case the marker isn't found
        output = raw_output

    # The model sometimes continues the conversation and includes the next user's turn.
    # The 'stop' parameter is a good hint, but we parse the output as a safeguard.
    stop_marker = "User's Turn:"
    stop_pos = output.lower().find(stop_marker.lower())
    if stop_pos != -1:
        output = output[:stop_pos]

    # The model also sometimes prefixes its response with "Output:". We'll remove this.
    output = output.lstrip()
    prefix_marker = "Output:"
    if output.lower().startswith(prefix_marker.lower()):
        output = output[len(prefix_marker) :]

    return output.strip()


# Send a request to Gemini via the VertexAI API. Return the model's response
# contents = list of types.Content objects
def call_gemini_model(contents, model_temperature, top_p, max_tokens):
    gemini_model = "gemini-2.5-flash"

    response = client.models.generate_content(
        model=gemini_model,
        contents=contents,
        config={
            "temperature": model_temperature,
            "max_output_tokens": max_tokens,
            "top_p": top_p,
        },
    )
    output = response.text  # Extract the generated text
    # Consider handling additional response attributes (safety, usage, etc.)
    return output


def process_message_gemini(message, history):
    contents = []
    for user_turn, model_turn in history:
        contents.append(
            types.Content(role="user", parts=[types.Part.from_text(text=user_turn)])
        )
        contents.append(
            types.Content(role="model", parts=[types.Part.from_text(text=model_turn)])
        )

    contents.append(
        types.Content(role="user", parts=[types.Part.from_text(text=message)])
    )
    return contents


# This function takes a user's message and the conversation history as input.
#   Its job is to format these elements into a single,
#   structured prompt that can be understood by the language model (LLM).
#   This structured format helps the LLM maintain context and generate more relevant responses.
def process_message_gemma(message, history):
    user_prompt_format = "User's Turn:\n>>> {prompt}\n"
    assistant_prompt_format = "Assistant's Turn:\n>>> {prompt}\n"

    history_message = ""
    for user_turn, assistant_turn in history:
        history_message += user_prompt_format.format(prompt=user_turn)
        history_message += assistant_prompt_format.format(prompt=assistant_turn)

    # Format the new user message
    new_user_message = user_prompt_format.format(prompt=message)
    # Create a new aggregated message to be used as a single flat string in a json object sent to the LLM
    aggregated_message = (
        history_message + new_user_message + assistant_prompt_format.format(prompt="")
    )
    return aggregated_message


# Function to save chat history to Firestore
def save_chat_history(interaction, doc_ref):
    timestamp_str = str(datetime.datetime.now())

    # Save the chat history, merging with existing data
    doc_ref.update({timestamp_str: interaction})

    print("Chat history saved successfully!")  # Optional: Log success


# Send the json message to the model and return the model's response. This is used for Gemma but not Gemini. It could also be used for other models.
def post_request(json_message):
    print("*** Request" + str(json_message), flush=True)
    # Set a timeout and check for HTTP errors. This will raise an exception on a bad status code (4xx or 5xx).
    response = requests.post(host + context_path, json=json_message, timeout=60)
    response.raise_for_status()
    json_data = response.json()
    print("*** Output: " + str(json_data), flush=True)
    return json_data


# custom css to hide default footer
css = """
footer {display: none !important;} .gradio-container {min-height: 0px !important;}
"""

# Add a dropdown to select the model to chat with
model_dropdown = gr.Dropdown(
    ["Gemma3 12b it", "Gemini"],
    label="Model",
    info="Select the model you would like to chat with.",
    value="Gemma3 12b it",
)

# Make the model temperature, top_p, and max tokents modifiable via sliders in the GUI
model_temperature = gr.Slider(
    minimum=0.1, maximum=1.0, value=0.9, label="Temperature", render=False
)
top_p = gr.Slider(minimum=0.1, maximum=1.0, value=0.95, label="Top_p", render=False)
max_tokens = gr.Slider(
    minimum=1, maximum=4096, value=1024, label="Max Tokens", render=False
)

# Call gradio to create the chat interface
app = gr.ChatInterface(
    inference_interface,
    additional_inputs=[model_dropdown, model_temperature, top_p, max_tokens],
    theme=themes.google_theme(),
    css=css,
    title="Chat with AI",
)

app.launch(server_name="0.0.0.0", allowed_paths=["images"])
7. 部署 Chat 應用程式
我們會使用 Skaffold 建構容器映像檔,並部署到叢集。Skaffold 是一種指令列工具,可自動調度及自動化建構、推送及部署應用程式至 Kubernetes 的程序。您只要執行單一指令,就能觸發整個程序,因此非常適合用來疊代應用程式,可簡化開發工作流程。
注意:這也會部署 Workload Identity 所需的 Kubernetes 服務帳戶。您可以在 deploy/chat-deploy.yaml 檔案中查看其定義。如需參考定義,請參閱:
apiVersion: v1
kind: ServiceAccount
metadata:
  name: gradio-chat-ksa
執行 Skaffold 來建構及部署:
skaffold run --default-repo=us-central1-docker.pkg.dev/$GOOGLE_CLOUD_PROJECT/chat-app-repo
Skaffold 會使用 Cloud Build 建構容器映像檔,並推送至 Terraform 建立的 Artifact Registry,然後將 Kubernetes 資訊清單套用至叢集。
8. 測試應用程式
- 等待聊天應用程式服務取得外部 IP 位址:
kubectl get svc gradio-chat-service --watchEXTERNAL-IP從pending變更為實際 IP 位址後,請按下Ctrl+C停止監看。 - 開啟網路瀏覽器並前往
http://[EXTERNAL-IP]:7860。 - 試著與模型互動!根據預設,應用程式會設定為與本機代管的 Gemma 模型對話。如要與 Gemini 對話,請在「其他輸入內容」下拉式選單中變更模型。舉例來說,你可以問 AI:「講個 Kubernetes 笑話」。
疑難排解:
- 如果收到「無法連上這個網站」或「[EXTERNAL-IP] 拒絕連線」等錯誤訊息,表示 app.py 檔案可能發生錯誤。返回標題為「檢查 app.py 檔案」的步驟,然後從該處重複執行步驟。
- 使用者介面預設會顯示「Gemma3 12b it」模型。如果立即收到錯誤訊息,可能是因為 Gemma Pod 尚未準備就緒。提示:您可以將下拉式選單切換為「Gemini」,在等待 Gemma 初始化時,測試與聊天應用程式互動!
測試 Gemma:確認下拉式選單中已選取「Gemma3 12b it」,然後傳送訊息 (例如「Tell me a joke about Kubernetes」)。
測試 Gemini:將下拉式選單切換為「Gemini」,然後提出其他問題 (例如「Pod 和節點有什麼不同?」)。
驗證記錄:在即時通訊應用程式中成功與模型 (Gemma 或 Gemini) 對話後,請查看 Firestore 中的「chat-app-db」資料庫,瞭解對話記錄。如果你能與這兩個模型對話,會發現即使切換模型,對話記錄仍會保留。
9. 進階主題
您現在已擁有可正常運作的混合式即時通訊應用程式,請考慮解決下列挑戰,加深瞭解:
- 自訂角色:嘗試修改
process_message_gemma和process_message_gemini函式,在開頭加入「系統提示」。例如,告訴模型「你是樂於助人的海盜助理」,看看模型的回覆有何變化。 - 持續性使用者 ID:目前應用程式會為每個工作階段產生新的隨機 UUID。如何整合實際的驗證系統 (例如 Google 登入),讓使用者可以在不同裝置上查看先前的對話記錄?
- 模型實驗:試著變更 UI 中的
temperature滑桿。與低溫 (接近 0.1) 相比,高溫 (接近 1.0) 對回覆的創意和準確度有何影響?
10. 結語
恭喜!您已成功建構混合式 AI 應用程式。您已學會如何:
- 在 Google Cloud 使用 Terraform 進行基礎架構即程式碼作業。
- 在 GKE 上代管自己的開放權重大語言模型,全面掌控模型。
- 整合 Vertex AI 等代管式 AI 服務,享有彈性。
- 使用 Firestore 持久儲存資料,建構有狀態的應用程式。
- 使用 Workload Identity 保護工作負載安全。
清除
為避免產生費用,請銷毀您建立的資源:
cd infra
terraform destroy -var="project_id=$GOOGLE_CLOUD_PROJECT" -var="project_number=$PROJECT_NUMBER" -var="region=$REGION"