1. Introduction
Overview
In this codelab, deploy eight JavaScript applications to Cloud Run:
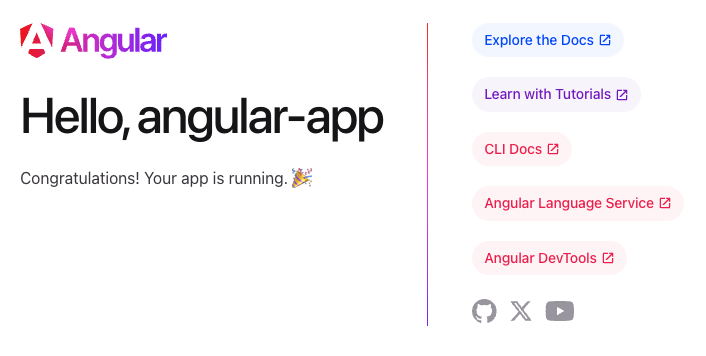
- Angular SSR - based on Angular
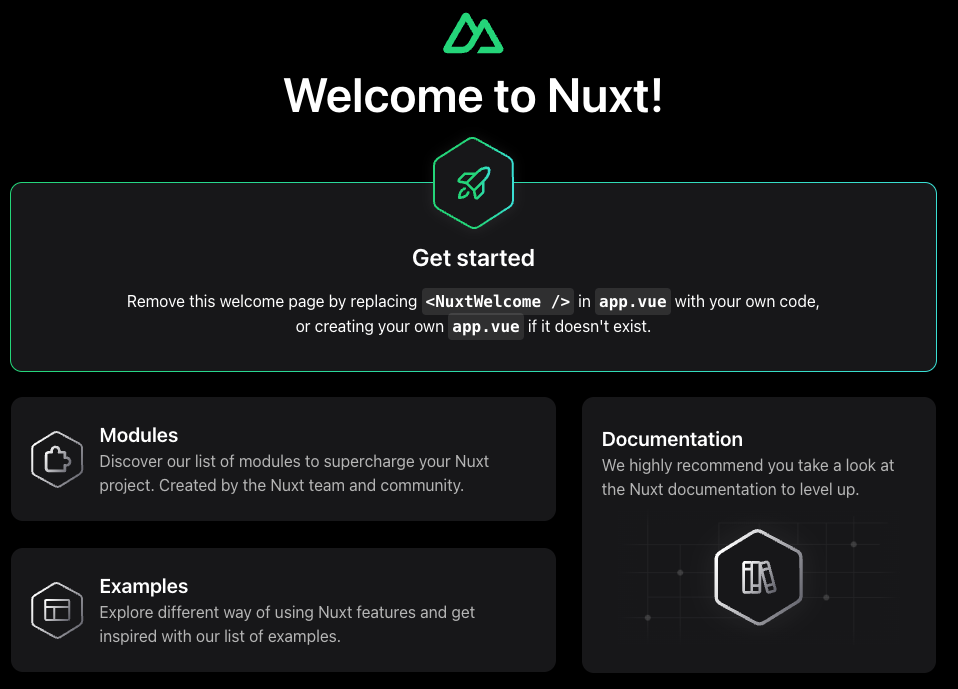
- Nuxt.js - based on Vue.js
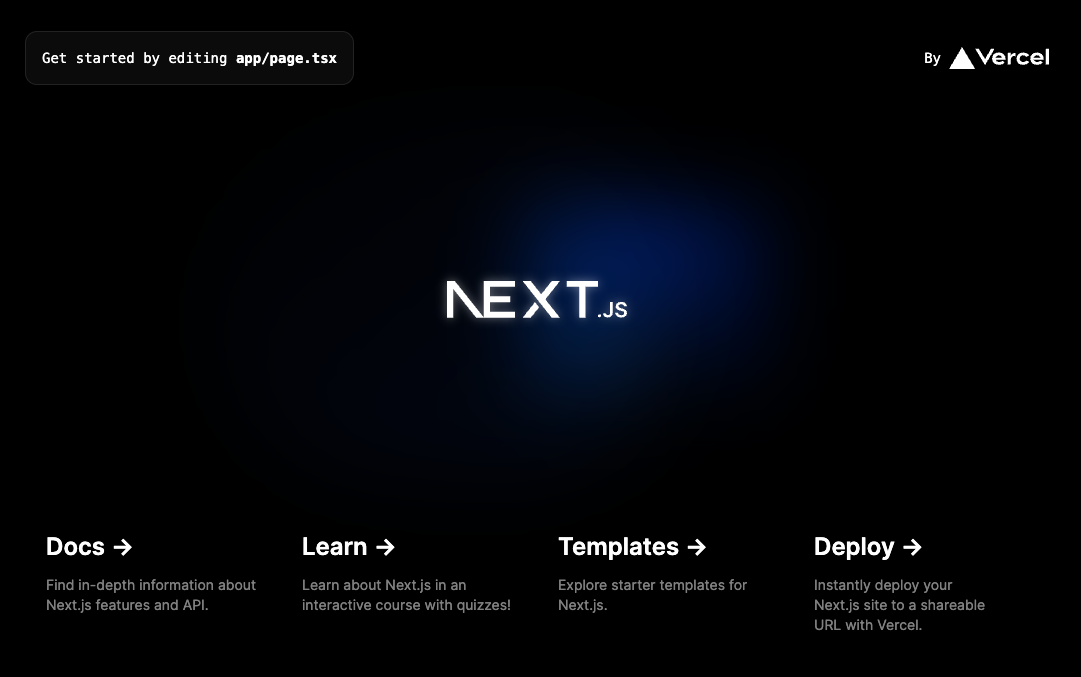
- Next.js - based on React
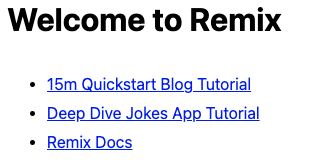
- Remix - based on React
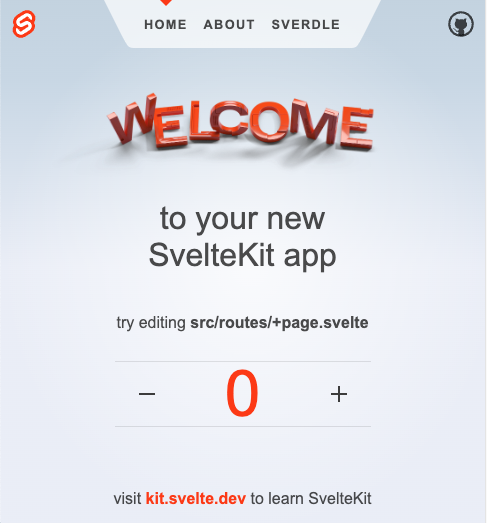
- SvelteKit - based on Svelte
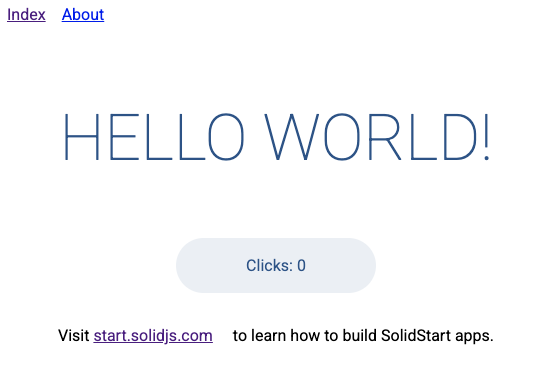
- SolidStart - based on Solid.js
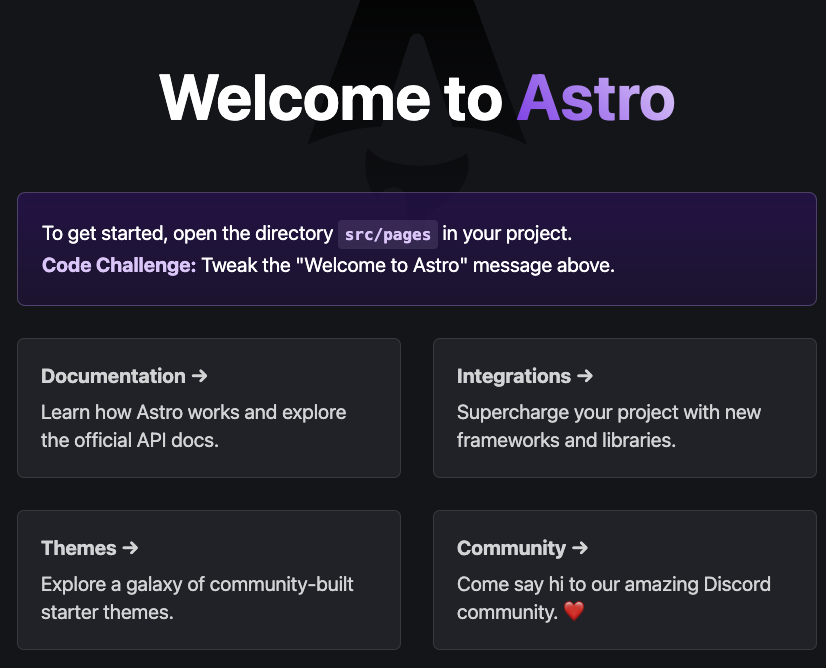
- Astro
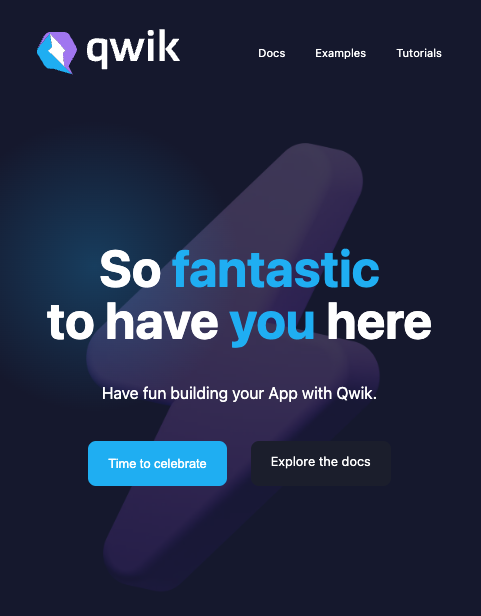
- Qwik
What you'll learn
- How to deploy JavaScript frameworks that Cloud Build supports automatically
- How to deploy JavaScript frameworks that require configuration
Prerequisites
- You are logged into the Cloud Shell terminal.
- You have a Google Cloud project with billing enabled and permission to deploy to Cloud Run
- You can confirm this if you have previously deployed a Cloud Run service. For example, you can follow the deploy a Node.js web service from source code quickstart to get started.
2. Activate Cloud Shell
- Navigate to the Cloud Shell terminal: https://shell.cloud.google.com/?show=terminalIf this is your first time starting Cloud Shell, you're presented with an intermediate screen describing what it is. If you were presented with an intermediate screen, click Continue.It should only take a few moments to provision and connect to Cloud Shell.
- Run the following command in Cloud Shell to set your
gcloudproject:gcloud config set project <PROJECT_ID>
gcloud config set project js-frameworks
3. Enable APIs
Before you can start using this codelab, there are several APIs you will need to enable. This codelab requires using the following APIs. You can enable those APIs by running the following command:
gcloud services enable \
    cloudbuild.googleapis.com \
    artifactregistry.googleapis.com \
    run.googleapis.com
Then you can set environment variables that will be used throughout this codelab.
4. Configure default region
You can set the region individually for each deployment. This command will set the default region to us-central1 so that you don't need to set it for each one.
gcloud config set run/region us-central1
5. Configure git
Some libraries expect git to be used for version control by default. If you already have git configured on your machine (example: you are running this lab locally), you do not need to run these steps.
git config --global user.email "you@example.com"
git config --global user.name "Your Name"
git config --global init.defaultBranch main
6. Angular SSR (Angular)
- Navigate to the directory where you would like to create your Angular application
cd ~
- Create an Angular application that uses Server Side Rendering (SSR)
npx @angular/cli new angular-app --ssr
Enterkey to accept the defaults. - Navigate into the new project folder you created
cd angular-app
- Deploy the application
gcloud run deploy --allow-unauthenticated
Enterkey to accept the defaults.
Visit your application
Deployment will take a few minutes. When complete, Cloud Run will return a url like:
https://angular-app-xxxxxxxxxx-uc.a.run.app

Open the provided URL in a new browser tab to view your deployed application.
Optional Clean Up
- Delete the Angular project locally
cd .. rm -rf angular-app - Delete the Angular Cloud Run service
gcloud run services delete angular-appEnterkey to continue.
7. Nuxt.js (Vue.js)
- Navigate to the directory where you would like to create your Angular application
cd ~
- Create a Nuxt.js application
npx nuxi init nuxt-app
Enterkey to accept the defaults. - Navigate into the new project folder you created
cd nuxt-app
- Deploy the application
gcloud run deploy --allow-unauthenticated
Enterkey to accept the defaults.
Visit your application
Deployment will take a few minutes. When complete, Cloud Run will return a url like:
https://nuxt-app-xxxxxxxxxx-uc.a.run.app
Open the provided URL in a new browser tab to view your deployed application.

Optional Clean Up
- Delete the Nuxt.js project locally
cd .. rm -rf nuxt-app - Delete the Nuxt.js Cloud Run service
gcloud run services delete nuxt-appEnterkey to continue.
8. Next.js (React)
- Navigate to the directory where you would like to create your Angular application
cd ~
- Create a Next.js application
npx create-next-app next-app
Enterkey to accept the defaults. - Navigate into the new project folder you created
cd next-app
- Deploy the application
gcloud run deploy --allow-unauthenticated
Enterkey to accept the defaults.
Visit your application
Deployment will take a few minutes. When complete, Cloud Run will return a url like:
https://next-app-xxxxxxxxxx-uc.a.run.app
Open the provided URL in a new browser tab to view your deployed application.

Optional Clean Up
- Delete the Next.js project locally
cd .. rm -rf next-app - Delete the Next.js Cloud Run service
gcloud run services delete next-appEnterkey to continue.
9. Remix (React)
- Navigate to the directory where you would like to create your Angular application
cd ~
- Create a Remix application
npx create-remix remix-app
Enterkey to accept the defaults. - Navigate into the new project folder you created
cd remix-app
- Deploy the application
gcloud run deploy --allow-unauthenticated
Enterkey to accept the defaults.
Visit your application
Deployment will take a few minutes. When complete, Cloud Run will return a url like:
https://remix-app-xxxxxxxxxx-uc.a.run.app
Open the provided URL in a new browser tab to view your deployed application.

Optional Clean Up
- Delete the Remix project locally
cd .. rm -rf remix-app - Delete the Remix Cloud Run service
gcloud run services delete remix-appEnterkey to continue.
10. Cloud Shell clean up
If you are not using Cloud Shell or you are only deploying a single application, this step is optional
Cloud Shell offers a persistent 5 GB home directory and runs in Google Cloud.
To deploy all eight frameworks with Cloud Shell, you will need to create space for the remaining applications.
Removing the projects on Cloud Shell will not delete the deployed Cloud Run services you have deployed.
To clear out the applications you have already created, run these commands:
cd ~
rm -rf angular-app/
rm -rf nuxt-app/
rm -rf next-app/
rm -rf remix-app/
11. SvelteKit (Svelte)
- Navigate to the directory where you would like to create your Angular application
cd ~
- Create a SvelteKit application
npx create-svelte svelte-app
Enterkey to accept the defaults. - Navigate into the new project folder you created
cd svelte-app
- Deploy the application
gcloud run deploy --allow-unauthenticated
Enterkey to accept the defaults.
Visit your application
Deployment will take a few minutes. When complete, Cloud Run will return a url like:
https://svelte-app-xxxxxxxxxx-uc.a.run.app
Open the provided URL in a new browser tab to view your deployed application.

Optional Clean Up
- Delete the SvelteKit project locally
cd .. rm -rf svelte-app - Delete the SvelteKit Cloud Run service
gcloud run services delete svelte-appEnterkey to continue.
12. SolidStart (Solid)
- Navigate to the directory where you would like to create your Angular application
cd ~
- Create a SolidStart application
npx create-solid solid-app
Enterkey to accept the defaults. - Navigate into the new project folder you created
cd solid-app
- Deploy the application
gcloud run deploy --allow-unauthenticated
Enterkey to accept the defaults.
Visit your application
Deployment will take a few minutes. When complete, Cloud Run will return a url like:
https://solid-app-xxxxxxxxxx-uc.a.run.app
Open the provided URL in a new browser tab to view your deployed application.

Optional Clean Up
- Delete the SolidStart project locally
cd .. rm -rf solid-app - Delete the SolidStart Cloud Run service
gcloud run services delete solid-appEnterkey to continue.
13. Astro
- Navigate to the directory where you would like to create your Angular application
cd ~
- Create an Astro application
npx create-astro astro-app
Enterkey to accept the defaults. - Navigate into the new project folder you created
cd astro-app
- Add the Astro adapter for Node.js
npx astro add node
- Update the
startscript inpackage.jsonnpm pkg set scripts.start="HOST=0.0.0.0 node ./dist/server/entry.mjs"
- Deploy the application
gcloud run deploy --allow-unauthenticated
Enterkey to accept the defaults.
Visit your application
Deployment will take a few minutes. When complete, Cloud Run will return a url like:
https://astro-app-xxxxxxxxxx-uc.a.run.app
Open the provided URL in a new browser tab to view your deployed application.

Optional Clean Up
- Delete the Astro project locally
cd .. rm -rf astro-app - Delete the Astro Cloud Run service
gcloud run services delete astro-appEnterkey to continue.
14. Qwik
- Navigate to the directory where you would like to create your Angular application
cd ~
- Create a Qwik application
npx create-qwik
Enterkey to accept the defaults. - Navigate into the new project folder you created
cd qwik-app
- Add the Qwik adapter for Cloud Run
npm run qwik add cloud-run
- Deploy the application
gcloud run deploy --allow-unauthenticated
Enterkey to accept the defaults.
Visit your application
Deployment will take a few minutes. When complete, Cloud Run will return a url like:
https://qwik-app-xxxxxxxxxx-uc.a.run.app
Open the provided URL in a new browser tab to view your deployed application.

Optional Clean Up
- Delete the Qwik project locally
cd .. rm -rf qwik-app - Delete the Qwik Cloud Run service
gcloud run services delete qwik-appEnterkey to continue.
15. Congratulations!
Congratulations for completing the codelab!
We recommend reviewing the documentation on Quickstart: Deploy to Cloud Run from a git repository so that your future builds can deploy automatically with every push to version control.
What we covered
- How to deploy JavaScript frameworks that Cloud Build supports automatically
- Angular SSR - based on Angular
- Nuxt.js - based on Vue.js
- Next.js - based on React
- Remix - based on React
- SvelteKit - based on Svelte
- SolidStart - based on Solid.js
- How to deploy JavaScript frameworks that require configuration
- Astro
- Qwik
16. Clean up
To avoid inadvertent charges, (for example, if this Cloud Run service is inadvertently invoked more times than your monthly Cloud Run invokement allocation in the free tier), you can either delete the Cloud Run job or delete the project you created in Step 1.
To delete the Cloud Run services, go to the Cloud Run Cloud Console at https://console.cloud.google.com/run/ and delete the Cloud Run services.
If you choose to delete the entire project, you can go to https://console.cloud.google.com/cloud-resource-manager, select the project you created in Step 2, and choose Delete. If you delete the project, you'll need to change projects in your Cloud SDK. You can view the list of all available projects by running gcloud projects list.
