
1. Overview
DNS cache improves DNS lookup latency, by sending pod DNS requests to the local cache on the same node first. This makes DNS lookup times more consistent, and can reduce the number of DNS queries to kube-dns or Cloud DNS.
In this lab, you will test how NodeLocal DNSCache handles DNS traffic in a GKE cluster. You will validate a GKE Standard cluster running version 1.34.1-gke.3720000 and later, to confirm it is enabled by default. Then disable to see how the configuration changes when you turn the feature off.
Objectives
In this lab you will learn how to perform the following task:
- Create a custom VPC, subnet, and firewall rules
- Deploy a standard GKE Standard cluster with rapid-release channel
- Execute a test to verify the LocalNode DNS cache is enabled
- Disable the cache and verify the state without it
2. Lab setup
Self-paced environment setup
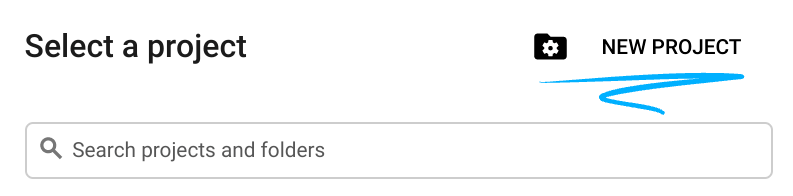
- Sign-in to the Google Cloud Console and create a new project or reuse an existing one. If you don't already have a Gmail or Google Workspace account, you must create one.

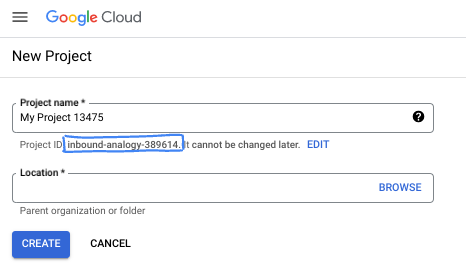
- The Project name is the display name for this project's participants. It is a character string not used by Google APIs. You can always update it.
- The Project ID is unique across all Google Cloud projects and is immutable (cannot be changed after it has been set). The Cloud Console auto-generates a unique string; usually you don't care what it is. In most codelabs, you'll need to reference your Project ID (typically identified as
PROJECT_ID). If you don't like the generated ID, you might generate another random one. Alternatively, you can try your own, and see if it's available. It can't be changed after this step and remains for the duration of the project. - For your information, there is a third value, a Project Number, which some APIs use. Learn more about all three of these values in the documentation.
- Next, you'll need to enable billing in the Cloud Console to use Cloud resources/APIs. Running through this codelab won't cost much, if anything at all. To shut down resources to avoid incurring billing beyond this tutorial, you can delete the resources you created or delete the project. New Google Cloud users are eligible for the $300 USD Free Trial program.
Start Cloud Shell
While Google Cloud can be operated remotely from your laptop, in this codelab you will be using Google Cloud Shell, a command line environment running in the Cloud.
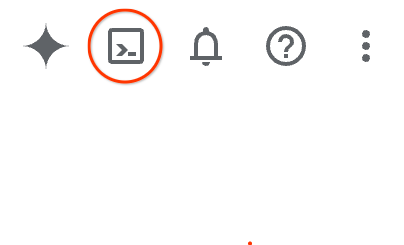
From the Google Cloud Console, click the Cloud Shell icon on the top right toolbar:
It should only take a few moments to provision and connect to the environment. When it is finished, you should see something like this:

This virtual machine is loaded with all the development tools you'll need. It offers a persistent 5GB home directory, and runs on Google Cloud, greatly enhancing network performance and authentication. All of your work in this codelab can be done within a browser. You do not need to install anything.
3. Setup Environment
We will create a custom VPC with Firewall rules. If you have a VPC and Project already you can skip this part.
Open Cloud Shell located at the top of your console on the right. And configure as follows: 
- Enable some of the apis we will use in this lab
gcloud services enable dns.googleapis.com
gcloud services enable servicedirectory.googleapis.com
gcloud services enable container.googleapis.com
- Set some variables. These variables are the Project ID and VPC Name o (you will create the VPC in step 3).
export projectid=$(gcloud config get-value project)
export vpc_name=gke-cache-vpc
export subnet_name=mainsubnet
export region=us-east1
export zone=us-east1-b
export cluster_name=cache-gke-cluster
export channel=rapid

export machine_type=e2-standard-4
echo $projectid
echo $vpc_name
- Now create a custom VPC called
gke-cache-vpc
gcloud compute networks create $vpc_name --subnet-mode=custom --project=$projectid \
--subnet-mode=custom \
--mtu=1460 \
--bgp-routing-mode=global
- Create the subnet in the new VPC
gcloud compute networks subnets create $subnet_name \
    --network=$vpc_name \
    --range=10.0.88.0/24 \
    --region=$region \
    --enable-private-ip-google-access \
    --project=$projectid
- Add firewall rules to your VPC
gcloud compute firewall-rules create $vpc_name-allow-internal \
    --network=$vpc_name --allow=tcp,udp,icmp --source-ranges=10.0.88.0/24

gcloud compute firewall-rules create $vpc_name-allow-ssh \
    --network=$vpc_name --allow=tcp:22 --source-ranges=35.235.240.0/20
4. Create NAT gateway for internet communication
We need to grant outbound external access to the internet so lets create a Cloud NAT gateway and attach it.
In Cloud Shell use the following commands
- Create the Cloud NAT and NAT gateway
gcloud compute routers create gke-nat-router --network=$vpc_name --region=$region

gcloud compute routers nats create gke-nat-gw \
    --router=gke-nat-router --region=$region \
    --auto-allocate-nat-external-ips --nat-all-subnet-ip-ranges
5. Deploy GKE cluster and verify
- In Google Cloud Shell create the cluster called
cache-gke-cluster. GKE Standard clusters running version1.34.1-gke.3720000and later, NodeLocal DNSCache is enabled by default. (It should take between 4 to 10 minutes for the cluster to be provisioned)
gcloud container clusters create $cluster_name \
--zone=$zone --network=$vpc_name --subnetwork=$subnet_name \
--release-channel=$channel --machine-type=$machine_type \
--enable-ip-alias
- Once your cluster is created connect:
gcloud container clusters get-credentials $cluster_name --zone $zone
- Now let's verify NodeLocal DNSCache is enabled.
These commands confirm the version is 1.34.1-gke.3720000 or later and confirm the local agent is running and the services
kubectl version | grep "Server Version"

kubectl get pods -n kube-system -o wide | grep node-local-dns -w

kubectl get svc,endpoints -n kube-system -l k8s-app=kube-dns
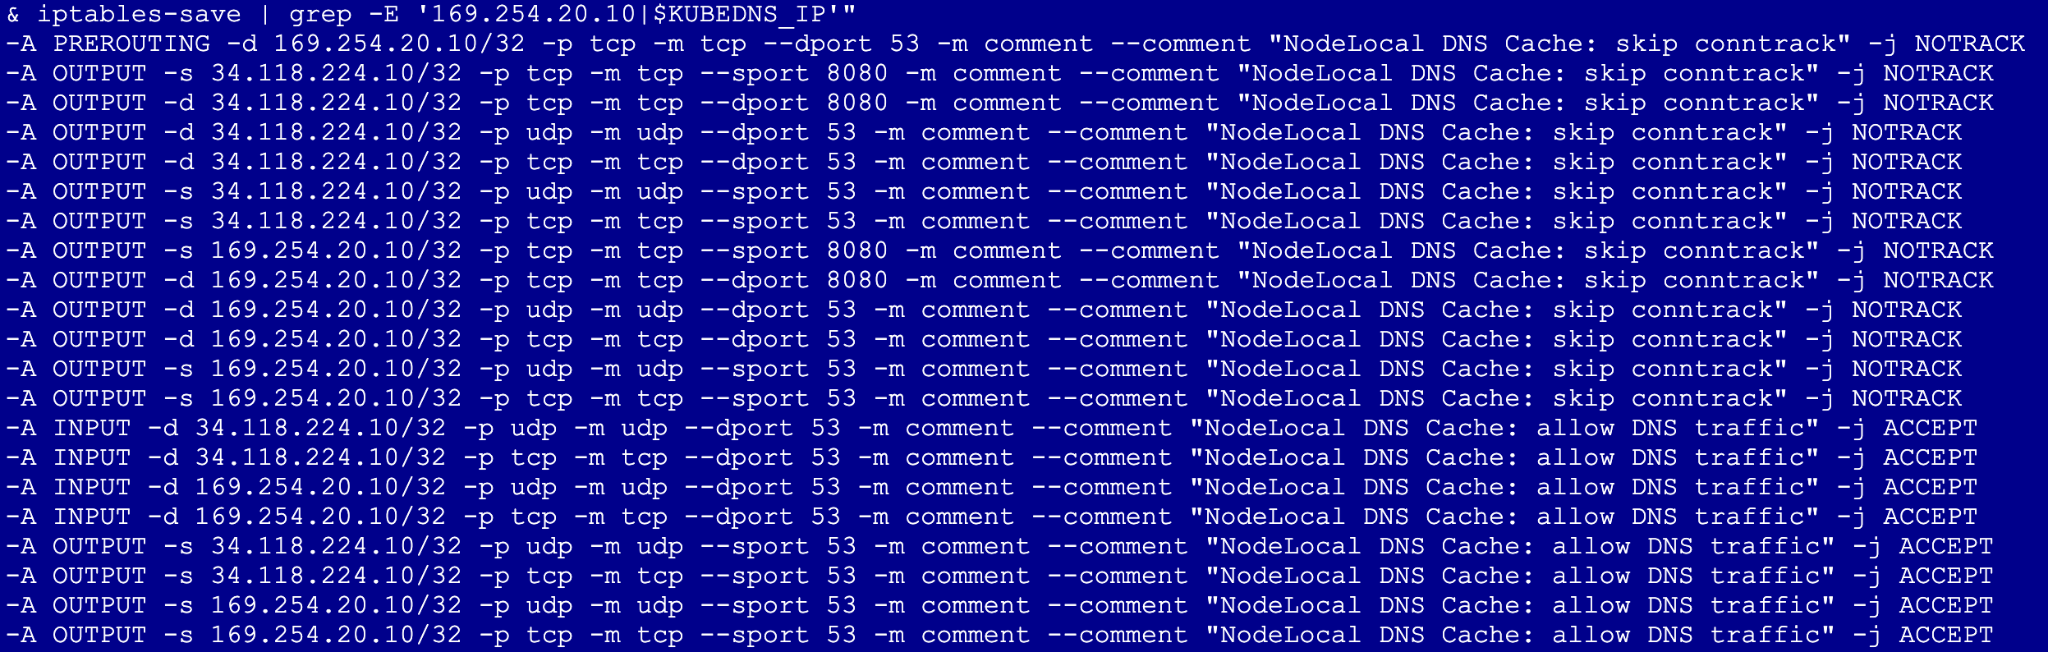
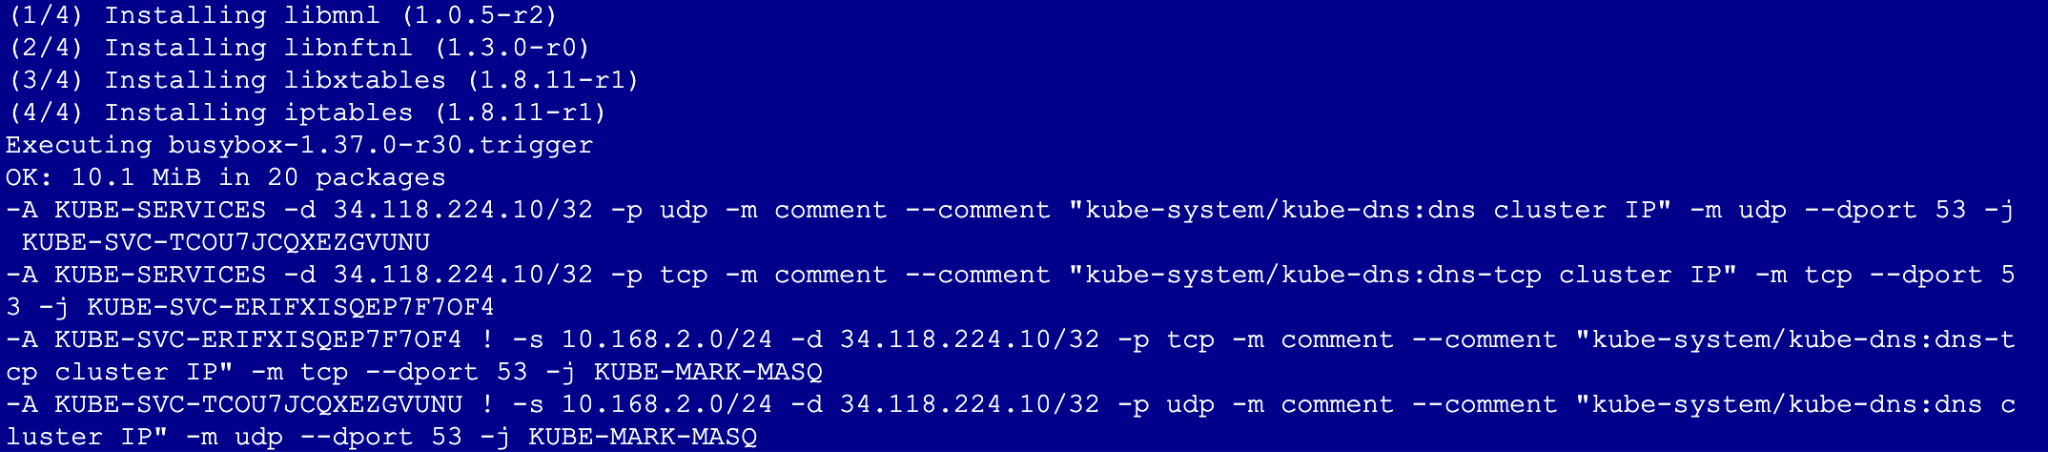
- Next run the following (This creates a privileged pod on the host network to verify that the node's iptables rules are actively intercepting and routing DNS traffic to the local cache)
export KUBEDNS_IP=$(kubectl get svc kube-dns -n kube-system -o jsonpath='{.spec.clusterIP}')

kubectl run node-inspector --quiet --rm -it --image=alpine --privileged --restart=Never \
  --overrides='{"spec": {"hostNetwork": true}}' -- \
  sh -c "apk add --no-cache iptables && iptables-save | grep -E '169.254.20.10|$KUBEDNS_IP'"
What to look for: Look for -j NOTRACK. This confirms the DNS traffic is bypassing the connection tracking table.
6. Disable NodeLocal DNSCache and verify
We now remove the optimization to see how it works without it.
- Go to Cloud Shell and run the following. Note: This will trigger a node recreation, which typically takes 3–5 minutes per node pool as GKE cycles the instances
gcloud container clusters update $cluster_name --zone=$zone --update-addons=NodeLocalDNS=DISABLED --quiet

kubectl get pods -n kube-system -o wide | grep node-local-dns -w
You should not see any of these pods in the daemon set as they have been removed.
- Re-run test
kubectl run node-inspector --quiet --rm -it --image=alpine --privileged --restart=Never \
  --overrides='{"spec": {"hostNetwork": true}}' -- \
  sh -c "apk add --no-cache iptables && iptables-save | grep -E '169.254.20.10|$KUBEDNS_IP'"
After disabling the add-on, the output will no longer contain the -j NOTRACK rules or any mention of the 169.254.20.10 IP address. This means you are no longer getting the benefits of local cache
7. Clean up
# 1. Delete the GKE Cluster
# This will remove the node and all system pods (including kube-dns)
gcloud container clusters delete $cluster_name --zone=$zone --quiet

# 2. Delete the Cloud NAT and Router
# It is best practice to remove these before the VPC
gcloud compute routers nats delete gke-nat-gw --router=gke-nat-router --region=$region --quiet
gcloud compute routers delete gke-nat-router --region=$region --quiet

# 3. Delete the Firewall Rules
gcloud compute firewall-rules delete $vpc_name-allow-internal $vpc_name-allow-ssh --quiet

# 4. Delete the Subnet and VPC
gcloud compute networks subnets delete $subnet_name --region=$region --quiet
gcloud compute networks delete $vpc_name --quiet
8. Next steps / Learn more
You can read more about GKE networking documentation and use cases
Codelab: Access Gemini 3 Pro chat using python sdk via Private Service Connect endpoint
Codelab: Building AI Agents with ADK:The Foundation
Take your next lab
Continue your quest with Google Cloud, and check out these other Google Cloud Skills Boost labs: