
1. Introduction
Overview
You are a developer at a travel marketing company. Your sales department has decided that they need a new chat application to keep up with the bigger booking and search companies. They've also heard about generative AI, but they don't know that much about it. Other departments have heard about this initiative, and they're curious how this might also help their customer experience.
What you'll do
In this lab, you will build a travel assistant chatbot using the Gemini 2.5 Flash model on Vertex AI.
The application should:
- Helps users ask questions about travel, book travel, and learn about places to which they are planning to go
- Provides users ways to get help about their specific travel plans
- Be able to fetch real-time data, like weather, using tools
You'll be working in a pre-configured Google Cloud environment, specifically within the Cloud Shell Editor. A basic web application frontend is already set up for you, along with the necessary permissions to access Vertex AI. This app has been built using Streamlit.
What you'll learn
In this lab, you learn how to perform the following tasks:
- Explore the Vertex AI platform to identify available generative AI models.
- Develop in the Cloud Shell Editor and terminal
- Utilize Gemini Code Assist to understand code.
- Use the Vertex AI SDK in Python to send prompts to and receive responses from a Gemini LLM.
- Apply basic prompt engineering (system instructions, model parameters) to customize a Gemini LLM's output.
- Test and iteratively refine an LLM-powered chat application by modifying prompts and parameters to improve responses.
- Define and use tools with the Gemini model to enable function calling.
- Refactor code to use a stateful chat session, a best practice for conversational apps.
2. Project setup
Google Account
If you don't already have a personal Google Account, you must create a Google Account.
Use a personal account instead of a work or school account.
Sign-in to the Google Cloud Console
Sign-in to the Google Cloud Console using a personal Google account.
Enable Billing
Redeem Google Cloud credits (optional)
To run this workshop, you need a billing account with some credit. Use the credits from the banner at the top of this codelab to get started. If you are already connected to a billing account, you can skip this step.
Set up a personal billing account
If you set up billing using Google Cloud credits, you can skip this step.
To set up a personal billing account, go here to enable billing in the Cloud Console.
Some Notes:
- Completing this lab should cost less than $1 USD in Cloud resources.
- You can follow the steps at the end of this lab to delete resources to avoid further charges.
- New users are eligible for the $300 USD Free Trial.
Create a project (optional)
If you do not have a current project you'd like to use for this lab, create a new project here.
3. Open Cloud Shell Editor
- Click this link to navigate directly to Cloud Shell Editor
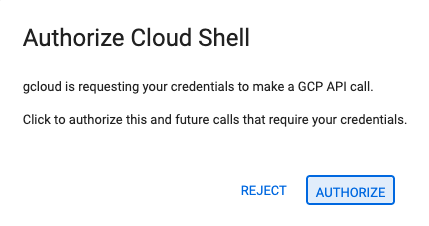
- If prompted to authorize at any point today, click Authorize to continue.
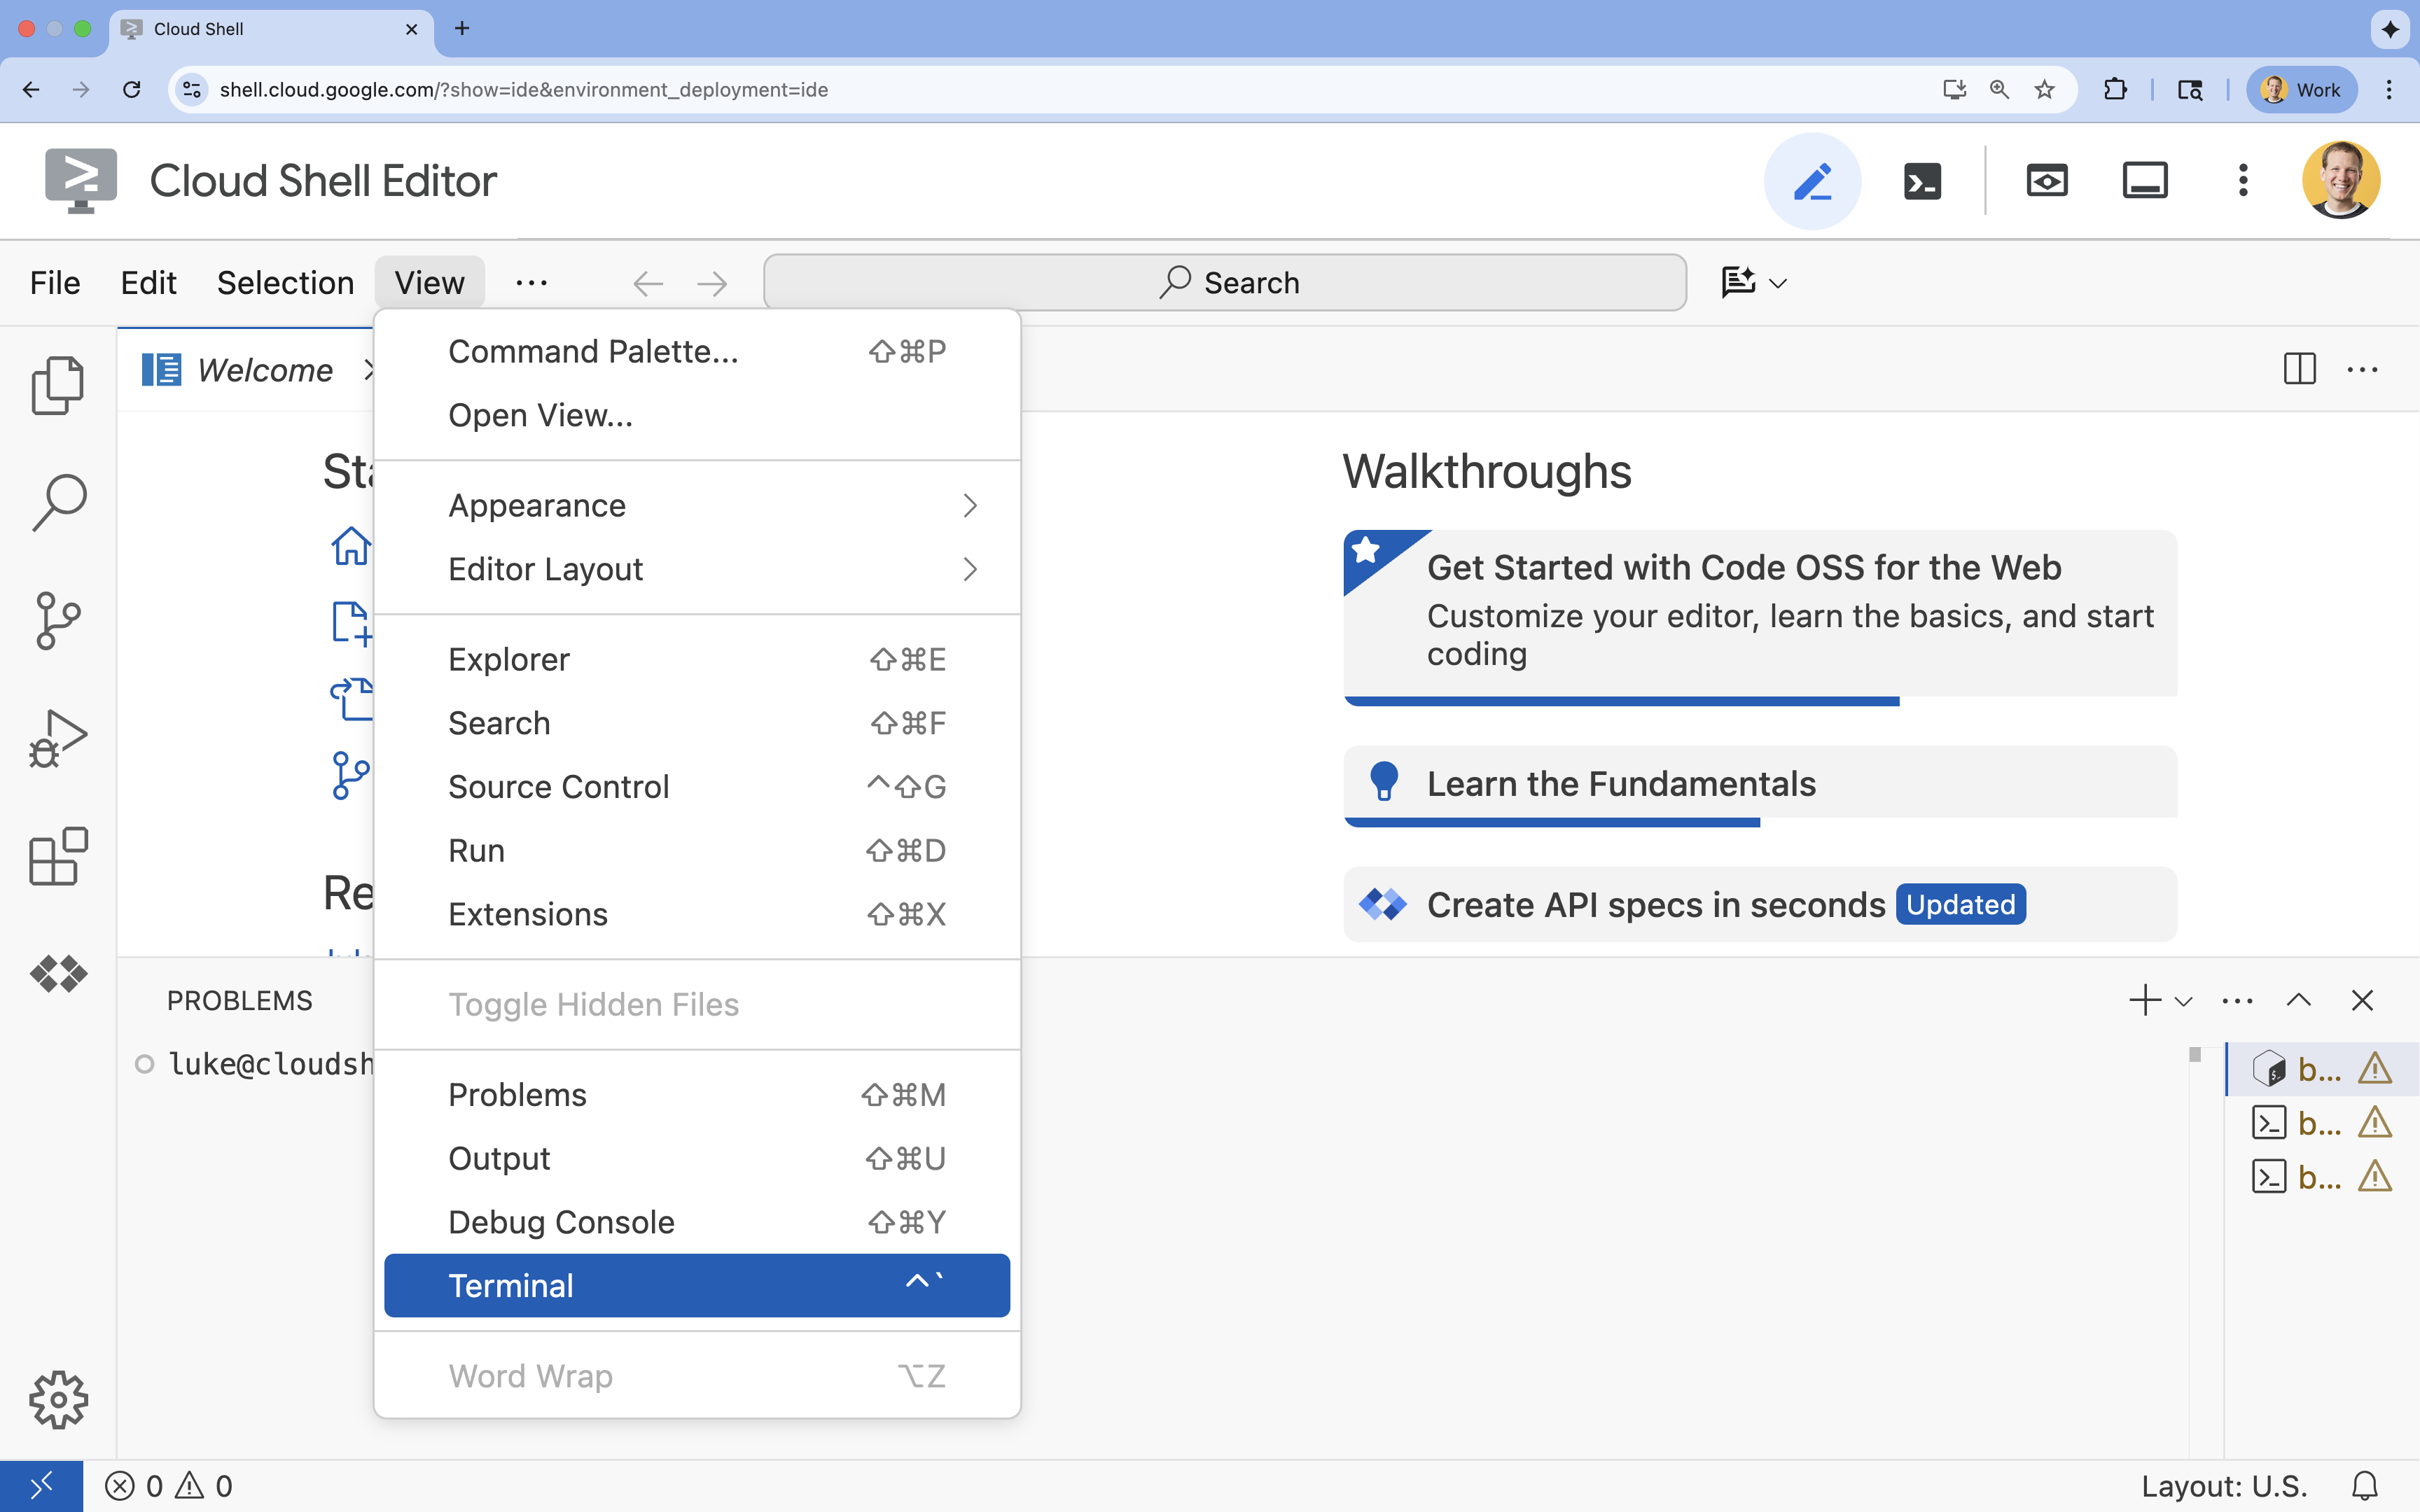
- If the terminal doesn't appear at the bottom of the screen, open it:
- Click View
- Click Terminal
- In the terminal, set your project with this command:
gcloud config set project [PROJECT_ID]- Example:
gcloud config set project lab-project-id-example - If you can't remember your project ID, you can list all your project IDs with:
gcloud projects list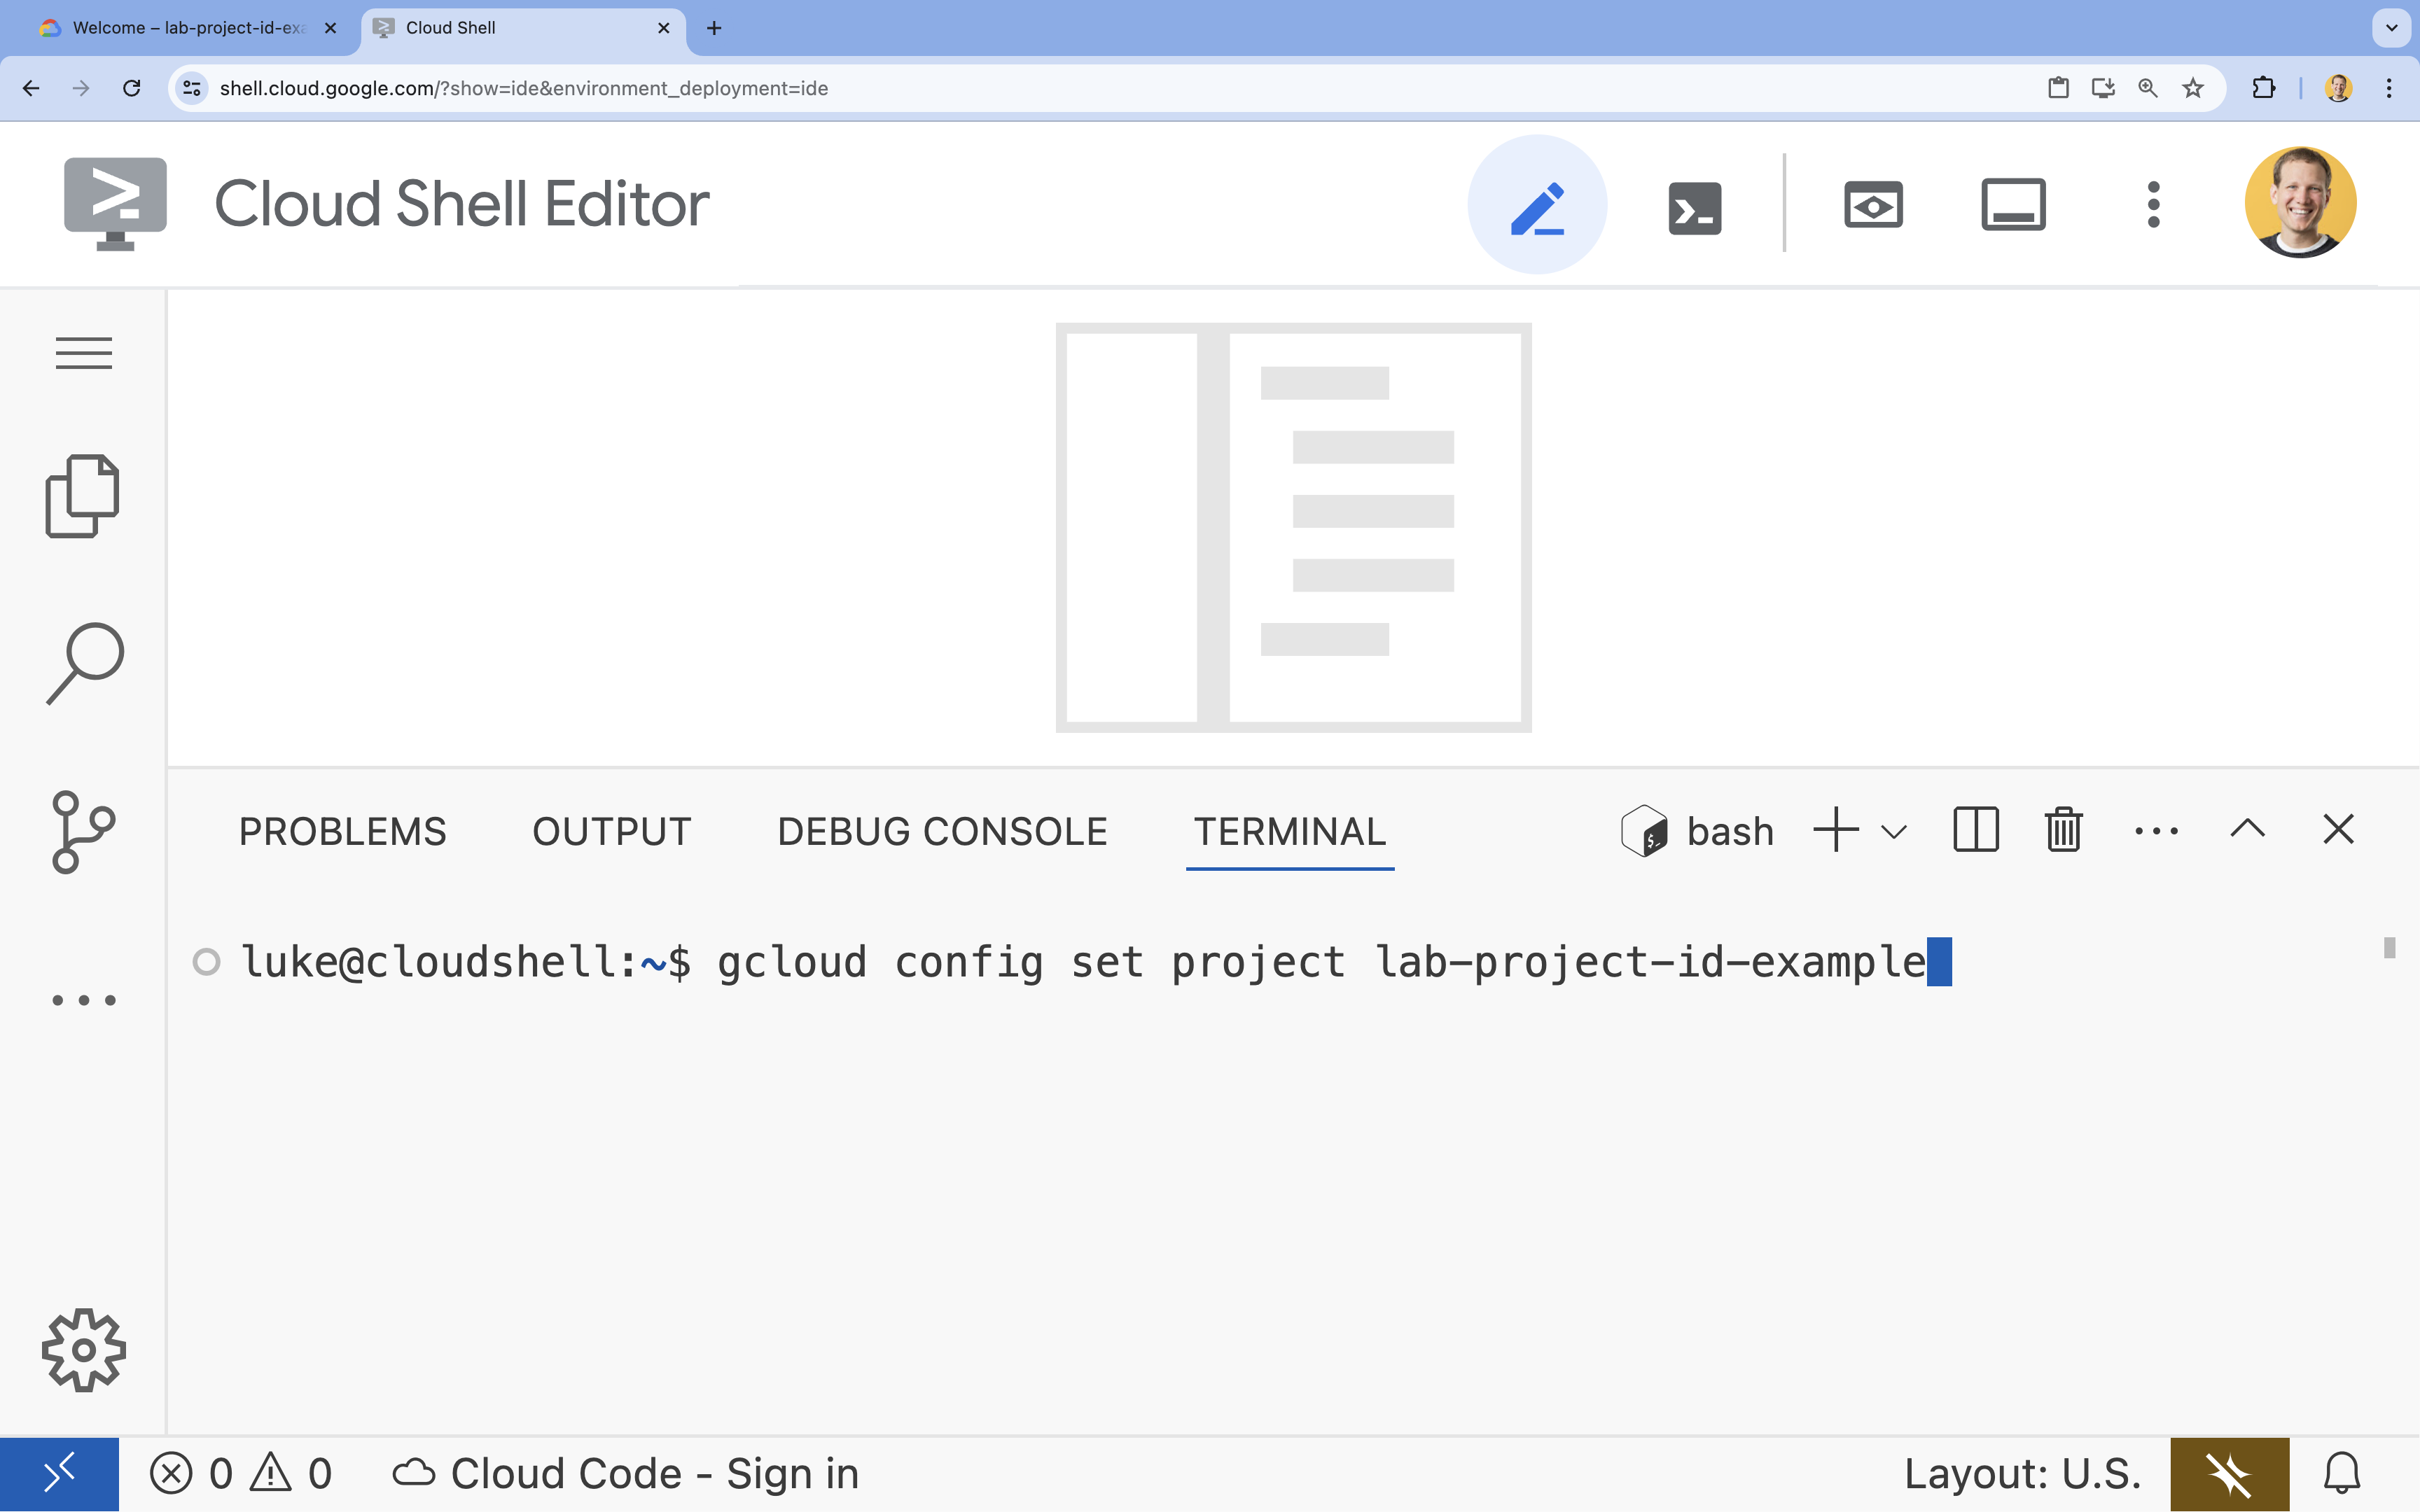
- Example:
- You should see this message:
Updated property [core/project].
4. Enable APIs
To use the Vertex AI SDK and interact with the Gemini model, you need to enable the Vertex AI API in your Google Cloud project.
- In the terminal, enable the APIs:
gcloud services enable \
  aiplatform.googleapis.com
Introduction to the Vertex AI SDK for Python
To interact with models hosted on Vertex AI from your Python application, you'll use the Vertex AI SDK for Python. This SDK simplifies the process of sending prompts, specifying model parameters, and receiving responses without needing to handle the complexities of the underlying API calls directly.
You can find comprehensive documentation for the Vertex AI SDK for Python here: Introduction to the Vertex AI SDK for Python | Google Cloud.
5. Create a virtual environment & install dependencies
Before starting any Python project, it's good practice to create a virtual environment. This isolates the project's dependencies, preventing conflicts with other projects or the system's global Python packages.
- Create a folder named
wanderbotto store the code for your travel assistant app. Run the following code in the terminal:mkdir wanderbot && cd wanderbot - Create and activate a virtual environment:
uv venv --python 3.12 source .venv/bin/activatewanderbot) prefixing your terminal prompt, indicating the virtual environment is active. It would look something like this:
6. Create starter files for wanderbot
- Create and open a new
app.pyfile for the application. Run the following code in the terminal:cloudshell edit app.pycloudshell editcommand will open theapp.pyfile in the editor above the terminal. - Paste the following app starter code into
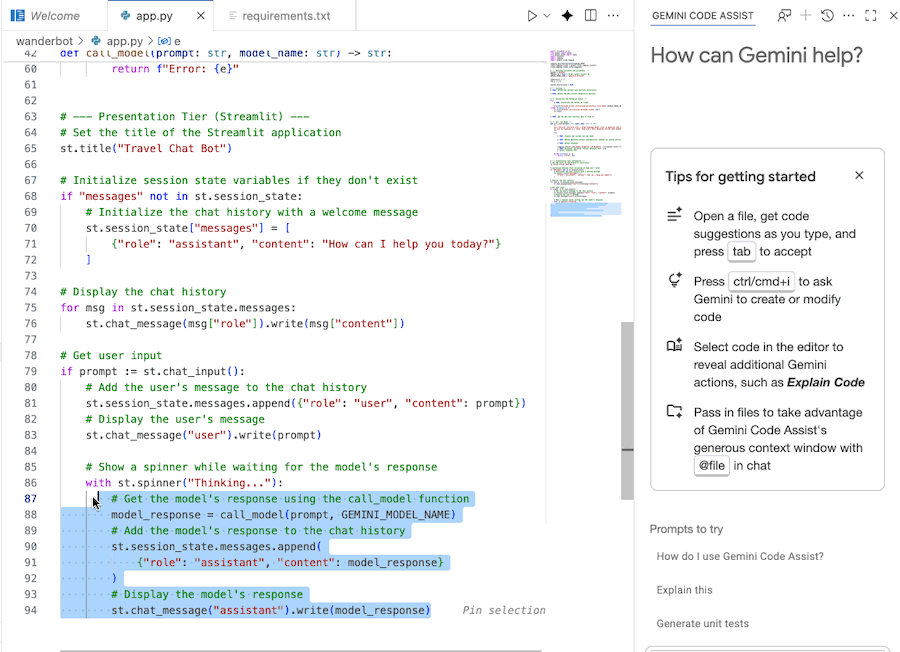
app.py:import streamlit as st from google import genai from google.genai import types import requests import logging # --- Defining variables and parameters --- REGION = "global" PROJECT_ID = None # TODO: Insert Project ID GEMINI_MODEL_NAME = "gemini-2.5-flash" temperature = .2 top_p = 0.95 system_instructions = None # --- Tooling --- # TODO: Define the weather tool function declaration # TODO: Define the get_current_temperature function # --- Initialize the Vertex AI Client --- try: # TODO: Initialize the Vertex AI client print(f"VertexAI Client initialized successfully with model {GEMINI_MODEL_NAME}") except Exception as e: st.error(f"Error initializing VertexAI client: {e}") st.stop() # TODO: Add the get_chat function here in Task 15. # --- Call the Model --- def call_model(prompt: str, model_name: str) -> str: """ This function interacts with a large language model (LLM) to generate text based on a given prompt and system instructions. It will be replaced in a later step with a more advanced version that handles tooling. """ try: # TODO: Prepare the content for the model # TODO: Define generate_content configuration (needed for system instructions and parameters) # TODO: Define response logging.info(f"[call_model_response] LLM Response: \"{response.text}\"") # TODO: Uncomment the below "return response.text" line # return response.text except Exception as e: return f"Error: {e}" # --- Presentation Tier (Streamlit) --- # Set the title of the Streamlit application st.title("Travel Chat Bot") # Initialize session state variables if they don't exist if "messages" not in st.session_state: # Initialize the chat history with a welcome message st.session_state["messages"] = [ {"role": "assistant", "content": "How can I help you today?"} ] # Display the chat history for msg in st.session_state.messages: st.chat_message(msg["role"]).write(msg["content"]) # Get user input if prompt := st.chat_input(): # Add the user's message to the chat history st.session_state.messages.append({"role": "user", "content": prompt}) # Display the user's message st.chat_message("user").write(prompt) # Show a spinner while waiting for the model's response with st.spinner("Thinking..."): # Get the model's response using the call_model function model_response = call_model(prompt, GEMINI_MODEL_NAME) # Add the model's response to the chat history st.session_state.messages.append( {"role": "assistant", "content": model_response} ) # Display the model's response st.chat_message("assistant").write(model_response) - Create and open a new
requirements.txtfile for the application code. Run the following code in the terminal:cloudshell edit requirements.txtcloudshell editcommand will open therequirements.txtfile in the editor above the terminal. - Paste the following app starter code into
requirements.txt.google-genai streamlit requests - Install the required Python dependencies for this project. Run the following code in the terminal:
uv pip install -r requirements.txt
7. Explore the code
The files you created include a basic chat application frontend. They include:
app.py: This is the file we will be working in. It currently contains the following:- necessary imports
- environment variables and parameters (some of which are placeholders)
- an empty
call_modelfunction, which we'll be filling in - Streamlit code for the front-end chat app
requirements.txt:- includes the installation requirements for running
app.py
- includes the installation requirements for running
Now, time to explore the code!
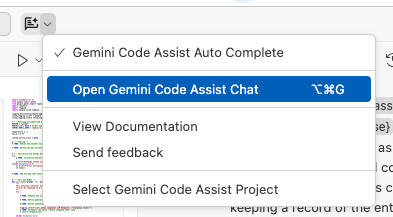
Open Gemini Code Assist Chat
The Gemini Code Assist Chat should already be open in a panel on the right in the Cloud Shell Editor. If the Gemini Code Assist Chat is not already open, you can open it with the following steps:
- Clicking the Gemini Code Assist button (
 ) near the top of the screen.
 - Select Open Gemini Code Assist Chat.
Use Gemini Code Assist to understand the code
You can use Gemini Code Assist Chat to better understand the code.
- Highlight or select the desired code section.
- Type "Explain this code" in the Gemini chat.
- Click enter to submit
8. Launch the webapp
Before connecting this app to an LLM, launch it to see how it behaves initially.
- From within the
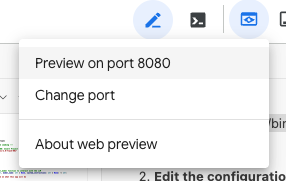
wanderbotdirectory, run the following command in the terminal to start the Streamlit application and make it locally accessible within your Cloud Shell environment:streamlit run app.py --browser.serverAddress=localhost --server.enableCORS=false --server.enableXsrfProtection=false --server.port 8080 - After running the command, click the Web Preview button at the top of the Cloud Shell editor and select Preview on port 8080.
You will see a simple chat interface for your travel app. - Type any message (e.g.
Hi!) and press ENTER.
You will notice that the message will appear in the chat history, but you will receive an error message rather than a response from the assistant. This is because the application is not yet connected to a large language model. Observe this behavior to understand the starting point of the lab.
9. Initialize the Vertex AI Client
Explore Available Models in Vertex AI
Google Cloud's Vertex AI platform provides access to a variety of generative AI models. Before you integrate one, you can explore the available options in the Google Cloud Console.
- From the Google Cloud Console, navigate to Model Garden. You can do this by searching for "Model Garden" in the search bar at the top of the screen and selecting Vertex AI.(
 )
) - Browse the available models. You can filter by things like modalities, tasks types, and features.
For the purposes of this lab, you will be using the Gemini 2.5 Flash model, which is a good choice for building responsive chat applications due to its speed.
Initialize the Vertex AI Client
Now you will modify the --- Initialize the Vertex AI Client --- section in app.py to initialize the Vertex AI client. This client object will be used to send prompts to the model.
- Open
app.pyin the Cloud Shell Editor. - In
app.py, find the linePROJECT_ID = None. - Replace
Nonewith your Google Cloud Project ID in quotes. (e.g.PROJECT_ID = "google-cloud-labs")
If you can't remember your project ID, you can list all your project IDs with:gcloud projects list | awk '/PROJECT_ID/{print $2}' - Define the client: Inside the
tryblock, initialize the Vertex AI client.client = genai.Client( vertexai=True, project=PROJECT_ID, location=REGION, )
Updated Vertex AI client initialization
At this point, the Initialize the Vertex AI Client section would look like this:
# --- Initialize the Vertex AI Client ---
try:
    client = genai.Client(
        vertexai=True,
        project=PROJECT_ID,
        location=REGION,
    )
print(f"VertexAI Client initialized successfully with model {GEMINI_MODEL_NAME}")
except Exception as e:
st.error(f"Error initializing VertexAI client: {e}")
st.stop()
10. Prepare data and call the model
You will now prepare the content to send to the model, and make a call to the Gemini model.
- Find the
--- Call the Model ---section where thecall_modelfunction is defined. - Define contents: Under
# TODO: Prepare the content for the model, define the input content that will be sent to the model. For a basic prompt, this will be the user's input message.contents = [prompt] - Define the Response: Paste this code under
# TODO: Define response.response = client.models.generate_content( model=model_name, contents=contents, ) - Return the response: Uncomment the following line:
return response.text - Examine the line where the
call_modelfunction is being called, towards the bottom of the file in thewithblock. If you don't understand what is happening here, highlight the line and ask Gemini Code Assist to explain.
A more explicit way to define contents
The above way of defining contents works because the SDK is smart enough to understand that a list containing strings represents user text input. It automatically formats it correctly for the model API.
However, the more explicit and fundamental way to structure input involves using types.Part and types.Content objects, like this:
user_message_parts = [types.Part.from_text(text=prompt)]
contents = [
types.Content(
role="user", # Indicates the content is from the user
parts=user_message_parts, # A list, allowing multiple types of content
),
]
Updated call_model function
At this point, the call_model function should look like this:
def call_model(prompt: str, model_name: str) -> str:
"""
This function interacts with a large language model (LLM) to generate text based on a given prompt and system instructions.
It will be replaced in a later step with a more advanced version that handles tooling.
"""
try:
contents = [prompt]
# TODO: Define generate_content configuration (needed later for system instructions and parameters)
        response = client.models.generate_content(
            model=model_name,
            contents=contents,
        )
logging.info(f"[call_model_response] LLM Response: \"{response.text}\"")
return response.text
except Exception as e:
return f"Error: {e}"
11. Test the connected app
- Within the terminal, terminate the currently running process (CTRL+C)
- Re-run the command to start the Streamlit application again.
streamlit run app.py --browser.serverAddress=localhost --server.enableCORS=false --server.enableXsrfProtection=false --server.port 8080 - Refresh the Streamlit application. If the Streamlit application is still running, you can simply refresh the web preview page in your browser.
- Now, type a question into the chat input such as the following:
What is the best time of year to go to Iceland? - Press ENTER.
You should see the application display your message, a "Thinking..." spinner, and then a response generated by the Gemini model! If you have, then you have successfully connected your web application to an LLM on Vertex AI. 🙌 🥳
12. Define system instructions
While the basic connection works, the quality and style of the LLM's responses are heavily influenced by the input it receives. Prompt engineering is the process of designing and refining these inputs (prompts) to guide the model towards generating the desired output.
To that end, you will start by creating some system instructions and passing them to the model.
You will use the Ask Gemini to help you come up with useful system instructions.
- In
app.py, locate thesystem_instructionsvariable, which is currently set toNone.system_instructions = NoneNonewith a multi-line string that provides instructions for our travel assistant bot. - Ask Gemini Code Assist: Pass the following prompt into Gemini Code Assist (or come up with your own!):
I am a developer at a travel marketing company, and my sales department has decided that they need a new chat application to keep up with the bigger booking and search companies. I'm building a simple travel assistant chatbot using the Gemini 2.5 Flash model on Vertex AI. The application should: - Helps users ask questions about travel, book travel, and learn about places they are going to go - Provides users ways to get help about their specific travel plans - Provides all this in a production quality way (multiple environments, logging and monitoring, etc.) Please create system instructions appropriate for that chat app. Be thorough. Do not alter the code in any way beyond providing me with system instructions. - Define
system_instructions: Setsystem_instructionsequal to the system instructions you generated using the Gemini Code Assist. You could alternatively use these system instructions, which were created by Gemini with a similar prompt.system_instructions = """ You are a sophisticated travel assistant chatbot designed to provide comprehensive support to users throughout their travel journey. Your capabilities include answering travel-related questions, assisting with booking travel arrangements, offering detailed information about destinations, and providing support for existing travel plans. **Core Functionalities:** 1. **Travel Information and Recommendations:** * Answer user inquiries about travel destinations, including popular attractions, local customs, visa requirements, weather conditions, and safety advice. * Provide personalized recommendations for destinations, activities, and accommodations based on user preferences, interests, and budget. * Offer insights into the best times to visit specific locations, considering factors like weather, crowds, and pricing. * Suggest alternative destinations or activities if the user's initial choices are unavailable or unsuitable. 2. **Booking Assistance:** * Facilitate the booking of flights, hotels, rental cars, tours, and activities. * Search for available options based on user-specified criteria such as dates, destinations, budget, and preferences. * Present clear and concise information about available options, including pricing, amenities, and booking terms. * Guide users through the booking process, ensuring accurate information and secure transactions. * Provide booking confirmations and relevant details, such as booking references and contact information. 3. **Travel Planning and Itinerary Management:** * Assist users in creating detailed travel itineraries, including flights, accommodations, activities, and transportation. * Offer suggestions for optimizing travel plans, such as minimizing travel time or maximizing sightseeing opportunities. * Provide tools for managing and modifying existing itineraries, including adding or removing activities, changing booking dates, or upgrading accommodations. * Offer reminders and notifications for upcoming travel events, such as flight check-in or tour departure times. 4. **Customer Support and Troubleshooting:** * Provide prompt and helpful support to users with questions or issues related to their travel plans. * Assist with resolving booking discrepancies, cancellations, or modifications. * Offer guidance on travel-related emergencies, such as lost luggage or travel delays. * Provide access to relevant contact information for airlines, hotels, and other travel providers. **Interaction Guidelines:** * **Professionalism:** Maintain a polite, respectful, and professional tone in all interactions. * **Clarity and Conciseness:** Provide clear, concise, and easy-to-understand information. Avoid jargon or technical terms unless necessary and always explain them. * **Accuracy:** Ensure all information provided is accurate and up-to-date. Double-check details before sharing them with users. If unsure about something, admit that you don't know and offer to find the information. * **Personalization:** Tailor your responses and recommendations to the specific needs and preferences of each user. * **Proactive Assistance:** Anticipate user needs and offer relevant information or suggestions proactively. * **Error Handling:** Gracefully handle user errors or misunderstandings. Provide helpful guidance and alternative options when necessary. * **Confidentiality:** Respect user privacy and handle personal information with the utmost confidentiality and in compliance with data protection regulations. **Example Interactions:** **User:** "I want to go on a beach vacation in the Caribbean. I have a budget of $2000 per person for a week." **Chatbot:** "Certainly! The Caribbean offers many beautiful beach destinations within your budget. Some popular options include Punta Cana in the Dominican Republic, Cancun in Mexico, and Montego Bay in Jamaica. These destinations offer stunning beaches, all-inclusive resorts, and various activities. Would you like me to search for flights and accommodations for these locations based on your travel dates?" **User:** "My flight is delayed. What should I do?" **Chatbot:** "I'm sorry to hear about the delay. Please check with the airline for the updated departure time and any assistance they can offer. You may be entitled to compensation or rebooking options depending on the length of the delay and the airline's policy. Do you have your flight number handy so I can look up the current status for you?" **User:** "Tell me about the best time to visit Japan." **Chatbot:** "Japan is a fantastic destination with distinct seasons offering unique experiences. Spring (March-May) is famous for the beautiful cherry blossoms, while autumn (September-November) boasts stunning fall foliage. Both seasons have pleasant temperatures, making them ideal for sightseeing. Summer (June-August) can be hot and humid, but it's a great time for festivals and outdoor activities in the mountains. Winter (December-February) offers opportunities for skiing and snowboarding in the Japanese Alps, though some areas may experience heavy snowfall. To recommend the best time for you, could you tell me what you'd like to experience in Japan?" By following these instructions, you will be able to provide exceptional travel assistance and create a positive experience for every user. """ - Define the generate_content Configuration: Initialize a configuration object, to which you will pass these system instructions. Because
system_instructionsis defined globally in our script, the function can access it directly.generate_content_config = types.GenerateContentConfig( system_instruction=[ types.Part.from_text(text=system_instructions) ], ) logging.info(f"[generate_config_details] System Instruction: {generate_content_config.system_instruction[0].text}") - To add the system instructions into the response, add a
configparameter to thegenerate_contentmethod, and set it equal to thegenerate_content_configobject created above.response = client.models.generate_content( model=model_name, contents=contents, config=generate_content_config, # This is the new line )
Updated call_model function
The full call_model function now looks like this:
def call_model(prompt: str, model_name: str) -> str:
"""
This function interacts with a large language model (LLM) to generate text based on a given prompt and system instructions.
It will be replaced in a later step with a more advanced version that handles tooling.
"""
try:
contents = [prompt]
        generate_content_config = types.GenerateContentConfig(
            system_instruction=[
                types.Part.from_text(text=system_instructions)
            ],
        )
        logging.info(f"[generate_config_details] System Instruction: {generate_content_config.system_instruction[0].text}")
response = client.models.generate_content(
model=model_name,
contents=contents,
config=generate_content_config,
)
logging.info(f"[call_model_response] LLM Response: \"{response.text}\"")
return response.text
except Exception as e:
return f"Error: {e}"
13. Test the app with System Instructions
- Within the terminal, terminate the currently running process (CTRL+C)
- Re-run the command to start the Streamlit application again.
streamlit run app.py --browser.serverAddress=localhost --server.enableCORS=false --server.enableXsrfProtection=false --server.port 8080 - Refresh the Streamlit application. If the Streamlit application is still running, you can simply refresh the web preview page in your browser.
- Try the same question as before:
What is the best time of year to go to Iceland? - Press ENTER.
Compare how it responds this time compared to last time.
14. Define a weather tool
So far, our chatbot is knowledgeable, but its knowledge is limited to the data it was trained on. It can't access real-time information. For a travel bot, being able to fetch live data like weather forecasts is a huge advantage.
This is where tooling, also known as function calling, comes in. We can define a set of tools (Python functions) that the LLM can choose to call to get external information.
How tooling Works
- We describe our tools to the model, including what they do and what parameters they take.
- The user sends a prompt (e.g., "What's the weather in London?").
- The model receives the prompt and sees that the user is asking about something it can find out using one of its tools.
- Instead of responding with text, the model responds with a special
function_callobject, indicating which tool it wants to call and with which arguments. - Our Python code receives this
function_call, executes our actualget_current_temperaturefunction with the provided arguments, and gets the result (e.g., 15°C). - We send this result back to the model.
- The model receives the result and generates a natural language response for the user (e.g., "The current temperature in London is 15°C.").
This process allows the model to answer questions far beyond its training data, making it a much more powerful and useful assistant.
Define a weather tool
If a traveler is looking for advice on what to do, and is choosing between activities affected by the weather, a weather tool could come in handy! Let's create a tool for our model to get the current weather. We need two parts: a function declaration that describes the tool to the model, and the actual Python function that implements it.
- In
app.py, find the comment# TODO: Define the weather tool function declaration. - Under this comment, add the
weather_functionvariable. This is a dictionary that tells the model everything it needs to know about the function's purpose, parameters, and required arguments.weather_function = { "name": "get_current_temperature", "description": "Gets the current temperature for a given location.", "parameters": { "type": "object", "properties": { "location": { "type": "string", "description": "The city name, e.g. San Francisco", }, }, "required": ["location"], }, } - Next, find the comment
# TODO: Define the get_current_temperature function. Under it, add the following Python code. This function will:- Call a geocoding API to get coordinates for the location.
- Use those coordinates to call a weather API.
- Return a simple string with the temperature and unit.
def get_current_temperature(location: str) -> str: """Gets the current temperature for a given location.""" try: # --- Get Latitude and Longitude for the location --- geocode_url = f"https://geocoding-api.open-meteo.com/v1/search?name={location}&count=1&language=en&format=json" geocode_response = requests.get(geocode_url) geocode_data = geocode_response.json() if not geocode_data.get("results"): return f"Could not find coordinates for {location}." lat = geocode_data["results"][0]["latitude"] lon = geocode_data["results"][0]["longitude"] # --- Get Weather for the coordinates --- weather_url = f"https://api.open-meteo.com/v1/forecast?latitude={lat}&longitude={lon}¤t_weather=true" weather_response = requests.get(weather_url) weather_data = weather_response.json() temperature = weather_data["current_weather"]["temperature"] unit = "°C" return f"{temperature}{unit}" except Exception as e: return f"Error fetching weather: {e}"
15. Refactor for chat and tooling
Our current call_model function uses a simple, one-shot generate_content call. This is great for single questions but isn't ideal for a multi-turn conversation, especially one that involves back-and-forth for tooling.
A better practice is to use a chat session, which maintains the context of the conversation. We will now refactor our code to use a chat session, which is necessary to correctly implement tooling.
- Delete the existing
call_modelfunction. We will replace it with a more advanced version. - In its place, add the new
call_modelfunction from the code block below. This new function contains the logic to handle the tool-calling loop we discussed earlier. Notice it has several TODO comments that we will complete in the next steps.# --- Call the Model --- def call_model(prompt: str, model_name: str) -> str: """ This function interacts with a large language model (LLM) to generate text based on a given prompt. It maintains a chat session and handles function calls from the model to external tools. """ try: # TODO: Get the existing chat session or create a new one. message_content = prompt # Start the tool-calling loop while True: # TODO: Send the message to the model. # Check if the model wants to call a tool has_tool_calls = False for part in response.candidates[0].content.parts: if part.function_call: has_tool_calls = True function_call = part.function_call logging.info(f"Function to call: {function_call.name}") logging.info(f"Arguments: {function_call.args}") # TODO: Call the appropriate function if the model requests it. elif part.text: logging.info("No function call found in the response.") logging.info(response.text) # If no tool call was made, break the loop if not has_tool_calls: break # TODO: Return the model's final text response. except Exception as e: return f"Error: {e}" - Now, let's add a helper function to manage the chat session. Above the new
call_modelfunction, add theget_chatfunction. This function will create a new chat session with our system instructions and tool definitions, or retrieve the existing one. This is a good practice for organizing code.def get_chat(model_name: str): if f"chat-{model_name}" not in st.session_state: # TODO: Define the tools configuration for the model # TODO: Define the generate_content configuration, including tools # TODO: Create a new chat session st.session_state[f"chat-{model_name}"] = chat return st.session_state[f"chat-{model_name}"]
You have now set up the scaffolding for our advanced, tool-enabled chat logic!
16. Implement the tool-calling logic
Now, let's fill in the TODOs to make our tool-calling logic fully functional.
Implement get_chat
- In the
get_chatfunction under# TODO: Define the tools configuration...comment, define thetoolsobject by creating atypes.Toolinstance from ourweather_functiondeclaration.tools = types.Tool(function_declarations=[weather_function]) - Under
# TODO: Define the generate_content configuration..., definegenerate_content_config, making sure to pass thetoolsobject to the model. This is how the model learns about the tools it can use.generate_content_config = types.GenerateContentConfig( system_instruction=[types.Part.from_text(text=system_instructions)], tools=[tools] # Pass the tool definition here ) - Under
# TODO: Create a new chat session, create the chat object usingclient.chats.create(), passing in our model name and config.chat = client.chats.create( model=model_name, config=generate_content_config, )
Implement call_model
- Under
# TODO: Get the existing chat session...in thecall_modelfunction, call our newget_chathelper function.chat = get_chat(model_name) - Next, find
# TODO: Send the message to the model. Send the user's message using thechat.send_message()method.response = chat.send_message(message_content) - Find
# TODO: Call the appropriate function.... This is where we check which function the model wants and execute it.
if function_call.name == "get_current_temperature":
result = get_current_temperature(**function_call.args)
function_response_part = types.Part.from_function_response(
name=function_call.name,
response={"result": result},
)
message_content = [function_response_part]
- Lastly, find
# TODO: Return the model's final text responseand add the return statement.return response.text
Updated get_chat function
The updated get_chat function should now look like this:
def get_chat(model_name: str):
if f"chat-{model_name}" not in st.session_state:
# Tools
tools = types.Tool(function_declarations=[weather_function])
# Initialize a configuration object
generate_content_config = types.GenerateContentConfig(
system_instruction=[types.Part.from_text(text=system_instructions)],
tools=[tools]
)
        chat = client.chats.create(
            model=model_name,
            config=generate_content_config,
        )
st.session_state[f"chat-{model_name}"] = chat
return st.session_state[f"chat-{model_name}"]
Updated call_model function
The updated call_model function should now look like this:
def call_model(prompt: str, model_name: str) -> str:
try:
chat = get_chat(model_name)
message_content = prompt
while True:
response = chat.send_message(message_content)
has_tool_calls = False
for part in response.candidates[0].content.parts:
if part.function_call:
has_tool_calls = True
function_call = part.function_call
logging.info(f"Function to call: {function_call.name}")
logging.info(f"Arguments: {function_call.args}")
                    if function_call.name == "get_current_temperature":
                      result = get_current_temperature(**function_call.args)
                    function_response_part = types.Part.from_function_response(
                        name=function_call.name,
                        response={"result": result},
                    )
                    message_content = [function_response_part]
elif part.text:
logging.info("No function call found in the response.")
logging.info(response.text)
if not has_tool_calls:
break
return response.text
except Exception as e:
return f"Error: {e}"
17. Test the tool-enabled app
Let's see your new feature in action!
- Within the terminal, terminate the currently running process (CTRL+C)
- Re-run the command to start the Streamlit application again.
streamlit run app.py --browser.serverAddress=localhost --server.enableCORS=false --server.enableXsrfProtection=false --server.port 8080 - Refresh the Streamlit application. If the Streamlit application is still running, you can simply refresh the web preview page in your browser.
- Now, ask a question that should trigger your new tool, such as the following:
I'm looking for something to do in New York today. What do you recommend? Would it be a good day to go to Ellis Island? - Press ENTER
Compare this response to earlier responses. What's different?
You should see a response that incorporates the temperature from your function! Check your Cloud Shell terminal as well; you should see print statements confirming your Python function was executed.
18. Refine the Model's Output with Parameters
Great work! Your travel assistant can now use tools to fetch live, external data, making it significantly more powerful.
Now that we've enhanced what our model can do, let's fine-tune how it responds. Model parameters allow you to control the style and randomness of the LLM's generated text. By adjusting these settings, you can make the bot's output more focused and deterministic or more creative and varied.
For this lab, we will be focusing on temperature, and top_p. (Refer to the GenerateContentConfig in our API reference for a complete list of configurable parameters and their descriptions.)
temperature: Controls the randomness of the output. A lower value (closer to 0) makes the output more deterministic and focused, while a higher value (closer to 2) increases randomness and creativity. For a Q&A or assistant bot, a lower temperature is usually preferred for more consistent and factual responses.top_p: The maximum cumulative probability of tokens to consider when sampling. Tokens are sorted based on their assigned probabilities so that only the most likely tokens are considered. The model considers the most likely tokens whose probabilities sum up to thetop_pvalue. A lower value restricts the token choices, resulting in less varied output
Call parameters
- Find the variables
temperature, andtop_p, defined at the top ofapp.py. Notice that they haven't yet been called anywhere. - Add
temperature, andtop_pto the parameters defined withinGenerateContentConfigin theget_chatfunction.generate_content_config = types.GenerateContentConfig( temperature=temperature, top_p=top_p, system_instruction=[types.Part.from_text(text=system_instructions)], tools=[tools] # Pass the tool definition here )
Updated get_chat function
The get_chat app now looks like this:
def get_chat(model_name: str):
    if f"chat-{model_name}" not in st.session_state:
        # Tools
        tools = types.Tool(function_declarations=[weather_function])

        # Initialize a configuration object
        generate_content_config = types.GenerateContentConfig(
            temperature=temperature,
            top_p=top_p,
            system_instruction=[types.Part.from_text(text=system_instructions)],
            tools=[tools]
        )
        chat = client.chats.create(
            model=model_name,
            config=generate_content_config,
        )
        st.session_state[f"chat-{model_name}"] = chat
    return st.session_state[f"chat-{model_name}"]
19. Test with Model Parameters
- Within the terminal, terminate the currently running process (CTRL+C)
- Re-run the command to start the Streamlit application again.
streamlit run app.py --browser.serverAddress=localhost --server.enableCORS=false --server.enableXsrfProtection=false --server.port 8080 - Refresh the Streamlit application. If the Streamlit application is still running, you can simply refresh the web preview page in your browser.
- Try the same question as before,
I'm looking for something to do in New York today. What do you recommend? Would it be a good day to go to Ellis Island? - Press ENTER
Compare this response to earlier responses.
20. Congratulations!
You have successfully upgraded your Q&A application with tooling, a powerful feature that allows your Gemini-powered app to interact with external systems and access real-time information.
Continued experimentation
There are many options for continuing to optimize your prompt. Here are some to consider:
- Adjust
temperatureandtop_pand see how it changes the response given by the LLM. - Refer to the
GenerateContentConfigin our API reference for a complete list of configurable parameters and their descriptions. Try defining more parameters and adjusting them to see what happens!
Recap
In this lab, you did the following:
- Utilized the Cloud Shell Editor and terminal for development.
- Used the Vertex AI Python SDK to connect your application to a Gemini model.
- Applied system instructions and model parameters to guide the LLM's responses.
- Learned the concept of tooling (function calling) and its benefits.
- Refactored your code to use a stateful chat session, a best practice for conversational AI.
- Defined a tool for the model using a function declaration.
- Implemented the Python function to provide the tool's logic.
- Wrote the code to handle the model's function call requests and return the results.