
1. はじめに
このラボでは、クライアント エージェント サービスの実装とデプロイに焦点を当てます。Agent Development Kit(ADK)を使用して、ツールを使用する AI エージェントを構築します。
このラボでは、Wikipedia を使用して動物に関する質問に回答する動物園エージェントを構築します。

最後に、ツアーガイド エージェントをローカルで実行するだけでなく、Google Cloud Run にデプロイします。
前提条件
- 課金を有効にした Google Cloud プロジェクト
学習内容
- ADK デプロイ用に Python プロジェクトを構造化する方法。
- google-adk を使って、ツールを使用するエージェントを実装する方法。
- Python アプリケーションをサーバーレス コンテナとして Cloud Run にデプロイする方法。
- IAM ロールを使用して、サービス間の安全な認証を構成する方法。
- Cloud リソースを削除して、今後の費用発生を回避する方法。
必要なもの
- Google Cloud アカウントと Google Cloud プロジェクト
- ウェブブラウザ(Chrome など)
2. Cloud Run にデプロイする理由
Cloud Run はサーバーレス プラットフォームであり、ADK エージェントのホスティングに最適です。基盤となるインフラストラクチャを管理する必要がないため、開発者はコードに集中できます。運用作業は Google が行います。
ポップアップ ショップのように、顧客(リクエスト)が来たときにのみオープンしてリソースを使用します。顧客がいないときは完全に閉店します。そのため、使用していないリソースに対して料金は発生しません。
主な機能
コンテナをどこでも実行可能:
- アプリを格納したコンテナ(Docker イメージ)を用意します。
- Cloud Run は Google のインフラストラクチャ上でコンテナを実行します。
- OS のパッチ適用、VM の設定、スケーリングなどの管理作業から解放されます。
自動スケーリング:
- アプリのユーザーが 0 人の場合 → 実行中のインスタンスは 0 となり、インスタンスがゼロにスケールダウンされるため、費用対効果が高くなります。
- リクエスト数が 1,000 件になった場合 → 必要に応じてコピーがスピンアップされます。
デフォルトでステートレス:
- 各リクエストは異なるインスタンスに送信される場合があります。
- ステートを保存する必要がある場合は、Cloud SQL、Firestore、Memorystore などの外部サービスを使用します。
あらゆる言語やフレームワークをサポート:
- Cloud Run では、Linux コンテナで実行能であれば、Python、Go、Node.js、Java、.Net など、あらゆる言語やフレームワークを利用できます。
従量課金制:
- リクエストベースの課金: リクエスト数とコンピューティング時間(100 ミリ秒単位)に基づいて課金されます。
- インスタンス ベースの課金: インスタンスのライフサイクル全体に対して課金されます(リクエストごとの料金は発生しません)。
3. プロジェクトの設定
Google アカウント
個人の Google アカウントをお持ちでない場合は、Google アカウントを作成する必要があります。
仕事用または学校用アカウントではなく、個人アカウントを使用します。
Google Cloud コンソールにログインする
個人の Google アカウントを使用して Google Cloud コンソールにログインします。
課金を有効にする
個人用の請求先アカウントを設定する
Google Cloud クレジットを使用して課金を設定した場合は、この手順をスキップできます。
個人用の請求先アカウントを設定するには、Cloud コンソールでこちらに移動して課金を有効にします。
注意事項:
- このラボを完了するのにかかる Cloud リソースの費用は 1 米ドル未満です。
- このラボの最後の手順に沿ってリソースを削除すると、それ以上の料金は発生しません。
- 新規ユーザーは、300 米ドル分の無料トライアルをご利用いただけます。
プロジェクトの作成(省略可)
このラボで使用する現在のプロジェクトがない場合は、こちらで新しいプロジェクトを作成します。
4. Cloud Shell エディタを開く
- このリンクをクリックすると、Cloud Shell エディタに直接移動します。
- 本日、承認を求めるメッセージがどこかの時点で表示された場合は、[承認] をクリックして続行します。
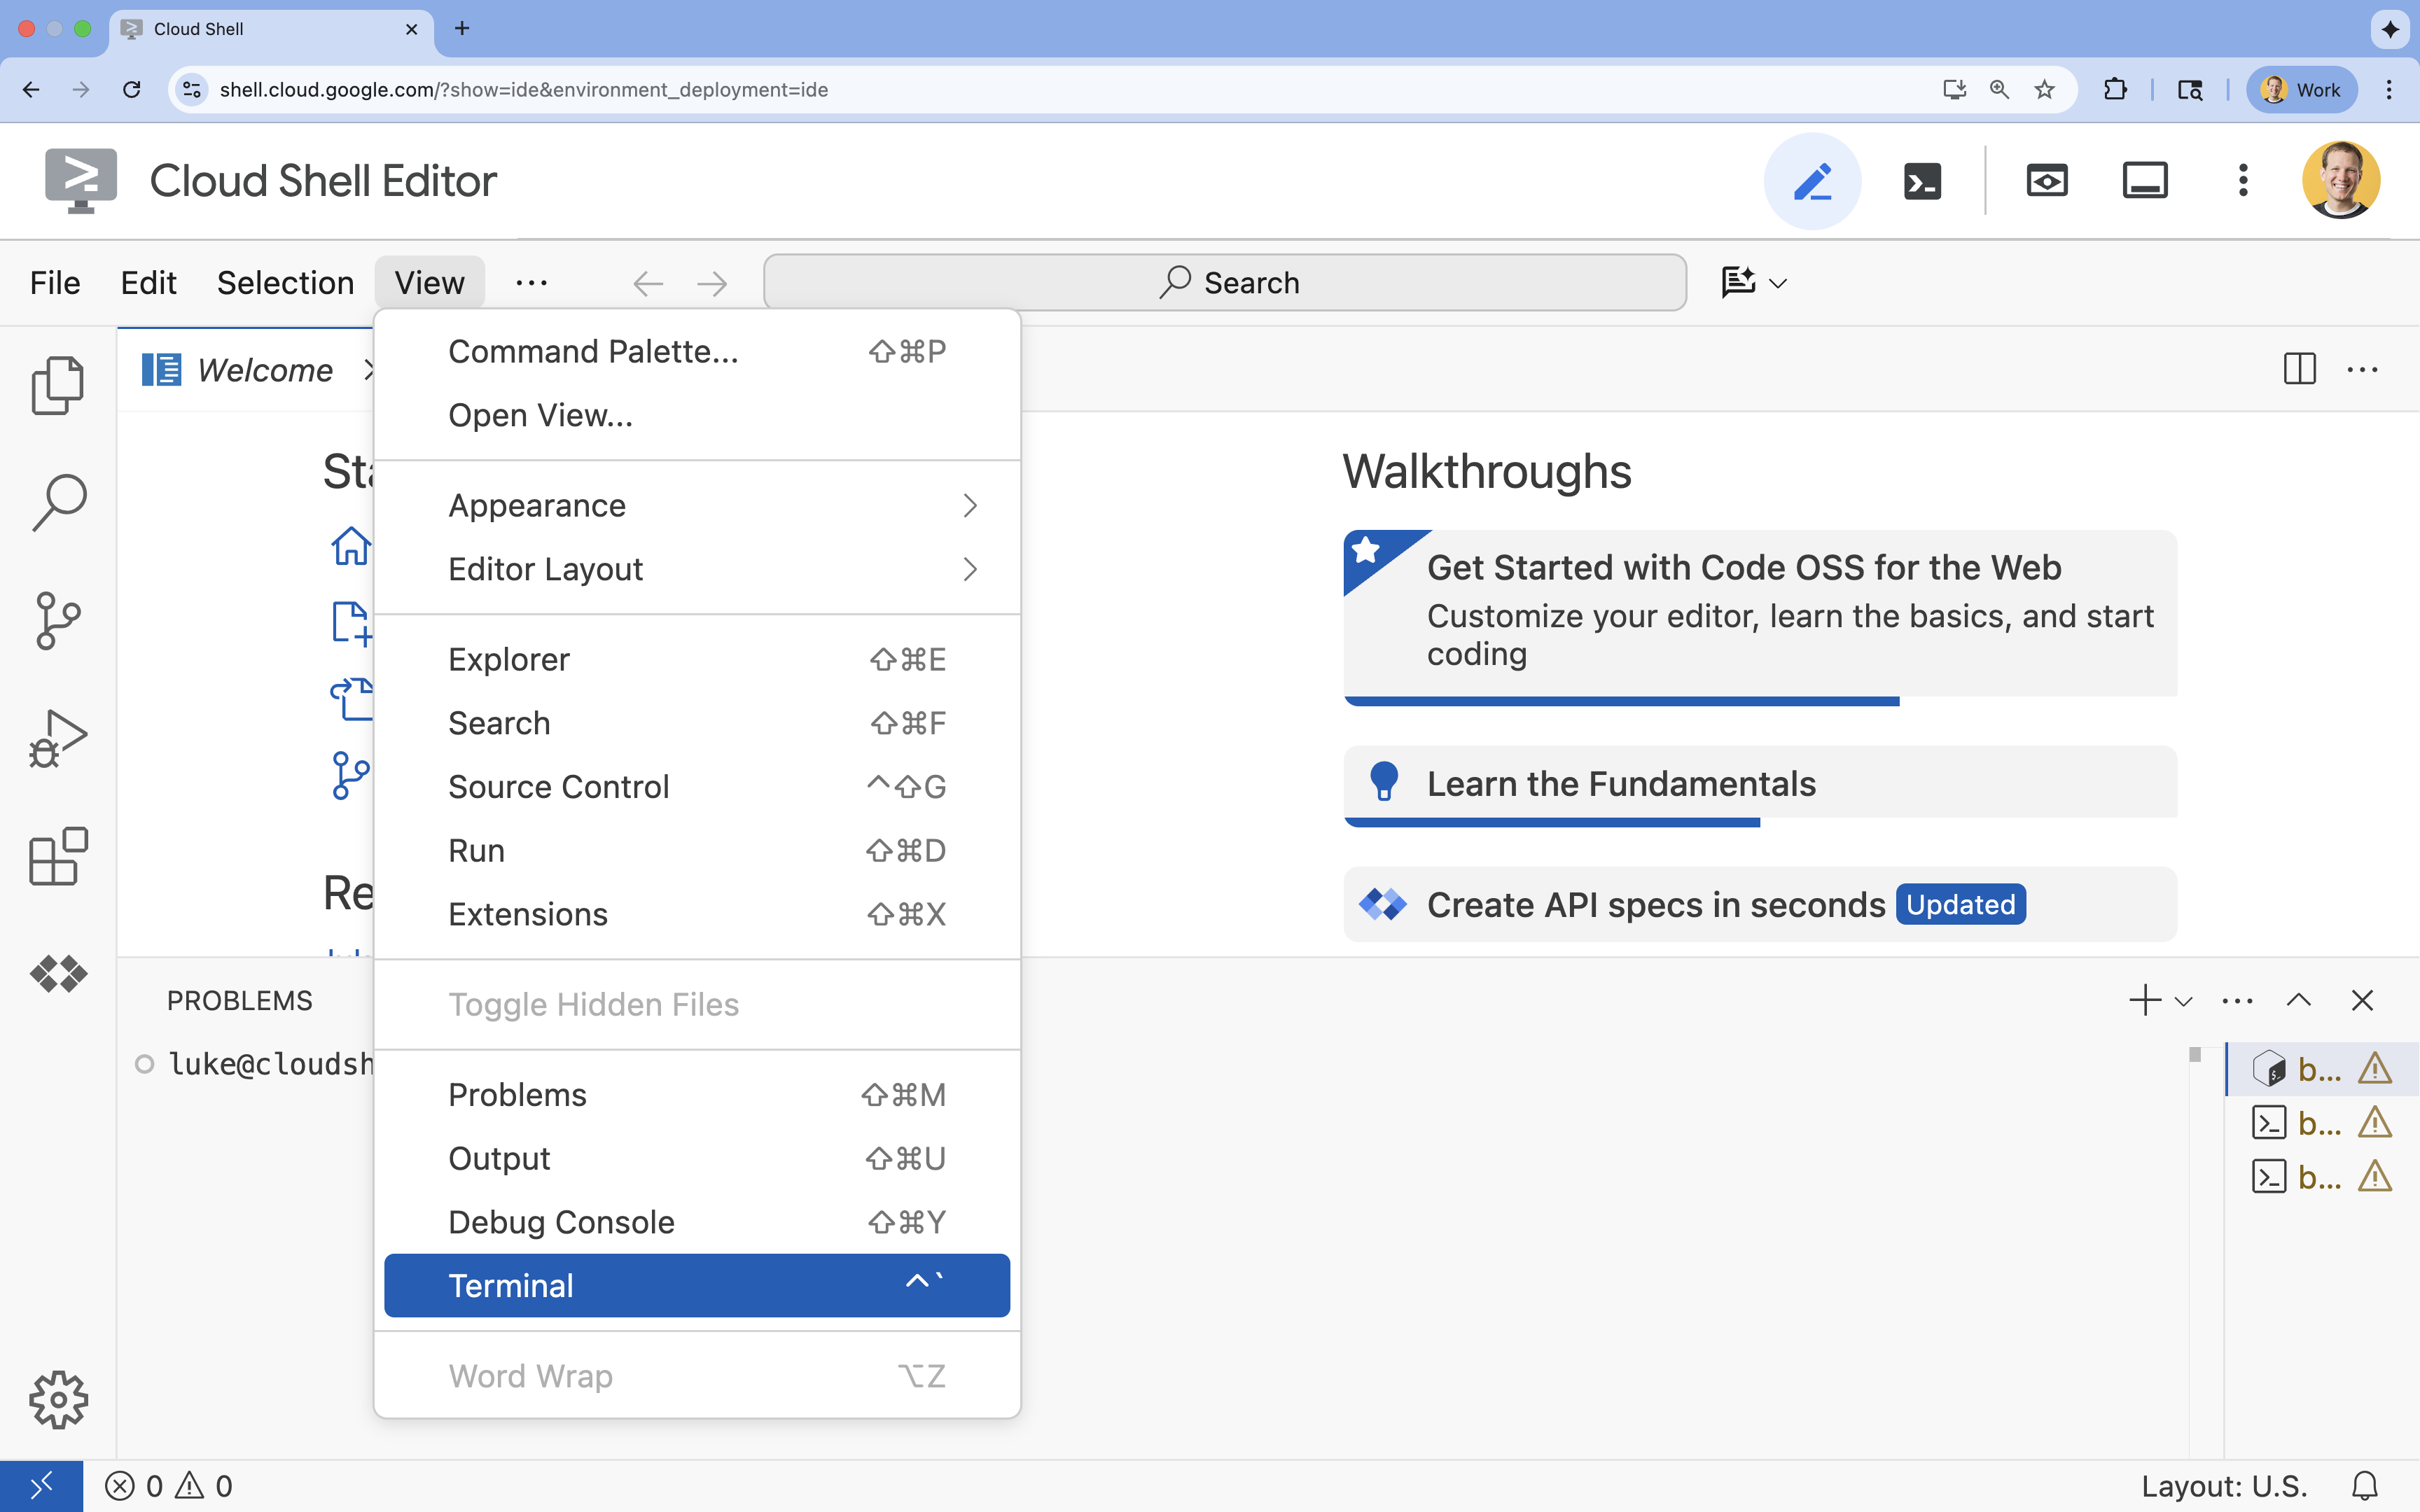
- ターミナルが画面の下部に表示されない場合は、ターミナルを開きます。
- [表示] をクリックします。
- [ターミナル] をクリックします。
5. プロジェクトを設定する
- ターミナルで、次のコマンドを使用してプロジェクトを設定します。
gcloud config set project [PROJECT_ID]gcloud config set project lab-project-id-example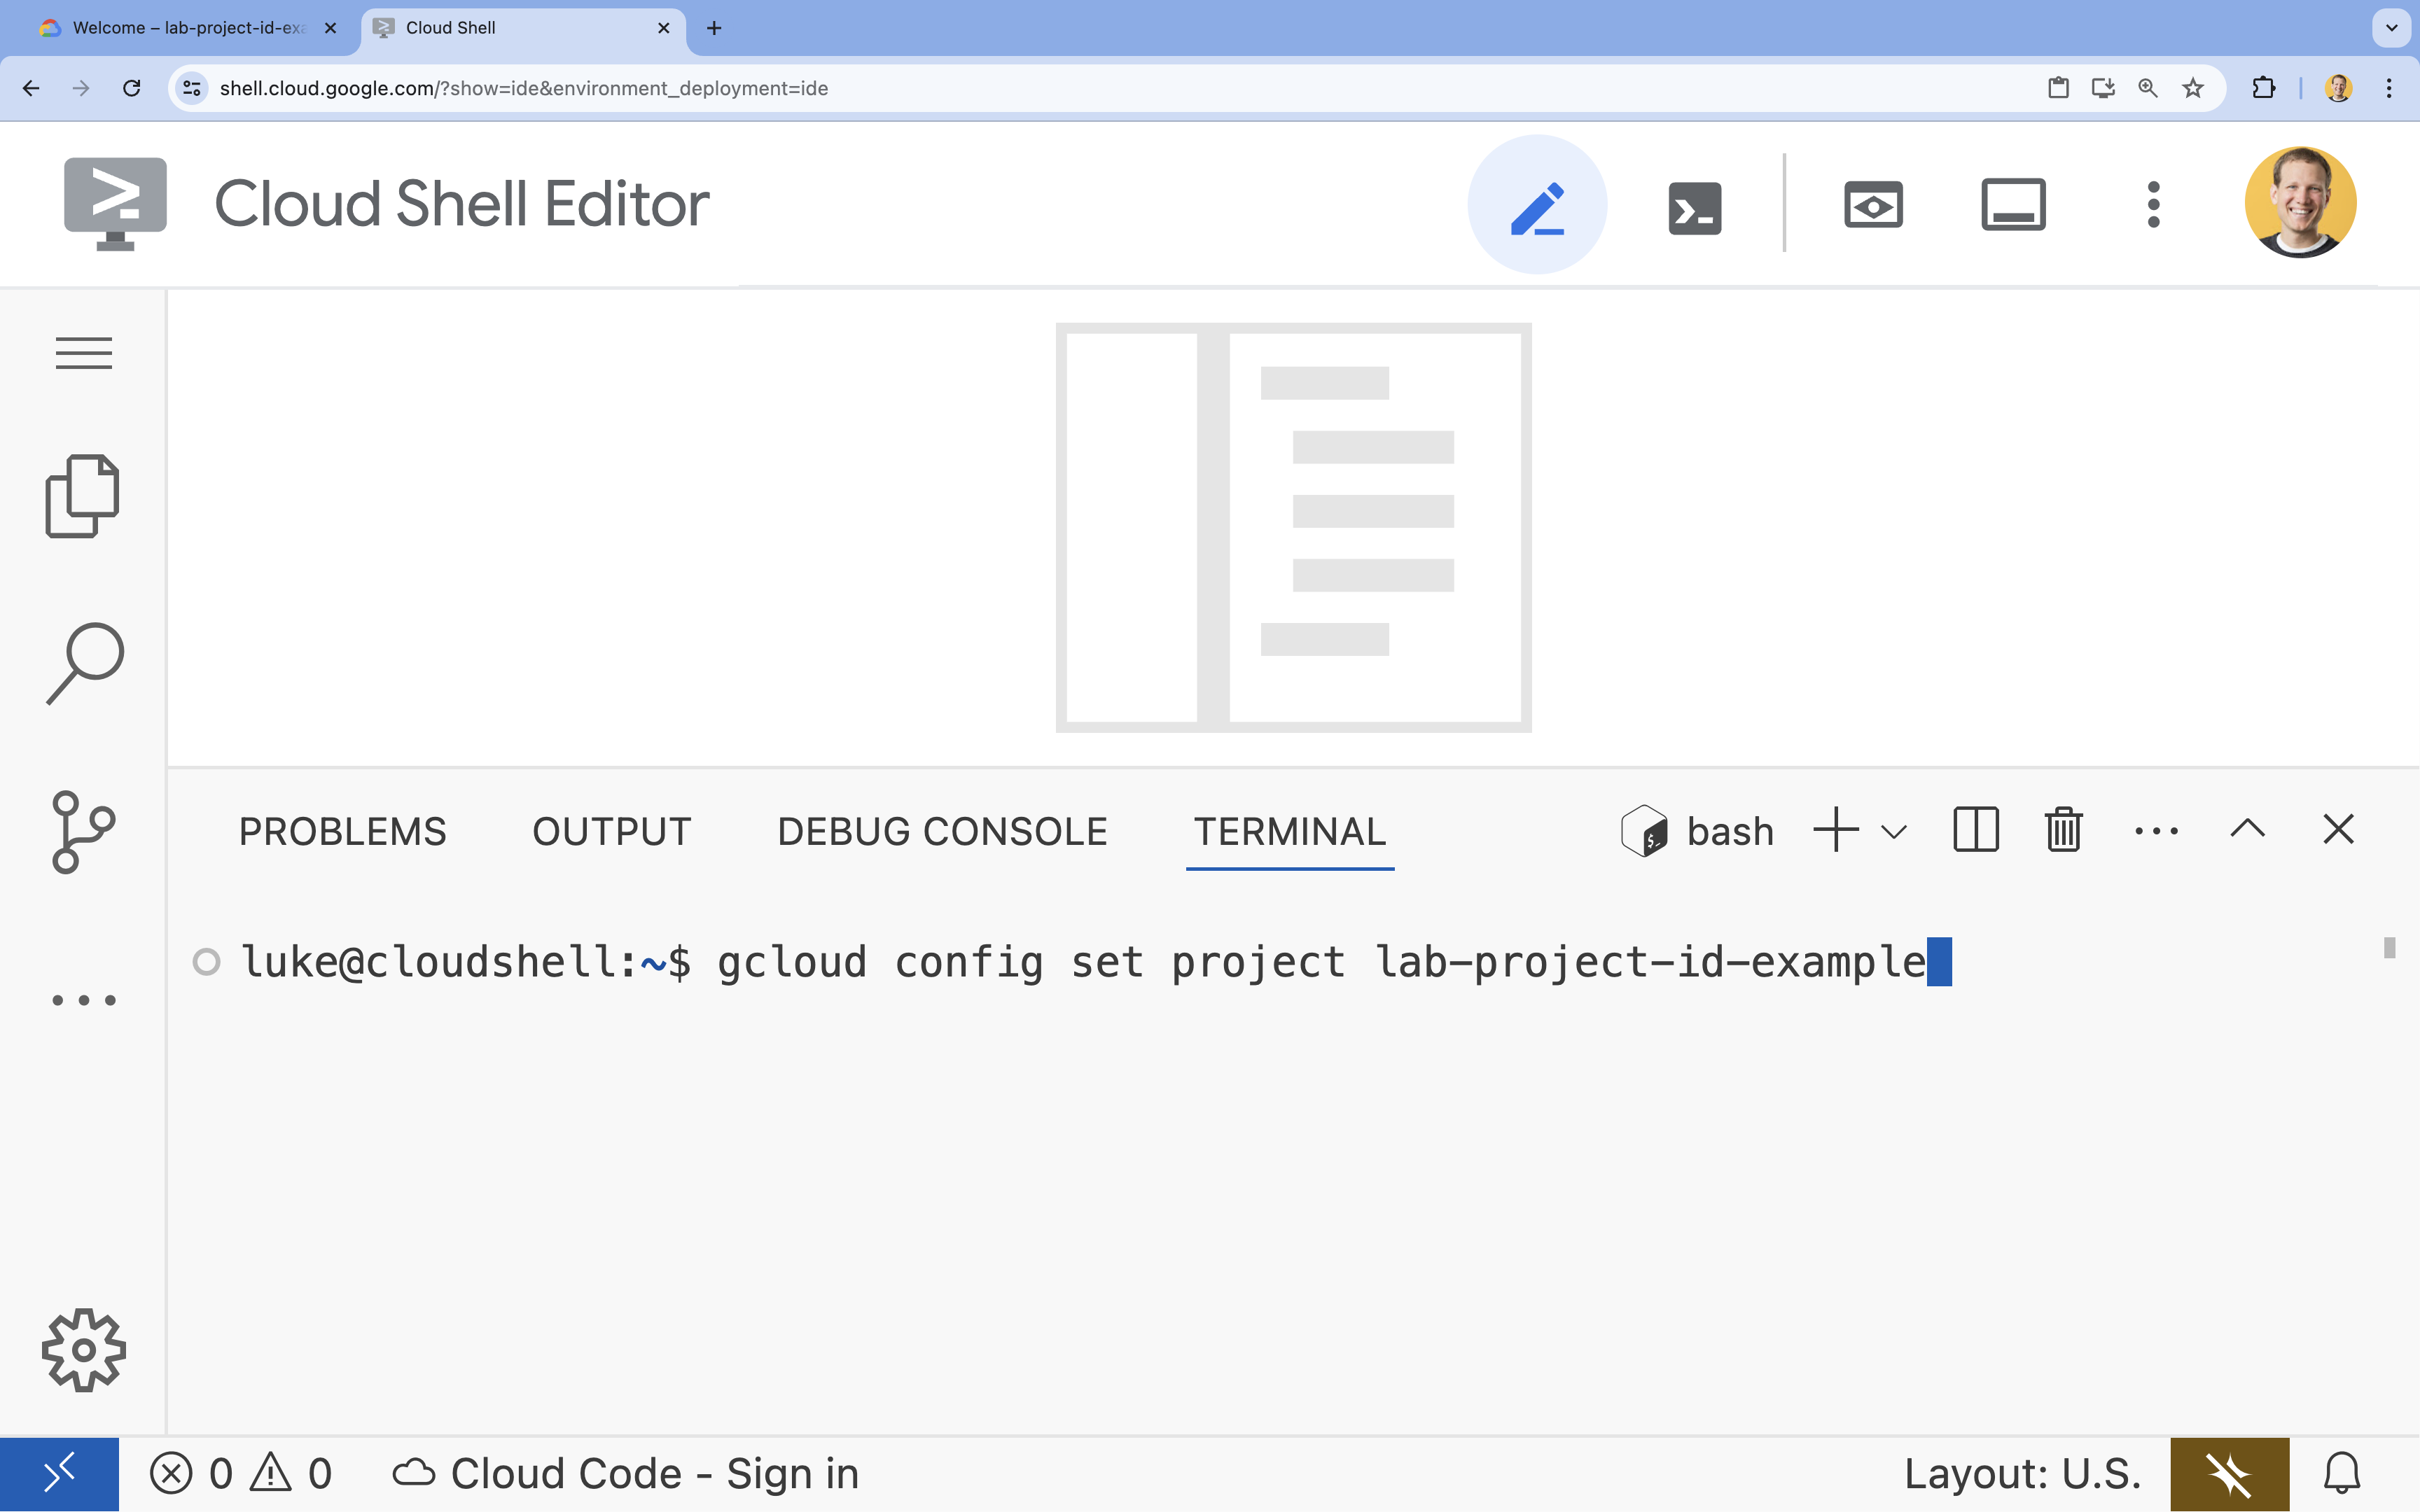
- 次のようなメッセージが表示されます。
Updated property [core/project].
6. API を有効にする
Cloud Run、Artifact Registry、Cloud Build、Vertex AI、Compute Engine を使用するには、Google Cloud プロジェクトでそれぞれの API を有効にする必要があります。
- ターミナルで、API を有効にします。
gcloud services enable \ run.googleapis.com \ artifactregistry.googleapis.com \ cloudbuild.googleapis.com \ aiplatform.googleapis.com \ compute.googleapis.comOperation "operations/acat.p2-[GUID]" finished successfully.
API の概要
- Cloud Run Admin API(
run.googleapis.com)を使用すると、フルマネージド環境でフロントエンド サービスとバックエンド サービス、バッチジョブ、ウェブサイトを実行できます。コンテナ化されたアプリケーションのデプロイとスケーリングのためのインフラストラクチャを処理します。 - Artifact Registry API(
artifactregistry.googleapis.com)は、コンテナ イメージを保存するための安全なプライベート リポジトリを提供します。これは Container Registry の進化版であり、Cloud Run および Cloud Build とシームレスに統合されます。 - Cloud Build API(
cloudbuild.googleapis.com)は、Google Cloud インフラストラクチャでビルドを実行するサーバーレス CI/CD プラットフォームです。これは、Dockerfile からクラウドでコンテナ イメージをビルドするために使用されます。 - Vertex AI API(
aiplatform.googleapis.com)を使用すると、デプロイされたアプリケーションが Gemini モデルと通信して、コア AI タスクを実行できます。Google Cloud のすべての AI サービスに統合 API を提供します。 - Compute Engine API(
compute.googleapis.com)は、Google のインフラストラクチャで実行される安全でカスタマイズ可能な仮想マシンを提供します。Cloud Run はマネージドですが、Compute Engine API はさまざまなネットワーキング リソースとコンピューティング リソースの基盤となる依存関係として必要になることがよくあります。
7. 開発環境を準備する
ディレクトリを作成する
- ターミナルで、プロジェクト ディレクトリと必要なサブディレクトリを作成します。
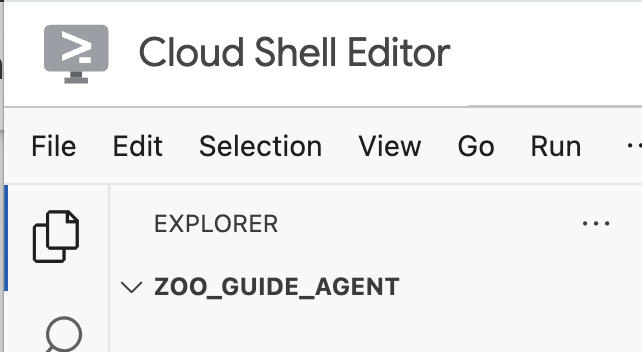
cd && mkdir zoo_guide_agent && cd zoo_guide_agent - ターミナルで次のコマンドを実行して、Cloud Shell エディタのエクスプローラで
zoo_guide_agentディレクトリを開きます。cloudshell open-workspace ~/zoo_guide_agent - 左側のエクスプローラ パネルが更新されます。作成したディレクトリが表示されます。
インストール要件
- ターミナルで次のコマンドを実行して、
requirements.txtファイルを作成します。cloudshell edit requirements.txt - 新しく作成した
requirements.txtファイルに次の内容を追加します。google-adk==1.14.0 langchain-community==0.3.27 wikipedia==1.4.0 - ターミナルで、uv を使用して仮想環境を作成して有効にします。これにより、プロジェクトの依存関係がシステムの Python と競合しないようになります。
uv venv source .venv/bin/activate - ターミナルで、必要なパッケージを仮想環境にインストールします。
uv pip install -r requirements.txt
環境変数を設定する
- ターミナルで次のコマンドを使用して、
.envファイルを作成します。# 1. Set the variables in your terminal first PROJECT_ID=$(gcloud config get-value project) PROJECT_NUMBER=$(gcloud projects describe $PROJECT_ID --format="value(projectNumber)") SA_NAME=lab2-cr-service # 2. Create the .env file using those variables cat <<EOF > .env PROJECT_ID=$PROJECT_ID PROJECT_NUMBER=$PROJECT_NUMBER SA_NAME=$SA_NAME SERVICE_ACCOUNT=${SA_NAME}@${PROJECT_ID}.iam.gserviceaccount.com MODEL="gemini-2.5-flash" EOF
8. エージェントのワークフローを作成する
__init__.py ファイルを作成する
- ターミナルで次のコマンドを実行して、init.py ファイルを作成します。
cloudshell edit __init__.py - 新しい
__init__.pyファイルに次のコードを追加します。from . import agent
agent.py ファイルを作成する
- 次のコマンドをターミナルに貼り付けて、メインの
agent.pyファイルを作成します。cloudshell edit agent.py - インポートと初期設定: 現在空の
agent.pyファイルに次のコードを追加します。import os import logging import google.cloud.logging from dotenv import load_dotenv from google.adk import Agent from google.adk.agents import SequentialAgent from google.adk.tools.tool_context import ToolContext from google.adk.tools.langchain_tool import LangchainTool from langchain_community.tools import WikipediaQueryRun from langchain_community.utilities import WikipediaAPIWrapper import google.auth import google.auth.transport.requests import google.oauth2.id_token # --- Setup Logging and Environment --- cloud_logging_client = google.cloud.logging.Client() cloud_logging_client.setup_logging() load_dotenv() model_name = os.getenv("MODEL")agent.pyファイルの最初のブロックでは、ADK と Google Cloud から必要なライブラリをすべて取り込みます。また、ロギングを設定し、.envファイルから環境変数を読み込みます。これは、モデルやサーバーの URL にアクセスするために必要です。 - ツールを定義する: エージェントの機能は、使用できるツールによって決まります。次のコードを
agent.pyの末尾に追加して、ツールを定義します。# Greet user and save their prompt def add_prompt_to_state( tool_context: ToolContext, prompt: str ) -> dict[str, str]: """Saves the user's initial prompt to the state.""" tool_context.state["PROMPT"] = prompt logging.info(f"[State updated] Added to PROMPT: {prompt}") return {"status": "success"} # Configuring the Wikipedia Tool wikipedia_tool = LangchainTool( tool=WikipediaQueryRun(api_wrapper=WikipediaAPIWrapper()) )add_prompt_to_state📝: このツールは、動物園の来園者が尋ねた内容を記憶します。たとえば、来園者が「ライオンはどこにいますか?」と尋ねると、このツールはその具体的な質問をエージェントのメモリに保存し、ワークフロー内の他のエージェントが次に調査すべきことを判断できるようになります。
方法: このツールは Python 関数として実装されており、訪問者のプロンプトを共有のtool_context.stateディクショナリに書き込みます。このツールのコンテキストは、1 回の会話におけるエージェントの短期記憶を表します。1 つのエージェントが State に保存したデータは、ワークフロー内の次のエージェントで読み取ることができます。LangchainTool🌍: このツールは、ツアーガイド エージェントに世界の一般的な知識を提供します。たとえば、来園者が「野生のライオンは何を食べるの?」など、動物園のデータベースに含まれない質問をした場合、エージェントはこのツールを使用して Wikipedia で回答を検索できます。
方法: このツールはアダプタとして機能し、エージェントが LangChain ライブラリの事前構築済み WikipediaQueryRun ツールを使用できるようにします。
- スペシャリスト エージェントを定義する: 次のコードを
agent.pyの末尾に追加して、comprehensive_researcherエージェントとresponse_formatterエージェントを定義します。# 1. Researcher Agent comprehensive_researcher = Agent( name="comprehensive_researcher", model=model_name, description="The primary researcher that can access both internal zoo data and external knowledge from Wikipedia.", instruction=""" You are a helpful research assistant. Your goal is to fully answer the user's PROMPT. You have access to two tools: 1. A tool for getting specific data about animals AT OUR ZOO (names, ages, locations). 2. A tool for searching Wikipedia for general knowledge (facts, lifespan, diet, habitat). First, analyze the user's PROMPT. - If the prompt can be answered by only one tool, use that tool. - If the prompt is complex and requires information from both the zoo's database AND Wikipedia, you MUST use both tools to gather all necessary information. - Synthesize the results from the tool(s) you use into preliminary data outputs. PROMPT: { PROMPT } """, tools=[ wikipedia_tool ], output_key="research_data" # A key to store the combined findings ) # 2. Response Formatter Agent response_formatter = Agent( name="response_formatter", model=model_name, description="Synthesizes all information into a friendly, readable response.", instruction=""" You are the friendly voice of the Zoo Tour Guide. Your task is to take the RESEARCH_DATA and present it to the user in a complete and helpful answer. - First, present the specific information from the zoo (like names, ages, and where to find them). - Then, add the interesting general facts from the research. - If some information is missing, just present the information you have. - Be conversational and engaging. RESEARCH_DATA: { research_data } """ )comprehensive_researcherエージェントは、オペレーション全体の「頭脳」として機能します。共有されたStateからユーザーのプロンプトを取得し、Wikipedia ツールを調べて、どちらを使って回答を検索するかを判断します。response_formatterエージェントの役割はプレゼンテーションです。リサーチャー エージェントが収集した元データを State から取得します。そのデータを LLM の言語能力で整形し、フレンドリーな会話形式の回答へと変換します。
- ワークフロー エージェントを定義する: 次のコードブロックを
agent.pyの末尾に追加して、シーケンシャル エージェントtour_guide_workflowを定義します。tour_guide_workflow = SequentialAgent( name="tour_guide_workflow", description="The main workflow for handling a user's request about an animal.", sub_agents=[ comprehensive_researcher, # Step 1: Gather all data response_formatter, # Step 2: Format the final response ] )
方法: このエージェントはSequentialAgentとして動作し、自身で推論を行わない特別なタイプのエージェントです。唯一の役割は、sub_agents(リサーチャー エージェントと回答フォーマッタ エージェント)のリストを、あらかじめ定められた順序で実行することです。実行時には、共有メモリを自動的に受け渡しながら処理を進めます。 - メインのワークフローを組み立てる: 次の最後のコードブロックを
agent.pyの末尾に追加して、root_agentを定義します。root_agent = Agent( name="greeter", model=model_name, description="The main entry point for the Zoo Tour Guide.", instruction=""" - Let the user know you will help them learn about the animals we have in the zoo. - When the user responds, use the 'add_prompt_to_state' tool to save their response. After using the tool, transfer control to the 'tour_guide_workflow' agent. """, tools=[add_prompt_to_state], sub_agents=[tour_guide_workflow] )root_agentがすべての新規会話の出発地になります。主な役割は、プロセス全体をオーケストレートすることです。初期コントローラとして会話の最初のやり取りを管理します。
完全な agent.py ファイル
これで agent.py ファイルが完成しました。このように構築することで、各コンポーネント(ツール、ワーカー エージェント、マネージャー エージェント)が、最終的なインテリジェント システムの中で、それぞれ明確な役割を担っていることがわかります。
完全なファイルは次のようになります。
import os
import logging
import google.cloud.logging
from dotenv import load_dotenv

from google.adk import Agent
from google.adk.agents import SequentialAgent
from google.adk.tools.tool_context import ToolContext
from google.adk.tools.langchain_tool import LangchainTool

from langchain_community.tools import WikipediaQueryRun
from langchain_community.utilities import WikipediaAPIWrapper

import google.auth
import google.auth.transport.requests
import google.oauth2.id_token

# --- Setup Logging and Environment ---

cloud_logging_client = google.cloud.logging.Client()
cloud_logging_client.setup_logging()

load_dotenv()

model_name = os.getenv("MODEL")
# Greet user and save their prompt

def add_prompt_to_state(
    tool_context: ToolContext, prompt: str
) -> dict[str, str]:
    """Saves the user's initial prompt to the state."""
    tool_context.state["PROMPT"] = prompt
    logging.info(f"[State updated] Added to PROMPT: {prompt}")
    return {"status": "success"}

# Configuring the Wikipedia Tool
wikipedia_tool = LangchainTool(
    tool=WikipediaQueryRun(api_wrapper=WikipediaAPIWrapper())
)
# 1. Researcher Agent
comprehensive_researcher = Agent(
    name="comprehensive_researcher",
    model=model_name,
    description="The primary researcher that can access both internal zoo data and external knowledge from Wikipedia.",
    instruction="""
    You are a helpful research assistant. Your goal is to fully answer the user's PROMPT.
    You have access to two tools:
    1. A tool for getting specific data about animals AT OUR ZOO (names, ages, locations).
    2. A tool for searching Wikipedia for general knowledge (facts, lifespan, diet, habitat).

    First, analyze the user's PROMPT.
    - If the prompt can be answered by only one tool, use that tool.
    - If the prompt is complex and requires information from both the zoo's database AND Wikipedia,
      you MUST use both tools to gather all necessary information.
    - Synthesize the results from the tool(s) you use into preliminary data outputs.

    PROMPT:
    { PROMPT }
    """,
    tools=[
        wikipedia_tool
    ],
    output_key="research_data" # A key to store the combined findings
)

# 2. Response Formatter Agent
response_formatter = Agent(
    name="response_formatter",
    model=model_name,
    description="Synthesizes all information into a friendly, readable response.",
    instruction="""
    You are the friendly voice of the Zoo Tour Guide. Your task is to take the
    RESEARCH_DATA and present it to the user in a complete and helpful answer.

    - First, present the specific information from the zoo (like names, ages, and where to find them).
    - Then, add the interesting general facts from the research.
    - If some information is missing, just present the information you have.
    - Be conversational and engaging.

    RESEARCH_DATA:
    { research_data }
    """
)
tour_guide_workflow = SequentialAgent(
    name="tour_guide_workflow",
    description="The main workflow for handling a user's request about an animal.",
    sub_agents=[
        comprehensive_researcher, # Step 1: Gather all data
        response_formatter,       # Step 2: Format the final response
    ]
)
root_agent = Agent(
    name="greeter",
    model=model_name,
    description="The main entry point for the Zoo Tour Guide.",
    instruction="""
    - Let the user know you will help them learn about the animals we have in the zoo.
    - When the user responds, use the 'add_prompt_to_state' tool to save their response.
    After using the tool, transfer control to the 'tour_guide_workflow' agent.
    """,
    tools=[add_prompt_to_state],
    sub_agents=[tour_guide_workflow]
)
それでは、デプロイに進みましょう。
9. デプロイに向けてアプリケーションを準備する
最終的な構造を確認する
デプロイする前に、プロジェクト ディレクトリに正しいファイルが含まれていることを確認します。
zoo_guide_agentフォルダが次のようになっていることを確認します。zoo_guide_agent/ ├── .env ├── __init__.py ├── agent.py └── requirements.txt
IAM 権限を設定する
ローカルコードの準備が整ったら、次はエージェントがクラウドで使用する ID を設定します。
- ターミナルで、変数をシェル セッションに読み込みます。
source .env - Cloud Run サービス専用のサービス アカウントを作成して、独自の特定の権限を付与します。次の内容をターミナルに貼り付けます。
gcloud iam service-accounts create ${SA_NAME} \ --display-name="Service Account for lab 2 " - サービス アカウントに Vertex AI ユーザーロールを付与します。これにより、Google のモデルを呼び出す権限がサービス アカウントに付与されます。
# Grant the "Vertex AI User" role to your service account
gcloud projects add-iam-policy-binding $PROJECT_ID \
  --member="serviceAccount:$SERVICE_ACCOUNT" \
  --role="roles/aiplatform.user"
10. ADK CLI を使用してエージェントをデプロイする
ローカルコードの準備が整い、Google Cloud プロジェクトも用意できたので、次はエージェントをデプロイします。ここでは、デプロイ ワークフロー全体を自動化する便利なツールである adk deploy cloud_run コマンドを使用します。1 つのコマンドで、コードのパッケージ化、コンテナ イメージのビルド、Artifact Registry への push、Cloud Run でのサービスの起動までを行い、ウェブからアクセスできる状態にします。
- ターミナルで次のコマンドを実行して、エージェントをデプロイします。
# Run the deployment command uvx --from google-adk==1.14.0 \ adk deploy cloud_run \ --project=$PROJECT_ID \ --region=europe-west1 \ --service_name=zoo-tour-guide \ --with_ui \ . \ -- \ --labels=dev-tutorial=codelab-adk \ --service-account=$SERVICE_ACCOUNTuvxコマンドを使用すると、Python パッケージとして公開されたコマンドライン ツールを、グローバルにインストールしなくても実行できます。 - 次のプロンプトが表示された場合:
Deploying from source requires an Artifact Registry Docker repository to store built containers. A repository named [cloud-run-source-deploy] in region
[europe-west1] will be created.

Do you want to continue (Y/n)?
Y」と入力して Enter キーを押します。 - 次のプロンプトが表示された場合:
Allow unauthenticated invocations to [your-service-name] (y/N)?.
y」と入力して Enter キーを押します。これにより、このラボでは未認証の呼び出しが可能になり、テストが容易になります。 コマンドが正常に実行されると、デプロイされた Cloud Run サービスの URL が提供されます。(https://zoo-tour-guide-123456789.europe-west1.run.appのようになります)。 - 次のタスクのために、デプロイされた Cloud Run サービスの URL をコピーします。
11. デプロイしたエージェントをテストする
エージェントが Cloud Run で稼働するようになったので、デプロイが成功したことと、エージェントが想定どおりに動作していることを確認するテストを行います。公開サービス URL(https://zoo-tour-guide-123456789.europe-west1.run.app/ など)を使用して ADK のウェブ インターフェースにアクセスし、エージェントとやり取りします。
- ウェブブラウザで公開 Cloud Run サービス URL を開きます。
--with_ui flagを使用したため、ADK のデベロッパー UI が表示されます。 - 右上にある
Token Streamingをオンにします。
これで、動物園エージェントとやり取りできるようになりました。 - 「
hello」と入力して Enter キーを押すと、新しい会話が始まります。 - 結果を確認します。エージェントは、次のような挨拶をすぐに返します。
"Hello! I'm your Zoo Tour Guide. I can help you learn about the amazing animals we have here. What would you like to know or explore today?"
- エージェントに次のような質問をします。
Where can I find the polar bears in the zoo and what is their diet?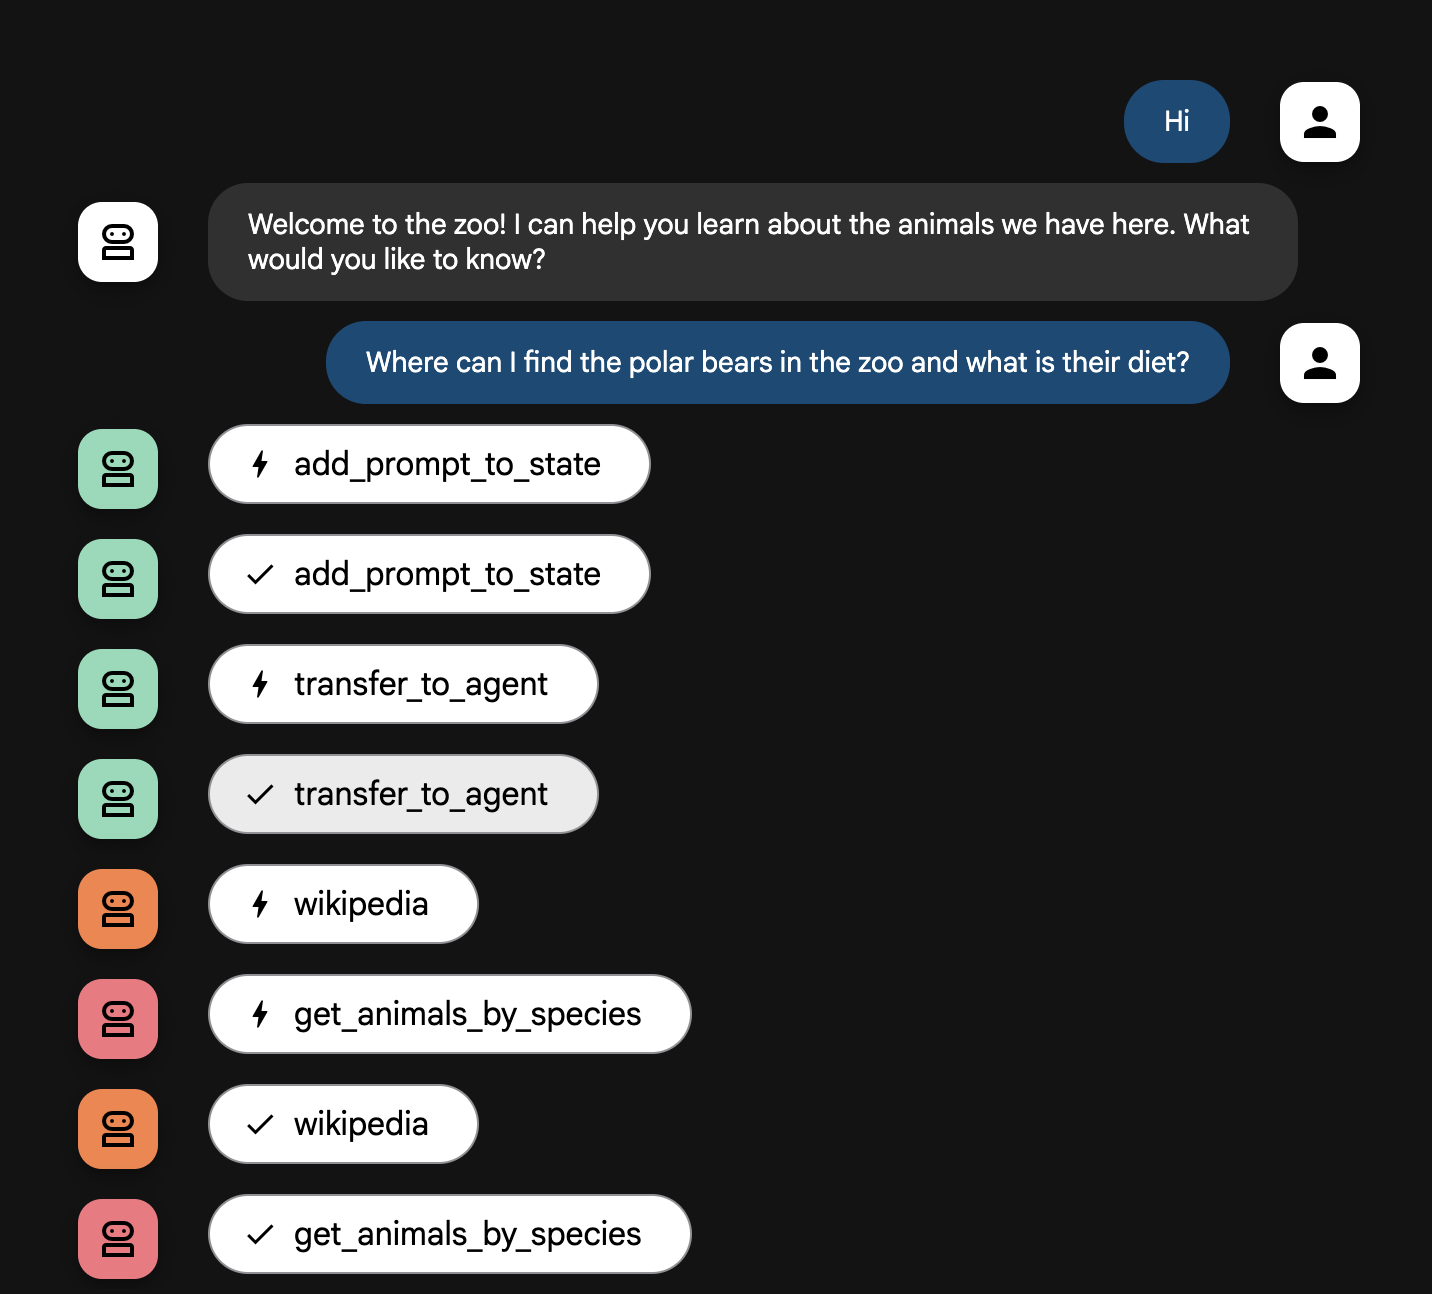

エージェント フローの説明
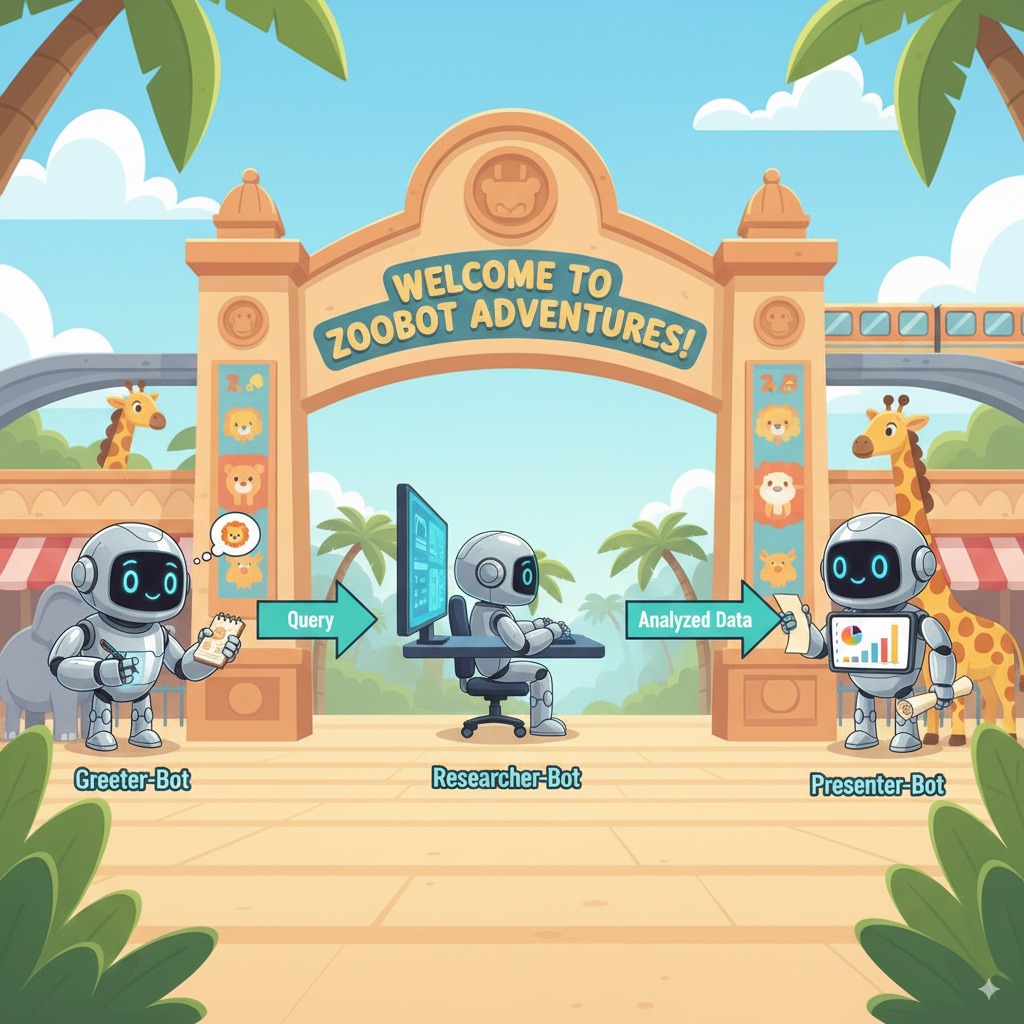
システムはインテリジェントなマルチエージェントのチームとして機能します。このプロセスは明確な順序で管理されているため、ユーザーの質問から最終的な詳細回答に至るまでのフローは、スムーズかつ効率的です。
1. 動物園の案内係(ウェルカム デスク)
プロセス全体は、案内係エージェントから始まります。
- 役割: 会話を始めることです。ユーザーに挨拶し、どの動物について知りたいかを尋ねるように指示されています。
- ツール: ユーザーが応答すると、案内係は add_prompt_to_state ツールを使用して、ユーザーの発言(例: 「ライオンについて教えて」)をそのままキャプチャし、システムメモリに保存します。
- 引き継ぎ: プロンプトを保存すると、すぐにサブエージェントである tour_guide_workflow に制御が移ります。
2. 包括的リサーチャー(スーパー リサーチャー)
メイン ワークフローの最初のステップであり、オペレーション全体の「頭脳」として機能します。大規模なチームではなく、利用可能なすべての情報にアクセスできる、高いスキルを持つエージェントが 1 人いるイメージです。
- 役割: ユーザーの質問を分析し、インテリジェントな計画を立てます。言語モデルのツール使用能力を活用して、次のどの情報源を使うべきかを判断します。
- ウェブからの一般的な知識(Wikipedia API 経由)。
- 複雑な質問の場合はその両方。
3. 回答フォーマッタ(プレゼンター)
包括的リサーチャーがすべての情報を収集した後、最後に実行されるエージェントです。
- 役割: 動物園ツアーガイドのフレンドリーな声として機能します。1 つまたは両方の情報源から収集した元データを取り込み、推敲します。
- 動作: すべての情報を統合し、一貫性があり、わかりやすく魅力的な回答へと仕上げます。指示に従い、まず動物園の具体的な情報を提示し、次に興味深い一般的な事実を追加します。
- 最終結果: このエージェントが生成したテキストは、ユーザーがチャット ウィンドウで確認できる、完全で詳細な回答です。
エージェントの構築について詳しくは、以下のリソースをご覧ください。
12. 環境をクリーンアップする
このチュートリアルで使用したリソースについて、Google Cloud アカウントに課金されないようにするには、リソースを含むプロジェクトを削除するか、プロジェクトを維持して個々のリソースを削除します。
Cloud Run サービスとイメージを削除する
Google Cloud プロジェクトを残し、このラボで作成した特定のリソースを削除する場合は、実行中のサービスとレジストリに保存されているコンテナ イメージの両方を削除する必要があります。
- ターミナルで次のコマンドを実行します。
gcloud run services delete zoo-tour-guide --region=europe-west1 --quiet
gcloud artifacts repositories delete cloud-run-source-deploy --location=europe-west1 --quiet
プロジェクトを削除する(省略可)
このラボ専用に新しいプロジェクトを作成し、今後使用する予定がない場合は、プロジェクト全体を削除するのが最も簡単なクリーンアップ方法です。これにより、すべてのリソース(サービス アカウントや非表示のビルド アーティファクトなど)が完全に削除されます。
- ターミナルで次のコマンドを実行します([YOUR_PROJECT_ID] は実際のプロジェクト ID に置き換えます)。
gcloud projects delete $PROJECT_ID
13. 完了
これで、マルチエージェント AI アプリケーションを Google Cloud に正常に構築してデプロイできました。
内容のまとめ
このラボでは、空のディレクトリから一般公開の AI サービスを作成しました。作成した内容は次のとおりです。
- 専門チームを作成した: 汎用的な AI を 1 つ作成するのではなく、事実を見つける「研究者」と回答を洗練させる「フォーマッタ」を作成しました。
- ツールを提供した: Wikipedia API を使用して、エージェントを外部の世界に接続しました。
- デプロイ済み: ローカルの Python コードを取得し、専用のサービス アカウントで保護されたサーバーレス コンテナとして Cloud Run にデプロイしました。
学習した内容
- ADK でのデプロイ用に Python プロジェクトを構造化する方法。
[SequentialAgent](https://google.github.io/adk-docs/agents/workflow-agents/sequential-agents/)を使用してマルチエージェント ワークフローを実装する方法。- Wikipedia API などの外部ツールを統合する方法。
adk deployコマンドを使用してエージェントを Cloud Run にデプロイする方法。
14. アンケート
出力: