
1. 简介
在本实验中,您将重点练习实现和部署客户端智能体服务。您将使用智能体开发套件 (ADK) 构建一个使用工具的 AI 智能体。
在本实验中,我们将构建一个动物园智能体,该智能体使用维基百科来回答有关动物的问题。

最后,我们将导游智能体部署到 Google Cloud Run,而不是只在本地运行。
前提条件
- 启用了结算功能的 Google Cloud 项目。
学习内容
- 如何构建一个 Python 项目,用于部署 ADK。
- 如何使用 google-adk 实现一个使用工具的智能体。
- 如何将 Python 应用作为无服务器容器部署到 Cloud Run。
- 如何使用 IAM 角色配置安全的服务间身份验证。
- 如何删除 Cloud 资源,避免以后产生费用。
所需条件
- Google Cloud 账号和 Google Cloud 项目
- 网络浏览器,例如 Chrome
2. 为何要部署到 Cloud Run?
Cloud Run 是托管 ADK 代理的绝佳选择,因为它是一个无服务器平台,这意味着您可以专注于代码,而无需管理底层基础设施。我们会为您处理运维工作。
您可以将其想象成一家快闪店:只在客户(请求)上门时开门营业并使用资源。没有顾客时,它会完全关闭,您无需为空店支付费用。
主要功能
在任何地方运行容器:
- 您需要提供一个包含应用的容器(Docker 映像)。
- Cloud Run 会在 Google 的基础设施上运行该容器。
- 不用负责为操作系统打补丁、设置虚拟机或扩缩。
自动扩缩:
- 如果没有人在使用您的应用 → 运行 0 个实例(缩减到零个实例,可节省费用)。
- 如果有 1,000 个请求发送到该服务 → 它会根据需要启动相应数量的副本。
默认为无状态:
- 每个请求都可以发送到不同的实例。
- 如果需要存储状态,请使用 Cloud SQL、Firestore 或 Memorystore 等外部服务。
支持任何语言或框架:
- 只要能在 Linux 容器中运行,Cloud Run 就不在乎它是 Python、Go、Node.js、Java 还是 .Net。
用多少,付多少:
3. 项目设置
Google 账号
如果您还没有个人 Google 账号,则必须先创建一个 Google 账号。
请改用个人账号,而不是工作账号或学校账号。
登录 Google Cloud 控制台
使用个人 Google 账号登录 Google Cloud 控制台。
启用结算功能
设置个人结算账号
如果您使用 Google Cloud 抵用金设置了结算,则可以跳过此步骤。
如需设置个人结算账号,请点击此处在 Cloud 控制台中启用结算功能。
注意事项:
- 完成本实验的 Cloud 资源费用应低于 1 美元。
- 您可以按照本实验末尾的步骤删除资源,以避免产生更多费用。
- 新用户符合参与 $300 USD 免费试用计划的条件。
创建项目(可选)
如果您没有要用于此实验的当前项目,请在此处创建一个新项目。
4. 打开 Cloud Shell Editor
- 点击此链接可直接前往 Cloud Shell 编辑器
- 如果系统在今天任何时间提示您进行授权,请点击授权继续。
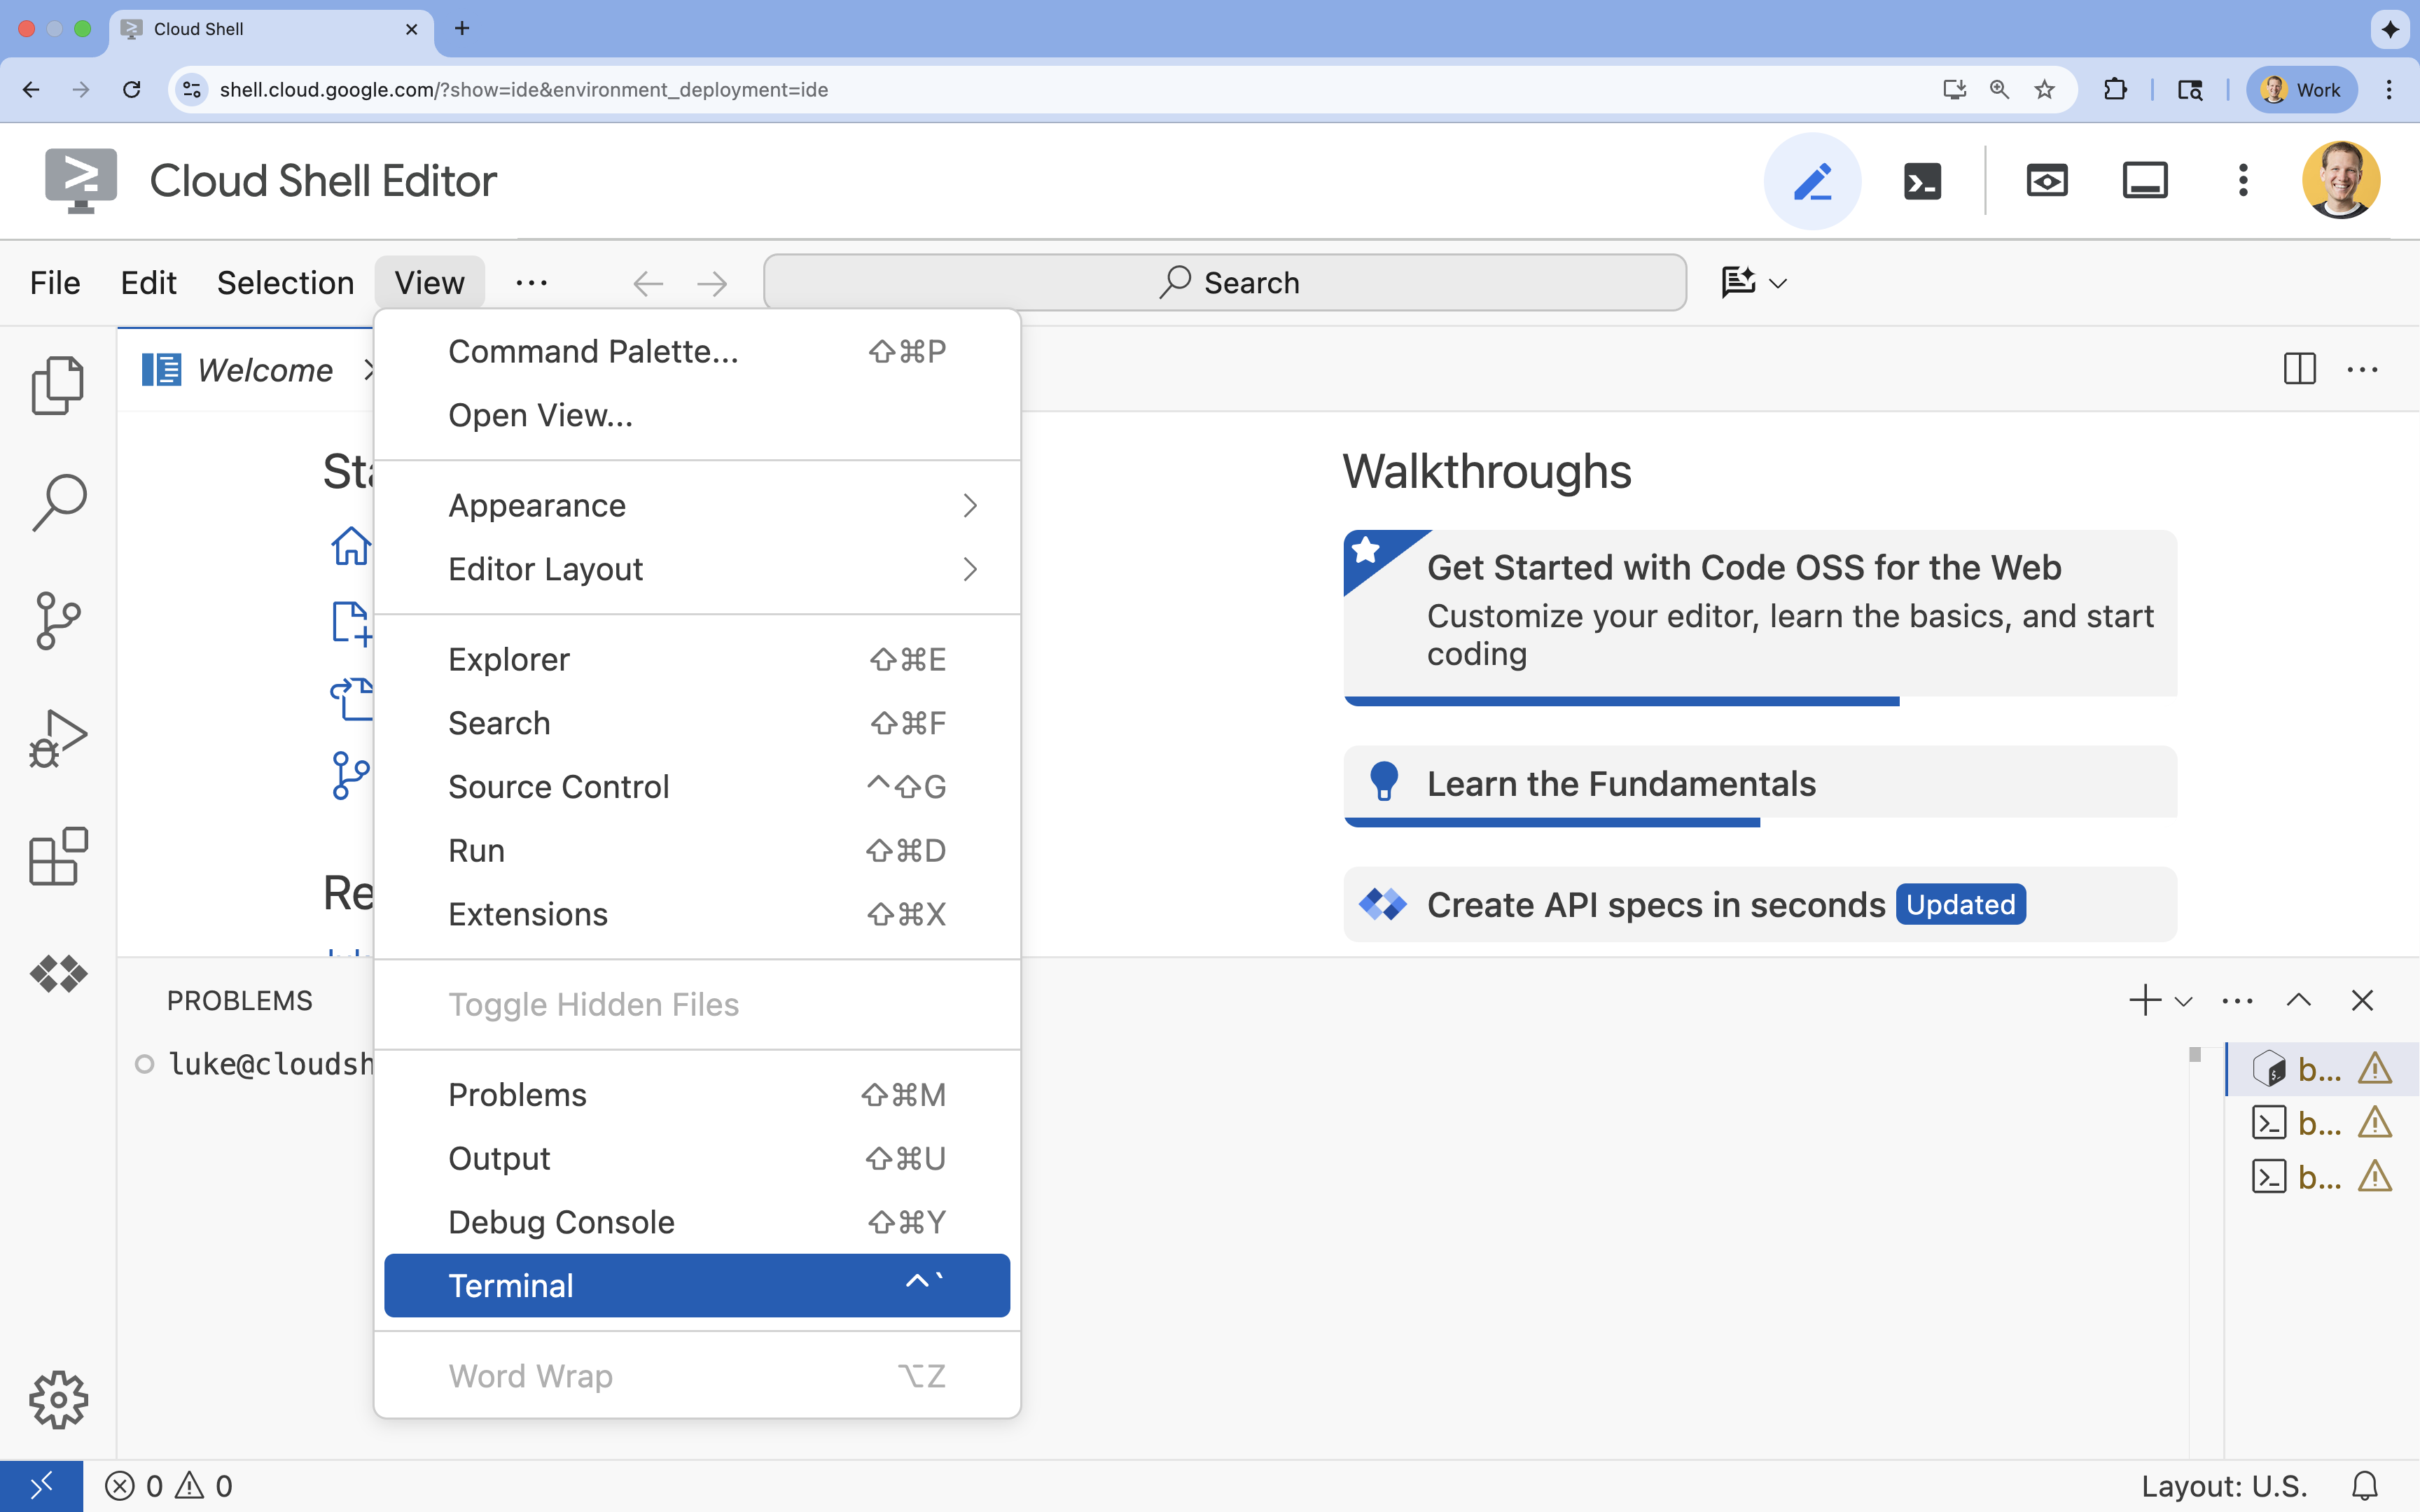
- 如果终端未显示在屏幕底部,请打开它:
- 点击查看
- 点击终端
5. 设置项目
- 在终端中,使用以下命令设置项目:
gcloud config set project [PROJECT_ID]gcloud config set project lab-project-id-example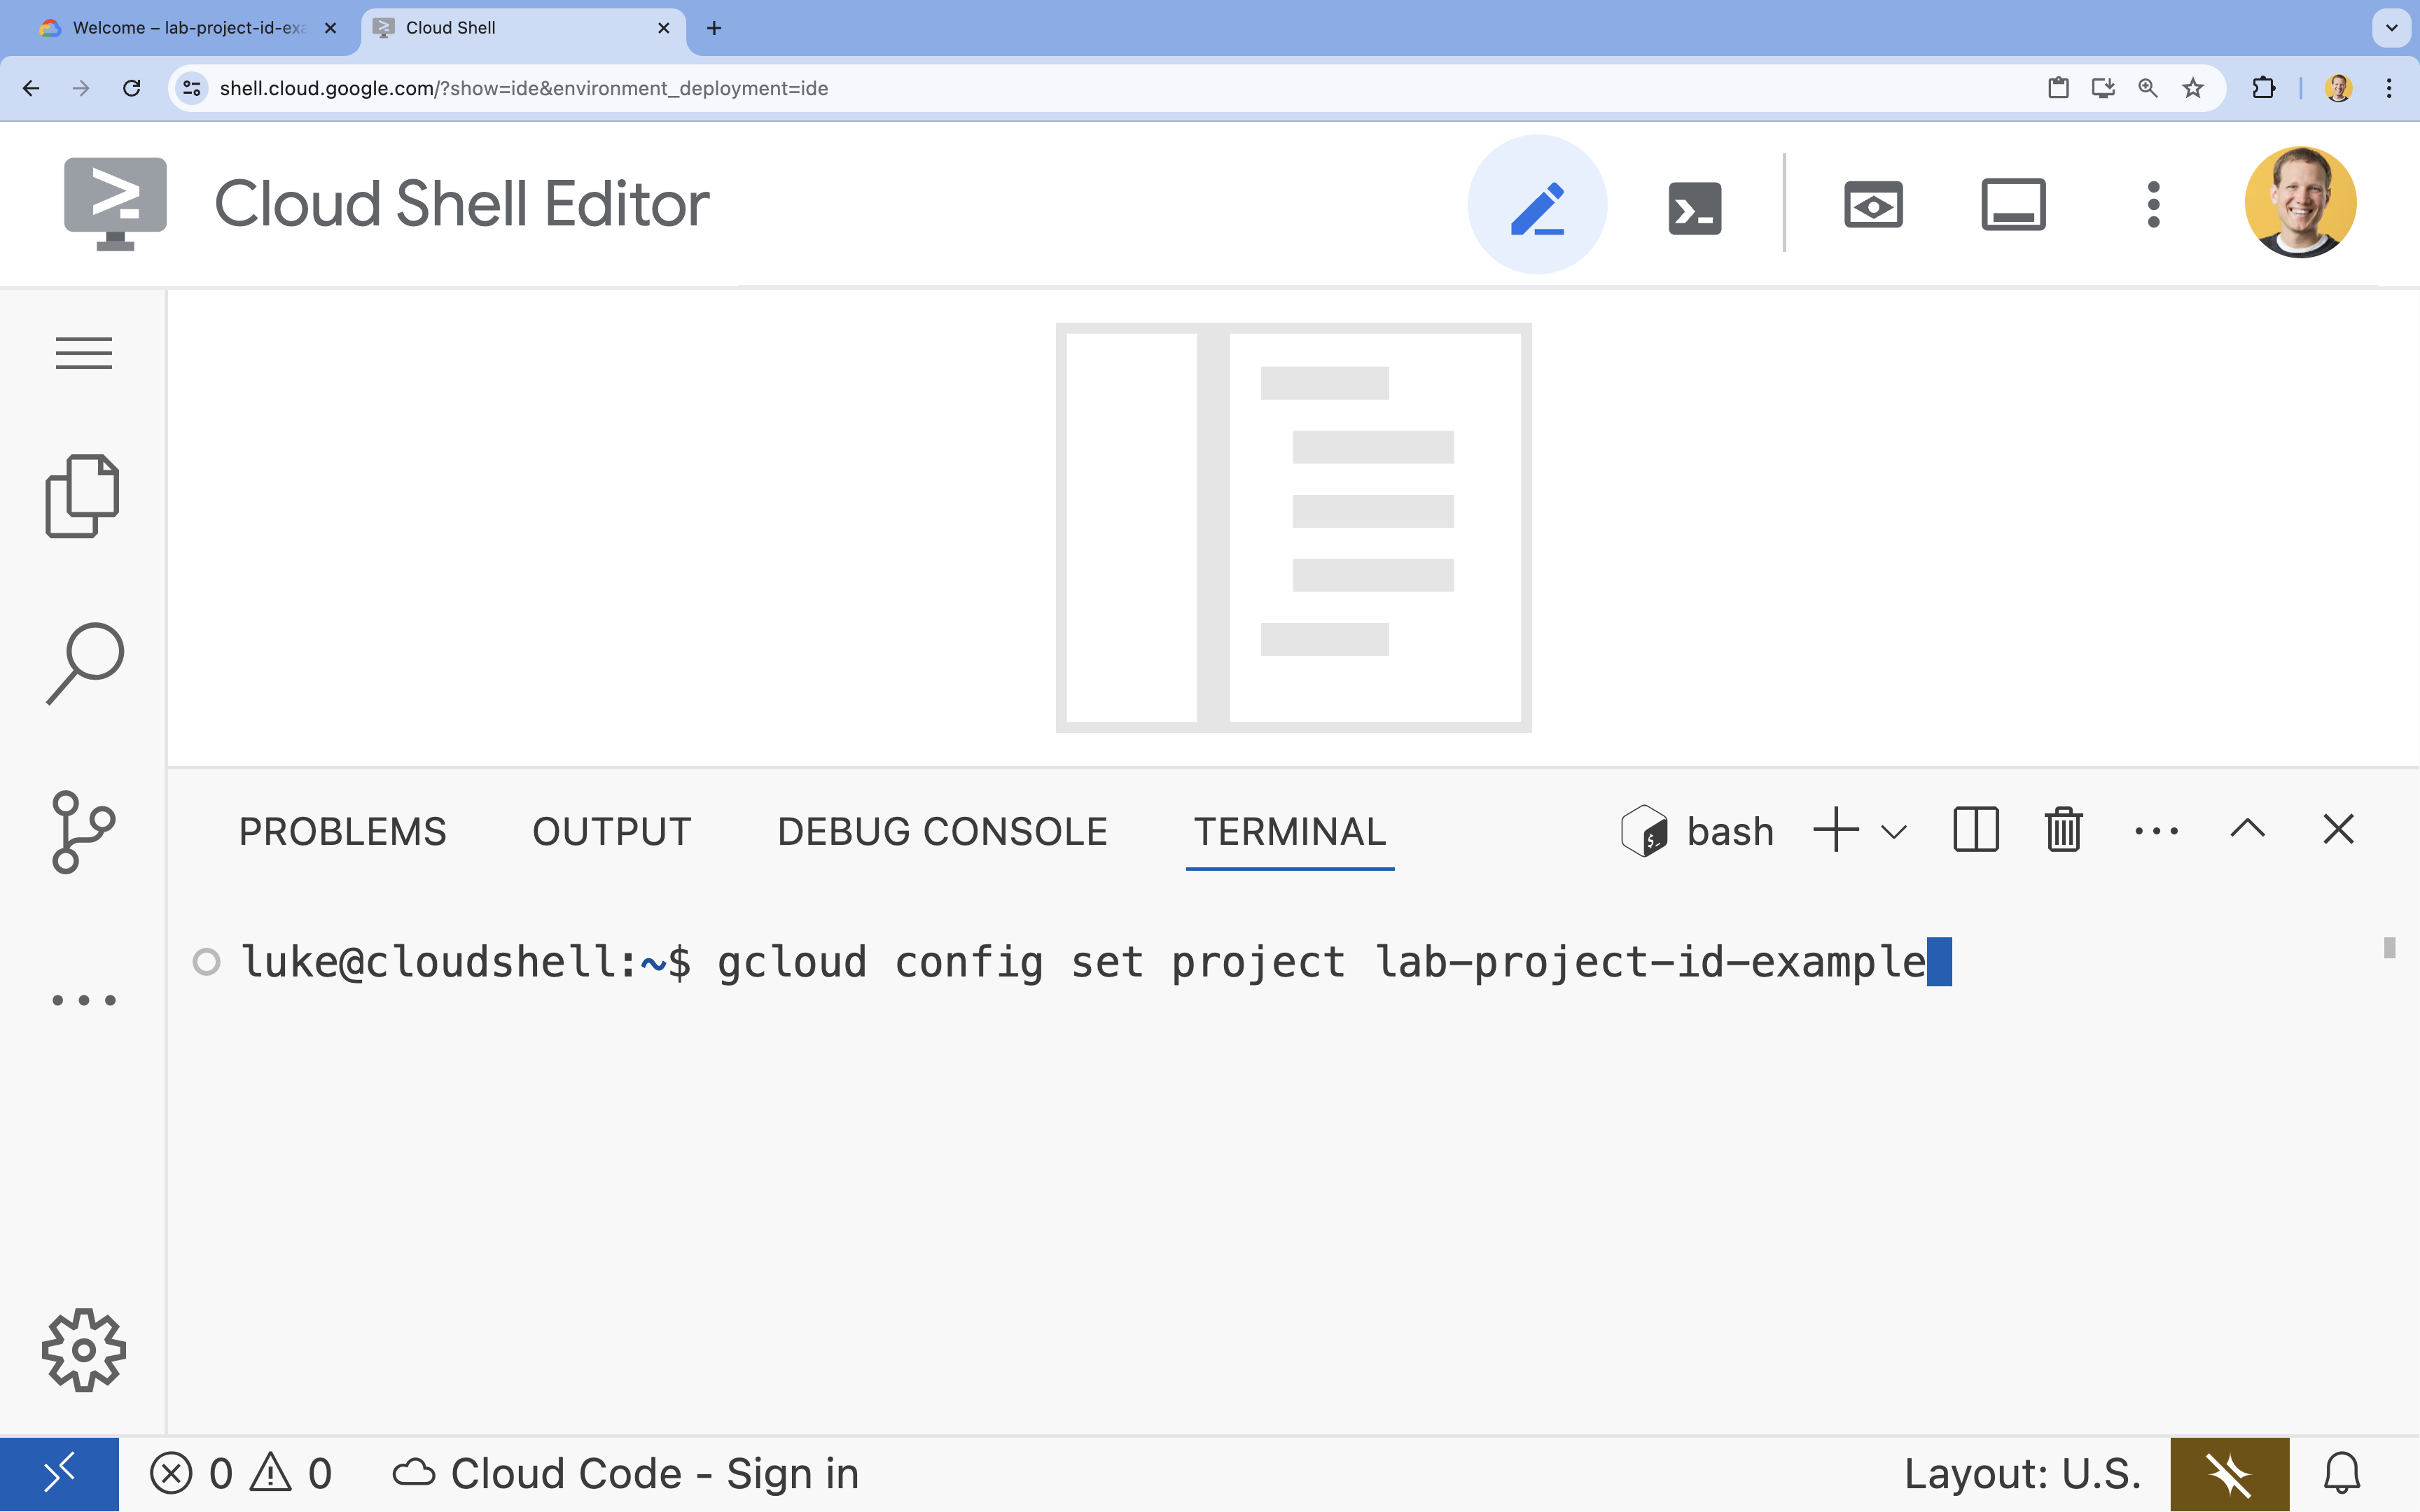
- 您应会看到以下消息:
Updated property [core/project].
6. 启用 API
如需使用 Cloud Run、Artifact Registry、Cloud Build、Vertex AI 和 Compute Engine,您需要在 Google Cloud 云项目中启用它们各自的 API。
- 在终端中,启用以下 API:
gcloud services enable \ run.googleapis.com \ artifactregistry.googleapis.com \ cloudbuild.googleapis.com \ aiplatform.googleapis.com \ compute.googleapis.comOperation "operations/acat.p2-[GUID]" finished successfully.
API 简介
- 借助 Cloud Run Admin API (
run.googleapis.com),您可以在全托管式环境中运行前端和后端服务、批量作业或网站。它负责处理用于部署和扩缩容器化应用的基础设施。 - Artifact Registry API (
artifactregistry.googleapis.com) 提供了一个安全的私有代码库来存储您的容器映像。它是 Container Registry 的下一代产品,可与 Cloud Run 和 Cloud Build 无缝集成。 - Cloud Build API (
cloudbuild.googleapis.com) 是一种无服务器 CI/CD 平台,可在 Google Cloud 基础架构上执行构建。它用于根据您的 Dockerfile 在云端构建容器映像。 - Vertex AI API (
aiplatform.googleapis.com) 可让已部署的应用与 Gemini 模型通信,以执行核心 AI 任务。它为 Google Cloud 的所有 AI 服务提供统一的 API。 - Compute Engine API (
compute.googleapis.com) 可提供在 Google 基础设施上运行的安全且可自定义的虚拟机。虽然 Cloud Run 是受管理的,但 Compute Engine API 通常是各种网络和计算资源的基础依赖项。
7. 准备开发环境
创建目录
- 在终端中,创建项目目录和必要的子目录:
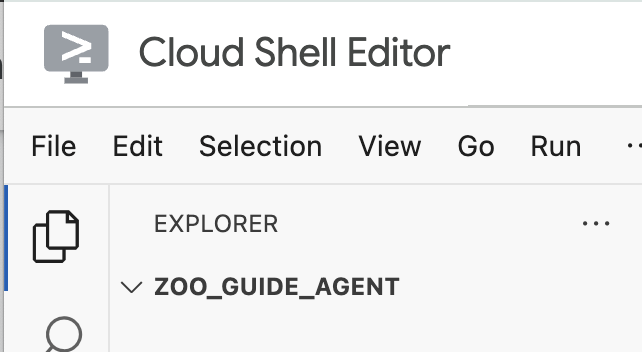
cd && mkdir zoo_guide_agent && cd zoo_guide_agent - 在终端中运行以下命令,以在 Cloud Shell 编辑器资源管理器中打开
zoo_guide_agent目录:cloudshell open-workspace ~/zoo_guide_agent - 左侧的探索器面板将刷新。您现在应该会看到您创建的目录。
安装要求
- 在终端中运行以下命令,以创建
requirements.txt文件。cloudshell edit requirements.txt - 将以下内容添加到新创建的
requirements.txt文件中google-adk==1.14.0 langchain-community==0.3.27 wikipedia==1.4.0 - 在终端中,使用 uv 创建并激活虚拟环境。这样可确保项目依赖项不会与系统 Python 发生冲突。
uv venv source .venv/bin/activate - 在终端中将必需的软件包安装到虚拟环境中。
uv pip install -r requirements.txt
设置环境变量
- 在终端中使用以下命令创建
.env文件。# 1. Set the variables in your terminal first PROJECT_ID=$(gcloud config get-value project) PROJECT_NUMBER=$(gcloud projects describe $PROJECT_ID --format="value(projectNumber)") SA_NAME=lab2-cr-service # 2. Create the .env file using those variables cat <<EOF > .env PROJECT_ID=$PROJECT_ID PROJECT_NUMBER=$PROJECT_NUMBER SA_NAME=$SA_NAME SERVICE_ACCOUNT=${SA_NAME}@${PROJECT_ID}.iam.gserviceaccount.com MODEL="gemini-2.5-flash" EOF
8. 创建代理工作流
创建 __init__.py 文件
- 在终端中运行以下命令,创建 init.py 文件:
cloudshell edit __init__.py - 将以下代码添加到新的
__init__.py文件中:from . import agent
创建 agent.py 文件
- 通过将以下命令粘贴到终端中来创建主
agent.py文件。cloudshell edit agent.py - 导入和初始设置:将以下代码添加到当前为空的
agent.py文件中:import os import logging import google.cloud.logging from dotenv import load_dotenv from google.adk import Agent from google.adk.agents import SequentialAgent from google.adk.tools.tool_context import ToolContext from google.adk.tools.langchain_tool import LangchainTool from langchain_community.tools import WikipediaQueryRun from langchain_community.utilities import WikipediaAPIWrapper import google.auth import google.auth.transport.requests import google.oauth2.id_token # --- Setup Logging and Environment --- cloud_logging_client = google.cloud.logging.Client() cloud_logging_client.setup_logging() load_dotenv() model_name = os.getenv("MODEL")agent.py文件的第一个代码块会引入 ADK 和 Google Cloud 中的所有必要库。它还会设置日志记录,并从.env文件加载环境变量,这对于访问模型和服务器网址至关重要。 - 定义工具:智能体是否优秀取决于它能使用的工具。将以下代码添加到
agent.py的底部以定义工具:# Greet user and save their prompt def add_prompt_to_state( tool_context: ToolContext, prompt: str ) -> dict[str, str]: """Saves the user's initial prompt to the state.""" tool_context.state["PROMPT"] = prompt logging.info(f"[State updated] Added to PROMPT: {prompt}") return {"status": "success"} # Configuring the Wikipedia Tool wikipedia_tool = LangchainTool( tool=WikipediaQueryRun(api_wrapper=WikipediaAPIWrapper()) )add_prompt_to_state📝:此工具用于记录动物园游客提出的问题。当访客问“狮子在哪里?”时,此工具会将这个问题保存到智能体的记忆中,以便工作流中的其他智能体知道要研究的对象。
运作方式:这是一个 Python 函数,用于将游客的提示写入共享的tool_context.state字典。此工具上下文表示智能体在单次对话中的短期记忆。一个智能体保存到状态的数据可以被工作流中的下一个智能体读取。LangchainTool🌍:这为导游智能体提供了常识信息。如果访客提出的问题不在动物园的数据库中,例如“狮子在野外吃什么?”,此工具可让客服人员在维基百科上查找答案。
运作方式:它充当适配器,让我们的智能体可以使用 LangChain 库中预构建的 WikipediaQueryRun 工具。
- 定义专家代理:将以下代码添加到
agent.py的底部,以定义comprehensive_researcher和response_formatter代理:# 1. Researcher Agent comprehensive_researcher = Agent( name="comprehensive_researcher", model=model_name, description="The primary researcher that can access both internal zoo data and external knowledge from Wikipedia.", instruction=""" You are a helpful research assistant. Your goal is to fully answer the user's PROMPT. You have access to two tools: 1. A tool for getting specific data about animals AT OUR ZOO (names, ages, locations). 2. A tool for searching Wikipedia for general knowledge (facts, lifespan, diet, habitat). First, analyze the user's PROMPT. - If the prompt can be answered by only one tool, use that tool. - If the prompt is complex and requires information from both the zoo's database AND Wikipedia, you MUST use both tools to gather all necessary information. - Synthesize the results from the tool(s) you use into preliminary data outputs. PROMPT: { PROMPT } """, tools=[ wikipedia_tool ], output_key="research_data" # A key to store the combined findings ) # 2. Response Formatter Agent response_formatter = Agent( name="response_formatter", model=model_name, description="Synthesizes all information into a friendly, readable response.", instruction=""" You are the friendly voice of the Zoo Tour Guide. Your task is to take the RESEARCH_DATA and present it to the user in a complete and helpful answer. - First, present the specific information from the zoo (like names, ages, and where to find them). - Then, add the interesting general facts from the research. - If some information is missing, just present the information you have. - Be conversational and engaging. RESEARCH_DATA: { research_data } """ )comprehensive_researcher智能体相当于整套操作的“大脑”。它从共享的State中获取用户提示,检查维基百科工具,并决定使用哪些工具来查找答案。response_formatter代理的作用是呈现回答。它会接收研究智能体收集的原始数据(通过状态传递),并利用 LLM 的语言技能将其转换为方便用户理解的对话式回答。
- 定义工作流代理:将以下代码块添加到
agent.py的底部,以定义顺序代理tour_guide_workflow:tour_guide_workflow = SequentialAgent( name="tour_guide_workflow", description="The main workflow for handling a user's request about an animal.", sub_agents=[ comprehensive_researcher, # Step 1: Gather all data response_formatter, # Step 2: Format the final response ] )
运作方式:这是一个SequentialAgent,是一种不会独立思考的特殊代理。它唯一的任务就是按固定顺序运行sub_agents(研究智能体和回答格式化智能体)列表,并自动将共享内存从一个智能体传递到下一个智能体。 - 组装主工作流:将下面的最后一段代码添加到
agent.py的底部,以定义root_agent:root_agent = Agent( name="greeter", model=model_name, description="The main entry point for the Zoo Tour Guide.", instruction=""" - Let the user know you will help them learn about the animals we have in the zoo. - When the user responds, use the 'add_prompt_to_state' tool to save their response. After using the tool, transfer control to the 'tour_guide_workflow' agent. """, tools=[add_prompt_to_state], sub_agents=[tour_guide_workflow] )root_agent作为所有新对话的起点。其主要作用是编排整个流程。它充当初始控制器,管理第一轮对话。

完整的 agent.py 文件
您的 agent.py 文件现已完成!通过以这种方式构建智能体,您可以了解每个组件(工具、工作器智能体和管理器智能体)在创建最终智能系统中的具体作用。
完整的文件应如下所示:
import os
import logging
import google.cloud.logging
from dotenv import load_dotenv

from google.adk import Agent
from google.adk.agents import SequentialAgent
from google.adk.tools.tool_context import ToolContext
from google.adk.tools.langchain_tool import LangchainTool

from langchain_community.tools import WikipediaQueryRun
from langchain_community.utilities import WikipediaAPIWrapper

import google.auth
import google.auth.transport.requests
import google.oauth2.id_token

# --- Setup Logging and Environment ---

cloud_logging_client = google.cloud.logging.Client()
cloud_logging_client.setup_logging()

load_dotenv()

model_name = os.getenv("MODEL")
# Greet user and save their prompt

def add_prompt_to_state(
    tool_context: ToolContext, prompt: str
) -> dict[str, str]:
    """Saves the user's initial prompt to the state."""
    tool_context.state["PROMPT"] = prompt
    logging.info(f"[State updated] Added to PROMPT: {prompt}")
    return {"status": "success"}

# Configuring the Wikipedia Tool
wikipedia_tool = LangchainTool(
    tool=WikipediaQueryRun(api_wrapper=WikipediaAPIWrapper())
)
# 1. Researcher Agent
comprehensive_researcher = Agent(
    name="comprehensive_researcher",
    model=model_name,
    description="The primary researcher that can access both internal zoo data and external knowledge from Wikipedia.",
    instruction="""
    You are a helpful research assistant. Your goal is to fully answer the user's PROMPT.
    You have access to two tools:
    1. A tool for getting specific data about animals AT OUR ZOO (names, ages, locations).
    2. A tool for searching Wikipedia for general knowledge (facts, lifespan, diet, habitat).

    First, analyze the user's PROMPT.
    - If the prompt can be answered by only one tool, use that tool.
    - If the prompt is complex and requires information from both the zoo's database AND Wikipedia,
      you MUST use both tools to gather all necessary information.
    - Synthesize the results from the tool(s) you use into preliminary data outputs.

    PROMPT:
    { PROMPT }
    """,
    tools=[
        wikipedia_tool
    ],
    output_key="research_data" # A key to store the combined findings
)

# 2. Response Formatter Agent
response_formatter = Agent(
    name="response_formatter",
    model=model_name,
    description="Synthesizes all information into a friendly, readable response.",
    instruction="""
    You are the friendly voice of the Zoo Tour Guide. Your task is to take the
    RESEARCH_DATA and present it to the user in a complete and helpful answer.

    - First, present the specific information from the zoo (like names, ages, and where to find them).
    - Then, add the interesting general facts from the research.
    - If some information is missing, just present the information you have.
    - Be conversational and engaging.

    RESEARCH_DATA:
    { research_data }
    """
)
tour_guide_workflow = SequentialAgent(
    name="tour_guide_workflow",
    description="The main workflow for handling a user's request about an animal.",
    sub_agents=[
        comprehensive_researcher, # Step 1: Gather all data
        response_formatter,       # Step 2: Format the final response
    ]
)
root_agent = Agent(
    name="greeter",
    model=model_name,
    description="The main entry point for the Zoo Tour Guide.",
    instruction="""
    - Let the user know you will help them learn about the animals we have in the zoo.
    - When the user responds, use the 'add_prompt_to_state' tool to save their response.
    After using the tool, transfer control to the 'tour_guide_workflow' agent.
    """,
    tools=[add_prompt_to_state],
    sub_agents=[tour_guide_workflow]
)
接下来是部署!
9. 准备应用以进行部署
检查最终结构
在部署之前,请验证您的项目目录是否包含正确的文件。
- 确保您的
zoo_guide_agent文件夹如下所示:zoo_guide_agent/ ├── .env ├── __init__.py ├── agent.py └── requirements.txt
设置 IAM 权限
本地代码准备就绪后,下一步是设置智能体将在云端使用的身份。
- 在终端中,将变量加载到 shell 会话中。
source .env - 为 Cloud Run 服务创建专用服务账号,以便该服务账号拥有自己的特定权限。将以下内容粘贴到终端中:
gcloud iam service-accounts create ${SA_NAME} \ --display-name="Service Account for lab 2 " - 向服务账号授予 Vertex AI User 角色,使其有权调用 Google 的模型。
# Grant the "Vertex AI User" role to your service account
gcloud projects add-iam-policy-binding $PROJECT_ID \
  --member="serviceAccount:$SERVICE_ACCOUNT" \
  --role="roles/aiplatform.user"
10. 使用 ADK CLI 部署智能体
本地代码已准备就绪,Google Cloud 云项目也已准备好,现在可以部署代理了。您将使用 adk deploy cloud_run 命令,这是一个方便的工具,可自动执行整个部署工作流。只需一个命令,它就能打包代码、构建容器映像、将其推送到 Artifact Registry,并在 Cloud Run 上启动服务,使其可通过网络访问。
- 在终端中运行以下命令以部署智能体。
# Run the deployment command uvx --from google-adk==1.14.0 \ adk deploy cloud_run \ --project=$PROJECT_ID \ --region=europe-west1 \ --service_name=zoo-tour-guide \ --with_ui \ . \ -- \ --labels=dev-tutorial=codelab-adk \ --service-account=$SERVICE_ACCOUNTuvx命令,您可以运行以 Python 软件包形式发布的命令行工具,而无需全局安装这些工具。 - 如果您收到以下提示:
Deploying from source requires an Artifact Registry Docker repository to store built containers. A repository named [cloud-run-source-deploy] in region
[europe-west1] will be created.

Do you want to continue (Y/n)?
Y并按 Enter 键。 - 如果您收到以下提示:
Allow unauthenticated invocations to [your-service-name] (y/N)?.
y,然后按 Enter 键。这样一来,您就可以在本实验中进行未经身份验证的调用,以便轻松进行测试。 成功执行后,该命令将提供已部署的 Cloud Run 服务的网址。(它看起来会像https://zoo-tour-guide-123456789.europe-west1.run.app)。 - 复制已部署的 Cloud Run 服务的网址,以供下一个任务使用。
11. 测试已部署的智能体
现在,您的智能体已在 Cloud Run 上运行。您将执行一项测试,以确认部署成功且智能体按预期工作。您将使用公共服务网址(例如 https://zoo-tour-guide-123456789.europe-west1.run.app/)访问 ADK 的网页界面并与智能体互动。
- 在 Web 浏览器中打开公开 Cloud Run 服务网址。由于您使用了
--with_ui flag,因此您应该会看到 ADK 开发者界面。 - 在右上角开启
Token Streaming。
现在,您可以与动物园导游智能体互动了。 - 输入
hello,然后按 Enter 键开始新对话。 - 观察结果。智能体应快速回复问候语,内容如下所示:
"Hello! I'm your Zoo Tour Guide. I can help you learn about the amazing animals we have here. What would you like to know or explore today?"
- 您可以向智能体提出以下问题:
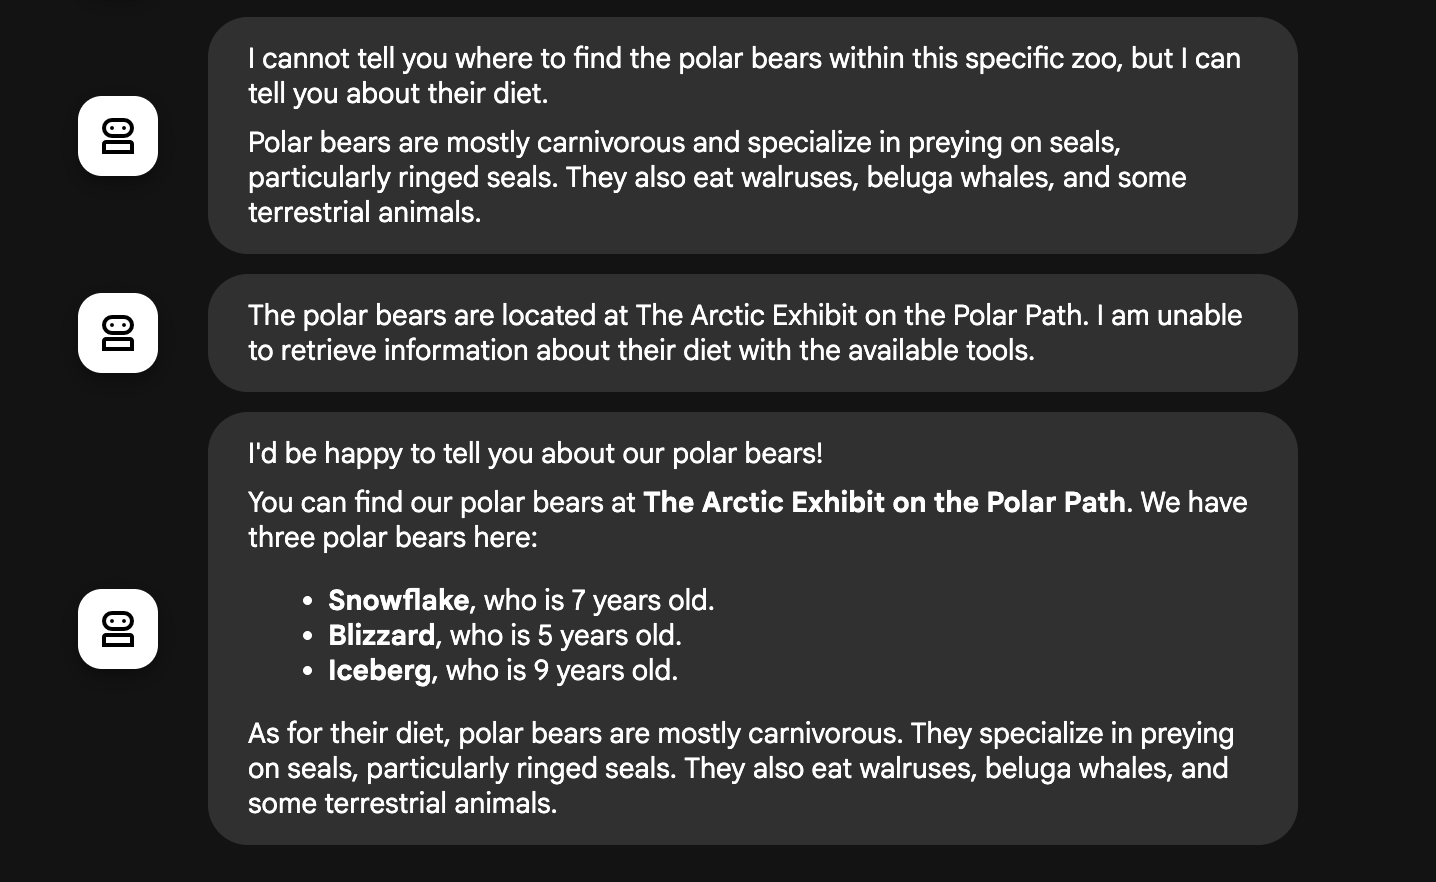
Where can I find the polar bears in the zoo and what is their diet?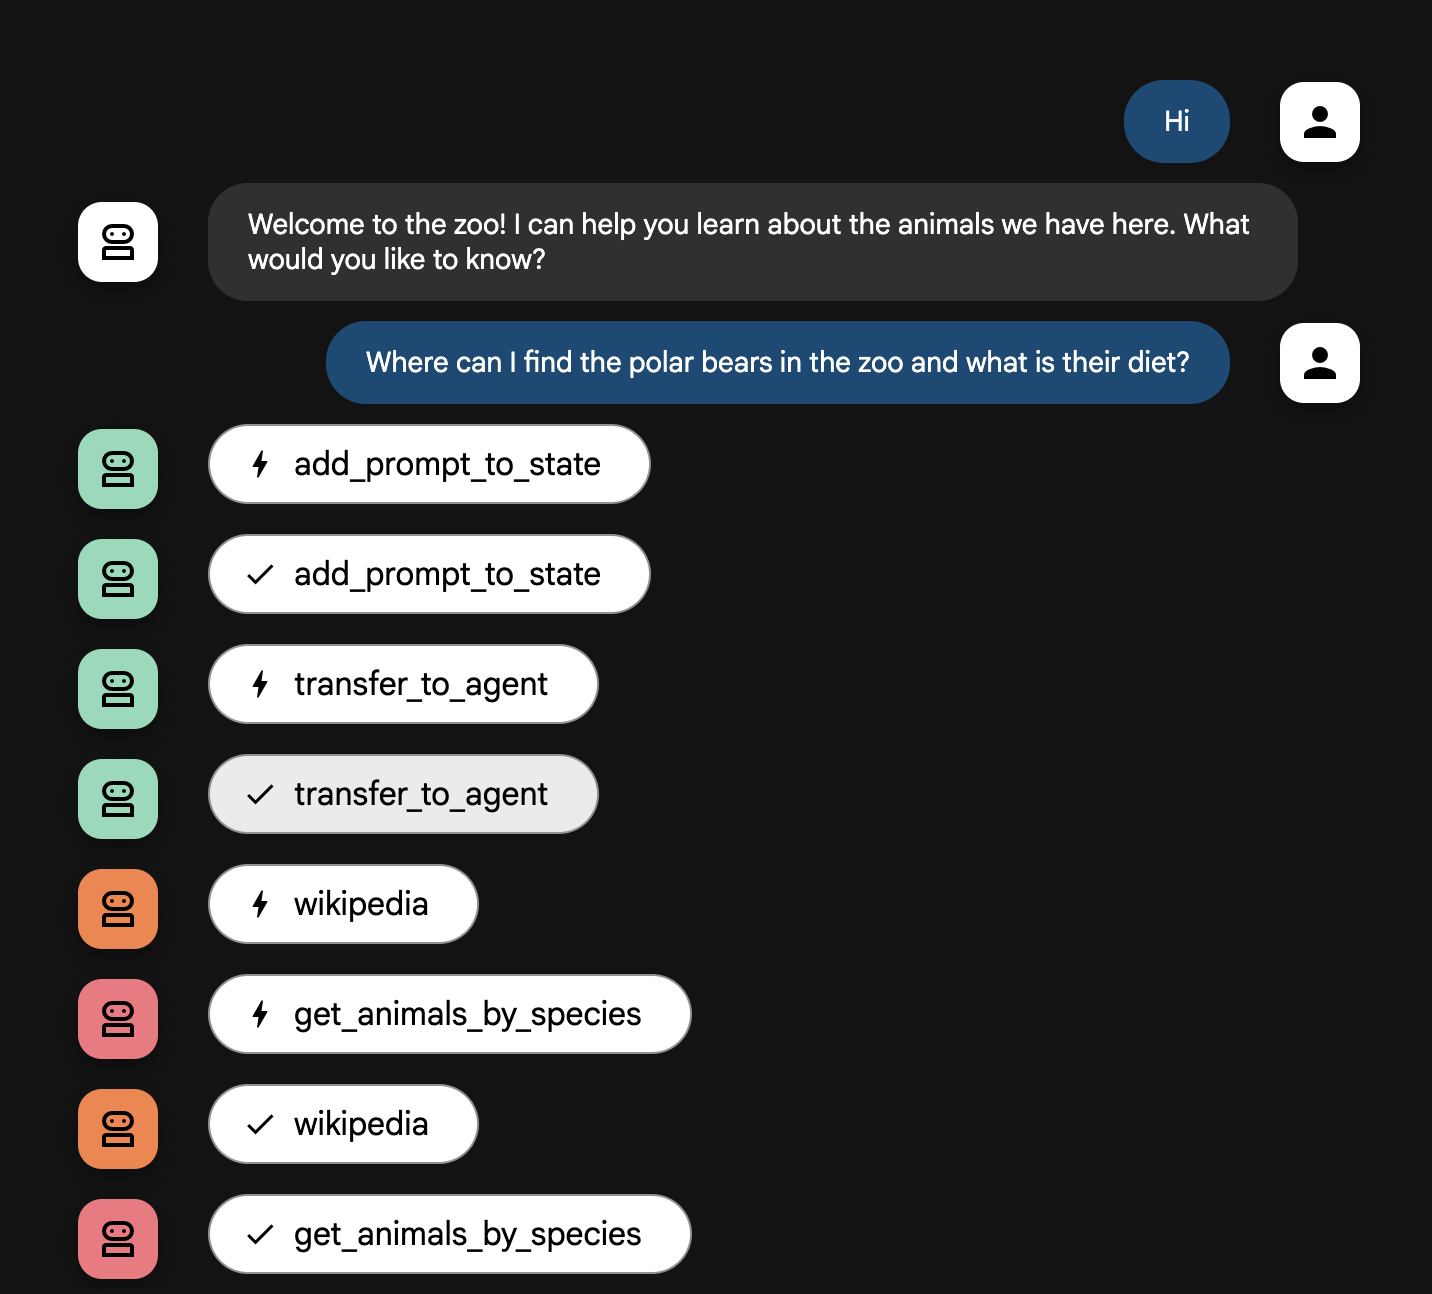
智能体工作流详解
您的系统可以像一个睿智的多智能体团队一样运作。整个过程由清晰的顺序管理,确保从用户提问到得到最终详细回答的整个流程顺畅高效。
1. 动物园接待员(接待处)
整个过程的第一步是接待员智能体。
- 任务:开始与游客对话。它要向游客问好,并询问游客想要了解哪种动物。
- 工具:当用户回复时,接待员智能体使用 add_prompt_to_state 工具来采集用户的确切措辞(例如“给我介绍一下狮子”),并将其保存在系统内存中。
- 移交:保存提示后,它会立即将控制权移交给其子智能体 tour_guide_workflow。
2. 综合研究智能体(超级研究员智能体)
这是主工作流中的第一步,也是整个操作的“大脑”。现在,您不再需要庞大的团队,只需一个能够访问所有相关信息的专业智能体。
- 任务:分析用户的问题并确定回答问题的方案。它利用语言模型的工具使用功能来决定是否需要:
- 来自网络(通过 Wikipedia API)的一般性知识。
- 或者,对于复杂的问题,两者都使用。
3. 回答格式化智能体(演示者)
在综合研究智能体收集完所有事实后,回答格式化智能体是要运行的最后一个智能体。
- 工作:充当动物园导游。它会获取原始数据(可能来自一个或两个来源)并进行优化。
- 行动:它将所有信息整合到一个连贯且有趣的回答中。按照提示,它首先介绍动物园的具体信息,然后添加一些有趣的事实。
- 最终结果:这个智能体生成的文本就是用户在聊天窗口中看到的完整且详细的答案。
如果您有兴趣详细了解如何构建智能体,请查看以下资源:
12. 清理环境
为避免因本教程中使用的资源导致您的 Google Cloud 账号产生费用,请删除包含这些资源的项目,或者保留项目但删除各个资源。
删除 Cloud Run 服务和映像
如果您希望保留 Google Cloud 项目,但移除本实验中创建的特定资源,则必须删除正在运行的服务和存储在注册表中的容器映像。
- 在终端中运行以下命令:
gcloud run services delete zoo-tour-guide --region=europe-west1 --quiet
gcloud artifacts repositories delete cloud-run-source-deploy --location=europe-west1 --quiet
删除项目(可选)
如果您专门为此实验创建了一个新项目,并且不打算再次使用该项目,那么最简单的清理方法是删除整个项目。这样可确保完全移除所有资源(包括服务账号和任何隐藏的 build 制品)。
- 在终端中,运行以下命令(将 [YOUR_PROJECT_ID] 替换为您的实际项目 ID)
gcloud projects delete $PROJECT_ID
13. 恭喜
您已成功构建多智能体 AI 应用并将其部署到 Google Cloud!
回顾
在本实验中,您从一个空目录开始,最终创建了一个可公开访问的实时 AI 服务。以下是您构建的内容:
- 您创建了一个专业团队:您没有使用一个通用的 AI,而是构建了一个“研究员”来查找事实,并构建了一个“格式设置器”来润色答案。
- 您为智能体提供了工具:您使用 Wikipedia API 将智能体连接到外部世界。
- 您已完成:您已将本地 Python 代码作为无服务器容器部署到 Cloud Run,并使用专用服务账号对其进行保护。
所学内容
14. 调查问卷
输出如下: