
1. 簡介
本實驗室將著重於實作及部署用戶端代理服務。您將使用 Agent Development Kit (ADK) 建構可使用工具的 AI 代理。
在本實驗室中,我們將建構動物園代理,透過維基百科回答有關動物的問題。

最後,我們會將導覽員代理部署至 Google Cloud Run,而不只是在本機執行。
必要條件
- 已啟用計費功能的 Google Cloud 專案。
課程內容
- 如何建構 Python 專案,以利部署 ADK。
- 如何使用 google-adk 導入會使用工具的代理。
- 如何將 Python 應用程式以無伺服器容器的形式部署至 Cloud Run。
- 如何使用 IAM 角色設定安全的服務對服務驗證。
- 如何刪除 Cloud 資源,避免產生後續費用。
軟硬體需求
- Google Cloud 帳戶和 Google Cloud 專案
- 網路瀏覽器,例如 Chrome
2. 為什麼要部署至 Cloud Run?
Cloud Run 是無伺服器平台,非常適合用來託管 ADK 代理。您只需要專心編寫程式碼,不必管理基礎架構。相關作業交由我們代勞即可。
這個平台好比快閃店,只有在顧客 (要求) 到來時才需要營業及使用資源;沒有顧客時,商店會完全關閉,您不需為閒置店面付費。
主要功能
可隨處執行容器:
- 您只要準備內含應用程式的容器 (Docker 映像檔)。
- Cloud Run 會在 Google 基礎架構上執行容器。
- 不必修補作業系統、設定虛擬機器或煩惱資源調度事宜。
自動調整資源配置:
- 當應用程式無人使用時,所有執行個體都不會運行 (縮減至零個執行個體,可有效節省費用)。
- 如果收到 1,000 個要求,系統會視需要啟動足量的執行個體。
預設為無狀態:
- 每項要求都能傳送至不同的執行個體。
- 如需儲存狀態,請使用 Cloud SQL、Firestore 或 Memorystore 等獨立於應用程式的服務。
支援任何語言或架構:
- 無論應用程式是以 Python、Go、Node.js、Java 或 .Net 編寫,只要能在 Linux 容器中執行,Cloud Run 就都支援。
用多少付多少:
- 以要求為依據計費:按要求次數 + 運算時間 (可精確至 100 毫秒) 計費。
- 以執行個體為依據的計費模式:針對整個執行個體生命週期計費 (不收取要求費用)。
3. 專案設定
Google 帳戶
如果沒有個人 Google 帳戶,請建立 Google 帳戶。
請使用個人帳戶,而非公司或學校帳戶。
登入 Google Cloud 控制台
使用個人 Google 帳戶登入 Google Cloud 控制台。
啟用計費功能
設定個人帳單帳戶
如果使用 Google Cloud 抵免額設定計費,可以略過這個步驟。
如要設定個人帳單帳戶,請前往這裡在 Cloud 控制台中啟用帳單。
注意事項:
- 完成本實驗室的 Cloud 資源費用應不到 $1 美元。
- 您可以按照本實驗室結尾的步驟刪除資源,以免產生後續費用。
- 新使用者可獲得價值 $300 美元的免費試用期。
建立專案 (選用)
如果沒有要用於本實驗室的現有專案,請在這裡建立新專案。
4. 開啟 Cloud Shell 編輯器
- 按一下這個連結,直接前往 Cloud Shell 編輯器
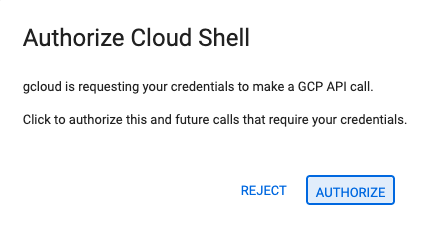
- 如果系統在今天任何時間提示您授權,請點選「授權」繼續操作。
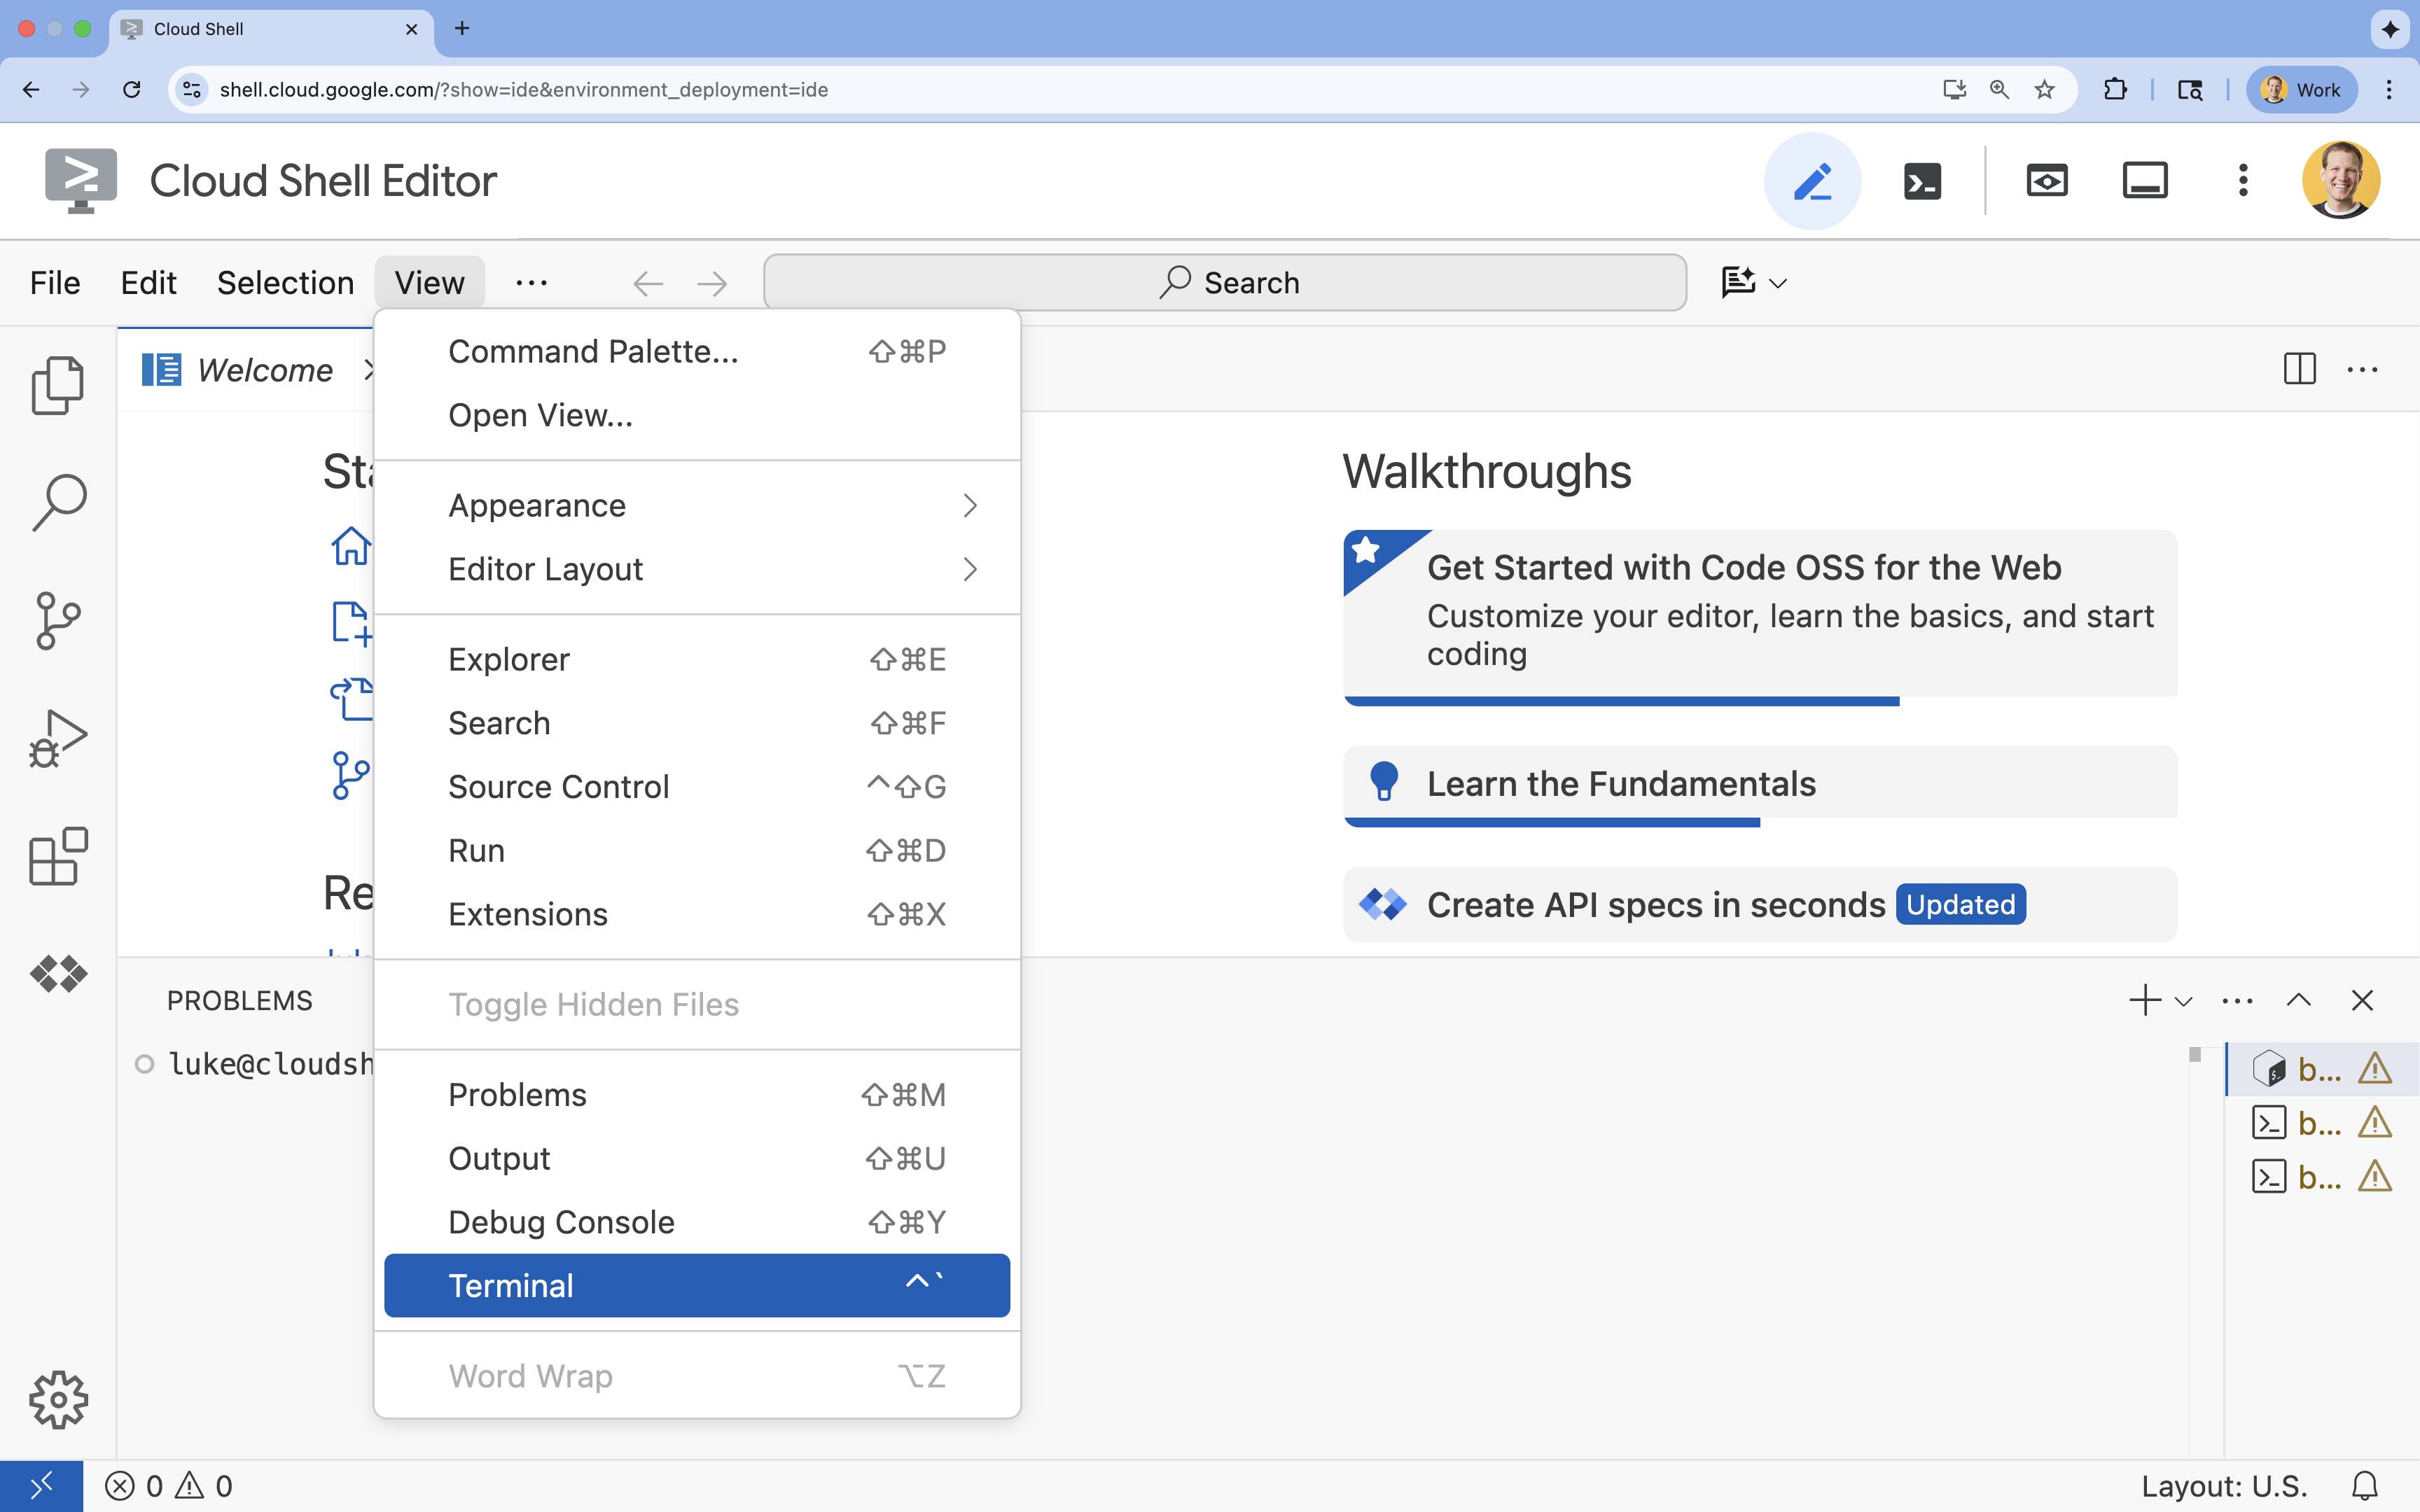
- 如果畫面底部未顯示終端機,請開啟終端機:
- 按一下「查看」
- 按一下「終端機」
5. 設定專案
- 在終端機中,使用下列指令設定專案:
gcloud config set project [PROJECT_ID]gcloud config set project lab-project-id-example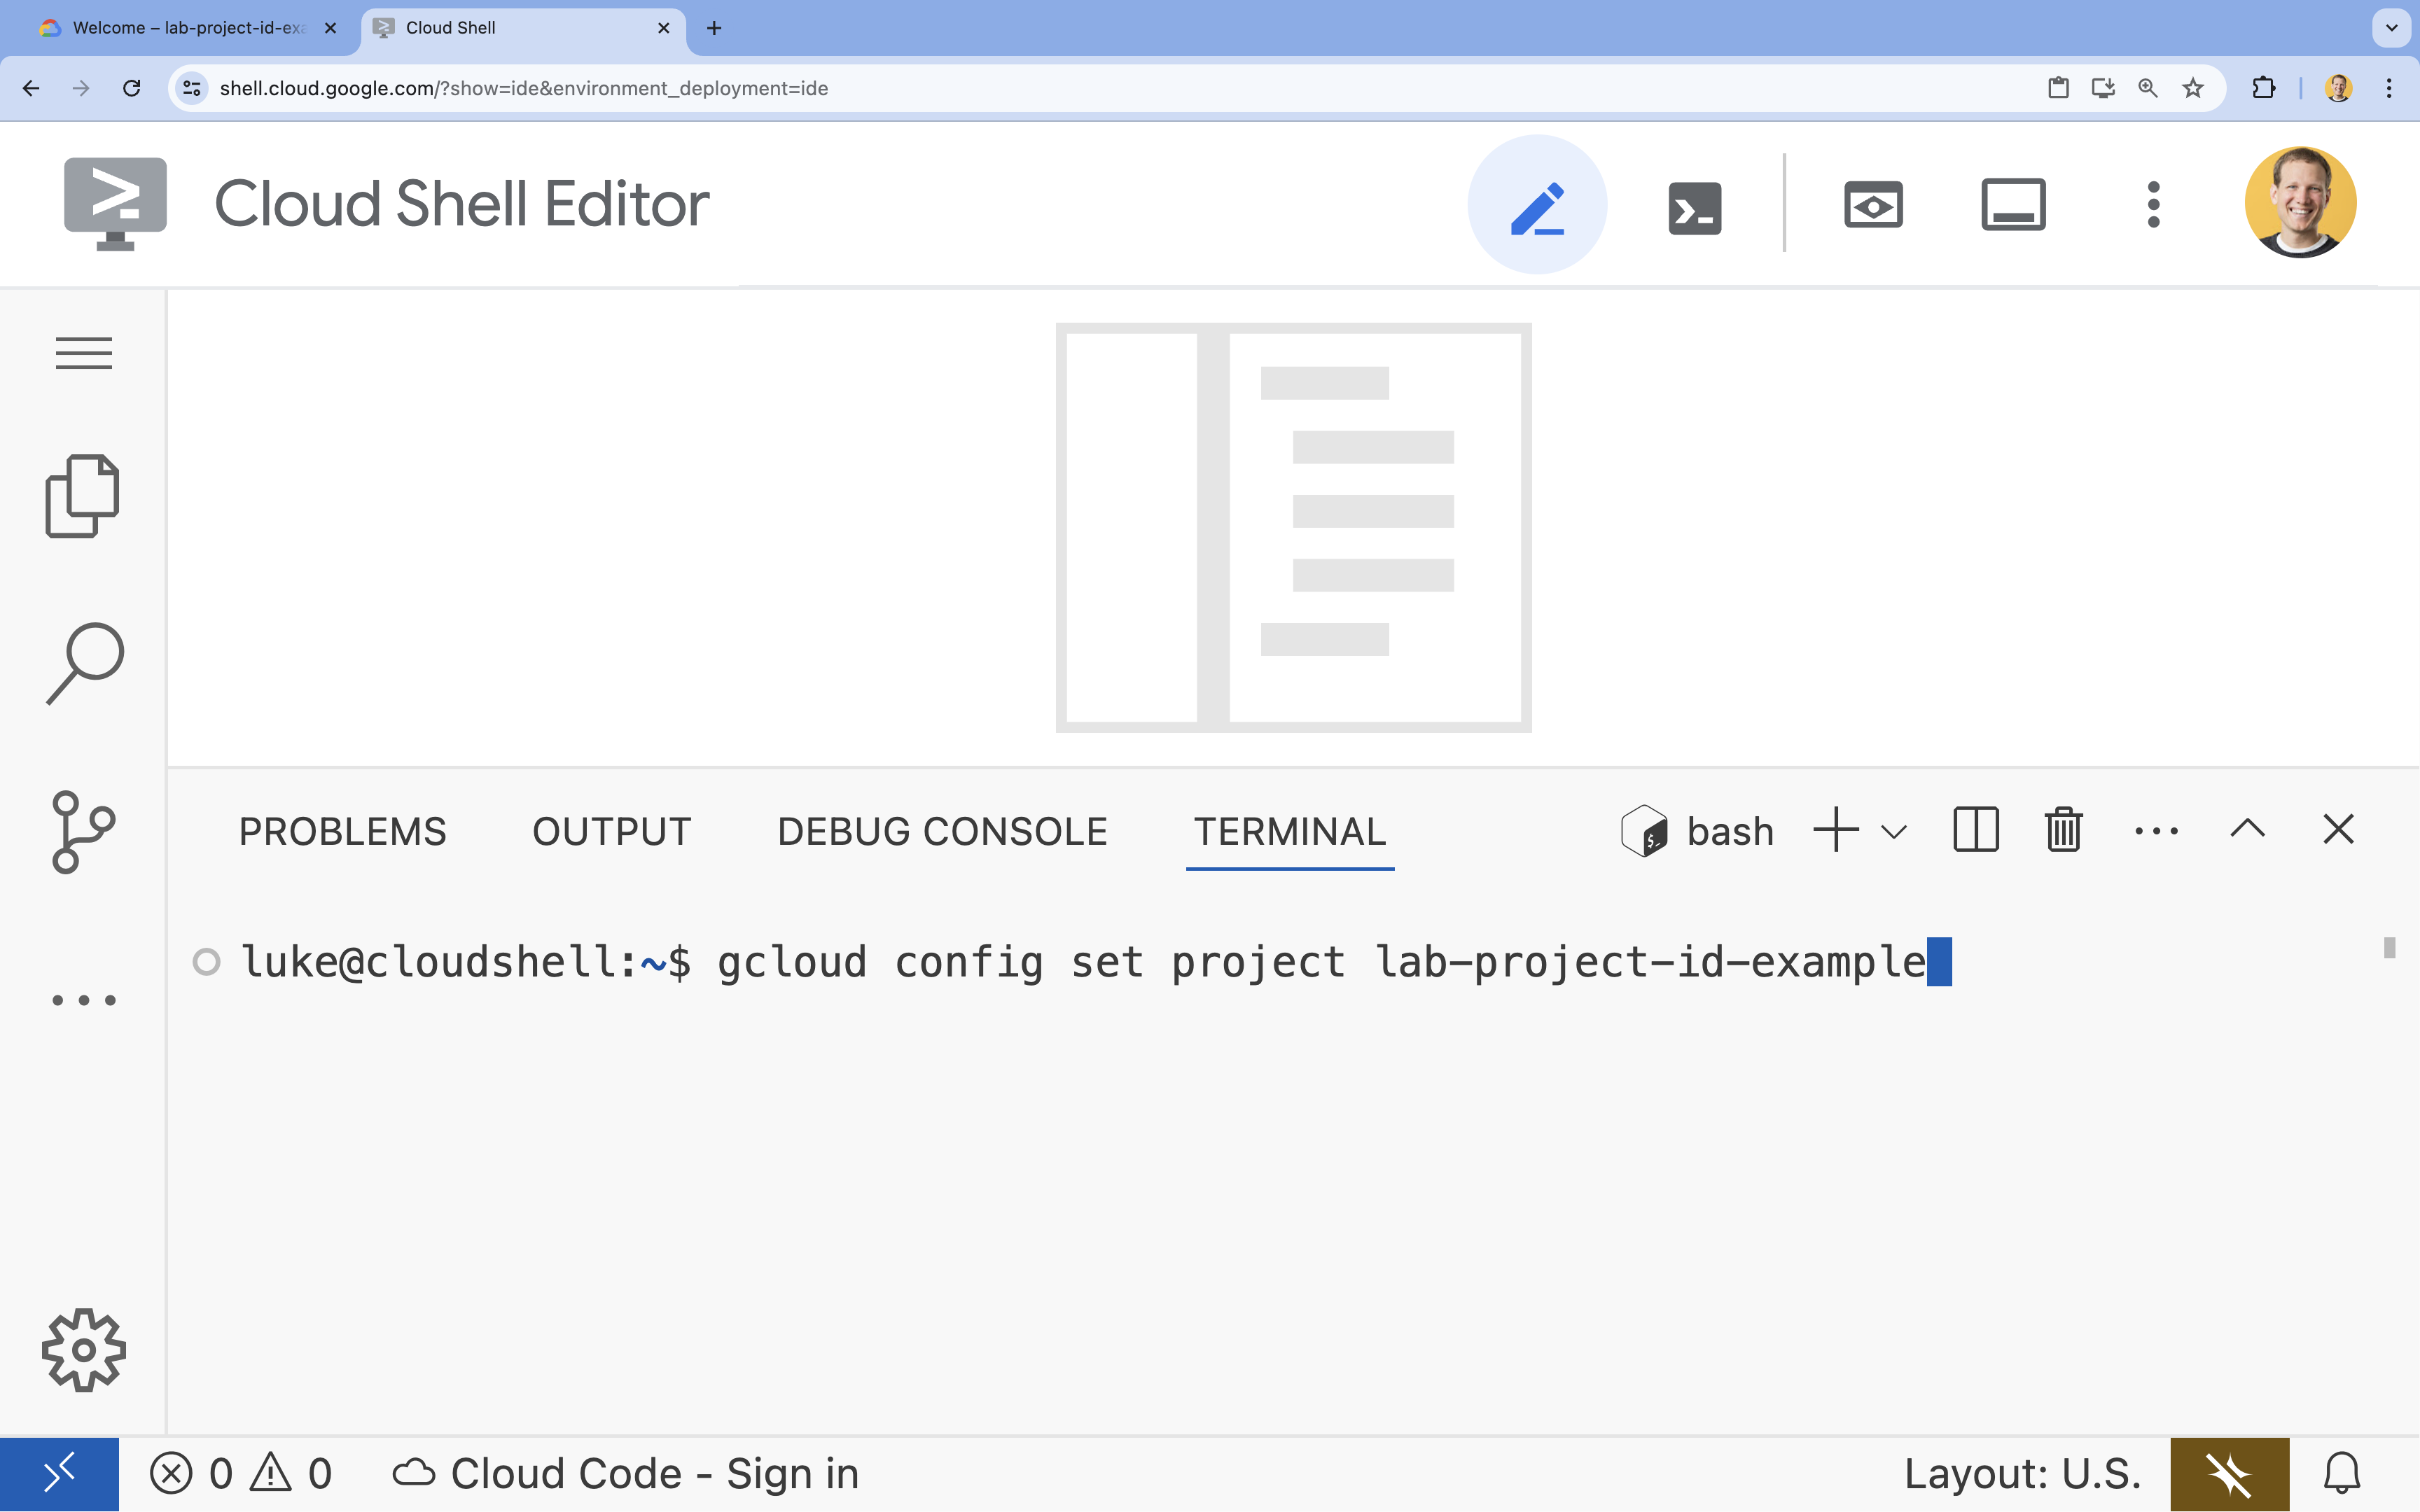
- 您應會看到下列訊息:
Updated property [core/project].
6. 啟用 API
如要使用 Cloud Run、Artifact Registry、Cloud Build、Vertex AI 和 Compute Engine,您需要在 Google Cloud 雲端專案中啟用各自的 API。
- 在終端機中啟用 API:
gcloud services enable \ run.googleapis.com \ artifactregistry.googleapis.com \ cloudbuild.googleapis.com \ aiplatform.googleapis.com \ compute.googleapis.comOperation "operations/acat.p2-[GUID]" finished successfully.
API 簡介
- Cloud Run Admin API (
run.googleapis.com) 可讓您在全代管環境中執行前端和後端服務、批次作業或網站。這項服務會處理部署及擴充容器化應用程式的基礎架構。 - Artifact Registry API (
artifactregistry.googleapis.com) 提供安全無虞的私人存放區,可儲存容器映像檔。這是 Container Registry 的進化版,可與 Cloud Run 和 Cloud Build 完美整合。 - Cloud Build API (
cloudbuild.googleapis.com) 是無伺服器 CI/CD 平台,可在 Google Cloud 雲端基礎架構上執行建構作業。這項服務會使用 Dockerfile 在雲端建構容器映像檔。 - Vertex AI API (
aiplatform.googleapis.com) 可讓已部署的應用程式與 Gemini 模型通訊,執行核心 AI 工作。這個 API 可用於所有 Google Cloud AI 服務。 - Compute Engine API (
compute.googleapis.com) 提供安全可靠且可自訂的虛擬機器,可在 Google 基礎架構上執行。雖然 Cloud Run 是代管服務,但通常需要 Compute Engine API 做為各種網路和運算資源的基本依附元件。
7. 準備開發環境
建立目錄
- 在終端機中,建立專案目錄和必要的子目錄:
cd && mkdir zoo_guide_agent && cd zoo_guide_agent - 在終端機中執行下列指令,在 Cloud Shell 編輯器檔案總管中開啟
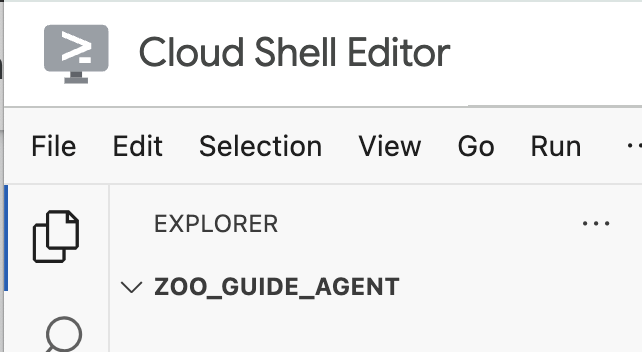
zoo_guide_agent目錄:cloudshell open-workspace ~/zoo_guide_agent - 左側的「探索」面板會重新整理。現在應該會看到您建立的目錄。
安裝需求
- 在終端機中執行下列指令,建立
requirements.txt檔案。cloudshell edit requirements.txt - 在新建的
requirements.txt檔案中新增下列內容google-adk==1.14.0 langchain-community==0.3.27 wikipedia==1.4.0 - 在終端機中,使用 uv 建立並啟動虛擬環境。確保專案依附元件不會與系統 Python 發生衝突。
uv venv source .venv/bin/activate - 在終端機中,將必要套件安裝到虛擬環境。
uv pip install -r requirements.txt
設定環境變數
- 在終端機中使用下列指令建立
.env檔案。# 1. Set the variables in your terminal first PROJECT_ID=$(gcloud config get-value project) PROJECT_NUMBER=$(gcloud projects describe $PROJECT_ID --format="value(projectNumber)") SA_NAME=lab2-cr-service # 2. Create the .env file using those variables cat <<EOF > .env PROJECT_ID=$PROJECT_ID PROJECT_NUMBER=$PROJECT_NUMBER SA_NAME=$SA_NAME SERVICE_ACCOUNT=${SA_NAME}@${PROJECT_ID}.iam.gserviceaccount.com MODEL="gemini-2.5-flash" EOF
8. 建立代理程式工作流程
建立 __init__.py 檔案
- 在終端機中執行下列指令,建立 init.py 檔案:
cloudshell edit __init__.py - 將下列程式碼新增至新的
__init__.py檔案:from . import agent
建立 agent.py 檔案
- 將下列指令貼到終端機,建立主要
agent.py檔案。cloudshell edit agent.py - 匯入項目和初始設定:在目前空白的
agent.py檔案中新增下列程式碼:import os import logging import google.cloud.logging from dotenv import load_dotenv from google.adk import Agent from google.adk.agents import SequentialAgent from google.adk.tools.tool_context import ToolContext from google.adk.tools.langchain_tool import LangchainTool from langchain_community.tools import WikipediaQueryRun from langchain_community.utilities import WikipediaAPIWrapper import google.auth import google.auth.transport.requests import google.oauth2.id_token # --- Setup Logging and Environment --- cloud_logging_client = google.cloud.logging.Client() cloud_logging_client.setup_logging() load_dotenv() model_name = os.getenv("MODEL")agent.py檔案的第一個區塊會從 ADK 和 Google Cloud 匯入所有必要程式庫。設定記錄功能,以及從.env檔案載入環境變數,這些是存取模型和伺服器網址的關鍵。 - 定義工具:代理的實用度取決於所使用的工具。在
agent.py底部新增下列程式碼,定義工具:# Greet user and save their prompt def add_prompt_to_state( tool_context: ToolContext, prompt: str ) -> dict[str, str]: """Saves the user's initial prompt to the state.""" tool_context.state["PROMPT"] = prompt logging.info(f"[State updated] Added to PROMPT: {prompt}") return {"status": "success"} # Configuring the Wikipedia Tool wikipedia_tool = LangchainTool( tool=WikipediaQueryRun(api_wrapper=WikipediaAPIWrapper()) )add_prompt_to_state📝:這項工具會記住動物園遊客提出的問題。當遊客詢問「獅子在哪一區?」時,此工具會將問題儲存到代理的記憶體中,這樣工作流程中的其他代理就知道要研究什麼問題。
運作機制:Python 函式會將遊客的提示詞寫入共用的tool_context.state字典。這個工具情境可以視為代理在單一對話中的短期記憶。工作流程中的下一個代理,可以讀取前一個代理儲存至狀態的資料。LangchainTool🌍:這個導覽員代理具備一般世界知識。當遊客提出動物園資料庫未收錄的問題時,例如「獅子在野外吃什麼?」,這項工具會指示服務專員前往維基百科搜尋答案。
運作機制:這項工具擔任中介轉換的角色,讓代理使用 LangChain 程式庫中預先建構的 WikipediaQueryRun 工具。
- 定義專家代理:在
agent.py底部新增下列程式碼,定義comprehensive_researcher和response_formatter代理:# 1. Researcher Agent comprehensive_researcher = Agent( name="comprehensive_researcher", model=model_name, description="The primary researcher that can access both internal zoo data and external knowledge from Wikipedia.", instruction=""" You are a helpful research assistant. Your goal is to fully answer the user's PROMPT. You have access to two tools: 1. A tool for getting specific data about animals AT OUR ZOO (names, ages, locations). 2. A tool for searching Wikipedia for general knowledge (facts, lifespan, diet, habitat). First, analyze the user's PROMPT. - If the prompt can be answered by only one tool, use that tool. - If the prompt is complex and requires information from both the zoo's database AND Wikipedia, you MUST use both tools to gather all necessary information. - Synthesize the results from the tool(s) you use into preliminary data outputs. PROMPT: { PROMPT } """, tools=[ wikipedia_tool ], output_key="research_data" # A key to store the combined findings ) # 2. Response Formatter Agent response_formatter = Agent( name="response_formatter", model=model_name, description="Synthesizes all information into a friendly, readable response.", instruction=""" You are the friendly voice of the Zoo Tour Guide. Your task is to take the RESEARCH_DATA and present it to the user in a complete and helpful answer. - First, present the specific information from the zoo (like names, ages, and where to find them). - Then, add the interesting general facts from the research. - If some information is missing, just present the information you have. - Be conversational and engaging. RESEARCH_DATA: { research_data } """ )comprehensive_researcher代理是這項作業的「大腦」,它會從共用的State取得使用者的提示詞、綜覽維基百科工具,然後決定要使用哪些工具來搜尋答案。response_formatter代理程式的角色是呈現。擷取「研究人員」代理收集的原始資料 (透過 State 傳遞),並運用大型語言模型的語言組織能力,將資料轉換成親切的對話式回覆。
- 定義工作流程代理:在
agent.py底部新增這個程式碼區塊,定義序列代理tour_guide_workflow:tour_guide_workflow = SequentialAgent( name="tour_guide_workflow", description="The main workflow for handling a user's request about an animal.", sub_agents=[ comprehensive_researcher, # Step 1: Gather all data response_formatter, # Step 2: Format the final response ] )
運作機制:工作流程代理會使用SequentialAgent,這是一種不會自行思考的特殊代理。他只負責按照固定順序執行sub_agents清單中的子代理 (研究人員和回覆生成),自動將共用記憶體從一個子代理傳遞給下一個。 - 整合主要工作流程:將下列最後一個程式碼區塊新增至
agent.py底部,定義root_agent:root_agent = Agent( name="greeter", model=model_name, description="The main entry point for the Zoo Tour Guide.", instruction=""" - Let the user know you will help them learn about the animals we have in the zoo. - When the user responds, use the 'add_prompt_to_state' tool to save their response. After using the tool, transfer control to the 'tour_guide_workflow' agent. """, tools=[add_prompt_to_state], sub_agents=[tour_guide_workflow] )root_agent做為所有新對話的起點。主要任務是協調所有程序,並擔任初始控管者,管理對話的第一輪。

完整的 agent.py 檔案
您的 agent.py 檔案現已建構完成!透過這種方式建構代理,您將能瞭解每個元件 (工具、作業代理和管理代理) 在打造最終智慧型系統時所扮演的角色。
完整檔案應如下所示:
import os
import logging
import google.cloud.logging
from dotenv import load_dotenv

from google.adk import Agent
from google.adk.agents import SequentialAgent
from google.adk.tools.tool_context import ToolContext
from google.adk.tools.langchain_tool import LangchainTool

from langchain_community.tools import WikipediaQueryRun
from langchain_community.utilities import WikipediaAPIWrapper

import google.auth
import google.auth.transport.requests
import google.oauth2.id_token

# --- Setup Logging and Environment ---

cloud_logging_client = google.cloud.logging.Client()
cloud_logging_client.setup_logging()

load_dotenv()

model_name = os.getenv("MODEL")
# Greet user and save their prompt

def add_prompt_to_state(
    tool_context: ToolContext, prompt: str
) -> dict[str, str]:
    """Saves the user's initial prompt to the state."""
    tool_context.state["PROMPT"] = prompt
    logging.info(f"[State updated] Added to PROMPT: {prompt}")
    return {"status": "success"}

# Configuring the Wikipedia Tool
wikipedia_tool = LangchainTool(
    tool=WikipediaQueryRun(api_wrapper=WikipediaAPIWrapper())
)
# 1. Researcher Agent
comprehensive_researcher = Agent(
    name="comprehensive_researcher",
    model=model_name,
    description="The primary researcher that can access both internal zoo data and external knowledge from Wikipedia.",
    instruction="""
    You are a helpful research assistant. Your goal is to fully answer the user's PROMPT.
    You have access to two tools:
    1. A tool for getting specific data about animals AT OUR ZOO (names, ages, locations).
    2. A tool for searching Wikipedia for general knowledge (facts, lifespan, diet, habitat).

    First, analyze the user's PROMPT.
    - If the prompt can be answered by only one tool, use that tool.
    - If the prompt is complex and requires information from both the zoo's database AND Wikipedia,
      you MUST use both tools to gather all necessary information.
    - Synthesize the results from the tool(s) you use into preliminary data outputs.

    PROMPT:
    { PROMPT }
    """,
    tools=[
        wikipedia_tool
    ],
    output_key="research_data" # A key to store the combined findings
)

# 2. Response Formatter Agent
response_formatter = Agent(
    name="response_formatter",
    model=model_name,
    description="Synthesizes all information into a friendly, readable response.",
    instruction="""
    You are the friendly voice of the Zoo Tour Guide. Your task is to take the
    RESEARCH_DATA and present it to the user in a complete and helpful answer.

    - First, present the specific information from the zoo (like names, ages, and where to find them).
    - Then, add the interesting general facts from the research.
    - If some information is missing, just present the information you have.
    - Be conversational and engaging.

    RESEARCH_DATA:
    { research_data }
    """
)
tour_guide_workflow = SequentialAgent(
    name="tour_guide_workflow",
    description="The main workflow for handling a user's request about an animal.",
    sub_agents=[
        comprehensive_researcher, # Step 1: Gather all data
        response_formatter,       # Step 2: Format the final response
    ]
)
root_agent = Agent(
    name="greeter",
    model=model_name,
    description="The main entry point for the Zoo Tour Guide.",
    instruction="""
    - Let the user know you will help them learn about the animals we have in the zoo.
    - When the user responds, use the 'add_prompt_to_state' tool to save their response.
    After using the tool, transfer control to the 'tour_guide_workflow' agent.
    """,
    tools=[add_prompt_to_state],
    sub_agents=[tour_guide_workflow]
)
接著是部署時間!
9. 準備部署要用的應用程式
檢查最終結構
部署前,請確認專案目錄包含正確的檔案。
- 確認
zoo_guide_agent資料夾如下所示:zoo_guide_agent/ ├── .env ├── __init__.py ├── agent.py └── requirements.txt
設定 IAM 權限
本機程式碼就緒後,下一步是設定代理在雲端使用的身分。
- 在終端機中,將變數載入殼層工作階段。
source .env - 為 Cloud Run 服務建立專屬的服務帳戶,讓服務擁有自己的特定權限。將下列內容貼到終端機:
gcloud iam service-accounts create ${SA_NAME} \ --display-name="Service Account for lab 2 " - 將 Vertex AI 使用者角色授予服務帳戶,以利服務帳戶呼叫 Google 的模型。
# Grant the "Vertex AI User" role to your service account
gcloud projects add-iam-policy-binding $PROJECT_ID \
  --member="serviceAccount:$SERVICE_ACCOUNT" \
  --role="roles/aiplatform.user"
10. 使用 ADK CLI 部署代理
本機程式碼和 Google Cloud 雲端專案就緒後,就可以部署代理了。您會使用 adk deploy cloud_run 指令,輕鬆將整個部署工作流程自動化。這個單一指令會封裝程式碼、建構容器映像檔、將映像檔推送至 Artifact Registry,並在 Cloud Run 上啟動服務,讓使用者透過網路存取。
- 在終端機中執行下列指令,部署代理程式。
# Run the deployment command uvx --from google-adk==1.14.0 \ adk deploy cloud_run \ --project=$PROJECT_ID \ --region=europe-west1 \ --service_name=zoo-tour-guide \ --with_ui \ . \ -- \ --labels=dev-tutorial=codelab-adk \ --service-account=$SERVICE_ACCOUNTuvx指令可讓您執行以 Python 套件形式發布的指令列工具,而不需在全域安裝這些工具。 - 如果系統提示您:
Deploying from source requires an Artifact Registry Docker repository to store built containers. A repository named [cloud-run-source-deploy] in region
[europe-west1] will be created.

Do you want to continue (Y/n)?
Y並按下 Enter 鍵。 - 如果系統提示您:
Allow unauthenticated invocations to [your-service-name] (y/N)?.
y並按下 Enter 鍵。這樣一來,您就能在本實驗室中輕鬆測試未經驗證的叫用。 執行成功後,指令會提供已部署 Cloud Run 服務的網址。(看起來會像https://zoo-tour-guide-123456789.europe-west1.run.app)。 - 複製已部署 Cloud Run 服務的網址,以供下一個工作使用。
11. 測試已部署的代理
現在代理已在 Cloud Run 上線,您將執行測試,確認部署成功且代理正常運作。您將使用公開服務網址 (類似 https://zoo-tour-guide-123456789.europe-west1.run.app/) 存取 ADK 的網頁介面,並與代理互動。
- 在網路瀏覽器中開啟公開 Cloud Run 服務網址。由於您使用了
--with_ui flag,因此應該會看到 ADK 開發人員 UI。 - 開啟右上方的
Token Streaming。
現在您可以與動物園導覽員代理互動了。 - 輸入
hello並按下 Enter 鍵,即可開始新對話。 - 查看結果。代理應會迅速回覆問候語,內容類似如下:
"Hello! I'm your Zoo Tour Guide. I can help you learn about the amazing animals we have here. What would you like to know or explore today?"
- 向虛擬服務專員提出以下問題:
Where can I find the polar bears in the zoo and what is their diet?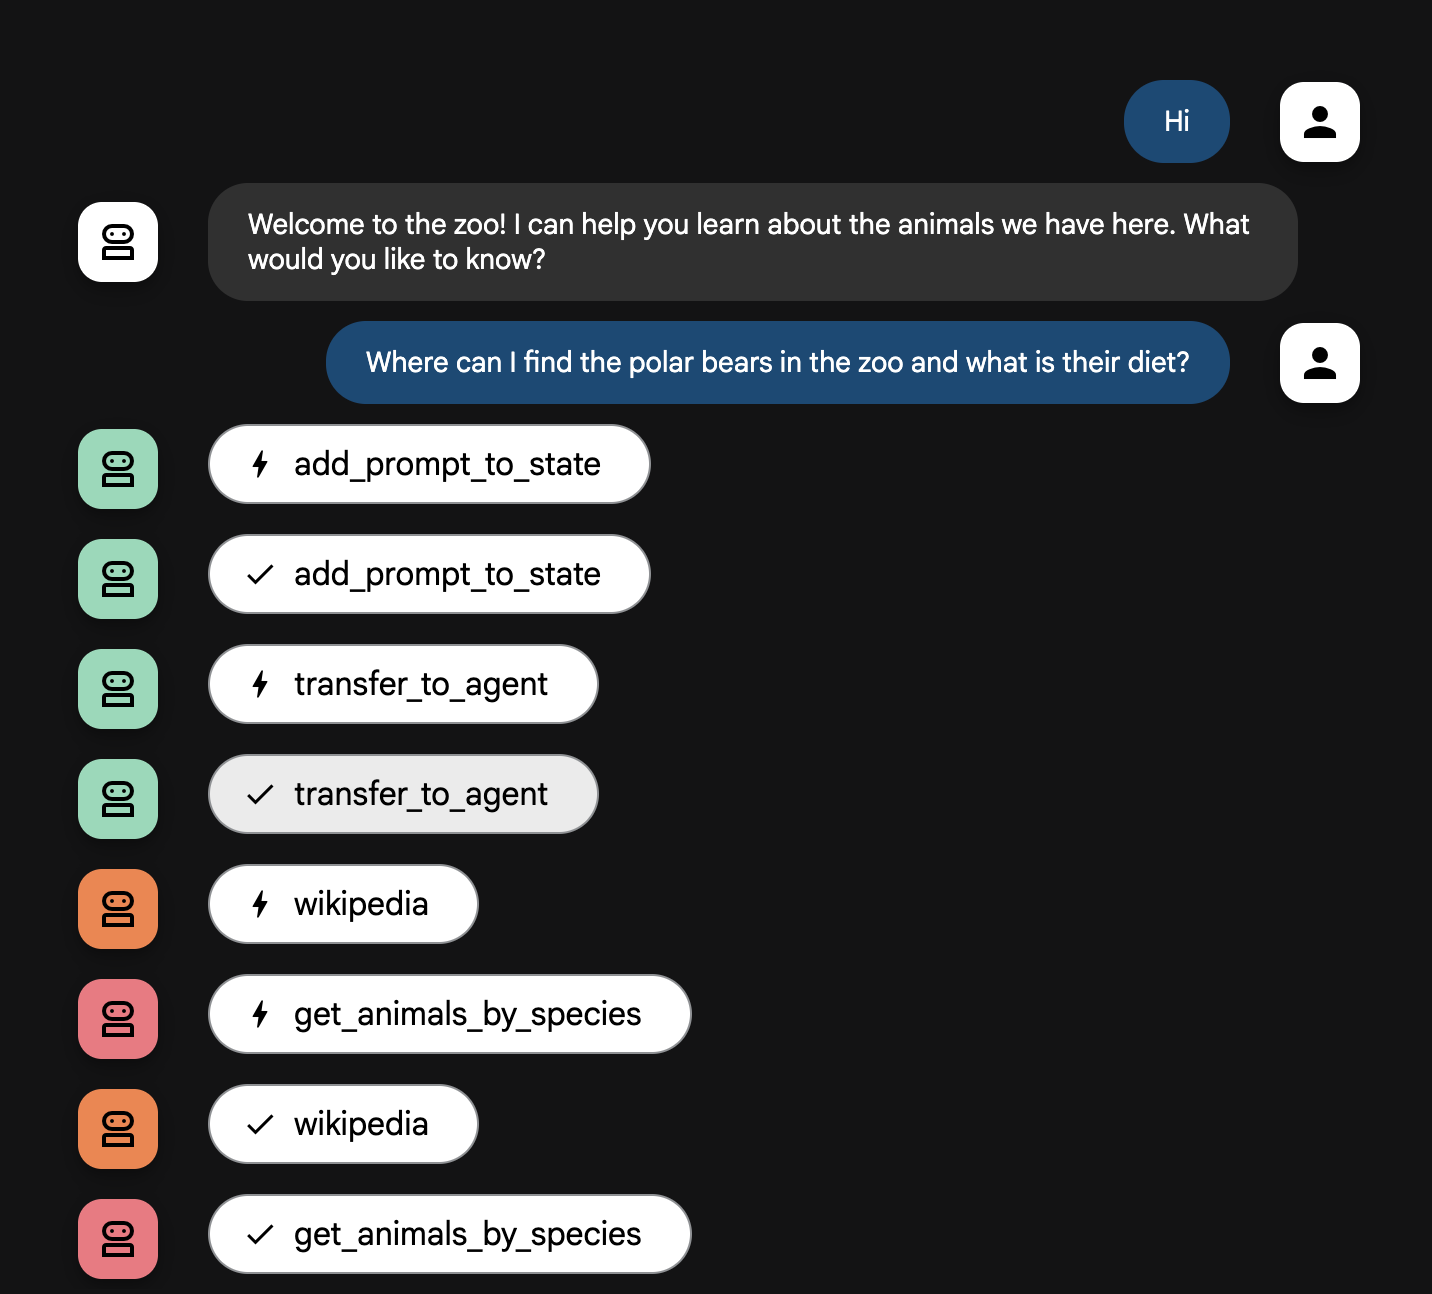
代理流程說明
您的系統就像一個智慧型多代理團隊,會按明確程序執行作業,確保使用者從提出問題到獲得最終詳細解答的過程順暢有效率。
1. 動物園迎賓員 (迎賓櫃台)
整個流程從迎賓代理開始。
- 用途:展開對話。這個代理會問候使用者,並詢問他們想瞭解哪種動物。
- 使用的工具:當使用者回覆時,迎賓代理會使用 add_prompt_to_state 工具完整擷取輸入的文字 (例如「介紹一下獅子」),並儲存在系統記憶體中。
- 轉接:儲存提示詞後,迎賓代理會立即將控制權轉給子代理 tour_guide_workflow。
2. 全方位研究人員 (超級研究人員)
這是主要工作流程的第一步,也是整個作業的「大腦」。您不必仰賴龐大的團隊,只要一個技能高超的代理就能存取所有可用資訊。
- 用途:分析使用者的問題,並聰明擬定計畫。這個代理會運用語言模型的工具使用功能,判斷是否需要:
- 從網路 (透過 Wikipedia API) 搜尋一般知識。
- 同時運用上述兩個管道,以回答複雜問題。
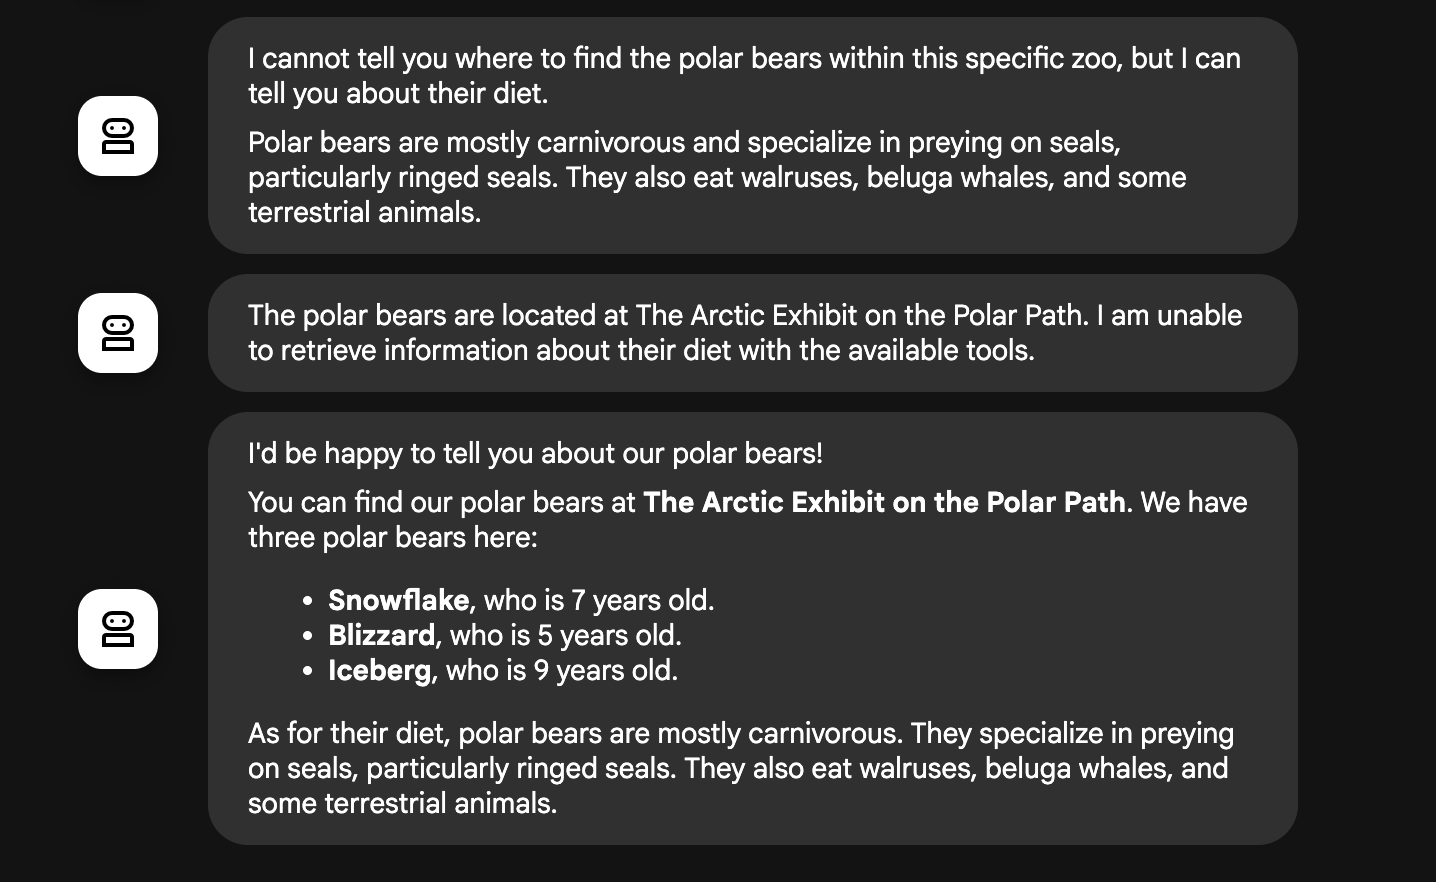
3. 回覆格式設定工具 (簡報者)
全方位研究人員收集所有事實後,就會交由最後的代理來呈現。
- 用途:擔任友善的動物園導覽員,將原始資料 (可能來自一個或兩個來源) 整理成實用回覆。
- 執行動作:將所有資訊統整成單一、連貫且實用的答案。這個代理會按照指示,先提供該動物園的具體資訊,再補充有趣的一般知識。
- 最終結果:代理會生成完整詳細的文字答案,並顯示在對話視窗中。
如要進一步瞭解如何建構代理,請參閱下列資源:
12. 清除環境
如要避免系統向您的 Google Cloud 帳戶收取本教學課程所用資源的費用,請刪除含有相關資源的專案,或者保留專案但刪除個別資源。
刪除 Cloud Run 服務和映像檔
如要保留 Google Cloud 雲端專案,但移除本實驗室中建立的特定資源,請務必刪除執行中的服務和儲存在註冊資料庫中的容器映像檔。
- 在終端機中執行下列指令:
gcloud run services delete zoo-tour-guide --region=europe-west1 --quiet
gcloud artifacts repositories delete cloud-run-source-deploy --location=europe-west1 --quiet
刪除專案 (選用)
如果您是為了這個實驗室特地建立新專案,而且不打算再使用,最簡單的清理方式就是刪除整個專案。確保所有資源 (包括服務帳戶和任何隱藏的建構構件) 都完全移除。
- 在終端機中執行下列指令 (將 [YOUR_PROJECT_ID] 替換為實際專案 ID)
gcloud projects delete $PROJECT_ID
13. 恭喜
您已成功在 Google Cloud 建構及部署多代理 AI 應用程式!
重點回顧
在本實驗室中,您從空白目錄開始,建立可公開存取的 AI 服務並上線。以下是您建構的項目:
- 您建立專屬團隊:您不是使用一般 AI,而是建立「研究人員」尋找事實,並建立「格式化人員」潤飾答案。
- 您提供工具給代理:您使用維基百科 API 將代理連結至外部世界。
- 您已發布:您已將本機 Python 程式碼部署為 Cloud Run 上的無伺服器容器,並使用專屬服務帳戶保護程式碼安全。
涵蓋內容
14. 問卷調查
輸出內容: