
1. Introduction
Overview
The goal of this lab is to provide you with hands-on experience deploying an open model on Google Cloud, progressing from a simple local setup to a production-grade deployment on Google Kubernetes Engine (GKE). You will learn how to use different tools appropriate for each stage of the development lifecycle.
The lab follows the following path:
- Rapid Prototyping: You will first run a model with Ollama locally to see how easy it is to get started.
- Production Deployment: Finally, you will deploy the model to GKE Autopilot using Ollama as a scalable serving engine.
Understanding Open Models
By "open model" people these days normally refer to a generative machine learning model that is publicly available for everyone to download and use. This means the model's architecture and, most importantly, its trained parameters or "weights," are publicly released.
This transparency offers several advantages over closed models, which are typically accessed only through a restrictive API:
- Insight: Developers and researchers can look "under the hood" to understand the model's inner workings.
- Customization: Users can adapt the model for specific tasks through a process called fine-tuning.
- Innovation: It empowers the community to build new and innovative applications on top of powerful existing models.
Google's contribution and the Gemma family
Google has been a foundational contributor to the open-source AI movement for many years. The revolutionary Transformer architecture, introduced in the 2017 paper "Attention Is All You Need", is the basis for nearly all modern large language models. This was followed by landmark open models like BERT, T5, and the instruction-tuned Flan-T5, each pushing the boundaries of what was possible and fueling research and development worldwide.
Building on this rich history of open innovation, Google introduced the Gemma family of models. Gemma models are created from the same research and technology used for the powerful, closed-source Gemini models but are made available with open weights. For Google Cloud customers, this provides a powerful combination of cutting-edge technology and the flexibility of open source, enabling them to control the model lifecycle, integrate with a diverse ecosystem, and pursue a multi-cloud strategy.
Spotlight on Gemma 3
In this lab, we will focus on Gemma 3, the latest and most capable generation in this family. Gemma 3 models are lightweight yet state-of-the-art, designed to run efficiently on a single GPU or even a CPU.
- Performance and Size: Gemma 3 models are lightweight yet state-of-the-art, designed to run efficiently on a single GPU or even a CPU. They provide superior quality and state-of-the-art (SOTA) performance for their size.
- Modality: They are multi-modal, capable of handling both text and image input to generate text output.
- Key Features: Gemma 3 has a large 128K context window and supports over 140 languages.
- Use Cases: These models are well-suited for a variety of tasks, including question answering, summarization, and reasoning.
Key terminology
As you work with open models, you'll encounter a few common terms:
- Pre-training involves training a model on a massive, diverse dataset to learn general language patterns. These models are essentially powerful auto-complete machines.
- Instruction tuning fine-tunes a pre-trained model to better follow specific instructions and prompts. These are the models that "know how to chat".
- Model Variants: Open models are typically released in multiple sizes (e.g., Gemma 3 has 1B, 4B, 12B, and 27B parameter versions) and variants, such as instruction-tuned (-it), pre-trained, or quantized for efficiency.
- Resource Needs: Large Language Models are big and require significant compute resources to host. While they can be run locally, deploying them in the cloud provides significant value, especially when optimized for performance and scalability with tools like Ollama.
Why GKE for Serving Open Models?
This lab guides you from simple, local model execution to a full-scale production deployment on Google Kubernetes Engine (GKE). While tools like Ollama are excellent for rapid prototyping, production environments have a demanding set of requirements that GKE is uniquely positioned to meet.
For large-scale AI applications, you need more than just a running model; you need a resilient, scalable, and efficient serving infrastructure. GKE provides this foundation. Here's when and why you would choose GKE:
- Simplified Management with Autopilot: GKE Autopilot manages the underlying infrastructure for you. You focus on your application configuration, and Autopilot provisions and scales the nodes automatically.
- High Performance & Scalability: Handle demanding, variable traffic with GKE's automatic scaling. This ensures your application can deliver high throughput with low latency, scaling up or down as needed.
- Cost-Effectiveness at Scale: Manage resources efficiently. GKE can scale workloads down to zero to avoid paying for idle resources, and you can leverage Spot VMs to significantly reduce costs for stateless inference workloads.
- Portability & Rich Ecosystem: Avoid vendor lock-in with a portable, Kubernetes-based deployment. GKE also provides access to the vast Cloud Native (CNCF) ecosystem for best-in-class monitoring, logging, and security tooling.
In short, you move to GKE when your AI application is ready for production and requires a platform built for serious scale, performance, and operational maturity.
What you'll learn
In this lab, you learn how to perform the following tasks:
- Run an open model locally with Ollama.
- Deploy an open model to Google Kubernetes Engine (GKE) Autopilot with Ollama for serving.
- Understand the progression from local development frameworks to a production-grade serving architecture on GKE.
2. Project setup
Google Account
If you don't already have a personal Google Account, you must create a Google Account.
Use a personal account instead of a work or school account.
Sign-in to the Google Cloud Console
Sign-in to the Google Cloud Console using a personal Google account.
Enable Billing
Set up a personal billing account
If you set up billing using Google Cloud credits, you can skip this step.
To set up a personal billing account, go here to enable billing in the Cloud Console.
Some Notes:
- Completing this lab should cost less than $1 USD in Cloud resources.
- You can follow the steps at the end of this lab to delete resources to avoid further charges.
- New users are eligible for the $300 USD Free Trial.
Create a project (optional)
If you do not have a current project you'd like to use for this lab, create a new project here.
3. Open Cloud Shell Editor
- Click this link to navigate directly to Cloud Shell Editor
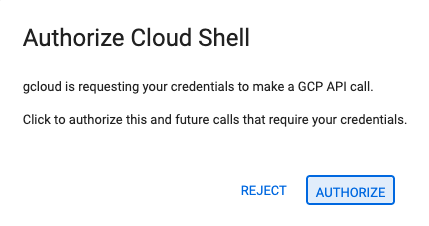
- If prompted to authorize at any point today, click Authorize to continue.
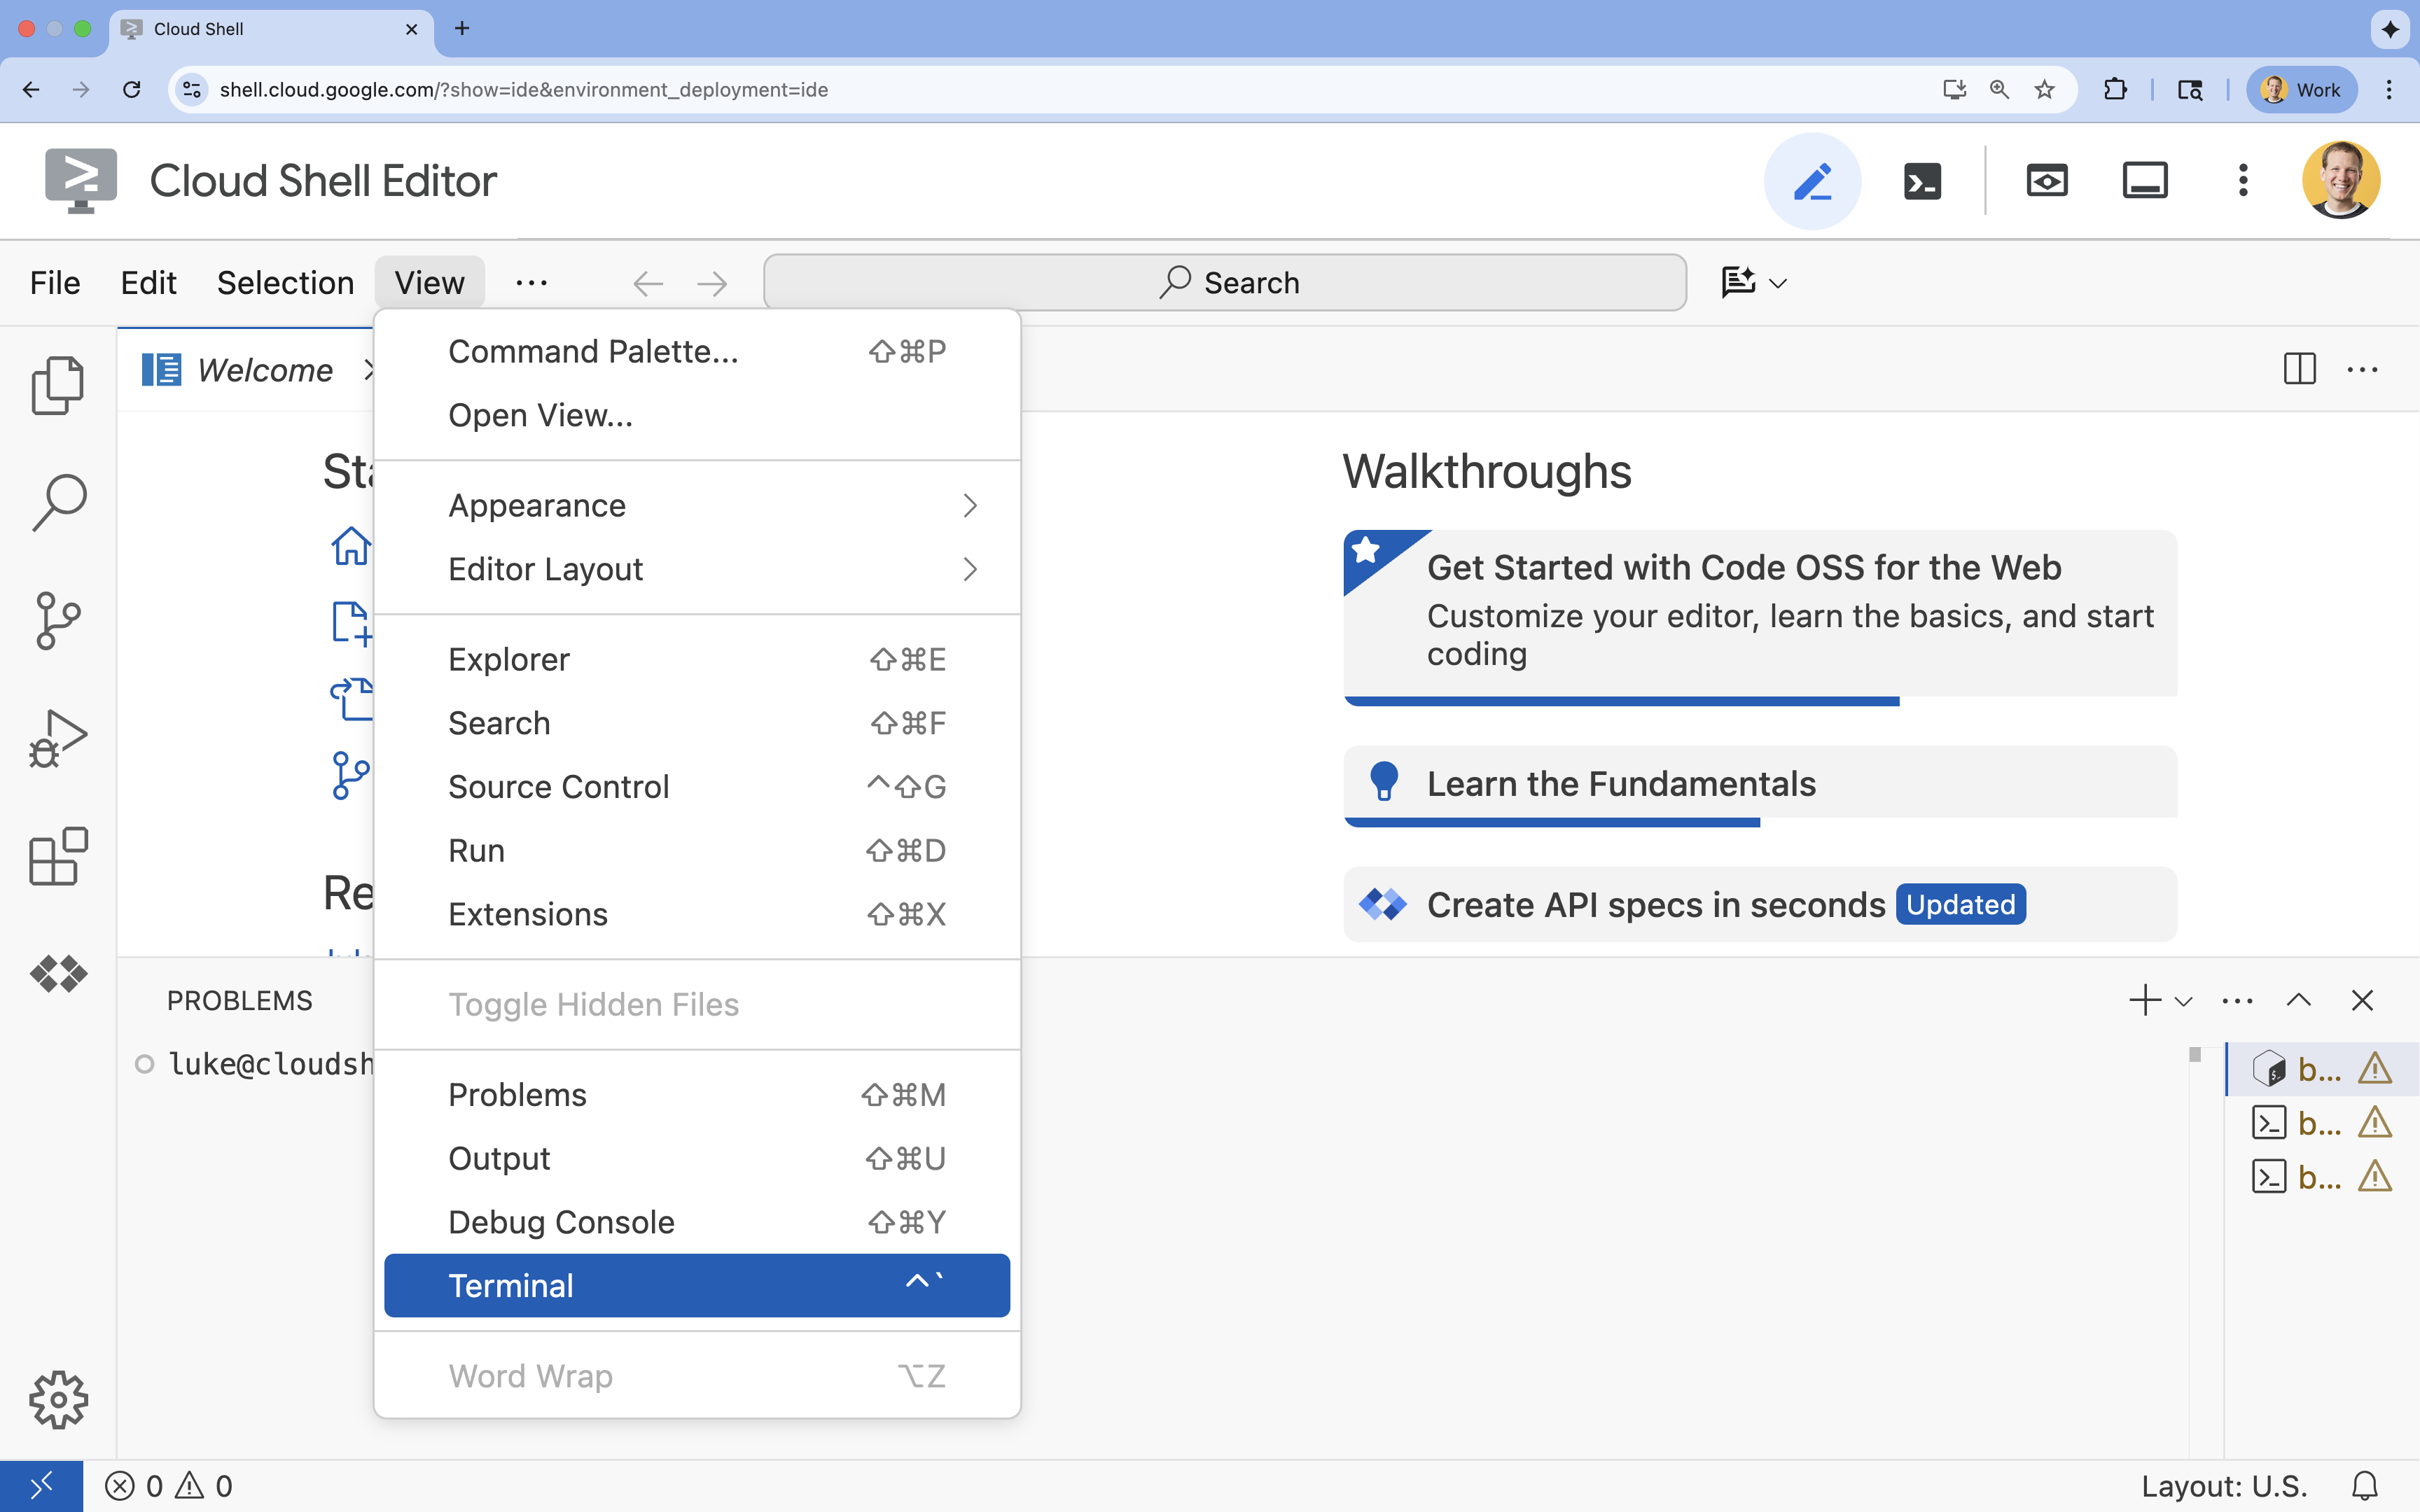
- If the terminal doesn't appear at the bottom of the screen, open it:
- Click View
- Click Terminal
- In the terminal, set your project with this command:
gcloud config set project [PROJECT_ID]- Example:
gcloud config set project lab-project-id-example - If you can't remember your project ID, you can list all your project IDs with:
gcloud projects list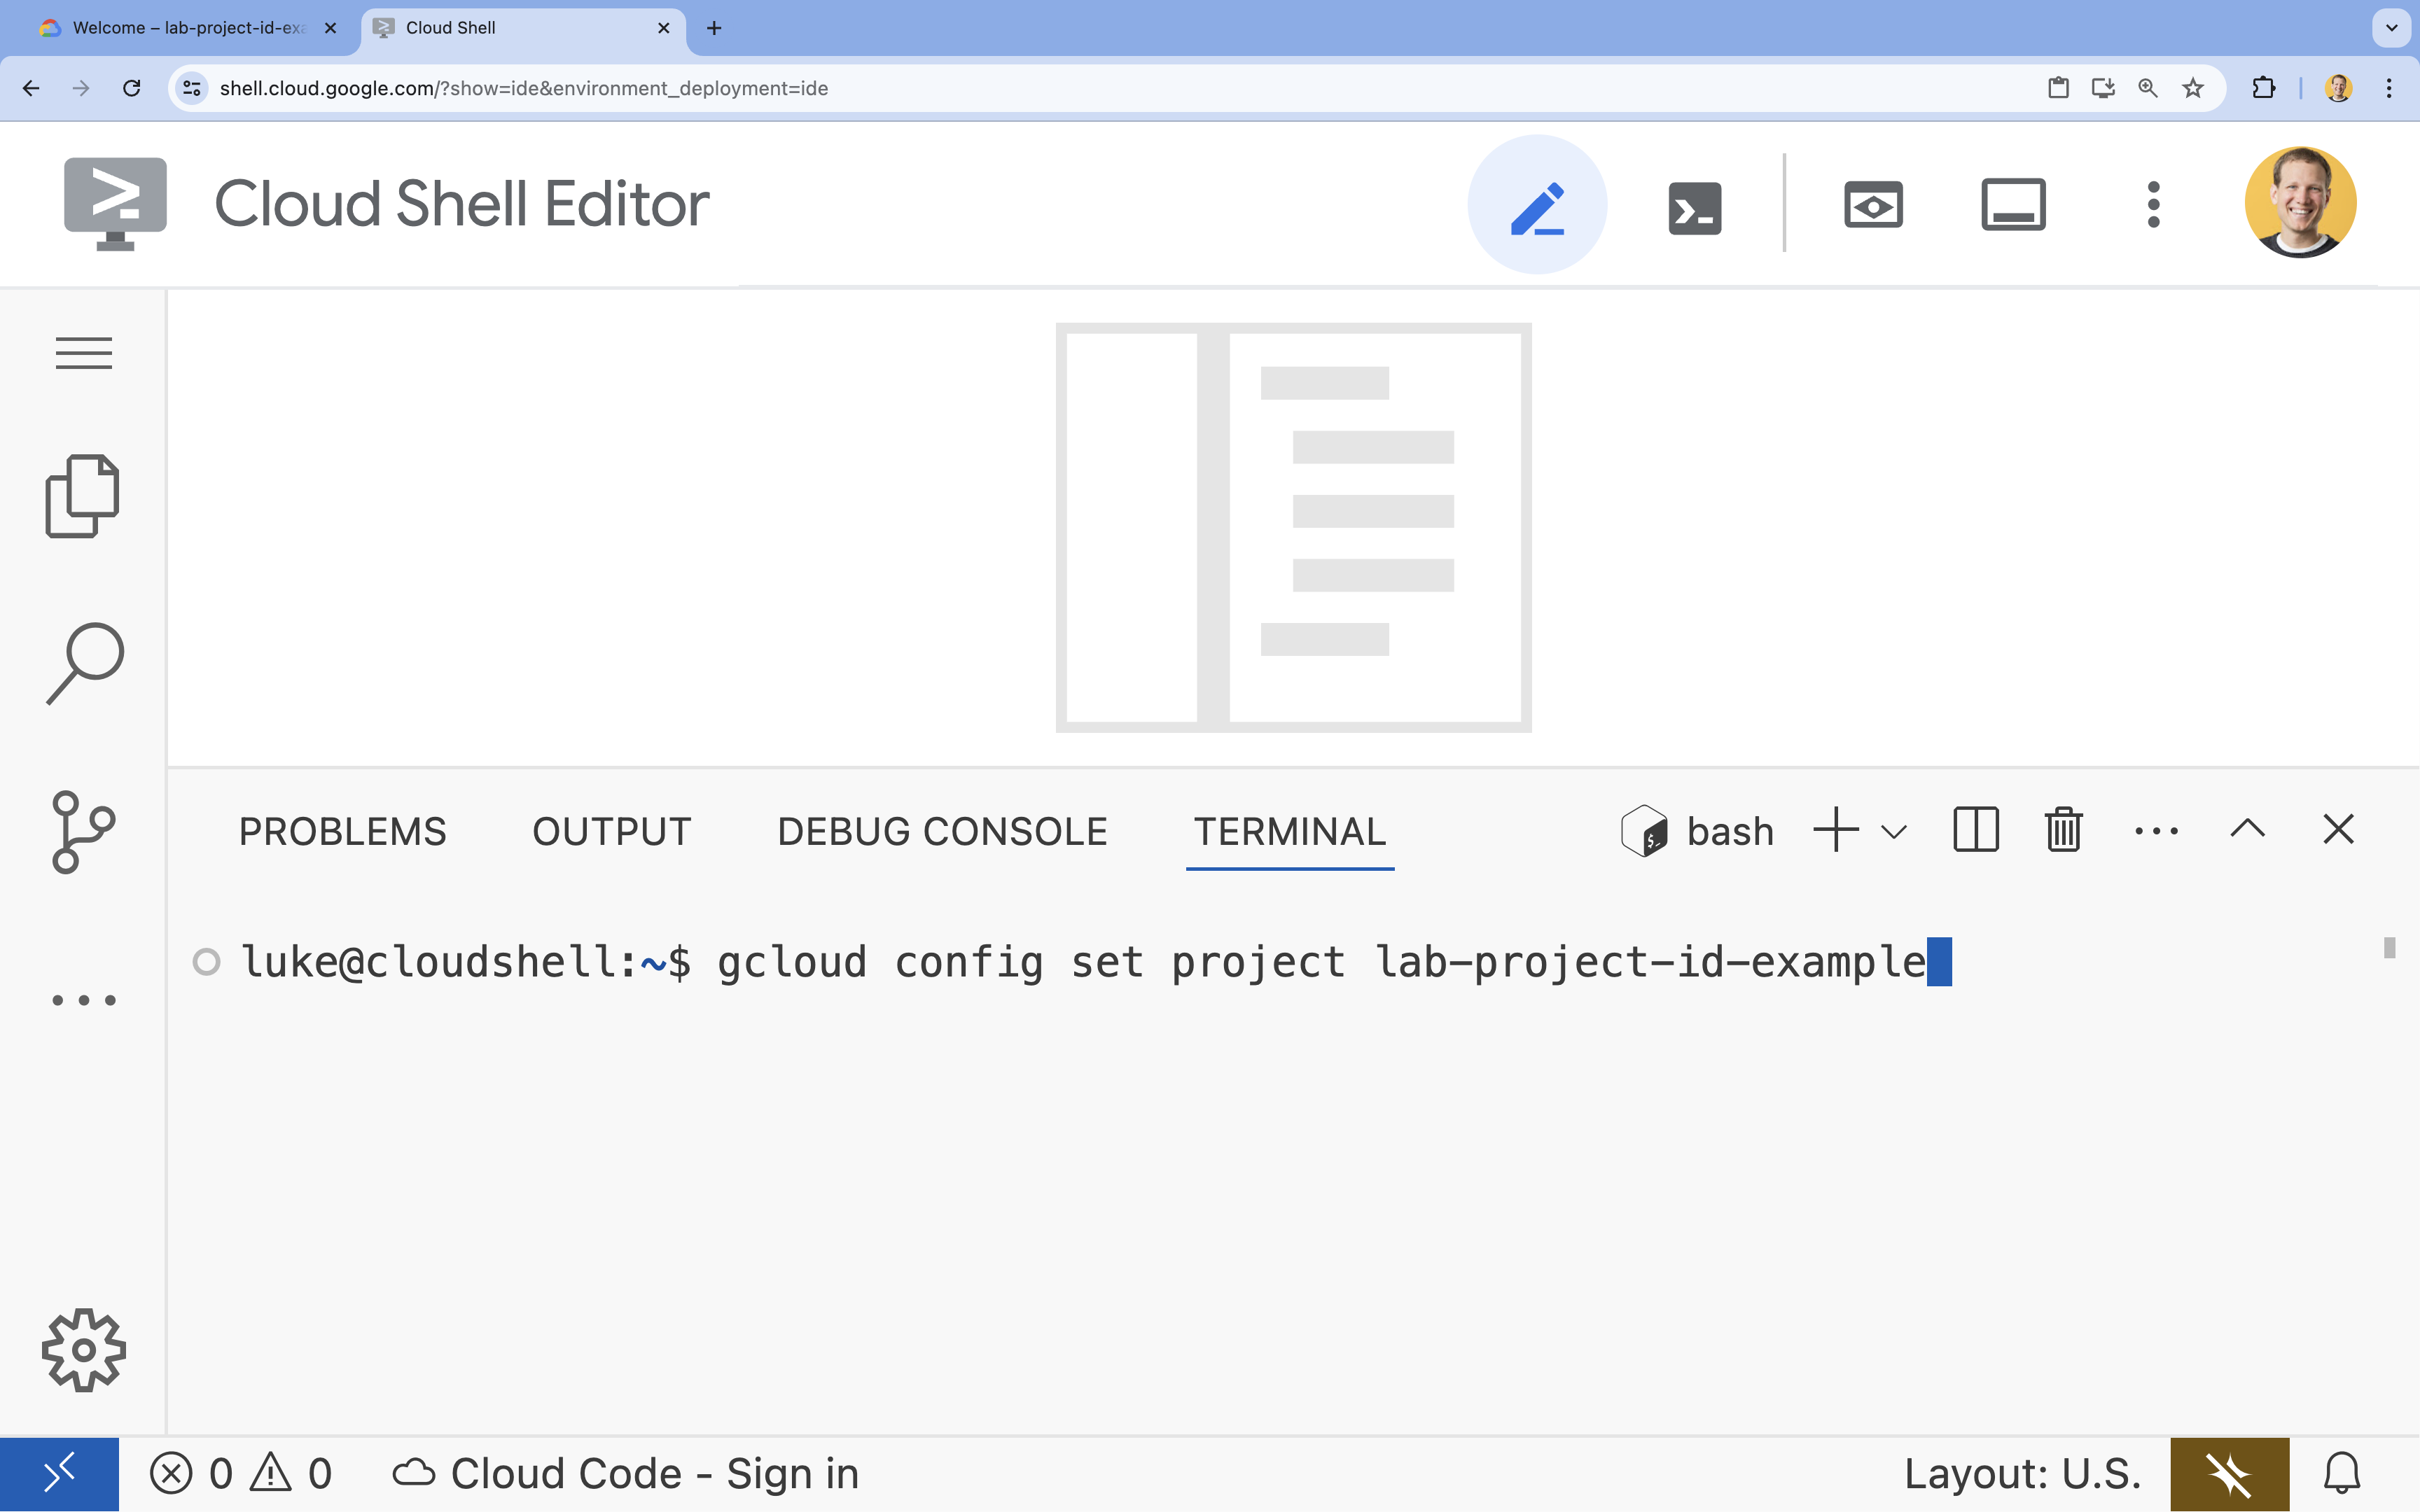
- Example:
- You should see this message:
Updated property [core/project].
4. Run Gemma with Ollama
Your first goal is to get Gemma 3 running as quickly as possible in a development environment. You will use Ollama, a tool that dramatically simplifies running large language models locally. This task shows you the most straightforward way to start experimenting with an open model.
Ollama is a free, open-source tool that allows users to run Generative models (large language models, vision-language models, and more) locally on their own computer. It simplifies the process of accessing and interacting with these models, making them more accessible and enabling users to work with them privately.
Install and run Ollama
Now, you are ready to install Ollama, download the Gemma 3 model, and interact with it from the command line.
- In the Cloud Shell terminal, download and install Ollama:
curl -fsSL https://ollama.com/install.sh | sh - Start the Ollama service in the background:
ollama serve & - Pull (download) the Gemma 3 1B model with Ollama:
ollama pull gemma3:1b - Run the model locally:
ollama run gemma3:1bollama runcommand presents a prompt (>>>) for you to ask questions to the model. - Test the model with a question. For example, type
Why is the sky blue?and press ENTER. You should see a response similar to the following:>>> Why is the sky blue? Okay, let's break down why the sky is blue – it's a fascinating phenomenon related to how light interacts with the Earth's atmosphere. Here's the explanation: **1. Sunlight and Colors:** * Sunlight appears white, but it's actually made up of all the colors of the rainbow (red, orange, yellow, green, blue, indigo, and violet). Think of a prism splitting sunlight. **2. Rayleigh Scattering:** * As sunlight enters the Earth's atmosphere... ...
- To exit the Ollama prompt in the Terminal, type
/byeand press ENTER.
Use the OpenAI SDK with Ollama
Now that the Ollama service is running, you can interact with it programmatically. You will use the OpenAI Python SDK, which is compatible with the API that Ollama exposes.
- In the Cloud Shell terminal, create and activate a virtual environment using uv. This ensures your project dependencies don't conflict with the system Python.
uv venv --python 3.14 source .venv/bin/activate - In the terminal, install the OpenAI SDK:
uv pip install openai - Create a new file named
ollama_chat.pyby entering in the terminal:cloudshell edit ollama_chat.py - Paste the following Python code into
ollama_chat.py. This code sends a request to the local Ollama server.from openai import OpenAI client = OpenAI( base_url = 'http://localhost:11434/v1', api_key='ollama', # required by OpenAI SDK, but not used by Ollama ) response = client.chat.completions.create( model="gemma3:1b", messages=[ { "role": "user", "content": "Why is the sky blue?" }, ], ) print(response.choices[0].message.content) - Run the script in your terminal:
python3 ollama_chat.py - To try the streaming mode, create another file named
ollama_stream.pyby running the following in the terminal:cloudshell edit ollama_stream.py - Paste the following content into the
ollama_stream.pyfile. Notice thestream=Trueparameter in the request. This allows the model to return tokens as soon as they are generated.from openai import OpenAI client = OpenAI( base_url = 'http://localhost:11434/v1', api_key='ollama', ) stream = client.chat.completions.create( model="gemma3:1b", messages=[ { "role": "user", "content": "Why is the sky blue?" }, ], stream=True ) for chunk in stream: if chunk.choices[0].delta.content is not None: print(chunk.choices[0].delta.content, end="", flush=True) print() - Run the streaming script in the terminal:
python3 ollama_stream.py
Streaming is a helpful feature for creating a good user experience in interactive applications like chatbots. Instead of making the user wait for the entire answer to be generated, streaming displays the response token-by-token as it's created. This provides immediate feedback and makes the application feel much more responsive.
What you learned: Running Open Models with Ollama
You have successfully run an open model using Ollama. You've seen how simple it can be to download a powerful model like Gemma 3 and interact with it, both through a command-line interface and programmatically with Python. This workflow is ideal for rapid prototyping and local development. You now have a solid foundation for exploring more advanced deployment options.
5. Deploy Gemma with Ollama on GKE Autopilot
For production workloads that demand simplified operations and scalability, Google Kubernetes Engine (GKE) is the platform of choice. In this task, you will deploy Gemma using Ollama on a GKE Autopilot cluster.
GKE Autopilot is a mode of operation in GKE where Google manages your cluster configuration, including your nodes, scaling, security, and other pre-configured settings. It creates a truly "serverless" Kubernetes experience, perfect for running inference workloads without managing the underlying compute infrastructure.
Prepare the GKE environment
For the final task of deploying to Kubernetes, you will provision a GKE Autopilot cluster.
- In the Cloud Shell terminal, set environment variables for your project and desired region.
export PROJECT_ID=$(gcloud config get-value project) export REGION=europe-west1 gcloud config set compute/region $REGION - Enable the GKE API for your project by running the following in the terminal:
gcloud services enable container.googleapis.com - Create a GKE Autopilot cluster by running the following in the terminal:
gcloud container clusters create-auto gemma-cluster \ --region $REGION \ --release-channel rapid - Get credentials for your new cluster by running the following in the terminal:
gcloud container clusters get-credentials gemma-cluster \
  --region $REGION
Deploy Ollama and Gemma
Now that you have a GKE Autopilot cluster, you can deploy the Ollama server. Autopilot will automatically provision compute resources (CPU and Memory) based on the requirements you define in your deployment manifest.
- Create a new file named
gemma-deployment.yamlby running the following in the terminal:cloudshell edit gemma-deployment.yaml - Paste the following YAML configuration into
gemma-deployment.yaml. This configuration defines a deployment that uses the official Ollama image to run on CPU.apiVersion: apps/v1 kind: Deployment metadata: name: ollama-gemma spec: replicas: 1 selector: matchLabels: app: ollama-gemma template: metadata: labels: app: ollama-gemma spec: containers: - name: ollama-gemma-container image: ollama/ollama:0.12.10 resources: requests: cpu: "8" memory: "8Gi" ephemeral-storage: "10Gi" limits: cpu: "8" memory: "8Gi" ephemeral-storage: "10Gi" # We use a script to start the server and pull the model command: ["/bin/bash", "-c"] args: - | ollama serve & OLLAMA_PID=$! echo "Waiting for Ollama server to start..." sleep 5 echo "Pulling Gemma model..." ollama pull gemma3:1b echo "Model pulled. Ready to serve." wait $OLLAMA_PID ports: - containerPort: 11434 env: - name: OLLAMA_HOST value: "0.0.0.0" --- apiVersion: v1 kind: Service metadata: name: llm-service spec: selector: app: ollama-gemma type: ClusterIP ports: - protocol: TCP port: 8000 targetPort: 11434image: ollama/ollama:latest: This specifies the official Ollama Docker image.resources: We explicitly request 8 vCPUs and 8Gi of memory. GKE Autopilot uses these values to provision the underlying compute. Since we are not using GPUs, the model will run on the CPU. The 8Gi of memory is sufficient to hold the Gemma 1B model and its context.command/args: We override the startup command to ensure the model is pulled when the pod starts. The script starts the server in the background, waits for it to be ready, pulls thegemma3:1bmodel, and then keeps the server running.OLLAMA_HOST: Setting this to0.0.0.0ensures that Ollama listens on all network interfaces within the container, making it accessible to the Kubernetes Service.
- In the terminal, apply the deployment manifest to your cluster:
kubectl apply -f gemma-deployment.yamlkubectl get pods --watchRunningandREADYis1/1before proceeding.
Test the GKE endpoint
Your Ollama service is now running on your GKE Autopilot cluster. To test it from your Cloud Shell terminal, you will use kubectl port-forward.
- Open a new Cloud Shell terminal tab (click the + icon in the terminal window). The
port-forwardcommand is a blocking process, so it needs its own terminal session. - In the new terminal, run the following command to forward a local port (e.g.,
8000) to the service's port (8000):kubectl port-forward service/llm-service 8000:8000 - Return to your original terminal.
- Send a request to your local port
8000. The Ollama server exposes an OpenAI-compatible API, and because of the port forward, you can now access it athttp://127.0.0.1:8000.curl http://127.0.0.1:8000/v1/chat/completions \ -H "Content-Type: application/json" \ -d '{ "model": "gemma3:1b", "messages": [ {"role": "user", "content": "Explain why the sky is blue."} ] }'
6. Clean-up
To avoid incurring charges to your Google Cloud account for the resources used in this lab, follow these steps to delete the GKE cluster.
- In the Cloud Shell terminal, delete the GKE Autopilot cluster:
gcloud container clusters delete gemma-cluster \
  --region $REGION --quiet
7. Conclusion
Great job! In this lab, you have journeyed through several key methods for deploying open models on Google Cloud. You started with the simplicity and speed of local development with Ollama. Finally, you deployed Gemma to a production-grade, scalable environment using Google Kubernetes Engine Autopilot and the Ollama framework.
You are now equipped with the knowledge to deploy open models on Google Kubernetes Engine for demanding, scalable workloads without managing the underlying infrastructure.
Recap
In this lab, you have learned:
- What Open Models are and why they are important.
- How to run an open model locally with Ollama.
- How to deploy an open model on Google Kubernetes Engine (GKE) Autopilot using Ollama for inference.
Learn more
- Learn more about Gemma models in the official documentation.
- Explore more examples in the Google Cloud Generative AI repository on GitHub.
- Read more about GKE Autopilot.
- Browse the Vertex AI Model Garden for other available open and proprietary models.