
1. 簡介
在本實驗室中,您將瞭解如何對 Google Gemini 模型執行完整的監督式微調工作流程,以適應特定工作:文章摘要。雖然大型語言模型功能強大,但由於一般用途的特性,因此微調後,在特定用途上會更加有效。使用高品質的範例資料集訓練模型,可提高模型在目標工作中的一致性、品質和效率。
您將使用輕量且經濟實惠的 Gemini 2.5 Flash 模型,並透過 Vertex AI 進行微調。
架構總覽
我們要建構的內容如下:
- Cloud Shell:開發環境。
- Cloud Storage:以 JSONL 格式儲存訓練/驗證資料。
- Vertex AI 訓練:管理微調工作。
- Vertex AI 端點:用於託管微調模型。
課程內容
- 準備高品質的資料集,用於監督式微調。
- 使用 Vertex AI SDK for Python 設定及啟動微調工作。
- 使用自動化指標 (ROUGE 分數) 評估模型。
- 比較基礎模型和微調模型,量化改善幅度。
2. 專案設定
Google 帳戶
如果沒有個人 Google 帳戶,請建立 Google 帳戶。
請使用個人帳戶,而非公司或學校帳戶。
登入 Google Cloud 控制台
使用個人 Google 帳戶登入 Google Cloud 控制台。
啟用計費功能
兌換 Google Cloud 抵免額 (選用)
如要參加這個研討會,您需要有具備抵免額的帳單帳戶。請使用本程式碼研究室頂端橫幅中的抵免額開始操作。如果已連結帳單帳戶,可以略過這個步驟。
建立專案 (選用)
如果沒有要用於本實驗室的現有專案,請在這裡建立新專案。
3. 開啟 Cloud Shell 編輯器
- 按一下這個連結,直接前往 Cloud Shell 編輯器
- 如果系統在今天任何時間提示您授權,請點選「授權」繼續操作。

- 如果畫面底部未顯示終端機,請開啟終端機:
- 按一下「查看」
- 按一下「終端機」
- 在終端機中,使用下列指令設定專案:
gcloud config set project [PROJECT_ID]- 範例:
gcloud config set project lab-project-id-example - 如果忘記專案 ID,可以使用下列指令列出所有專案 ID:
gcloud projects list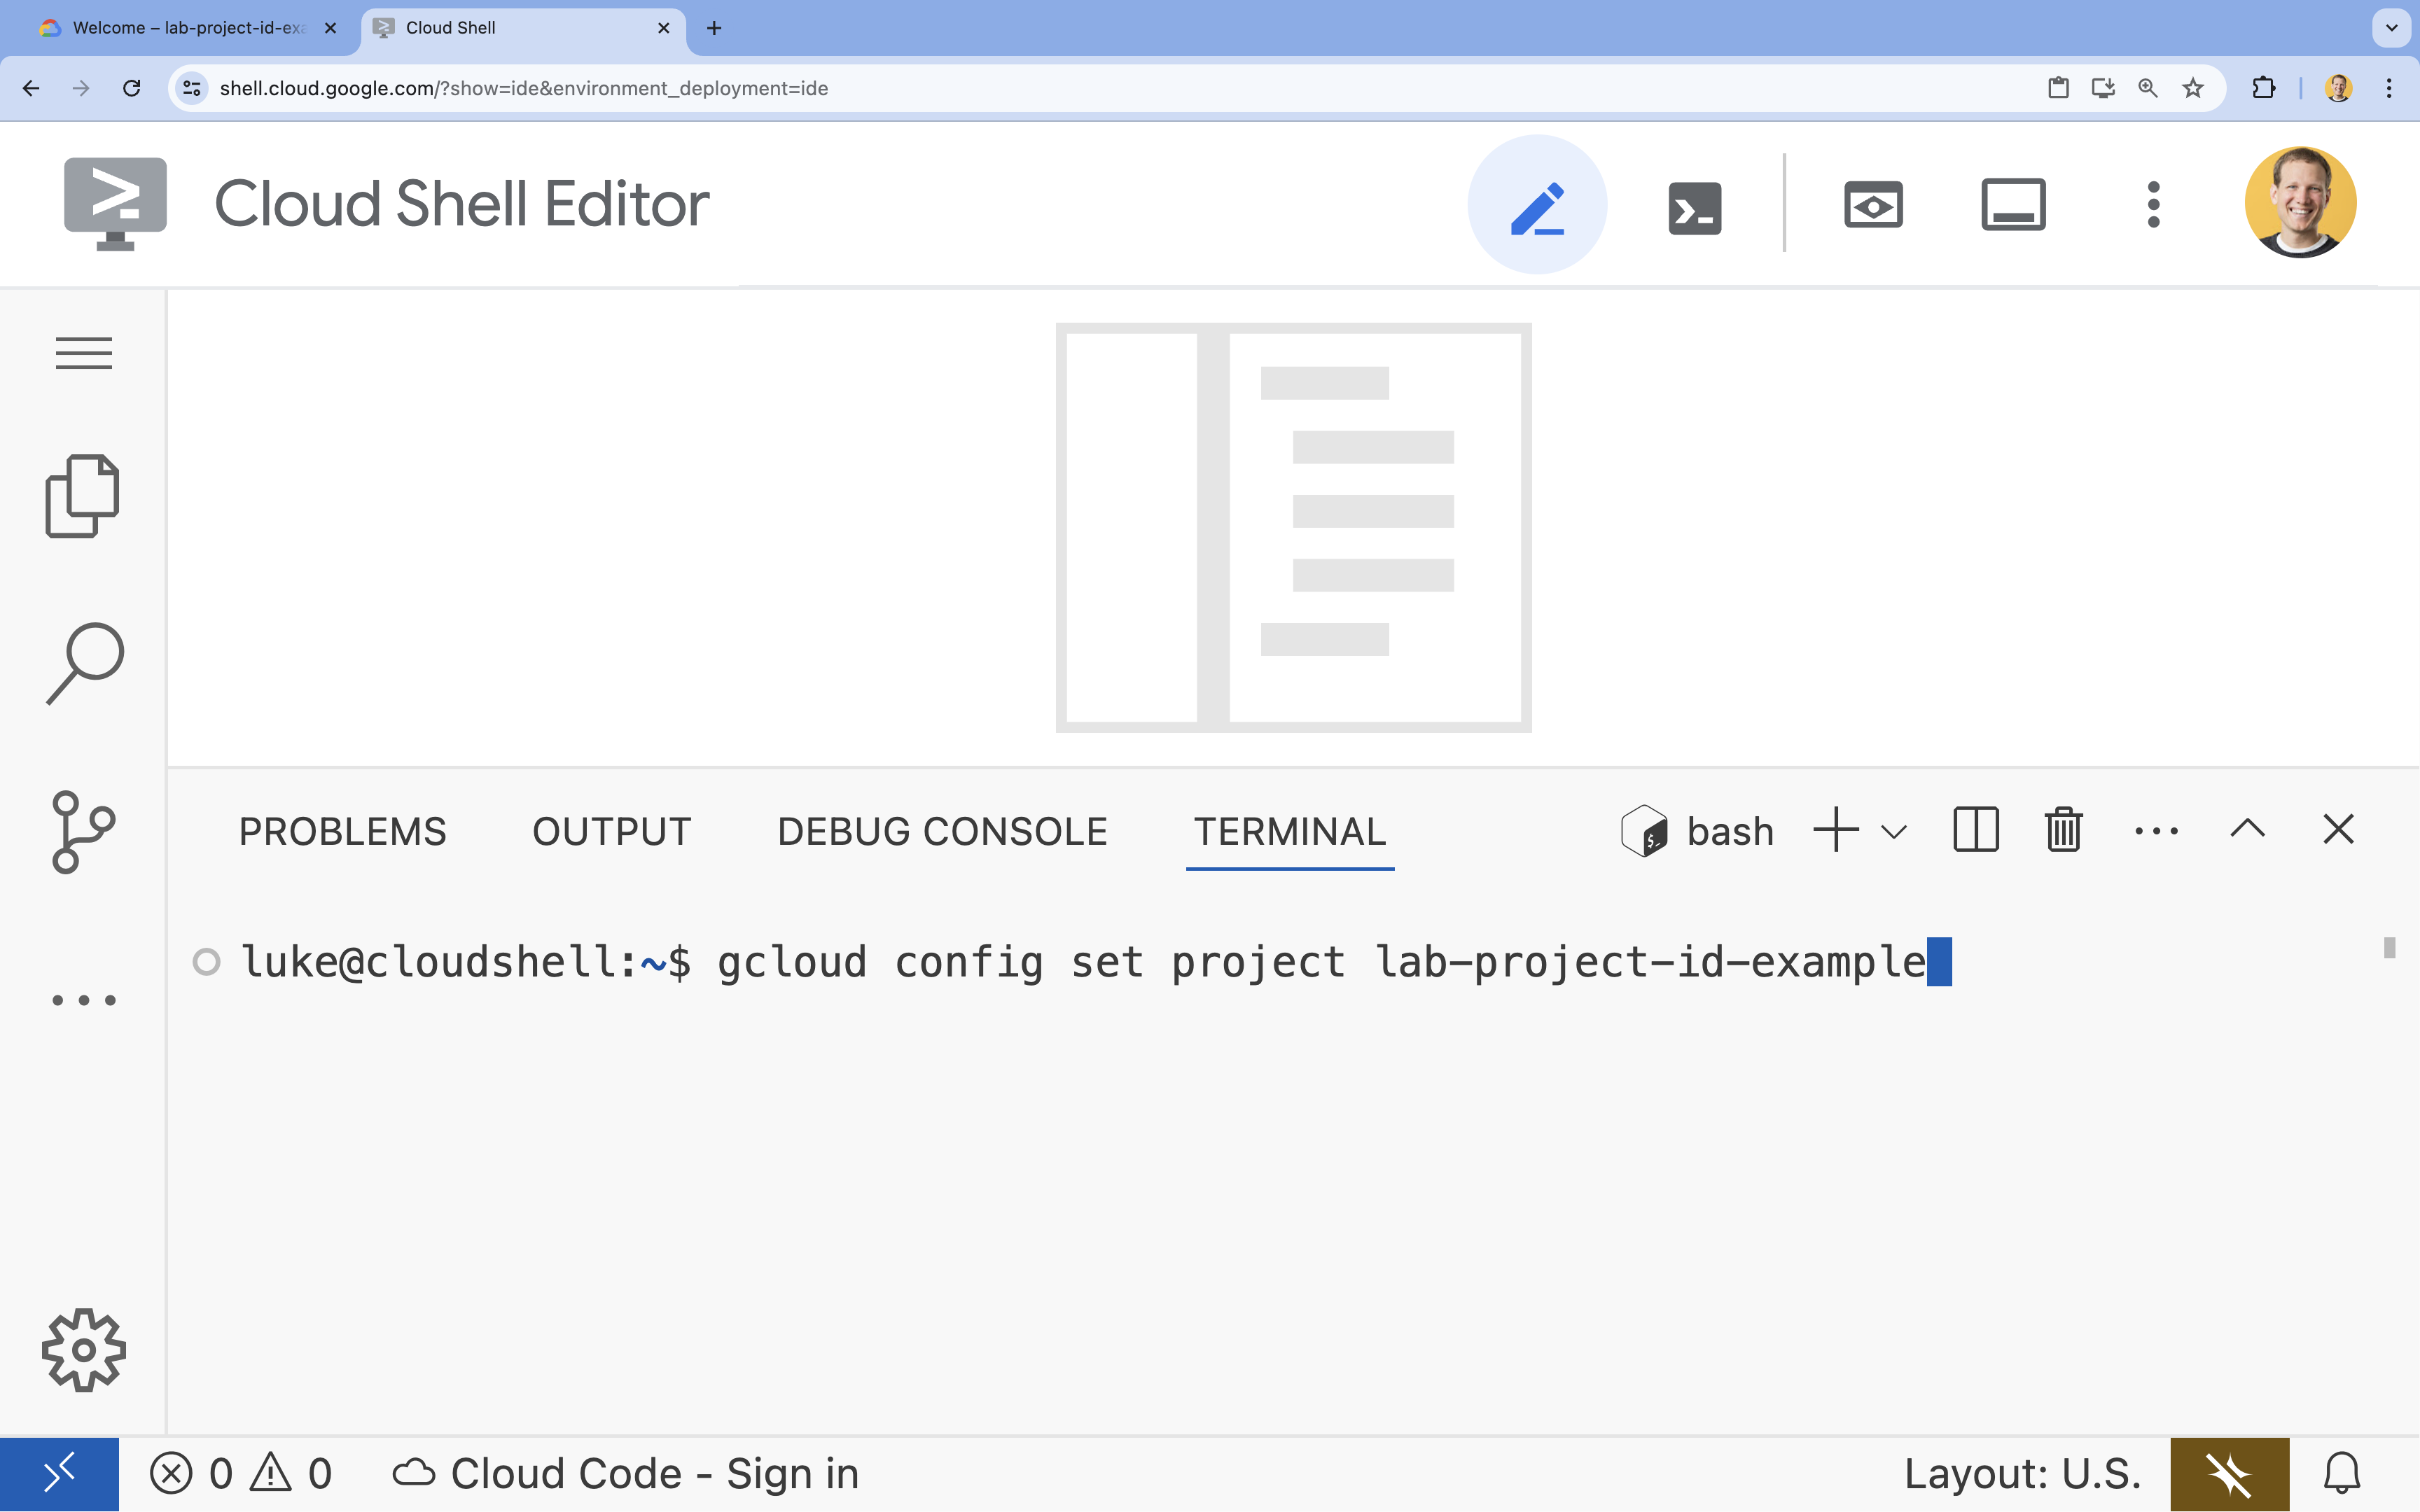
- 範例:
- 您應會看到下列訊息:
Updated property [core/project].
4. 啟用 API
如要使用 Vertex AI 和其他服務,您必須在 Google Cloud 專案中啟用必要的 API。
- 在終端機中啟用 API:
- Vertex AI API (
aiplatform.googleapis.com):可使用 Vertex AI 微調及提供模型。 - Cloud Storage API (
storage.googleapis.com):可儲存資料集和模型構件。
gcloud services enable aiplatform.googleapis.com \ storage.googleapis.com - Vertex AI API (
5. 設定專案環境
建立工作目錄
- 在終端機中,為專案建立目錄並前往該目錄。
mkdir gemini-finetuning
cd gemini-finetuning
設定環境變數
- 在終端機中,定義專案的環境變數。我們會建立
env.sh檔案來儲存這些變數,方便在工作階段中斷時重新載入。cat <<EOF > env.sh export PROJECT_ID=\$(gcloud config get-value project) export REGION="us-central1" export BUCKET_NAME="\${PROJECT_ID}-gemini-tuning" EOF source env.sh
建立 Cloud Storage bucket
- 在終端機中,建立值區來儲存資料集和模型構件。
gcloud storage buckets create gs://$BUCKET_NAME --project=$PROJECT_ID --location=$REGION
設定虛擬環境
- 我們將使用
uv管理 Python 環境。在終端機中執行:uv venv .venv source .venv/bin/activate - 在終端機中,安裝必要的 Python 套件。
uv pip install google-cloud-aiplatform rouge-score matplotlib pandas tqdm
6. 準備訓練資料
優質資料是成功微調的基礎。您將使用 WikiLingua 資料集,將其轉換為 Gemini 要求的特定 JSONL 格式,然後上傳至儲存空間值區。
- 在終端機中,建立名為
prepare_data.py的檔案。cloudshell edit prepare_data.py - 將下列程式碼貼入
prepare_data.py。import json import os import pandas as pd from google.cloud import storage import subprocess # Configuration BUCKET_NAME = os.environ["BUCKET_NAME"] PROJECT_ID = os.environ["PROJECT_ID"] def download_data(): print("Downloading WikiLingua dataset...") # Using gsutil to copy from public bucket subprocess.run(["gsutil", "cp", "gs://github-repo/generative-ai/gemini/tuning/summarization/wikilingua/*", "."], check=True) def convert_to_gemini_format(input_file, output_file, max_samples=1000): print(f"Converting {input_file} to Gemini format (first {max_samples} samples)...") converted_data = [] with open(input_file, 'r') as f: for i, line in enumerate(f): if i >= max_samples: break obj = json.loads(line) messages = obj.get("messages", []) # Convert messages to Gemini 2.5 format # Input: {"messages": [{"role": "user", "content": "..."}, {"role": "model", "content": "..."}]} # Output: {"contents": [{"role": "user", "parts": [{"text": "..."}]}, {"role": "model", "parts": [{"text": "..."}]}]} contents = [] for msg in messages: role = msg["role"] content = msg["content"] contents.append({ "role": role, "parts": [{"text": content}] }) converted_data.append({"contents": contents}) with open(output_file, 'w') as f: for item in converted_data: f.write(json.dumps(item) + "\n") print(f"Saved {len(converted_data)} examples to {output_file}") def upload_to_gcs(local_file, destination_blob_name): print(f"Uploading {local_file} to gs://{BUCKET_NAME}/{destination_blob_name}...") storage_client = storage.Client(project=PROJECT_ID) bucket = storage_client.bucket(BUCKET_NAME) blob = bucket.blob(destination_blob_name) blob.upload_from_filename(local_file) print("Upload complete.") def main(): download_data() # Process Training Data convert_to_gemini_format("sft_train_samples.jsonl", "train_gemini.jsonl") upload_to_gcs("train_gemini.jsonl", "datasets/train/train_gemini.jsonl") # Process Validation Data convert_to_gemini_format("sft_val_samples.jsonl", "val_gemini.jsonl") upload_to_gcs("val_gemini.jsonl", "datasets/val/val_gemini.jsonl") print("Data preparation complete!") if __name__ == "__main__": main() - 在終端機中,執行資料準備指令碼。
python prepare_data.py
7. 建立基準成效
微調前,您需要基準。您將使用 ROUGE 分數,評估基礎 gemini-2.5-flash 模型在摘要工作中的表現。
- 在終端機中,建立名為
evaluate.py的檔案。cloudshell edit evaluate.py - 將下列程式碼貼入
evaluate.py。import argparse import json import os import pandas as pd from google.cloud import aiplatform import vertexai from vertexai.generative_models import GenerativeModel, GenerationConfig, HarmCategory, HarmBlockThreshold from rouge_score import rouge_scorer from tqdm import tqdm import matplotlib.pyplot as plt import time # Configuration PROJECT_ID = os.environ["PROJECT_ID"] REGION = os.environ["REGION"] aiplatform.init(project=PROJECT_ID, location=REGION) def evaluate(model_name, test_file, max_samples=50, output_json="results.json"): print(f"Evaluating model: {model_name}") # Load Test Data test_df = pd.read_csv(test_file) test_df = test_df.head(max_samples) model = GenerativeModel(model_name) safety_settings = { HarmCategory.HARM_CATEGORY_HARASSMENT: HarmBlockThreshold.BLOCK_ONLY_HIGH, HarmCategory.HARM_CATEGORY_HATE_SPEECH: HarmBlockThreshold.BLOCK_ONLY_HIGH, HarmCategory.HARM_CATEGORY_SEXUALLY_EXPLICIT: HarmBlockThreshold.BLOCK_ONLY_HIGH, HarmCategory.HARM_CATEGORY_DANGEROUS_CONTENT: HarmBlockThreshold.BLOCK_ONLY_HIGH, } generation_config = GenerationConfig( temperature=0.1, max_output_tokens=1024, ) scorer = rouge_scorer.RougeScorer(['rouge1', 'rouge2', 'rougeL'], use_stemmer=True) results = [] for index, row in tqdm(test_df.iterrows(), total=len(test_df)): input_text = row['input_text'] reference_summary = row['output_text'] try: response = model.generate_content( input_text, generation_config=generation_config, safety_settings=safety_settings ) generated_summary = response.text scores = scorer.score(reference_summary, generated_summary) results.append({ "generated": generated_summary, "reference": reference_summary, "rouge1": scores['rouge1'].fmeasure, "rouge2": scores['rouge2'].fmeasure, "rougeL": scores['rougeL'].fmeasure }) except Exception as e: print(f"Error processing example {index}: {e}") # Sleep briefly to avoid quota issues if hitting limits time.sleep(1) # Save results with open(output_json, 'w') as f: json.dump(results, f, indent=2) return pd.DataFrame(results) def plot_results(df, title, filename): os.makedirs("plots", exist_ok=True) metrics = ['rouge1', 'rouge2', 'rougeL'] fig, axes = plt.subplots(1, 3, figsize=(15, 5)) for i, metric in enumerate(metrics): axes[i].hist(df[metric], bins=10, alpha=0.7, color='skyblue', edgecolor='black') axes[i].set_title(f'{metric} Distribution') axes[i].set_xlabel('Score') axes[i].set_ylabel('Count') plt.suptitle(title) plt.tight_layout() plt.savefig(f"plots/{filename}") print(f"Plot saved to plots/{filename}") def compare_results(baseline_file, tuned_file): with open(baseline_file, 'r') as f: baseline_data = pd.DataFrame(json.load(f)) with open(tuned_file, 'r') as f: tuned_data = pd.DataFrame(json.load(f)) print("\n--- Comparison ---") metrics = ['rouge1', 'rouge2', 'rougeL'] for metric in metrics: base_mean = baseline_data[metric].mean() tuned_mean = tuned_data[metric].mean() diff = tuned_mean - base_mean print(f"{metric}: Base={base_mean:.4f}, Tuned={tuned_mean:.4f}, Diff={diff:+.4f}") # Comparative Plot os.makedirs("plots", exist_ok=True) comparison_df = pd.DataFrame({ 'Metric': metrics, 'Baseline': [baseline_data[m].mean() for m in metrics], 'Tuned': [tuned_data[m].mean() for m in metrics] }) comparison_df.plot(x='Metric', y=['Baseline', 'Tuned'], kind='bar', figsize=(10, 6)) plt.title('Baseline vs Tuned Model Performance') plt.ylabel('Average Score') plt.xticks(rotation=0) plt.tight_layout() plt.savefig("plots/comparison.png") print("Comparison plot saved to plots/comparison.png") def main(): parser = argparse.ArgumentParser() parser.add_argument("--model", type=str, default="gemini-2.5-flash", help="Model resource name") parser.add_argument("--baseline", type=str, help="Path to baseline results json for comparison") parser.add_argument("--output", type=str, default="results.json", help="Output file for results") args = parser.parse_args() # Ensure test data exists (it was downloaded in prepare_data step) if not os.path.exists("sft_test_samples.csv"): # Fallback download if needed subprocess.run(["gsutil", "cp", "gs://github-repo/generative-ai/gemini/tuning/summarization/wikilingua/sft_test_samples.csv", "."], check=True) df = evaluate(args.model, "sft_test_samples.csv", output_json=args.output) print("\n--- Results Summary ---") print(df.describe()) plot_filename = "baseline_dist.png" if not args.baseline else "tuned_dist.png" plot_results(df, f"ROUGE Scores - {args.model}", plot_filename) if args.baseline: compare_results(args.baseline, args.output) if __name__ == "__main__": main() - 在終端機中執行基準評估。
python evaluate.py --model "gemini-2.5-flash" --output "baseline.json"baseline.json檔案,並在plots/baseline_dist.png中繪製圖表。
8. 設定及啟動微調作業
現在您要在 Vertex AI 上啟動代管微調工作。
- 在終端機中,建立名為
tune.py的檔案。cloudshell edit tune.py - 將下列程式碼貼入
tune.py。import os import time from google.cloud import aiplatform import vertexai from vertexai.preview.tuning import sft # Configuration PROJECT_ID = os.environ["PROJECT_ID"] REGION = os.environ["REGION"] BUCKET_NAME = os.environ["BUCKET_NAME"] aiplatform.init(project=PROJECT_ID, location=REGION) def train(): print("Launching fine-tuning job...") sft_tuning_job = sft.train( source_model="gemini-2.5-flash", # Using specific version for stability train_dataset=f"gs://{BUCKET_NAME}/datasets/train/train_gemini.jsonl", validation_dataset=f"gs://{BUCKET_NAME}/datasets/val/val_gemini.jsonl", epochs=1, # Keep it short for the lab adapter_size=4, learning_rate_multiplier=1.0, tuned_model_display_name="gemini-2.5-flash-wikilingua", ) print(f"Job started: {sft_tuning_job.resource_name}") print("Waiting for job to complete... (this may take ~45 minutes)") # Wait for the job to complete while not sft_tuning_job.has_ended: time.sleep(60) sft_tuning_job.refresh() print(f"Status: {sft_tuning_job.state.name}") print("Job completed!") print(f"Tuned Model Endpoint: {sft_tuning_job.tuned_model_endpoint_name}") return sft_tuning_job.tuned_model_endpoint_name if __name__ == "__main__": train() - 在終端機中執行微調指令碼。
python tune.py
9. 瞭解訓練程式碼
在作業執行期間,讓我們進一步瞭解 tune.py 指令碼,掌握微調作業的運作方式。
代管監督式微調
指令碼會使用 vertexai.tuning.sft.train 方法提交代管調整工作。這項功能可簡化基礎架構的佈建、訓練分配和檢查點管理作業。
sft_tuning_job = sft.train(
    source_model="gemini-2.5-flash",
    train_dataset=f"gs://{BUCKET_NAME}/datasets/train/train_gemini.jsonl",
    # ...
)
LoRA 設定
您不必像在開放原始碼架構中一樣手動定義 LoraConfig,Vertex AI 會將這項作業簡化為幾個重要參數:
adapter_size:這個參數 (在指令碼中設為4) 可控制 LoRA 轉換器的等級。模型越大,越能學習複雜的適應方式,但可訓練參數也會增加。epochs:在本實驗室中,我們將此值設為1,以縮短訓練時間 (約 20 分鐘)。在正式環境中,您可能會增加這個值,讓模型從資料中更深入地學習,但請注意過度配適。
多種模型任您選擇
我們明確指定 source_model="gemini-2.5-flash"。Vertex AI 支援各種版本的 Gemini,固定特定版本可確保管道保持穩定且可重現。
10. 比較模型
微調工作完成後,您可以比較新模型與基準的效能。
- 取得微調模型端點。這是在
tune.py指令碼結尾列印的。看起來應該像projects/.../locations/.../endpoints/...。 - 再次執行評估指令碼,這次請傳遞微調模型和基準結果以供比較。
# Replace [YOUR_TUNED_MODEL_ENDPOINT] with the actual endpoint name export TUNED_MODEL="projects/[YOUR_PROJECT_ID]/locations/[YOUR_REGION]/endpoints/[YOUR_ENDPOINT_ID]" python evaluate.py --model "$TUNED_MODEL" --baseline "baseline.json" --output "tuned.json" - 查看結果。指令碼會輸出 ROUGE 分數的比較結果,並產生
plots/comparison.png圖表顯示改善情形。您可以在 Cloud Shell 編輯器中開啟plots資料夾,查看繪圖。
11. 清理
為避免產生費用,請刪除您建立的資源。
- 在終端機中,刪除 Cloud Storage bucket 和微調模型。
gcloud storage rm -r gs://$BUCKET_NAME
# Note: You can delete the model endpoint from the Vertex AI Console
12. 恭喜!
您已在 Vertex AI 成功微調 Gemini 2.5 Flash!
重點回顧
本實驗室的學習內容如下:
- 準備好 JSONL 格式的資料集,用於微調 Gemini。
- 使用基礎 Gemini 2.5 Flash 模型建立基準。
- 在 Vertex AI 上啟動監督式微調工作。
- 評估微調模型並與基準模型比較。
後續步驟
這個實驗室屬於「打造可用於正式環境的 AI - Google Cloud 學習路徑」。
使用主題標記 #ProductionReadyAI 分享進度。