
1. Overview
With this codelab, we will demonstrate a simple, easy-to-do method for setting up Cloud SQL and connecting our application to it. It is a quick L100 level learning to upgrade the developer experience for integrating advanced AI applications to sophisticated data features that Cloud SQL has to offer.
What you'll build
A simple web application.
As part of this, you will:
- Create a Cloud SQL for PostgreSQL instance in one click installation
- Create a sample application to connect to this instance and set up data
Requirements
2. Before you begin
Create a project
- In the Google Cloud Console, on the project selector page, select or create a Google Cloud project.
- Make sure that billing is enabled for your Cloud project. Learn how to check if billing is enabled on a project.
- You'll use Cloud Shell, a command-line environment running in Google Cloud. Click Activate Cloud Shell at the top of the Google Cloud console.

- Once connected to Cloud Shell, you check that you're already authenticated and that the project is set to your project ID using the following command:
gcloud auth list
- Run the following command in Cloud Shell to confirm that the gcloud command knows about your project.
gcloud config list project
- If your project is not set, use the following command to set it:
gcloud config set project <YOUR_PROJECT_ID>
- Enable the required APIs: Follow the link and enable the APIs.
Alternatively you can use the gcloud command for this. Refer documentation for gcloud commands and usage.
3. Database setup
In this lab we'll use Cloud SQL for PostgreSQL as the database for the test data.
Let's create a Cloud SQL instance where the test dataset will be loaded.
- Click the button or Copy the link below to your browser where you have the Google Cloud Console user logged in.
- Once this step is complete the repo will be cloned to your local cloud shell editor and you will be able to run the command below from with the project folder (important to make sure you are in the project directory):
sh run.sh
- Now use the UI (clicking the link in the terminal or clicking the "preview on web" link in the terminal.
- Enter your details for project id and instance name to get started.
- Go grab a coffee while the logs scroll & you can read about how it's doing this behind the scenes here.
4. Create the sample application to test the connection
In the Cloud Shell Terminal, run the following commands one by one:
git clone https://github.com/flazer99/verify-easy-cloud-sql-connection

cd verify-easy-cloud-sql-connection
Make changes to the verify_connection.py file for your Cloud SQL setup you just configured in the last section:
# Replace this with the Private IP of your Cloud SQL Instance
DB_HOST = <<>>
DB_PORT = "5432"
DB_NAME = "postgres"
DB_USER = "postgres"
# Replace this with your actual Cloud SQL password
DB_PASS = <<>>
5. Deploy to Cloud Run
In the Cloud Shell Terminal make sure you are inside your project folder.
Once you are sure you are in the project folder, run the following command:
gcloud run deploy verify-cloudsql \
    --source . \
    --region=us-central1 \
    --network=easy-cloudsql-vpc \
    --subnet=easy-cloudsql-subnet \
    --vpc-egress=all-traffic \
    --allow-unauthenticated
Once deployed, you should receive a deployed Cloud Run Endpoint that looks like this:
https://verify-cloudsql-**********-uc.a.run.app/
6. Demo
To confirm it worked, you can see the result on the browser or the logs explorer.
You can navigate to Cloud SQL on Google Cloud Console and open the newly created instance. Click Cloud SQL Studio from the navigation pane on the left and connect with your credentials.
In the studio, on the left pane, refresh the database objects and you should see the newly created table:
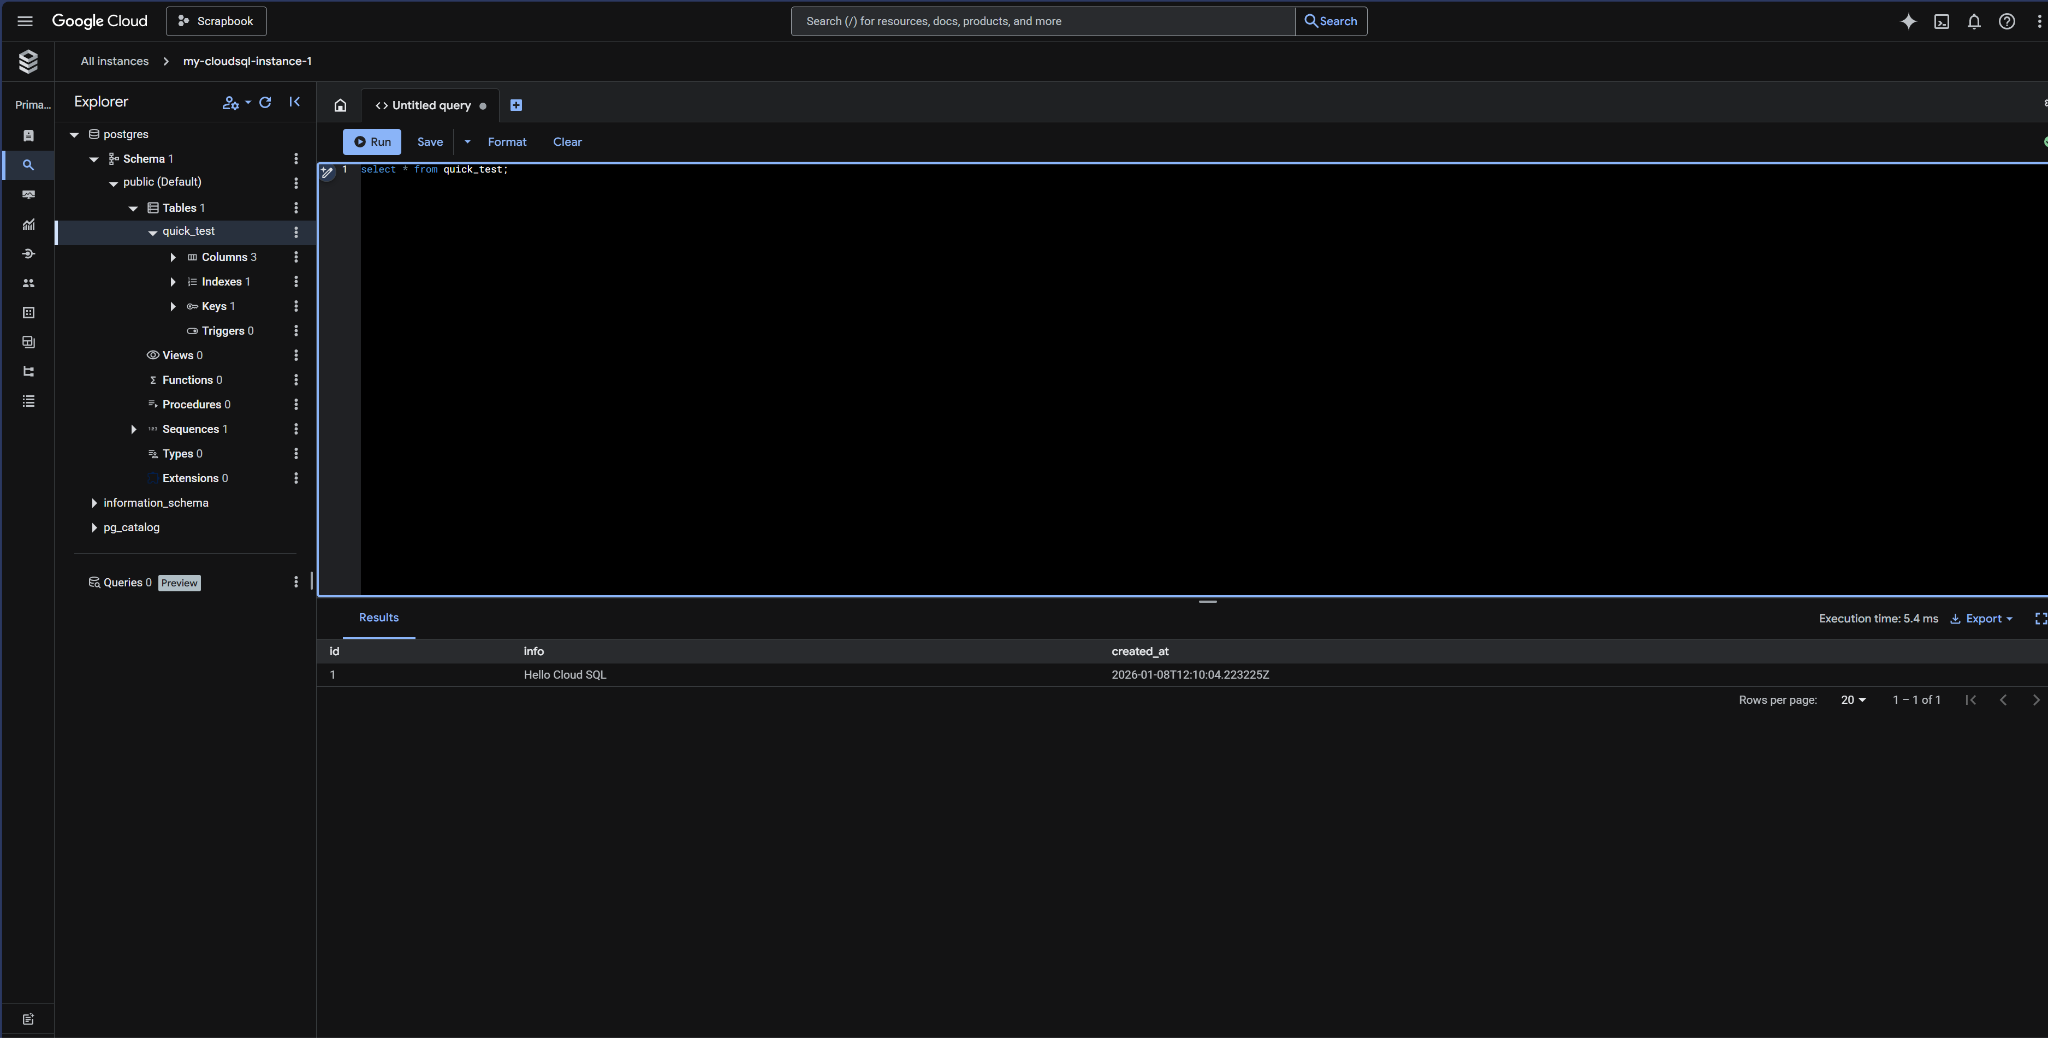
You can quickly query it to verify that the insert is successfully done:
7. Cleanup
Once this trial lab is done, do not forget to delete the Cloud SQL instance.
It should clean up the cluster along with its instance(s).
8. Conclusion
Get started with setting up your data with Cloud SQL quick & easy!!!