
1. Introduction
In this codelab, you will build a production-ready website by bridging AI-driven design with an agent-first development environment. You will use Google Stitch to generate a high-fidelity UI, then connect it to the Antigravity IDE via the Model Context Protocol (MCP). Finally, you will use an autonomous agent to fetch the "Design DNA" and implement a pixel-perfect React application.
What you'll do
- Generate UI in Stitch: Use natural language to create a full-scale web design in Google Stitch.
- Bridge with MCP: Connect Antigravity to your Stitch project using the Model Context Protocol.
- Autonomous Implementation: Use Antigravity's "Agent Tab" to fetch design tokens and scaffold a React/Tailwind project.
- Verify and Refine: Use the integrated browser to "Vibe Check" the code against the original design.
What you'll learn
- How to use Google Stitch to rapidly prototype high-fidelity UI designs.
- How to configure MCP Servers within the Antigravity IDE.
- How to use autonomous agents to translate visual design metadata into modular code.
What you'll need
- Chrome web browser
- An Antigravity IDE installed
- A Google Stitch account
- A Stitch API Key
- Node.js (v18+) installed locally
Before you begin
- In the Google Cloud Console, on the project selector page, select or create a Google Cloud project.
- Make sure that billing is enabled for your Cloud project. Learn how to check if billing is enabled on a project .
- Navigate to stitch.withgoogle.com and ensure you can sign in.
- Ensure you have the Antigravity IDE installed (available at antigravity.google).
2. Create the Design in Google Stitch
The Agent needs a visual "Source of Truth" to follow. Before we write code, we must define the aesthetic.
- Access the Platform: Navigate to stitch.withgoogle.com.
- Select Project Type: On the main dashboard, locate the Start a new design toggle. Click Web to ensure your design is optimized for browser-based layouts.
- Choose Your Model: Click the model dropdown menu (currently showing 3.0 Flash) inside the prompt box. Ensure Gemini 3 is selected for the most advanced reasoning and layout generation.
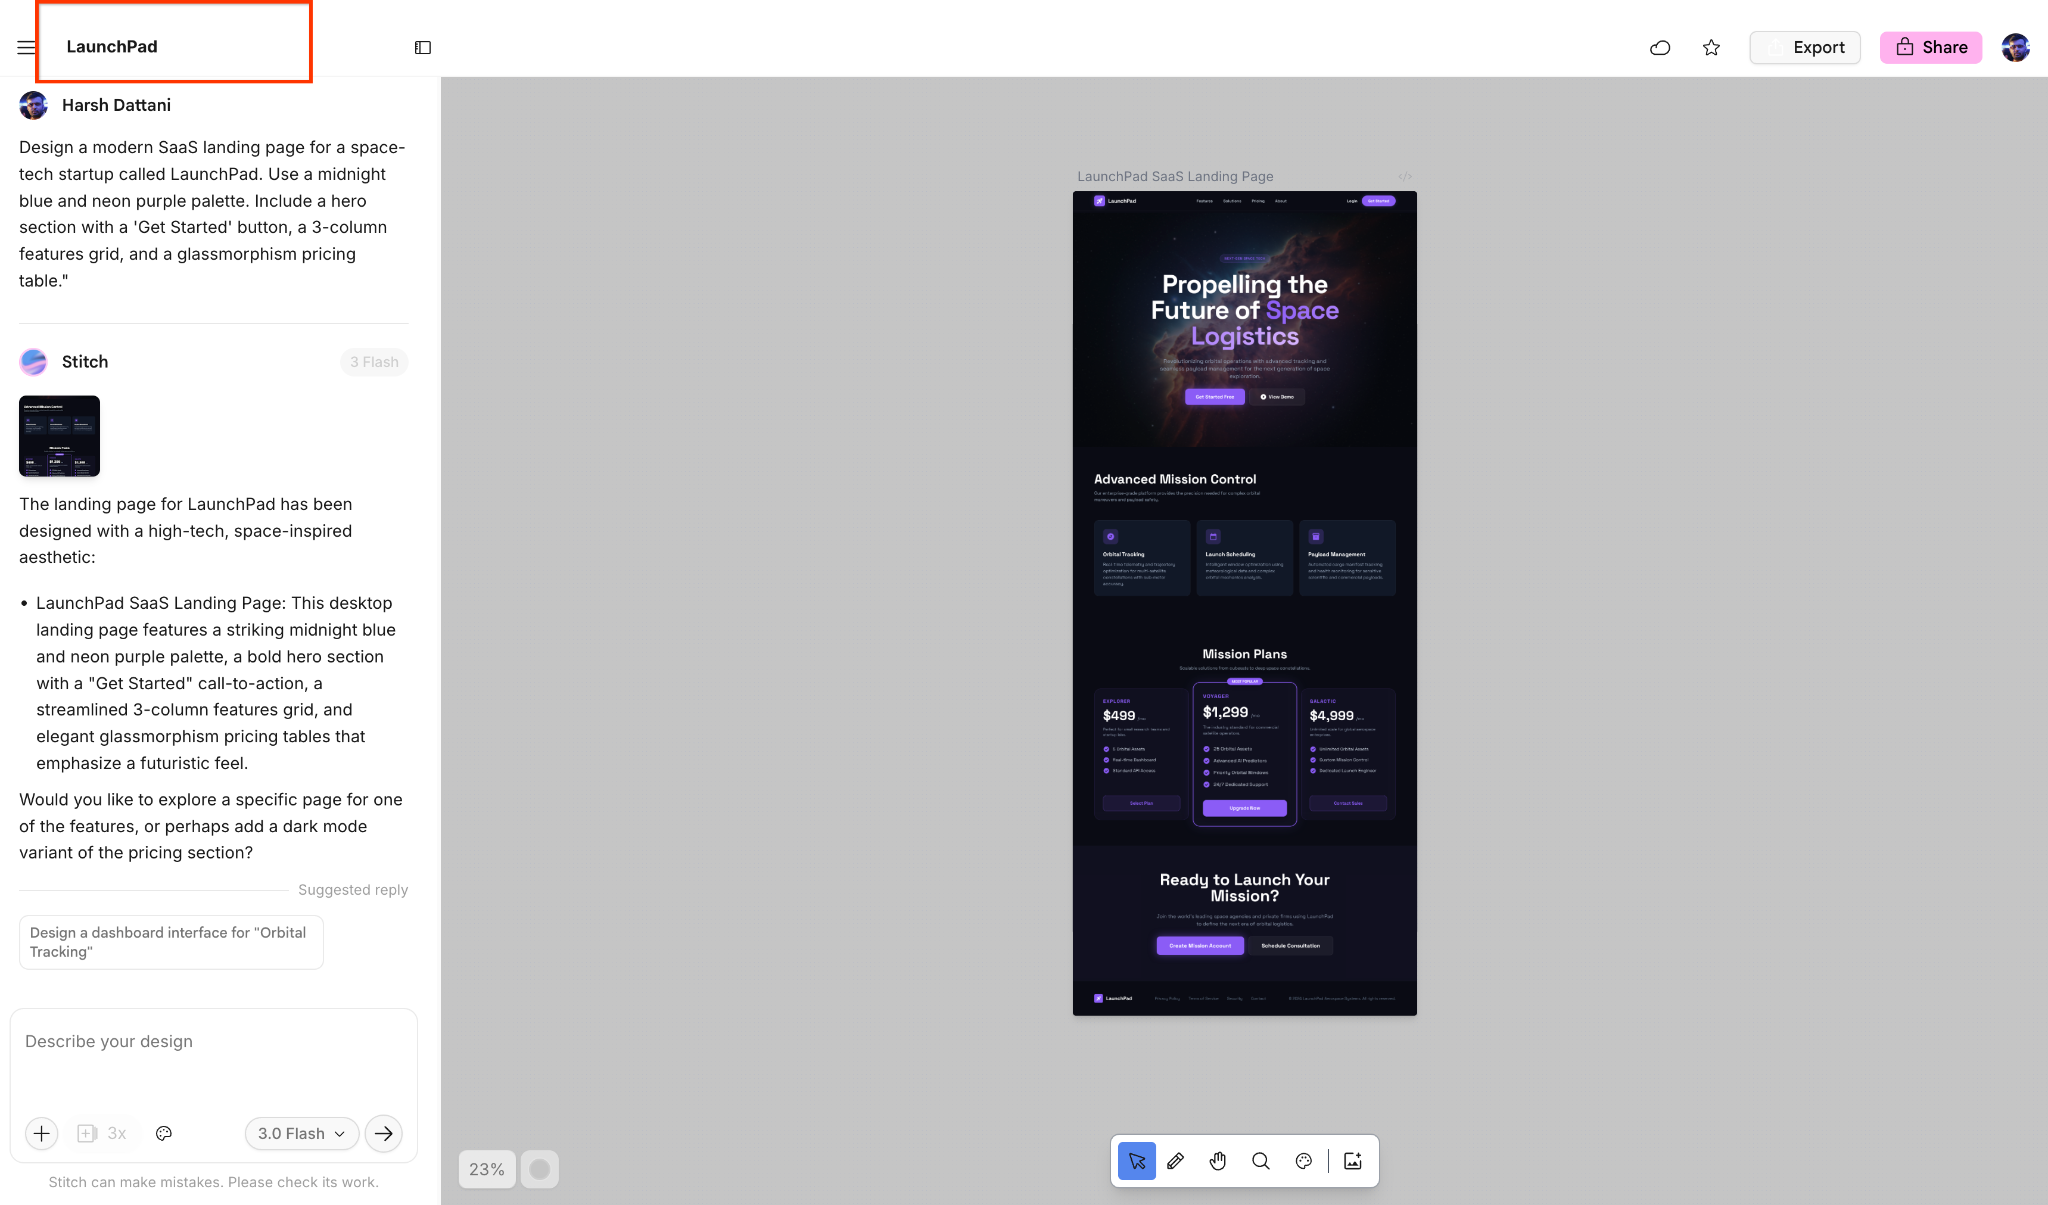
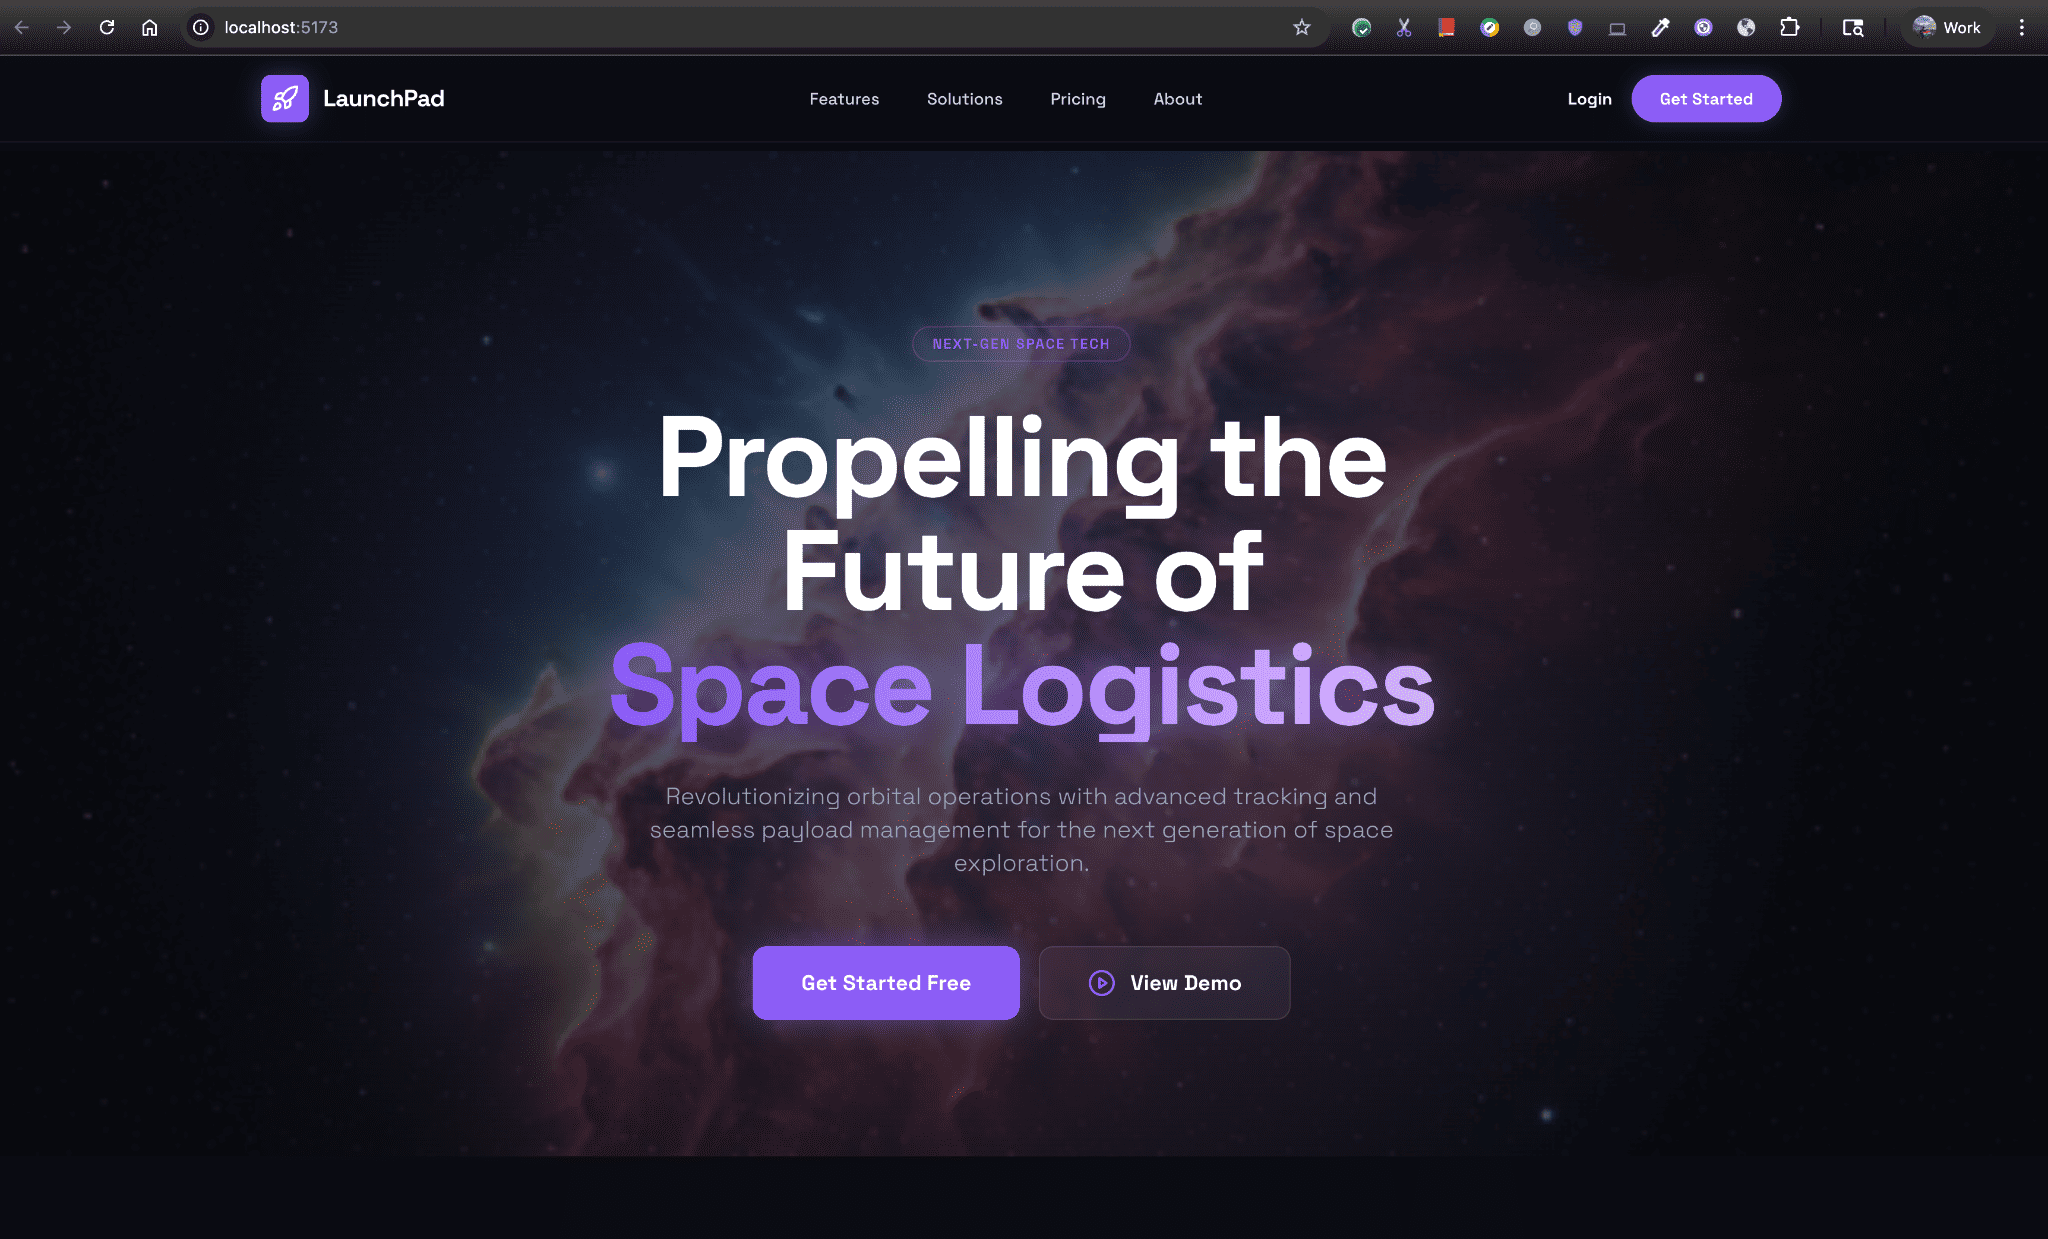
- Describe Your Vision: In the text area labeled "Describe your design", enter your prompt:
"Design a modern SaaS landing page for a space-tech startup called LaunchPad. Use a midnight blue and neon purple palette. Include a hero section with a ‘Get Started' button, a 3-column features grid, and a glassmorphism pricing table." 5. Generate: Click the arrow icon (next to the model selector) to begin the generation process. 6. Refine & Name: Once the UI is generated, give your project a name in the top header. Call it LaunchPad. You can use the chat sidebar to refine any specific elements before moving to the IDE.
[!TIP] You can also pick from the
"Try these prompts"
section if you want a quick start..
3. Configure Antigravity MCP
To allow the Antigravity Agent to "read" your design, you must generate a secure API key and add the Stitch MCP server.
Generate the Stitch API Key
- In Google Stitch, click your Profile Picture in the top right corner.
- Select Stitch settings from the dropdown menu.
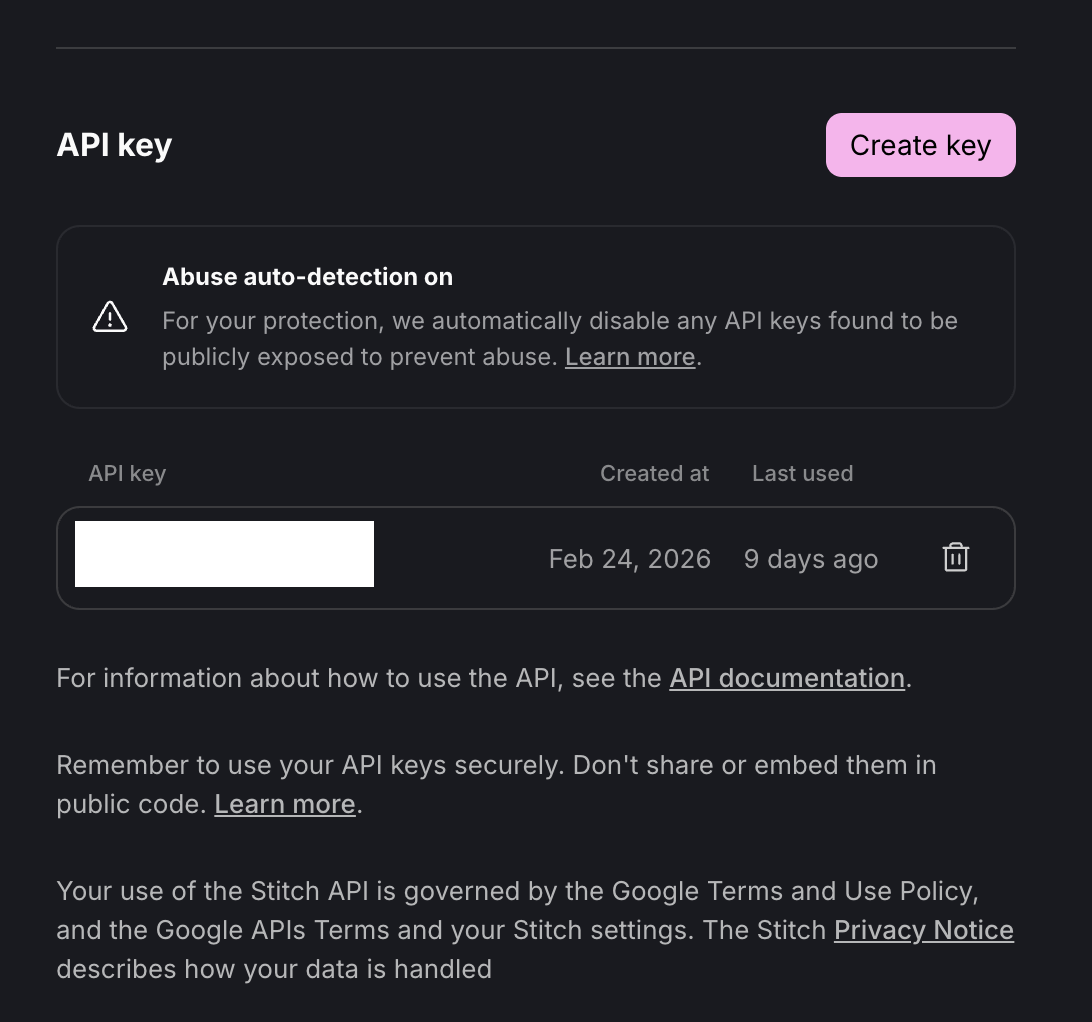
- Navigate to the API key section.
- Click the Create key button.
- Copy the key: Copy the generated key immediately and store it securely. You will need it for the next step.
Configure the Stitch MCP in Antigravity
- Open the Antigravity IDE.
- Open the Agent Manager
At any point, you can toggle between the Agent Manager and the editor by hitting CMD+E (Mac) or CTRL+E (Windows), or through the Open Editor & Open Agent Manager buttons at the top right of the menu bar. .
- Click + Open Workspace.
To start a new conversation within a workspace, either select the desired workspace from the Start Conversation tab or hit the Plus button next to the workspace name in the sidebar.
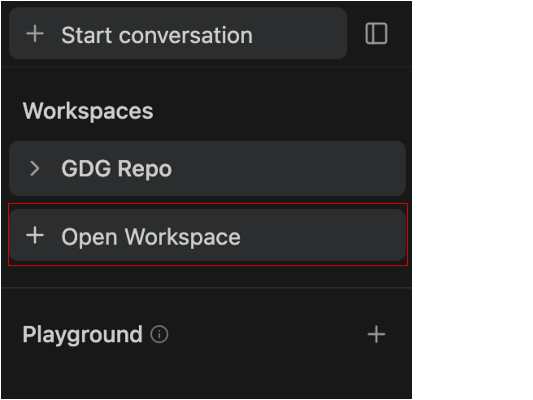
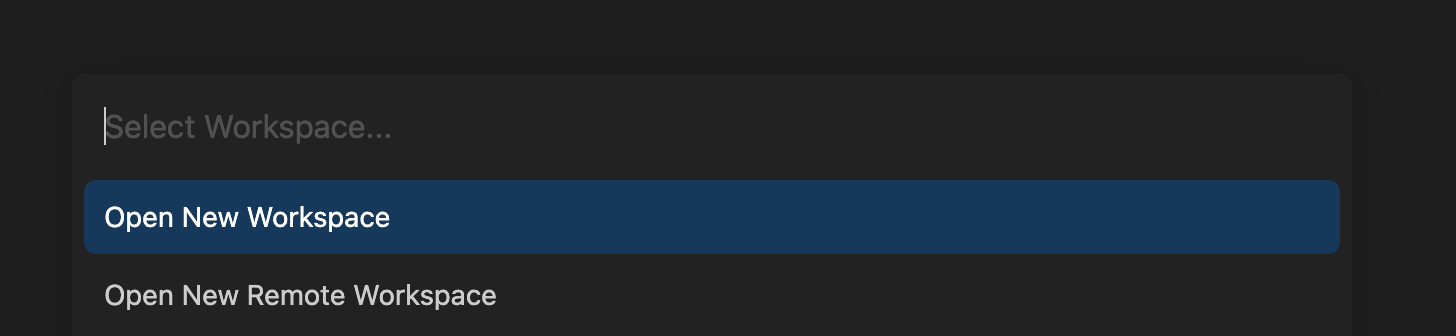
- Click on Open New Workspace and name the workspace
LaunchPad-Projectand select a local directory. This ensures the Agent has a specific root folder to scaffold files without cluttering other projects.
Configure the Stitch MCP
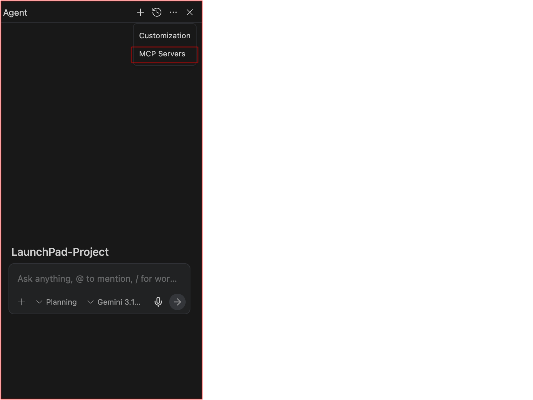
- Within your new workspace, go back to the Agent Manager (CMD+E for Mac or CTRL+E for Windows) and select MCP Servers.
Open the MCP store via the "..." dropdown at the top of the editor's agent pane.
Antigravity supports the Model Context Protocol (MCP), a standard that allows the editor to securely connect to your local tools, databases, and external services. This integration provides the AI with real-time context beyond just the files open in your editor.
MCP acts as a bridge between Antigravity and Google Stitch. Instead of manually exporting design tokens or copying hex codes and layout metadata into the editor, MCP allows Antigravity to fetch the Design DNA directly from your Stitch project when needed.
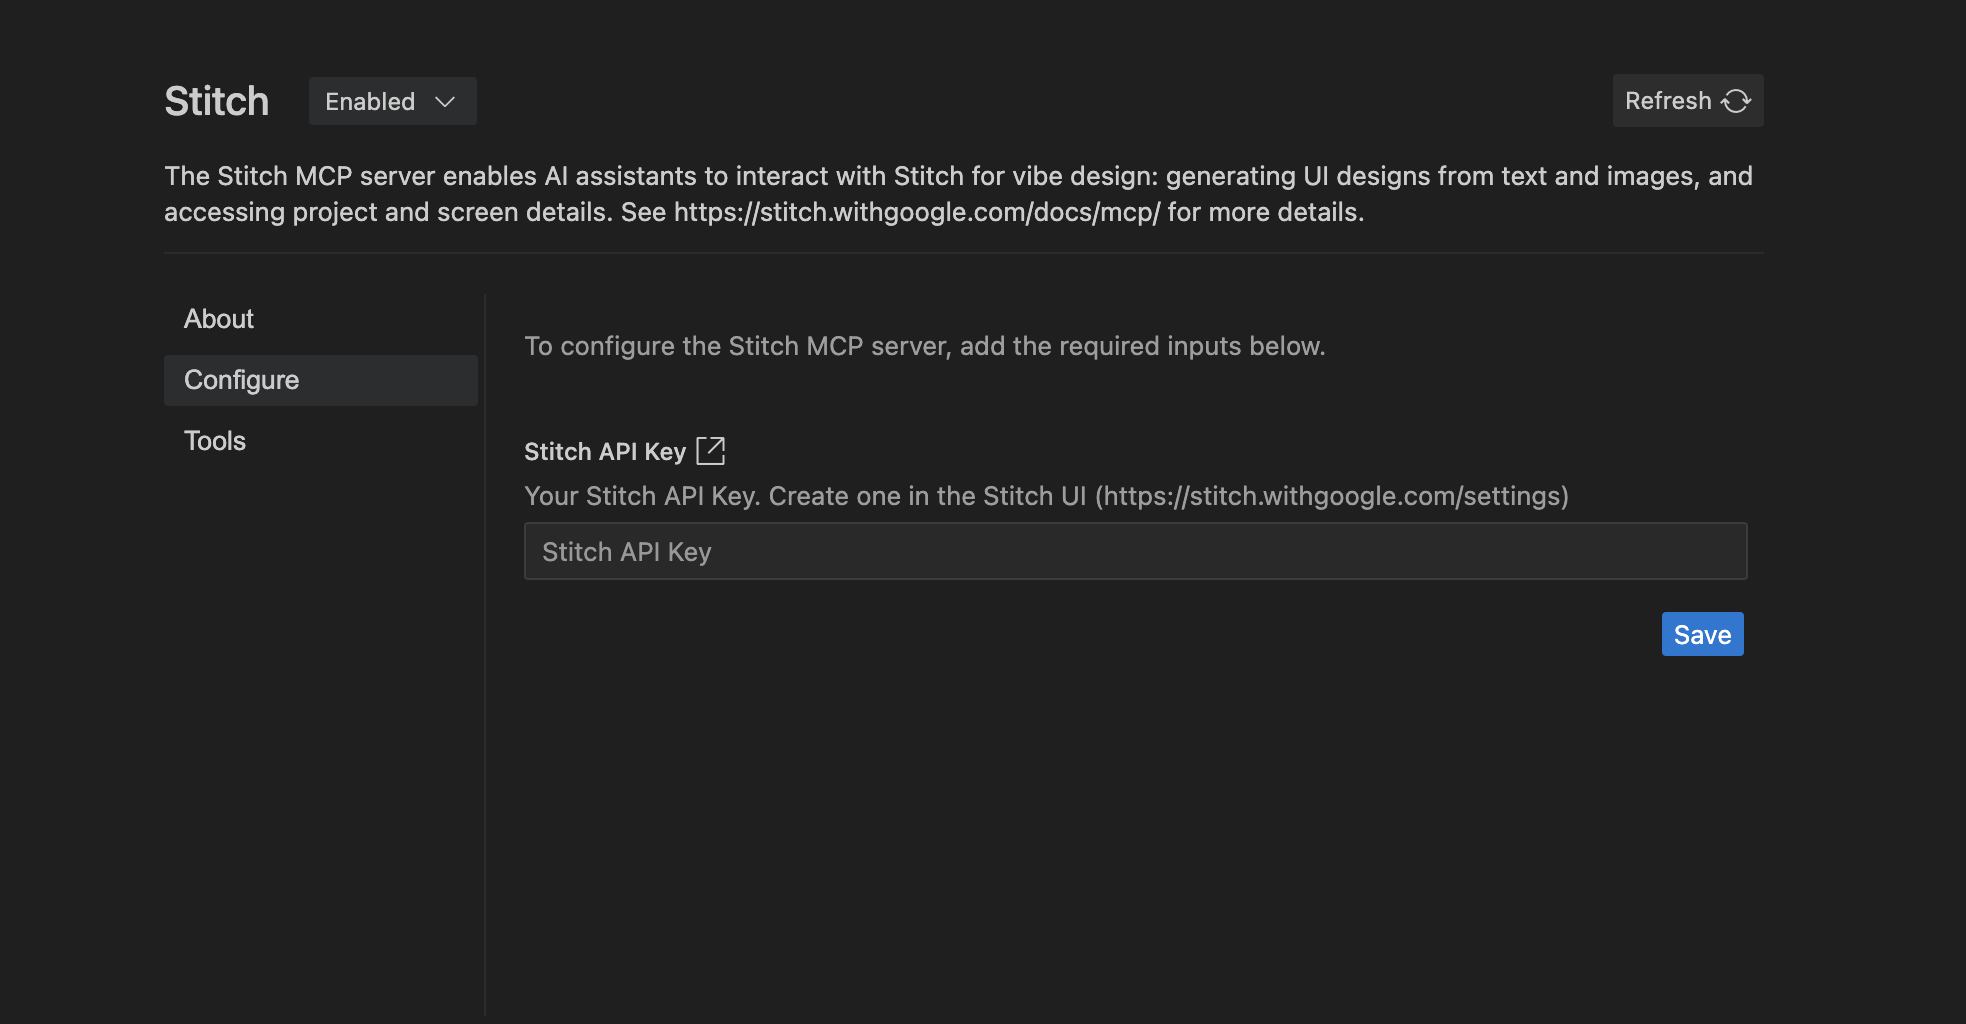
- Search for "Stitch" and click Install.
- When prompted, paste your Stitch API Key into the configuration field.
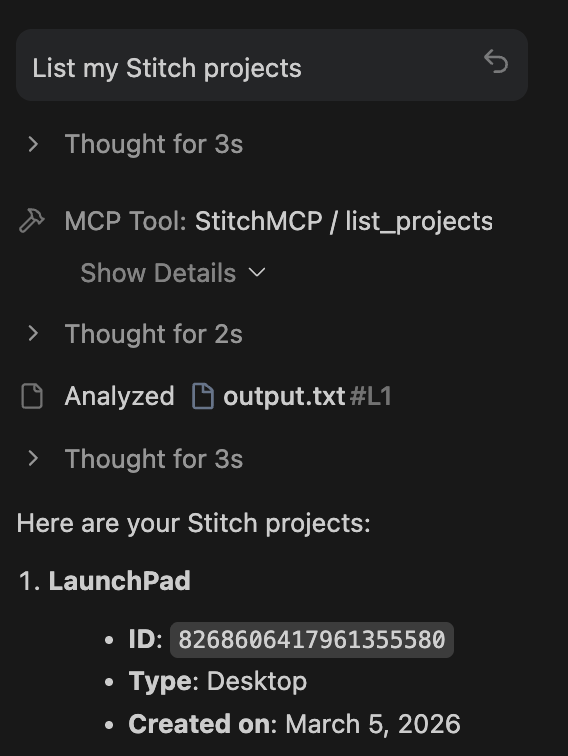
- Verify: In the Agent chat, type:
List my Stitch projects.If it returnsLaunchPad, you are ready.
- Verify: In the Agent chat, type:
List my Stitch projects.If the agent returnsLaunchPad, the bridge is successfully configured.
4. Fetch the Design Context
The agent now needs to ingest the design metadata to ensure code accuracy.
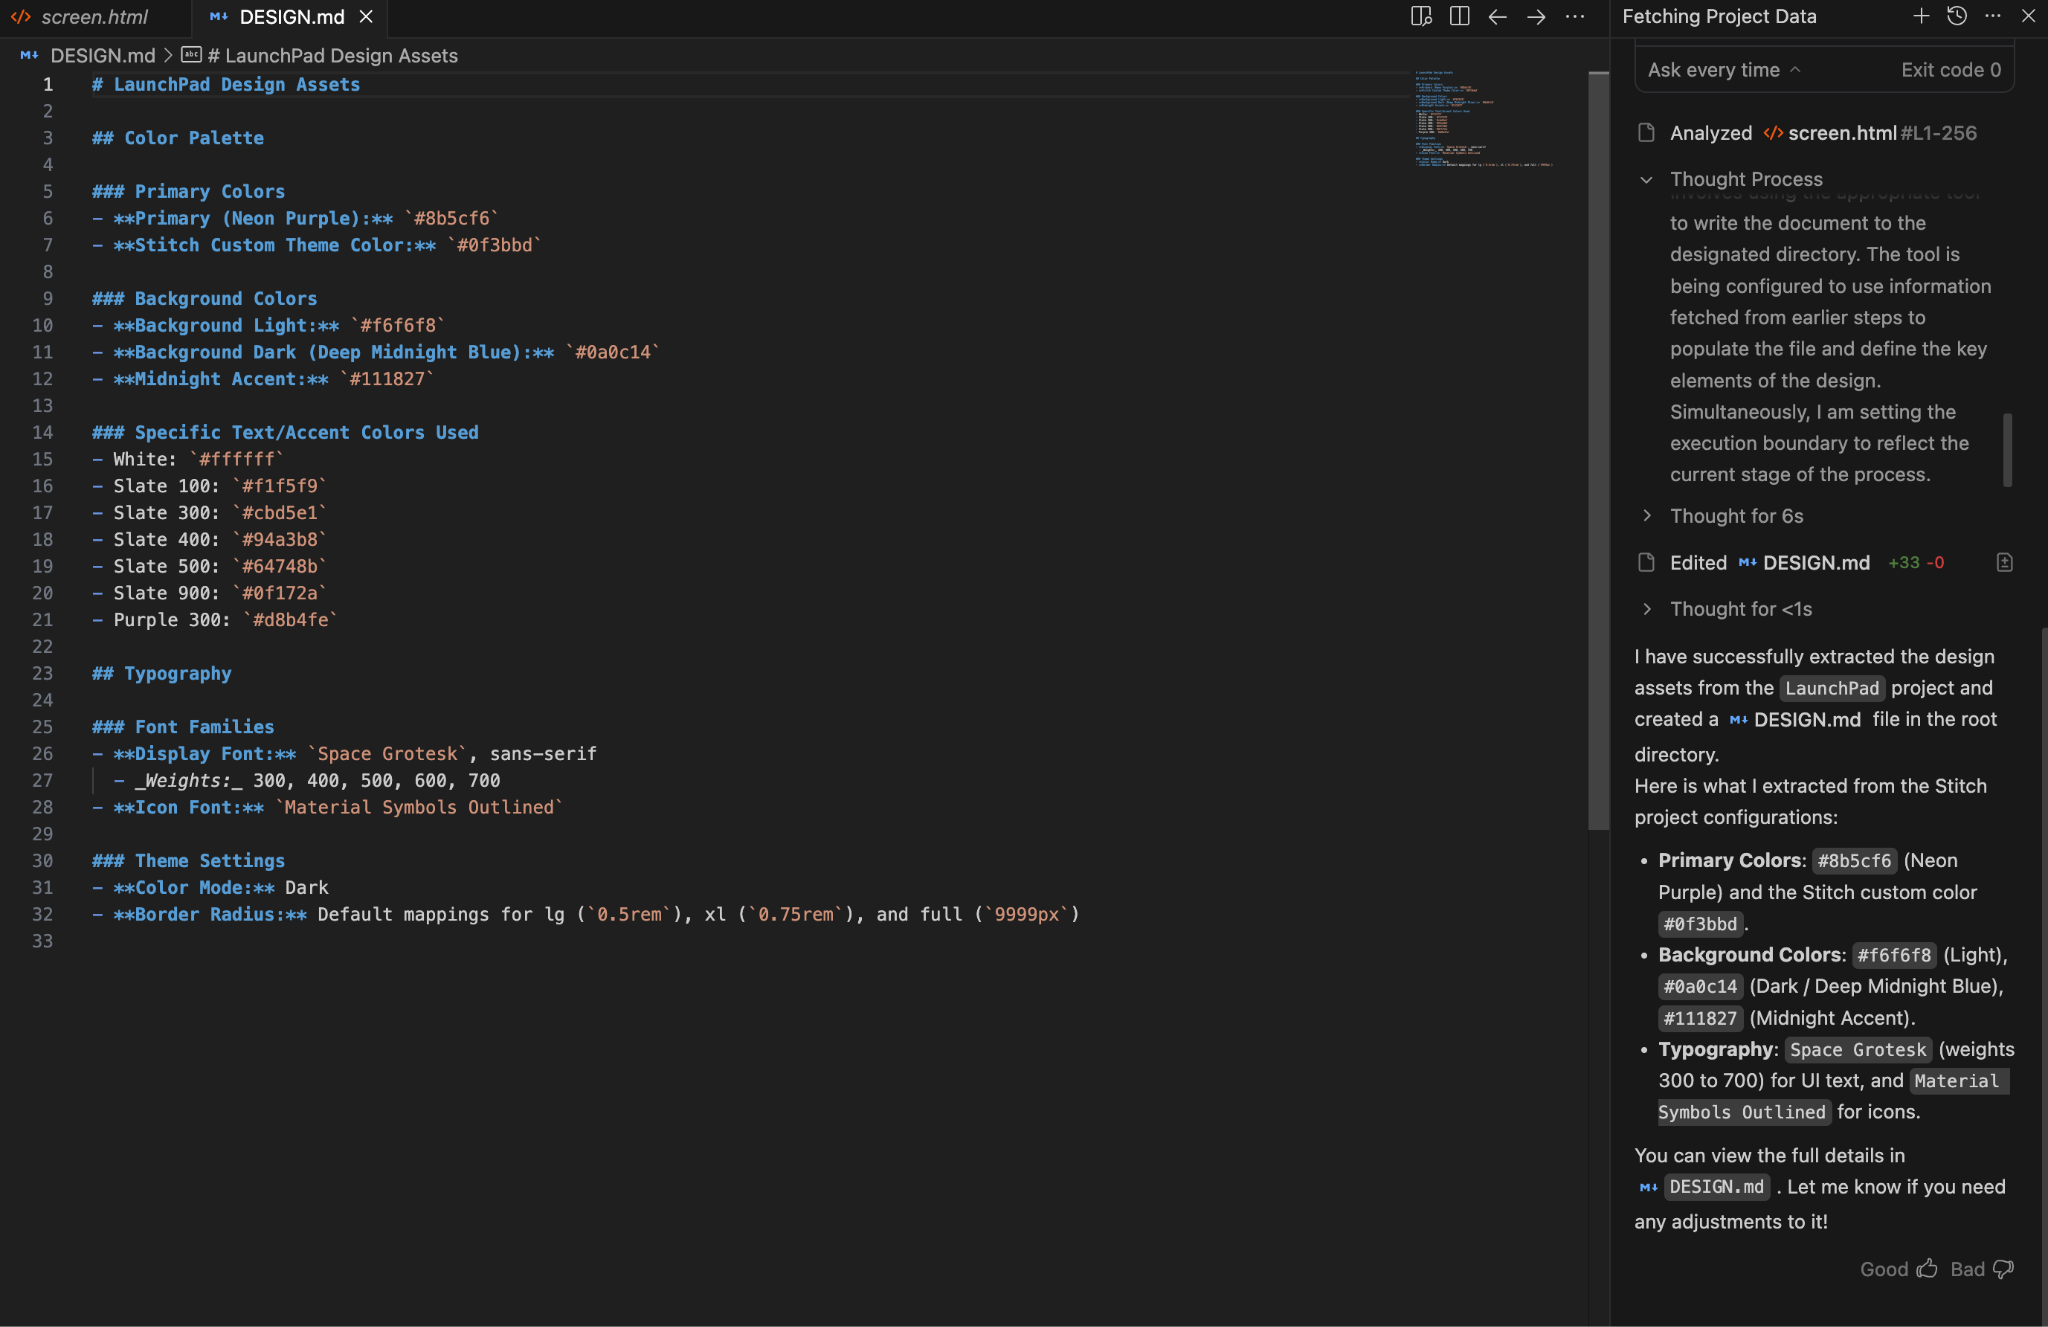
- In the Antigravity chat, type: "Use the Stitch MCP to fetch the ‘LaunchPad' project. Extract the color palette and typography, then generate a
DESIGN.mdfile in my root directory." - Review: Open the newly created
DESIGN.mdto see the hex codes and layout rules the agent has extracted.
5. Implementation (The Build)
Use the agent to translate the design into a working React application.
- Give the "Build" prompt:
"I want to build this full website now. Use React and Tailwind CSS. Ensure the components are modular. Once finished, run the dev server and show it to me in the integrated browser." 2. Observe the Agent: It will scaffold the project in the terminal, write the components in the editor, and open the preview in the integrated browser.
6. Review and Refine
Verify the output and use the agent to fix any visual discrepancies.
- Compare the Integrated Browser output to your original Stitch design.
- If any element (like button padding or font weight) doesn't match, prompt the agent: "The ‘Get Started' button padding is slightly off. Refer back to the Stitch design and update the Tailwind classes."
- The agent will re-fetch the design context and apply the fix instantly.
7. Summary & Next Steps
Congratulations! You have successfully bridged the gap between a high-fidelity design and a functional codebase using Antigravity and the Stitch MCP.
Summary of what you did:
- Designed a UI in Stitch using Gemini 3.
- Generated a secure API Key and configured Antigravity MCP.
- Used an autonomous agent to build and verify a React + Tailwind site.