
1. Overview
This lab guides you through a modern, AI-driven workflow to build a dynamic Gmail add-on from the ground up. You will use the Gemini CLI to orchestrate a powerful local development environment, leveraging MCP (Model Context Protocol) servers and Gemini CLI extensions to integrate tools like gcloud and clasp.
The add-on you create will generate and display a unique cat image on demand by calling an image model on Google Cloud's Vertex AI platform.
By the end, you will have a fully functional Gmail add-on that calls the Vertex AI API to generate unique images directly within the Gmail interface, all managed from your local command line.
2. What you'll learn
By completing this lab, you will learn how to:
- Set up and use the Gemini CLI with extensions
- Build a Gmail Add-on that calls an external API
- Modify the add-on to call the Vertex AI API to generate images
- Deploy a test version of a Google Workspace Add-on from the Apps Script user interface
3. Setup and requirements
Before you start the lab
- If you don't already have a Google Account, you must create a Google Account. Use a personal account instead of a work or school account. Work and school accounts may have restrictions that prevent you from enabling the APIs needed for this lab.
- Sign-in to the Google Cloud Console.
- Enable billing in the Cloud Console.
- Create a new project or choose to reuse an existing project.
Lab Requirements
To get the most out of this lab, you'll need:
- Web Browser: A standard web browser like Chrome (recommended).
- Dedicated Time: Set aside enough time to focus on the lab activities.
4. Set up your Google Cloud Environment
- Click the Activate Cloud Shell icon
 : In the top right corner of the console's header, click the terminal icon that says "Activate Cloud Shell" when you hover over it.
 - Authorize.
- Wait for Initialization: A Cloud Shell session will open in a new frame at the bottom of your console window. The session will take a few moments to initialize as it provisions a temporary Debian-based virtual machine (VM) for you.
- Once the session is initialized, you'll see a command-line prompt (
user@cloudshell:~ $). - You can expand your Cloud Shell window by clicking on the expand button to increase the size of the window.
- Verify your project: Run the command:
gcloud config list project
- Change your project (if needed):
gcloud config set project [YOUR_PROJECT_ID]
You're all set to begin the lab activities!
5. Configure your local development environment
In this task, you'll set up the Gemini CLI and its extensions to manage your cloud and Apps Script projects from your terminal.
- Gemini CLI is already installed as part of the Cloud Shell environment, so there is no need to install it.
- clasp is also already installed as part of the Cloud Shell environment, however we will make sure we are using the latest version in this lab.
npm install -g @google/clasp@latest
- Authorize clasp to access your account by entering the following command and following the instructions below:
clasp login --no-localhost
Click on the generated URL in the terminal to authorize clasp. Use the student lab account to login, and when prompted for permissions choose Select all and click Continue. You should then see an error message like the one below.
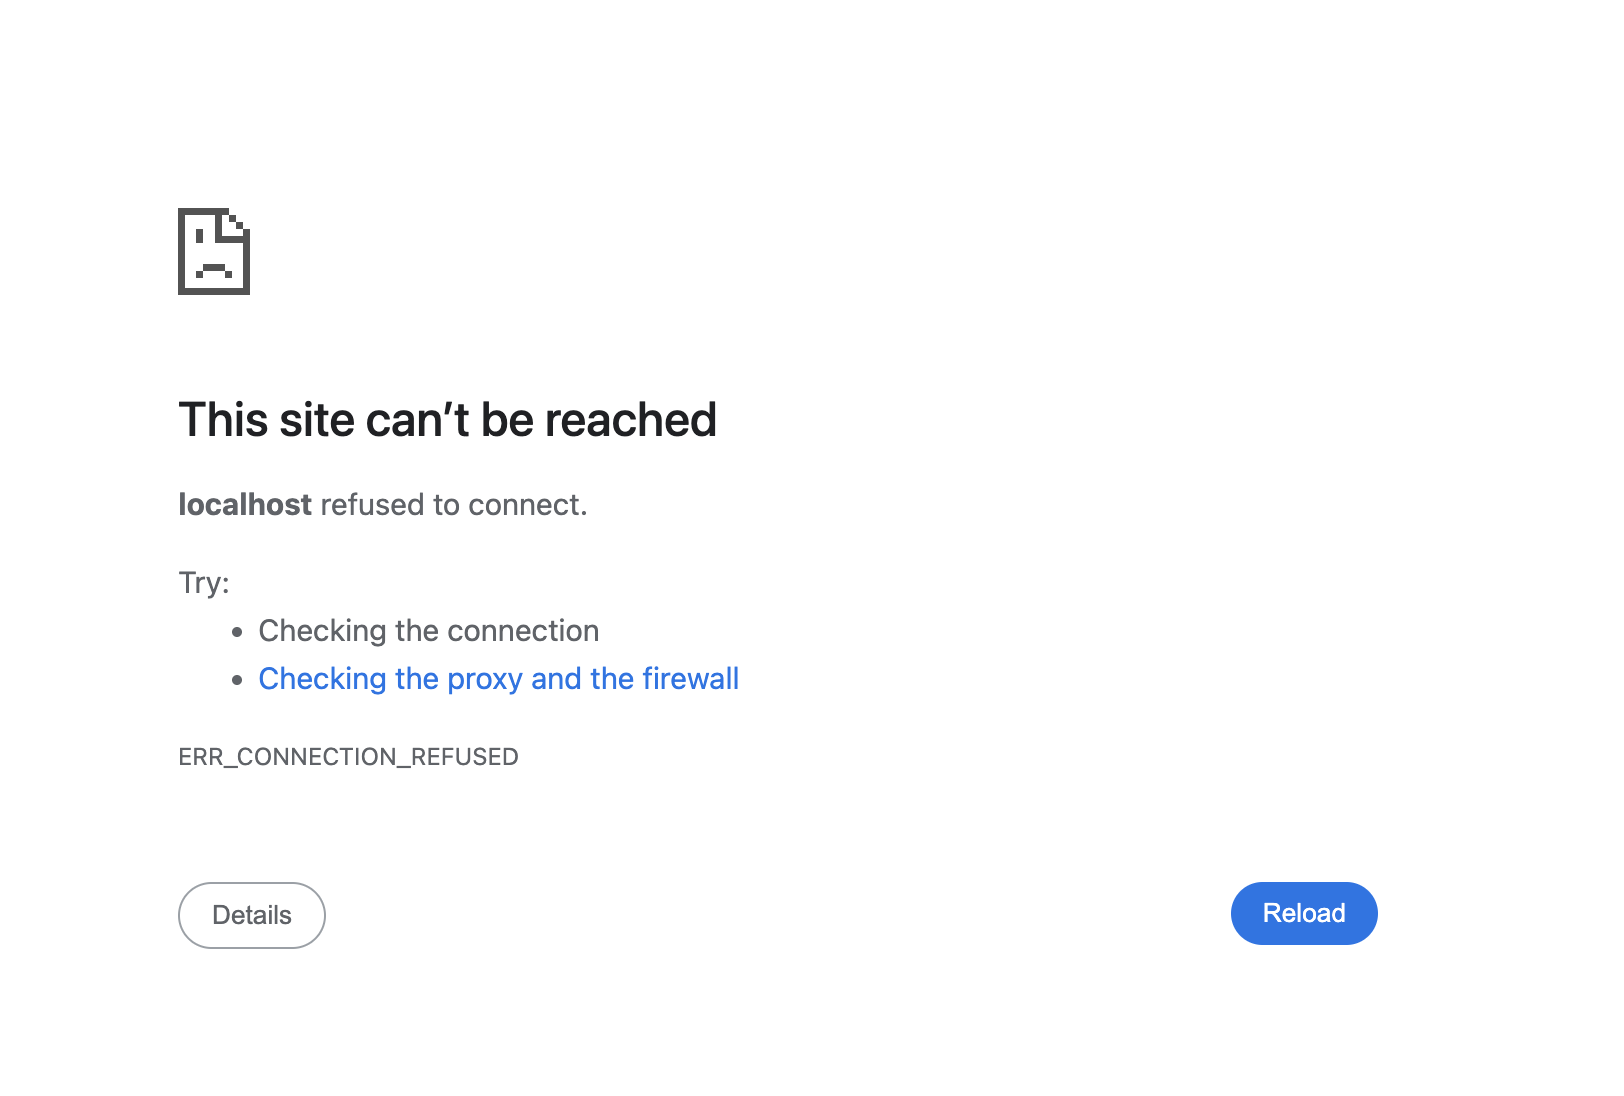
Copy the URL from your browser window (that starts with http://localhost:8888/?code=xxx) and paste it into your open Cloud Shell session and press enter. clasp will continue the authorization flow and if your login is successful, you will see a confirmation similar to You are logged in as user@gmail.com.
- Install the clasp Gemini CLI extensions.
gemini extensions install https://github.com/google/clasp --consent
- Install
gcloudGemini CLI extensions.
gemini extensions install https://github.com/gemini-cli-extensions/gcloud --consent
gemini extensions install https://github.com/googleworkspace/developer-tools --consent
- Create an empty project directory:
mkdir genai-cat-add-on
- Change to your newly created project directory:
cd genai-cat-add-on
- Configure Gemini CLI context file for this project:
cat << 'END_OF_FILE' > GEMINI.md
## **Gemini CLI Instructions for Gmail Add-on Development**

You are a methodical **Google Workspace extensibility and integration expert**. Your goal is to build a Gmail Add-on for the `genai-cat-add-on` project by writing Apps Script code and using command-line tools.

---

## **Tools Available**

*   **`clasp`**: Use this tool for all Apps Script project operations like pushing files.
*   **`gcloud`**: Use this tool for Google Cloud operations, such as enabling APIs or managing IAM permissions.
*   **`workspace-developer`**: Use this tool to search the official Google Workspace documentation for correct syntax, manifest properties, and required OAuth scopes.

---

## **Development Workflow and Validation**

You MUST follow the workflow below when building the add-on:

1.  **Mandatory Documentation Check**: Before creating, committing, or modifying any code (especially manifest files or Apps Script functions), you **MUST** first utilize the **`workspace-developer` tool** and use **search_workspace_docs** to search and validate the necessary Apps Script syntax, OAuth scopes, Apps Script services such as GmailApp, and best practices. Always refer to the official Google Workspace developer documentation via this tool for authoritative information.
2.  **Security and Scopes**: For every code commit or structural change, you must first **verify the manifest file (`appsscript.json`) includes the necessary OAuth scopes** for Gmail access and external API calls, ensuring you use the **minimal required scopes** and nothing more to adhere to the principle of least privilege.
3.  **Versioning/Persistence**: After any successful file creation, update, or deletion, you must ensure the changes are persistently saved and pushed using the appropriate `clasp` tool command.
4.  **Error Handling**: Include appropriate debugging and robust error handling code in all Apps Script functions.

---

## **Project and API Specifications**

* **Project Focus:** All work is centered on the **`genai-cat-add-on`** Apps Script project.
* **Vertex AI Details:** If asked to generate images, you must use the **`gemini-2.5-flash-image`** model on **Vertex AI**. Do NOT use imagen. All Vertex AI operations must use the currently logged-in user's credentials and the current Google Cloud project.
END_OF_FILE
- Enable the Google Apps Script API in your student lab account, and click on the Google Apps Script API and toggle it from Off to On.
6. Start and verify Gemini CLI setup
- Start Gemini in your project directory.
gemini
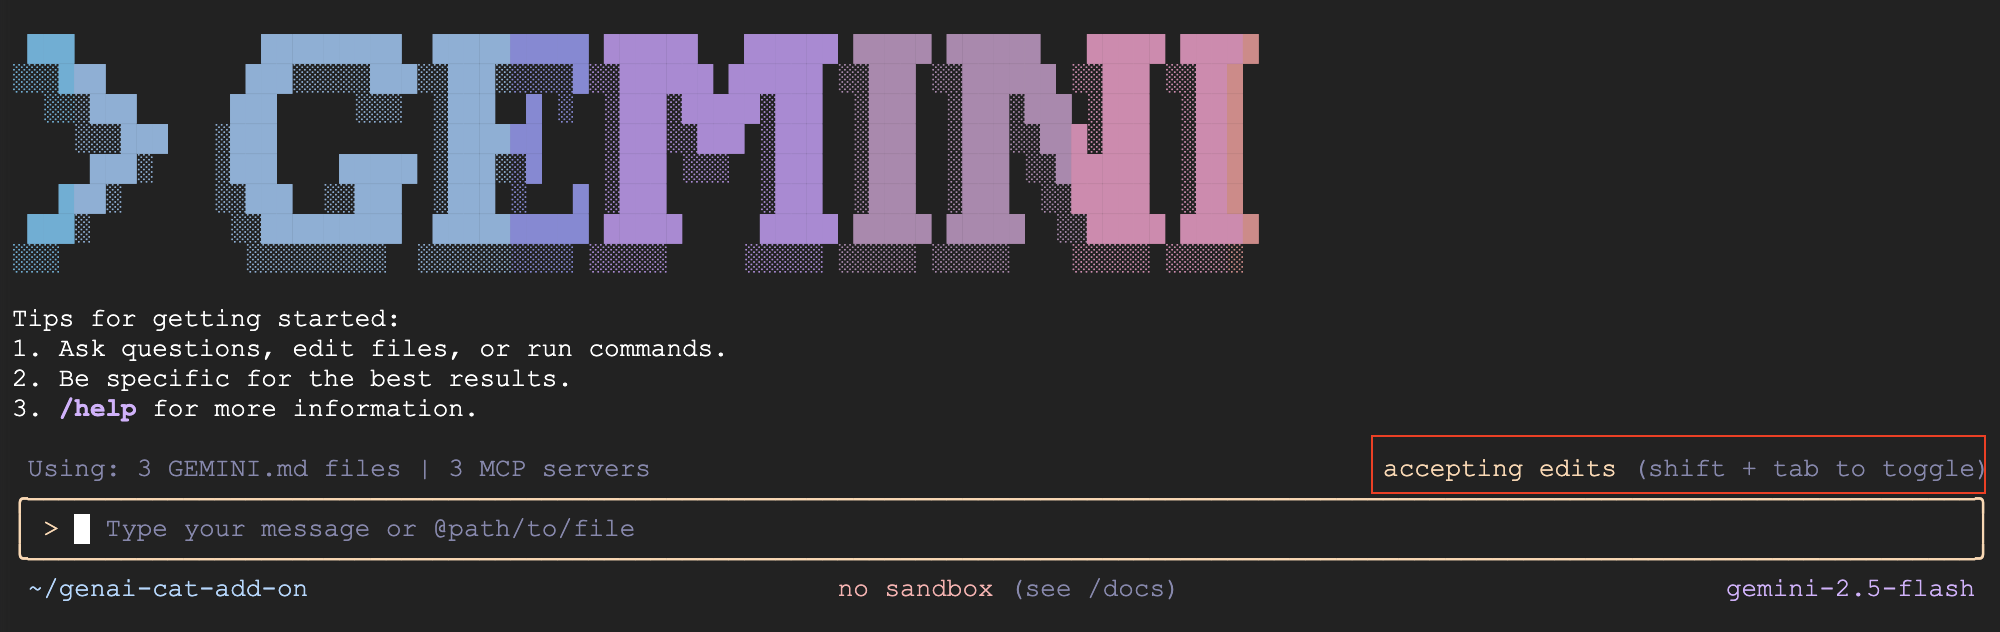
- By default, Gemini CLI will ask you to review and accept changes to files. For this lab, we recommend switching this off by pressing Shift + Tab to accept edits automatically to help you finish the lab in time. Your screen should have this option highlighted in red now.
- Verify the GEMINI.md file was loaded and show what it is loaded in Gemini CLI's context:
/memory show
- Verify the MCP servers are configured correctly. The
gcloudMCP server may take a while to initialize, so do not be alarmed if it is showing disconnected. Wait a few minutes and try again.
/mcp list
7. Create a Gmail Add-on
- Ask Gemini to create our first version of the Gmail add-on:
Use Apps Script to create a new Google Workspace add-on that displays a random cat image using the Cat-as-a-Service API upon opening the add-on in Gmail. Make sure you update the code and manifest files, use the correct scopes, and use the API documentation at https://cataas.com/doc.html.

Once done, provide a link to view the project.
- Once Gemini finishes responding to your prompt, click on the provided link, or navigate to the Apps Script home page and click on the
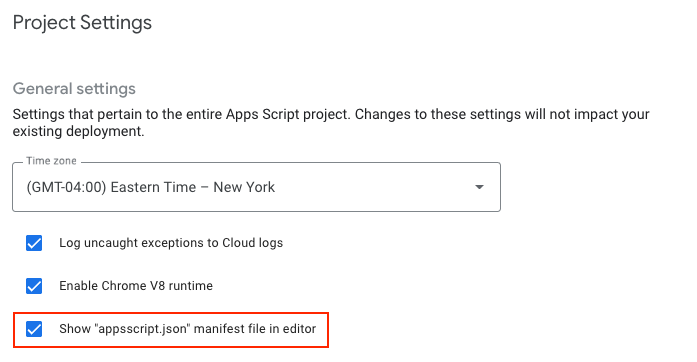
genai-cat-add-onproject. - Click the Project Settings icon (gear icon)
 on the left-hand side of the page.

- Select the option "Show ‘appsscript.json' manifest file in editor".
 9. Switch to the Editor screen and check out the generated code in `Code.gs` and the manifest file that configures the project in `appsscript.json`
8. Install and test the add-on
- Go back to the Apps Script project page.
- Look for the Deploy button at the top.
- Click on the arrow next to Deploy and select Test deployments.
- In the "Test deployments" dialog box that appears, you should see an option to install the unpublished add-on.
- Click the Install button.
- A confirmation message will appear. Click Done at the bottom to close the deployment dialog.
- Open and refresh the Gmail home page.
- The add-on should now be available. The add-on appears on the right side panel.
- The first time you interact with the add-on, you will be prompted to authorize it to access the necessary data or permissions. Follow the on-screen prompts to grant permissions.
- You should see an image of the cat. If you do not, troubleshoot with Gemini CLI by sharing the error message.
9. Implement the AI Image Generation logic
- Ask Gemini to now add logic to generate an image:
Now update the add-on to display an AI-generated image using the samples in https://docs.cloud.google.com/vertex-ai/generative-ai/docs/multimodal/image-generation#use-image-generation.

The image should show a cute cat if I open my inbox, and should add a speech bubble saying "<email sender name> rocks!" with the actual sender name when I open an email.
- Refresh the Gmail home page and open the add-on again. Accept any new permissions if asked.
- An AI-generated cat image should now appear. If an image is not showing, troubleshoot with Gemini CLI by sharing the error message and following its instructions.
- Open an email and notice how the image changes to show a speech bubble with the sender name. Troubleshoot any issues with Gemini CLI similar to the previous step.
10. [Optional] Add animal type dropdown
- Ask Gemini to add the option of generating other animals in addition to the cat image.
Add a dropdown menu that lets the user choose the type of animal image it wants. Choose 2 random animals to add to the list in addition to the cat image.
- Refresh the add-on by either clicking the three vertical dots and clicking Refresh, or refreshing the Gmail home page and opening the add-on again.
- Test the new functionality by selecting another animal picture. If there are errors, such as the UI not refreshing or an error showing up, troubleshoot with Gemini CLI by sharing the error message and following its instructions.
11. Clean up
Exit Gemini CLI
Exit Gemini CLI and see your usage statistics by issuing the following command:
/quit
Delete Google Cloud project
To avoid incurring charges to your Google Cloud Account for the resources used in this codelab, we recommend that you delete the Google Cloud project.
gcloud projects delete $GOOGLE_CLOUD_PROJECT
Delete Apps Script project
Click on the  info icon in the left navigation panel, and then on the
  trash icon on the right side of the screen to remove the Apps Script project.
12. Troubleshooting Tips
- If you are having issues with Gemini CLI and extensions, you can use the following command to run a specific working version of Gemini CLI:
npx https://github.com/google-gemini/gemini-cli#v0.12.0
- If you run into any errors, ask Gemini to fix them for you and share the errors and context (where it is happening)
- If Gemini implements error logging and asks you to share any errors, rerun the steps that were causing the error and then share the results with Gemini.
- You can try a prompt like:
You have my permission to fix any errors. Please go ahead and make it work.
- If you are stuck and want to help Gemini, you can use the following prompt:
Use the following Github repo as a reference implementation to make my add-on work: https://github.com/googleworkspace/add-ons-samples/tree/main/apps-script/generative-ai/cat-add-on
13. Congratulations!
You've successfully completed the lab and used Gemini CLI to vibe-code a Gmail add-on.
In this lab, you learned how to:
- Use Gemini CLI.
- Install tools and extend Gemini CLI using MCP (Model Context Protocol) servers.
- Build, deploy, and install a Gmail Add-on.
You are now ready to move on to our next lab.