
1. 概览
在本实验中,您将学习如何使用 AI 驱动的现代工作流,从头开始构建动态 Gmail 插件。您将使用 Gemini CLI 来编排强大的本地开发环境,利用 MCP (Model Context Protocol) 服务器和 Gemini CLI 扩展程序来集成 gcloud 和 clasp 等工具。
您创建的插件将通过调用 Google Cloud 的 Vertex AI 平台上的图片模型,按需生成并显示独特的猫图片。
完成本教程后,您将获得一个功能齐全的 Gmail 插件,该插件可调用 Vertex AI API 以直接在 Gmail 界面中生成独特的图片,所有操作均可通过本地命令行进行管理。
2. 学习内容
完成本实验后,您将了解如何执行以下操作:
- 设置并使用带扩展程序的 Gemini CLI
- 构建一个调用外部 API 的 Gmail 插件
- 修改插件以调用 Vertex AI API 来生成图片
- 从 Apps 脚本界面部署 Google Workspace 插件的测试版本
3. 设置和要求
开始实验前的准备工作
- 如果您还没有 Google 账号,则必须先创建一个 Google 账号。请改用个人账号,而非工作账号或学校账号。工作账号和学校账号可能存在限制,导致您无法启用本实验所需的 API。
- 登录 Google Cloud 控制台。
- 在 Cloud 控制台中启用结算功能。
- 创建新项目或选择重复使用现有项目。
实验室要求
为了充分利用本实验,您需要:
- 网络浏览器:标准的网络浏览器,例如 Chrome(推荐)。
- 专用时间:预留充足的时间专注于实验活动。
4. 设置 Google Cloud 环境
- 点击“激活 Cloud Shell”图标
 :在控制台标题的右上角,点击终端图标,将鼠标悬停在该图标上时,系统会显示“激活 Cloud Shell”。
 - 授权。
- 等待初始化:Cloud Shell 会话将在控制台窗口底部的新框架中打开。会话需要一些时间才能完成初始化,因为系统会为您预配一个临时的基于 Debian 的虚拟机 (VM)。
- 会话初始化后,您会看到命令行提示符 (
user@cloudshell:~ $)。 - 您可以点击展开按钮来扩大 Cloud Shell 窗口,从而增加窗口的大小。
- 验证项目:运行以下命令:
gcloud config list project
- 更改项目(如果需要):
gcloud config set project [YOUR_PROJECT_ID]
您已设置完毕,可以开始实验活动了!
5. 配置本地开发环境
在此任务中,您将设置 Gemini CLI 及其扩展程序,以便从终端管理您的云项目和 Apps 脚本项目。
- Gemini CLI 已作为 Cloud Shell 环境的一部分安装,因此无需再进行安装。
- clasp 也已作为 Cloud Shell 环境的一部分安装,不过在本实验中,我们将确保使用最新版本。
npm install -g @google/clasp@latest
- 输入以下命令并按照下面的说明操作,以授权 clasp 访问您的账号:
clasp login --no-localhost
点击终端中生成的网址,以授权 clasp。使用学生实验账号登录,当系统提示您授予权限时,选择全选,然后点击继续。然后,您应该会看到类似如下内容的错误消息。
从浏览器窗口中复制网址(以 http://localhost:8888/?code=xxx 开头),然后将其粘贴到打开的 Cloud Shell 会话中,并按 Enter 键。clasp 将继续执行授权流程,如果登录成功,您将看到类似于 You are logged in as user@gmail.com 的确认消息。
gemini extensions install https://github.com/google/clasp --consent
gemini extensions install https://github.com/gemini-cli-extensions/gcloud --consent
gemini extensions install https://github.com/googleworkspace/developer-tools --consent
- 创建空项目目录:
mkdir genai-cat-add-on
- 切换到新创建的项目目录:
cd genai-cat-add-on
- 为此项目配置 Gemini CLI 上下文的描述文件:
cat << 'END_OF_FILE' > GEMINI.md
## **Gemini CLI Instructions for Gmail Add-on Development**

You are a methodical **Google Workspace extensibility and integration expert**. Your goal is to build a Gmail Add-on for the `genai-cat-add-on` project by writing Apps Script code and using command-line tools.

---

## **Tools Available**

*   **`clasp`**: Use this tool for all Apps Script project operations like pushing files.
*   **`gcloud`**: Use this tool for Google Cloud operations, such as enabling APIs or managing IAM permissions.
*   **`workspace-developer`**: Use this tool to search the official Google Workspace documentation for correct syntax, manifest properties, and required OAuth scopes.

---

## **Development Workflow and Validation**

You MUST follow the workflow below when building the add-on:

1.  **Mandatory Documentation Check**: Before creating, committing, or modifying any code (especially manifest files or Apps Script functions), you **MUST** first utilize the **`workspace-developer` tool** and use **search_workspace_docs** to search and validate the necessary Apps Script syntax, OAuth scopes, Apps Script services such as GmailApp, and best practices. Always refer to the official Google Workspace developer documentation via this tool for authoritative information.
2.  **Security and Scopes**: For every code commit or structural change, you must first **verify the manifest file (`appsscript.json`) includes the necessary OAuth scopes** for Gmail access and external API calls, ensuring you use the **minimal required scopes** and nothing more to adhere to the principle of least privilege.
3.  **Versioning/Persistence**: After any successful file creation, update, or deletion, you must ensure the changes are persistently saved and pushed using the appropriate `clasp` tool command.
4.  **Error Handling**: Include appropriate debugging and robust error handling code in all Apps Script functions.

---

## **Project and API Specifications**

* **Project Focus:** All work is centered on the **`genai-cat-add-on`** Apps Script project.
* **Vertex AI Details:** If asked to generate images, you must use the **`gemini-2.5-flash-image`** model on **Vertex AI**. Do NOT use imagen. All Vertex AI operations must use the currently logged-in user's credentials and the current Google Cloud project.
END_OF_FILE
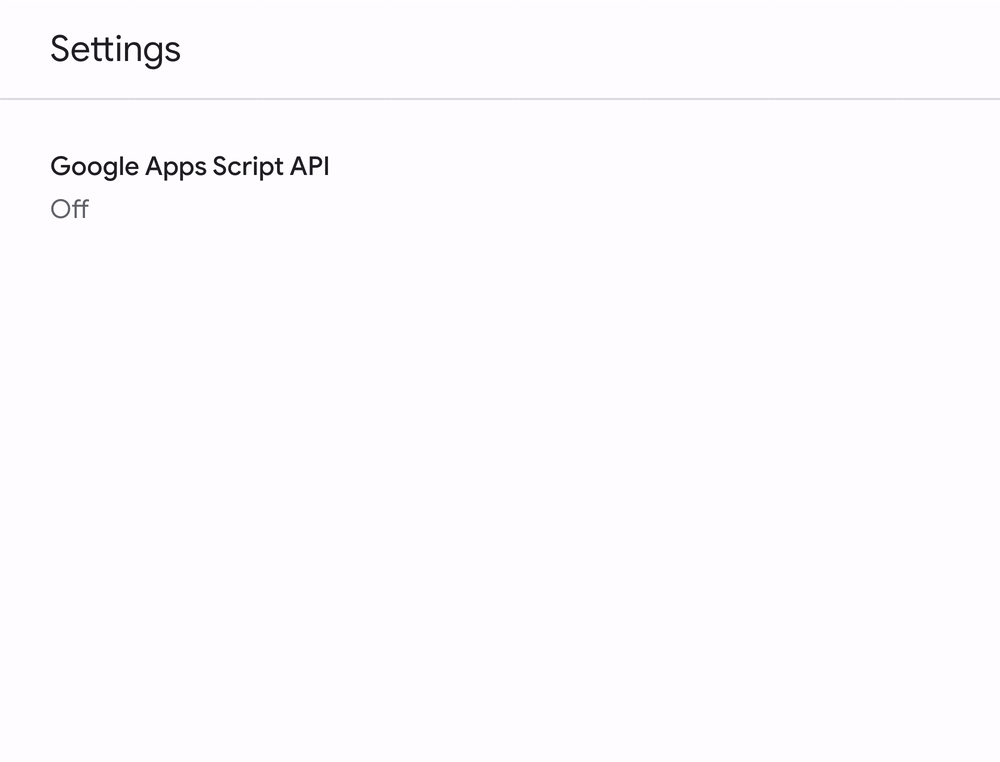
- 在学生实验账号中启用 Google Apps 脚本 API,然后点击 Google Apps 脚本 API 并将其从关闭切换为开启。
6. 启动并验证 Gemini CLI 设置
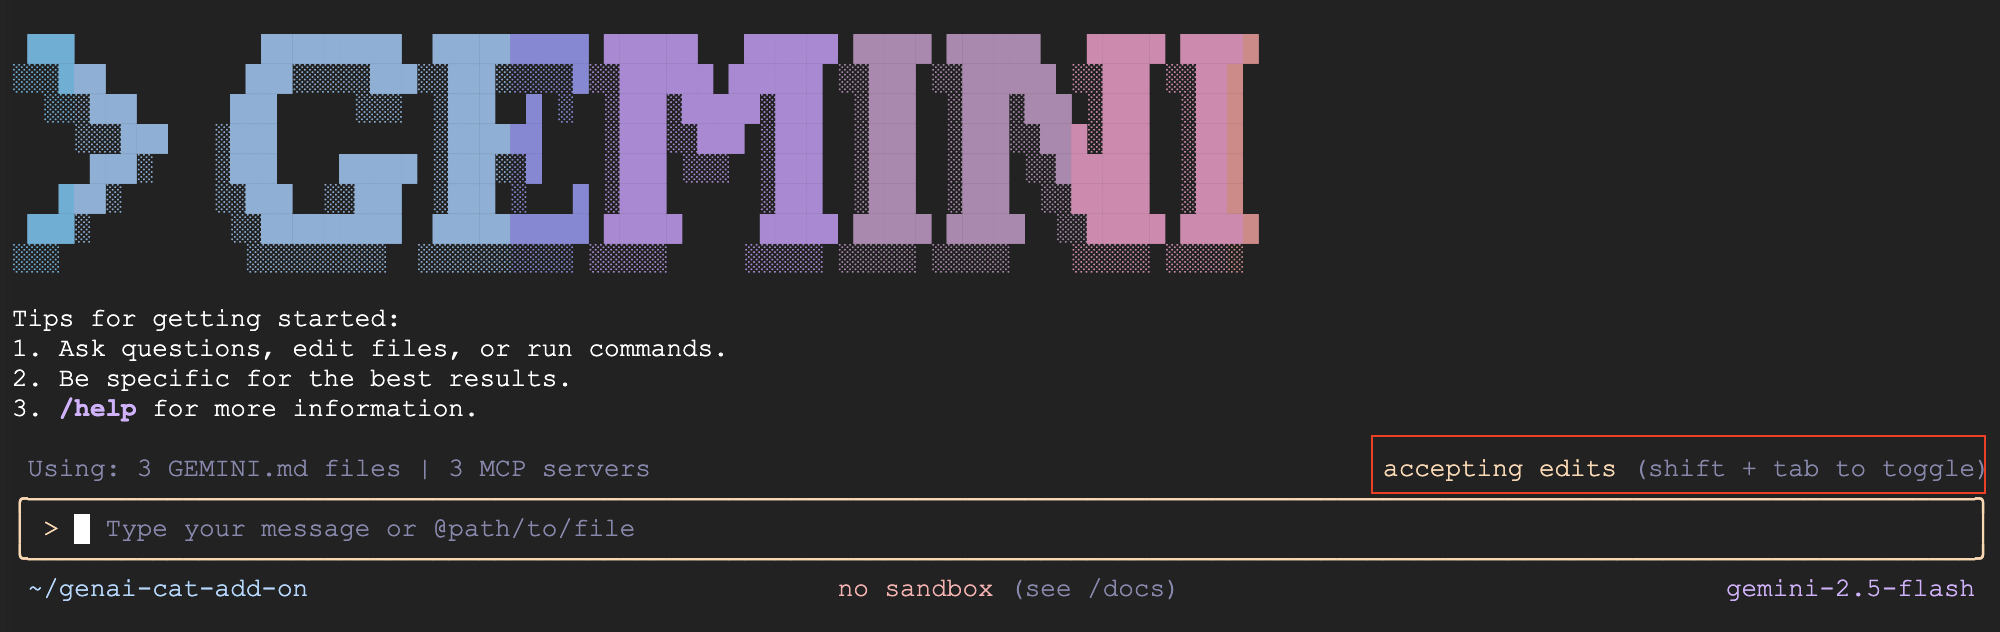
- 在项目目录中启动 Gemini。
gemini
- 默认情况下,Gemini CLI 会要求您查看并接受对文件的更改。对于本实验,我们建议您按 Shift + Tab 关闭此功能,以自动接受修改,帮助您及时完成实验。现在,屏幕上应该会以红色突出显示此选项。
- 验证 GEMINI.md 文件是否已加载,并显示该文件在 Gemini CLI 的上下文中加载的内容:
/memory show
- 验证 MCP 服务器是否已正确配置。
gcloudMCP 服务器可能需要一段时间才能完成初始化,因此如果显示已断开连接,请不要惊慌。请在几分钟后重试。
/mcp list
7. 创建 Gmail 插件
- 让 Gemini 创建 Gmail 插件的第一个版本:
Use Apps Script to create a new Google Workspace add-on that displays a random cat image using the Cat-as-a-Service API upon opening the add-on in Gmail. Make sure you update the code and manifest files, use the correct scopes, and use the API documentation at https://cataas.com/doc.html.

Once done, provide a link to view the project.
- Gemini 完成对提示的回答后,点击提供的链接,或前往 Apps 脚本首页,然后点击
genai-cat-add-on项目。 - 点击页面左侧的项目设置图标(齿轮图标)
 。
。
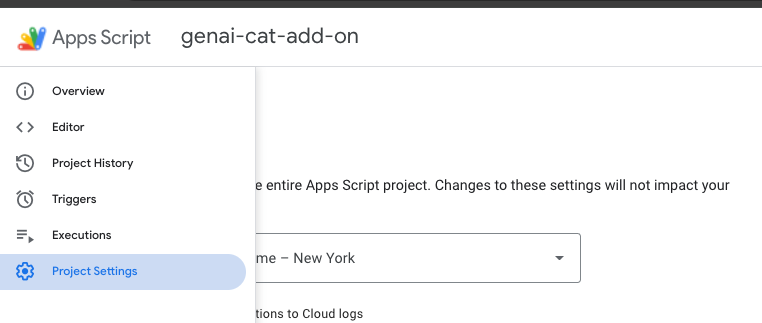
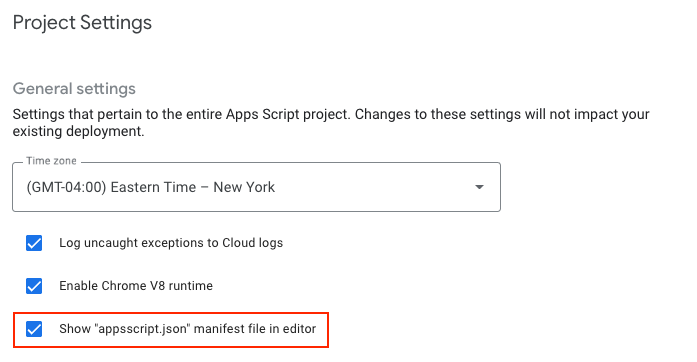
- 选择“在编辑器中显示‘appsscript.json’清单文件”选项。
 9. 切换到编辑器界面,查看
 Code.gs 中的生成代码以及 appsscript.json 中用于配置项目的清单文件
8. 安装并测试插件
- 返回到 Apps 脚本项目页面。
- 找到顶部的“部署”按钮。
- 点击“部署”旁边的箭头,然后选择测试部署。
- 在随即显示的“测试部署”对话框中,您应该会看到一个用于安装未发布插件的选项。
- 点击 Install 按钮。
- 在看到确认消息后,点击底部的“完成”以关闭部署对话框。
- 打开并刷新 Gmail 首页。
- 该加购项现在应该可用了。该插件会显示在右侧边栏中。
- 首次与插件互动时,系统会提示您授权该插件访问必要的数据或权限。按照屏幕上的提示授予权限。
- 您应该会看到猫的图片。如果看不到,请通过分享错误消息来使用 Gemini CLI 进行问题排查。
9. 实现 AI 图片生成逻辑
- 现在,让 Gemini 添加逻辑来生成图片:
Now update the add-on to display an AI-generated image using the samples in https://docs.cloud.google.com/vertex-ai/generative-ai/docs/multimodal/image-generation#use-image-generation.

The image should show a cute cat if I open my inbox, and should add a speech bubble saying "<email sender name> rocks!" with the actual sender name when I open an email.
- 刷新 Gmail 首页,然后重新打开该插件。如果系统要求您接受任何新权限,请接受。
- 现在应该会显示一张 AI 生成的猫咪图片。如果图片未显示,请通过共享错误消息并按照 Gemini CLI 的说明进行问题排查。
- 打开一封电子邮件,注意图片如何变化以显示带有发件人名称的对话气泡。按照上一步中的方法排查 Gemini CLI 的所有问题。
10. [可选] 添加动物类型下拉菜单
- 问问 Gemini,除了猫图片以外,是否可以添加生成其他动物的选项。
Add a dropdown menu that lets the user choose the type of animal image it wants. Choose 2 random animals to add to the list in addition to the cat image.
- 通过以下任一方式刷新插件:点击三个纵向排列的点,然后点击“刷新”;刷新 Gmail 首页,然后重新打开插件。
- 选择另一张动物图片,测试新功能。如果出现错误(例如界面未刷新或显示错误),请与 Gemini CLI 分享错误消息并按照其说明进行问题排查。
11. 清理
退出 Gemini CLI
发出以下命令,退出 Gemini CLI 并查看使用情况统计信息:
/quit
删除 Google Cloud 项目
为避免系统因此 Codelab 中使用的资源向您的 Google Cloud 账号收取费用,我们建议您删除该 Google Cloud 项目。
gcloud projects delete $GOOGLE_CLOUD_PROJECT
删除 Apps 脚本项目
点击左侧导航面板中的  信息图标,然后点击屏幕右侧的
  垃圾箱图标以移除 Apps 脚本项目。
12. 问题排查提示
- 如果您在使用 Gemini CLI 和扩展程序时遇到问题,可以使用以下命令运行特定可正常运行的 Gemini CLI 版本:
npx https://github.com/google-gemini/gemini-cli#v0.12.0
- 如果您遇到任何错误,请问问 Gemini 如何修正这些错误,并分享错误和上下文(错误发生的位置)
- 如果 Gemini 实现了错误日志记录功能,并要求您分享任何错误,请重新运行导致错误的步骤,然后与 Gemini 分享结果。
- 您可以尝试使用以下提示:
You have my permission to fix any errors. Please go ahead and make it work.
- 如果您遇到问题并想帮助 Gemini,可以使用以下提示:
Use the following Github repo as a reference implementation to make my add-on work: https://github.com/googleworkspace/add-ons-samples/tree/main/apps-script/generative-ai/cat-add-on
13. 恭喜!
您已成功完成本实验,并使用 Gemini CLI 进行氛围编程,构建 Gmail 插件。
在本实验中,您学习了如何执行以下任务:
- 使用 Gemini CLI。
- 使用 MCP(Model Context Protocol)服务器安装工具并扩展 Gemini CLI。
- 构建、部署和安装 Gmail 插件。
现在,您可以继续学习下一个实验了。