
1. 總覽
本實驗室會引導您使用現代 AI 工作流程,從零開始建構動態 Gmail 外掛程式。您將學會透過 Gemini CLI 自動調度管理強大的本機開發環境,然後運用 MCP (Model Context Protocol) 伺服器和 Gemini CLI 擴充功能,整合 gcloud 與 clasp 等工具。
您建立的外掛程式會呼叫 Google Cloud 的 Vertex AI 平台上的圖片模型,並視需要生成及顯示獨特的貓咪圖片。
完成本教學課程後,您將擁有功能齊全的 Gmail 外掛程式,可直接在 Gmail 介面中呼叫 Vertex AI API 生成獨一無二的圖片,所有作業都可透過本機指令列管理。
2. 學習內容
完成本實驗室後,您將學會如何:
- 設定並使用 Gemini CLI 擴充功能
- 開發會呼叫外部 API 的 Gmail 外掛程式
- 修改外掛程式,呼叫 Vertex AI API 生成圖片
- 從 Apps Script 使用者介面部署 Google Workspace 外掛程式的測試版本
3. 設定和需求條件
開始實驗室前
- 如果沒有 Google 帳戶,請先建立Google 帳戶。請改用個人帳戶,而非公司或學校帳戶。公司和學校帳戶可能設有限制,導致您無法啟用本實驗室所需的 API。
- 登入 Google Cloud 控制台。
- 在 Cloud 控制台中啟用帳單。
- 建立新專案,或選擇重複使用現有專案。
實驗室需求
如要充分利用這個實驗室,請務必符合以下條件:
- 網路瀏覽器:標準網路瀏覽器,例如 Chrome (建議使用)。
- 專屬時間:預留足夠時間,專心進行實驗室活動。
4. 設定 Google Cloud 環境
- 按一下「啟用 Cloud Shell」圖示
 :在控制台標題的右上角,按一下終端機圖示,將滑鼠游標懸停在該圖示上時,會顯示「啟用 Cloud Shell」。
 - 授權。
- 等待初始化:Cloud Shell 工作階段會在主控台視窗底部的新頁框中開啟。工作階段會佈建暫時的 Debian 虛擬機器 (VM),因此需要幾分鐘的時間才能初始化。
- 工作階段初始化後,您會看到指令列提示 (
user@cloudshell:~ $)。 - 按一下展開按鈕即可展開 Cloud Shell 視窗,增加視窗大小。
- 驗證專案:執行下列指令:
gcloud config list project
- 變更專案 (如有需要):
gcloud config set project [YOUR_PROJECT_ID]
現在可以開始做實驗室活動了!
5. 設定本機開發環境
在這項工作中,您將設定 Gemini CLI 及其擴充功能,以便從終端機管理雲端和 Apps Script 專案。
- Gemini CLI 已安裝在 Cloud Shell 殼層環境中,因此不需要安裝。
- clasp 也已安裝在 Cloud Shell 殼層環境中,但我們會在本實驗室中確認使用的是最新版本。
npm install -g @google/clasp@latest
- 輸入下列指令並按照下方說明操作,授權 clasp 存取您的帳戶:
clasp login --no-localhost
點選終端機中產生的網址,授權 clasp。使用學員實驗室帳戶登入,並在系統提示您授予權限時,選擇「全選」,然後點選「繼續」。接著應該會看到類似下方的錯誤訊息。
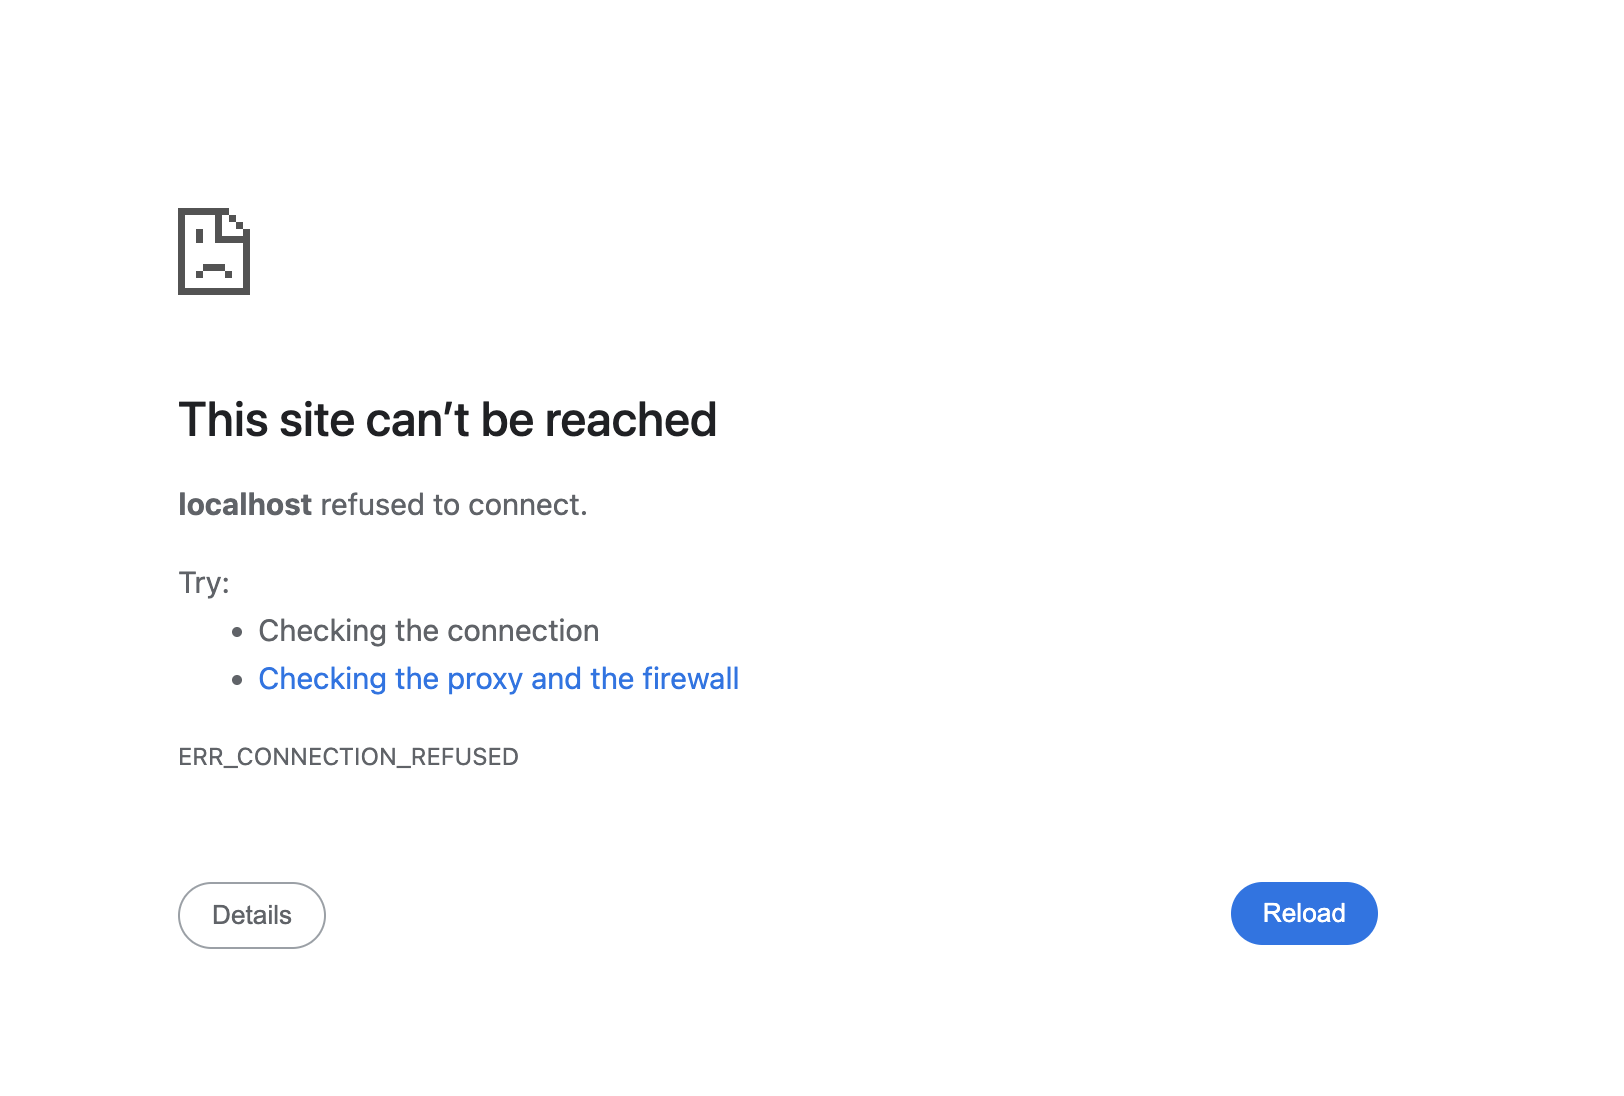
從瀏覽器視窗複製網址 (開頭為 http://localhost:8888/?code=xxx),然後貼到開啟的 Cloud Shell 工作階段並按下 Enter 鍵。clasp 會繼續授權流程,登入成功後,您會看到類似 You are logged in as user@gmail.com 的確認訊息。
gemini extensions install https://github.com/google/clasp --consent
gemini extensions install https://github.com/gemini-cli-extensions/gcloud --consent
gemini extensions install https://github.com/googleworkspace/developer-tools --consent
- 建立空白專案目錄:
mkdir genai-cat-add-on
- 切換至新建立的專案目錄:
cd genai-cat-add-on
- 為這個專案設定 Gemini CLI 結構定義檔案:
cat << 'END_OF_FILE' > GEMINI.md
## **Gemini CLI Instructions for Gmail Add-on Development**

You are a methodical **Google Workspace extensibility and integration expert**. Your goal is to build a Gmail Add-on for the `genai-cat-add-on` project by writing Apps Script code and using command-line tools.

---

## **Tools Available**

*   **`clasp`**: Use this tool for all Apps Script project operations like pushing files.
*   **`gcloud`**: Use this tool for Google Cloud operations, such as enabling APIs or managing IAM permissions.
*   **`workspace-developer`**: Use this tool to search the official Google Workspace documentation for correct syntax, manifest properties, and required OAuth scopes.

---

## **Development Workflow and Validation**

You MUST follow the workflow below when building the add-on:

1.  **Mandatory Documentation Check**: Before creating, committing, or modifying any code (especially manifest files or Apps Script functions), you **MUST** first utilize the **`workspace-developer` tool** and use **search_workspace_docs** to search and validate the necessary Apps Script syntax, OAuth scopes, Apps Script services such as GmailApp, and best practices. Always refer to the official Google Workspace developer documentation via this tool for authoritative information.
2.  **Security and Scopes**: For every code commit or structural change, you must first **verify the manifest file (`appsscript.json`) includes the necessary OAuth scopes** for Gmail access and external API calls, ensuring you use the **minimal required scopes** and nothing more to adhere to the principle of least privilege.
3.  **Versioning/Persistence**: After any successful file creation, update, or deletion, you must ensure the changes are persistently saved and pushed using the appropriate `clasp` tool command.
4.  **Error Handling**: Include appropriate debugging and robust error handling code in all Apps Script functions.

---

## **Project and API Specifications**

* **Project Focus:** All work is centered on the **`genai-cat-add-on`** Apps Script project.
* **Vertex AI Details:** If asked to generate images, you must use the **`gemini-2.5-flash-image`** model on **Vertex AI**. Do NOT use imagen. All Vertex AI operations must use the currently logged-in user's credentials and the current Google Cloud project.
END_OF_FILE
- 在學生實驗室帳戶中啟用 Google Apps Script API,然後點選 Google Apps Script API,並將其從「關閉」切換為「開啟」。
6. 啟動並驗證 Gemini CLI 設定
- 在專案目錄中啟動 Gemini。
gemini
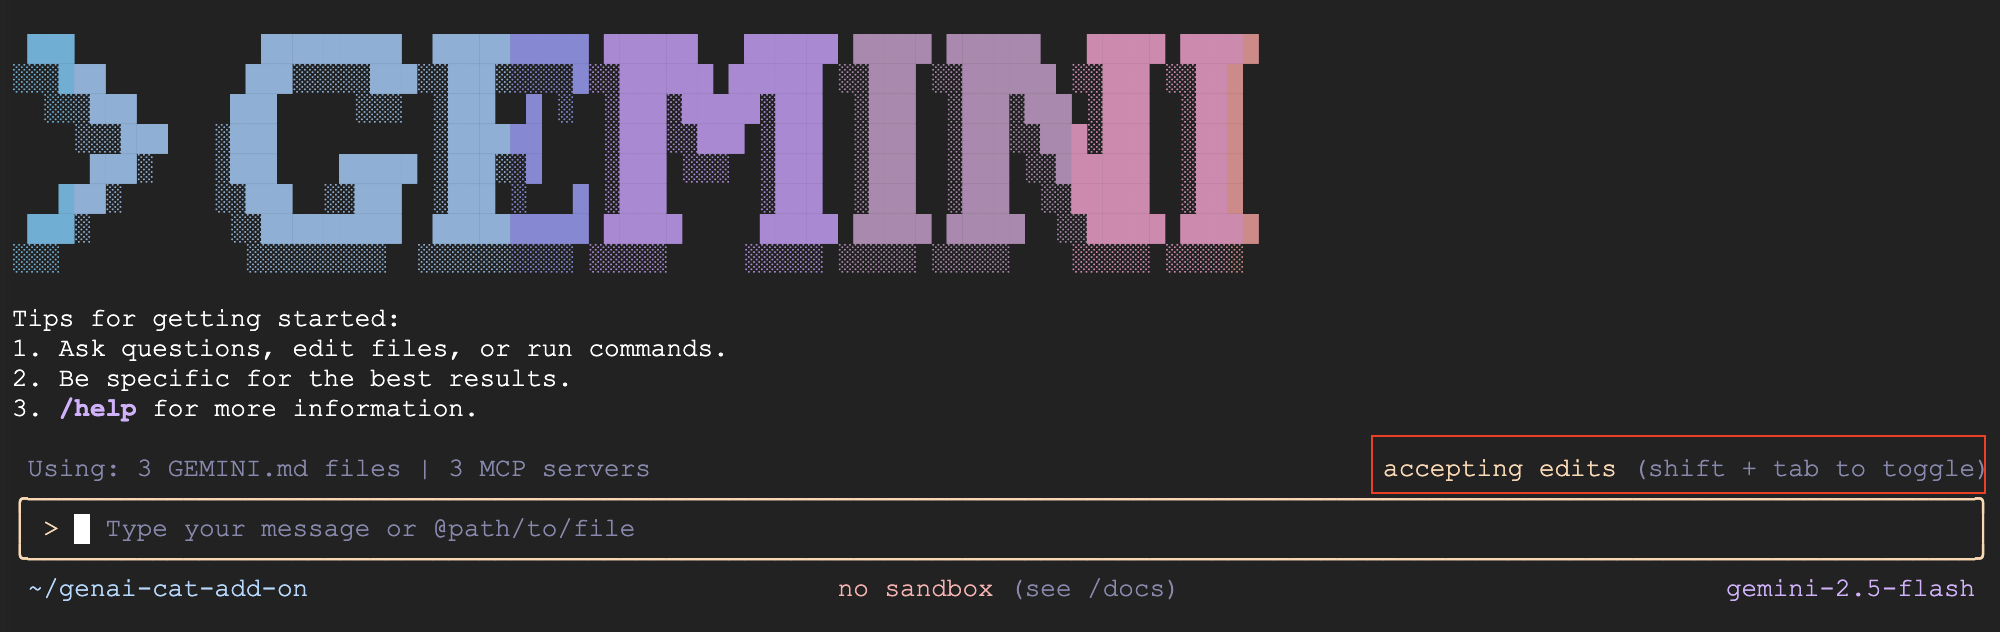
- 根據預設,Gemini CLI 會要求你檢查並接受檔案變更。在本實驗室中,建議按下 Shift + Tab 鍵關閉這項功能,自動接受編輯內容,以便及時完成實驗室。畫面上應該會以紅色醒目顯示這個選項。
- 確認 GEMINI.md 檔案已載入,並顯示載入 Gemini CLI 脈絡的內容:
/memory show
- 確認 MCP 伺服器設定正確無誤。
gcloudMCP 伺服器可能需要一段時間才能完成初始化,因此如果顯示連線中斷,請不要驚慌。請稍候片刻,然後再試一次。
/mcp list
7. 建立 Gmail 外掛程式
- 請問問 Gemini 建立第一個版本的 Gmail 外掛程式:
Use Apps Script to create a new Google Workspace add-on that displays a random cat image using the Cat-as-a-Service API upon opening the add-on in Gmail. Make sure you update the code and manifest files, use the correct scopes, and use the API documentation at https://cataas.com/doc.html.

Once done, provide a link to view the project.
- Gemini 回覆提示後,請點選提供的連結,或前往 Apps Script 首頁,然後點選
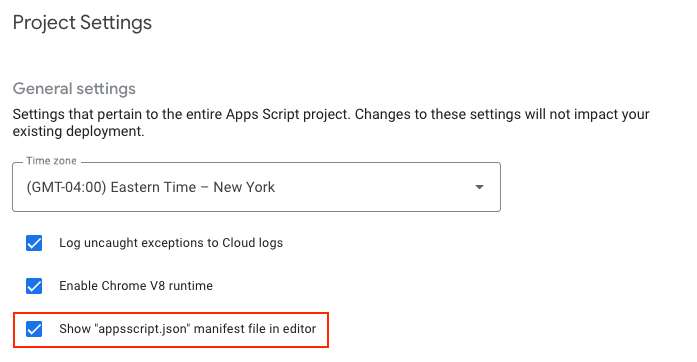
genai-cat-add-on專案。 - 按一下頁面左側的「專案設定」圖示 (齒輪圖示)
 。
。

- 選取「在編輯器中顯示『appsscript.json』資訊清單檔案」選項。
 9. 切換至「編輯器」畫面,查看
 Code.gs 中生成的程式碼,以及 appsscript.json 中設定專案的資訊清單檔案。
8. 安裝及測試外掛程式
- 返回 Apps Script 專案頁面。
- 尋找頂端的「部署」按鈕。
- 按一下「部署」旁的箭頭,然後選取「測試部署作業」。
- 在隨即顯示的「測試部署作業」對話方塊中,您應該會看到安裝未發布外掛程式的選項。
- 按一下「Install」按鈕。
- 系統會顯示確認訊息。按一下底部的「完成」,關閉部署對話方塊。
- 開啟並重新整理 Gmail 首頁。
- 外掛程式現在應該可以使用了。外掛程式會顯示在右側側邊面板中。
- 首次與外掛程式互動時,系統會提示您授權外掛程式存取必要資料或權限。按照畫面上的提示授予權限。
- 您應該會看到貓的圖片。如果沒有,請分享錯誤訊息,讓 Gemini CLI 協助排解問題。
9. 實作 AI 圖像生成邏輯
- 請 Gemini 新增邏輯來生成圖片:
Now update the add-on to display an AI-generated image using the samples in https://docs.cloud.google.com/vertex-ai/generative-ai/docs/multimodal/image-generation#use-image-generation.

The image should show a cute cat if I open my inbox, and should add a speech bubble saying "<email sender name> rocks!" with the actual sender name when I open an email.
- 重新整理 Gmail 首頁,然後再次開啟外掛程式。如果系統要求,請接受任何新權限。
- 現在應該會顯示 AI 生成的貓咪圖片。如果圖片未顯示,請使用 Gemini CLI 分享錯誤訊息並按照指示操作,排解問題。
- 開啟電子郵件,你會發現圖片會變成顯示寄件者名稱的對話泡泡。按照上一個步驟,排解 Gemini CLI 的任何問題。
10. [Optional] Add animal type dropdown
- 問問 Gemini 新增選項,除了貓咪圖像外,還能生成其他動物的圖像。
Add a dropdown menu that lets the user choose the type of animal image it wants. Choose 2 random animals to add to the list in addition to the cat image.
- 如要重新整理外掛程式,請按一下直向三點圖示,然後點選「重新整理」,或是重新整理 Gmail 首頁,然後再次開啟外掛程式。
- 選取其他動物圖片,測試新功能。如果發生錯誤 (例如 UI 未重新整理或顯示錯誤),請與 Gemini CLI 分享錯誤訊息並按照指示操作,藉此排解問題。
11. 清理
結束 Gemini CLI
執行下列指令,退出 Gemini CLI 並查看用量統計資料:
/quit
刪除 Google Cloud 專案
如要避免系統向您的 Google Cloud 帳戶收取本程式碼研究室所用資源的費用,建議您刪除 Google Cloud 專案。
gcloud projects delete $GOOGLE_CLOUD_PROJECT
刪除 Apps Script 專案
按一下左側導覽面板中的「資訊」 圖示,然後按一下畫面右側的「垃圾桶」
 圖示,即可移除 Apps Script 專案。
12. 疑難排解提示
- 如果 Gemini CLI 和擴充功能發生問題,可以使用下列指令執行特定版本的 Gemini CLI:
npx https://github.com/google-gemini/gemini-cli#v0.12.0
- 如果遇到任何錯誤,請問問 Gemini 為您修正,並分享錯誤和背景資訊 (發生錯誤的位置)
- 如果 Gemini 實作了錯誤記錄功能,並要求您分享任何錯誤,請重新執行導致錯誤的步驟,然後將結果分享給 Gemini。
- 您可以嘗試使用如下的提示:
You have my permission to fix any errors. Please go ahead and make it work.
- 如果遇到困難並想協助 Gemini,可以使用下列提示:
Use the following Github repo as a reference implementation to make my add-on work: https://github.com/googleworkspace/add-ons-samples/tree/main/apps-script/generative-ai/cat-add-on
13. 恭喜!
您已順利完成實驗室,並使用 Gemini CLI 透過直覺式程式開發打造 Gmail 外掛程式。
在本實驗室中,您已學會如何執行下列工作:
- 使用 Gemini CLI。
- 安裝工具,並使用 MCP (Model Context Protocol) 伺服器擴充 Gemini CLI。
- 建構、部署及安裝 Gmail 外掛程式。
現在可以繼續下一個實驗室。