
1. Overview
With this codelab, we will demonstrate a simple, easy-to-do method for setting up AlloyDB.

What you'll build
As part of this, you will create an AlloyDB instance and cluster along with all its required network configurations in one click installation and you'll learn to set it up quickly in your future projects as well.
Requirements
2. Before you begin
Create Project
- In the Google Cloud Console, on the project selector page, select or create a Google Cloud project.
- Make sure that billing is enabled for your Cloud project. Learn how to check if billing is enabled on a project.
Activate Cloud Shell
- You'll use Cloud Shell, a command-line environment running in Google Cloud. Click Activate Cloud Shell at the top of the Google Cloud console.

- Once connected to Cloud Shell, you check that you're already authenticated and that the project is set to your project ID using the following command:
gcloud auth list
- If not authenticated, run the following command:
gcloud auth login
- Run the following command in Cloud Shell to confirm that the gcloud command knows about your project.
gcloud config list project
- If your project is not set, use the following command to set it:
gcloud config set project <YOUR_PROJECT_ID>
Enable APIs & Grant Permissions
- Enable the required APIs:
Follow the link and enable the APIs.
Alternatively you can use the gcloud command for this. Refer documentation for gcloud commands and usage.
- Grant the required roles for creating and configuring the AlloyDB instance
If you are in your own development environment or you have the owner / admin access to the project, you will not need to do this step, as your principal (as the owner) will already have these permissions. If not, follow this step.
To get the permissions that you need to create and connect to an AlloyDB database, grant the following IAM roles on your project:
- Compute Network Admin (
roles/compute.networkAdmin) - AlloyDB Admin (
roles/alloydb.admin)
These are the exact permissions that are required behind the scenes to create and connect to an AlloyDB database:
- compute.networks.list
- compute.networks.addPeering
- compute.addresses.create
- servicenetworking.services.addPeering
- Alloydb.clusters.create
- Alloydb.instances.create
- Alloydb.instances.login
Alright now, moving on to setup.
3. AlloyDB setup
Let's create an AlloyDB cluster and instance along with the network configurations.
- Run the below commands from your Google Cloud Shell Terminal to clone the repo in a root directory and navigate to the cloned project folder:
# 1. Clone the repository
git clone https://github.com/GoogleCloudPlatform/devrel-demos.git

# 2. Navigate to the project directory
cd devrel-demos/infrastructure/easy-alloydb-setup
- Once this step is complete the repo will be cloned to your local cloud shell editor and you will be able to run the command below from within the project folder (important to make sure you are in the project directory):
sh run.sh
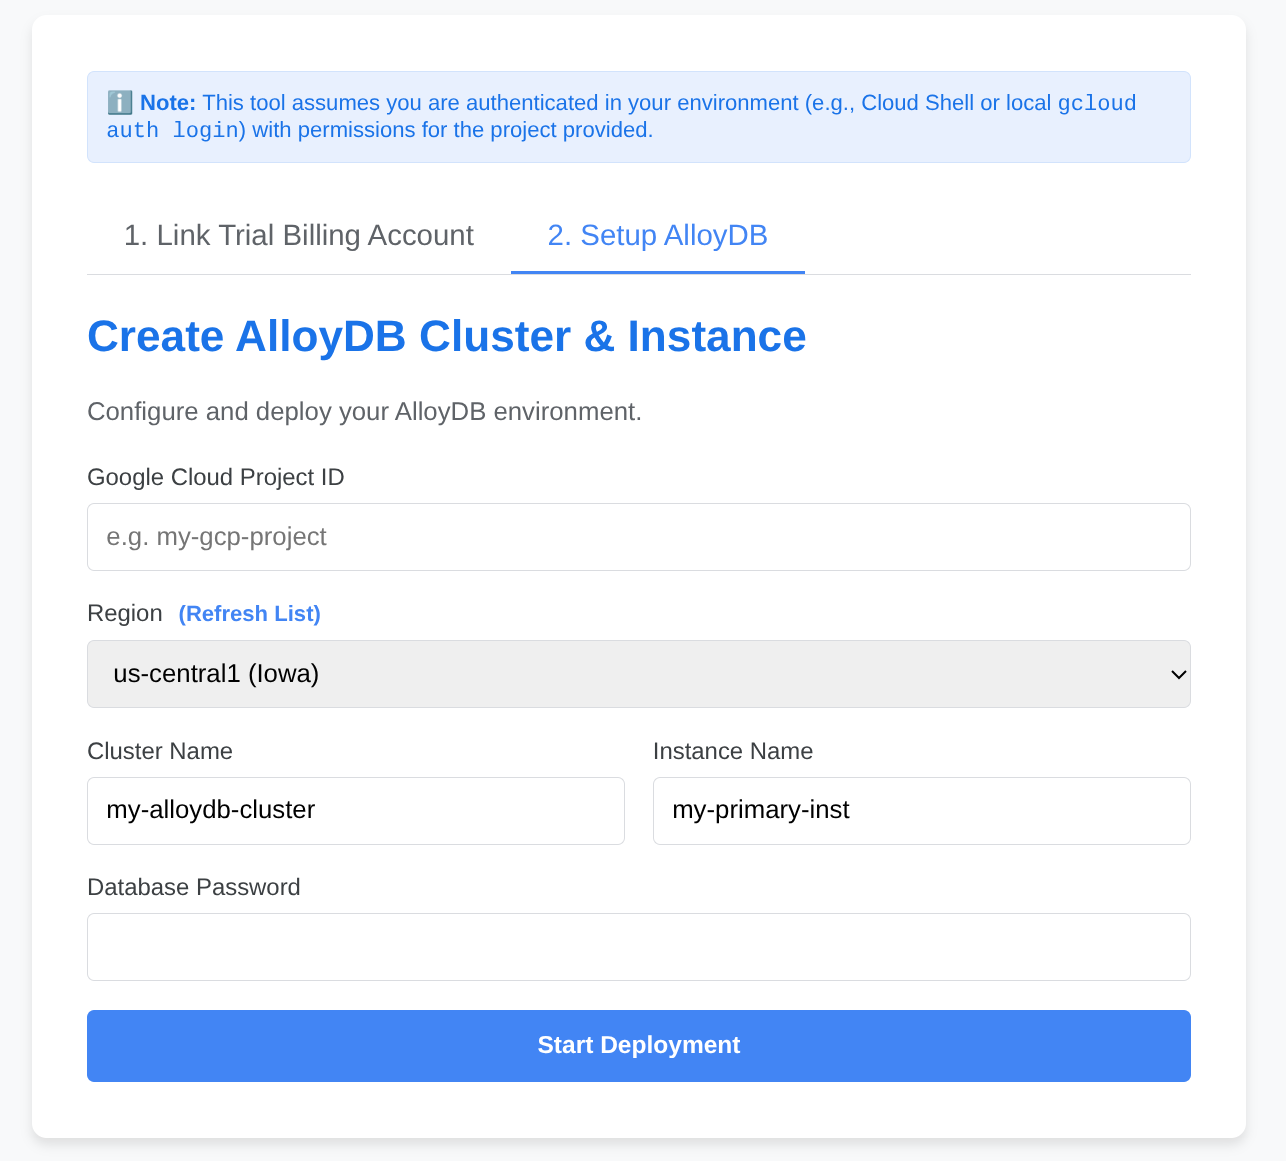
- Now use the UI (you can find the link in the terminal's logs, you can click that or you can also navigate by clicking the "preview on web" link in the terminal.
- Enter your details for project id, cluster and instance names to get started.
- Go grab a coffee while the logs scroll & you can read about how it's doing this behind the scenes here.
4. Congratulations
You're good to go!!!
Get started with setting up your data with AlloyDB quick & easy!!!