
1. Overview
In this codelab, you will build Neighbor Loop, a sustainable surplus-sharing app that treats intelligence as a first-class citizen of the data layer.
By integrating Gemini 3.0 Flash and Cloud SQL's ML integration, you will move past basic storage into the realm of In-Database Intelligence. You'll learn how to perform multimodal item analysis and semantic discovery directly within SQL.
What you'll build
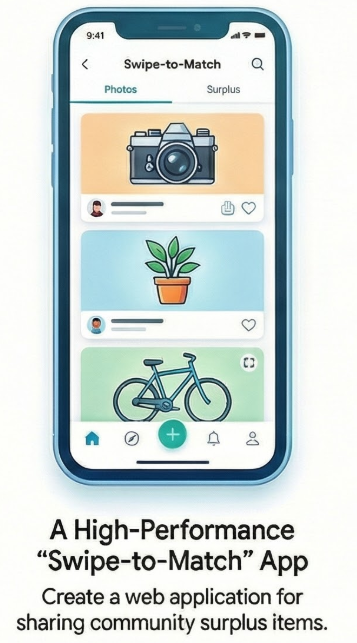
A high-performance "swipe-to-match" web application for community surplus sharing.
What you'll learn
- One-Click Provisioning: How to set up a Cloud SQL and instance designed for AI workloads.
- In-Database Embeddings: Generating text-embedding-005 vectors directly within INSERT statements.
- Multimodal Reasoning: Using Gemini 3.0 Flash to "see" items and generate witty, dating-style bios automatically.
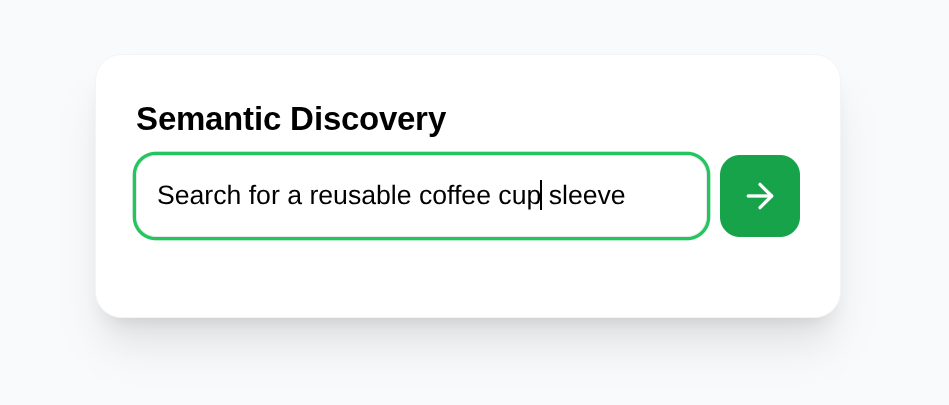
- Semantic Discovery: Performing logic-based "vibe checks" inside SQL queries using the ai.if() function to filter results based on context, not just math.
The Architecture
Neighbor Loop bypasses traditional application-layer bottlenecks. Instead of pulling data out to process it, we use:
- Cloud SQL + ML Integration: To generate and store vectors in real-time.
- Google Cloud Storage: To store images
- Gemini 3.0 Flash: To perform sub-second reasoning on image and text data directly via SQL.
- Cloud Run: To host a lightweight, single-file Flask backend.
Requirements
2. Before you begin
Create a project
- In the Google Cloud Console, on the project selector page, select or create a Google Cloud project.
- Make sure that billing is enabled for your Cloud project. Learn how to check if billing is enabled on a project.
- You'll use Cloud Shell, a command-line environment running in Google Cloud. Click Activate Cloud Shell at the top of the Google Cloud console.

- Once connected to Cloud Shell, you check that you're already authenticated and that the project is set to your project ID using the following command:
gcloud auth list
- Run the following command in Cloud Shell to confirm that the gcloud command knows about your project.
gcloud config list project
- If your project is not set, use the following command to set it:
gcloud config set project <YOUR_PROJECT_ID>
- Enable the required APIs: Follow the link and enable the APIs.
Alternatively you can use the gcloud command for this. Refer documentation for gcloud commands and usage.
Gotchas & Troubleshooting
The "Ghost Project" Syndrome | You ran |
The Billing Barricade | You enabled the project, but forgot the billing account. Cloud SQL won't start if billing is empty. |
API Propagation Lag | You clicked "Enable APIs," but the command line still says |
3. Database setup
In this lab we'll use Cloud SQL for PostgreSQL as the database for the test data.
Let's create a Cloud SQL instance where the test dataset will be loaded.
- Click the button or Copy the link below to your browser where you have the Google Cloud Console user logged in.
- Once this step is complete the repo will be cloned to your local cloud shell editor and you will be able to run the command below from with the project folder (important to make sure you are in the project directory):
sh run.sh
- Now use the UI (clicking the link in the terminal or clicking the "preview on web" link in the terminal.
- Enter your details for project id and instance name to get started.
- Go grab a coffee while the logs scroll & you can read about how it's doing this behind the scenes here.
Gotchas & Troubleshooting
Region Mismatch | If you enabled your APIs in |
Cloud Shell Timeout | If your coffee break takes 30 minutes, Cloud Shell might go to sleep and disconnect the |
4. Schema Provisioning
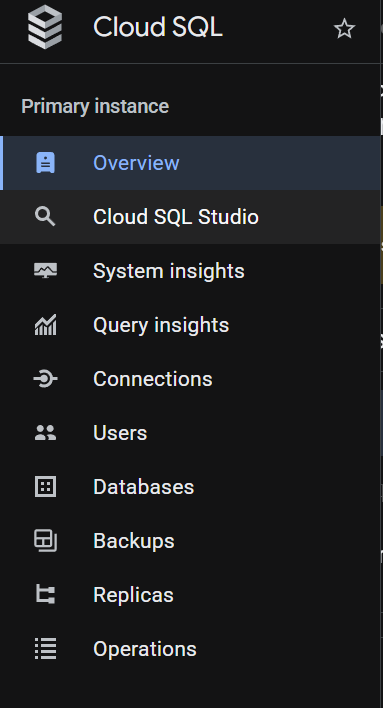
Once you have your Cloud SQL instance running, head over to the Cloud SQL Studio SQL editor to enable the AI extensions and provision the schema.
You may need to wait for your instance to finish being created. Once it is, sign into Cloud SQL instance using the credentials you created when you created it. Use the following data for authenticating to PostgreSQL:
- Username : "
postgres" - Database : "
postgres" - Password : "
cloudsql" (or whatever you set at the time of creation)
Once you have authenticated successfully into Cloud SQL Studio, SQL commands are entered in the Editor. You can add multiple Editor windows using the plus to the right of the last window.
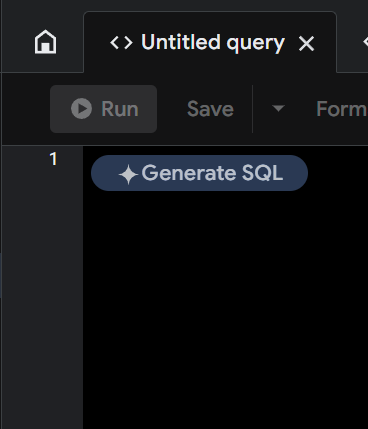
You'll enter commands for Cloud SQL in editor windows, using the Run, Format, and Clear options as necessary.
Enable Extensions
For building this app, we will use the extensions pgvector and google_ml_integration. The pgvector extension allows you to store and search vector embeddings. The google_ml_integration extension provides functions you use to access Vertex AI prediction endpoints to get predictions in SQL. Enable these extensions by running the following DDLs:
CREATE EXTENSION IF NOT EXISTS google_ml_integration CASCADE;
CREATE EXTENSION IF NOT EXISTS vector;
Create a table
You can create a table using the DDL statement below in the Cloud SQL Studio:
-- Items Table (The "Profile" you swipe on)
CREATE TABLE items (
   item_id UUID PRIMARY KEY DEFAULT gen_random_uuid(),
   owner_id UUID,
   provider_name TEXT,
   provider_phone TEXT,
   title TEXT,
   bio TEXT,
   category TEXT,
   image_url TEXT,
   item_vector VECTOR(768),
   status TEXT DEFAULT 'available',
   created_at TIMESTAMP DEFAULT NOW()
);

-- Swipes Table (The Interaction)
CREATE TABLE swipes (
   swipe_id SERIAL PRIMARY KEY,
   swiper_id UUID,
   item_id UUID REFERENCES items(item_id),
   direction TEXT CHECK (direction IN ('left', 'right')),
   is_match BOOLEAN DEFAULT FALSE,
   created_at TIMESTAMP DEFAULT NOW()
);
The item_vector column will allow storage for the vector values of the text.
Grant Permission
Run the below statement to grant execute on the "embedding" function:
GRANT EXECUTE ON FUNCTION embedding TO postgres;
Enable ML Integration
To leverage machine learning features directly within your database, you need to enable the ML integration flag.
You can run the below command from the Cloud Shell Terminal:
INSTANCE_NAME="<<The name of your Cloud SQL Instance>>"

gcloud sql instances patch $INSTANCE_NAME --tier=db-custom-1-3840

gcloud sql instances patch $INSTANCE_NAME \
    --database-flags=cloudsql.enable_google_ml_integration=on

gcloud sql instances patch $INSTANCE_NAME --enable-google-ml-integration
Grant Vertex AI User ROLE to the Cloud SQL service account
From Google Cloud IAM console, grant the Cloud SQL service account (that looks like this: service-<<PROJECT_NUMBER>>@cp-sa-cloud-sql.iam.gserviceaccount.com) access to the role "Vertex AI User". PROJECT_NUMBER will have your project number.
Alternatively you can run the below command from the Cloud Shell Terminal:
INSTANCE_NAME="<<The name of your Cloud SQL Instance>>"
PROJECT_ID=$(gcloud config get-value project)

SA_EMAIL=$(gcloud sql instances describe $INSTANCE_NAME --format='value(serviceAccountEmailAddress)')
gcloud projects add-iam-policy-binding $PROJECT_ID \
    --member="serviceAccount:$SA_EMAIL" \
    --role="roles/aiplatform.user"
Register Gemini 3 Flash model in Cloud SQL
Run the below SQL statement from the Cloud SQL Query Editor
CALL google_ml.create_model(
    model_id => 'gemini-3-flash-preview',
    model_request_url => 'https://aiplatform.googleapis.com/v1/projects/<<YOUR_PROJECT_ID>>/locations/global/publishers/google/models/gemini-3-flash-preview:generateContent',
    model_qualified_name => 'gemini-3-flash-preview',
    model_provider => 'google',
    model_type => 'generic',
    model_auth_type => 'cloudsql_service_agent_iam'
);
--replace <<YOUR_PROJECT_ID>> with your project id.
Gotchas & Troubleshooting
The "Password Amnesia" Loop | If you used the "One Click" setup and can't remember your password, go to the Instance basic information page in the console and click "Edit" to reset the |
The "Extension Not Found" Error | If |
The IAM Propagation Gap | You ran the |
Vector Dimension Mismatch | The |
Project ID Typo | In the |
Vertex AI Integration is disabled | Run |
5. Image Storage (Google Cloud Storage)
To store the photos of our surplus items, we use a GCS bucket. For the purpose of this demo app, we want the images to be publicly accessible so they render instantly in our swipe cards.
- Create a Bucket: Create a new bucket in your GCP project (e.g., neighborloop-images), preferably in the same region as your database and application.
- Configure Public Access: * Navigate to the bucket's Permissions tab.
- Add the allUsers principal.
- Assign the Storage Object Viewer role (so everyone can see the photos) and the Storage Object Creator role (for demo upload purposes).
Alternative (Service Account): If you prefer not to use public access, ensure your application's Service Account is granted full access to Cloud SQL and the necessary Storage roles to manage objects securely.
If you wish to run the command and grant public access. Run the below commands in the Cloud Shell Terminal:
BUCKET_NAME="<<your-bucket-name>>"
gcloud storage buckets add-iam-policy-binding gs://$BUCKET_NAME \
    --member="allUsers" \
    --role="roles/storage.objectViewer"
Gotchas & Troubleshooting
The Region Drag | If your database is in |
Bucket Name Uniqueness | Bucket names are a global namespace. If you try to name your bucket |
The "Creator" vs. "Viewer" Mix-up | The "Creator" vs. "Viewer" Mix-up: If you only add "Viewer," your app will crash when a user tries to list a new item because it doesn't have permission to write the file. You need both for this specific demo setup. |
6. Let's create the application
Clone this repo into your project and let's walk through it.
- To clone this, from your Cloud Shell Terminal (in the root directory or from wherever you want to create this project), run the following commands one by one:
git clone https://github.com/flazer99/neighbor-loop-cloud-sql

cd neighbor-loop-cloud-sql/
This should create the project and you can verify that in the Cloud Shell Editor.

- How to get your Gemini API Key
- Visit Google AI Studio: Go to aistudio.google.com.
- Sign In: Use the same Google Account you are using for your Google Cloud project.
- Create API Key:
- On the left-hand sidebar, click on "Get API key".
- Click the button "Create API key in new project".
- Copy the Key: Once the key is generated, click the copy icon.
- Now set the environment variables in the .env file
GEMINI_API_KEY=<<YOUR_GEMINI_API_KEY>>
DATABASE_URL=postgresql+pg8000://postgres:<<YOUR_PASSWORD>>@<<HOST_IP>>:<<PORT>>/postgres
GCS_BUCKET_NAME=<<YOUR_GCS_BUCKET>>
Replace the values for placeholders <<YOUR_GEMINI_API_KEY>>, <<YOUR_PASSWORD>, <<HOST_IP>>, <<PORT>> and <<YOUR_GCS_BUCKET>>.
Gotchas & Troubleshooting
Multiple Account Confusion | If you are logged into multiple Google accounts (Personal vs. Work), AI Studio might default to the wrong one. Check the avatar in the top right corner to ensure it matches your GCP Project account. |
The "Free Tier" Quota Hit | If you are using the Free of Charge tier, there are rate limits (RPM - Requests Per Minute). If you "swipe" too fast in Neighbor Loop, you might get a |
Exposed Key Security | If you accidentally |
7. Let's check the code
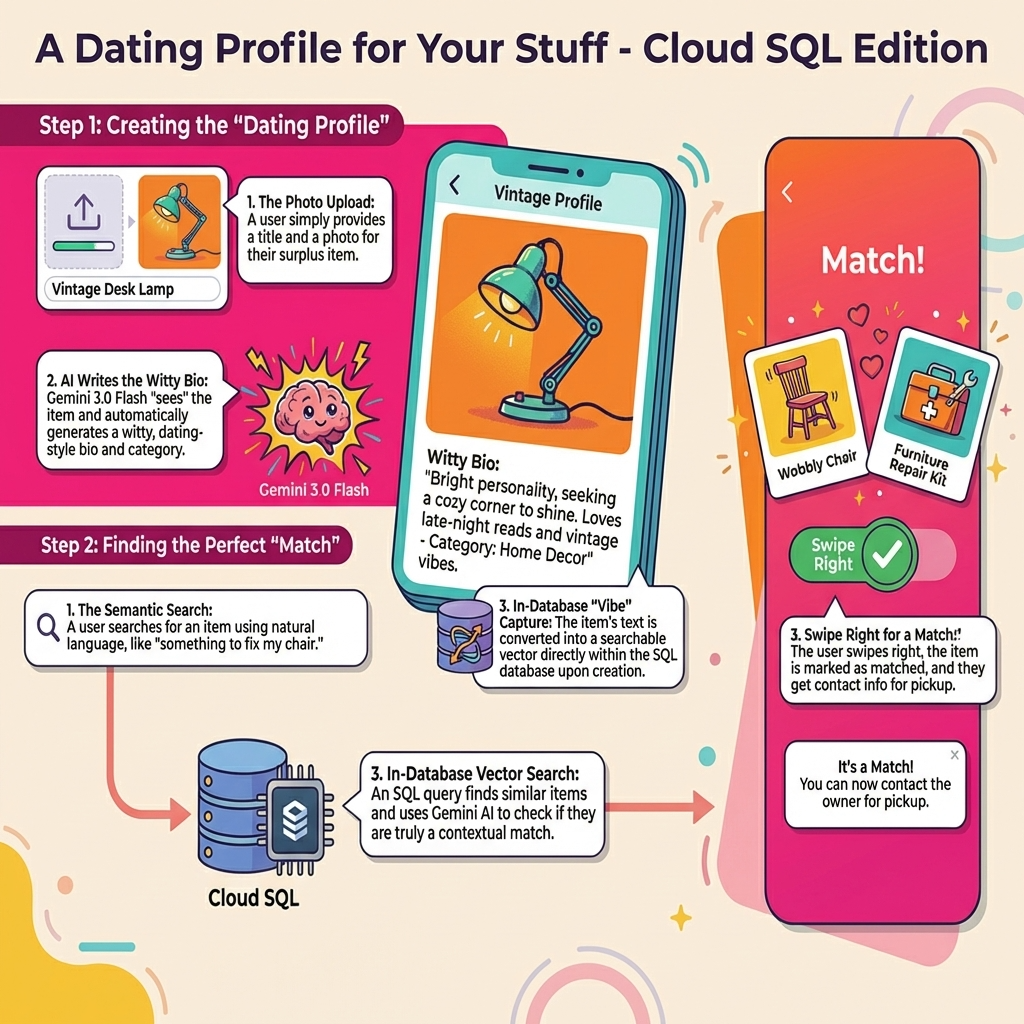
The "Dating Profile" for your Stuff
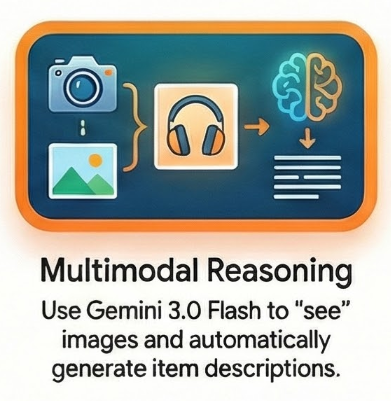
When a user uploads a photo of an item, they shouldn't have to write a long description. I use Gemini 3 Flash to "see" the item and write the listing for them.
In the backend, the user just provides a title and a photo. Gemini handles the rest:
prompt = """
You are a witty community manager for NeighborLoop.
Analyze this surplus item and return JSON:
{
   "bio": "First-person witty dating-style profile bio for the product, not longer than 2 lines",
   "category": "One-word category",
   "tags": ["tag1", "tag2"]
}
"""
response = genai_client.models.generate_content(
   model="gemini-3-flash-preview",
   contents=[types.Part.from_bytes(data=image_bytes, mime_type="image/jpeg"), prompt],
   config=types.GenerateContentConfig(response_mime_type="application/json")
)
Real-time In-Database Embeddings
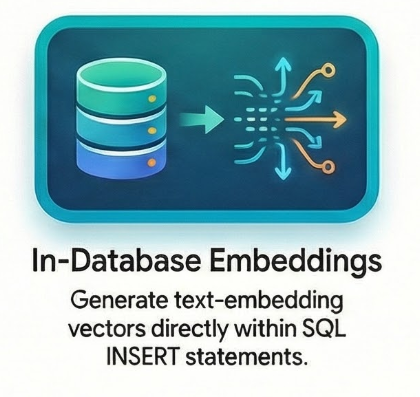
One of the coolest features of Cloud SQL is the ability to generate embeddings without leaving the SQL context. Instead of calling an embedding model in Python and sending the vector back to the DB, I do it all in one INSERT statement using the embedding() function:
INSERT INTO items (owner_id, provider_name, provider_phone, title, bio, category, image_url, status, item_vector)
VALUES (
   :owner, :name, :phone, :title, :bio, :cat, :url, 'available',
   embedding('text-embedding-005', :title || ' ' || :bio)::vector
)
This ensures that every item is "searchable" by its meaning the second it's posted. And note that this is the part that covers the "listing the product" feature of the Neighbor Loop app.

Advanced Vector Search and Smart Filtering with Gemini 3.0
Standard keyword search is limited. If you search for "something to fix my chair," a traditional database might return nothing if the word "chair" isn't in a title. Neighbor Loop solves this with Cloud SQL AI's advanced vector search.
By using the pgvector extension and Cloud SQLs optimized storage, we can perform extremely fast similarity searches. But the real "magic" happens when we combine vector proximity with LLM-based logic.
SELECT item_id, title, bio, category, image_url,
      1 - (item_vector <=> embedding('text-embedding-005', :query)::vector) as score
FROM items
WHERE status = 'available'
 AND item_vector IS NOT NULL
ORDER BY score DESC
LIMIT 5
This query represents a major architectural shift: we are moving logic to the data. Instead of pulling thousands of results into application code to filter them, Gemini 3 Flash performs a "vibe check" inside the database engine. This reduces latency, lowers egress costs, and ensures that the results aren't just mathematically similar, but contextually relevant.
The "Swipe to Match" Loop
The UI is a classic deck of cards.
Swipe Left: Discard.
Swipe Right: It's a match!
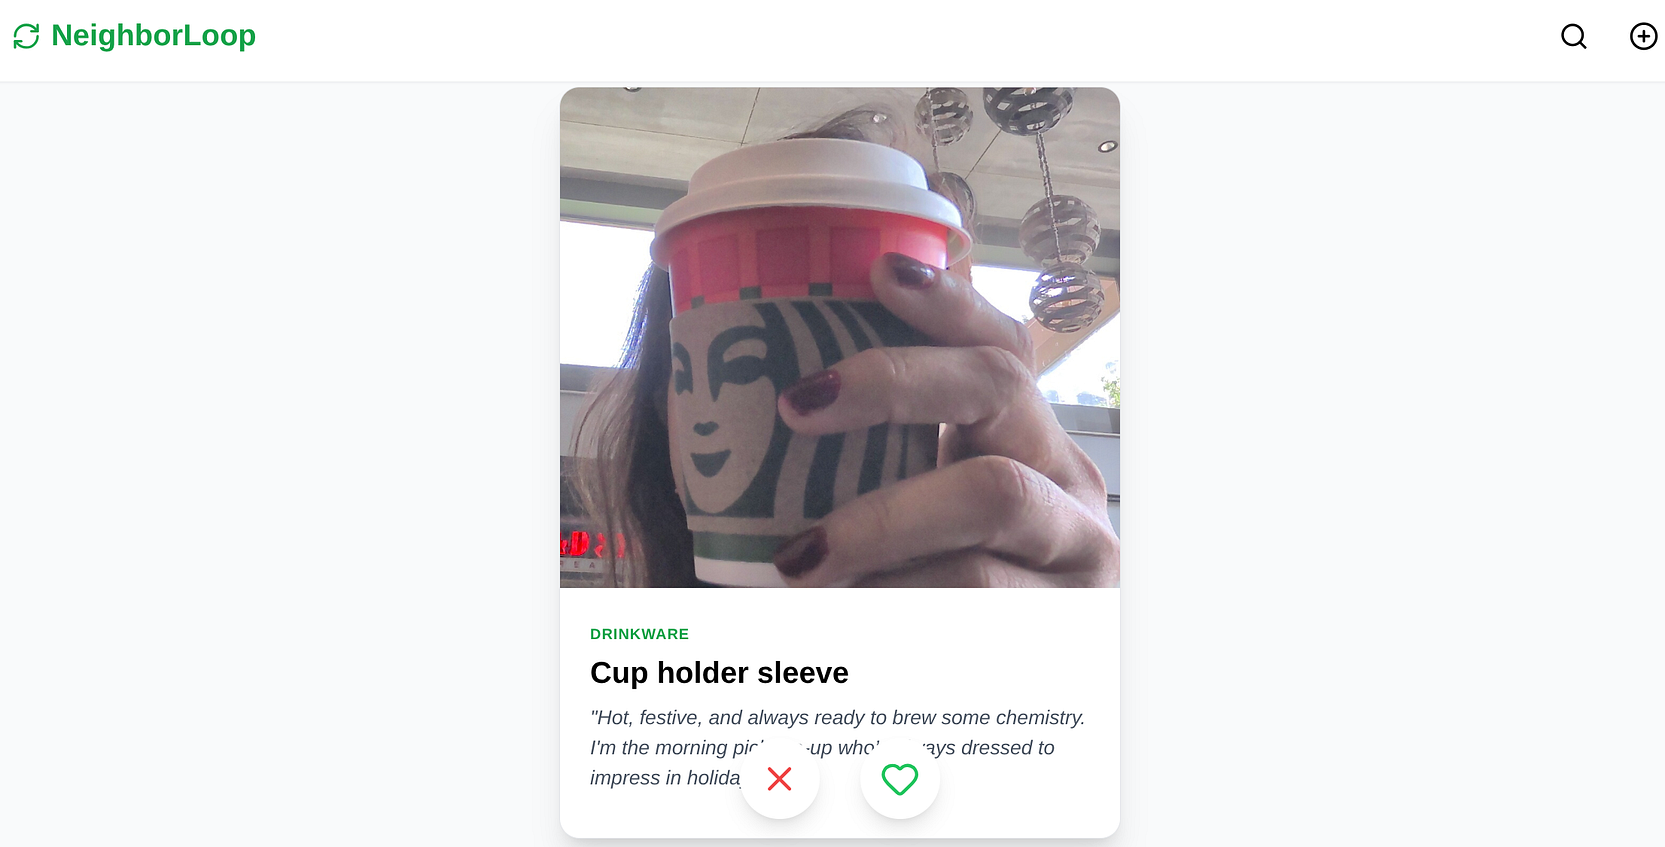
When you swipe right, the backend records the interaction in our swipes table and marks the item as matched. The frontend instantly triggers a modal showing the provider's contact info so you can arrange the pickup.
8. Let's deploy it to Cloud Run
- Deploy it on Cloud Run by running the following command from the Cloud Shell Terminal where the project is cloned and make sure you are inside the project's root folder.
Run this in your Cloud Shell terminal:
gcloud run deploy neighbor-loop-cloud-sql \
   --source . \
   --region=us-central1 \
   --allow-unauthenticated \
   --network=easy-cloudsql-vpc \
   --subnet=easy-cloudsql-subnet \
   --vpc-egress=private-ranges-only \
   --set-env-vars GEMINI_API_KEY=<<YOUR_GEMINI_API_KEY>>,DATABASE_URL=postgresql+pg8000://postgres:<<YOUR_PASSWORD>>@<<PRIVATE_IP_HOST>>:5432/postgres,GCS_BUCKET_NAME=<<YOUR_GCS_BUCKET>>
Replace the values for placeholders <<YOUR_GEMINI_API_KEY>>, <<YOUR_PASSWORD>, <<PRIVATE_IP_HOST>>, <<PORT>> and <<YOUR_GCS_BUCKET>>
Once the command finishes, it will spit out a Service URL. Copy it.
Now use the service URL (Cloud Run endpoint you copied earlier) and test the app. Upload a photo of that old power tool, and let Gemini do the rest!
Gotchas & Troubleshooting
The "Revision Failed" Loop | If the deployment finishes but the URL gives a |
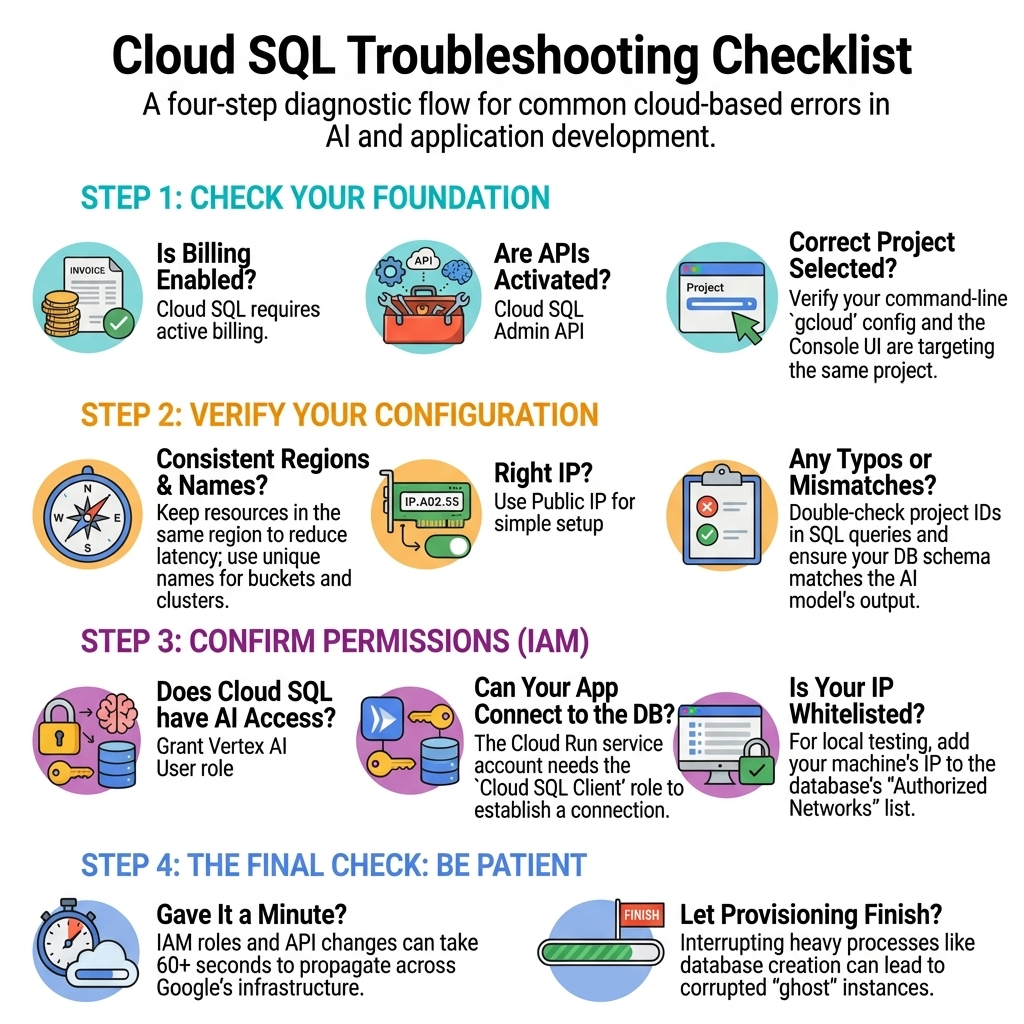
9. High Level Troubleshooting
10. Demo
You should be able to use your end point for tests.
But for demo purposes for a few days, you can play with this:
11. Clean up
Once this lab is done, do not forget to delete the Cloud SQL instance.
12. Congratulations
You've successfully built the Neighbor Loop app for sustainable communities with Google Cloud. By moving the embedding and Gemini 3 Flash AI logic into Cloud SQL, the app is incredibly fast (subject to the deployment settings) and the code is remarkably clean. We aren't just storing data — we're storing intent.
The combination of Gemini 3 Flash's speed and Cloud SQL's optimized vector processing is truly the next frontier for community-driven platforms.