
1. Introduction
kubectl-ai is an AI-powered intelligent interface that translates user intent into precise Kubernetes operations, making Kubernetes management more accessible and efficient.
What you'll do
- You will work with
kubectl-ai, an AI powered Kubernetes Assistant powered tool to manage a GKE cluster.
What you'll learn
- You will create a GKE cluster and set up
kubectl-ai. - You will perform Kubernetes tasks like managing, creating, patching resources with troubleshooting clusters and resources.
What you'll need
- Chrome web browser
- A Gmail account
- A Cloud Project with billing enabled
- A Gemini API Key
This codelab expects that the user is familiar with basic knowledge of Kubernetes.
2. Before you begin
Create a project
- In the Google Cloud Console, on the project selector page, select or create a Google Cloud project.
- Make sure that billing is enabled for your Cloud project. Learn how to check if billing is enabled on a project .
- You'll use Cloud Shell, a command-line environment running in Google Cloud that comes preloaded with bq. Click Activate Cloud Shell at the top of the Google Cloud console.

- Once connected to Cloud Shell, you check that you're already authenticated and that the project is set to your project ID using the following command:
gcloud auth list
- Run the following command in Cloud Shell to confirm that the gcloud command knows about your project.
gcloud config list project
- If your project is not set, use the following command to set it:
gcloud config set project <YOUR_PROJECT_ID>
- Enable the required APIs via the command shown below. This could take a few minutes, so please be patient.
gcloud services enable cloudresourcemanager.googleapis.com \
                       servicenetworking.googleapis.com \
                       compute.googleapis.com \
                       container.googleapis.com
On successful execution of the command, you should see a message similar to the one shown below:
Operation "operations/..." finished successfully.
If any API is missed, you can always enable it during the course of the implementation.
Refer documentation for gcloud commands and usage.
3. Set up GKE cluster
In this step, we are going to set up a GKE cluster that we will be running our commands in. Ensure that you have followed the previous steps and have set up the correct project ID and enabled the required services in your Google Cloud project.
Create GKE cluster
Run the following command provided in Cloud Shell. If you would like to create the cluster in another zone, feel free to change the --zone value to that.
gcloud container clusters create my-gke-cluster \
       --num-nodes 2 \
       --machine-type e2-standard-4 \
       --zone us-central1-a
This can take a while to complete so please be patient. Once complete, you should see an output that is similar to the one shown below:
Note: Your Pod address range (`--cluster-ipv4-cidr`) can accommodate at most 1008 node(s).
Creating cluster my-gke-cluster in us-central1-a... Cluster is being health-checked (Kubernetes Control Plane is healthy)...done.
Created [https://container.googleapis.com/v1/projects/YOUR_PROJECT_ID/zones/us-central1-a/clusters/my-gke-cluster].
To inspect the contents of your cluster, go to: https://console.cloud.google.com/kubernetes/workload_/gcloud/us-central1-a/my-gke-cluster?project=YOUR_PROJECT_ID
kubeconfig entry generated for my-gke-cluster.
NAME: my-gke-cluster
LOCATION: us-central1-a
MASTER_VERSION: 1.33.4-gke.1350000
MASTER_IP: 34.59.221.183
MACHINE_TYPE: e2-standard-4
NODE_VERSION: 1.33.4-gke.1350000
NUM_NODES: 2
STATUS: RUNNING
STACK_TYPE: IPV4
Verify GKE cluster details
First, let us fetch the cluster credentials:
gcloud container clusters get-credentials my-gke-cluster \
                 --zone us-central1-a
You should see an output as shown below:
Fetching cluster endpoint and auth data.
kubeconfig entry generated for my-gke-cluster.
Next, let's verify cluster details:
kubectl get nodes
You should see an output that looks like this:
NAME                                            STATUS   ROLES    AGE     VERSION
gke-my-gke-cluster-default-pool-c63d5936-2f1z   Ready    <none>   2m58s   v1.33.4-gke.1350000
gke-my-gke-cluster-default-pool-c63d5936-fqtl   Ready    <none>   3m2s    v1.33.4-gke.1350000
Finally, let's validate the cluster namespace:
kubectl get namespaces
You should see an output that looks like this:
NAME                          STATUS   AGE
default                       Active   6m16s
gke-managed-cim               Active   4m21s
gke-managed-system            Active   4m6s
gke-managed-volumepopulator   Active   4m
gmp-public                    Active   3m40s
gmp-system                    Active   3m41s
kube-node-lease               Active   6m16s
kube-public                   Active   6m16s
kube-system                   Active   6m16s
4. Install kubectl-ai CLI
We shall use the Quick Install (Recommended) way of installing kubectl-ai CLI.
Provide the following command in Cloud Shell:
curl -sSL https://raw.githubusercontent.com/GoogleCloudPlatform/kubectl-ai/main/install.sh | bash
This will download and install the kubectl-ai CLI and you should see a message at the end that says:
✅ kubectl-ai installed successfully! Run 'kubectl-ai --help' to get started.
We can verify whether kubectl-ai command is working or not by running the following command:
kubectl-ai
Note: the above command will return the error stating that
creating llm client: GEMINI_API_KEY environment variable not set
Note that kubectl-ai supports AI models from gemini, vertexai, azopenai, openai, grok, bedrock and local LLM providers such as ollama and llama.cpp. In our case, we are going to be using Gemini (Google) and we will need to get an API Key for that via Google AI Studio. Once you have generated the key and you have the value ready, use the following command in Cloud Shell to set the environment variable GEMINI_API_KEY that points to your key.
export GEMINI_API_KEY="YOUR_GEMINI_API_KEY"
Note: Use "GEMINI_API_KEY" only as key value
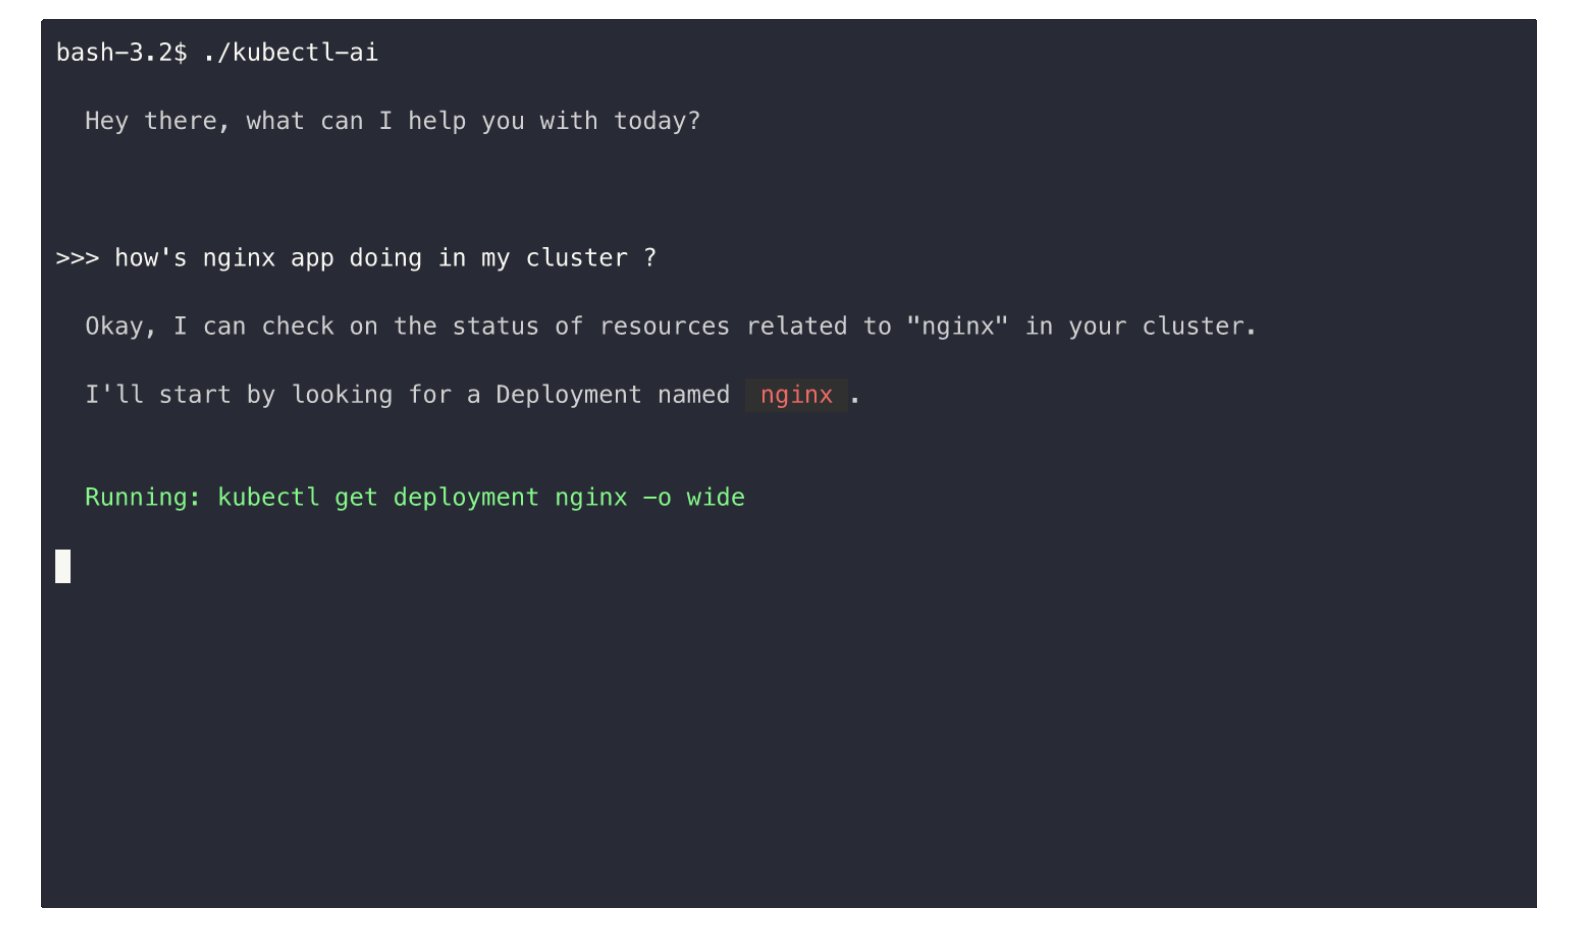
Launch kubectl-ai once more and this time you will see that it launches and is waiting in its interactive terminal for your command.
$ kubectl-ai

  Hey there, what can I help you with today?

>>>
Try out a few queries related to kubectl commands in the prompt. A few samples are given below:
What is the command to get the nodes in a cluster?list pods
You can exit from kubectl-ai terminal by typing quit.
5. Using kubectl-ai
Now that you have configured kubectl-ai successfully, the key point to highlight here is that you are now able to interact with the cluster using natural language queries. Let's try a few other commands:
Let's run the following command:
kubectl-ai --model gemini-2.5-flash "list pods in default namespace"
This will produce the following output:
Running: kubectl get pods -n default

There are no resources found in the default namespace.

>>>
Notice how it translated our natural language query to list pods into the equivalent kubectl command.
Additionally, note that we are now inside the kubectl-ai interactive terminal (>>>), where we can continue to interact with it.
Give the following command:
how many pods are there in kube-system namespace
The output is shown below:
>>> how many pods are there in kube-system namespace
Running: kubectl get pods -n kube-system --output=jsonpath='{.items[*].metadata.name}'
There are 18 pods in the kube-system namespace.
Single Shot Command
The previous section demonstrated how you could launch kubectl-ai and stay in the interactive terminal to give subsequent commands. This is not suitable for commands where you would like to execute in an autonomous fashion and without an interactive prompt waiting for the next command from you.
Enter the single shot command method with the --quiet parameter.
Here is a sample command to create a deployment.
kubectl-ai --quiet "create a deployment named nginx with 2 replicas" --skip-permissions
This will result in the create deployment command being executed as shown below:
Running: kubectl create deployment nginx --image=nginx --replicas=2
I have created a deployment named nginx with 2 replicas. You can verify this by running kubectl get deployments .
In this way we were able to set up the kubectl-ai to interact with our current GKE cluster.
We have just run a few commands and demonstrated a mode of working with kubectl-ai. You can pipe the output to other tools, understand errors, persistence between different session runs of kubectl-ai and more. Do refer to the Usage section of the tool documentation.
6. (Optional) kubectl-ai Chat interface
In certain situations, you might prefer working with kubectl-ai via a standard Chat interface. Kubectl-ai comes with its own UI interface that you can launch via the command shown below in Cloud Shell:
kubectl-ai --llm-provider=gemini \ --ui-type=web \ --ui-listen-address=0.0.0.0:8080
This will launch the utility in an interface chat interface and you should see an output similar to the following:
listening on http://[::]:8080
Click on Web Preview in Cloud Shell as shown below:
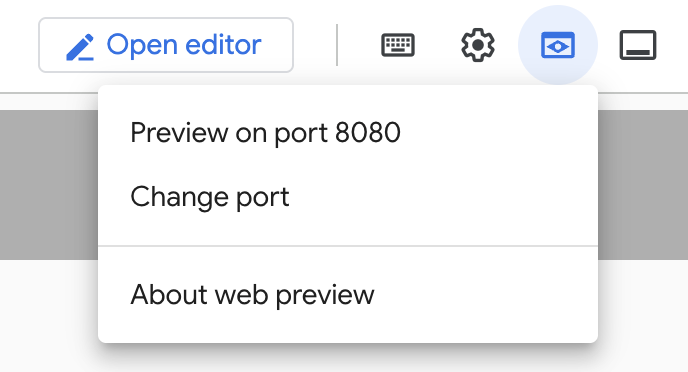
Then click on Preview on port 8080. This will launch a browser and make available the web chat interface as shown below:
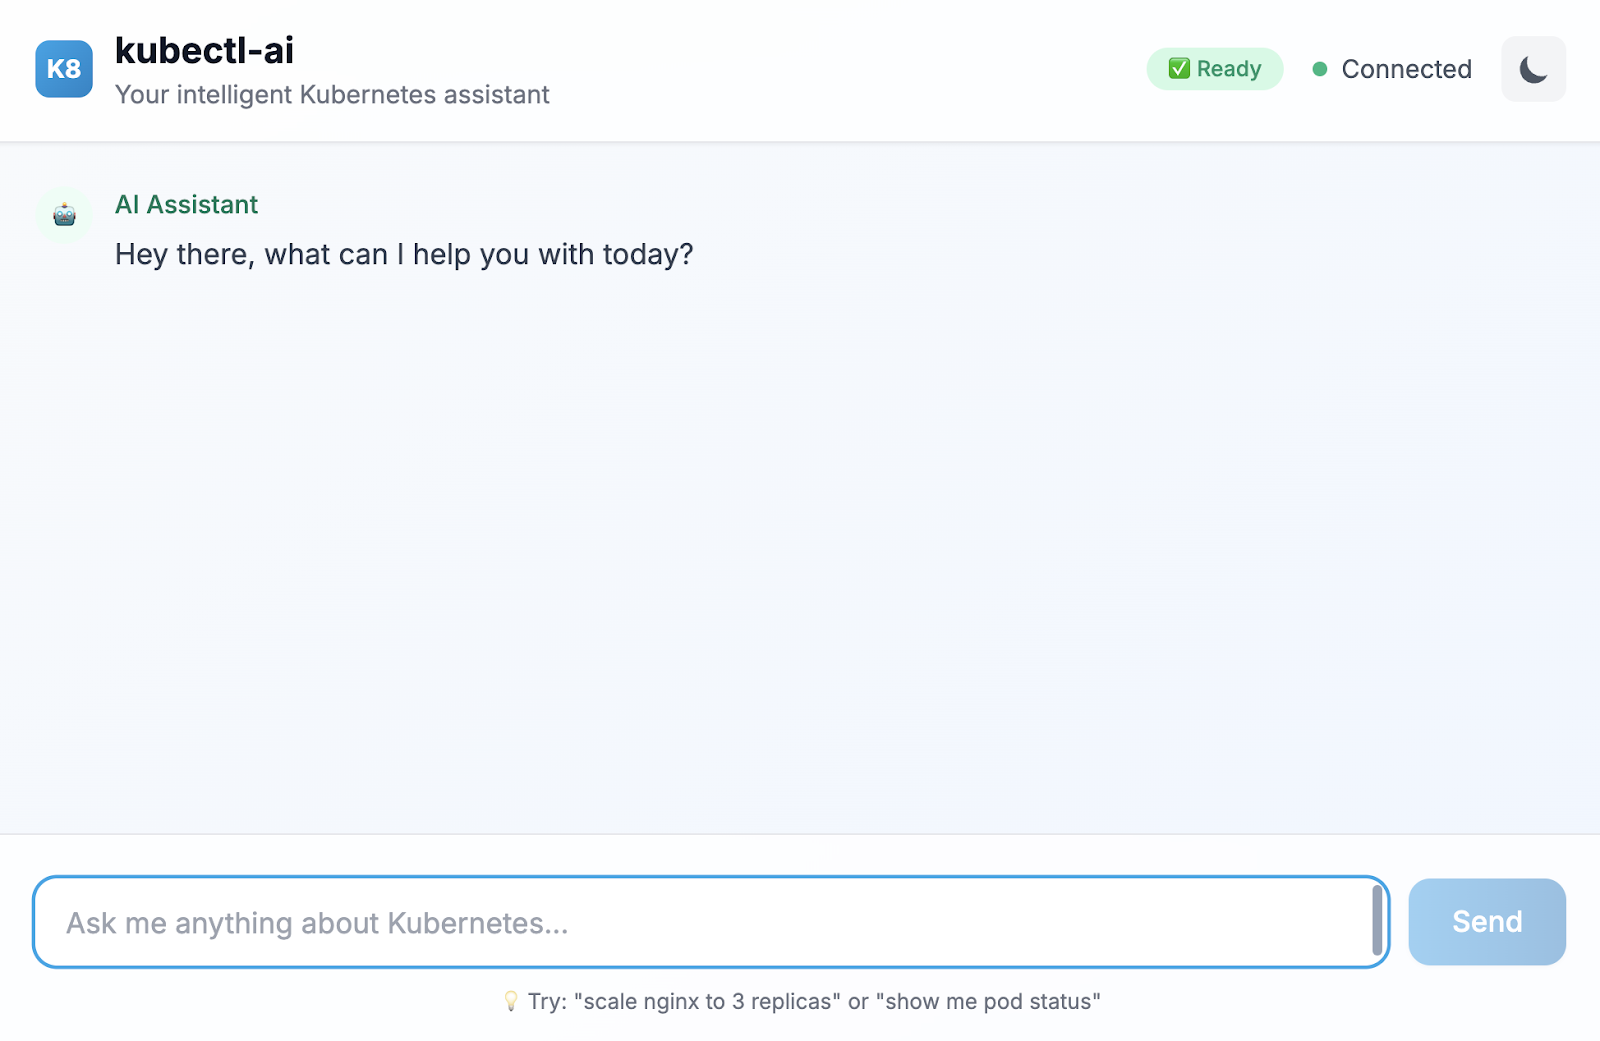
Here is a sample query that we executed in the chat interface:
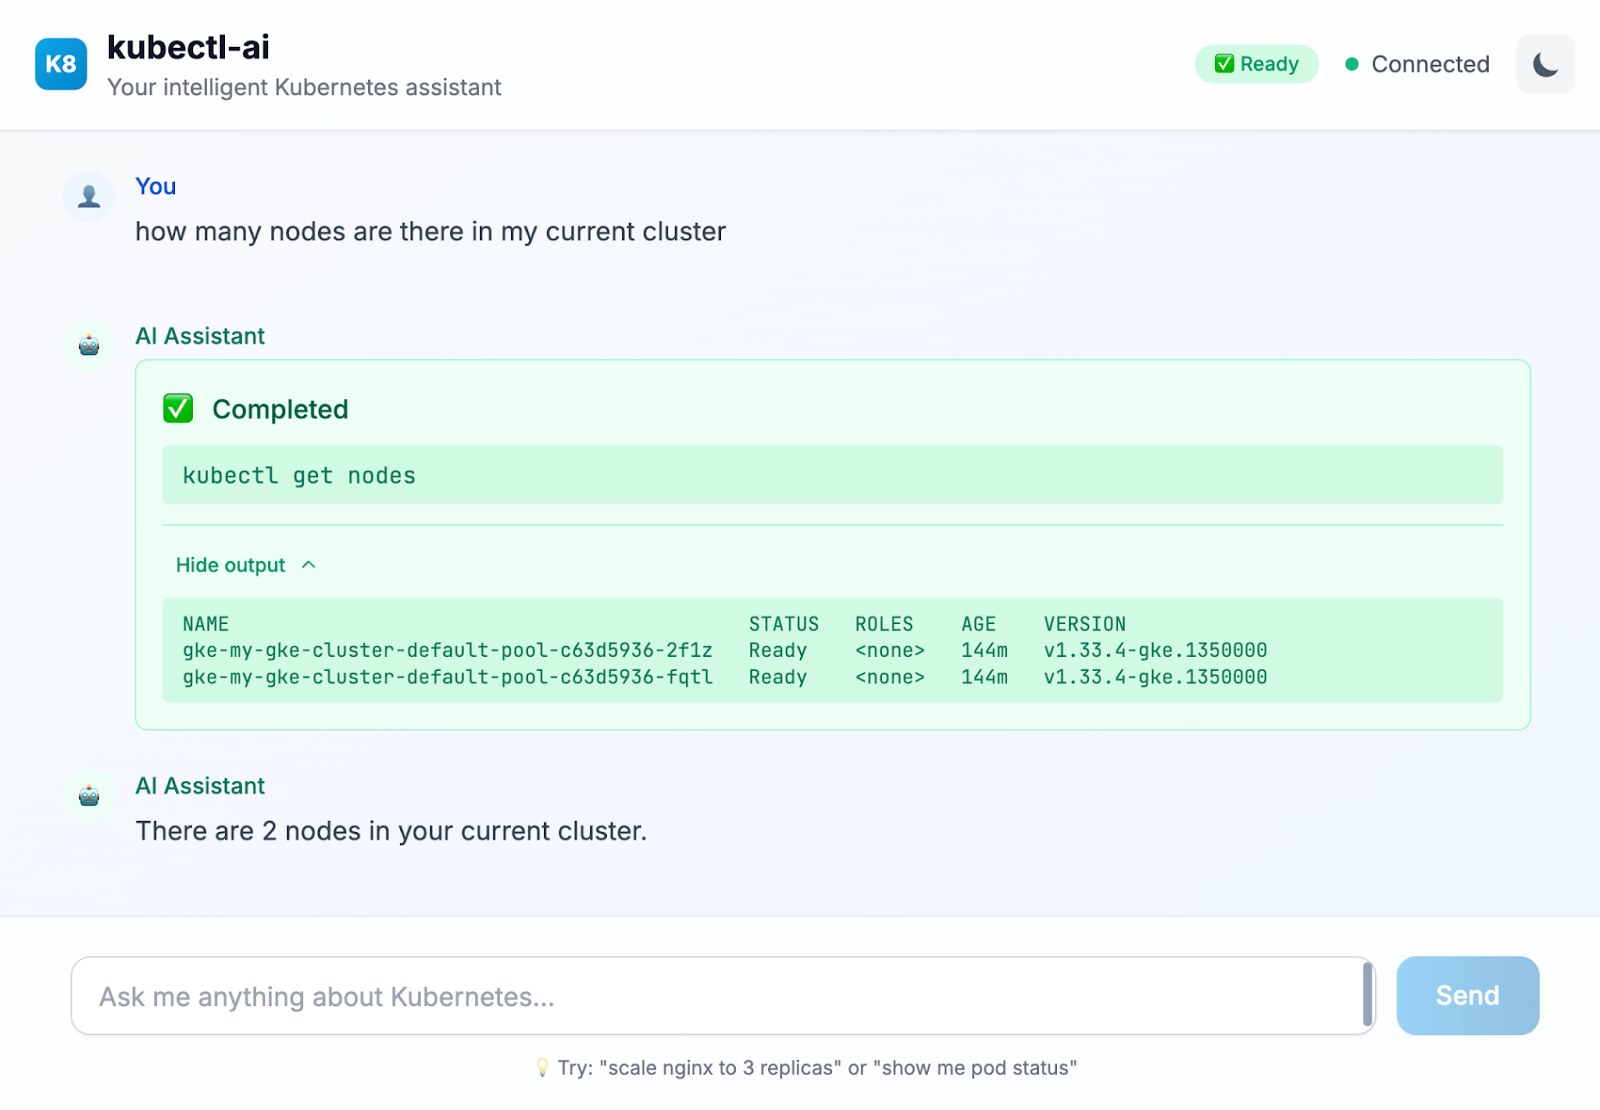
Try out other queries in this interface. It also provides hints in terms of what other natural language queries you could run.
7. Clean up
To avoid ongoing charges to your Google Cloud account, it's important to delete the resources we created during this workshop.
If you do not need the GKE cluster that we created in the earlier section of this lab, you can delete it via the following command:
gcloud container clusters delete my-gke-cluster --zone=us-central1-a
8. Congratulations
Congratulations, you've successfully used kubectl-ai, an AI powered Kubernetes assistant to manage your Kubernetes cluster via natural language queries. For more information, do refer to the resources listed in the next section.