
1. Introduction
Gemini Enterprise is a comprehensive platform designed to help you build, deploy, and manage AI agents. It serves as your central hub for creating intelligent agents that can automate tasks, provide insights, and interact with users across various applications.
Gemini Enterprise simplifies the agent development process by offering tools like the Agent Designer, allowing you to create powerful agents with little to no coding. It also provides capabilities for registering and sharing these agents within your organization.
What you'll learn
- How to configure a Gemini Enterprise tenant.
- How to create a no-code agent using Gemini Enterprise's Agent Designer.
- How agents are registered and shared from Gemini Enterprise
2. Get started
First you will create a project and assign billing.
Project Setup
Create a Google Cloud Project
- In the Google Cloud Console, on the project selector page, select or create a Google Cloud project.
- Make sure that billing is enabled for your Cloud project. Learn how to check if billing is enabled on a project.
Start Cloud Shell
Cloud Shell is a command-line environment running in Google Cloud that comes preloaded with necessary tools.
- Click Activate Cloud Shell at the top of the Google Cloud console.
- Once connected to Cloud Shell, verify your authentication:
gcloud auth list - Confirm your project is configured:
gcloud config get project - If your project is not set as expected, set it:
export PROJECT_ID=<YOUR_PROJECT_ID>
gcloud config set project $PROJECT_ID
3. Enable APIs
Enable the following APIs for Gemini Enterprise and Agent Registry:
In the terminal, enable the APIs:
```bash
gcloud services enable \
  discoveryengine.googleapis.com \
  agentregistry.googleapis.com \
  iap.googleapis.com \
  cloudapiregistry.googleapis.com \
  aiplatform.googleapis.com \
  iam.googleapis.com
```
<br>
When the command finishes, you should see an output like the following:
<br>

```console
Operation "operations/acf.p2-176675280136-b03ab5e4-3483-4ebf-9655-43dc3b345c63" finished successfully.
```
4. Set up Gemini Enterprise
You will configure your trial subscription (if needed) and your Gemini Enterprise tenant.
Create your trial subscription
Users can try Gemini Enterprise for 30 days with an active billing account.
- Navigate to the Gemini Enterprise console.
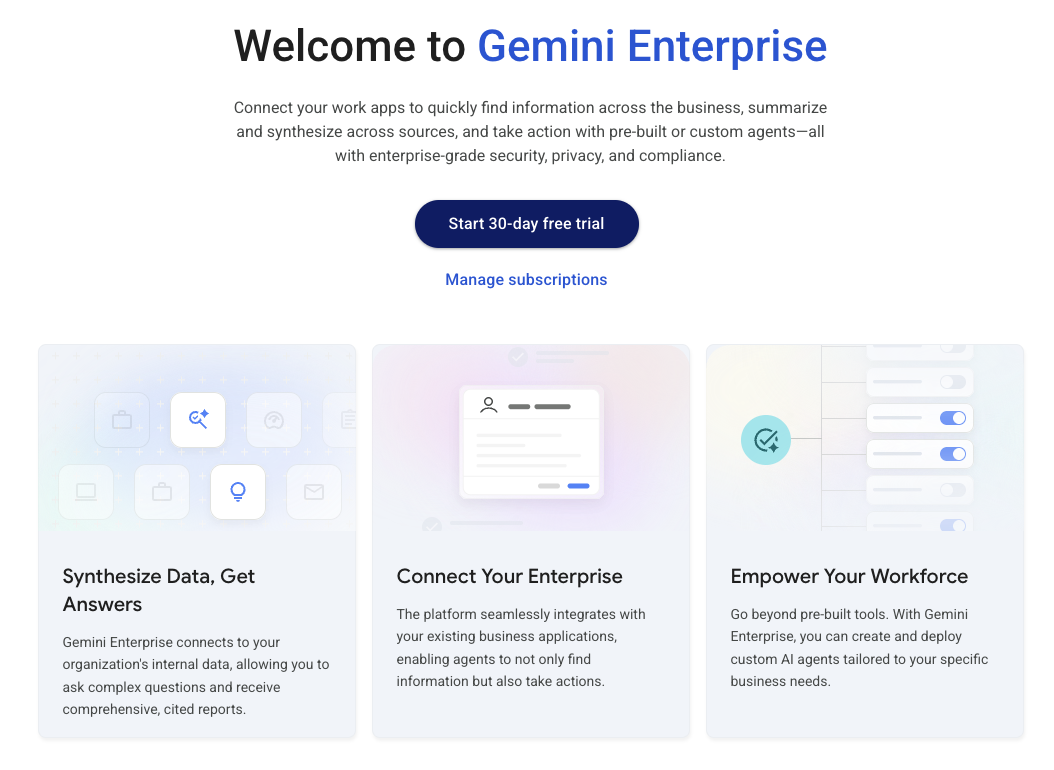
- Click the Start 30 day trial button.
- Enable any additional API's if needed.
Create your tenant Application
Gemini Enterprise lets you create tenant applications in a variety of regions depending on your business and data requirements.
- Go to the Gemini Enterprise page.
- Click the Create app button at the top.
- Name your application, and pick the region. The
globalregion is the default region.
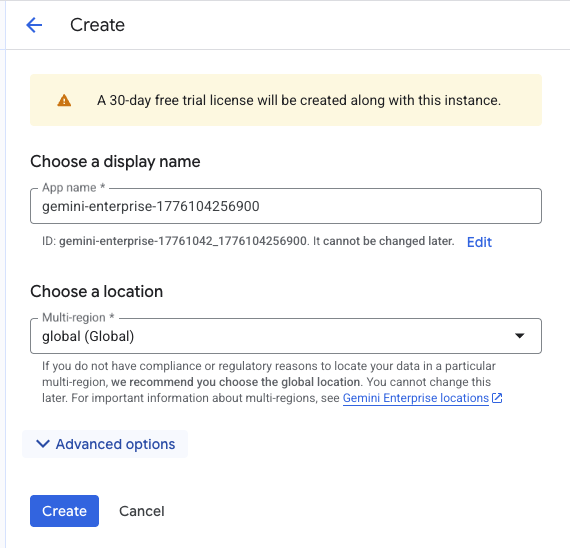
- Click Create.
Your Gemini Enterprise tenant application is created.
5. Configure the Gemini Enterprise App
You will configure your Gemini Enterprise application so you can create agents in the application and use Google Identity to log into the Application.
Configure identity
- Click the Gemini Enterprise home page.
- In the left menu, click Settings.
- Go to the Authentication tab.
- Click the pencil next to the
globalregion. - Select Google Identity as the identity provider.
- Click Save.
Configure settings
You will enable the Agent Designer and sharing options.
- Click the Apps link in the left menu.
- Click the application name. If you use a default config, it will look something like
gemini-enterprise-1234567890123. - Click Configurations in the left menu.
- Click the Feature Management tab.
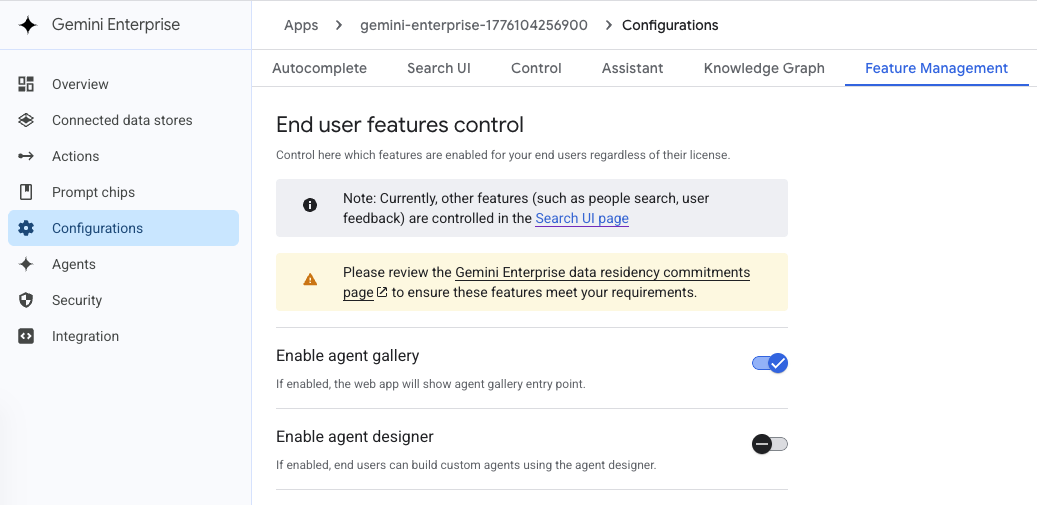
- Enable the following:
- Enable agent Designer
- Enable session sharing
- Enable agent sharing
- Optionally, enable Gemini 3 flash or Gemini 3.1pro models.
- Click the Observability tab.
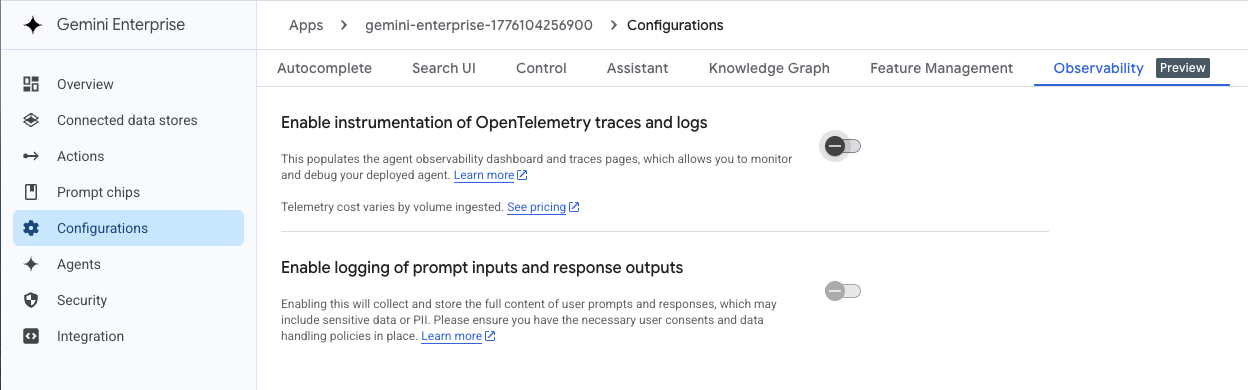
- Enable the following:
- Enable instrumentation of OpenTelemetry traces and logs
- Enable logging of prompt inputs and response outputs (if available)
- Click Save.
6. Create an agent
You will open the Gemini Enterprise tenant application and create a new, no-code agent.
Create the initial agent
- Click the Overview button in the left menu.
- Click the URL for the Gemini Enterprise webapp. The application will open in a new window.
- In the application, click New agent in the left menu.
- Using the prompt box, input a prompt like the following. The
Create an agentcomponent ensures that Gemini knows to create an agent from the prompt.
Create an agent named the Supply Chain Agent that is an expert at supply chain
processes including planning materials, ordering supplies, and logistics for
a marathon race or event. Include any subtasks and research tasks needed.
- Click the Submit paper airplane.
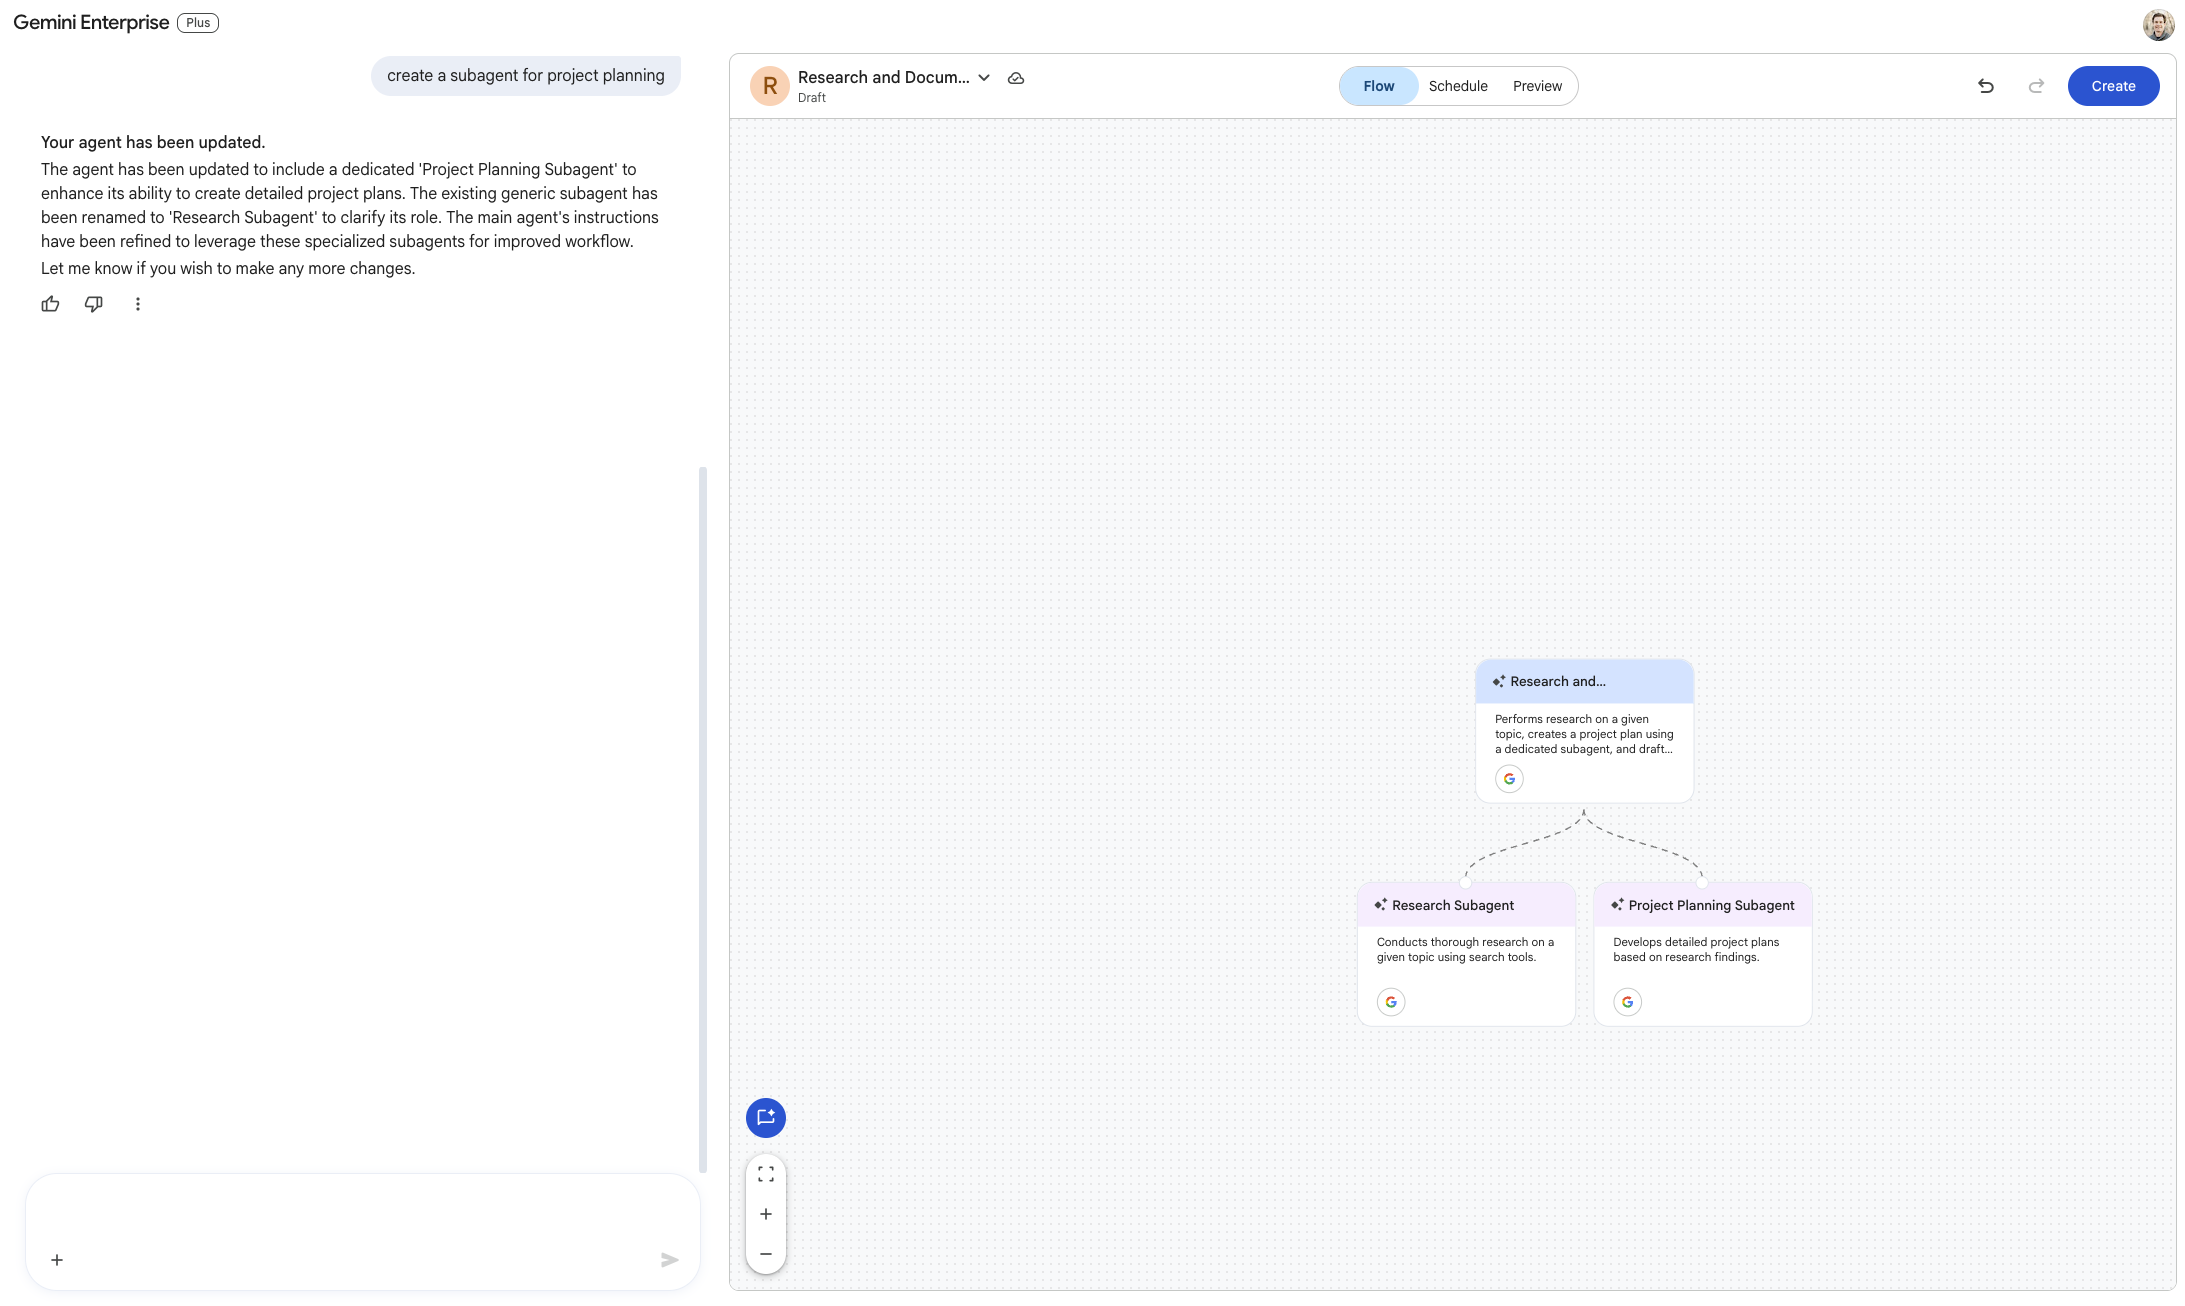
Modify the agent
Agents can be modified manually in the Flow view, or by using prompts.
- In the prompt pane, ask Gemini to create subagents by prompting
add sub-agents as needed. - You may need to provide an additiona affirmation to create sub-agents.
- The Flow view will update.
- Click Create in the upper right to save the agent.
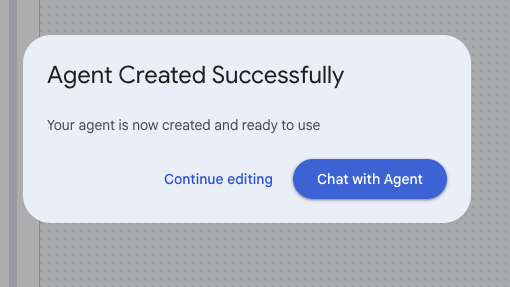
A modal will appear that the agent is created successfully.
7. Test the agent
We will test the response from the agent.
- Click the Chat with Agent button from the Agent Created Successfully modal. If you closed the modal, click Agents in the left menu, then click your newly created agent.
- Give the agent a prompt such as
plan the supplies needed for a 10,000 runner race in Las Vegas in April. - You will get a response back from the agent. You can ask follow up questions.
8. Share the agent
Agents that are created in Gemini Enterprise are automatically registered in Agent Registry.
Share agents in Gemini Enterprise
You can share agents within Gemini Enterprise, and from Agent Registry.
- To share the agent in Gemini Enterprise, click Agents in the left menu.
- Click the 3 ellipsis on the card representing your agent.
- Add any user names, and click Done.
View agents in Agent Registry
- Go to the Agent Registry page.
- In the Runtime filter, click the filter, then select Gemini Enterprise.
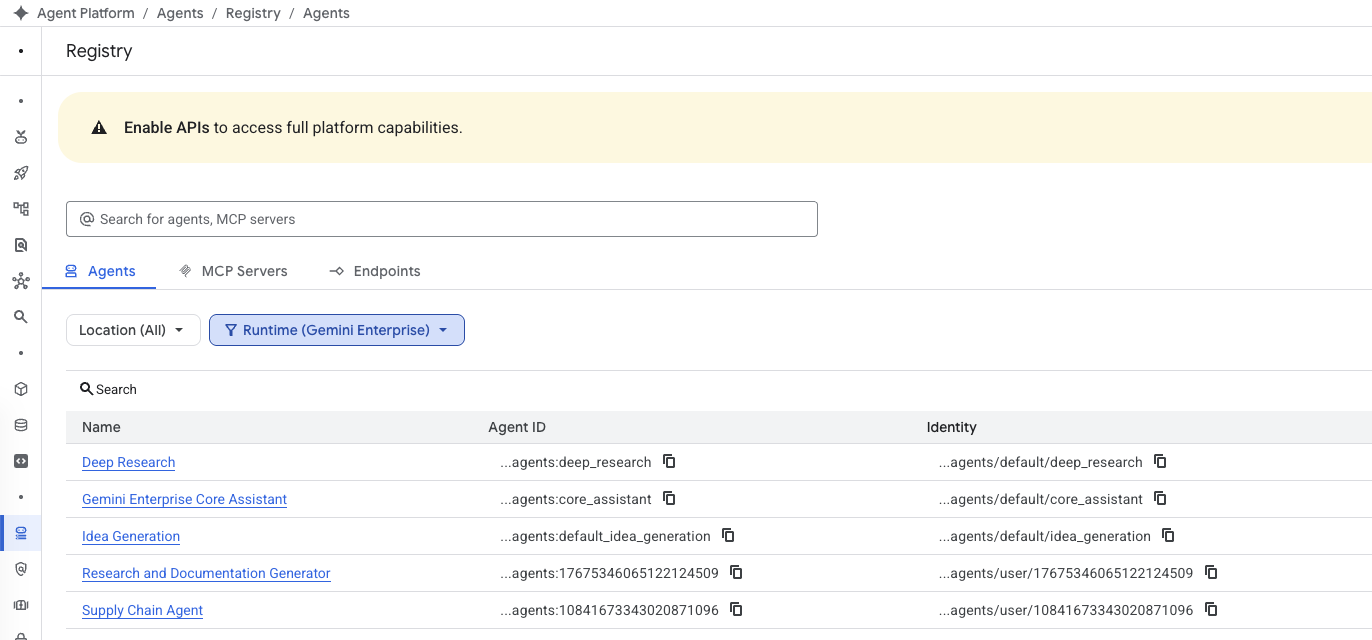
- The agent you created will be displayed.
- Click the agent's name.
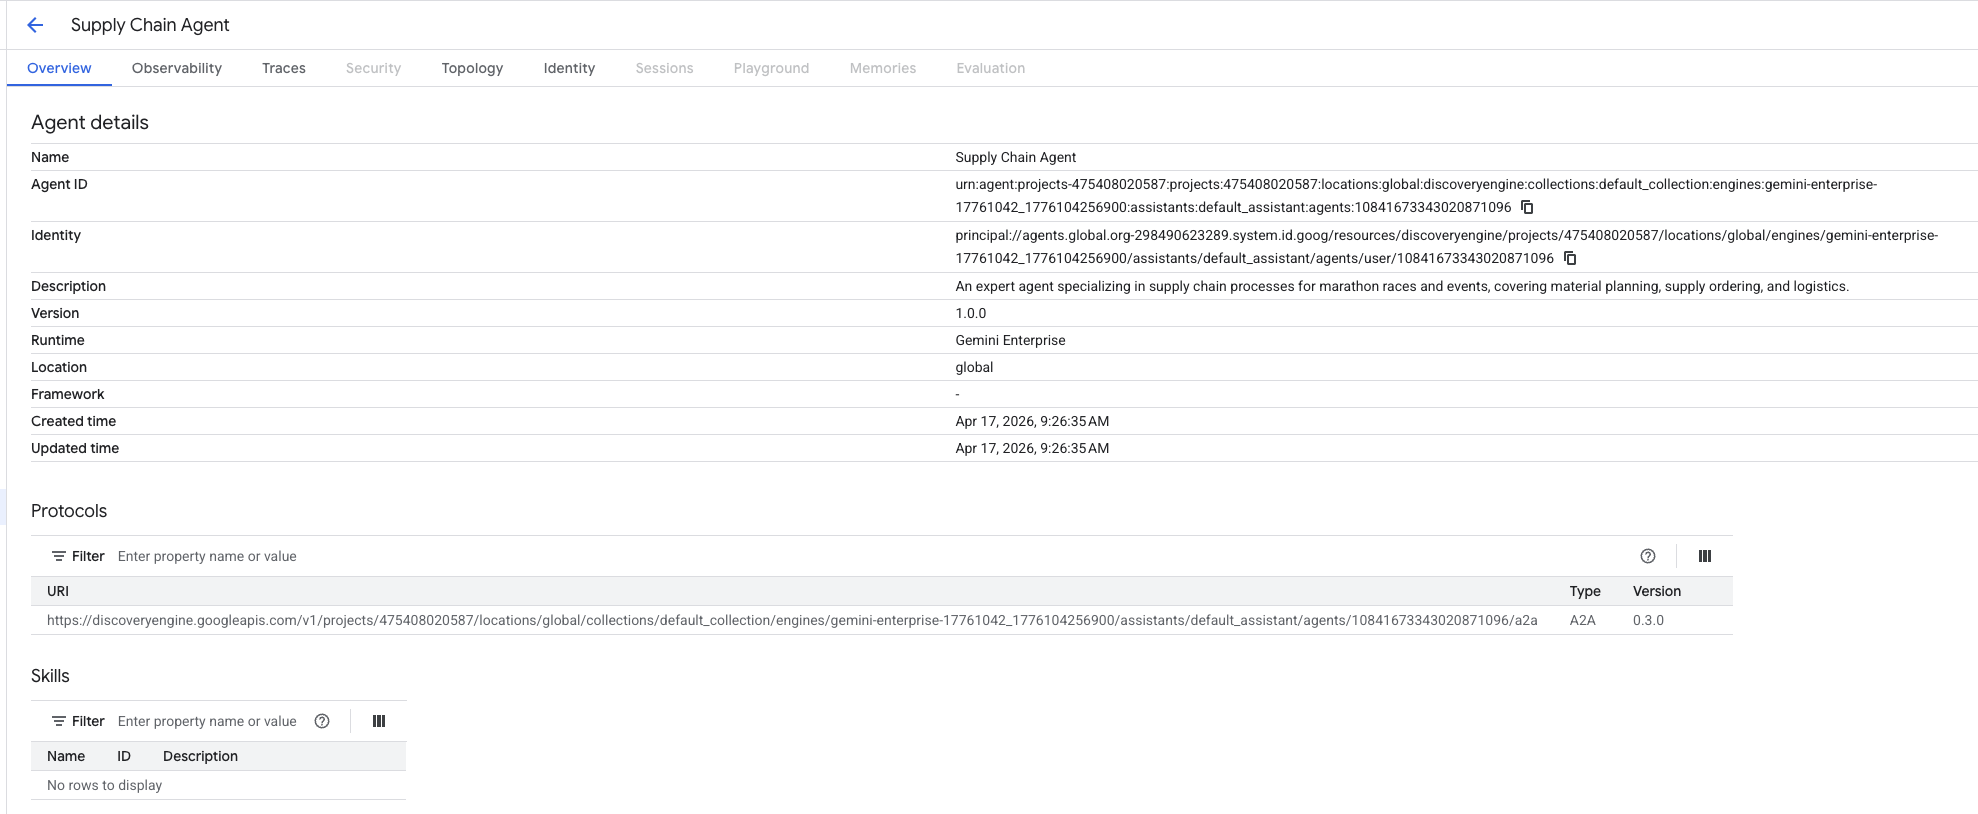
- You can view information about the agent including the agent's identity. The identity can be granted additional or conditional access as needed.
9. Congratulations
Congratulations! You have successfully completed this introduction to creating and sharing no-code agents with Gemini Enterprise.
What's next?
- Learn more about Gemini Enterprise.
- Explore the Gemini Enterprise documentation.
- Discover more about building agents in Gemini Enterprise.
- Review best practices for managing and sharing agents.