
1. מבוא
Gemini Cloud Assist הוא סוכן עם כל התכונות שתומך בעומסי העבודה שלכם ב-Google Cloud. הסוכן הוא השותף שלכם בתכנון אפליקציות חדשות או בעדכון אפליקציות קיימות, בפריסה ובהרצה של עומסי עבודה ב-Google Cloud, בפתרון בעיות בעומסי עבודה ובאופטימיזציה שלהם מבחינת עלות וביצועים.
Gemini Cloud Assist משפר את היכולת שלכם להגיב לשגיאות בלתי צפויות ולזמן השבתה.
מה תלמדו
- פריסה: איך פורסים קצה עורפי ומסד נתונים בסיסיים ב-Google Cloud.
- ניפוי באגים: איך Gemini Cloud Assist מבצע אוטומציה של החקירה וניתוח שורש הבעיה של בעיות בקוד ובסביבת הענן.
- תיקון: איך Gemini Cloud Assist עוזר לזהות תיקונים על סמך שורש הבעיה.
2. הגדרת הפרויקט
חשבון Google
אם אין לכם חשבון Google אישי, אתם צריכים ליצור חשבון Google.
משתמשים בחשבון לשימוש אישי במקום בחשבון לצורכי עבודה או בחשבון בית ספרי.
כניסה למסוף Google Cloud
נכנסים למסוף Google Cloud באמצעות חשבון Google אישי.
הפעלת חיוב
הגדרה של חשבון לחיוב לשימוש אישי
אם הגדרתם חיוב באמצעות קרדיטים ל-Google Cloud, אתם יכולים לדלג על השלב הזה.
כדי להגדיר חשבון לחיוב לשימוש אישי, עוברים לכאן כדי להפעיל את החיוב ב-Cloud Console.
הערות:
- העלות של השלמת ה-Lab הזה במשאבי Cloud צריכה להיות פחות מ-1$.
- כדי להימנע מחיובים נוספים, אפשר למחוק את המשאבים בסיום ה-Lab.
- משתמשים חדשים זכאים לתקופת ניסיון בחינם בשווי 300$.
יצירת פרויקט (אופציונלי)
אם אין לכם פרויקט שאתם רוצים להשתמש בו בסדנה הזו, אתם יכולים ליצור פרויקט חדש כאן.
3. פתיחת Cloud Shell Editor
- כדי לעבור ישירות אל Cloud Shell Editor, לוחצים על הקישור הזה.
- אם תתבקשו לאשר בשלב כלשהו היום, תצטרכו ללחוץ על אישור כדי להמשיך.
- אם הטרמינל לא מופיע בתחתית המסך, פותחים אותו:
- לוחצים על הצגה.
- לוחצים על Terminal (מסוף)
 .
.
- בטרמינל, מגדירים את הפרויקט באמצעות הפקודה הבאה:
gcloud config set project [PROJECT_ID]- דוגמה:
gcloud config set project lab-project-id-example - אם אתם לא זוכרים את מזהה הפרויקט, אתם יכולים להציג רשימה של כל מזהי הפרויקטים באמצעות הפקודה:
gcloud projects list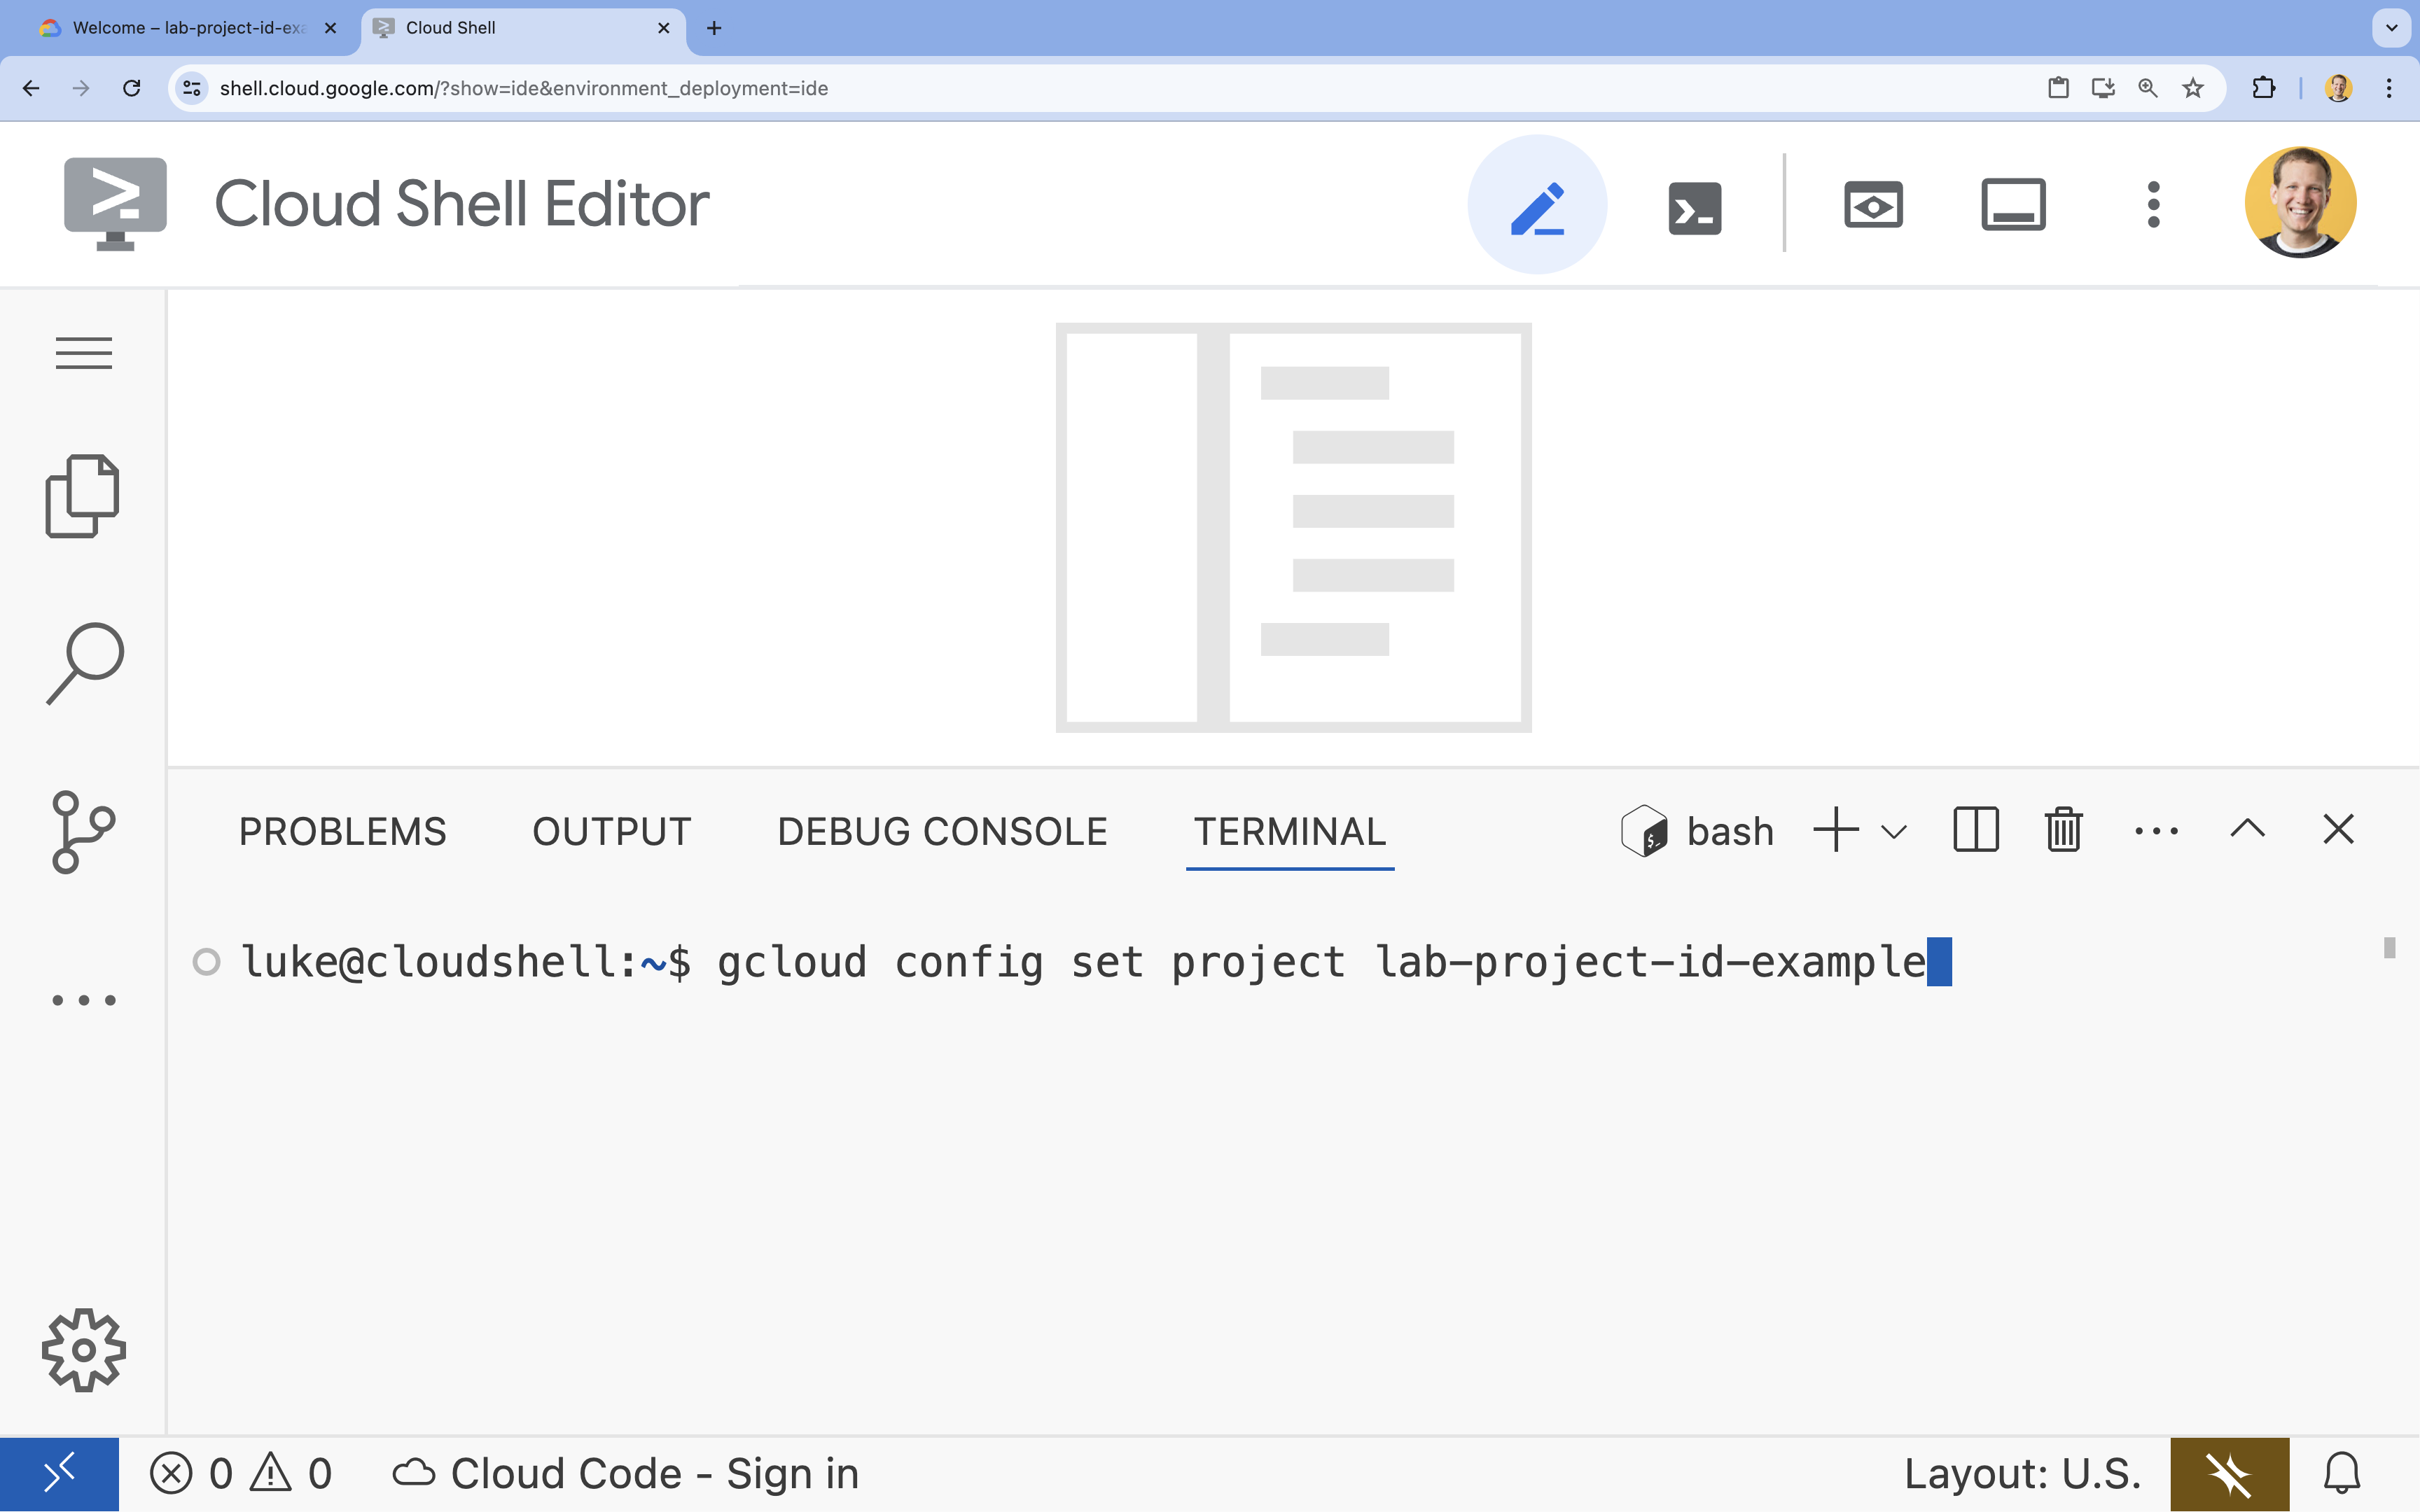
- דוגמה:
- תוצג ההודעה הבאה:
Updated property [core/project].
4. הפעלת ממשקי ה-API
כדי לפרוס את רכיבי האפליקציה ולהשתמש ב-Google Cloud Assist, צריך להפעיל את ממשקי ה-API הבאים:
בטרמינל, מפעילים את ממשקי ה-API:
```bash
gcloud services enable \
  container.googleapis.com \
  artifactregistry.googleapis.com \
  cloudbuild.googleapis.com \
  alloydb.googleapis.com \
  run.googleapis.com
```
<br>
When the command finishes, you should see an output like the following:
<br>

```console
Operation "operations/acf.p2-176675280136-b03ab5e4-3483-4ebf-9655-43dc3b345c63" finished successfully.
```
5. הכנת הפרויקט
תצרו את האפליקציה הבסיסית ואת הפריסה כדי לבדוק את Cloud Assist.
יצירת הספרייה
- פותחים את Cloud Shell Editor או את סביבת הפיתוח הרצויה.
- כדי ליצור תיקייה חדשה:
mkdir -p ~/gemini-cloud-assist-debug mkdir -p ~/gemini-cloud-assist-debug/auth_issue_demo mkdir -p ~/gemini-cloud-assist-debug/terraform cd ~/gemini-cloud-assist-debug - בטרמינל, מריצים את הפקודה הבאה כדי לפתוח סביבת עבודה ב-Cloud Shell Editor:
cloudshell open-workspace ~/gemini-cloud-assist-debug
יצירת הקבצים
עכשיו יוצרים את קובצי ההתחלה הנדרשים לאפליקציה.
- כדי ליצור את קובץ ה-Dockerfile, מריצים את הפקודה הבאה בטרמינל. הקובץ הזה מטפל ביצירה של קונטיינר האפליקציה.
cat <<EOF > ~/gemini-cloud-assist-debug/auth_issue_demo/Dockerfile
FROM python:3.11-slim

WORKDIR /app

COPY requirements.txt .
RUN pip install --no-cache-dir -r requirements.txt

COPY main.py .

CMD ["gunicorn", "--bind", "0.0.0.0:8080", "main:app"]
EOF
- כדי ליצור את הקובץ
main.py, מריצים את הפקודה הבאה בטרמינל. הקובץ הזה מכיל את האפליקציה שנכתבה ב-Python.
cat <<EOF > ~/gemini-cloud-assist-debug/auth_issue_demo/main.py
import os
import logging
from flask import Flask
from google.cloud.alloydb.connector import Connector
import sqlalchemy

app = Flask(__name__)

# Configure logging
logging.basicConfig(level=logging.INFO)
logger = logging.getLogger(__name__)

# Configuration from Environment Variables
# The fully qualified instance URI: projects/<PROJECT>/locations/<REGION>/clusters/<CLUSTER>/instances/<INSTANCE>
ALLOYDB_URI = os.environ.get("ALLOYDB_URI")
DB_USER = os.environ.get("DB_USER", "auth-debug")
DB_PASS = os.environ.get("DB_PASS", "debug-auth")
DB_NAME = os.environ.get("DB_NAME", "postgres")
USE_PUBLIC_IP = os.environ.get("USE_PUBLIC_IP", "false").lower() == "true"

# Initialize Connector lazily
_connector = None

def get_connector():
    global _connector
    if _connector is None:
        _connector = Connector()
    return _connector

def getconn():
    connector = get_connector()
    ip_type = "PUBLIC" if USE_PUBLIC_IP else "PRIVATE"

    conn = connector.connect(
        ALLOYDB_URI,
        "pg8000",
        user=DB_USER,
        password=DB_PASS,
        db=DB_NAME,
        ip_type=ip_type
    )
    return conn

@app.route("/")
def index():
    return "AlloyDB Auth Demo. /connect to test.", 200

@app.route("/connect")
def connect_db():
    if not ALLOYDB_URI:
        return "FAILURE: ALLOYDB_URI env var is not set.", 500

    try:
        logger.info(f"Attempting connection to {ALLOYDB_URI} with user {DB_USER}...")

        # Create connection pool
        pool = sqlalchemy.create_engine(
            "postgresql+pg8000://",
            creator=getconn,
        )

        with pool.connect() as db_conn:
            # Simple query to validate connection
            result = db_conn.execute(sqlalchemy.text("SELECT NOW()")).fetchone()
            timestamp = result[0]

        msg = f"SUCCESS: Connected to AlloyDB! DB Time: {timestamp}"
        logger.info(msg)
        return msg, 200

    except Exception as e:
        logger.exception("Connection failed")
        # Return the error to the caller to visualize the auth failure
        return f"FAILURE: Connection Error.\nDetails: {str(e)}", 500

if __name__ == "__main__":
    app.run(host="0.0.0.0", port=int(os.environ.get("PORT", 8080)))
EOF
- כדי ליצור את הקובץ
requirements.txt, מריצים את הפקודה הבאה בטרמינל. הקובץ הזה מטפל בדרישות של חבילות Python.
cat <<EOF > ~/gemini-cloud-assist-debug/auth_issue_demo/requirements.txt
flask==3.1.3
gunicorn==25.3.0
google-cloud-alloydb-connector[pg8000]==1.12.1
sqlalchemy==2.0.49
EOF
- כדי ליצור את הקובץ
main.tf, מריצים את הפקודה הבאה בטרמינל. הקובץ הזה מטפל במשאבים של Google Cloud שצריך ליצור.
cat <<EOF > ~/gemini-cloud-assist-debug/terraform/main.tf
provider "google" {
  project = var.project_id
  region  = var.region
}

# Enable APIs
locals {
  apis = [
    "alloydb.googleapis.com",
    "run.googleapis.com",
    "artifactregistry.googleapis.com",
    "compute.googleapis.com",
    "geminicloudassist.googleapis.com",
    "monitoring.googleapis.com",
    "cloudasset.googleapis.com",
    "cloudbuild.googleapis.com",
    "recommender.googleapis.com",
    "appoptimize.googleapis.com"
  ]
}

resource "random_password" "db_pass" {
  count            = var.db_password == null ? 1 : 0
  length           = 16
  special          = true
  override_special = "!#$%&*()-_=+[]{}<>:?"
}

locals {
  db_password = var.db_password != null ? var.db_password : random_password.db_pass[0].result
}

resource "google_project_service" "apis" {
  for_each           = toset(local.apis)
  service            = each.value
  disable_on_destroy = false
}

# Service Account
resource "google_service_account" "auth_demo_sa" {
  account_id   = var.service_account_name
  display_name = "Auth Demo SA"
}

# AlloyDB Cluster
resource "google_alloydb_cluster" "rma_cluster" {
  cluster_id = var.cluster_id
  location   = var.region

  # Initial password, managed via variable or generated randomly
  initial_user {
    password = local.db_password
  }

  # Use default network as in the manual setup
  network_config {
    network = "projects/${var.project_id}/global/networks/default"
  }

  depends_on = [google_project_service.apis["alloydb.googleapis.com"]]
}

# AlloyDB Instance
resource "google_alloydb_instance" "rma_instance_1" {
  cluster       = google_alloydb_cluster.rma_cluster.name
  instance_id   = var.instance_id
  instance_type = "PRIMARY"

  machine_config {
    cpu_count = 2
  }

  network_config {
    enable_public_ip = true
  }

  depends_on = [google_alloydb_cluster.rma_cluster]
}

# Cloud Run Service
resource "google_cloud_run_service" "auth_issue_demo" {
  name     = var.cloud_run_service_name
  location = var.region

  template {
    spec {
      containers {
        image = var.cloud_run_image
        env {
          name  = "ALLOYDB_URI"
          value = "projects/${var.project_id}/locations/${var.region}/clusters/${var.cluster_id}/instances/${var.instance_id}"
        }
        env {
          name  = "DB_USER"
          value = "postgres"
        }
        env {
          name  = "DB_PASS"
          value = local.db_password
        }
        env {
          name  = "USE_PUBLIC_IP"
          value = "true"
        }
      }
      service_account_name = google_service_account.auth_demo_sa.email
    }
  }

  traffic {
    percent         = 100
    latest_revision = true
  }

  depends_on = [google_project_service.apis["run.googleapis.com"], google_alloydb_instance.rma_instance_1]
}

# Allow unauthenticated access to Cloud Run service (matching --allow-unauthenticated)
resource "google_cloud_run_service_iam_member" "public_access" {
  location = google_cloud_run_service.auth_issue_demo.location
  project  = google_cloud_run_service.auth_issue_demo.project
  service  = google_cloud_run_service.auth_issue_demo.name
  role     = "roles/run.invoker"
  member   = "allUsers"
}
EOF
- כדי ליצור את הקובץ
variables.tf, מריצים את הפקודה הבאה בטרמינל. הקובץ הזה מטפל במשתנים של Terraform למשאבים של Google Cloud.
cat <<EOF > ~/gemini-cloud-assist-debug/terraform/variables.tf
variable "project_id" {
  description = "The ID of the Google Cloud project."
  type        = string
}

variable "region" {
  description = "The region to deploy resources in."
  type        = string
  default     = "us-central1"
}

variable "cluster_id" {
  description = "The ID of the AlloyDB cluster."
  type        = string
  default     = "rma-cluster"
}

variable "instance_id" {
  description = "The ID of the AlloyDB instance."
  type        = string
  default     = "rma-instance-1"
}

variable "service_account_name" {
  description = "The name of the service account."
  type        = string
  default     = "auth-demo-sa"
}

variable "cloud_run_service_name" {
  description = "The name of the Cloud Run service."
  type        = string
  default     = "auth-issue-demo"
}

variable "cloud_run_image" {
  description = "The container image for the Cloud Run service."
  type        = string
}

variable "db_password" {
  description = "The database password. If not provided, a random one will be generated."
  type        = string
  sensitive   = true
  default     = null
}
EOF
- כדי ליצור את הקובץ
setup_via_tf.sh, מריצים את הפקודה הבאה בטרמינל. הקובץ הזה מטפל בדרישות של חבילות Python.
cat <<EOF > ~/gemini-cloud-assist-debug/setup_via_tf.sh
#!/bin/bash
set -e

# Get script directory and change to project root
SCRIPT_DIR="$( cd "$( dirname "${BASH_SOURCE[0]}" )" && pwd )"
cd "$SCRIPT_DIR"

# Load configuration from .env
if [ -f .env ]; then
    set -a
    source .env
    set +a
else
    echo "ERROR: .env file not found. Please create one with PROJECT_ID."
    exit 1
fi

if [ -z "$PROJECT_ID" ]; then
    echo "ERROR: PROJECT_ID is not set in .env file."
    exit 1
fi

REGION="us-central1"
CLUSTER_ID="rma-cluster"
INSTANCE_ID="rma-instance-1"
SA_NAME="auth-demo-sa"
SERVICE_NAME="auth-issue-demo"

echo "--- Terraform Setup for Auth Demo ---"
echo "Using Project: $PROJECT_ID"

# Get current Cloud Run image
echo "Fetching current Cloud Run image..."
IMAGE=$(gcloud run services describe $SERVICE_NAME --region=$REGION --project=$PROJECT_ID --format="value(spec.template.spec.containers[0].image)" 2>/dev/null || true)

if [ -z "$IMAGE" ]; then
    echo "WARNING: Could not find existing Cloud Run service image."
    echo "Using a placeholder image (gcr.io/cloudrun/hello) for initial Terraform apply."
    IMAGE="gcr.io/cloudrun/hello"
fi

echo "Found Image: $IMAGE"

cd terraform

# Initialize Terraform
echo "Initializing Terraform..."
terraform init

echo "Formatting Terraform files..."
terraform fmt

echo "Validating Terraform configuration..."
terraform validate

echo "------------------------------------------------"
echo "Applying changes..."
echo "------------------------------------------------"

terraform apply -var="project_id=$PROJECT_ID" -var="cloud_run_image=$IMAGE" -auto-approve

echo "------------------------------------------------"
echo "Building and deploying updated Cloud Run service..."
echo "------------------------------------------------"

gcloud run deploy $SERVICE_NAME \
  --source ../auth_issue_demo \
  --region $REGION \
  --project $PROJECT_ID \
  --service-account $SA_NAME@$PROJECT_ID.iam.gserviceaccount.com \
  --quiet
EOF
- מריצים את הפקודה הבאה כדי להפוך את סקריפט המעטפת לקובץ הפעלה:
chmod +x ~/gemini-cloud-assist-debug/setup_via_tf.sh
- יוצרים קובץ
.envשמכיל את מזהה הפרויקט ב-Google Cloud לצורך פריסה. מעדכנים את השדהYOUR_PROJECT_ID:
cat <<EOF > ~/gemini-cloud-assist-debug/.env
PROJECT_ID=YOUR_PROJECT_ID
USE_PUBLIC_IP=true
EOF
6. פריסת האפליקציה
קוד האפליקציה ומשאבי Google Cloud מוכנים לפריסה. התהליך יכול להימשך עד 15 דקות.
מריצים את הפקודה הבאה מהמסוף:
cd ~/gemini-cloud-assist-debug
./setup_via_tf.sh
בזמן פריסת הרכיבים, אפשר לעיין בקבצים ב-Cloud Shell Editor כדי לקבל מידע נוסף.
7. יצירה של שגיאה וניפוי באגים
עכשיו נפעיל שגיאה מהאפליקציה. פותחים את Cloud Run בחלונית הימנית. לאחר מכן לוחצים על השירות auth-issue-demo.
- בחלק העליון של הדף פרטי השירות מופיעה כתובת URL. מעתיקים את כתובת ה-URL ופותחים כרטיסייה חדשה בדפדפן. מדביקים את כתובת ה-URL ומוסיפים לה את התו
/connect. כתובת ה-URL תיראה בערך כך:
https://auth-issue-demo-
- עוברים לכתובת ה-URL. יכול להיות שיחלפו כמה שניות עד שהמכונה של Cloud Run תופעל. תופיע שגיאה.
- חוזרים לדף פרטי השירות Cloud Run. לוחצים על Observability (יכולת צפייה) ואז על Logs (יומנים). יוצגו יומני הרישום של מאגר התגים, כולל שגיאה. אם יומן השגיאות עדיין לא זמין, מחכים כמה שניות ומרעננים את הדף באמצעות הסמל בפינה השמאלית העליונה.
- כדי לקרוא עוד, לוחצים על יומן השגיאות. לוחצים על סמל החקירה בשורה של היומן הראשי. לאחר מכן לוחצים על חקירת יומן.
חלונית הצ'אט עם Cloud Assist תיפתח. הבדיקה נמשכת 2-3 דקות.
אחרי שהבדיקה תסתיים, תוכלו לקרוא את התוצאות וההמלצות. יש המלצה להוסיף את ההרשאה המתאימה לחשבון השירות של Cloud Run כדי לגשת למופע AlloyDB.
8. תיקון השגיאה
תיקון שגיאת ההרשאה בחשבון השירות.
- נכנסים אל Cloud IAM.
- לוחצים על הלחצן Grant Access (הענקת גישה). בחלונית של חשבון המשתמש, מתחילים להקליד
auth-demoומחכים שחשבון השירות יוצג. - לאחר מכן מוסיפים את התפקיד
AlloyDB Clientלחשבון השירות ולוחצים על Save.
ההפצה של השינוי נמשכת עד דקה.
אחרי שמחכים, חוזרים ומרעננים את האפליקציה. תוצג הודעה על הצלחה ממסד הנתונים של AlloyDB.
9. מזל טוב
מעולה! סיימתם את ההקדמה ל-Cloud Investigations ואת תהליך ניפוי הבאגים בהרשאות של אפליקציה ב-Google Cloud.
מה השלב הבא?
- כדאי לעיין במדריכים ובדוגמאות נוספים שמציגים איך להשתמש ב-Gemini Cloud Assist בתרחישים שונים:
- במסמכי התיעוד של Gemini Cloud Assist יש מידע נוסף על התכונות והיכולות שלו.