
1. はじめに
Gemini Cloud Assist は、Google Cloud ワークロードをサポートするフル機能のエージェントです。エージェントは、新しいアプリケーションの設計や既存のアプリケーションの更新、Google Cloud でのワークロードのデプロイと実行、ワークロードのトラブルシューティング、費用とパフォーマンスの最適化を行うパートナーです。
Gemini Cloud Assist を使用すると、予期しないエラーやダウンタイムに対応する能力が向上します。
学習内容
- デプロイ: 基本的なバックエンドとデータベースを Google Cloud にデプロイする方法。
- デバッグ: Gemini Cloud Assist がクラウドとコードの問題の調査と根本原因分析を自動化する方法。
- 修復: Gemini Cloud Assist が根本原因に基づいて修正を特定する仕組み。
2. プロジェクトの設定
Google アカウント
個人の Google アカウントをお持ちでない場合は、Google アカウントを作成する必要があります。
仕事用または学校用アカウントではなく、個人アカウントを使用します。
Google Cloud コンソールにログインする
個人の Google アカウントを使用して Google Cloud コンソールにログインします。
課金を有効にする
個人用の請求先アカウントを設定する
Google Cloud クレジットを使用して課金を設定した場合は、この手順をスキップできます。
個人用の請求先アカウントを設定するには、Cloud コンソールでこちらに移動して課金を有効にします。
注意事項:
- このラボを完了するのにかかる Cloud リソースの費用は 1 米ドル未満です。
- このラボの最後の手順に沿ってリソースを削除すると、それ以上の料金は発生しません。
- 新規ユーザーは、300 米ドル分の無料トライアルをご利用いただけます。
プロジェクトの作成(省略可)
このラボで使用する現在のプロジェクトがない場合は、こちらで新しいプロジェクトを作成します。
3. Cloud Shell エディタを開く
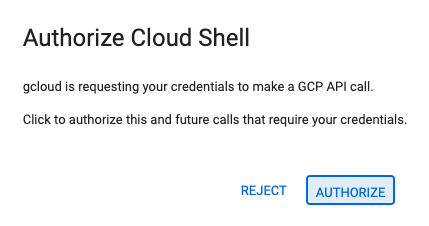
- このリンクをクリックすると、Cloud Shell エディタに直接移動します。
- 本日、承認を求めるメッセージがどこかの時点で表示された場合は、[承認] をクリックして続行します。
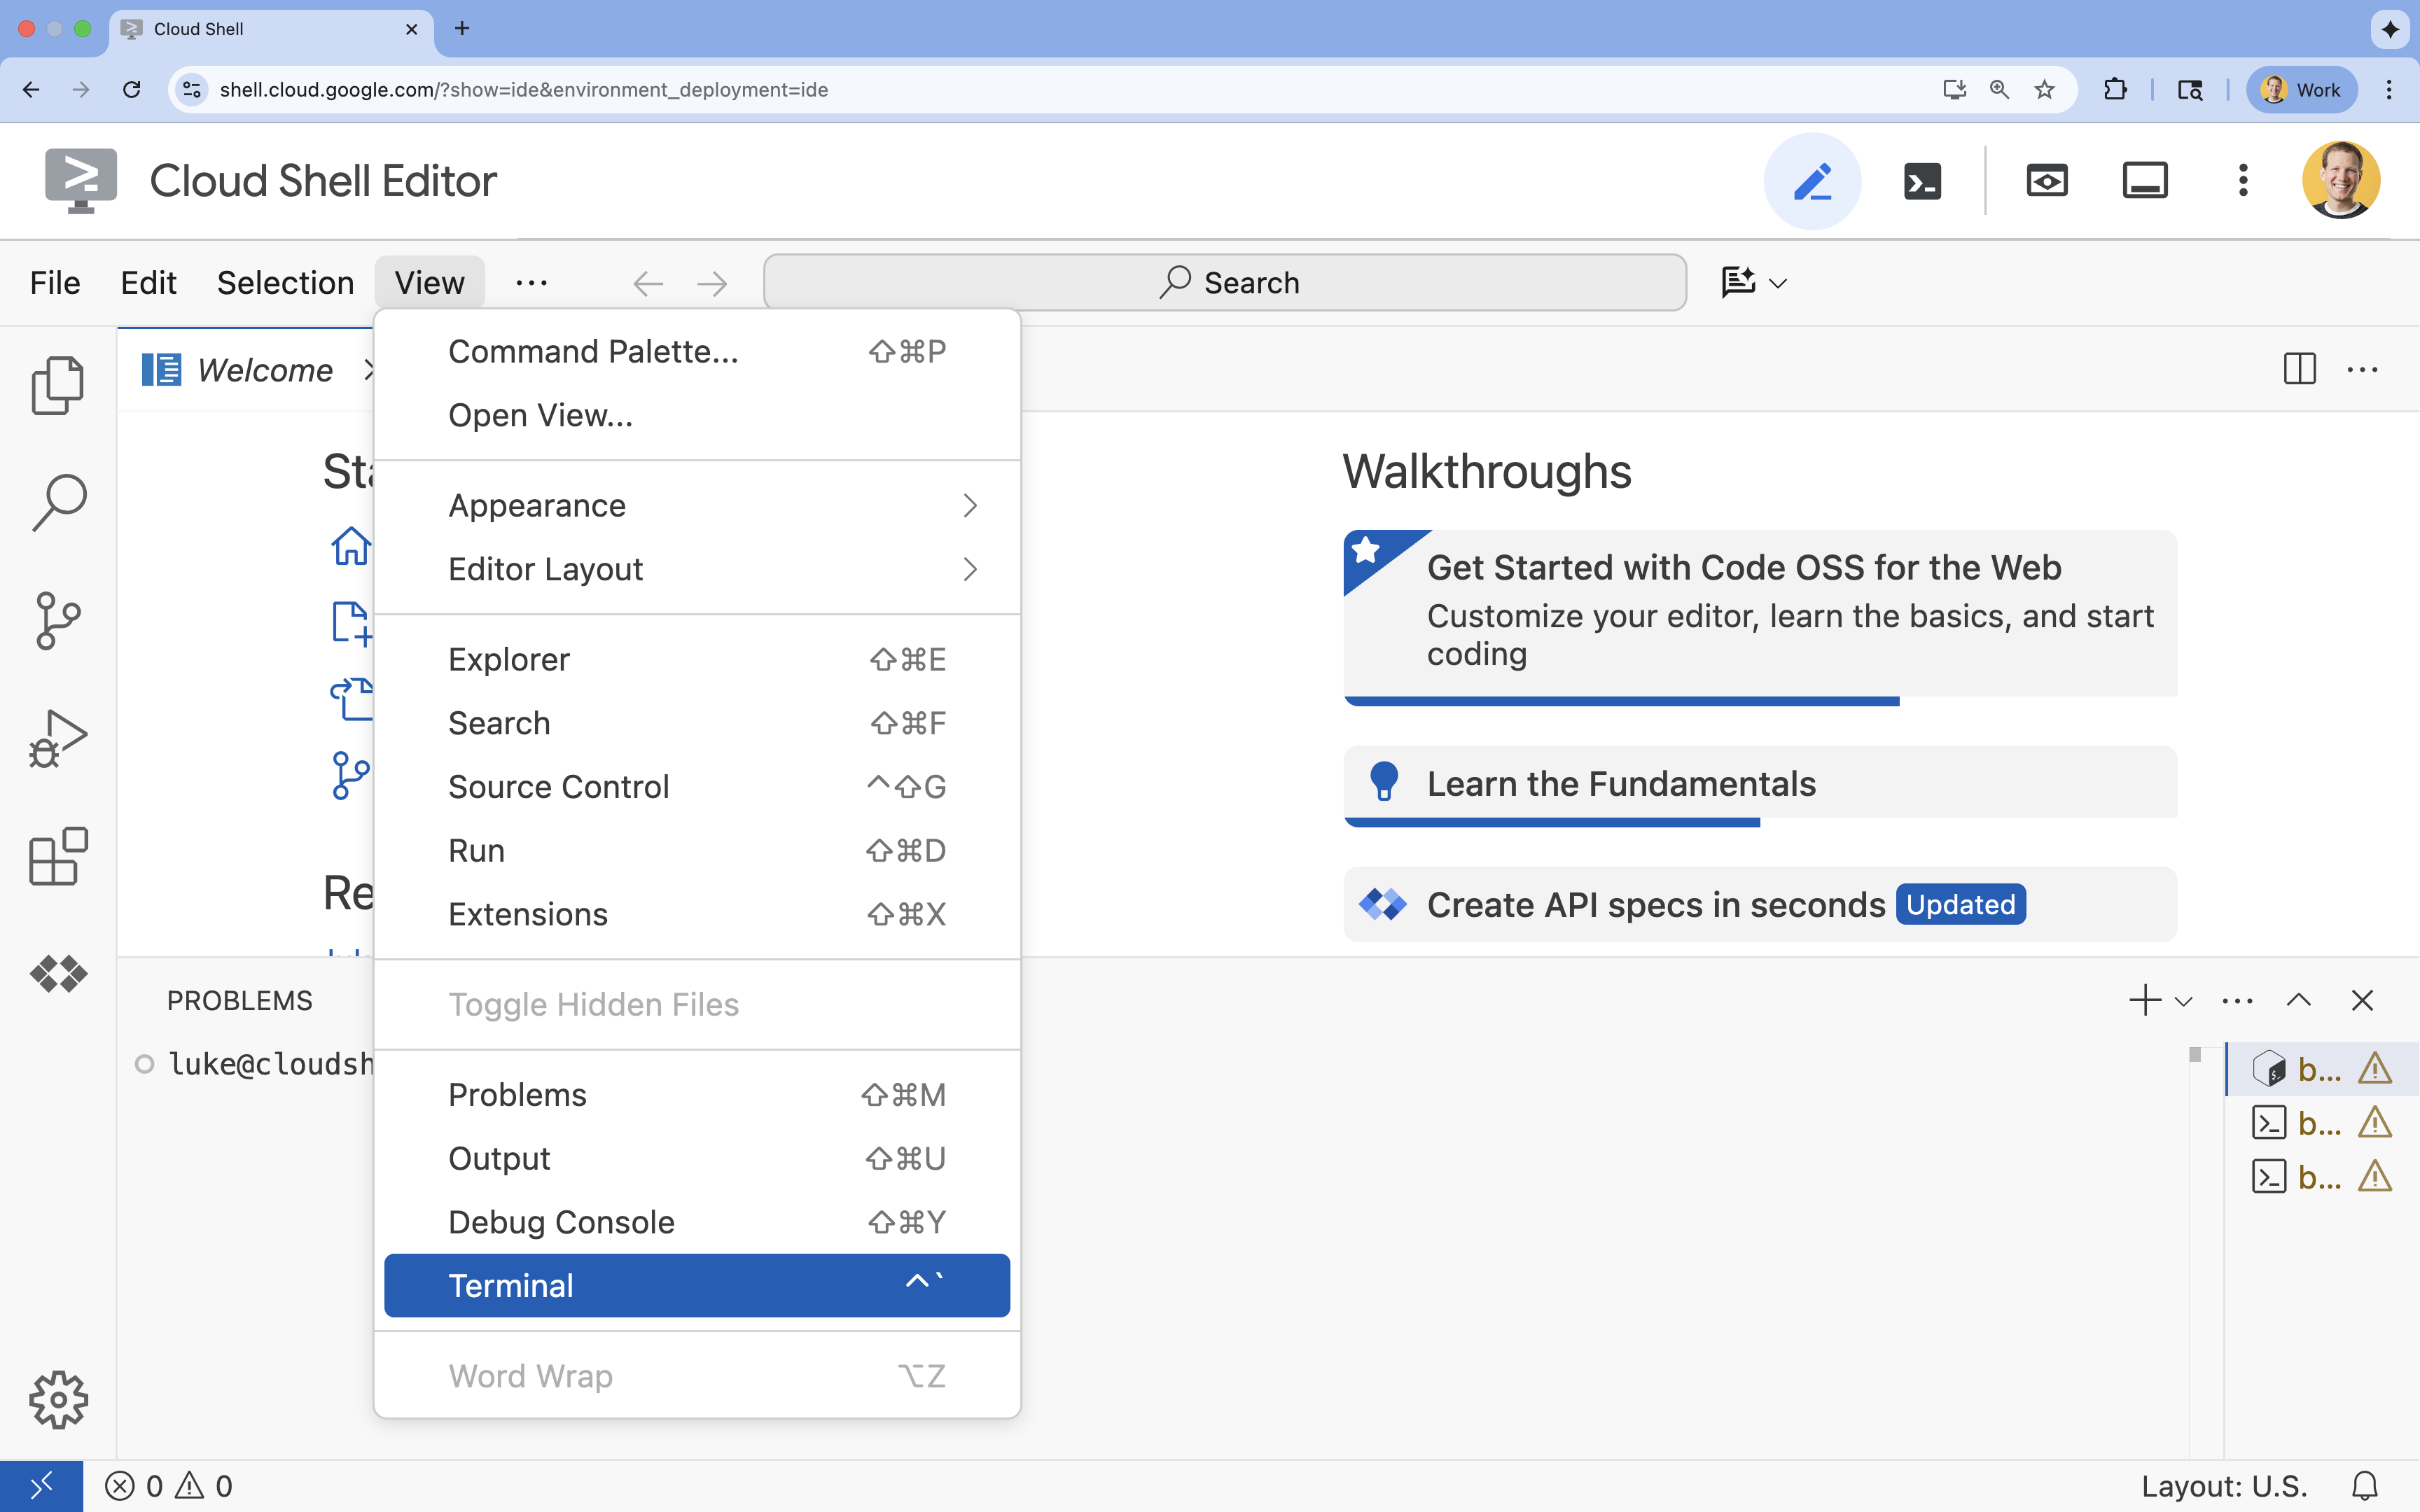
- ターミナルが画面の下部に表示されない場合は、ターミナルを開きます。
- [表示] をクリックします。
- [ターミナル] をクリックします。
- ターミナルで、次のコマンドを使用してプロジェクトを設定します。
gcloud config set project [PROJECT_ID]- 例:
gcloud config set project lab-project-id-example - プロジェクト ID が思い出せない場合は、次のコマンドでプロジェクト ID をすべて一覧表示できます。
gcloud projects list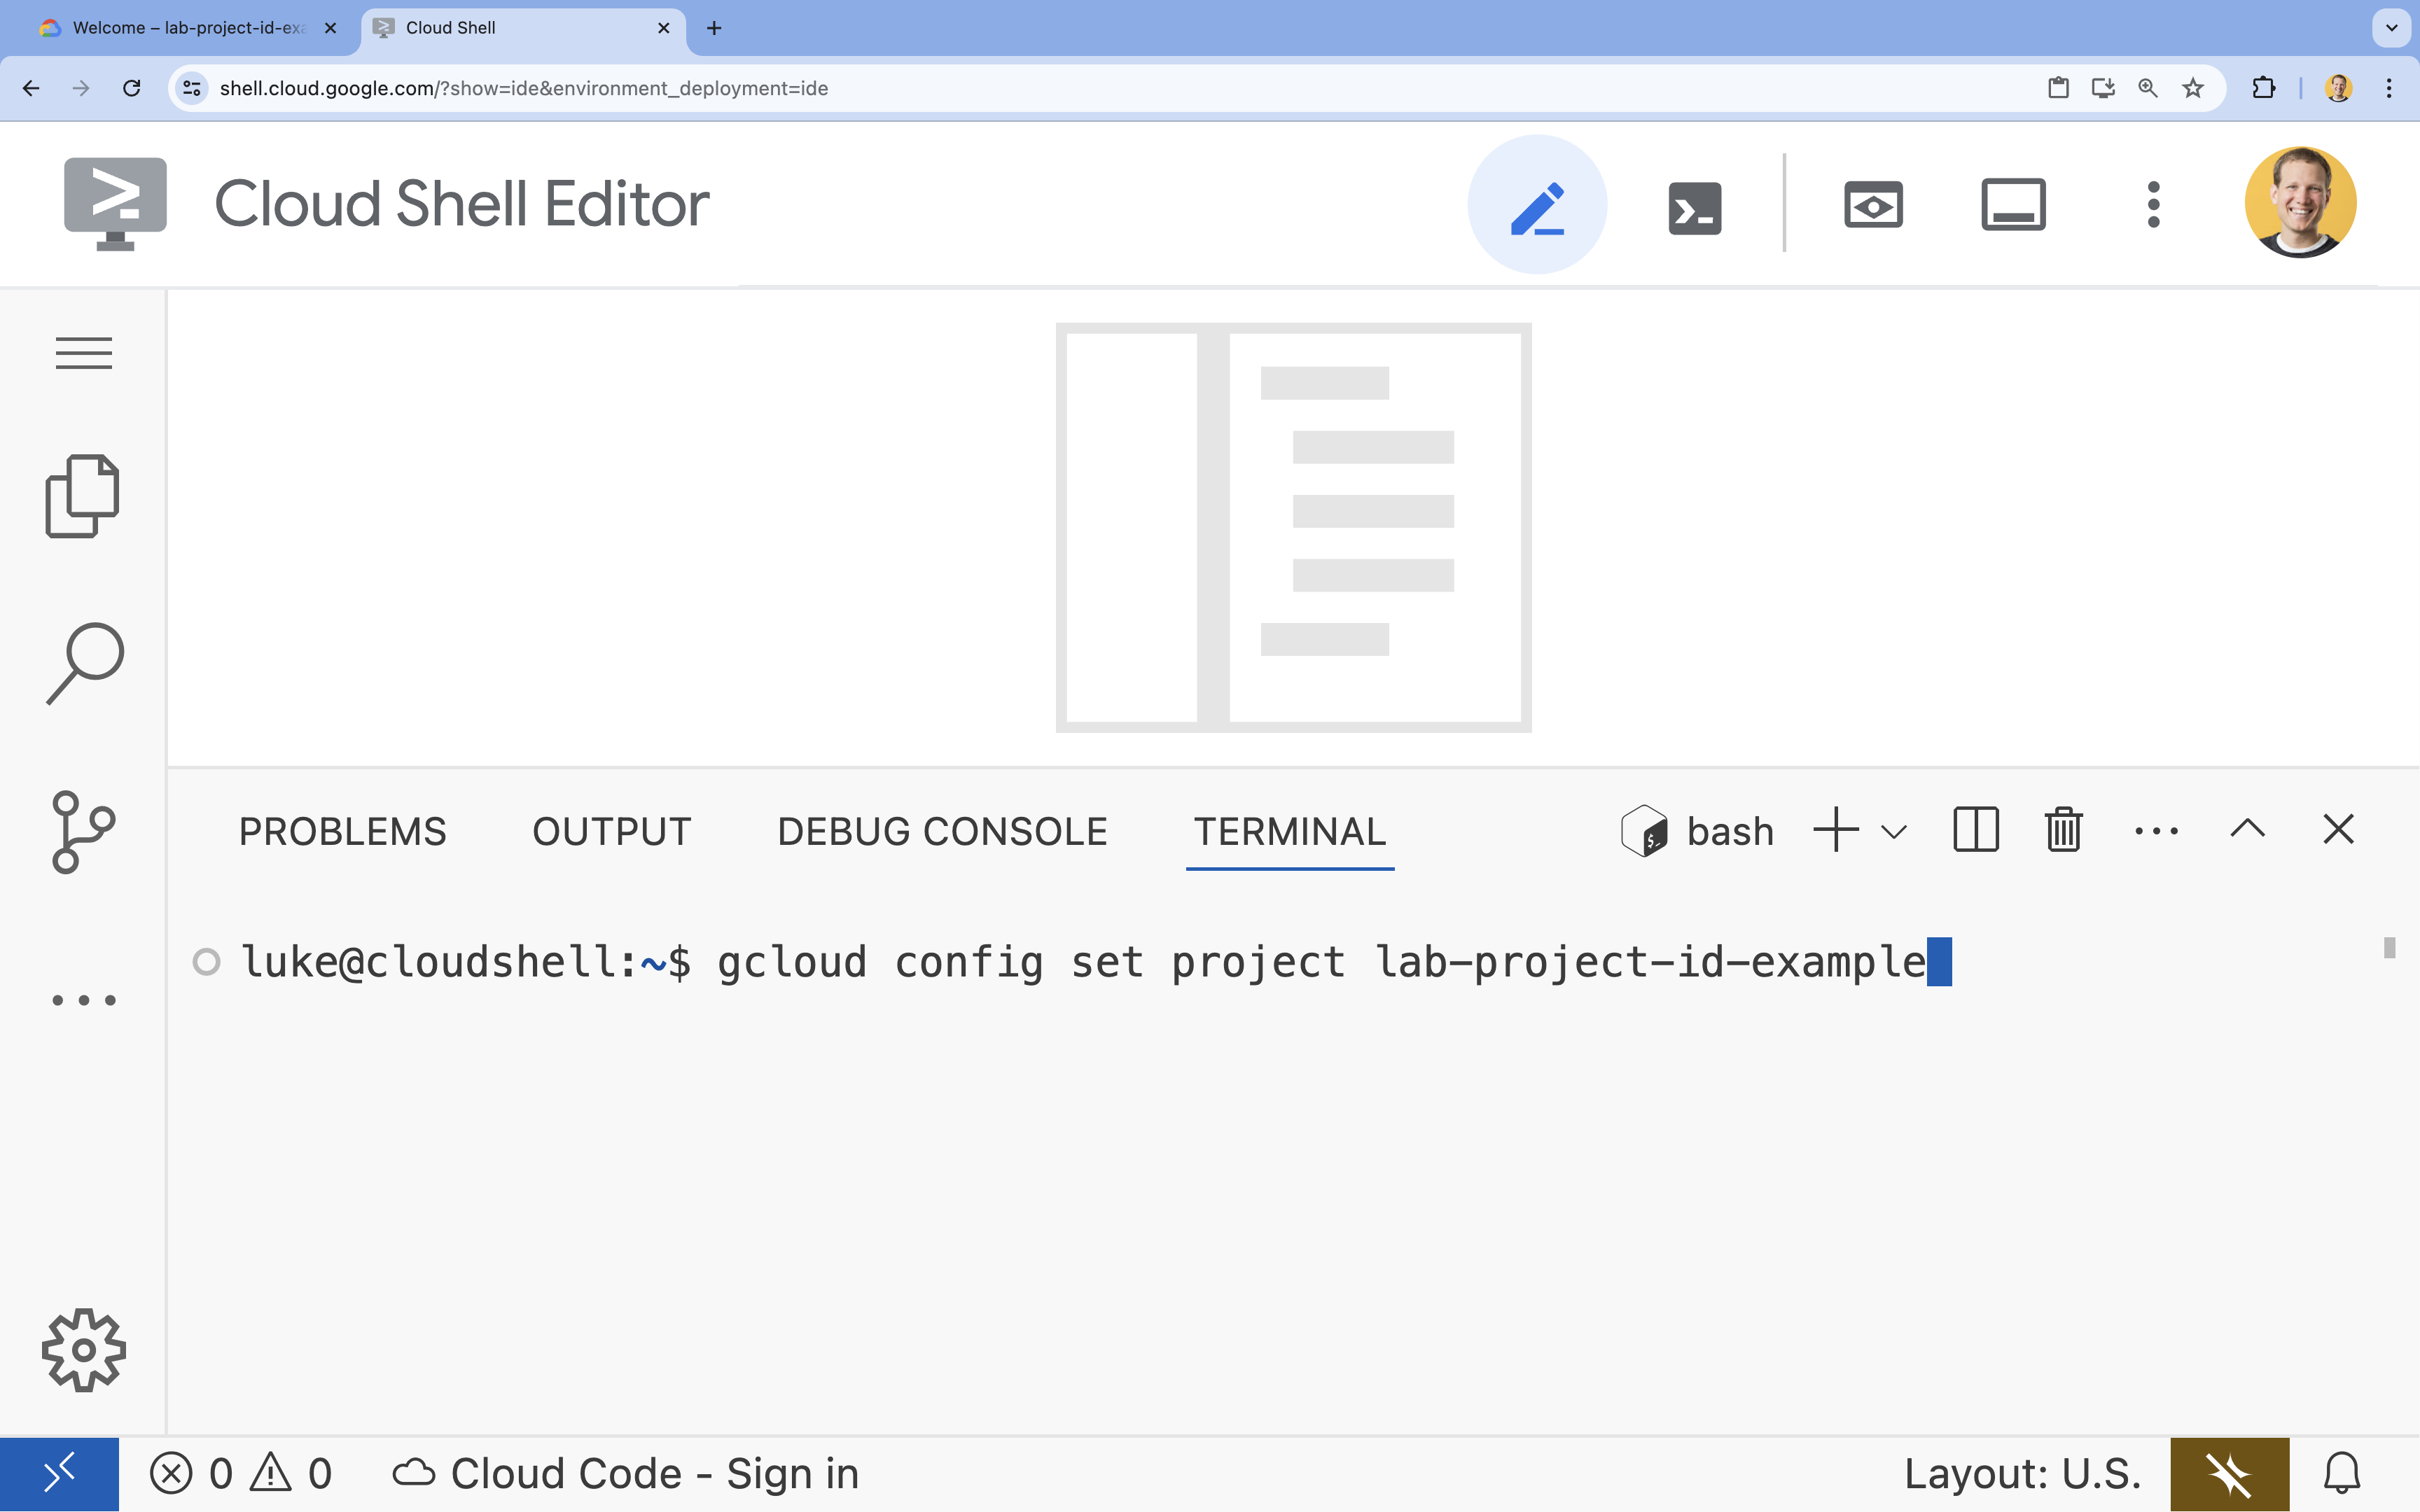
- 例:
- 次のようなメッセージが表示されます。
Updated property [core/project].
4. API を有効にする
デプロイするアプリケーション コンポーネントと Google Cloud Assist を使用するために、次の API を有効にします。
ターミナルで、API を有効にします。
```bash
gcloud services enable \
  container.googleapis.com \
  artifactregistry.googleapis.com \
  cloudbuild.googleapis.com \
  alloydb.googleapis.com \
  run.googleapis.com
```
<br>
When the command finishes, you should see an output like the following:
<br>

```console
Operation "operations/acf.p2-176675280136-b03ab5e4-3483-4ebf-9655-43dc3b345c63" finished successfully.
```
5. プロジェクトを準備する
Cloud Assist をテストするために、基本的なアプリケーションとデプロイを作成します。
ディレクトリを作成する
- Cloud Shell エディタまたは任意のデベロッパー環境を開きます。
- 新しいフォルダを作成する:
mkdir -p ~/gemini-cloud-assist-debug mkdir -p ~/gemini-cloud-assist-debug/auth_issue_demo mkdir -p ~/gemini-cloud-assist-debug/terraform cd ~/gemini-cloud-assist-debug - ターミナルで次のコマンドを実行して、Cloud Shell エディタのワークスペースを開きます。
cloudshell open-workspace ~/gemini-cloud-assist-debug
ファイルを作成する
次に、アプリケーションに必要なスターター ファイルを作成します。
- ターミナルで次のコマンドを実行して、Dockerfile を作成します。このファイルは、アプリケーション コンテナの作成を処理します。
cat <<EOF > ~/gemini-cloud-assist-debug/auth_issue_demo/Dockerfile
FROM python:3.11-slim

WORKDIR /app

COPY requirements.txt .
RUN pip install --no-cache-dir -r requirements.txt

COPY main.py .

CMD ["gunicorn", "--bind", "0.0.0.0:8080", "main:app"]
EOF
- ターミナルで次のコマンドを実行して、
main.pyファイルを作成します。このファイルには、Python で記述されたアプリケーションが含まれています。
cat <<EOF > ~/gemini-cloud-assist-debug/auth_issue_demo/main.py
import os
import logging
from flask import Flask
from google.cloud.alloydb.connector import Connector
import sqlalchemy

app = Flask(__name__)

# Configure logging
logging.basicConfig(level=logging.INFO)
logger = logging.getLogger(__name__)

# Configuration from Environment Variables
# The fully qualified instance URI: projects/<PROJECT>/locations/<REGION>/clusters/<CLUSTER>/instances/<INSTANCE>
ALLOYDB_URI = os.environ.get("ALLOYDB_URI")
DB_USER = os.environ.get("DB_USER", "auth-debug")
DB_PASS = os.environ.get("DB_PASS", "debug-auth")
DB_NAME = os.environ.get("DB_NAME", "postgres")
USE_PUBLIC_IP = os.environ.get("USE_PUBLIC_IP", "false").lower() == "true"

# Initialize Connector lazily
_connector = None

def get_connector():
    global _connector
    if _connector is None:
        _connector = Connector()
    return _connector

def getconn():
    connector = get_connector()
    ip_type = "PUBLIC" if USE_PUBLIC_IP else "PRIVATE"

    conn = connector.connect(
        ALLOYDB_URI,
        "pg8000",
        user=DB_USER,
        password=DB_PASS,
        db=DB_NAME,
        ip_type=ip_type
    )
    return conn

@app.route("/")
def index():
    return "AlloyDB Auth Demo. /connect to test.", 200

@app.route("/connect")
def connect_db():
    if not ALLOYDB_URI:
        return "FAILURE: ALLOYDB_URI env var is not set.", 500

    try:
        logger.info(f"Attempting connection to {ALLOYDB_URI} with user {DB_USER}...")

        # Create connection pool
        pool = sqlalchemy.create_engine(
            "postgresql+pg8000://",
            creator=getconn,
        )

        with pool.connect() as db_conn:
            # Simple query to validate connection
            result = db_conn.execute(sqlalchemy.text("SELECT NOW()")).fetchone()
            timestamp = result[0]

        msg = f"SUCCESS: Connected to AlloyDB! DB Time: {timestamp}"
        logger.info(msg)
        return msg, 200

    except Exception as e:
        logger.exception("Connection failed")
        # Return the error to the caller to visualize the auth failure
        return f"FAILURE: Connection Error.\nDetails: {str(e)}", 500

if __name__ == "__main__":
    app.run(host="0.0.0.0", port=int(os.environ.get("PORT", 8080)))
EOF
- ターミナルで次のコマンドを実行して、
requirements.txtファイルを作成します。このファイルは Python パッケージの要件を処理します。
cat <<EOF > ~/gemini-cloud-assist-debug/auth_issue_demo/requirements.txt
flask==3.1.3
gunicorn==25.3.0
google-cloud-alloydb-connector[pg8000]==1.12.1
sqlalchemy==2.0.49
EOF
- ターミナルで次のコマンドを実行して、
main.tfファイルを作成します。このファイルは、作成する Google Cloud リソースを処理します。
cat <<EOF > ~/gemini-cloud-assist-debug/terraform/main.tf
provider "google" {
  project = var.project_id
  region  = var.region
}

# Enable APIs
locals {
  apis = [
    "alloydb.googleapis.com",
    "run.googleapis.com",
    "artifactregistry.googleapis.com",
    "compute.googleapis.com",
    "geminicloudassist.googleapis.com",
    "monitoring.googleapis.com",
    "cloudasset.googleapis.com",
    "cloudbuild.googleapis.com",
    "recommender.googleapis.com",
    "appoptimize.googleapis.com"
  ]
}

resource "random_password" "db_pass" {
  count            = var.db_password == null ? 1 : 0
  length           = 16
  special          = true
  override_special = "!#$%&*()-_=+[]{}<>:?"
}

locals {
  db_password = var.db_password != null ? var.db_password : random_password.db_pass[0].result
}

resource "google_project_service" "apis" {
  for_each           = toset(local.apis)
  service            = each.value
  disable_on_destroy = false
}

# Service Account
resource "google_service_account" "auth_demo_sa" {
  account_id   = var.service_account_name
  display_name = "Auth Demo SA"
}

# AlloyDB Cluster
resource "google_alloydb_cluster" "rma_cluster" {
  cluster_id = var.cluster_id
  location   = var.region

  # Initial password, managed via variable or generated randomly
  initial_user {
    password = local.db_password
  }

  # Use default network as in the manual setup
  network_config {
    network = "projects/${var.project_id}/global/networks/default"
  }

  depends_on = [google_project_service.apis["alloydb.googleapis.com"]]
}

# AlloyDB Instance
resource "google_alloydb_instance" "rma_instance_1" {
  cluster       = google_alloydb_cluster.rma_cluster.name
  instance_id   = var.instance_id
  instance_type = "PRIMARY"

  machine_config {
    cpu_count = 2
  }

  network_config {
    enable_public_ip = true
  }

  depends_on = [google_alloydb_cluster.rma_cluster]
}

# Cloud Run Service
resource "google_cloud_run_service" "auth_issue_demo" {
  name     = var.cloud_run_service_name
  location = var.region

  template {
    spec {
      containers {
        image = var.cloud_run_image
        env {
          name  = "ALLOYDB_URI"
          value = "projects/${var.project_id}/locations/${var.region}/clusters/${var.cluster_id}/instances/${var.instance_id}"
        }
        env {
          name  = "DB_USER"
          value = "postgres"
        }
        env {
          name  = "DB_PASS"
          value = local.db_password
        }
        env {
          name  = "USE_PUBLIC_IP"
          value = "true"
        }
      }
      service_account_name = google_service_account.auth_demo_sa.email
    }
  }

  traffic {
    percent         = 100
    latest_revision = true
  }

  depends_on = [google_project_service.apis["run.googleapis.com"], google_alloydb_instance.rma_instance_1]
}

# Allow unauthenticated access to Cloud Run service (matching --allow-unauthenticated)
resource "google_cloud_run_service_iam_member" "public_access" {
  location = google_cloud_run_service.auth_issue_demo.location
  project  = google_cloud_run_service.auth_issue_demo.project
  service  = google_cloud_run_service.auth_issue_demo.name
  role     = "roles/run.invoker"
  member   = "allUsers"
}
EOF
- ターミナルで次のコマンドを実行して、
variables.tfファイルを作成します。このファイルは、Google Cloud リソースの Terraform 変数を処理します。
cat <<EOF > ~/gemini-cloud-assist-debug/terraform/variables.tf
variable "project_id" {
  description = "The ID of the Google Cloud project."
  type        = string
}

variable "region" {
  description = "The region to deploy resources in."
  type        = string
  default     = "us-central1"
}

variable "cluster_id" {
  description = "The ID of the AlloyDB cluster."
  type        = string
  default     = "rma-cluster"
}

variable "instance_id" {
  description = "The ID of the AlloyDB instance."
  type        = string
  default     = "rma-instance-1"
}

variable "service_account_name" {
  description = "The name of the service account."
  type        = string
  default     = "auth-demo-sa"
}

variable "cloud_run_service_name" {
  description = "The name of the Cloud Run service."
  type        = string
  default     = "auth-issue-demo"
}

variable "cloud_run_image" {
  description = "The container image for the Cloud Run service."
  type        = string
}

variable "db_password" {
  description = "The database password. If not provided, a random one will be generated."
  type        = string
  sensitive   = true
  default     = null
}
EOF
- ターミナルで次のコマンドを実行して、
setup_via_tf.shファイルを作成します。このファイルは Python パッケージの要件を処理します。
cat <<EOF > ~/gemini-cloud-assist-debug/setup_via_tf.sh
#!/bin/bash
set -e

# Get script directory and change to project root
SCRIPT_DIR="$( cd "$( dirname "${BASH_SOURCE[0]}" )" && pwd )"
cd "$SCRIPT_DIR"

# Load configuration from .env
if [ -f .env ]; then
    set -a
    source .env
    set +a
else
    echo "ERROR: .env file not found. Please create one with PROJECT_ID."
    exit 1
fi

if [ -z "$PROJECT_ID" ]; then
    echo "ERROR: PROJECT_ID is not set in .env file."
    exit 1
fi

REGION="us-central1"
CLUSTER_ID="rma-cluster"
INSTANCE_ID="rma-instance-1"
SA_NAME="auth-demo-sa"
SERVICE_NAME="auth-issue-demo"

echo "--- Terraform Setup for Auth Demo ---"
echo "Using Project: $PROJECT_ID"

# Get current Cloud Run image
echo "Fetching current Cloud Run image..."
IMAGE=$(gcloud run services describe $SERVICE_NAME --region=$REGION --project=$PROJECT_ID --format="value(spec.template.spec.containers[0].image)" 2>/dev/null || true)

if [ -z "$IMAGE" ]; then
    echo "WARNING: Could not find existing Cloud Run service image."
    echo "Using a placeholder image (gcr.io/cloudrun/hello) for initial Terraform apply."
    IMAGE="gcr.io/cloudrun/hello"
fi

echo "Found Image: $IMAGE"

cd terraform

# Initialize Terraform
echo "Initializing Terraform..."
terraform init

echo "Formatting Terraform files..."
terraform fmt

echo "Validating Terraform configuration..."
terraform validate

echo "------------------------------------------------"
echo "Applying changes..."
echo "------------------------------------------------"

terraform apply -var="project_id=$PROJECT_ID" -var="cloud_run_image=$IMAGE" -auto-approve

echo "------------------------------------------------"
echo "Building and deploying updated Cloud Run service..."
echo "------------------------------------------------"

gcloud run deploy $SERVICE_NAME \
  --source ../auth_issue_demo \
  --region $REGION \
  --project $PROJECT_ID \
  --service-account $SA_NAME@$PROJECT_ID.iam.gserviceaccount.com \
  --quiet
EOF
- 次のコマンドを実行して、シェル スクリプトを実行可能にします。
chmod +x ~/gemini-cloud-assist-debug/setup_via_tf.sh
- デプロイ用の Google Cloud プロジェクト ID を含む
.envファイルを作成します。YOUR_PROJECT_IDフィールドを更新します。
cat <<EOF > ~/gemini-cloud-assist-debug/.env
PROJECT_ID=YOUR_PROJECT_ID
USE_PUBLIC_IP=true
EOF
6. アプリケーションをデプロイする
アプリケーション コードと Google Cloud リソースをデプロイする準備が整っている。この処理には最長で 15 分ほどかかります。
ターミナルから次のコマンドを実行します。
cd ~/gemini-cloud-assist-debug
./setup_via_tf.sh
コンポーネントのデプロイ中に、Cloud Shell エディタでファイルを参照して詳細を確認します。
7. エラーを作成してデバッグする
次に、アプリケーションからエラーをトリガーします。左側のペインで Cloud Run を開きます。[auth-issue-demo] サービスをクリックします。
- [サービスの詳細] ページの上部に URL があります。URL をコピーして、新しいブラウザタブを開きます。URL を貼り付けて、
/connectを追加します。URL は次のようになります。
https://auth-issue-demo-
- URL に移動します。Cloud Run インスタンスの起動には数秒かかることがあります。エラーが発生します。
- [Cloud Run] サービスの詳細ページに戻ります。[オブザーバビリティ]、[ログ] の順にクリックします。エラーを含むコンテナのログが表示されます。エラーログがまだ利用できない場合は、数秒待ってから、右上のアイコンを使用してページを更新します。
- エラーログをクリックすると、詳細が表示されます。メインログの行にある調査アイコンをクリックします。[Investigate Log](ログを調査)をクリックします。
Cloud Assist のチャットペインが開きます。調査の完了には 2 ~ 3 分かかります。
調査が完了すると、結果と推奨事項を確認できます。Cloud Run が AlloyDB インスタンスにアクセスできるように、サービス アカウントに適切な権限付与を追加することが推奨されています。
8. エラーを修正する
サービス アカウントの権限エラーを修正します。
- Cloud IAM に移動します。
- [アクセス権を付与] ボタンをクリックします。プリンシパル ペインで、まず
auth-demoと入力し、サービス アカウントが表示されるまで待ちます。 - 次に、
AlloyDB Clientロールをサービス アカウントに追加し、[保存] をクリックします。
反映されるまでに 1 分ほどかかります。
しばらく待ってから、戻って申請を更新します。AlloyDB データベースから成功メッセージが表示されます。
9. 完了
おめでとうございます!これで、Cloud Investigations の概要と、Google Cloud でのアプリケーションの権限のデバッグ プロセスが完了しました。
次のステップ
- さまざまなシナリオで Gemini Cloud Assist を使用する方法を示す他のガイドと例をご覧ください。
- 機能の詳細については、Gemini Cloud Assist のドキュメントをご覧ください。