
1. 소개
Gemini Cloud Assist 는 Google Cloud 워크로드를 지원하는 모든 기능을 갖춘 에이전트입니다. 이 에이전트는 새 애플리케이션을 설계하거나 기존 애플리케이션을 업데이트하고, Google Cloud에서 워크로드를 배포 및 실행하고, 워크로드 문제를 해결하고, 비용 및 성능에 맞게 워크로드를 최적화하는 데 도움이 되는 파트너입니다.
Gemini Cloud Assist를 사용하면 예기치 않은 오류와 다운타임에 더 효과적으로 대응할 수 있습니다.
학습할 내용
- 배포: Google Cloud에 기본 백엔드 및 데이터베이스를 배포하는 방법
- 디버그: Gemini Cloud Assist가 클라우드 및 코드 문제의 조사 및 근본 원인 분석을 자동화하는 방법
- 수정: Gemini Cloud Assist가 근본 원인을 기반으로 수정사항을 식별하는 방법
2. 프로젝트 설정
Google 계정
개인 Google 계정이 아직 없다면 Google 계정을 만들어야 합니다.
직장 또는 학교 계정 대신 개인 계정을 사용 하세요.
Google Cloud 콘솔에 로그인
개인 Google 계정을 사용하여 Google Cloud 콘솔에 로그인합니다.
결제 사용 설정
개인 결제 계정 설정
Google Cloud 크레딧을 사용하여 결제를 설정하는 경우 이 단계를 건너뛰어도 됩니다.
개인 결제 계정을 설정하려면 여기로 이동하여 결제를 사용 설정하세요.
몇 가지 참고사항:
- 이 실습을 완료하는 데 드는 비용은 클라우드 리소스에서 $1(USD) 미만이어야 합니다.
- 이 실습의 마지막 단계에 따라 리소스를 삭제하여 추가 요금이 발생하지 않도록 할 수 있습니다.
- 신규 사용자는 $300(USD) 상당의 무료 체험판을 이용할 수 있습니다.
프로젝트 만들기 (선택사항)
이 실습에 사용할 현재 프로젝트가 없다면 여기에서 새 프로젝트를 만드세요.
3. Cloud Shell 편집기 열기
- 이 링크를 클릭하여 Cloud Shell 편집기로 바로 이동합니다.
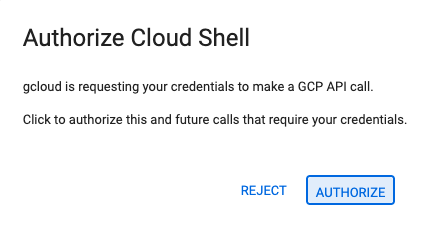
- 오늘 언제든지 승인하라는 메시지가 표시되면 승인을 클릭하여 계속합니다.
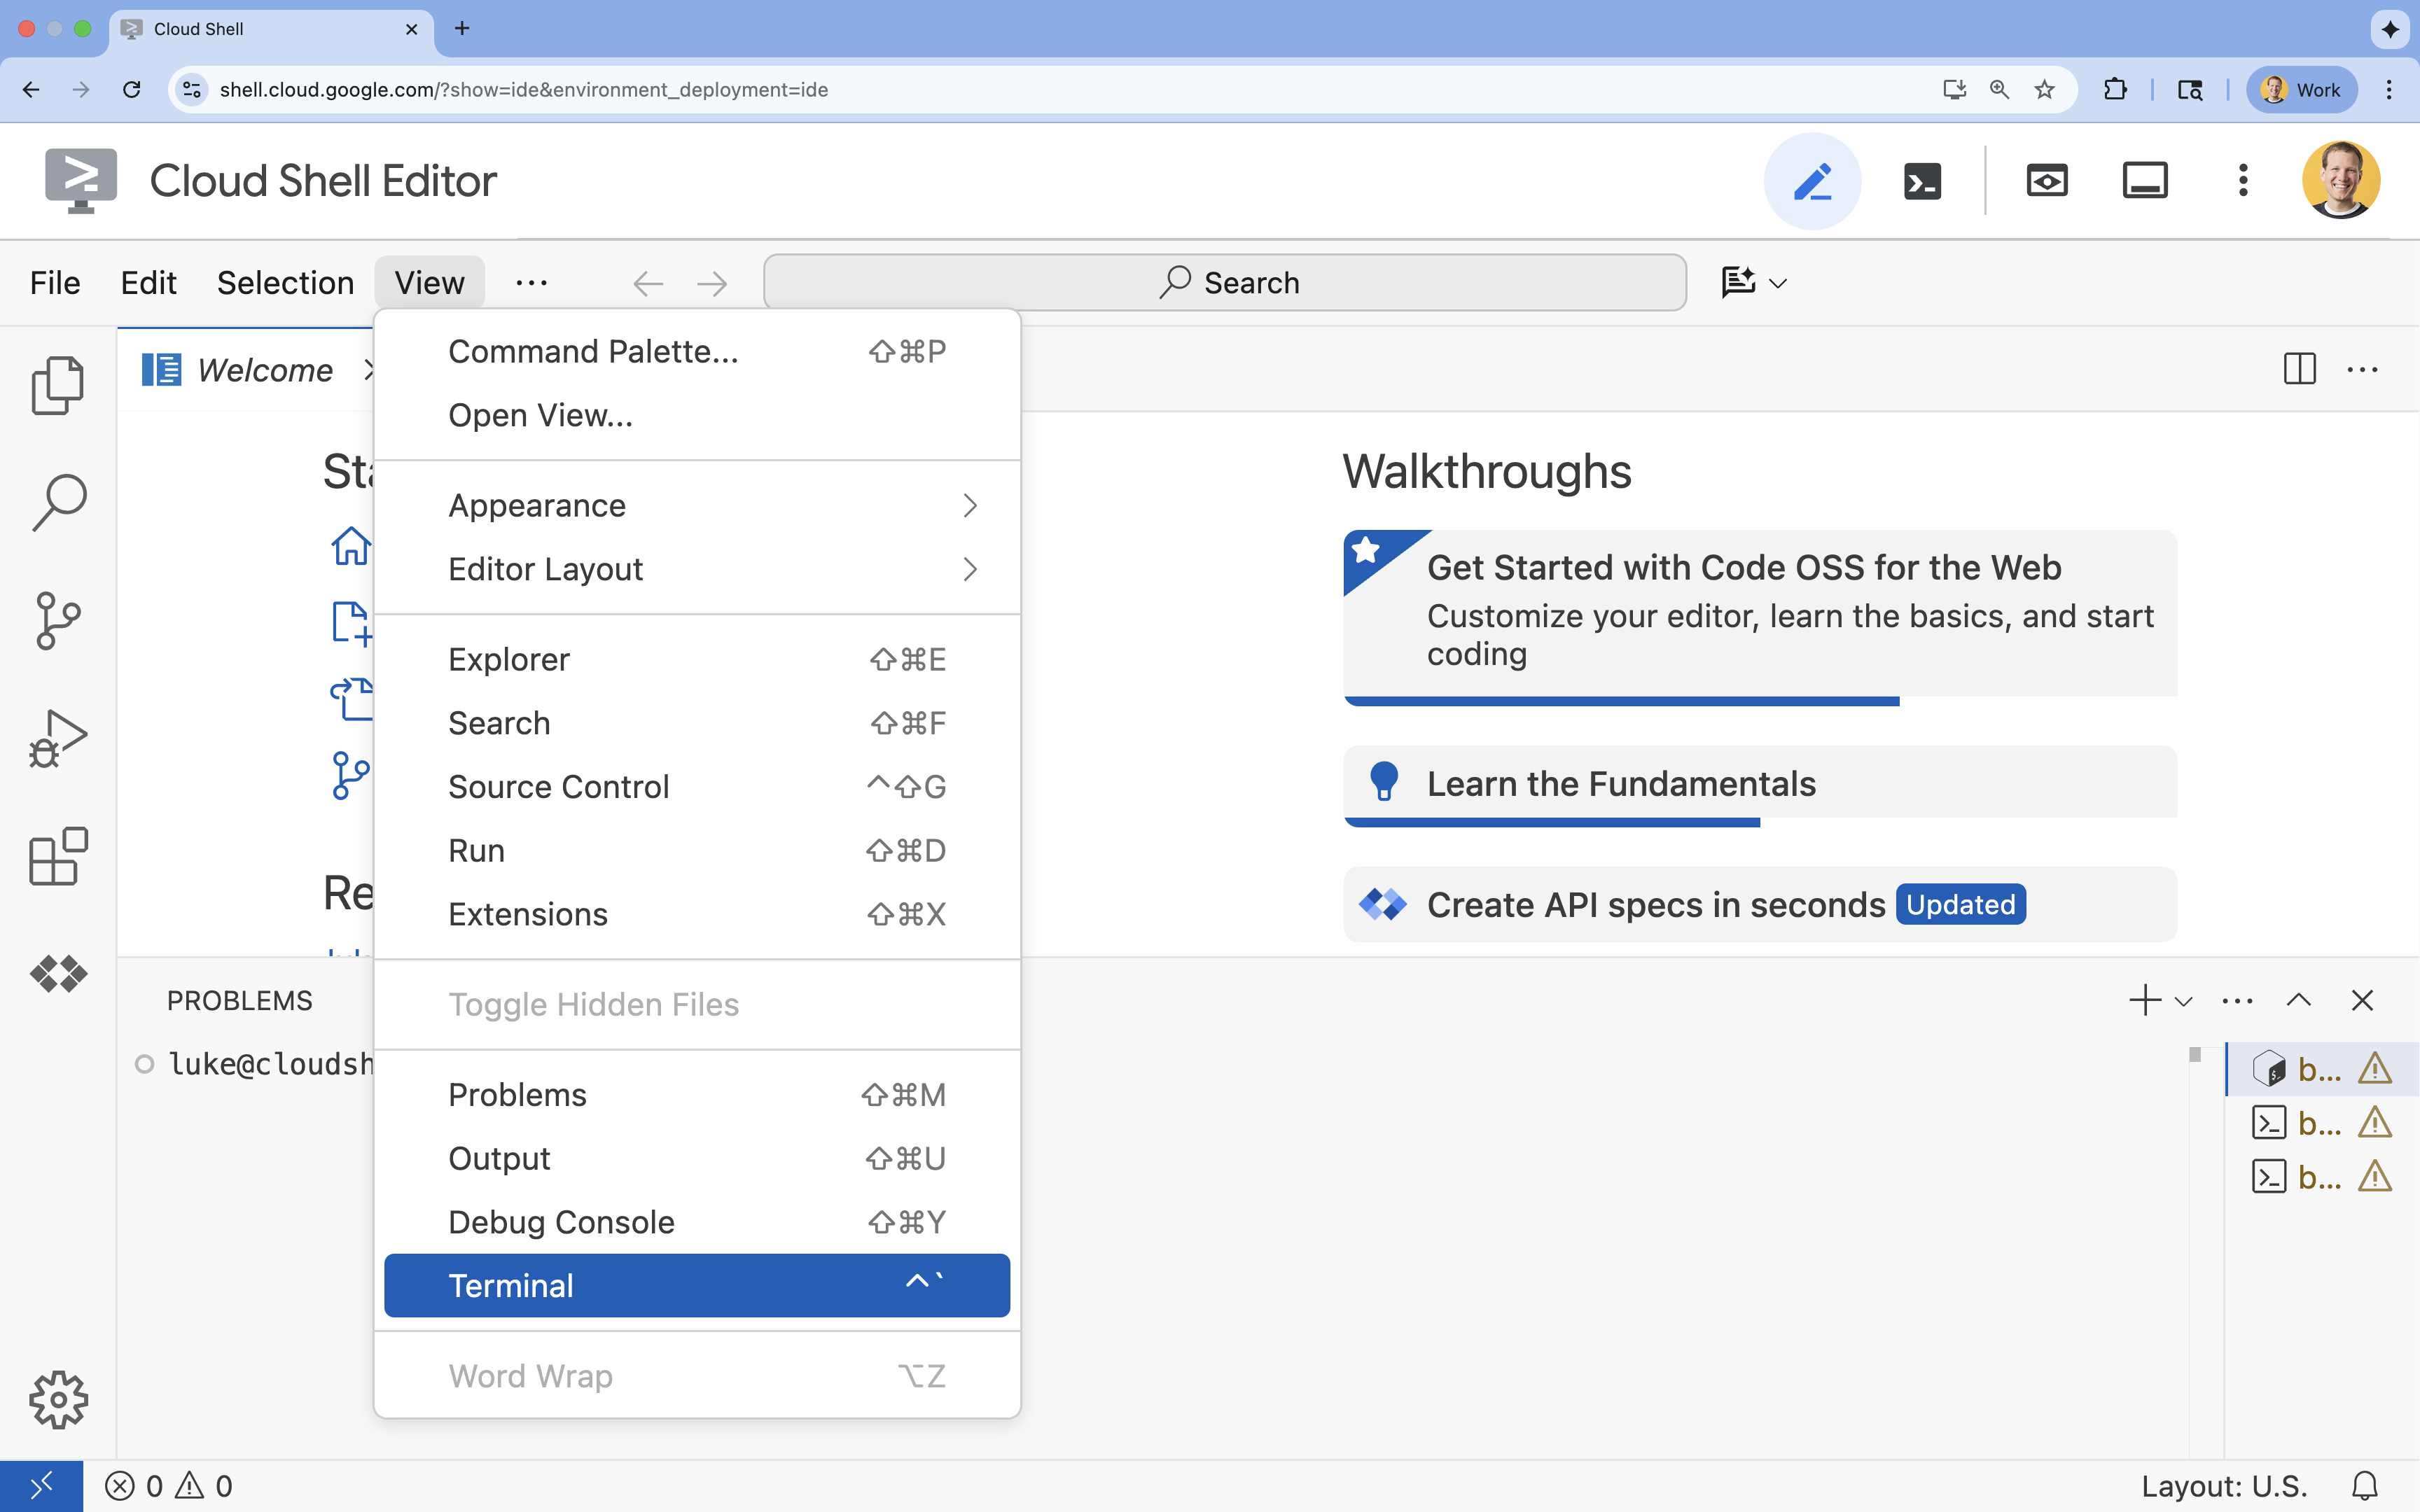
- 화면 하단에 터미널이 표시되지 않으면 다음 단계에 따라 터미널을 엽니다.
- 보기 를 클릭합니다.
- 터미널을 클릭합니다.
- 터미널에서 다음 명령어를 사용하여 프로젝트를 설정합니다.
gcloud config set project [PROJECT_ID]- 예:
gcloud config set project lab-project-id-example - 프로젝트 ID가 기억나지 않는 경우 다음을 사용하여 모든 프로젝트 ID를 나열할 수 있습니다.
gcloud projects list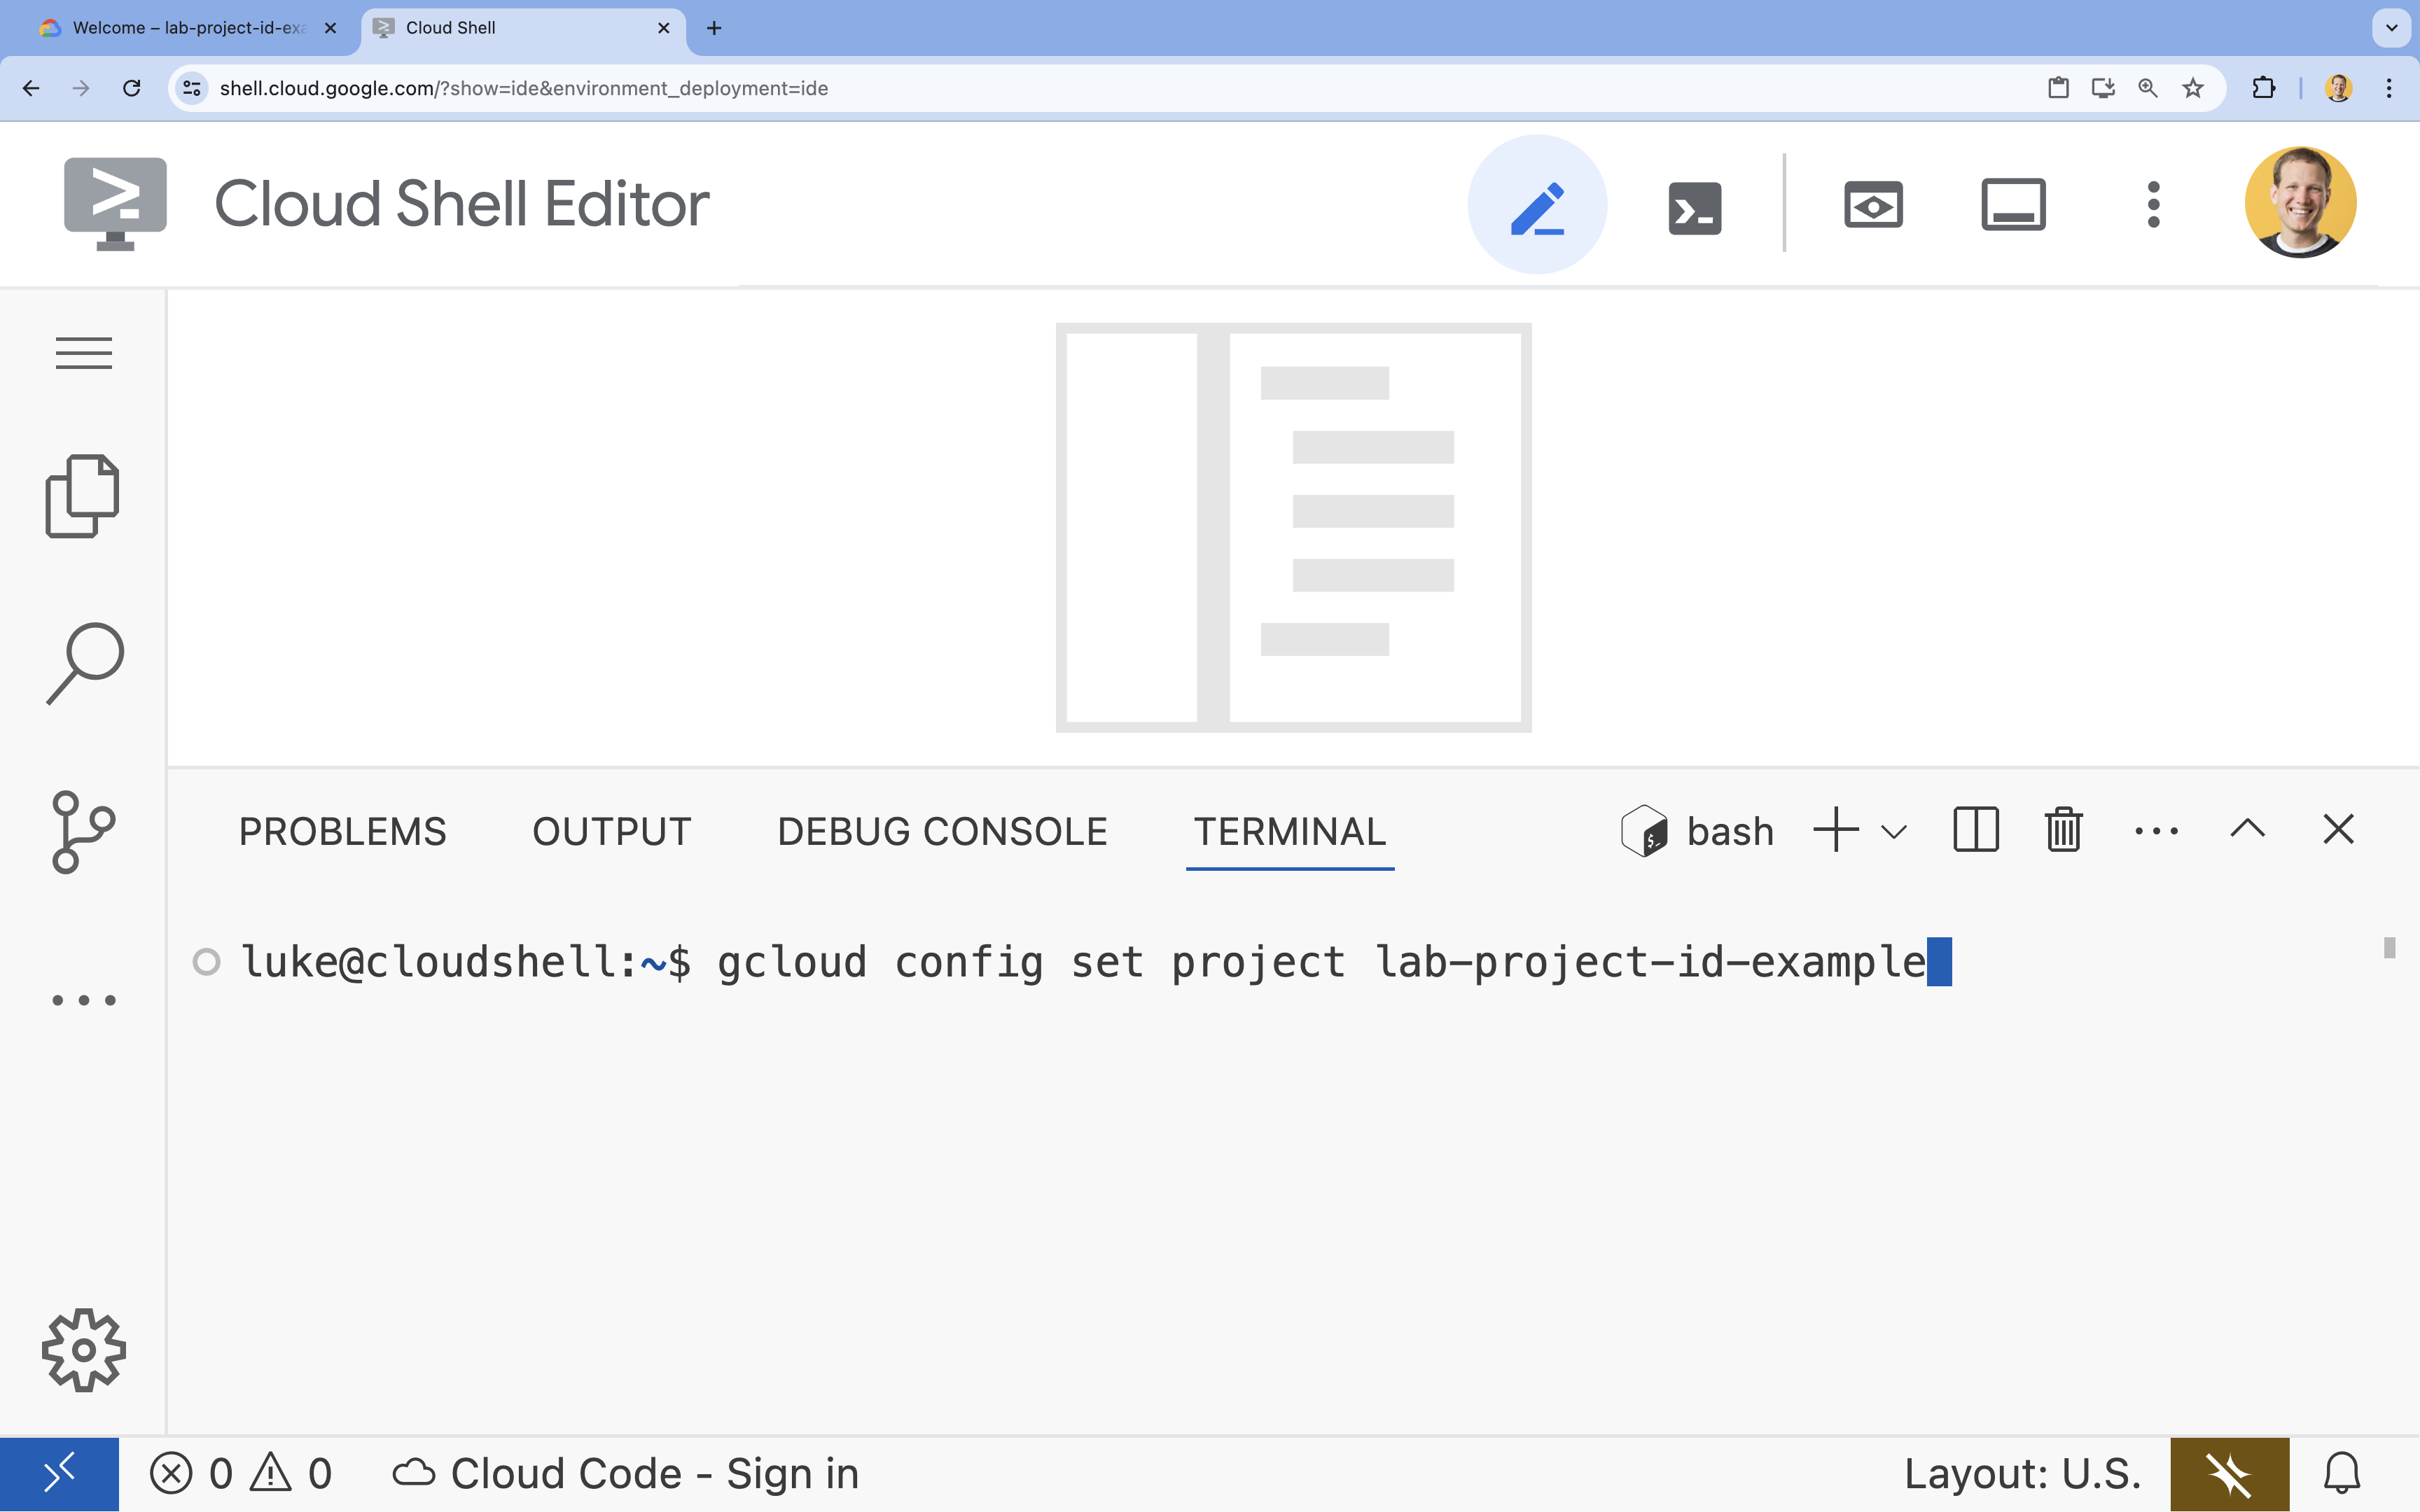
- 예:
- 다음 메시지가 표시되어야 합니다.
Updated property [core/project].
4. API 사용 설정
배포할 애플리케이션 구성요소와 Google Cloud Assist를 사용하려면 다음 API를 사용 설정하세요.
터미널에서 API를 사용 설정합니다.
```bash
gcloud services enable \
  container.googleapis.com \
  artifactregistry.googleapis.com \
  cloudbuild.googleapis.com \
  alloydb.googleapis.com \
  run.googleapis.com
```
<br>
When the command finishes, you should see an output like the following:
<br>

```console
Operation "operations/acf.p2-176675280136-b03ab5e4-3483-4ebf-9655-43dc3b345c63" finished successfully.
```
5. 프로젝트 준비
Cloud Assist를 테스트하기 위해 기본 애플리케이션과 배포를 만듭니다.
디렉터리 만들기
- Cloud Shell 편집기 또는 원하는 개발자 환경을 엽니다.
- 새 폴더를 만듭니다.
mkdir -p ~/gemini-cloud-assist-debug mkdir -p ~/gemini-cloud-assist-debug/auth_issue_demo mkdir -p ~/gemini-cloud-assist-debug/terraform cd ~/gemini-cloud-assist-debug - 터미널에서 다음 명령어를 실행하여 Cloud Shell 편집기 작업공간을 엽니다.
cloudshell open-workspace ~/gemini-cloud-assist-debug
파일 만들기
이제 애플리케이션에 필요한 시작 파일을 만듭니다.
- 터미널 에서 다음을 실행하여 Dockerfile을 만듭니다. 이 파일은 애플리케이션 컨테이너 생성을 처리합니다.
cat <<EOF > ~/gemini-cloud-assist-debug/auth_issue_demo/Dockerfile
FROM python:3.11-slim

WORKDIR /app

COPY requirements.txt .
RUN pip install --no-cache-dir -r requirements.txt

COPY main.py .

CMD ["gunicorn", "--bind", "0.0.0.0:8080", "main:app"]
EOF
- 터미널 에서 다음을 실행하여
main.py파일을 만듭니다. 이 파일에는 Python으로 작성된 애플리케이션이 포함되어 있습니다.
cat <<EOF > ~/gemini-cloud-assist-debug/auth_issue_demo/main.py
import os
import logging
from flask import Flask
from google.cloud.alloydb.connector import Connector
import sqlalchemy

app = Flask(__name__)

# Configure logging
logging.basicConfig(level=logging.INFO)
logger = logging.getLogger(__name__)

# Configuration from Environment Variables
# The fully qualified instance URI: projects/<PROJECT>/locations/<REGION>/clusters/<CLUSTER>/instances/<INSTANCE>
ALLOYDB_URI = os.environ.get("ALLOYDB_URI")
DB_USER = os.environ.get("DB_USER", "auth-debug")
DB_PASS = os.environ.get("DB_PASS", "debug-auth")
DB_NAME = os.environ.get("DB_NAME", "postgres")
USE_PUBLIC_IP = os.environ.get("USE_PUBLIC_IP", "false").lower() == "true"

# Initialize Connector lazily
_connector = None

def get_connector():
    global _connector
    if _connector is None:
        _connector = Connector()
    return _connector

def getconn():
    connector = get_connector()
    ip_type = "PUBLIC" if USE_PUBLIC_IP else "PRIVATE"

    conn = connector.connect(
        ALLOYDB_URI,
        "pg8000",
        user=DB_USER,
        password=DB_PASS,
        db=DB_NAME,
        ip_type=ip_type
    )
    return conn

@app.route("/")
def index():
    return "AlloyDB Auth Demo. /connect to test.", 200

@app.route("/connect")
def connect_db():
    if not ALLOYDB_URI:
        return "FAILURE: ALLOYDB_URI env var is not set.", 500

    try:
        logger.info(f"Attempting connection to {ALLOYDB_URI} with user {DB_USER}...")

        # Create connection pool
        pool = sqlalchemy.create_engine(
            "postgresql+pg8000://",
            creator=getconn,
        )

        with pool.connect() as db_conn:
            # Simple query to validate connection
            result = db_conn.execute(sqlalchemy.text("SELECT NOW()")).fetchone()
            timestamp = result[0]

        msg = f"SUCCESS: Connected to AlloyDB! DB Time: {timestamp}"
        logger.info(msg)
        return msg, 200

    except Exception as e:
        logger.exception("Connection failed")
        # Return the error to the caller to visualize the auth failure
        return f"FAILURE: Connection Error.\nDetails: {str(e)}", 500

if __name__ == "__main__":
    app.run(host="0.0.0.0", port=int(os.environ.get("PORT", 8080)))
EOF
- 터미널 에서 다음을 실행하여
requirements.txt파일을 만듭니다. 이 파일은 Python 패키지 요구사항을 처리합니다.
cat <<EOF > ~/gemini-cloud-assist-debug/auth_issue_demo/requirements.txt
flask==3.1.3
gunicorn==25.3.0
google-cloud-alloydb-connector[pg8000]==1.12.1
sqlalchemy==2.0.49
EOF
- 터미널 에서 다음을 실행하여
main.tf파일을 만듭니다. 이 파일은 생성할 Google Cloud 리소스를 처리합니다.
cat <<EOF > ~/gemini-cloud-assist-debug/terraform/main.tf
provider "google" {
  project = var.project_id
  region  = var.region
}

# Enable APIs
locals {
  apis = [
    "alloydb.googleapis.com",
    "run.googleapis.com",
    "artifactregistry.googleapis.com",
    "compute.googleapis.com",
    "geminicloudassist.googleapis.com",
    "monitoring.googleapis.com",
    "cloudasset.googleapis.com",
    "cloudbuild.googleapis.com",
    "recommender.googleapis.com",
    "appoptimize.googleapis.com"
  ]
}

resource "random_password" "db_pass" {
  count            = var.db_password == null ? 1 : 0
  length           = 16
  special          = true
  override_special = "!#$%&*()-_=+[]{}<>:?"
}

locals {
  db_password = var.db_password != null ? var.db_password : random_password.db_pass[0].result
}

resource "google_project_service" "apis" {
  for_each           = toset(local.apis)
  service            = each.value
  disable_on_destroy = false
}

# Service Account
resource "google_service_account" "auth_demo_sa" {
  account_id   = var.service_account_name
  display_name = "Auth Demo SA"
}

# AlloyDB Cluster
resource "google_alloydb_cluster" "rma_cluster" {
  cluster_id = var.cluster_id
  location   = var.region

  # Initial password, managed via variable or generated randomly
  initial_user {
    password = local.db_password
  }

  # Use default network as in the manual setup
  network_config {
    network = "projects/${var.project_id}/global/networks/default"
  }

  depends_on = [google_project_service.apis["alloydb.googleapis.com"]]
}

# AlloyDB Instance
resource "google_alloydb_instance" "rma_instance_1" {
  cluster       = google_alloydb_cluster.rma_cluster.name
  instance_id   = var.instance_id
  instance_type = "PRIMARY"

  machine_config {
    cpu_count = 2
  }

  network_config {
    enable_public_ip = true
  }

  depends_on = [google_alloydb_cluster.rma_cluster]
}

# Cloud Run Service
resource "google_cloud_run_service" "auth_issue_demo" {
  name     = var.cloud_run_service_name
  location = var.region

  template {
    spec {
      containers {
        image = var.cloud_run_image
        env {
          name  = "ALLOYDB_URI"
          value = "projects/${var.project_id}/locations/${var.region}/clusters/${var.cluster_id}/instances/${var.instance_id}"
        }
        env {
          name  = "DB_USER"
          value = "postgres"
        }
        env {
          name  = "DB_PASS"
          value = local.db_password
        }
        env {
          name  = "USE_PUBLIC_IP"
          value = "true"
        }
      }
      service_account_name = google_service_account.auth_demo_sa.email
    }
  }

  traffic {
    percent         = 100
    latest_revision = true
  }

  depends_on = [google_project_service.apis["run.googleapis.com"], google_alloydb_instance.rma_instance_1]
}

# Allow unauthenticated access to Cloud Run service (matching --allow-unauthenticated)
resource "google_cloud_run_service_iam_member" "public_access" {
  location = google_cloud_run_service.auth_issue_demo.location
  project  = google_cloud_run_service.auth_issue_demo.project
  service  = google_cloud_run_service.auth_issue_demo.name
  role     = "roles/run.invoker"
  member   = "allUsers"
}
EOF
- 터미널 에서 다음을 실행하여
variables.tf파일을 만듭니다. 이 파일은 Google Cloud 리소스의 Terraform 변수를 처리합니다.
cat <<EOF > ~/gemini-cloud-assist-debug/terraform/variables.tf
variable "project_id" {
  description = "The ID of the Google Cloud project."
  type        = string
}

variable "region" {
  description = "The region to deploy resources in."
  type        = string
  default     = "us-central1"
}

variable "cluster_id" {
  description = "The ID of the AlloyDB cluster."
  type        = string
  default     = "rma-cluster"
}

variable "instance_id" {
  description = "The ID of the AlloyDB instance."
  type        = string
  default     = "rma-instance-1"
}

variable "service_account_name" {
  description = "The name of the service account."
  type        = string
  default     = "auth-demo-sa"
}

variable "cloud_run_service_name" {
  description = "The name of the Cloud Run service."
  type        = string
  default     = "auth-issue-demo"
}

variable "cloud_run_image" {
  description = "The container image for the Cloud Run service."
  type        = string
}

variable "db_password" {
  description = "The database password. If not provided, a random one will be generated."
  type        = string
  sensitive   = true
  default     = null
}
EOF
- 터미널 에서 다음을 실행하여
setup_via_tf.sh파일을 만듭니다. 이 파일은 Python 패키지 요구사항을 처리합니다.
cat <<EOF > ~/gemini-cloud-assist-debug/setup_via_tf.sh
#!/bin/bash
set -e

# Get script directory and change to project root
SCRIPT_DIR="$( cd "$( dirname "${BASH_SOURCE[0]}" )" && pwd )"
cd "$SCRIPT_DIR"

# Load configuration from .env
if [ -f .env ]; then
    set -a
    source .env
    set +a
else
    echo "ERROR: .env file not found. Please create one with PROJECT_ID."
    exit 1
fi

if [ -z "$PROJECT_ID" ]; then
    echo "ERROR: PROJECT_ID is not set in .env file."
    exit 1
fi

REGION="us-central1"
CLUSTER_ID="rma-cluster"
INSTANCE_ID="rma-instance-1"
SA_NAME="auth-demo-sa"
SERVICE_NAME="auth-issue-demo"

echo "--- Terraform Setup for Auth Demo ---"
echo "Using Project: $PROJECT_ID"

# Get current Cloud Run image
echo "Fetching current Cloud Run image..."
IMAGE=$(gcloud run services describe $SERVICE_NAME --region=$REGION --project=$PROJECT_ID --format="value(spec.template.spec.containers[0].image)" 2>/dev/null || true)

if [ -z "$IMAGE" ]; then
    echo "WARNING: Could not find existing Cloud Run service image."
    echo "Using a placeholder image (gcr.io/cloudrun/hello) for initial Terraform apply."
    IMAGE="gcr.io/cloudrun/hello"
fi

echo "Found Image: $IMAGE"

cd terraform

# Initialize Terraform
echo "Initializing Terraform..."
terraform init

echo "Formatting Terraform files..."
terraform fmt

echo "Validating Terraform configuration..."
terraform validate

echo "------------------------------------------------"
echo "Applying changes..."
echo "------------------------------------------------"

terraform apply -var="project_id=$PROJECT_ID" -var="cloud_run_image=$IMAGE" -auto-approve

echo "------------------------------------------------"
echo "Building and deploying updated Cloud Run service..."
echo "------------------------------------------------"

gcloud run deploy $SERVICE_NAME \
  --source ../auth_issue_demo \
  --region $REGION \
  --project $PROJECT_ID \
  --service-account $SA_NAME@$PROJECT_ID.iam.gserviceaccount.com \
  --quiet
EOF
- 다음 명령어를 실행하여 셸 스크립트를 실행 가능하게 만듭니다.
chmod +x ~/gemini-cloud-assist-debug/setup_via_tf.sh
- 배포를 위해 Google Cloud 프로젝트 ID가 포함된
.env파일을 만듭니다.YOUR_PROJECT_ID필드를 업데이트합니다.
cat <<EOF > ~/gemini-cloud-assist-debug/.env
PROJECT_ID=YOUR_PROJECT_ID
USE_PUBLIC_IP=true
EOF
6. 애플리케이션 배포
애플리케이션 코드와 Google Cloud 리소스를 배포할 준비가 되었습니다. 최대 15분이 걸릴 수 있습니다.
터미널에서 다음 명령어를 실행합니다.
cd ~/gemini-cloud-assist-debug
./setup_via_tf.sh
구성요소가 배포되는 동안 Cloud Shell 편집기에서 파일을 탐색하여 자세히 알아보세요.
7. 오류 만들기 및 디버그
이제 애플리케이션에서 오류를 트리거합니다. 왼쪽 창에서 Cloud Run 을 엽니다. 그런 다음 auth-issue-demo 서비스를 클릭합니다.
- 서비스 세부정보 페이지 상단에 URL이 있습니다. URL을 복사하고 새 브라우저 탭을 엽니다. URL을 붙여넣고
/connect를 추가합니다. URL은 다음과 같이 표시됩니다.
https://auth-issue-demo-
- URL로 이동합니다. Cloud Run 인스턴스가 시작되는 데 몇 초 정도 걸릴 수 있습니다. 함께 사용할 경우 오류가 발생합니다.
- Cloud Run 서비스 세부정보 페이지로 돌아갑니다. 모니터링 가능성을 클릭한 후 로그를 클릭합니다. 오류를 포함하여 컨테이너의 로그가 표시됩니다. 오류 로그가 아직 제공되지 않는 경우 몇 초 정도 기다린 후 오른쪽 상단의 아이콘을 사용하여 페이지를 새로고침합니다.
- 오류 로그를 클릭하여 자세히 알아보세요. 기본 로그의 행에서 조사 아이콘 을 클릭합니다. 그런 다음 로그 조사 를 클릭합니다.
Cloud Assist 채팅 창이 열립니다. 조사를 완료하는 데 2~3분이 걸립니다.
조사가 완료되면 결과와 권장사항을 읽을 수 있습니다. Cloud Run이 AlloyDB 인스턴스에 액세스할 수 있도록 서비스 계정에 적절한 권한을 추가하는 것이 좋습니다.
8. 오류 수정
서비스 계정 권한 오류를 수정합니다.
- Cloud IAM 으로 이동합니다.
- 액세스 권한 부여 버튼을 클릭합니다. 주 구성원 창에서
auth-demo를 입력하기 시작하고 서비스 계정이 표시될 때까지 기다립니다. - 다음으로 서비스 계정에
AlloyDB Client역할을 추가한 후 저장을 클릭합니다.
전파하는 데 최대 1분이 걸립니다.
기다린 후 돌아가서 애플리케이션을 새로고침합니다. 이제 AlloyDB 데이터베이스에서 성공 메시지가 표시됩니다.
9. 축하합니다
축하합니다. 클라우드 조사 소개와 Google Cloud에서 애플리케이션 권한을 디버그하는 프로세스를 완료했습니다.
다음 단계
- 다양한 시나리오에서 Gemini Cloud Assist를 사용하는 방법을 보여주는 다른 가이드와 예시를 살펴보세요.
- Gemini Cloud Assist 문서에서 기능에 대해 자세히 알아보세요.