
1. บทนำ
Gemini Cloud Assist เป็นเอเจนต์ที่มีฟีเจอร์ครบถ้วนซึ่งรองรับปริมาณงานของ Google Cloud เอเจนต์คือพาร์ทเนอร์ของคุณในการออกแบบแอปพลิเคชันใหม่หรืออัปเดตแอปพลิเคชันที่มีอยู่ การติดตั้งใช้งานและการเรียกใช้ภาระงานใน Google Cloud การแก้ปัญหาภาระงาน และการเพิ่มประสิทธิภาพภาระงานเพื่อลดต้นทุนและเพิ่มประสิทธิภาพ
Gemini Cloud Assist ช่วยเพิ่มความสามารถในการตอบสนองต่อข้อผิดพลาดที่ไม่คาดคิดและช่วงหยุดทำงาน
สิ่งที่คุณจะได้เรียนรู้
- การติดตั้งใช้งาน: วิธีติดตั้งใช้งานแบ็กเอนด์และฐานข้อมูลพื้นฐานใน Google Cloud
- แก้ไขข้อบกพร่อง: วิธีที่ Gemini Cloud Assist ช่วยตรวจสอบและวิเคราะห์สาเหตุของปัญหาในระบบคลาวด์และโค้ดโดยอัตโนมัติ
- การแก้ไข: Gemini Cloud Assist ช่วยระบุการแก้ไขตามสาเหตุหลักได้อย่างไร
2. การตั้งค่าโปรเจ็กต์
บัญชี Google
หากยังไม่มีบัญชี Google ส่วนบุคคล คุณต้องสร้างบัญชี Google
ใช้บัญชีส่วนตัวแทนบัญชีของที่ทำงานหรือบัญชีโรงเรียน
ลงชื่อเข้าใช้คอนโซล Google Cloud
ลงชื่อเข้าใช้ คอนโซล Google Cloud โดยใช้บัญชี Google ส่วนบุคคล
เปิดใช้การเรียกเก็บเงิน
ตั้งค่าบัญชีสำหรับการเรียกเก็บเงินส่วนตัว
หากตั้งค่าการเรียกเก็บเงินโดยใช้เครดิต Google Cloud คุณจะข้ามขั้นตอนนี้ได้
หากต้องการตั้งค่าบัญชีสำหรับการเรียกเก็บเงินส่วนตัว ให้ไปที่นี่เพื่อเปิดใช้การเรียกเก็บเงินใน Cloud Console
ข้อควรทราบ
- การทำแล็บนี้ควรมีค่าใช้จ่ายน้อยกว่า $1 USD ในทรัพยากรระบบคลาวด์
- คุณสามารถทำตามขั้นตอนที่ส่วนท้ายของแล็บนี้เพื่อลบทรัพยากรเพื่อหลีกเลี่ยงการเรียกเก็บเงินเพิ่มเติม
- ผู้ใช้ใหม่มีสิทธิ์ใช้ช่วงทดลองใช้ฟรีมูลค่า$300 USD
สร้างโปรเจ็กต์ (ไม่บังคับ)
หากไม่มีโปรเจ็กต์ปัจจุบันที่ต้องการใช้สำหรับแล็บนี้ ให้สร้างโปรเจ็กต์ใหม่ที่นี่
3. เปิดเครื่องมือแก้ไข Cloud Shell
- คลิกลิงก์นี้เพื่อไปยัง Cloud Shell Editor โดยตรง
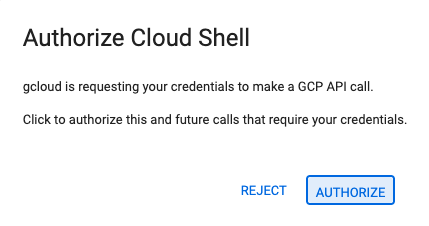
- หากระบบแจ้งให้ให้สิทธิ์ในขั้นตอนใดก็ตามในวันนี้ ให้คลิกให้สิทธิ์เพื่อดำเนินการต่อ
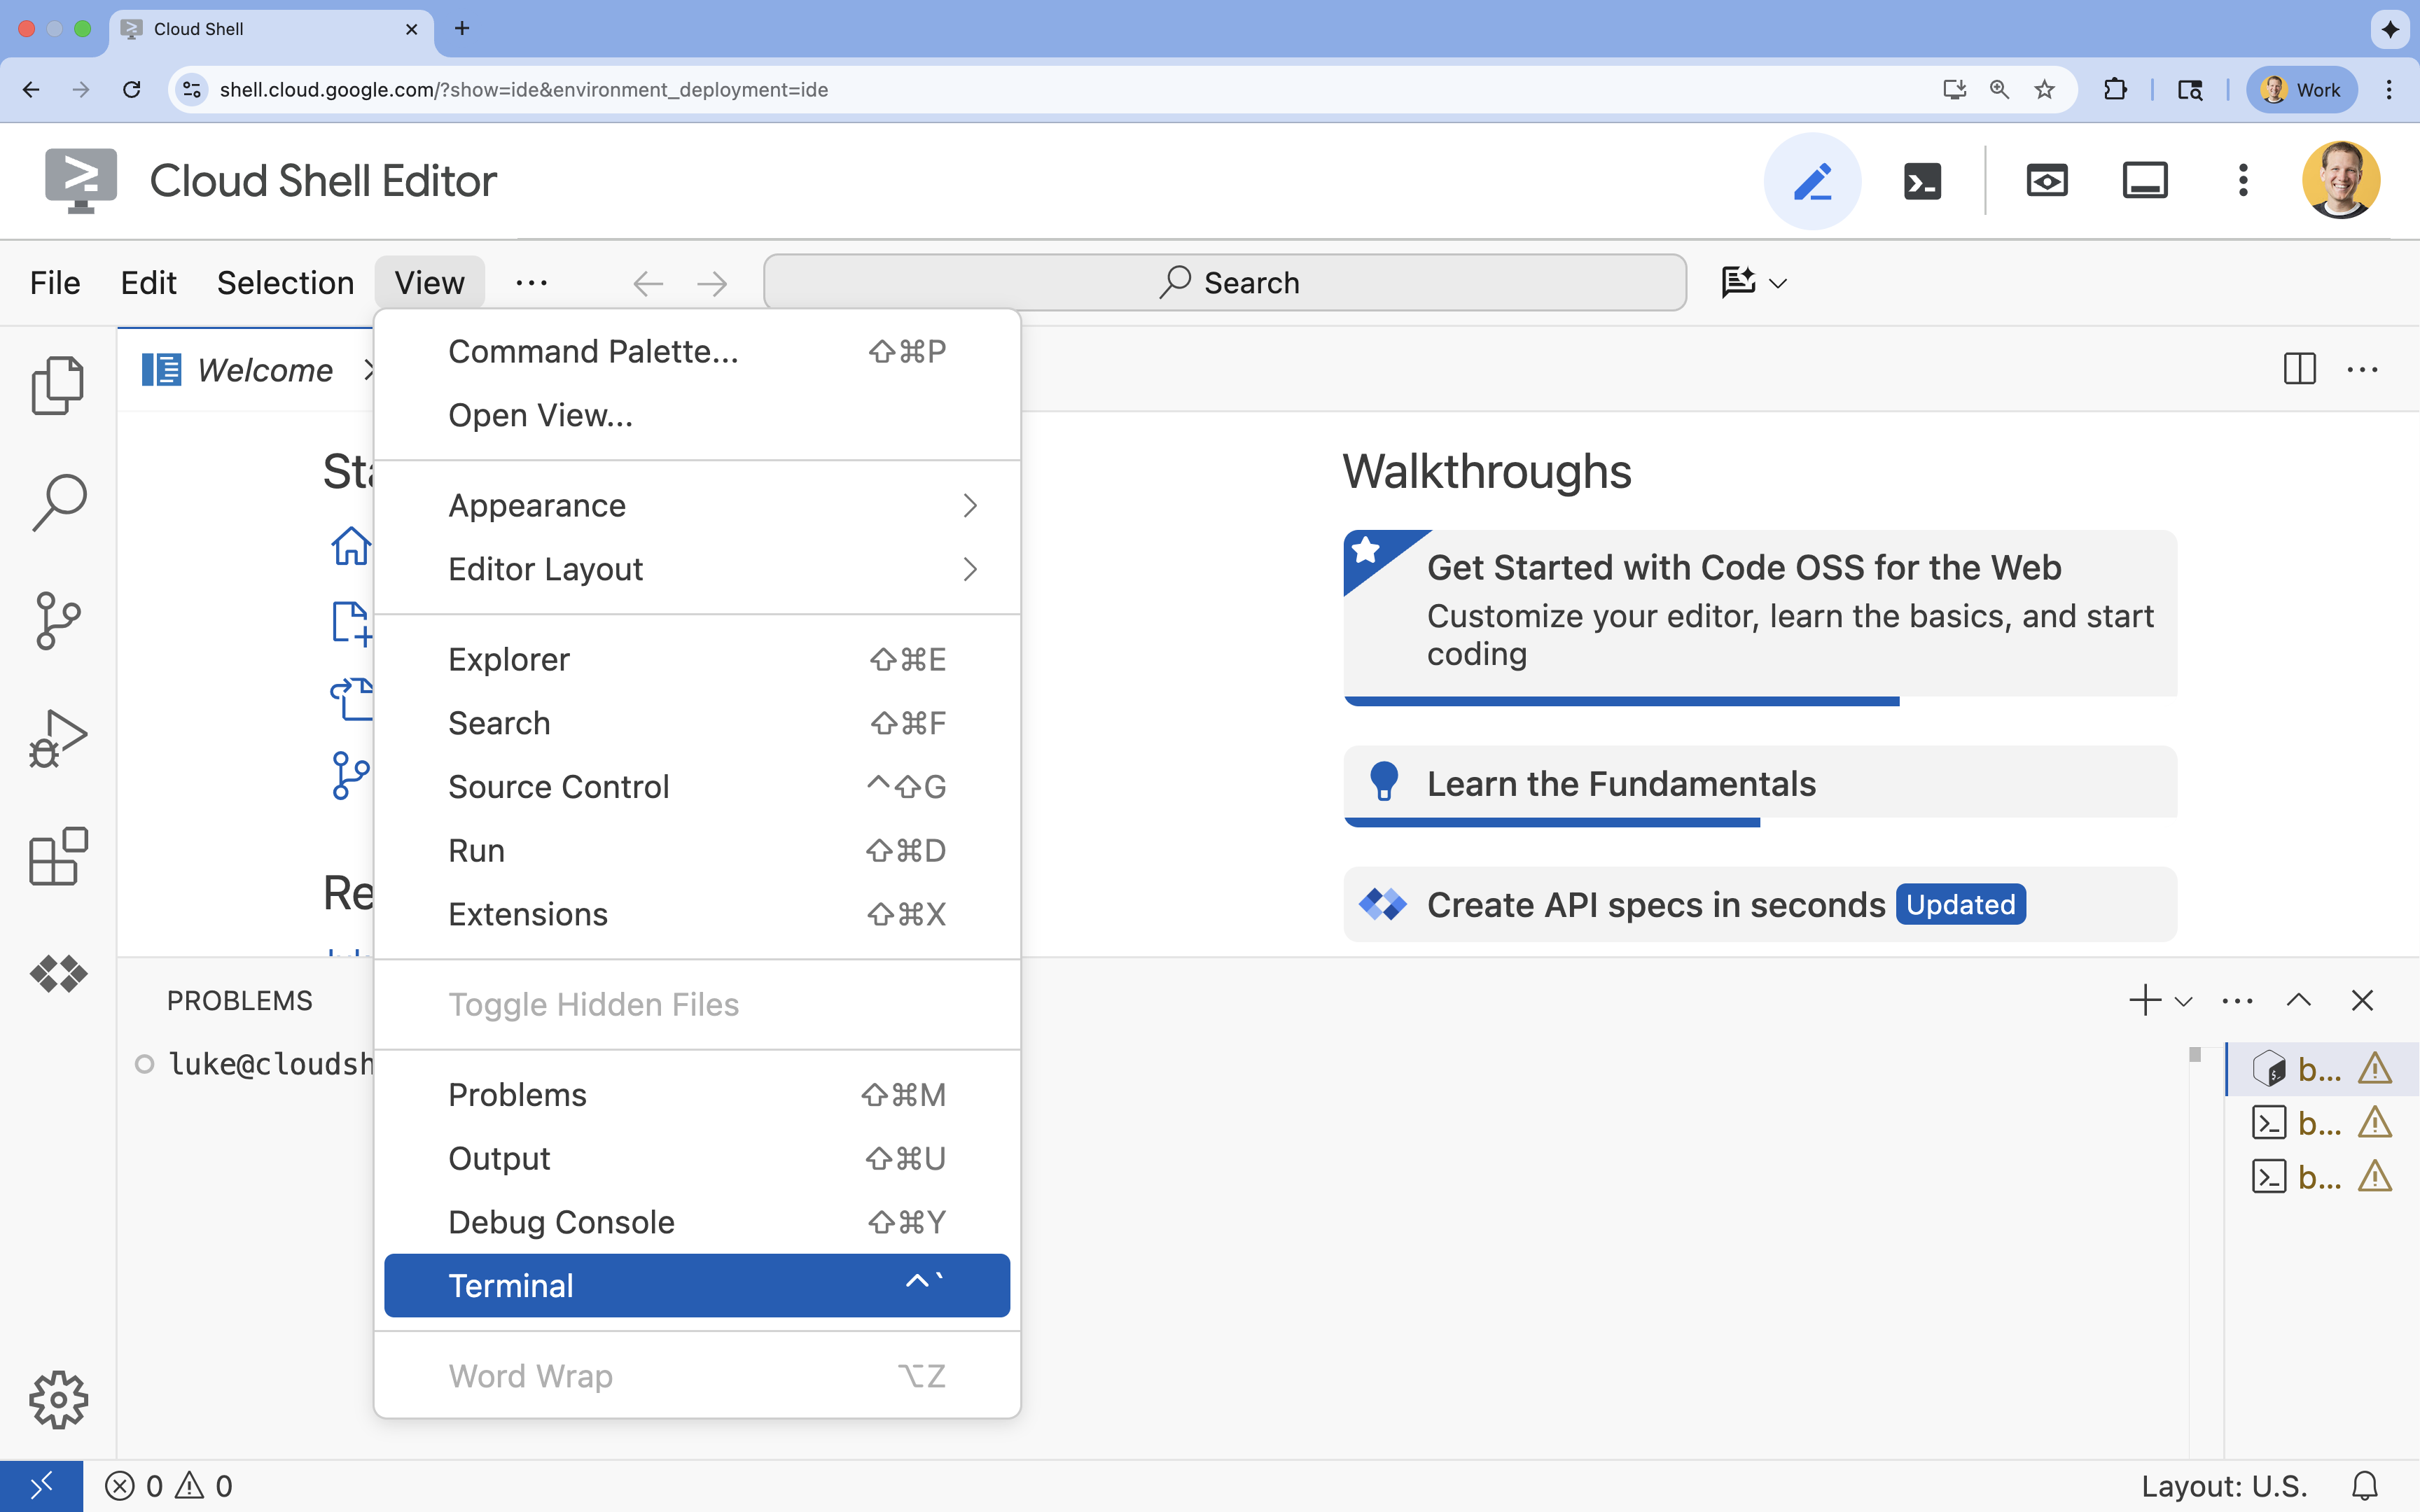
- หากเทอร์มินัลไม่ปรากฏที่ด้านล่างของหน้าจอ ให้เปิดโดยทำดังนี้
- คลิกดู
- คลิก Terminal
- ในเทอร์มินัล ให้ตั้งค่าโปรเจ็กต์ด้วยคำสั่งนี้
gcloud config set project [PROJECT_ID]- ตัวอย่าง
gcloud config set project lab-project-id-example - หากจำรหัสโปรเจ็กต์ไม่ได้ คุณสามารถแสดงรหัสโปรเจ็กต์ทั้งหมดได้โดยใช้คำสั่งต่อไปนี้
gcloud projects list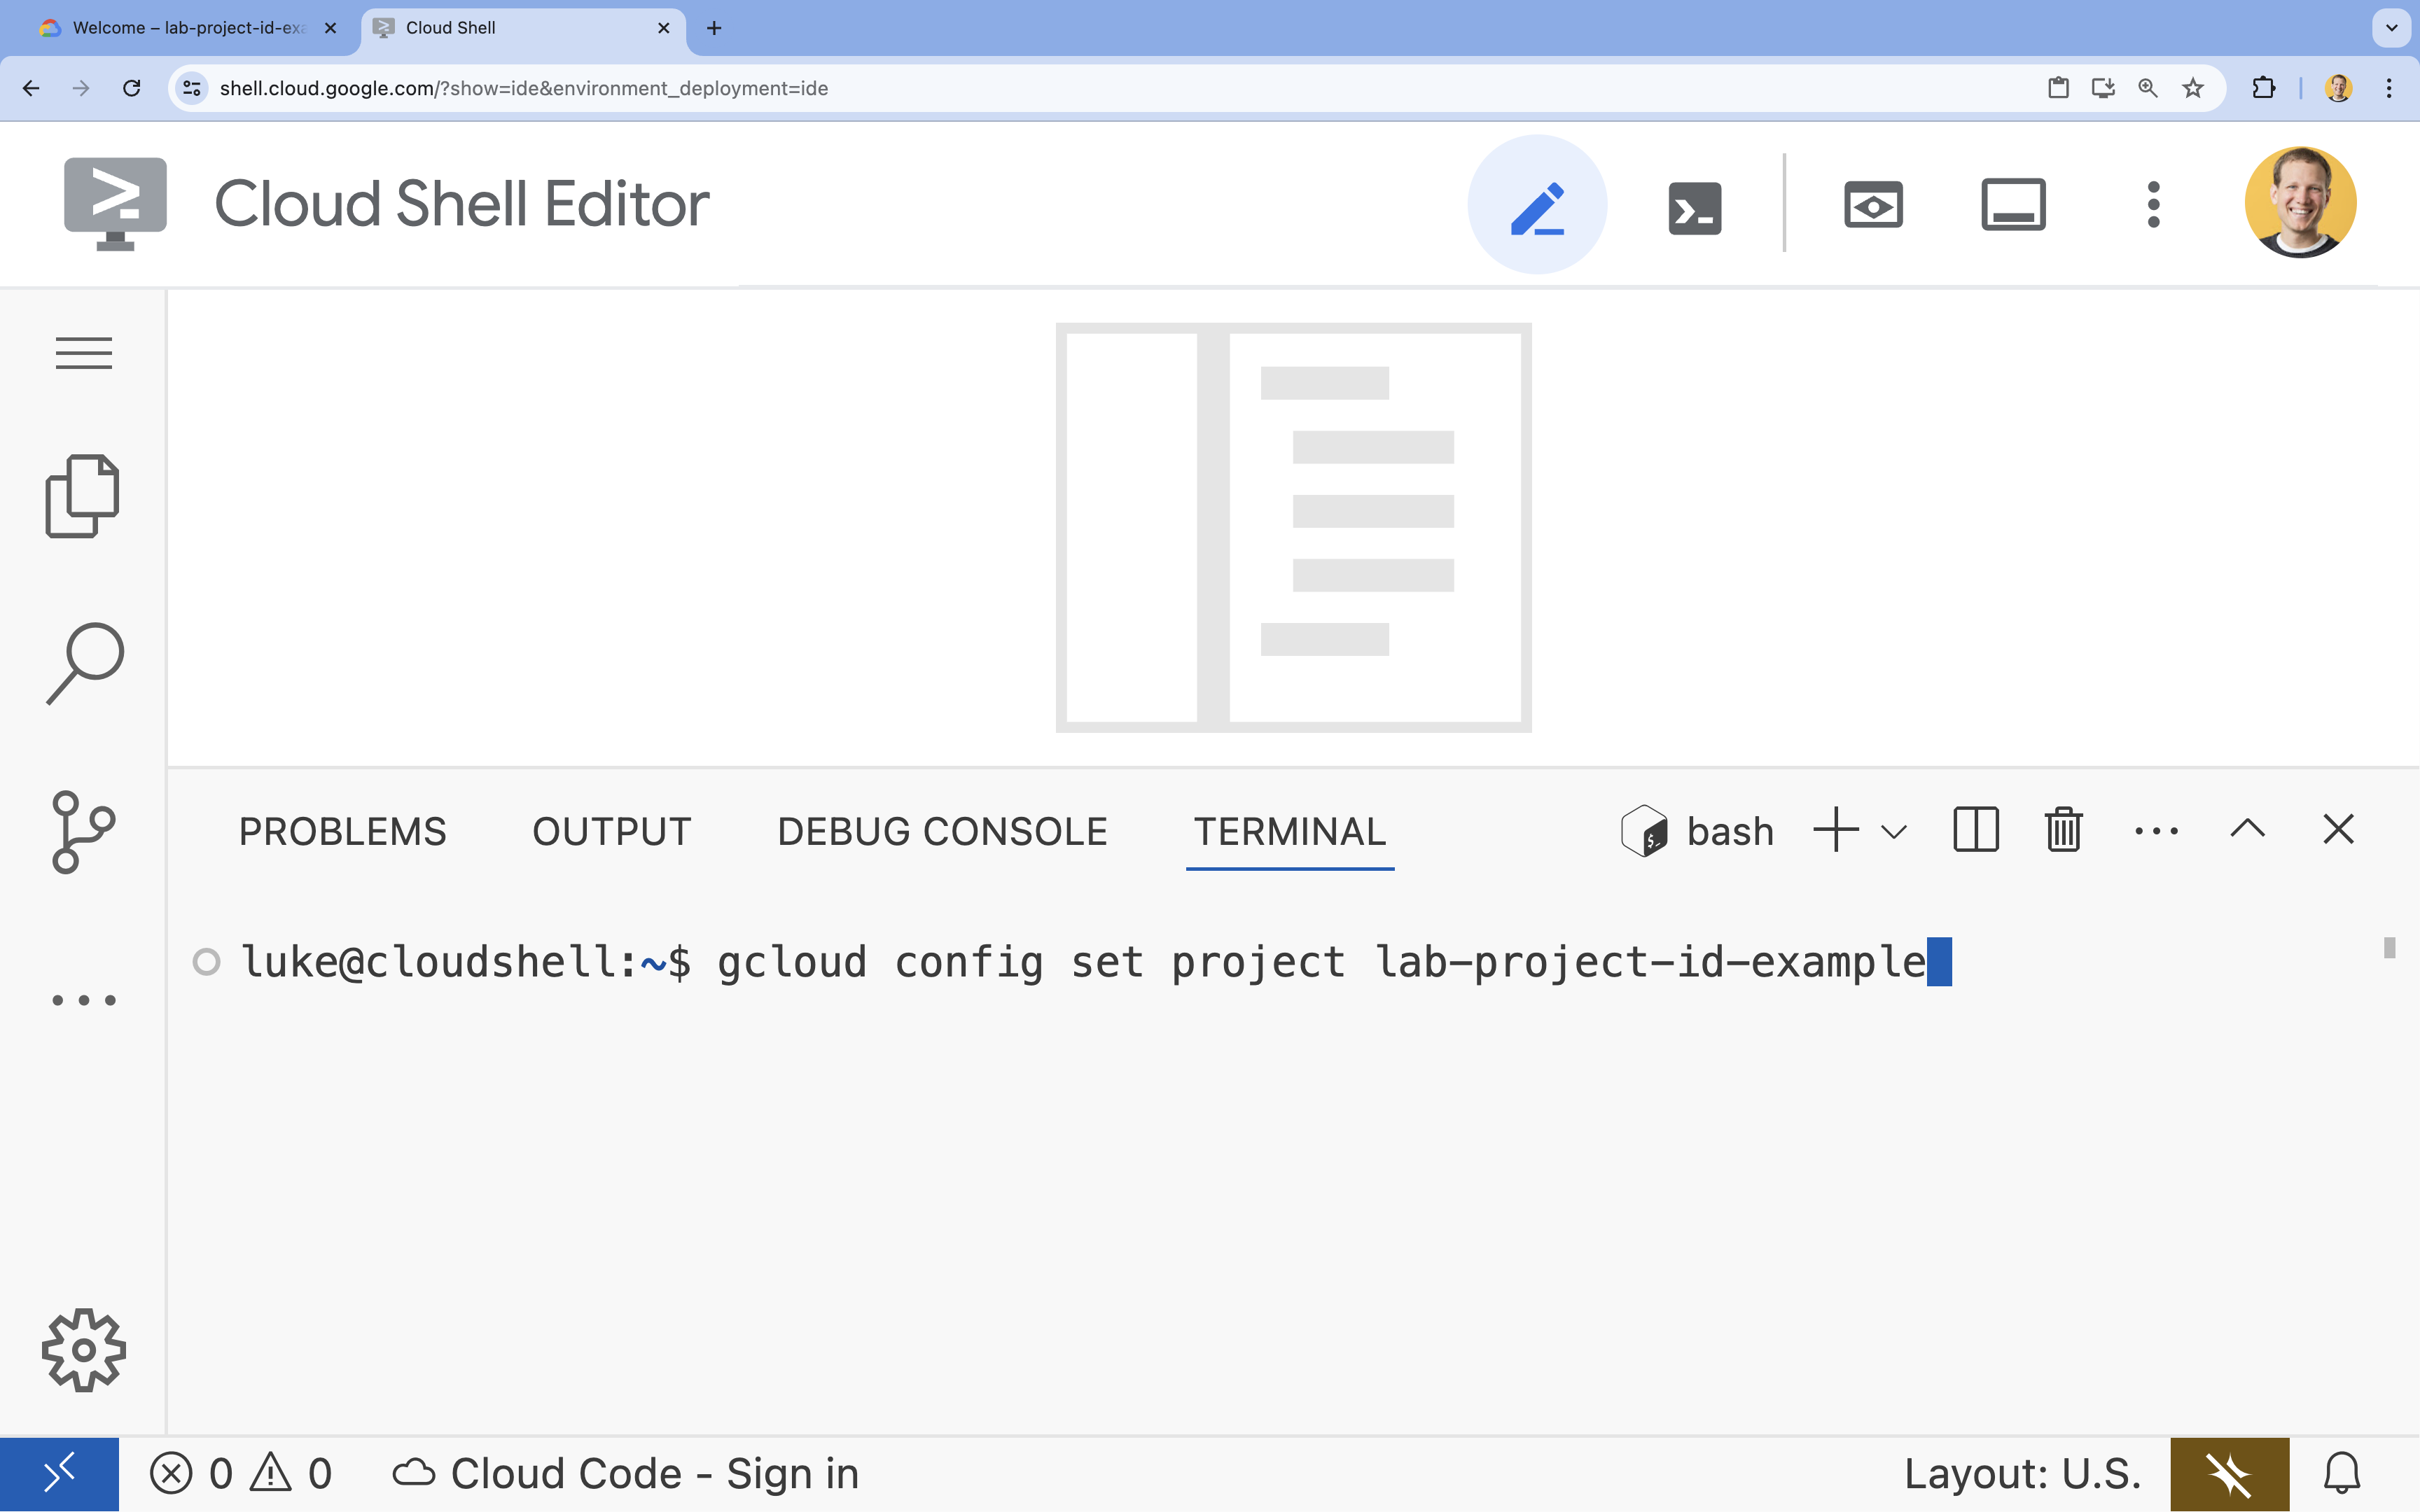
- ตัวอย่าง
- คุณควรเห็นข้อความต่อไปนี้
Updated property [core/project].
4. เปิดใช้ API
เปิดใช้ API ต่อไปนี้เพื่อให้คอมโพเนนต์ของแอปพลิเคชันทําการติดตั้งใช้งานและใช้ Google Cloud Assist ได้
ในเทอร์มินัล ให้เปิดใช้ API ดังนี้
```bash
gcloud services enable \
  container.googleapis.com \
  artifactregistry.googleapis.com \
  cloudbuild.googleapis.com \
  alloydb.googleapis.com \
  run.googleapis.com
```
<br>
When the command finishes, you should see an output like the following:
<br>

```console
Operation "operations/acf.p2-176675280136-b03ab5e4-3483-4ebf-9655-43dc3b345c63" finished successfully.
```
5. เตรียมโปรเจ็กต์
คุณจะสร้างแอปพลิเคชันและการติดตั้งใช้งานพื้นฐานเพื่อทดสอบ Cloud Assist
สร้างไดเรกทอรี
- เปิด Cloud Shell Editor หรือสภาพแวดล้อมการพัฒนาที่คุณเลือก
- สร้างโฟลเดอร์ใหม่
mkdir -p ~/gemini-cloud-assist-debug mkdir -p ~/gemini-cloud-assist-debug/auth_issue_demo mkdir -p ~/gemini-cloud-assist-debug/terraform cd ~/gemini-cloud-assist-debug - ในเทอร์มินัล ให้เรียกใช้คำสั่งต่อไปนี้เพื่อเปิดพื้นที่ทำงานของ Cloud Shell Editor
cloudshell open-workspace ~/gemini-cloud-assist-debug
สร้างไฟล์
ตอนนี้คุณจะสร้างไฟล์เริ่มต้นที่จำเป็นสำหรับแอปพลิเคชัน
- สร้าง Dockerfile โดยเรียกใช้คำสั่งต่อไปนี้ในเทอร์มินัล ไฟล์นี้จัดการการสร้างคอนเทนเนอร์แอปพลิเคชัน
cat <<EOF > ~/gemini-cloud-assist-debug/auth_issue_demo/Dockerfile
FROM python:3.11-slim

WORKDIR /app

COPY requirements.txt .
RUN pip install --no-cache-dir -r requirements.txt

COPY main.py .

CMD ["gunicorn", "--bind", "0.0.0.0:8080", "main:app"]
EOF
- สร้างไฟล์
main.pyโดยเรียกใช้คำสั่งต่อไปนี้ในเทอร์มินัล ไฟล์นี้มีแอปพลิเคชันที่เขียนด้วย Python
cat <<EOF > ~/gemini-cloud-assist-debug/auth_issue_demo/main.py
import os
import logging
from flask import Flask
from google.cloud.alloydb.connector import Connector
import sqlalchemy

app = Flask(__name__)

# Configure logging
logging.basicConfig(level=logging.INFO)
logger = logging.getLogger(__name__)

# Configuration from Environment Variables
# The fully qualified instance URI: projects/<PROJECT>/locations/<REGION>/clusters/<CLUSTER>/instances/<INSTANCE>
ALLOYDB_URI = os.environ.get("ALLOYDB_URI")
DB_USER = os.environ.get("DB_USER", "auth-debug")
DB_PASS = os.environ.get("DB_PASS", "debug-auth")
DB_NAME = os.environ.get("DB_NAME", "postgres")
USE_PUBLIC_IP = os.environ.get("USE_PUBLIC_IP", "false").lower() == "true"

# Initialize Connector lazily
_connector = None

def get_connector():
    global _connector
    if _connector is None:
        _connector = Connector()
    return _connector

def getconn():
    connector = get_connector()
    ip_type = "PUBLIC" if USE_PUBLIC_IP else "PRIVATE"

    conn = connector.connect(
        ALLOYDB_URI,
        "pg8000",
        user=DB_USER,
        password=DB_PASS,
        db=DB_NAME,
        ip_type=ip_type
    )
    return conn

@app.route("/")
def index():
    return "AlloyDB Auth Demo. /connect to test.", 200

@app.route("/connect")
def connect_db():
    if not ALLOYDB_URI:
        return "FAILURE: ALLOYDB_URI env var is not set.", 500

    try:
        logger.info(f"Attempting connection to {ALLOYDB_URI} with user {DB_USER}...")

        # Create connection pool
        pool = sqlalchemy.create_engine(
            "postgresql+pg8000://",
            creator=getconn,
        )

        with pool.connect() as db_conn:
            # Simple query to validate connection
            result = db_conn.execute(sqlalchemy.text("SELECT NOW()")).fetchone()
            timestamp = result[0]

        msg = f"SUCCESS: Connected to AlloyDB! DB Time: {timestamp}"
        logger.info(msg)
        return msg, 200

    except Exception as e:
        logger.exception("Connection failed")
        # Return the error to the caller to visualize the auth failure
        return f"FAILURE: Connection Error.\nDetails: {str(e)}", 500

if __name__ == "__main__":
    app.run(host="0.0.0.0", port=int(os.environ.get("PORT", 8080)))
EOF
- สร้างไฟล์
requirements.txtโดยเรียกใช้คำสั่งต่อไปนี้ในเทอร์มินัล ไฟล์นี้จัดการข้อกำหนดของแพ็กเกจ Python
cat <<EOF > ~/gemini-cloud-assist-debug/auth_issue_demo/requirements.txt
flask==3.1.3
gunicorn==25.3.0
google-cloud-alloydb-connector[pg8000]==1.12.1
sqlalchemy==2.0.49
EOF
- สร้างไฟล์
main.tfโดยเรียกใช้คำสั่งต่อไปนี้ในเทอร์มินัล ไฟล์นี้จัดการทรัพยากร Google Cloud ที่จะสร้าง
cat <<EOF > ~/gemini-cloud-assist-debug/terraform/main.tf
provider "google" {
  project = var.project_id
  region  = var.region
}

# Enable APIs
locals {
  apis = [
    "alloydb.googleapis.com",
    "run.googleapis.com",
    "artifactregistry.googleapis.com",
    "compute.googleapis.com",
    "geminicloudassist.googleapis.com",
    "monitoring.googleapis.com",
    "cloudasset.googleapis.com",
    "cloudbuild.googleapis.com",
    "recommender.googleapis.com",
    "appoptimize.googleapis.com"
  ]
}

resource "random_password" "db_pass" {
  count            = var.db_password == null ? 1 : 0
  length           = 16
  special          = true
  override_special = "!#$%&*()-_=+[]{}<>:?"
}

locals {
  db_password = var.db_password != null ? var.db_password : random_password.db_pass[0].result
}

resource "google_project_service" "apis" {
  for_each           = toset(local.apis)
  service            = each.value
  disable_on_destroy = false
}

# Service Account
resource "google_service_account" "auth_demo_sa" {
  account_id   = var.service_account_name
  display_name = "Auth Demo SA"
}

# AlloyDB Cluster
resource "google_alloydb_cluster" "rma_cluster" {
  cluster_id = var.cluster_id
  location   = var.region

  # Initial password, managed via variable or generated randomly
  initial_user {
    password = local.db_password
  }

  # Use default network as in the manual setup
  network_config {
    network = "projects/${var.project_id}/global/networks/default"
  }

  depends_on = [google_project_service.apis["alloydb.googleapis.com"]]
}

# AlloyDB Instance
resource "google_alloydb_instance" "rma_instance_1" {
  cluster       = google_alloydb_cluster.rma_cluster.name
  instance_id   = var.instance_id
  instance_type = "PRIMARY"

  machine_config {
    cpu_count = 2
  }

  network_config {
    enable_public_ip = true
  }

  depends_on = [google_alloydb_cluster.rma_cluster]
}

# Cloud Run Service
resource "google_cloud_run_service" "auth_issue_demo" {
  name     = var.cloud_run_service_name
  location = var.region

  template {
    spec {
      containers {
        image = var.cloud_run_image
        env {
          name  = "ALLOYDB_URI"
          value = "projects/${var.project_id}/locations/${var.region}/clusters/${var.cluster_id}/instances/${var.instance_id}"
        }
        env {
          name  = "DB_USER"
          value = "postgres"
        }
        env {
          name  = "DB_PASS"
          value = local.db_password
        }
        env {
          name  = "USE_PUBLIC_IP"
          value = "true"
        }
      }
      service_account_name = google_service_account.auth_demo_sa.email
    }
  }

  traffic {
    percent         = 100
    latest_revision = true
  }

  depends_on = [google_project_service.apis["run.googleapis.com"], google_alloydb_instance.rma_instance_1]
}

# Allow unauthenticated access to Cloud Run service (matching --allow-unauthenticated)
resource "google_cloud_run_service_iam_member" "public_access" {
  location = google_cloud_run_service.auth_issue_demo.location
  project  = google_cloud_run_service.auth_issue_demo.project
  service  = google_cloud_run_service.auth_issue_demo.name
  role     = "roles/run.invoker"
  member   = "allUsers"
}
EOF
- สร้างไฟล์
variables.tfโดยเรียกใช้คำสั่งต่อไปนี้ในเทอร์มินัล ไฟล์นี้จัดการตัวแปร Terraform สำหรับทรัพยากร Google Cloud
cat <<EOF > ~/gemini-cloud-assist-debug/terraform/variables.tf
variable "project_id" {
  description = "The ID of the Google Cloud project."
  type        = string
}

variable "region" {
  description = "The region to deploy resources in."
  type        = string
  default     = "us-central1"
}

variable "cluster_id" {
  description = "The ID of the AlloyDB cluster."
  type        = string
  default     = "rma-cluster"
}

variable "instance_id" {
  description = "The ID of the AlloyDB instance."
  type        = string
  default     = "rma-instance-1"
}

variable "service_account_name" {
  description = "The name of the service account."
  type        = string
  default     = "auth-demo-sa"
}

variable "cloud_run_service_name" {
  description = "The name of the Cloud Run service."
  type        = string
  default     = "auth-issue-demo"
}

variable "cloud_run_image" {
  description = "The container image for the Cloud Run service."
  type        = string
}

variable "db_password" {
  description = "The database password. If not provided, a random one will be generated."
  type        = string
  sensitive   = true
  default     = null
}
EOF
- สร้างไฟล์
setup_via_tf.shโดยเรียกใช้คำสั่งต่อไปนี้ในเทอร์มินัล ไฟล์นี้จัดการข้อกำหนดของแพ็กเกจ Python
cat <<EOF > ~/gemini-cloud-assist-debug/setup_via_tf.sh
#!/bin/bash
set -e

# Get script directory and change to project root
SCRIPT_DIR="$( cd "$( dirname "${BASH_SOURCE[0]}" )" && pwd )"
cd "$SCRIPT_DIR"

# Load configuration from .env
if [ -f .env ]; then
    set -a
    source .env
    set +a
else
    echo "ERROR: .env file not found. Please create one with PROJECT_ID."
    exit 1
fi

if [ -z "$PROJECT_ID" ]; then
    echo "ERROR: PROJECT_ID is not set in .env file."
    exit 1
fi

REGION="us-central1"
CLUSTER_ID="rma-cluster"
INSTANCE_ID="rma-instance-1"
SA_NAME="auth-demo-sa"
SERVICE_NAME="auth-issue-demo"

echo "--- Terraform Setup for Auth Demo ---"
echo "Using Project: $PROJECT_ID"

# Get current Cloud Run image
echo "Fetching current Cloud Run image..."
IMAGE=$(gcloud run services describe $SERVICE_NAME --region=$REGION --project=$PROJECT_ID --format="value(spec.template.spec.containers[0].image)" 2>/dev/null || true)

if [ -z "$IMAGE" ]; then
    echo "WARNING: Could not find existing Cloud Run service image."
    echo "Using a placeholder image (gcr.io/cloudrun/hello) for initial Terraform apply."
    IMAGE="gcr.io/cloudrun/hello"
fi

echo "Found Image: $IMAGE"

cd terraform

# Initialize Terraform
echo "Initializing Terraform..."
terraform init

echo "Formatting Terraform files..."
terraform fmt

echo "Validating Terraform configuration..."
terraform validate

echo "------------------------------------------------"
echo "Applying changes..."
echo "------------------------------------------------"

terraform apply -var="project_id=$PROJECT_ID" -var="cloud_run_image=$IMAGE" -auto-approve

echo "------------------------------------------------"
echo "Building and deploying updated Cloud Run service..."
echo "------------------------------------------------"

gcloud run deploy $SERVICE_NAME \
  --source ../auth_issue_demo \
  --region $REGION \
  --project $PROJECT_ID \
  --service-account $SA_NAME@$PROJECT_ID.iam.gserviceaccount.com \
  --quiet
EOF
- เรียกใช้คำสั่งต่อไปนี้เพื่อให้สคริปต์ของ Shell เรียกใช้งานได้
chmod +x ~/gemini-cloud-assist-debug/setup_via_tf.sh
- สร้างไฟล์
.envที่มีรหัสโปรเจ็กต์ที่อยู่ในระบบคลาวด์ของ Google สำหรับการทำให้ใช้งานได้ อัปเดตฟิลด์YOUR_PROJECT_IDโดยทำดังนี้
cat <<EOF > ~/gemini-cloud-assist-debug/.env
PROJECT_ID=YOUR_PROJECT_ID
USE_PUBLIC_IP=true
EOF
6. ติดตั้งใช้งานแอปพลิเคชัน
โค้ดของแอปพลิเคชันและทรัพยากร Google Cloud พร้อมใช้งานแล้ว การดำเนินการนี้อาจใช้เวลาสูงสุด 15 นาที
เรียกใช้คำสั่งต่อไปนี้จากเทอร์มินัล
cd ~/gemini-cloud-assist-debug
./setup_via_tf.sh
ขณะที่คอมโพเนนต์กำลังติดตั้งใช้งาน ให้เรียกดูไฟล์ใน Cloud Shell Editor เพื่อดูข้อมูลเพิ่มเติม
7. สร้างและแก้ไขข้อบกพร่อง
ตอนนี้เราจะทริกเกอร์ข้อผิดพลาดจากแอปพลิเคชัน เปิด Cloud Run ในแผงด้านซ้าย จากนั้นคลิกบริการ auth-issue-demo
- ที่ด้านบนของหน้ารายละเอียดบริการจะมี URL คัดลอก URL แล้วเปิดแท็บเบราว์เซอร์ใหม่ วาง URL แล้วเพิ่ม
/connectURL จะมีลักษณะดังนี้
https://auth-issue-demo-
- ไปที่ URL อินสแตนซ์ Cloud Run อาจใช้เวลาสักครู่ในการเริ่มต้น คุณจะได้รับข้อผิดพลาด
- กลับไปที่หน้ารายละเอียดบริการ Cloud Run คลิกการสังเกตการณ์ แล้วคลิกบันทึก คุณจะเห็นบันทึกสำหรับคอนเทนเนอร์ รวมถึงข้อผิดพลาด หากยังไม่มีบันทึกข้อผิดพลาด ให้รอสักครู่แล้วรีเฟรชหน้าเว็บโดยใช้ไอคอนที่ด้านขวาบน
- คลิกบันทึกข้อผิดพลาดเพื่ออ่านเพิ่มเติม คลิกไอคอนตรวจสอบในบรรทัดของบันทึกหลัก จากนั้นคลิกตรวจสอบบันทึก
แผงแชท Cloud Assist จะเปิดขึ้น การตรวจสอบจะใช้เวลา 2-3 นาที
เมื่อการตรวจสอบเสร็จสิ้นแล้ว คุณจะอ่านผลลัพธ์และคำแนะนำได้ มีคำแนะนำให้เพิ่มการให้สิทธิ์ที่เหมาะสมลงในบัญชีบริการเพื่อให้ Cloud Run เข้าถึงอินสแตนซ์ AlloyDB ได้
8. แก้ไขข้อผิดพลาด
แก้ไขข้อผิดพลาดเกี่ยวกับสิทธิ์ของบัญชีบริการ
- ไปที่ Cloud IAM
- คลิกปุ่มให้สิทธิ์เข้าถึง ในบานหน้าต่างหลัก ให้เริ่มพิมพ์
auth-demoแล้วรอให้บัญชีบริการแสดง - จากนั้นเพิ่มบทบาท
AlloyDB Clientให้กับบัญชีบริการ แล้วคลิกบันทึก
การดำเนินการนี้อาจใช้เวลาสูงสุด 1 นาที
เมื่อรอจนครบเวลาแล้ว ให้กลับไปรีเฟรชแอปพลิเคชัน ตอนนี้คุณจะเห็นข้อความแสดงความสำเร็จจากฐานข้อมูล AlloyDB
9. ขอแสดงความยินดี
ยินดีด้วย คุณได้เรียนรู้ข้อมูลเบื้องต้นเกี่ยวกับการตรวจสอบระบบคลาวด์และกระบวนการแก้ไขข้อบกพร่องของสิทธิ์ของแอปพลิเคชันใน Google Cloud เรียบร้อยแล้ว
ขั้นตอนต่อไปคืออะไร
- ดูคำแนะนำและตัวอย่างอื่นๆ ที่แสดงวิธีใช้ Gemini Cloud Assist สำหรับสถานการณ์ต่างๆ ได้ที่
- อ่านเอกสารประกอบของ Gemini Cloud Assist เพื่อดูข้อมูลเพิ่มเติมเกี่ยวกับฟีเจอร์และความสามารถ