
1. Giới thiệu
Gemini Cloud Assist là một tác nhân có đầy đủ tính năng, hỗ trợ các khối lượng công việc của bạn trên Google Cloud. Tác nhân này là đối tác của bạn trong việc thiết kế các ứng dụng mới hoặc cập nhật các ứng dụng hiện có, triển khai và chạy các tải công việc trong Google Cloud, khắc phục sự cố tải công việc và tối ưu hoá các tải công việc đó về chi phí và hiệu suất.
Gemini Cloud Assist giúp bạn nâng cao khả năng ứng phó với các lỗi và thời gian ngừng hoạt động không mong muốn.
Kiến thức bạn sẽ học được
- Triển khai: Cách triển khai một cơ sở dữ liệu và phần phụ trợ cơ bản lên Google Cloud.
- Gỡ lỗi: Cách Gemini Cloud Assist tự động hoá quá trình điều tra và phân tích nguyên nhân cốt lõi của các vấn đề về đám mây và mã.
- Khắc phục: Cách Gemini Cloud Assist giúp xác định các bản sửa lỗi dựa trên nguyên nhân gốc.
2. Thiết lập dự án
Tài khoản Google
Nếu chưa có Tài khoản Google cá nhân, bạn phải tạo một Tài khoản Google.
Sử dụng tài khoản cá nhân thay vì tài khoản do nơi làm việc hoặc trường học cấp.
Đăng nhập vào Google Cloud Console
Đăng nhập vào Google Cloud Console bằng Tài khoản Google cá nhân.
Bật thanh toán
Thiết lập tài khoản thanh toán cá nhân
Nếu thiết lập thông tin thanh toán bằng tín dụng Google Cloud, bạn có thể bỏ qua bước này.
Để thiết lập tài khoản thanh toán cá nhân, hãy truy cập vào đây để bật tính năng thanh toán trong Cloud Console.
Một số lưu ý:
- Việc hoàn thành bài tập thực hành này sẽ tốn ít hơn 1 USD cho các tài nguyên trên đám mây.
- Bạn có thể làm theo các bước ở cuối bài thực hành này để xoá tài nguyên nhằm tránh bị tính thêm phí.
- Người dùng mới đủ điều kiện dùng thử miễn phí trị giá 300 USD.
Tạo dự án (không bắt buộc)
Nếu bạn không có dự án hiện tại nào muốn sử dụng cho lớp học này, hãy tạo một dự án mới tại đây.
3. Mở Trình chỉnh sửa Cloud Shell
- Nhấp vào đường liên kết này để chuyển trực tiếp đến Cloud Shell Editor
- Nếu được nhắc uỷ quyền vào bất kỳ thời điểm nào trong ngày hôm nay, hãy nhấp vào Uỷ quyền để tiếp tục.
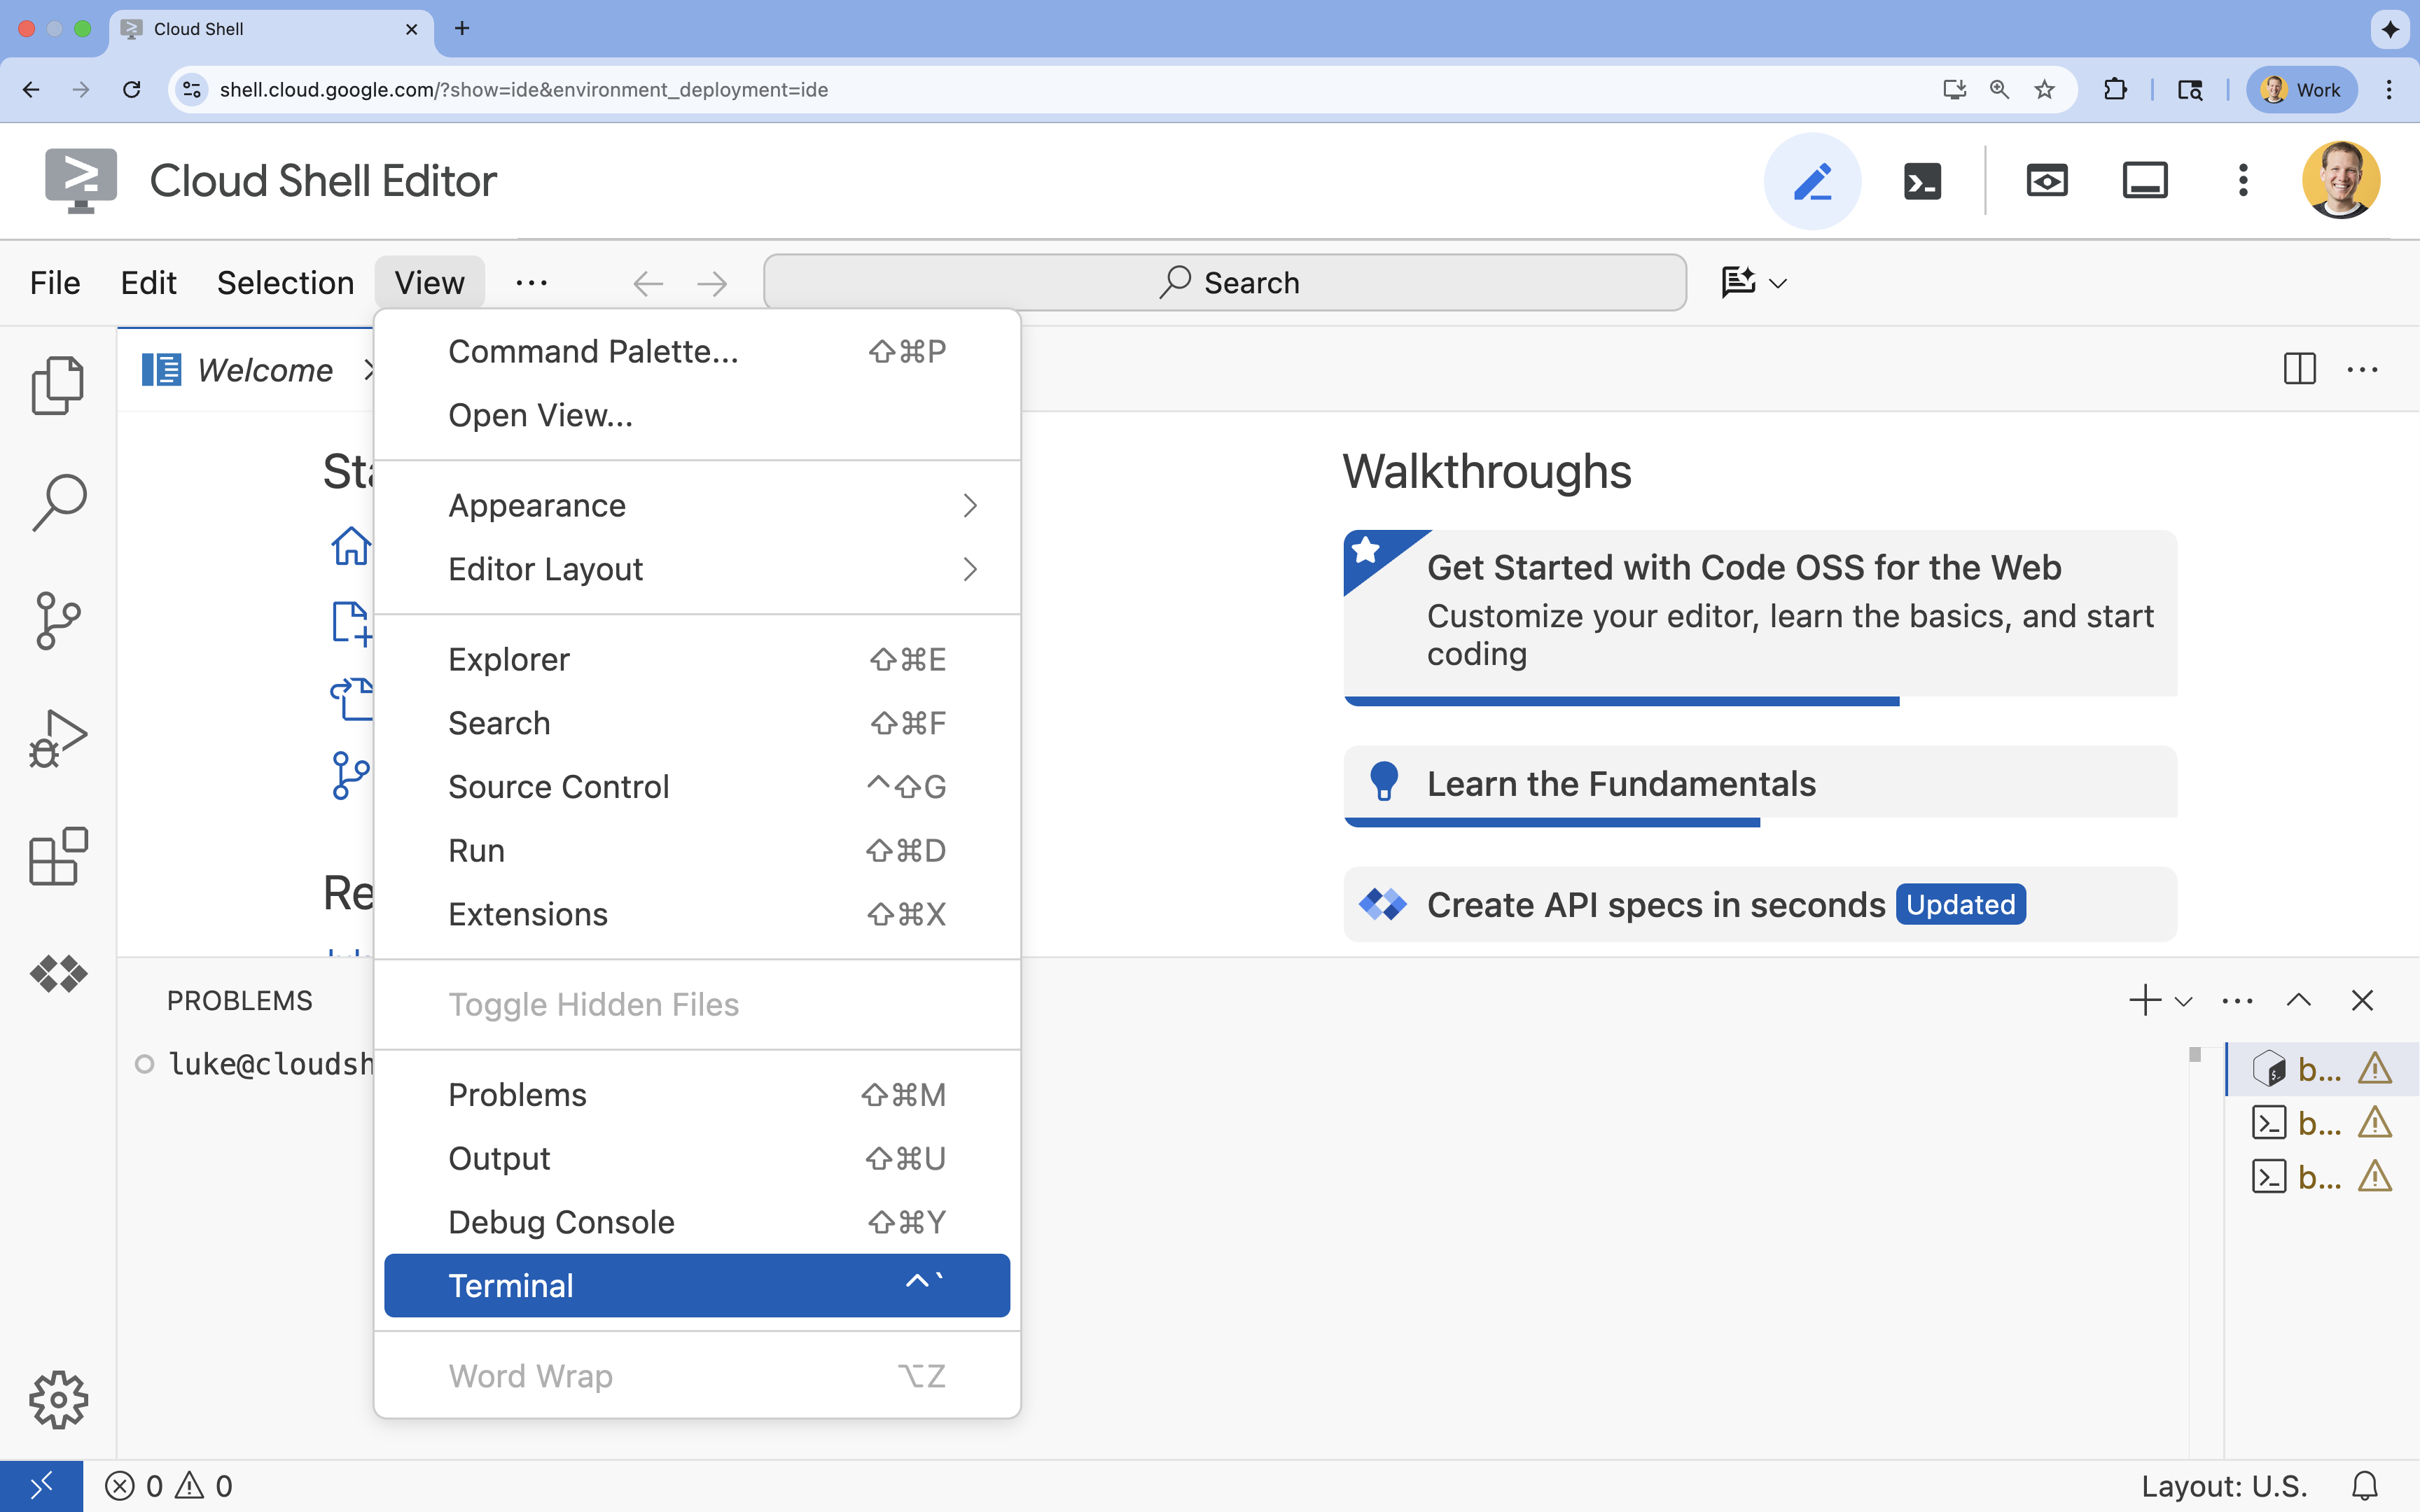
- Nếu thiết bị đầu cuối không xuất hiện ở cuối màn hình, hãy mở thiết bị đầu cuối:
- Nhấp vào Xem
- Nhấp vào Terminal (Thiết bị đầu cuối)
- Trong cửa sổ dòng lệnh, hãy thiết lập dự án bằng lệnh sau:
gcloud config set project [PROJECT_ID]- Ví dụ:
gcloud config set project lab-project-id-example - Nếu không nhớ mã dự án, bạn có thể liệt kê tất cả mã dự án bằng cách dùng lệnh:
gcloud projects list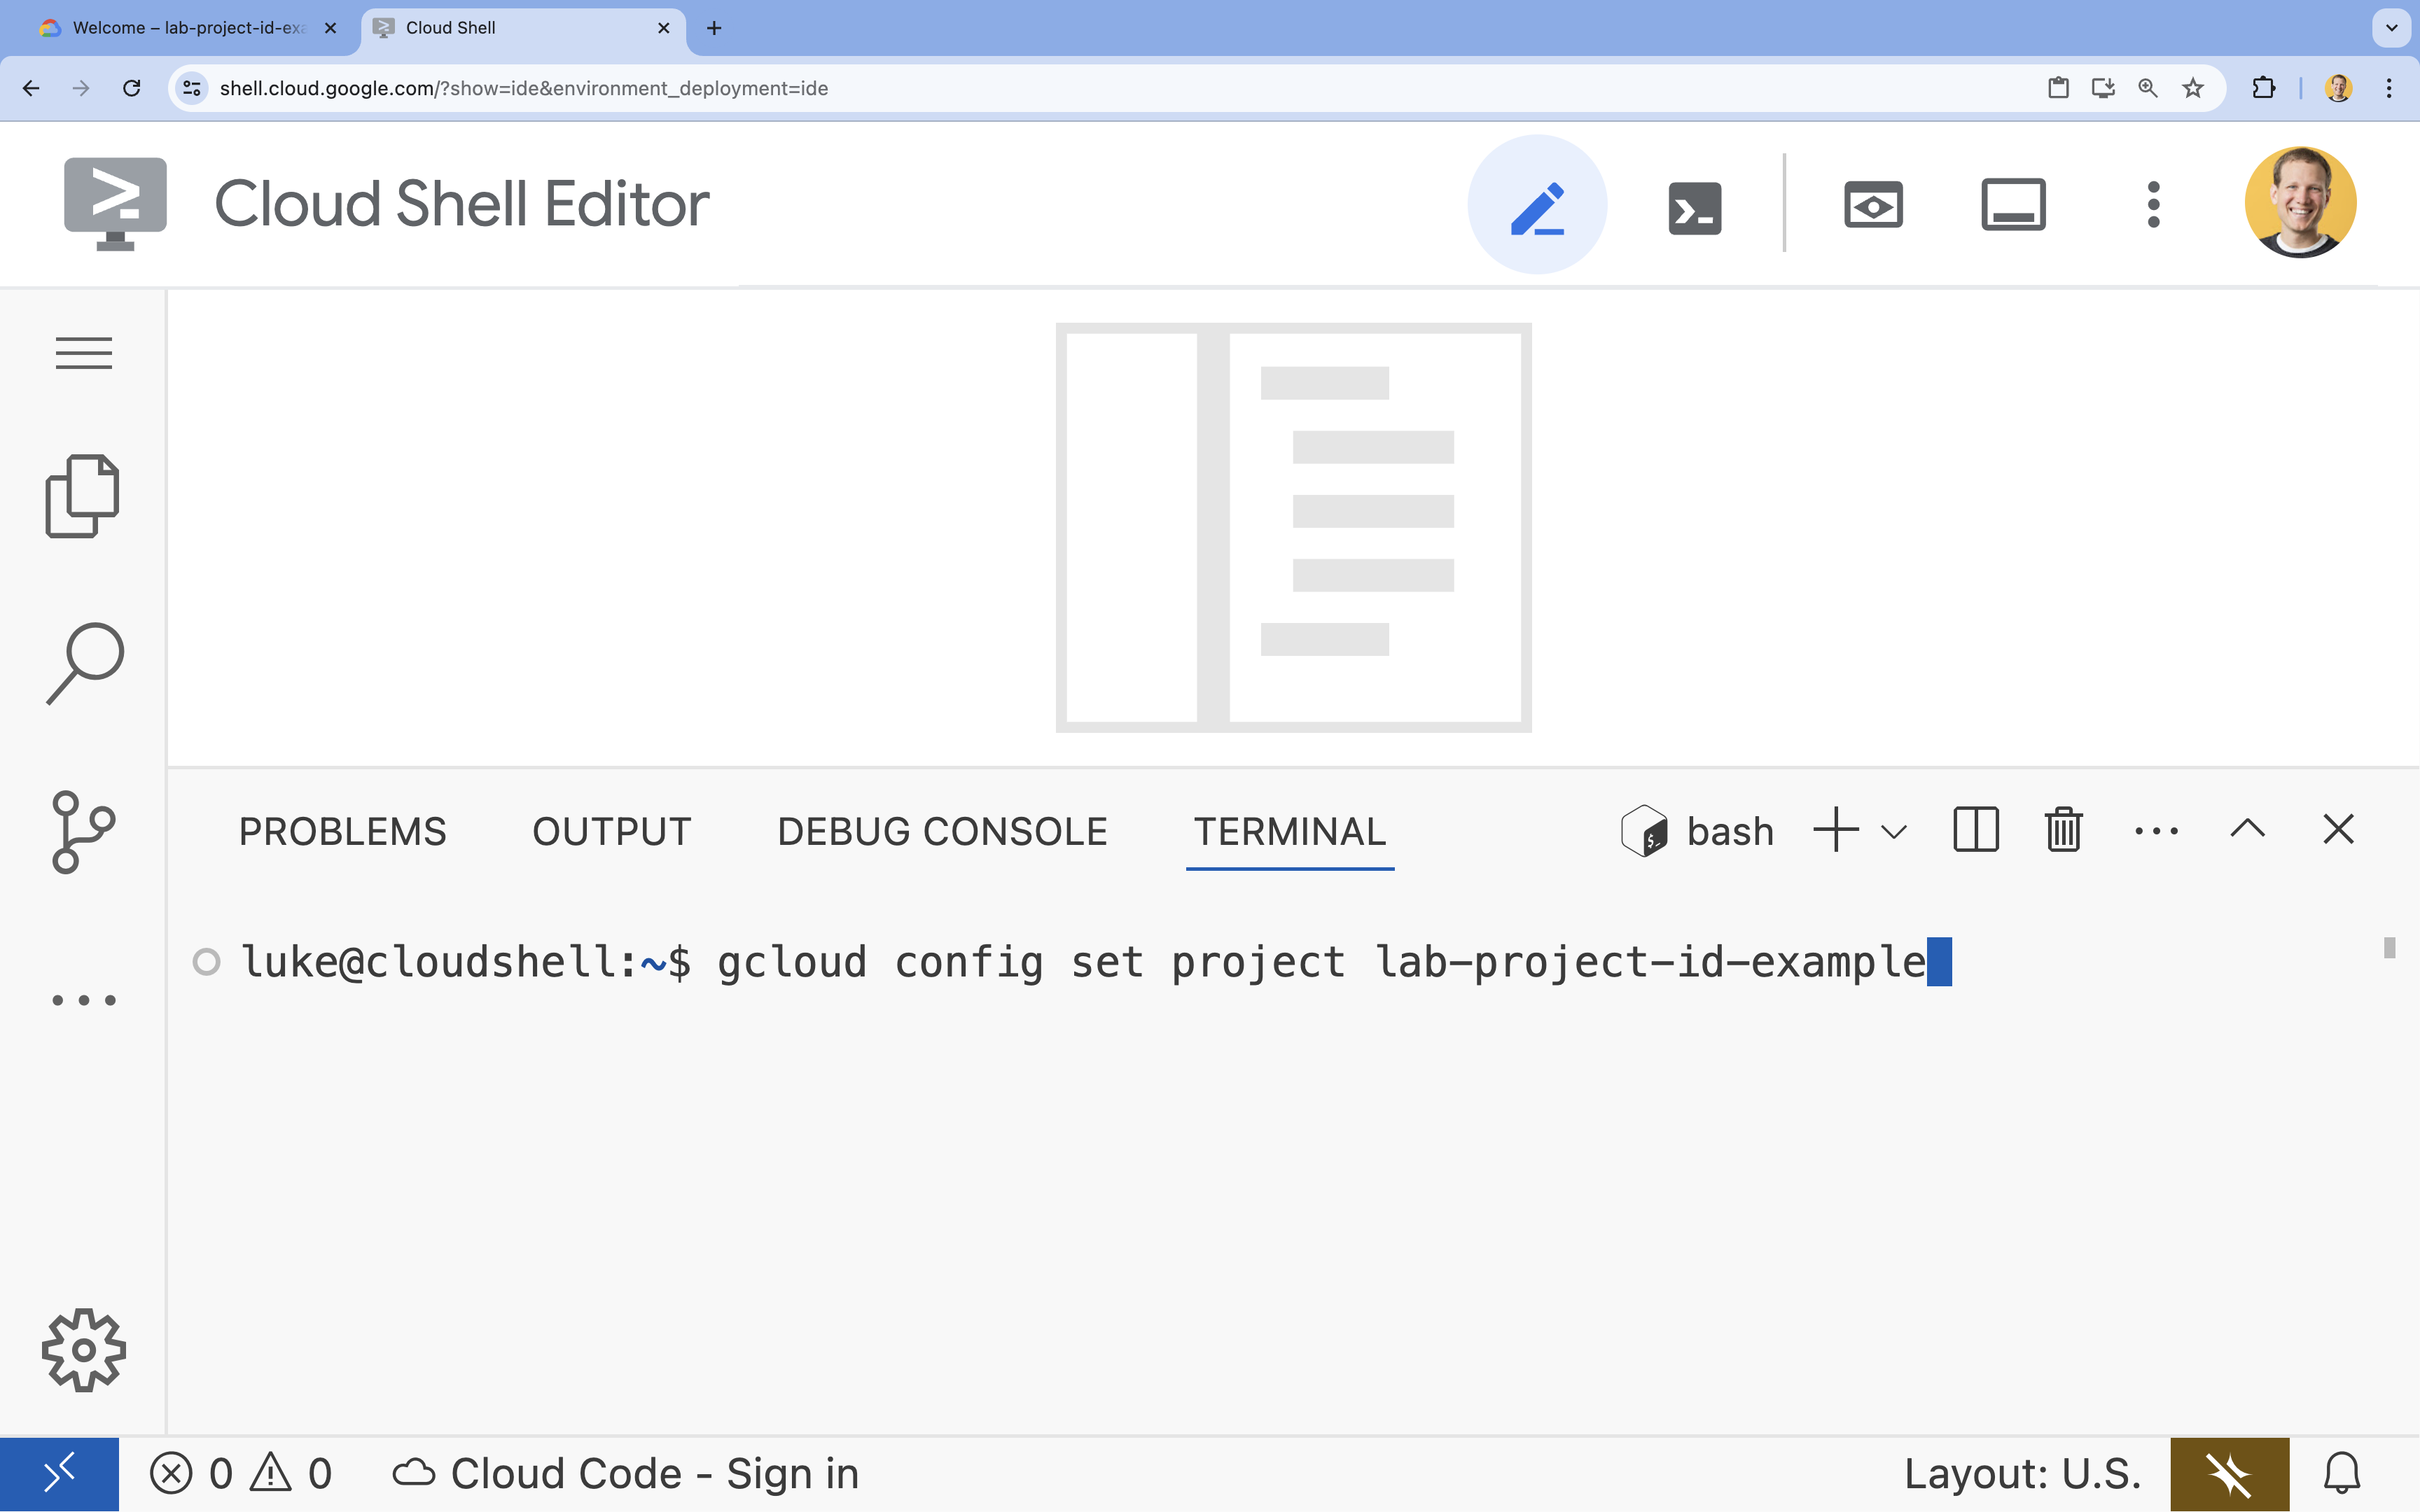
- Ví dụ:
- Bạn sẽ thấy thông báo sau:
Updated property [core/project].
4. Bật API
Bật các API sau để triển khai các thành phần ứng dụng và sử dụng Google Cloud Assist:
Trong thiết bị đầu cuối, hãy bật các API:
```bash
gcloud services enable \
  container.googleapis.com \
  artifactregistry.googleapis.com \
  cloudbuild.googleapis.com \
  alloydb.googleapis.com \
  run.googleapis.com
```
<br>
When the command finishes, you should see an output like the following:
<br>

```console
Operation "operations/acf.p2-176675280136-b03ab5e4-3483-4ebf-9655-43dc3b345c63" finished successfully.
```
5. Chuẩn bị dự án
Bạn sẽ tạo ứng dụng và hoạt động triển khai cơ bản để kiểm thử Cloud Assist.
Tạo thư mục
- Mở Cloud Shell Editor hoặc môi trường phát triển mà bạn chọn.
- Tạo thư mục mới:
mkdir -p ~/gemini-cloud-assist-debug mkdir -p ~/gemini-cloud-assist-debug/auth_issue_demo mkdir -p ~/gemini-cloud-assist-debug/terraform cd ~/gemini-cloud-assist-debug - Trong cửa sổ dòng lệnh, hãy chạy lệnh sau để mở một không gian làm việc của Cloud Shell Editor:
cloudshell open-workspace ~/gemini-cloud-assist-debug
Tạo tệp
Bây giờ, bạn sẽ tạo các tệp khởi động cần thiết cho ứng dụng.
- Tạo Dockerfile bằng cách chạy lệnh sau trong terminal. Tệp này xử lý việc tạo vùng chứa ứng dụng.
cat <<EOF > ~/gemini-cloud-assist-debug/auth_issue_demo/Dockerfile
FROM python:3.11-slim

WORKDIR /app

COPY requirements.txt .
RUN pip install --no-cache-dir -r requirements.txt

COPY main.py .

CMD ["gunicorn", "--bind", "0.0.0.0:8080", "main:app"]
EOF
- Tạo tệp
main.pybằng cách chạy lệnh sau trong terminal. Tệp này chứa ứng dụng được viết bằng Python.
cat <<EOF > ~/gemini-cloud-assist-debug/auth_issue_demo/main.py
import os
import logging
from flask import Flask
from google.cloud.alloydb.connector import Connector
import sqlalchemy

app = Flask(__name__)

# Configure logging
logging.basicConfig(level=logging.INFO)
logger = logging.getLogger(__name__)

# Configuration from Environment Variables
# The fully qualified instance URI: projects/<PROJECT>/locations/<REGION>/clusters/<CLUSTER>/instances/<INSTANCE>
ALLOYDB_URI = os.environ.get("ALLOYDB_URI")
DB_USER = os.environ.get("DB_USER", "auth-debug")
DB_PASS = os.environ.get("DB_PASS", "debug-auth")
DB_NAME = os.environ.get("DB_NAME", "postgres")
USE_PUBLIC_IP = os.environ.get("USE_PUBLIC_IP", "false").lower() == "true"

# Initialize Connector lazily
_connector = None

def get_connector():
    global _connector
    if _connector is None:
        _connector = Connector()
    return _connector

def getconn():
    connector = get_connector()
    ip_type = "PUBLIC" if USE_PUBLIC_IP else "PRIVATE"

    conn = connector.connect(
        ALLOYDB_URI,
        "pg8000",
        user=DB_USER,
        password=DB_PASS,
        db=DB_NAME,
        ip_type=ip_type
    )
    return conn

@app.route("/")
def index():
    return "AlloyDB Auth Demo. /connect to test.", 200

@app.route("/connect")
def connect_db():
    if not ALLOYDB_URI:
        return "FAILURE: ALLOYDB_URI env var is not set.", 500

    try:
        logger.info(f"Attempting connection to {ALLOYDB_URI} with user {DB_USER}...")

        # Create connection pool
        pool = sqlalchemy.create_engine(
            "postgresql+pg8000://",
            creator=getconn,
        )

        with pool.connect() as db_conn:
            # Simple query to validate connection
            result = db_conn.execute(sqlalchemy.text("SELECT NOW()")).fetchone()
            timestamp = result[0]

        msg = f"SUCCESS: Connected to AlloyDB! DB Time: {timestamp}"
        logger.info(msg)
        return msg, 200

    except Exception as e:
        logger.exception("Connection failed")
        # Return the error to the caller to visualize the auth failure
        return f"FAILURE: Connection Error.\nDetails: {str(e)}", 500

if __name__ == "__main__":
    app.run(host="0.0.0.0", port=int(os.environ.get("PORT", 8080)))
EOF
- Tạo tệp
requirements.txtbằng cách chạy lệnh sau trong terminal. Tệp này xử lý các yêu cầu về gói Python.
cat <<EOF > ~/gemini-cloud-assist-debug/auth_issue_demo/requirements.txt
flask==3.1.3
gunicorn==25.3.0
google-cloud-alloydb-connector[pg8000]==1.12.1
sqlalchemy==2.0.49
EOF
- Tạo tệp
main.tfbằng cách chạy lệnh sau trong terminal. Tệp này xử lý các tài nguyên Google Cloud sẽ được tạo.
cat <<EOF > ~/gemini-cloud-assist-debug/terraform/main.tf
provider "google" {
  project = var.project_id
  region  = var.region
}

# Enable APIs
locals {
  apis = [
    "alloydb.googleapis.com",
    "run.googleapis.com",
    "artifactregistry.googleapis.com",
    "compute.googleapis.com",
    "geminicloudassist.googleapis.com",
    "monitoring.googleapis.com",
    "cloudasset.googleapis.com",
    "cloudbuild.googleapis.com",
    "recommender.googleapis.com",
    "appoptimize.googleapis.com"
  ]
}

resource "random_password" "db_pass" {
  count            = var.db_password == null ? 1 : 0
  length           = 16
  special          = true
  override_special = "!#$%&*()-_=+[]{}<>:?"
}

locals {
  db_password = var.db_password != null ? var.db_password : random_password.db_pass[0].result
}

resource "google_project_service" "apis" {
  for_each           = toset(local.apis)
  service            = each.value
  disable_on_destroy = false
}

# Service Account
resource "google_service_account" "auth_demo_sa" {
  account_id   = var.service_account_name
  display_name = "Auth Demo SA"
}

# AlloyDB Cluster
resource "google_alloydb_cluster" "rma_cluster" {
  cluster_id = var.cluster_id
  location   = var.region

  # Initial password, managed via variable or generated randomly
  initial_user {
    password = local.db_password
  }

  # Use default network as in the manual setup
  network_config {
    network = "projects/${var.project_id}/global/networks/default"
  }

  depends_on = [google_project_service.apis["alloydb.googleapis.com"]]
}

# AlloyDB Instance
resource "google_alloydb_instance" "rma_instance_1" {
  cluster       = google_alloydb_cluster.rma_cluster.name
  instance_id   = var.instance_id
  instance_type = "PRIMARY"

  machine_config {
    cpu_count = 2
  }

  network_config {
    enable_public_ip = true
  }

  depends_on = [google_alloydb_cluster.rma_cluster]
}

# Cloud Run Service
resource "google_cloud_run_service" "auth_issue_demo" {
  name     = var.cloud_run_service_name
  location = var.region

  template {
    spec {
      containers {
        image = var.cloud_run_image
        env {
          name  = "ALLOYDB_URI"
          value = "projects/${var.project_id}/locations/${var.region}/clusters/${var.cluster_id}/instances/${var.instance_id}"
        }
        env {
          name  = "DB_USER"
          value = "postgres"
        }
        env {
          name  = "DB_PASS"
          value = local.db_password
        }
        env {
          name  = "USE_PUBLIC_IP"
          value = "true"
        }
      }
      service_account_name = google_service_account.auth_demo_sa.email
    }
  }

  traffic {
    percent         = 100
    latest_revision = true
  }

  depends_on = [google_project_service.apis["run.googleapis.com"], google_alloydb_instance.rma_instance_1]
}

# Allow unauthenticated access to Cloud Run service (matching --allow-unauthenticated)
resource "google_cloud_run_service_iam_member" "public_access" {
  location = google_cloud_run_service.auth_issue_demo.location
  project  = google_cloud_run_service.auth_issue_demo.project
  service  = google_cloud_run_service.auth_issue_demo.name
  role     = "roles/run.invoker"
  member   = "allUsers"
}
EOF
- Tạo tệp
variables.tfbằng cách chạy lệnh sau trong terminal. Tệp này xử lý các biến Terraform cho tài nguyên Google Cloud.
cat <<EOF > ~/gemini-cloud-assist-debug/terraform/variables.tf
variable "project_id" {
  description = "The ID of the Google Cloud project."
  type        = string
}

variable "region" {
  description = "The region to deploy resources in."
  type        = string
  default     = "us-central1"
}

variable "cluster_id" {
  description = "The ID of the AlloyDB cluster."
  type        = string
  default     = "rma-cluster"
}

variable "instance_id" {
  description = "The ID of the AlloyDB instance."
  type        = string
  default     = "rma-instance-1"
}

variable "service_account_name" {
  description = "The name of the service account."
  type        = string
  default     = "auth-demo-sa"
}

variable "cloud_run_service_name" {
  description = "The name of the Cloud Run service."
  type        = string
  default     = "auth-issue-demo"
}

variable "cloud_run_image" {
  description = "The container image for the Cloud Run service."
  type        = string
}

variable "db_password" {
  description = "The database password. If not provided, a random one will be generated."
  type        = string
  sensitive   = true
  default     = null
}
EOF
- Tạo tệp
setup_via_tf.shbằng cách chạy lệnh sau trong terminal. Tệp này xử lý các yêu cầu về gói Python.
cat <<EOF > ~/gemini-cloud-assist-debug/setup_via_tf.sh
#!/bin/bash
set -e

# Get script directory and change to project root
SCRIPT_DIR="$( cd "$( dirname "${BASH_SOURCE[0]}" )" && pwd )"
cd "$SCRIPT_DIR"

# Load configuration from .env
if [ -f .env ]; then
    set -a
    source .env
    set +a
else
    echo "ERROR: .env file not found. Please create one with PROJECT_ID."
    exit 1
fi

if [ -z "$PROJECT_ID" ]; then
    echo "ERROR: PROJECT_ID is not set in .env file."
    exit 1
fi

REGION="us-central1"
CLUSTER_ID="rma-cluster"
INSTANCE_ID="rma-instance-1"
SA_NAME="auth-demo-sa"
SERVICE_NAME="auth-issue-demo"

echo "--- Terraform Setup for Auth Demo ---"
echo "Using Project: $PROJECT_ID"

# Get current Cloud Run image
echo "Fetching current Cloud Run image..."
IMAGE=$(gcloud run services describe $SERVICE_NAME --region=$REGION --project=$PROJECT_ID --format="value(spec.template.spec.containers[0].image)" 2>/dev/null || true)

if [ -z "$IMAGE" ]; then
    echo "WARNING: Could not find existing Cloud Run service image."
    echo "Using a placeholder image (gcr.io/cloudrun/hello) for initial Terraform apply."
    IMAGE="gcr.io/cloudrun/hello"
fi

echo "Found Image: $IMAGE"

cd terraform

# Initialize Terraform
echo "Initializing Terraform..."
terraform init

echo "Formatting Terraform files..."
terraform fmt

echo "Validating Terraform configuration..."
terraform validate

echo "------------------------------------------------"
echo "Applying changes..."
echo "------------------------------------------------"

terraform apply -var="project_id=$PROJECT_ID" -var="cloud_run_image=$IMAGE" -auto-approve

echo "------------------------------------------------"
echo "Building and deploying updated Cloud Run service..."
echo "------------------------------------------------"

gcloud run deploy $SERVICE_NAME \
  --source ../auth_issue_demo \
  --region $REGION \
  --project $PROJECT_ID \
  --service-account $SA_NAME@$PROJECT_ID.iam.gserviceaccount.com \
  --quiet
EOF
- Chạy lệnh sau để thực thi tập lệnh shell:
chmod +x ~/gemini-cloud-assist-debug/setup_via_tf.sh
- Tạo một tệp
.envchứa mã dự án trên Google Cloud để triển khai. Cập nhật trườngYOUR_PROJECT_ID:
cat <<EOF > ~/gemini-cloud-assist-debug/.env
PROJECT_ID=YOUR_PROJECT_ID
USE_PUBLIC_IP=true
EOF
6. Triển khai ứng dụng
Mã xử lý ứng dụng và tài nguyên Google Cloud đã sẵn sàng để triển khai. Quá trình này có thể mất tối đa 15 phút.
Chạy lệnh sau đây từ thiết bị đầu cuối:
cd ~/gemini-cloud-assist-debug
./setup_via_tf.sh
Trong khi các thành phần triển khai, hãy duyệt xem các tệp trong Cloud Shell Editor để tìm hiểu thêm.
7. Tạo và gỡ lỗi
Bây giờ, chúng ta sẽ kích hoạt một lỗi từ ứng dụng. Mở Cloud Run trên ngăn bên trái. Sau đó, hãy nhấp vào dịch vụ auth-issue-demo.
- Ở đầu trang Chi tiết dịch vụ, bạn sẽ thấy một URL. Sao chép URL rồi mở một thẻ trình duyệt mới. Dán URL rồi thêm
/connectvào URL đó. URL của bạn sẽ có dạng như sau:
https://auth-issue-demo-
- Truy cập vào URL đó. Có thể mất vài giây để phiên bản Cloud Run khởi động. Bạn sẽ gặp lỗi.
- Quay lại trang Thông tin chi tiết về dịch vụ Cloud Run. Nhấp vào Observability (Khả năng quan sát), rồi nhấp vào Logs (Nhật ký). Bạn sẽ thấy nhật ký cho vùng chứa, bao gồm cả lỗi. Nếu nhật ký lỗi chưa có, hãy đợi vài giây rồi làm mới trang bằng cách nhấp vào biểu tượng ở trên cùng bên phải.
- Nhấp vào nhật ký lỗi để đọc thêm. Nhấp vào biểu tượng Điều tra trong dòng nhật ký chính. Sau đó, hãy nhấp vào Điều tra nhật ký
Ngăn trò chuyện Cloud Assist sẽ mở ra. Bạn chỉ cần 2 đến 3 phút để hoàn tất quá trình điều tra.
Sau khi quá trình điều tra hoàn tất, bạn có thể đọc kết quả và đề xuất. Bạn nên thêm quyền thích hợp vào tài khoản dịch vụ để Cloud Run có thể truy cập vào phiên bản AlloyDB.
8. Khắc phục lỗi
Khắc phục lỗi quyền của tài khoản dịch vụ.
- Chuyển đến Cloud IAM.
- Nhấp vào nút Cấp quyền truy cập. Trong ngăn chính, hãy bắt đầu bằng cách nhập
auth-demovà đợi tài khoản dịch vụ xuất hiện. - Tiếp theo, hãy thêm vai trò
AlloyDB Clientvào tài khoản dịch vụ, rồi nhấp vào Lưu.
Quá trình này mất tối đa 1 phút để truyền tải.
Sau khi chờ đợi, hãy quay lại và làm mới ứng dụng. Giờ đây, bạn sẽ thấy thông báo thành công từ cơ sở dữ liệu AlloyDB.
9. Xin chúc mừng
Xin chúc mừng! Bạn đã hoàn tất thành công phần giới thiệu này về Cloud Investigations và quy trình gỡ lỗi quyền của ứng dụng trên Google Cloud.
Tiếp theo là gì?
- Khám phá các hướng dẫn và ví dụ khác minh hoạ cách sử dụng Gemini Cloud Assist cho nhiều tình huống:
- Xem tài liệu về Gemini Cloud Assist để tìm hiểu thêm về các tính năng và chức năng của công cụ này.